kyle's protege5
Member
- :
- 2002 MP5-T
I took my headlights out the other day to repaint them a semi-gloss black from the original flat black that I had originally painted them. So I did something that I always wanted to do.
Has any one ever noticed the circle on the back of our headlights towards the top, on the high beam side? If you look close there is the marks for what appears like a bulb holder. So I decided that I was gonna Dremel that out and put in city lights!
I used some extra sockets that I had saved off of an Accord that I scrapped out. I'm gonna get some bluish bulbs to match the others soon.
For the wiring, I just tied into the parking light right below. I also disconnected the parking part of the turn signal, so that it only flashes with the turn signal.
1. Remove the front bumper
-Remove the 3 plastic push locks in the fenders
-Remove the 1 push lock and 2 screws under the bumper in front of the fender on each side
-Remove the 2 screws along the bottom of the bumper holding it to the core support
-Disconnect any wires going to your fog lights if you have them
-Remove the 2 screws and the push locks holding in the grill and remove the grill
-Gently pull out the bumper under the side of the headlight.
-Bumper should come off now2. Remove both headlights
-Should be 1 screw on top and one on each side I believe3. Remove everything you can from headlights
-All the rings, screws, brackets, clips everything you can get off.
-Don’t forget the little screws that hold the clear cover on4. Put lights in one at a time into oven preheated to 250 for about 8-10 minutes
5. Carefully pull light apart removing the clear cover
-Don’t get any of the grey glue on the clear lens or your screwed. It’s a PITA to get off
-Let the lights cool off so they are easier to work with.
*At this point if you’re going to paint the housing black, I would do it now so it can be drying while you are doing the other work.
I also recommend smoking the back of the turn signal lens. That turned out sweet with the black headlights
6. Find the exact center of that circle on back
7. Drill a 1/8" hole with the sharpest bit you can get, all the way through the reflector
-Drill it as straight as you can. The bit will want to walk to the side since the reflector is curved.8. I then used a UniBit (Step Bit) to drill the plastic out to the 9/16" (That’s the size of the circle part of my bulb holder. Just measure yours to know what to drill to)
9. Then using a Dremel, cut out the little slots to the sides of the hole to match your socket.
10. Now CAREFULLY Dremel out the reflector. Go slow and keep checking it by sticking your bulb and socket from the back.
-If you get to aggressive you will chip out your chrome. If it chips a little don’t worry, It’s so hard to look up into your light to see the bulb that no one will ever notice.11. It will end up being an oval to the left and right since the bulb is coming through reflector is at an angle to it.
12. Put cover back on light, then bake another 8-10 minutes to melt glue back together
14. Put lights back in car
15. Put bumper back on
13. Now wire it to the turn signal light below it. (Or wherever you want)
-The wire you need to tie into is the black for the ground, just tap into it, don’t cut it.
-The other wire is Green with black. I clipped it off about 1” from the socket. I then added to that wire to make it even with the black one, and attached those to female spade connectors. Those fit perfectly into the Honda bulb holders I used.
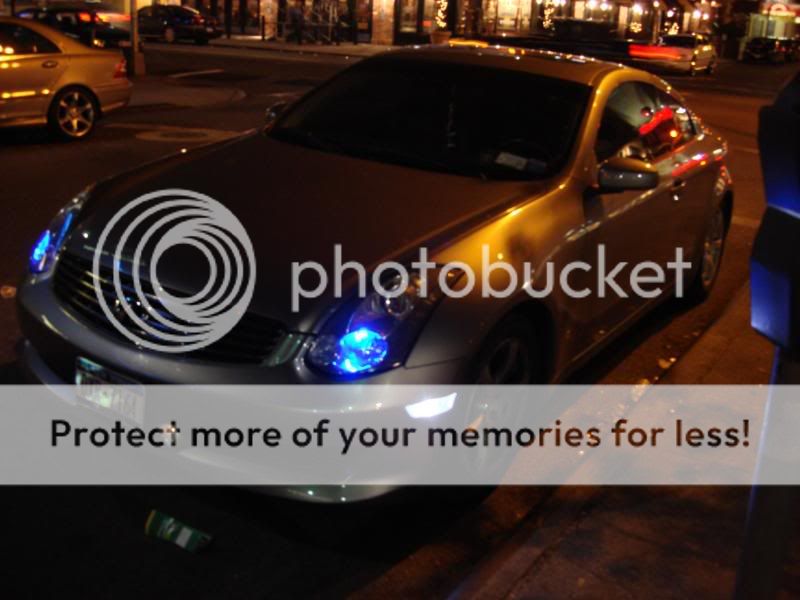
Here are the pics.


Has any one ever noticed the circle on the back of our headlights towards the top, on the high beam side? If you look close there is the marks for what appears like a bulb holder. So I decided that I was gonna Dremel that out and put in city lights!
I used some extra sockets that I had saved off of an Accord that I scrapped out. I'm gonna get some bluish bulbs to match the others soon.
For the wiring, I just tied into the parking light right below. I also disconnected the parking part of the turn signal, so that it only flashes with the turn signal.
1. Remove the front bumper
-Remove the 3 plastic push locks in the fenders
-Remove the 1 push lock and 2 screws under the bumper in front of the fender on each side
-Remove the 2 screws along the bottom of the bumper holding it to the core support
-Disconnect any wires going to your fog lights if you have them
-Remove the 2 screws and the push locks holding in the grill and remove the grill
-Gently pull out the bumper under the side of the headlight.
-Bumper should come off now
-Should be 1 screw on top and one on each side I believe
-All the rings, screws, brackets, clips everything you can get off.
-Don’t forget the little screws that hold the clear cover on
5. Carefully pull light apart removing the clear cover
-Don’t get any of the grey glue on the clear lens or your screwed. It’s a PITA to get off
-Let the lights cool off so they are easier to work with.
*At this point if you’re going to paint the housing black, I would do it now so it can be drying while you are doing the other work.
I also recommend smoking the back of the turn signal lens. That turned out sweet with the black headlights
6. Find the exact center of that circle on back
7. Drill a 1/8" hole with the sharpest bit you can get, all the way through the reflector
-Drill it as straight as you can. The bit will want to walk to the side since the reflector is curved.
9. Then using a Dremel, cut out the little slots to the sides of the hole to match your socket.
10. Now CAREFULLY Dremel out the reflector. Go slow and keep checking it by sticking your bulb and socket from the back.
-If you get to aggressive you will chip out your chrome. If it chips a little don’t worry, It’s so hard to look up into your light to see the bulb that no one will ever notice.
12. Put cover back on light, then bake another 8-10 minutes to melt glue back together
-After you pull it out of oven push it together really good, and put clips and screws back in while its still warm
13. Reassemble everything back into the light14. Put lights back in car
15. Put bumper back on
13. Now wire it to the turn signal light below it. (Or wherever you want)
-The wire you need to tie into is the black for the ground, just tap into it, don’t cut it.
-The other wire is Green with black. I clipped it off about 1” from the socket. I then added to that wire to make it even with the black one, and attached those to female spade connectors. Those fit perfectly into the Honda bulb holders I used.
Here are the pics.
Last edited: