
You are using an out of date browser. It may not display this or other websites correctly.
You should upgrade or use an alternative browser.
You should upgrade or use an alternative browser.
Chef's 1994 MX6 build thread
- Thread starter Chefsp0t
- Start date
- :
- aggressive auto culture
Torsen differential is actually a brand name and was never avalible in any fwd Mazda. Quaife makes a very similar differential and its available to the aftermarket. You still get the gear based and torque bias like the original Torsen, but it is a little pricey. More than worth it, imo. Gears don't wear out like clutch packs and its by far the strongest differential on the market.
Thanks for that. I was assuming that some of these brands were clutch based models but they aren't. Both the quaife and mfactory are gear based. The quaife needs modification to fit the mx6 trans. and the mfactory is bolt in.
- :
- aggressive auto culture
No s***, could of swore the Mfactory was a clutch based. Good to know!
") Just glad 2 see some1 still living the glory days..
Just glad 2 see some1 still living the glory days..Did some quick work today. I put most of the interior back in and installed some pillar braces. I had them in my last mx6 and they make a huge difference.
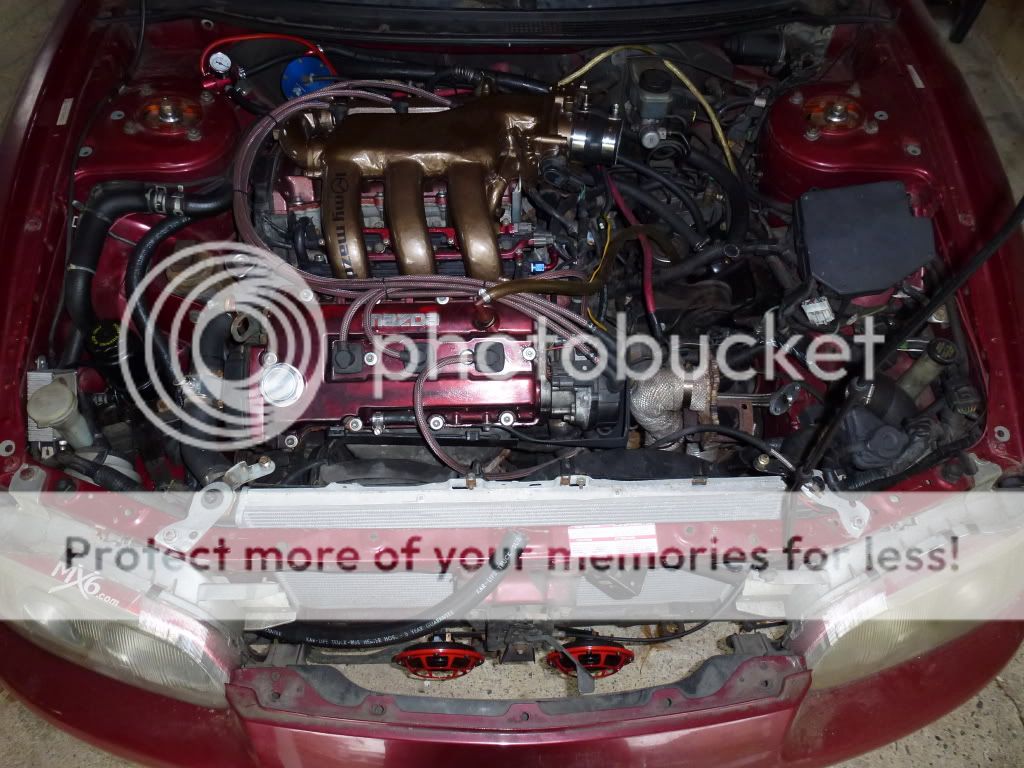
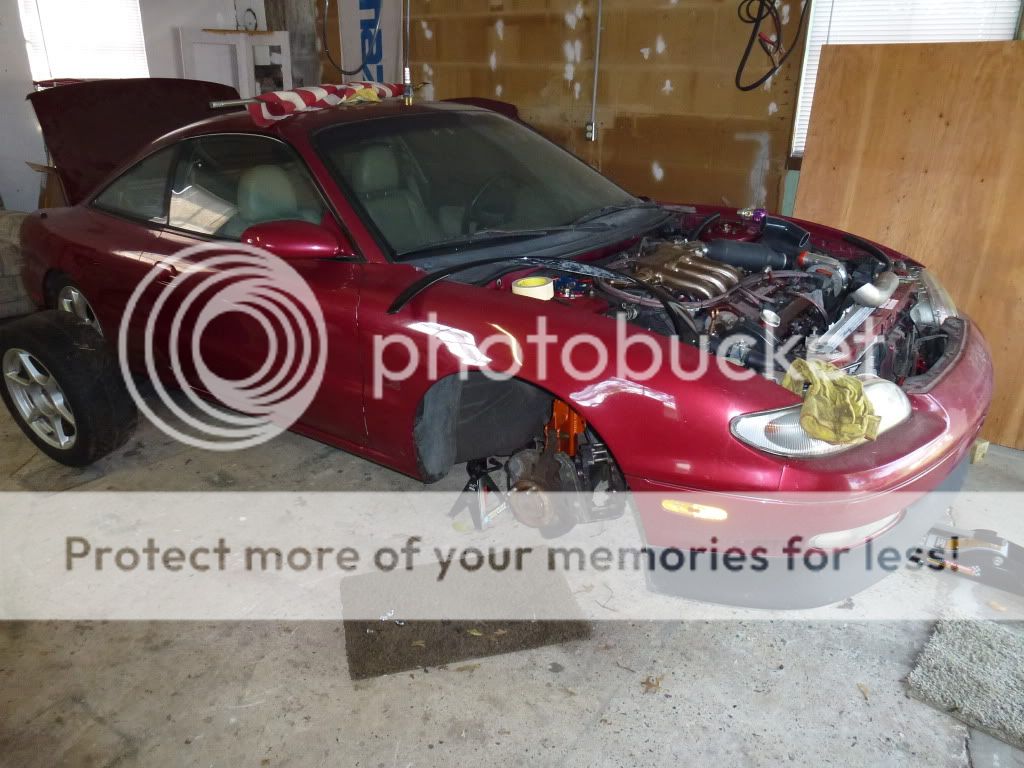
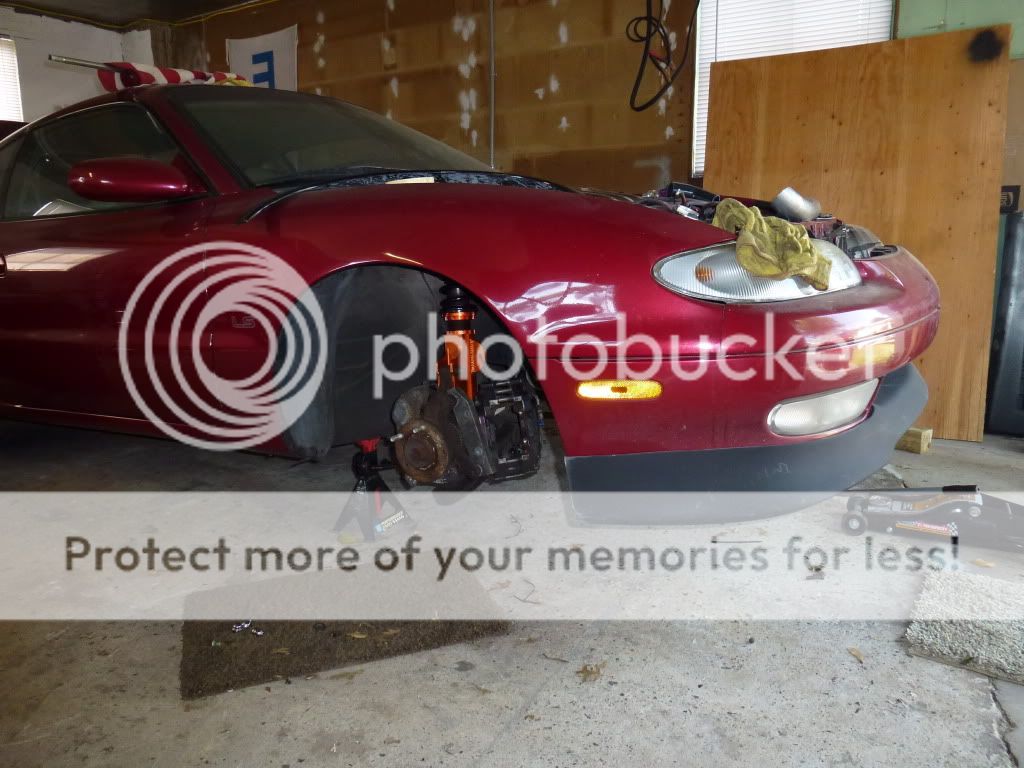
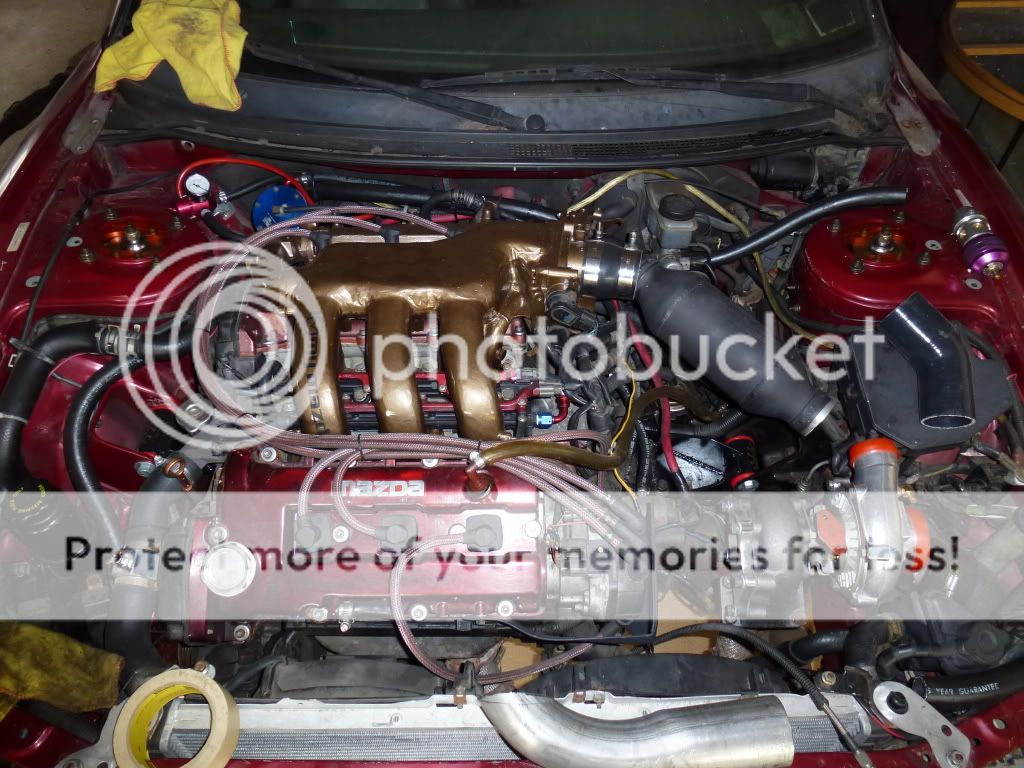
Here's a current engine bay shot. Still need to pull the downpipe, cut the old flange off, and get the new one welded on.
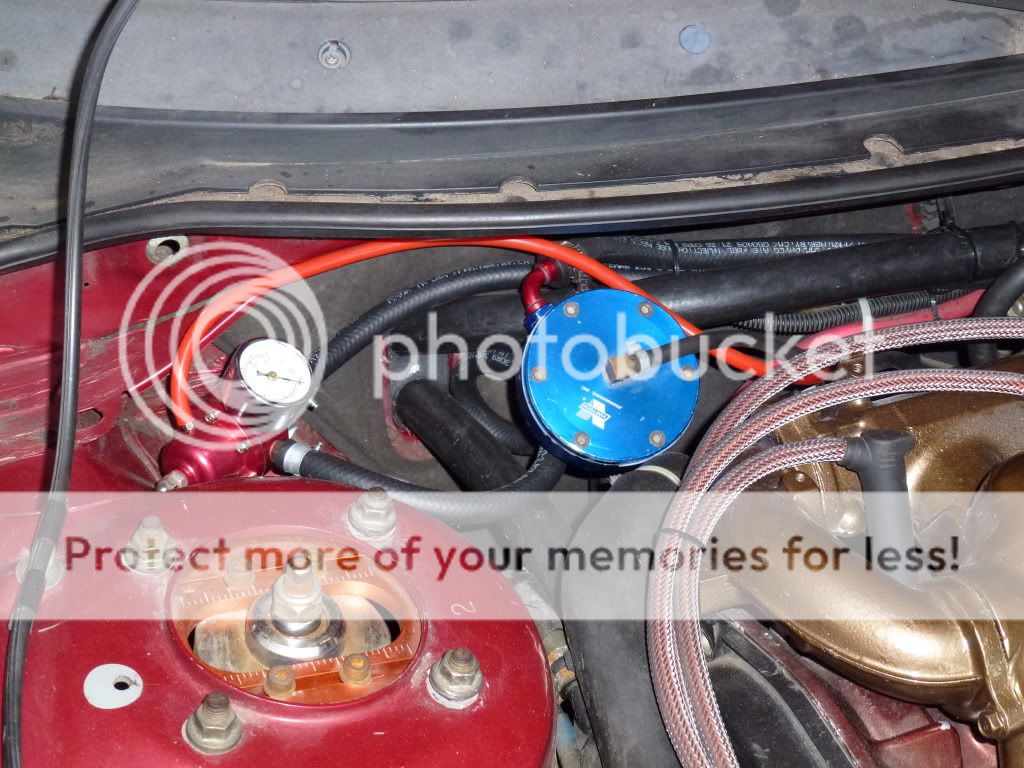
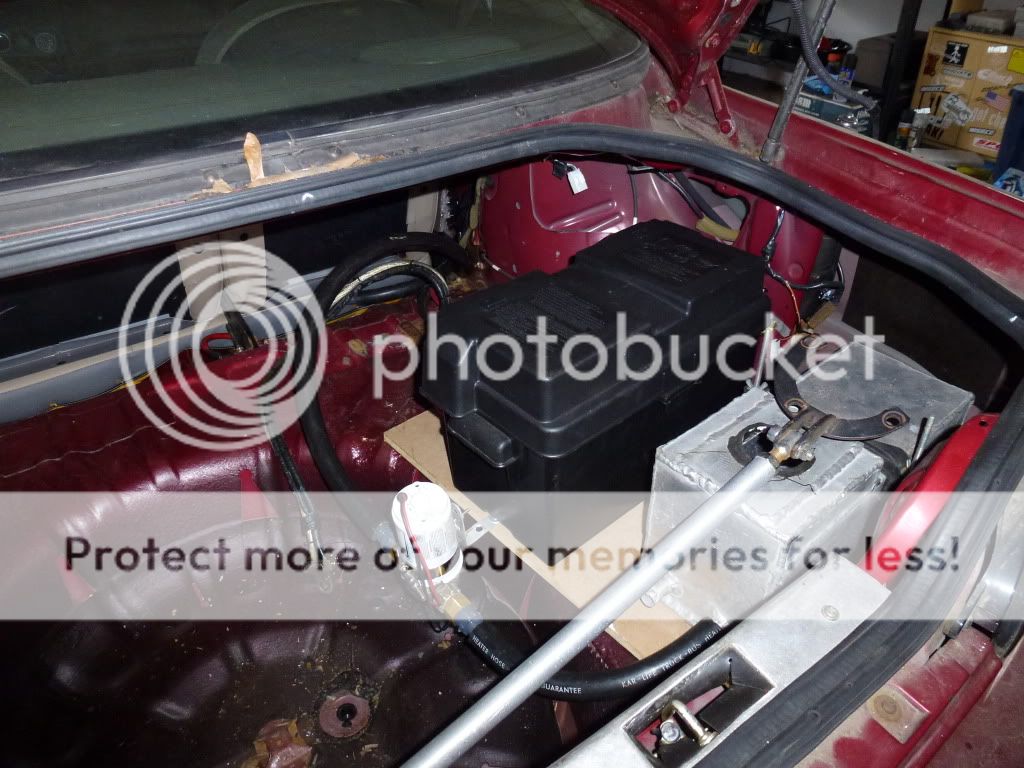
You can see my hose route for the w2a cooling lines here.
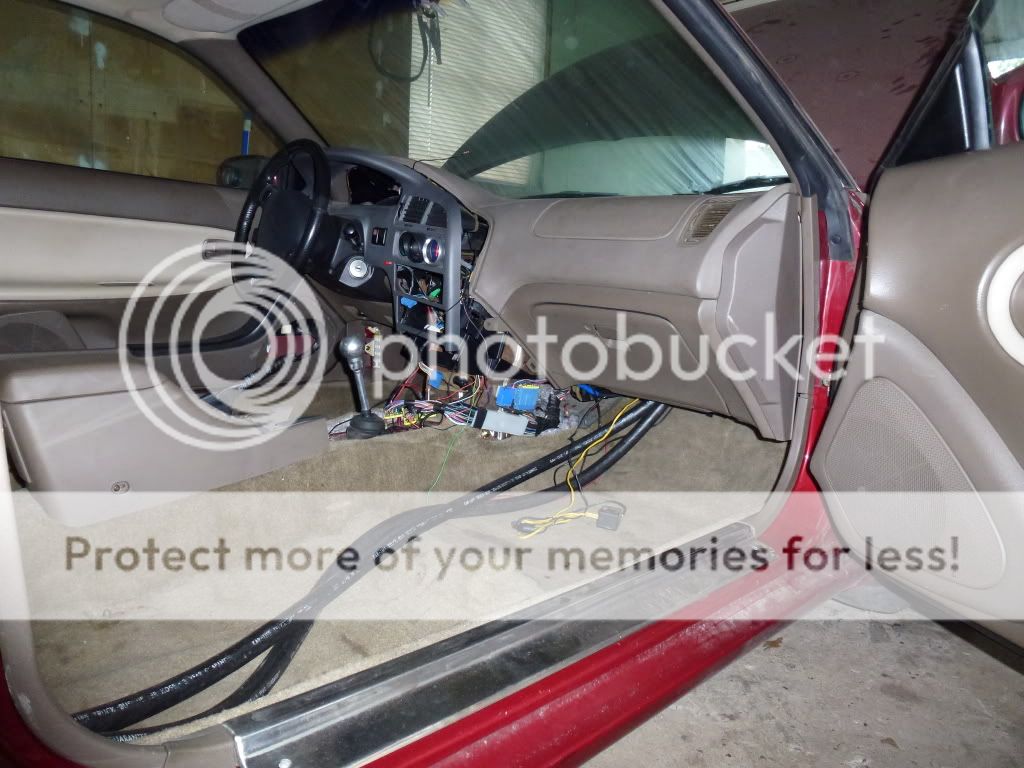
Here's how they run through the interior. They will fit under the passenger seat fine and I will probably just zip tie them together against the center console so the passenger doesn't kick them.
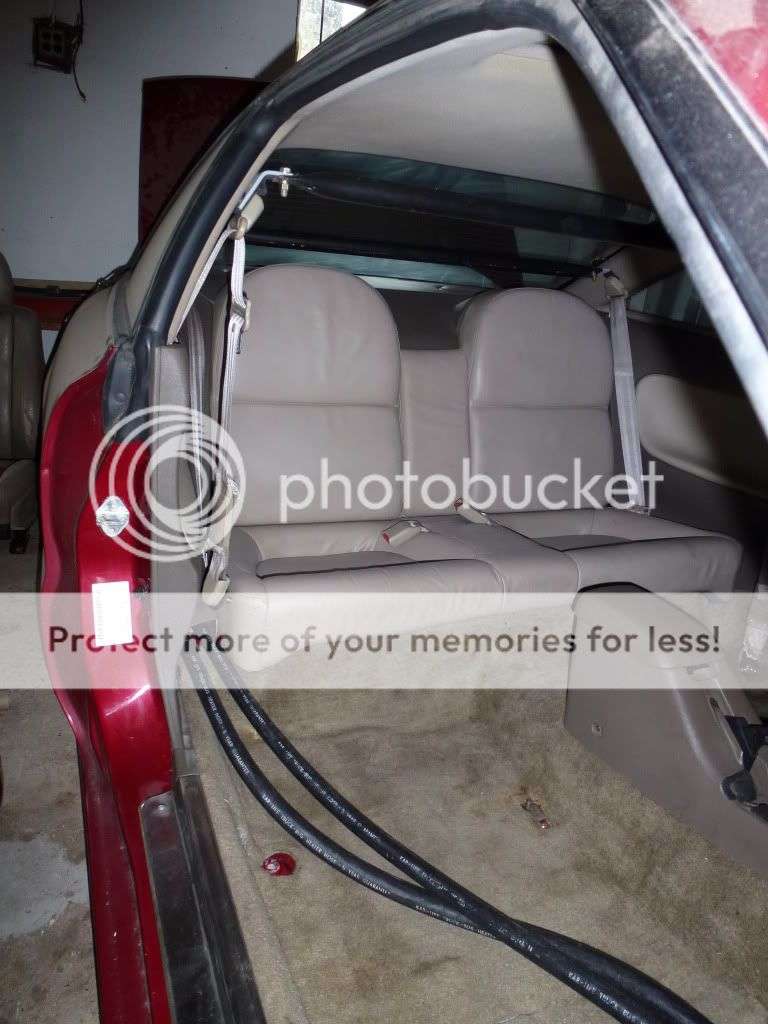
And into the trunk setup. I made that floor with mdf but i might cut it out of better wood if it doesn't last well.
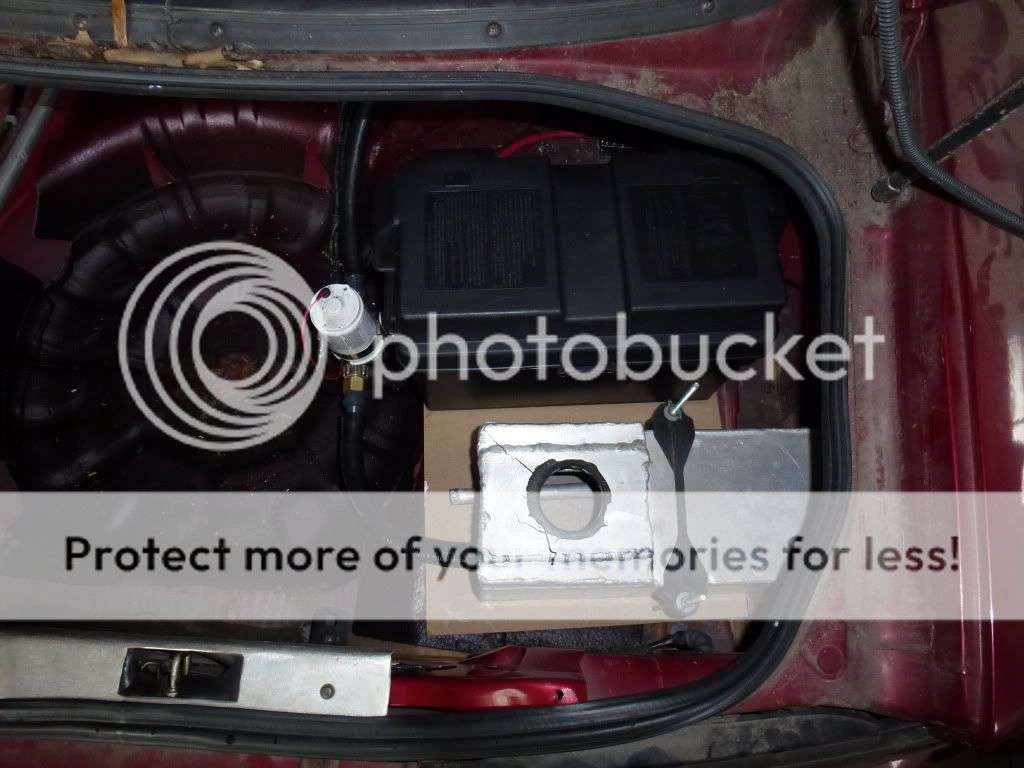
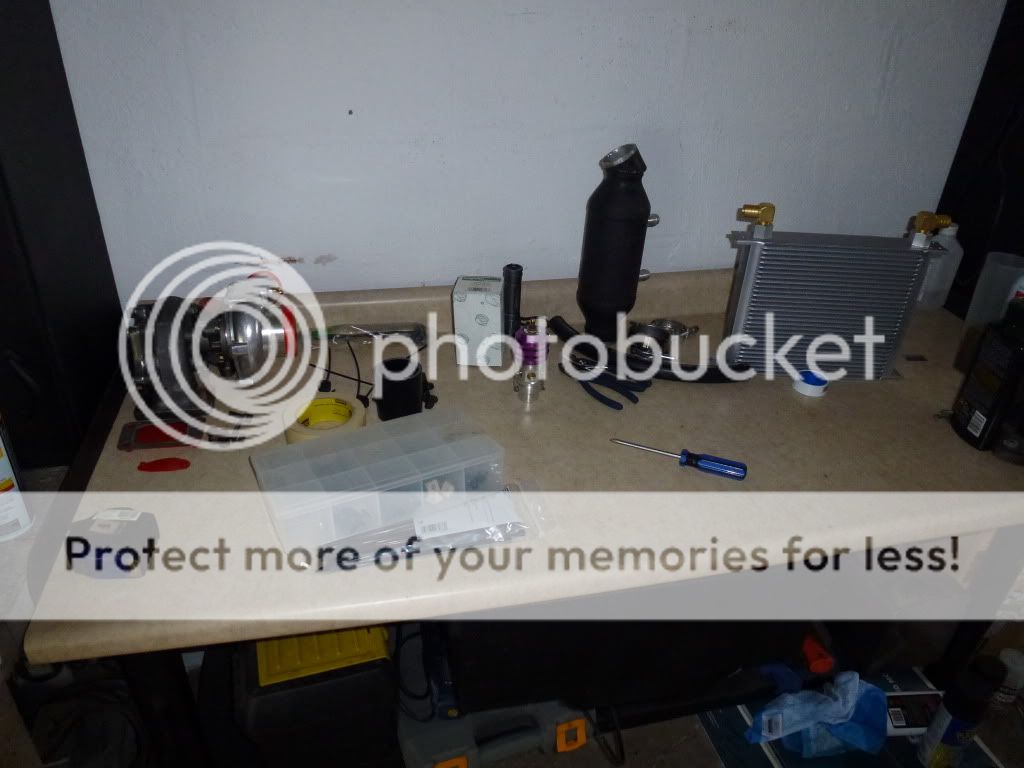
And the workbench is pretty full as usual. You can see my new turboxs type h blowoff valve near the intercooler. I need to get the flange welded right to the inlet side of the intercooler. I also need to make some brackets for the w2a radiator and buy a little more hose to connect the cold/inlet side to the intercooler.
Here's a current engine bay shot. Still need to pull the downpipe, cut the old flange off, and get the new one welded on.
You can see my hose route for the w2a cooling lines here.
Here's how they run through the interior. They will fit under the passenger seat fine and I will probably just zip tie them together against the center console so the passenger doesn't kick them.
And into the trunk setup. I made that floor with mdf but i might cut it out of better wood if it doesn't last well.
And the workbench is pretty full as usual. You can see my new turboxs type h blowoff valve near the intercooler. I need to get the flange welded right to the inlet side of the intercooler. I also need to make some brackets for the w2a radiator and buy a little more hose to connect the cold/inlet side to the intercooler.
kulluminati777
Member
- :
- Mazda MX-3 GS
i hope i can relocate my battery to the trunk on my mx-3, this is a sweet car i wsih i could of got my mx-6 like this before i sold it...maybe i will get another one...
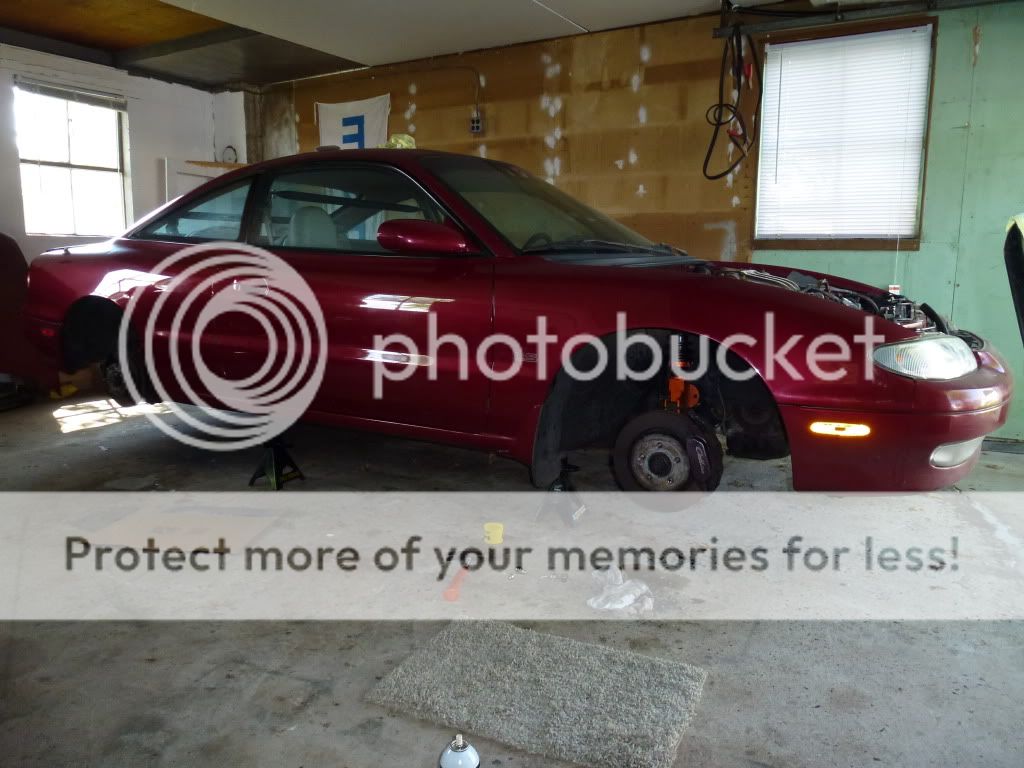
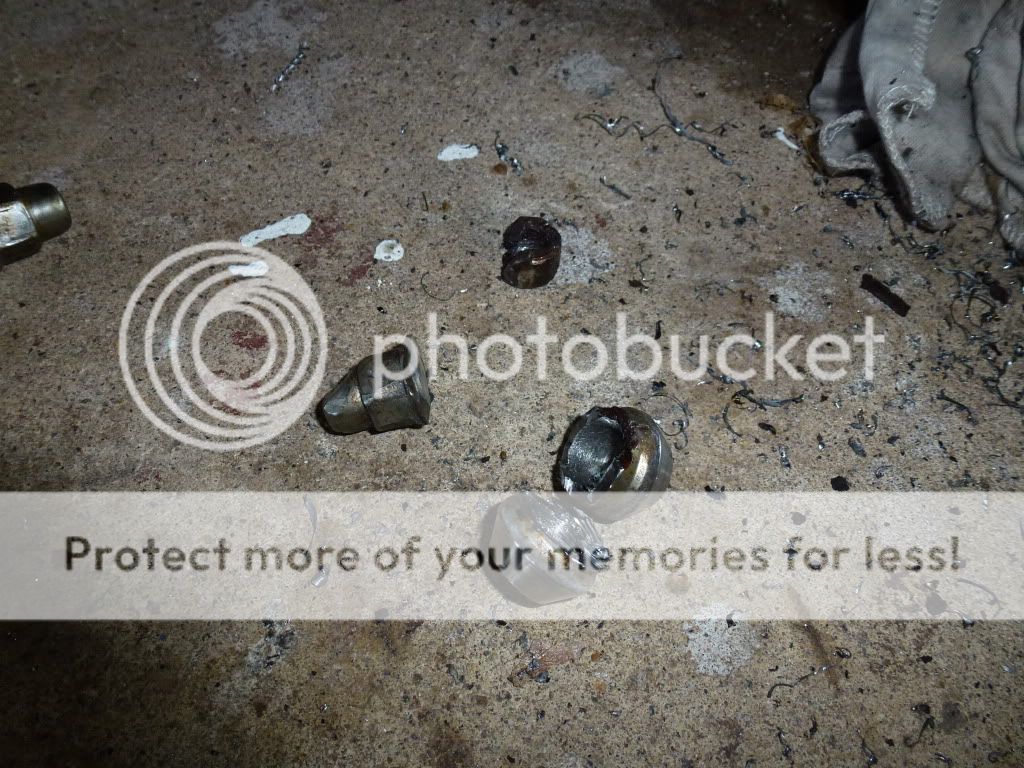
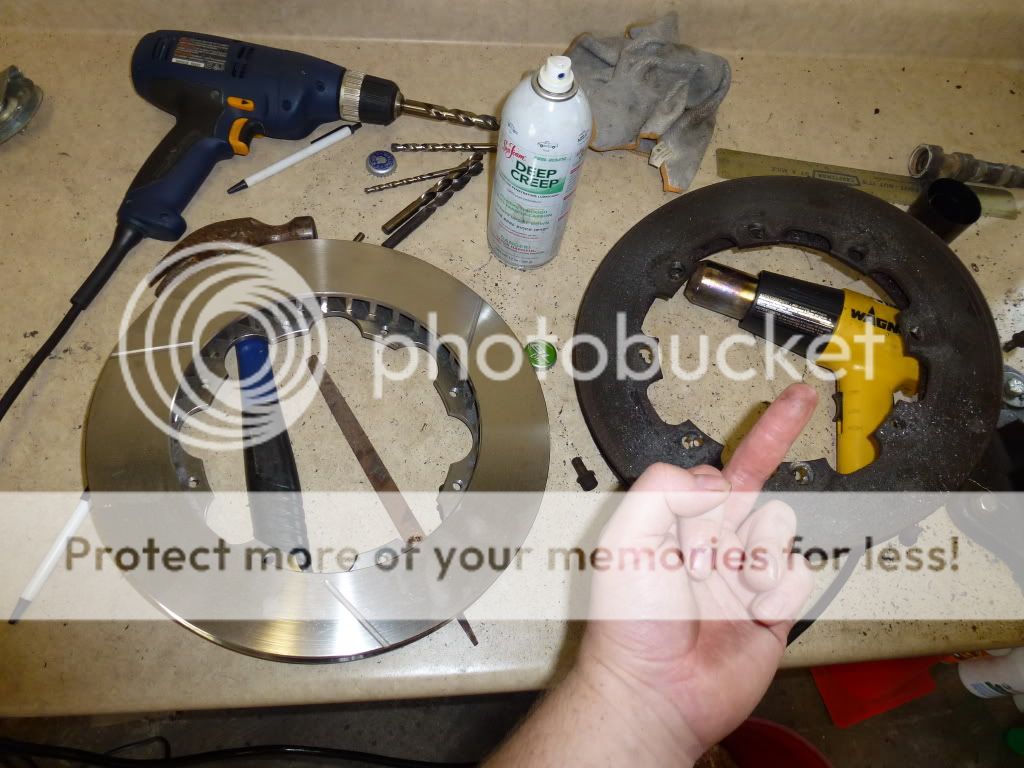
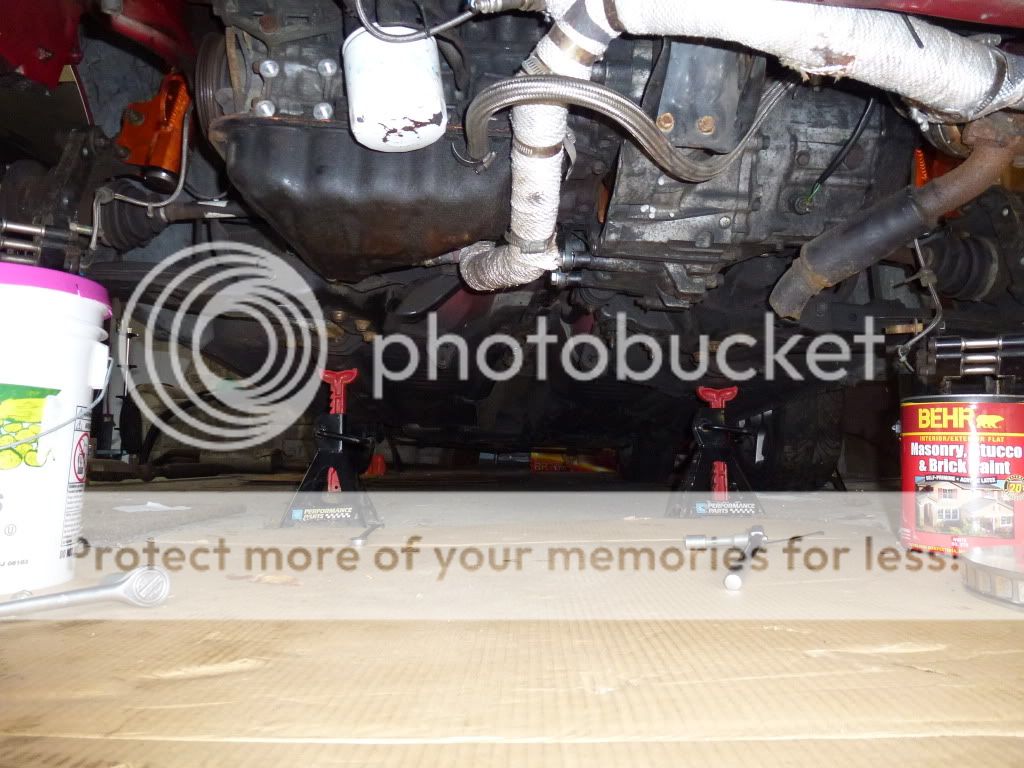
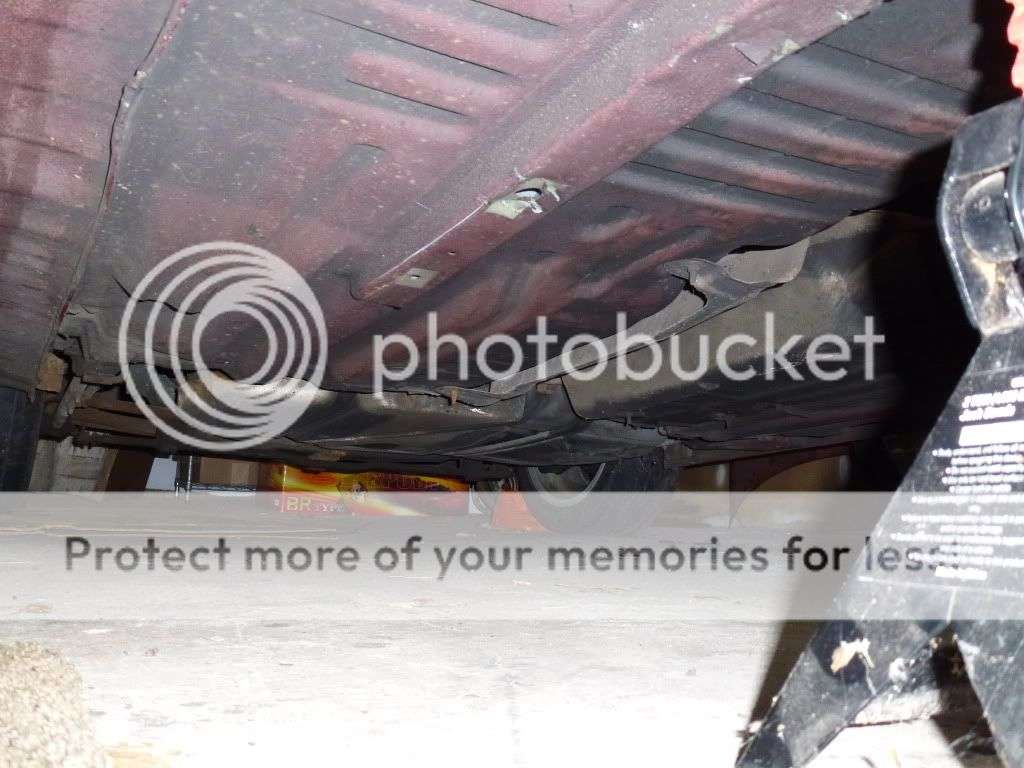
Got some more work done today. My brother and I got the car up on jack stands and pulled the wheels off. I had to grind/drill two frozen nuts off the studs on the front passenger side wheel. All of the lug nuts required a breaker bar and impact socket though. Those things were on there tight and I have been spraying them with penetrating catalyst for a week now.
Hmmm, which two needed a little persuading?
Bastards...
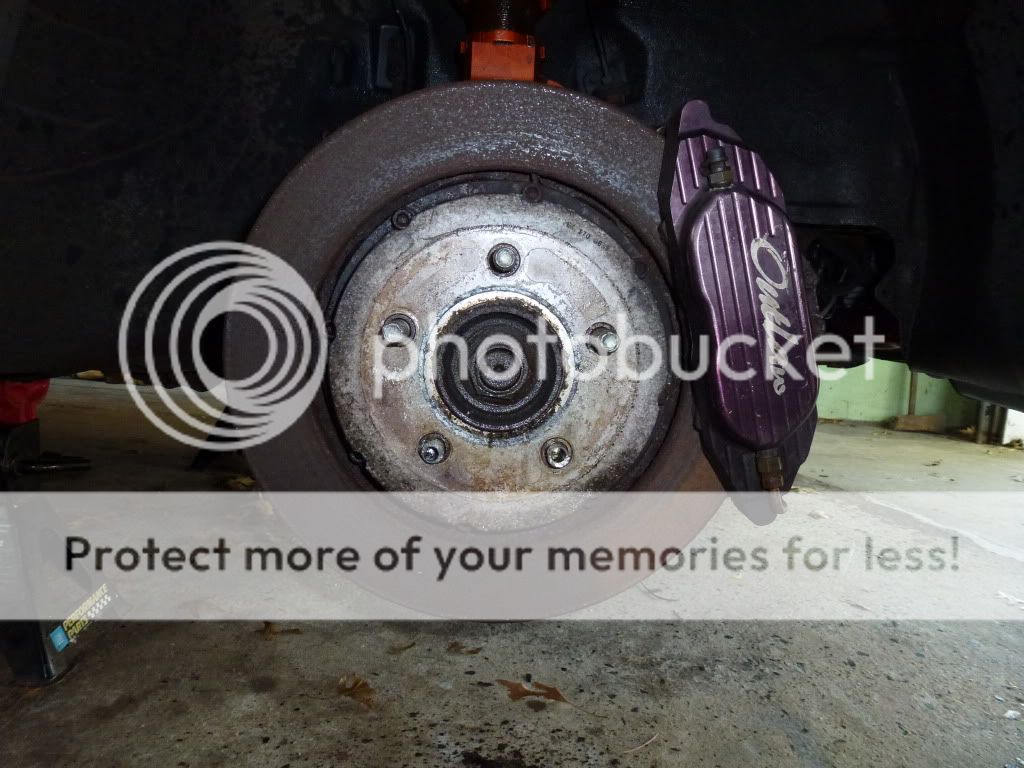
Now that the wheels are off I will start removing the brakes and suspension for cleaning, maintenance, and adjustments. I will need a new hub or at least two new studs for the ones I drilled holes in.
Hmmm, which two needed a little persuading?
Bastards...
Now that the wheels are off I will start removing the brakes and suspension for cleaning, maintenance, and adjustments. I will need a new hub or at least two new studs for the ones I drilled holes in.
Nice bump. I've made some nice progress but I haven't taken any pictures lately. The suspension is cleaned, adjusted, and reinstalled and the front brakes are almost finished.
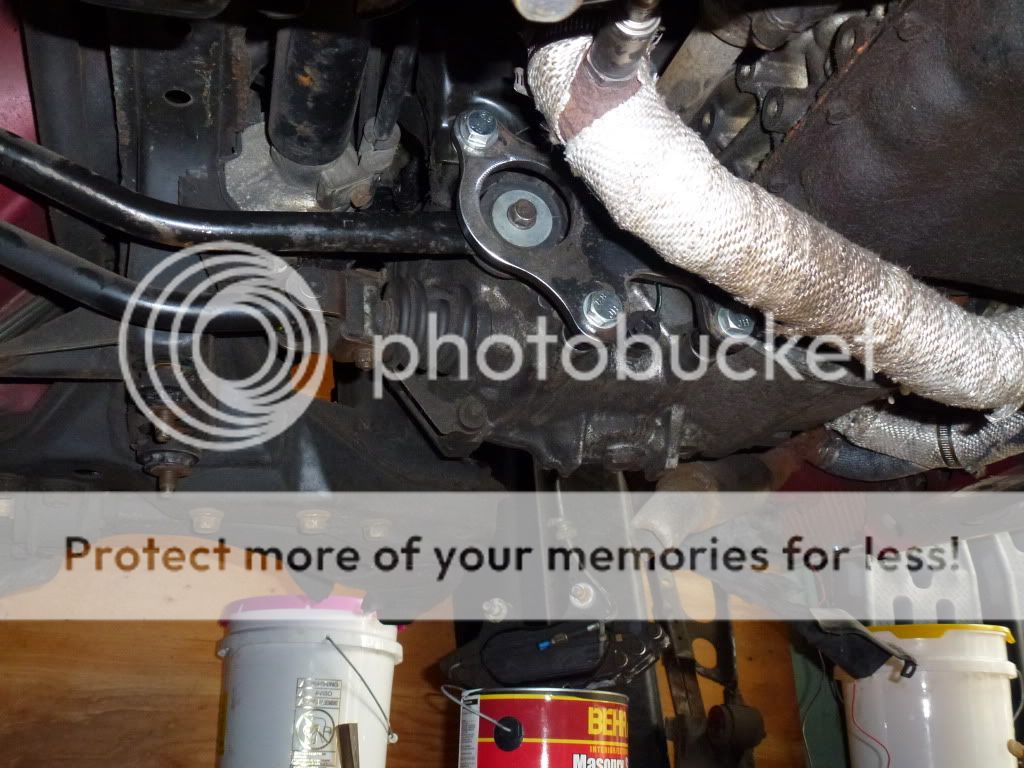
After I get the front back together I will pull the whole exhaust after the turbo off, replace a missing bolt in the shift linkage, and start on engine/turbo stuff again. I can see the light at the end of the tunnel but it is still a good ways from running.
After I get the front back together I will pull the whole exhaust after the turbo off, replace a missing bolt in the shift linkage, and start on engine/turbo stuff again. I can see the light at the end of the tunnel but it is still a good ways from running.
I'm not 100% sure how I am going to route the exhaust yet. Definitely a side exit but I won't know where until I have the car up on a lift at my buddy's shop. Lots to do before then.
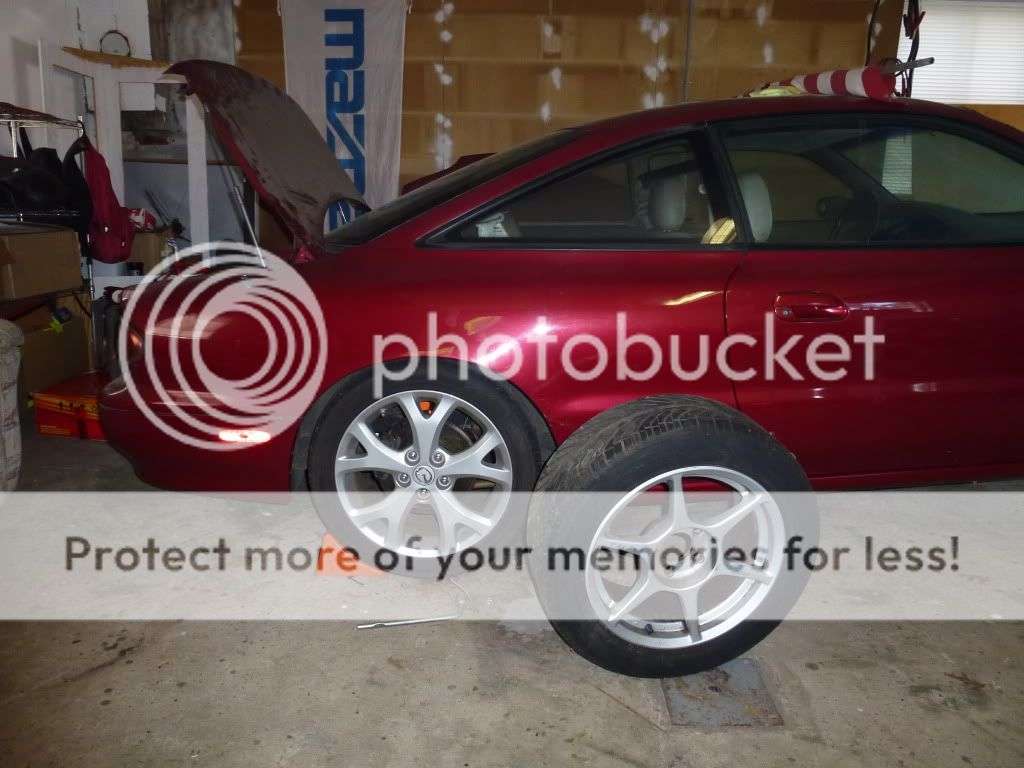
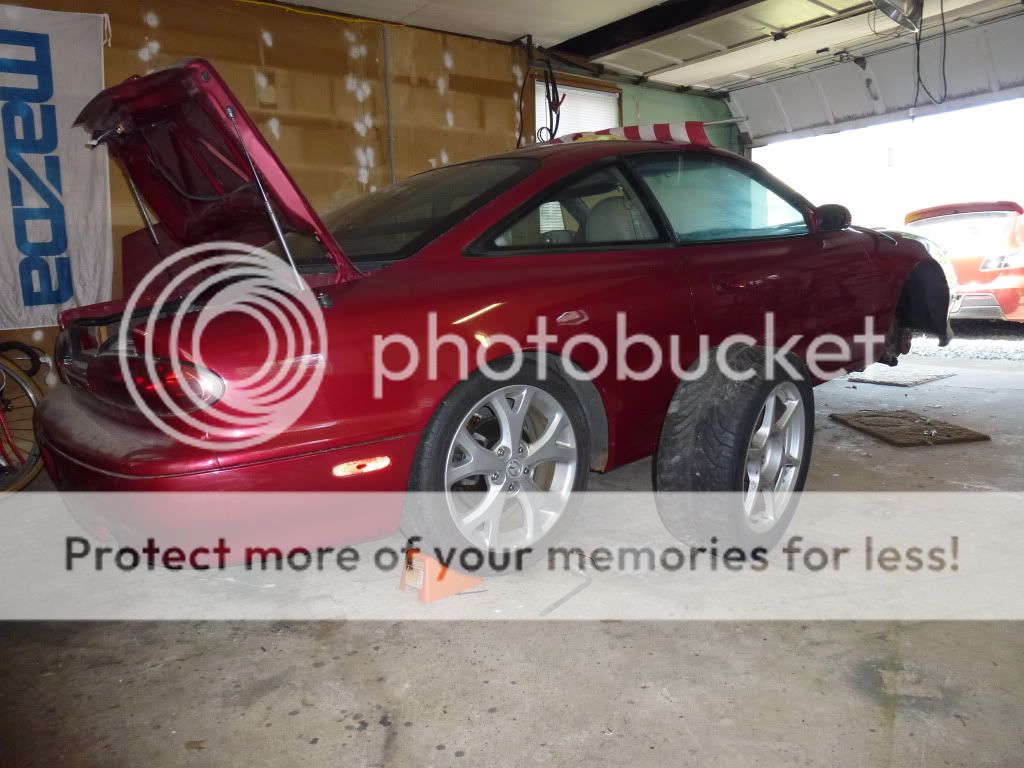
Here's some fresh progress shots. Baby steps. Got the rear suspension done and temporary wheels on so I could get it on the ground and use the jack stands for the 3.
Also got the brakes apart finally. Just need new hardware to get them back together and on the car. I had to heat, deep creep, and drill the bolts to get them free.
Also picked up a front lip a while back. Not sure if I will bother painting it body color since it will make the rest of the car look terrible. Might just do black primer. It's just hanging on there not attached yet.
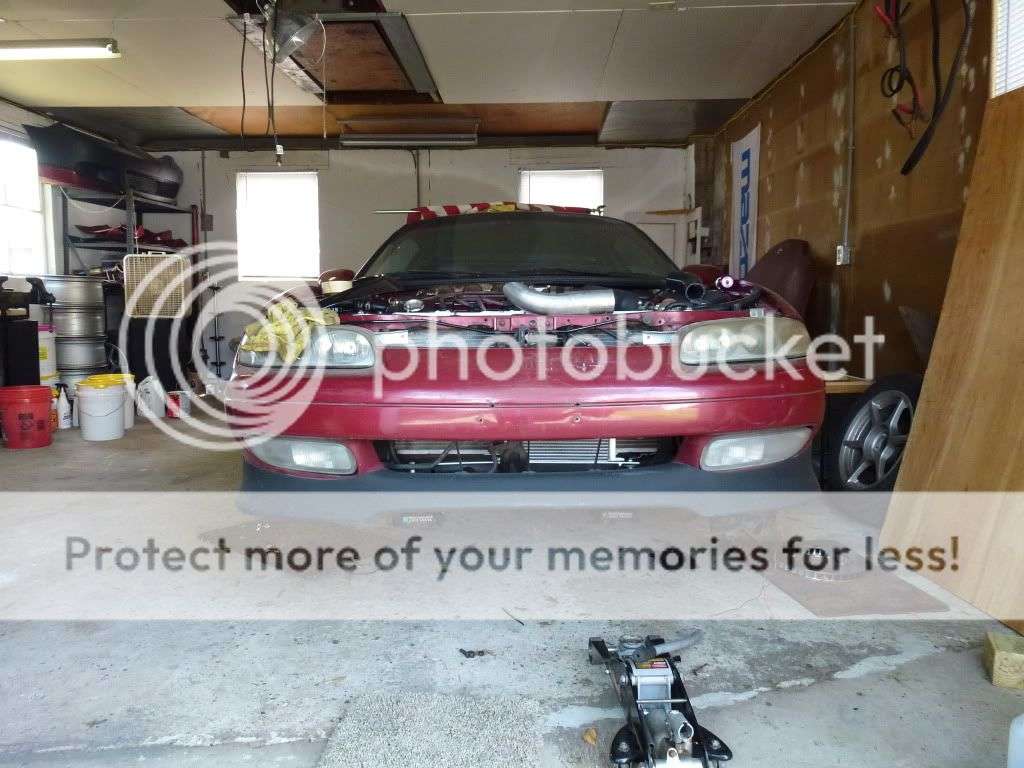
Today was a productive day. I removed the exhaust after the turbo since I won't be running it out the back again. Also bolted up the shifter stabilizer that had a sheared bolt, reattached the intermediate shaft that was loose, installed the trans saver brace, and adjusted the suspension a bit. Once my new brake rotor bolts get here I can get the front end back together and get the car on the ground.


Messyswindler
Member
- :
- 1995 Mazda Mx-6
What front lip is that? In all of my searches I've never seen that one before. I have a poly imitation spoon lip for mine in the works.
Messyswindler
Member
- :
- 1995 Mazda Mx-6
Also I'm jealous of you're jspec projectors...and ksport coils....and your entire engine....haha
Similar threads
- Replies
- 0
- Views
- 333
- Replies
- 7
- Views
- 993
- Replies
- 0
- Views
- 691