Project: P5 Rescue! making a clean Daily from two cars.

some quick and dirty painting done this weekend. peeled all the double sided tape off the rear bumper, of course taking whatever paint was attached with it. filled two dents that looked like nut impacts from whatever and resprayed the bumper. it isnt absolutely perfect but stuff that only a painter is gonna notice.
i also sprayed one of my other mirror caps just so the passenger one would be as shiney as the driver side. has a few pits but quick. might have spent 4 hrs in total from removal, to prep, to paint, to reassembly. over 4 days of course.


so... not looking too bad. $300 for the car, $500 for wheels, $650 for the tires, $300 for paint? everything else donated from other cars.


next up with be my msps turbo system, custom exhaust that will interchange tot he msp when its built, evo8/9 front brakes, prob put the msp rear brakes on cause the stockers look rediculous with 17's.
 
next project is underway. a little more significant than the last few.


Dam I definitely now want a car from bc lol too clean. Can't wait to see how to msp turns out too
 
Planning to spend 8-12k on the msp over 3-5 years. Sounds like a lot. But still cheaper than buying something newer and I'm pretty sure when its done ill be pushing 400hp. Not a lot of cars I can get with those ponies for the same monies.
If I can make 170-200 on stock motor p5 ill be happy for this girl.
 
while i wait for gaskets to arrive, and feel motivated to tap the block for turbo oil return... some other small projects for fun.


will be painted to match the wheels.

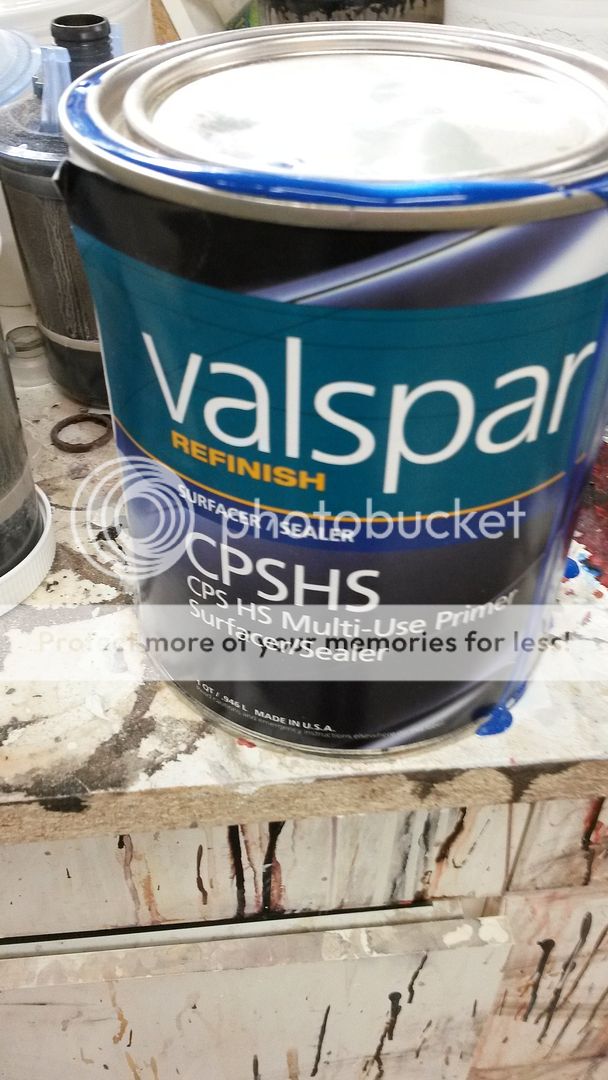
this sealer is fricken awesome. these both have just one coat of black sealer on bare aluminum heh.


other stuff im working on for a friend.

 
small progress while i wait for gaskets.


I also changed the whole shifter from the msp. didnt mess about with the snap ring, just pulled the whole thing to swap. changed over the corksport clutch line as well as the shifts were a little stiff.. seems to have helped it slot in a little better.


so far the modlist;

MSP Tokikos w/Eibach sportline springs
MSP Sparco short shifter with boot and knob
MSP Calipers all around, Centric slotted rotors/hawk pads
Volks racing RAYS Gram Light 57 optimize painted custom bronze w/Cooper RS3-A 215/45/17
MSP Exhaust w/Catless midpipe
Corksport SS clutch line
Exedy stage 1 full face clutch, Mazdaspeed protege
Fidanza 7lb Aluminum flywheel
VTCS Deleted Intake manifold
Custom SRI w/Vibrant 3" filter "which really just means whatever pipes i could find without cutting that would fit"
MSP front splitter

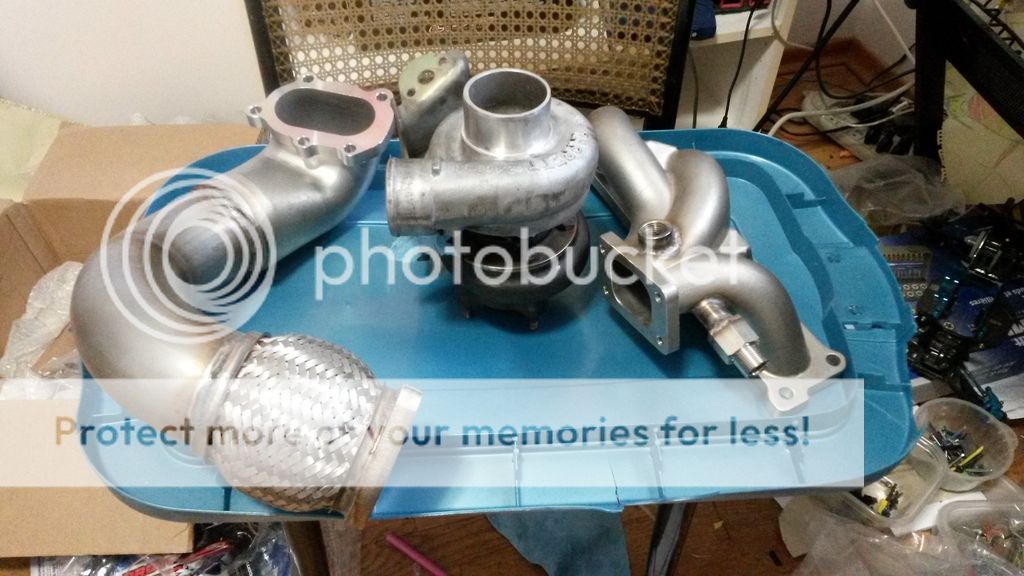
complete msp turbo setup minus the smic. have a small fmic im gonna continue to use. eventually id like to get water/air intercooler for this car. perfect for the daily driverness im trying to build. Its also installing my pope manifold which should look pretty swank.
prob not gonna put my pope downpipe in as its just way way too big to be able to adapt the exhaust to fit. if i come across a good deal on a p5 exhaust though i might put it in. was thinking of picking up the ebay catback and just using the middle pipe, but i think its only 2.25" still, it would fit better than a non modified msp exhaust and flow better.
 
Last edited:
here is what im gonna do for center caps. the tabs in the back dont fit the hole properly, but im gonna cut them off, make a acrylic backer on my cnc that will sit in the backside of the rim and screw into this. clamping it to the rim. easy. these will get painted the same toyota 4q3 i painted the rims and the domes to finish. all of $20 i think? better than volks racing caps for $200 lol.....


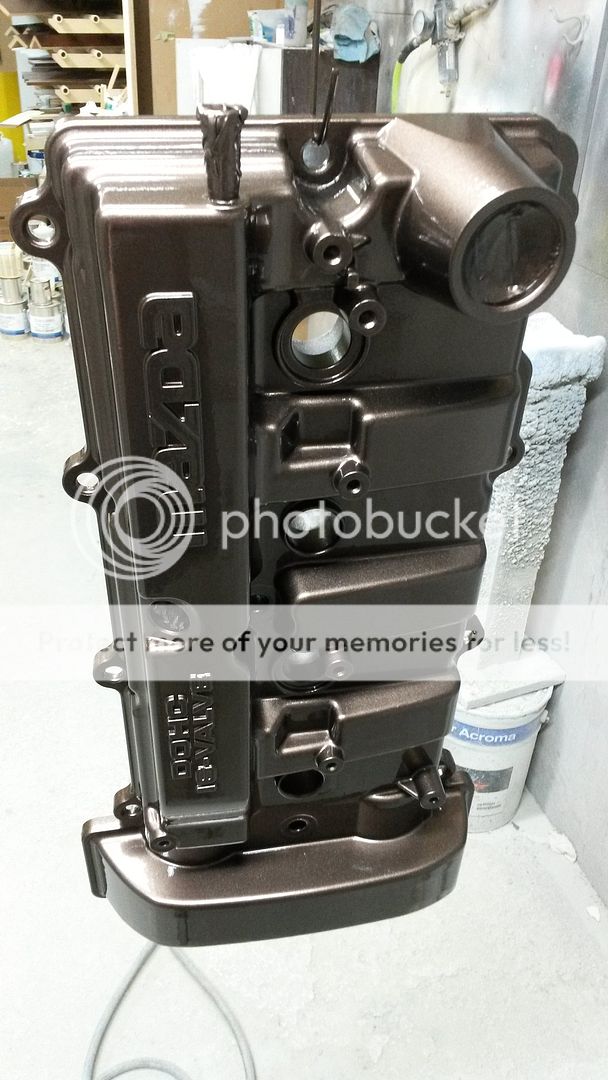
ill be machining the lettering on the valve cover shortly. should look sharp when i install. just trying to find some stainless canisters to use for oil cans. im not spending gawn knows what on a real oil can.. just gonn adapt a stainless bottle of some kind and tap some barbed fittings.
got my studs. just waiting for gaskets and my car will get a pretty nice transformation.

in august im picking up a set of used yellowspeed coils as well. not gonna drop it a whole lot more.. half inch in front, enough to tuck tires, and whatever is needed to do that in the back.


ill be done doing money mods at that point for a while. need to start saving up for my fall rc racing schedule. one race out of town per month. fortunately i can drive to three of the five i want to attend.
 
some more brown s*** finished.


machined a litle too deep on the mazda lettering but should look good anyway. i think next time id just sand it off with a block. i have another p5 valve cover i might do up just cause.

picked up an autometer 2522 and 2543 for $60 local. just have to source another 1/8npt T fitting. waiting for gaskets ect.. still hohumming about swapping MBSP's. picked up some snap ring pliars to try and clock the turbo and make use of the bends i have for my intercooler. hotpipe had a hole in it lol. I think i have 3 weeks to have this all done before the car show i wanted to put it in.
 
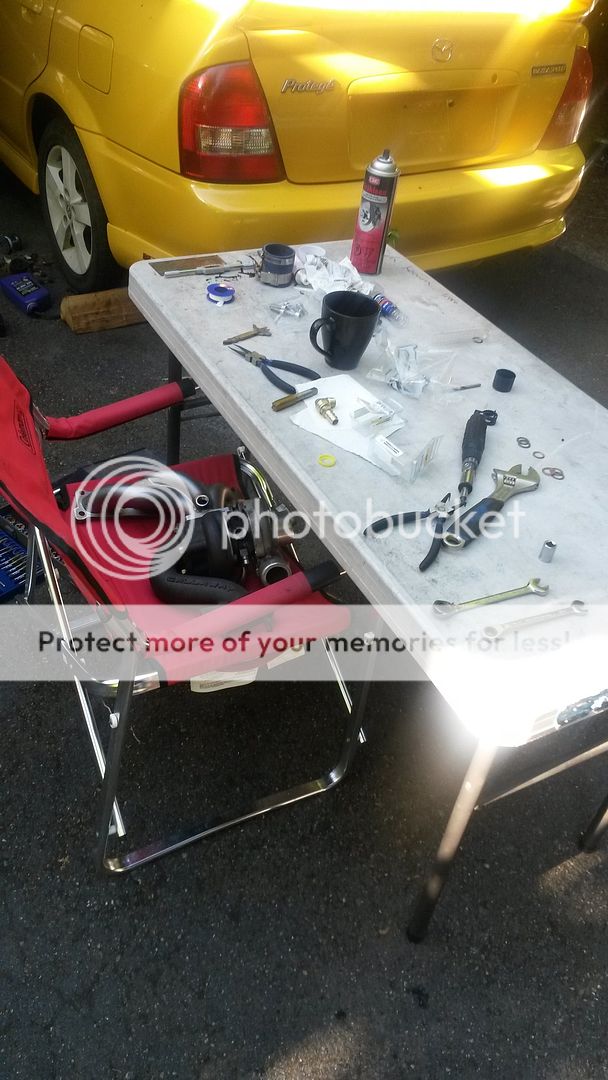
stillll waiting for gaskets... though i put the intercooler back on the speed to mock up a new hotpipe. apparently my old one had been rubbing the rad fan and i put my thumb through it when i took it off heh. fortunately i had a spare bend to replace it, cut it all up and make a new hotpipe that runs down instead of up. had to buy some pliars to pull the turbos snap ring. gonna tap new holes for the wga bracket and clock the turbo to the 6 o clock position. otherwise, once the gaskets get here is just a matter of deciding where i want to tap the oil return and just bolt everything to the p5 in reverse order.

ill prob make a new gauge pillar as my old one looks kinda bad that i have it out now.. ah well, it was my first shot with fiberglass and came out pretty well all things considered. i dont imagine installing the turbo system will take more than a friday/saturday. taking it all off was only a couple hours, without really knowing what all had to come off. of course it would be nice to install without having to remove the intake manifold.


there are a few little issues to sort out but she builds boost and gives s*** grinning good times. haven't installed gauges yet but installed the senders.

this is a complete msp turbo system minus MBSP and oil cooler. since the oil cooler fitting is leaking a little bit i might look at installing it, but i couldnt find another m20 nut in town to pull the extra long stud from the msp. ill just keep an eye on things. oil and coolant are getting to and from turbo, no boost/vac leaks.. s*** should be working as intended. its quite a transformed car though. the spool sound it makes is a little different and im not sure why, but its perfectly civil just put puting around town but there is always that little bit of spool as is normal with msps.

I also had help from a friend, 1991cc to cut the crash bar to tuck the intercooler up a little bit. fits the grill perfectly now, but i had a little issue with the coldpipe, which follows the CAI routing bunging up with the fog bucket. it moved enough when the bumper was installed and worked out. so instead of half the intercooler sitting behind the front splitter, i now have half of it sitting behind the licence plate lol.


Last edited:
crappy tire tap and die set. they had a sale not long ago with theri $179 set for $59. they are actually m10x1.25 rod ends available from princess auto. they also sell the 3/8 24 rodends which id suggest, but finding the rest of the hardware was a pain. nuts ect.
m10 was fairly standard and crappy tire had bulk nuts in that so i went with it.

to make the links i simply cut some 3/8 rod steel to length and tapped both ends with m10 1.25. rods a little bit smaller but the locknut is there to prevent loostening of the balljoint. had them a few months and no failures. i simply went this route as finding SPECIFIC hardware locally was next to impossible. i had to jumble it together a little bit. next time id order a left hand tap and die and some hex stock. then i could make a short section on one of the ballends to allow turnbuckle adjustment. but endlinks aren't something you adjust frequently.
also i apparently need shorter endlinks for the back as the swaybar hits the lateral link. ive always read you wanted longer, but apparently not lol.


on the turbo front, i had a few little issues to sort out this evening. car would puff out a big ball of blue smoke after boosting and letting off. there was a good coolant leak on the turbo water feed on the back of the engine block. made some adjustments and both these problems seem to be sorted.
car seems to build boost at lower rpm but apply it much smoother than my msp ever did. unfortunately with the intake as it is you ALWAYS hear the car slurping in the air when any load is applied at all lol. it definitely hits a certain rpm where the boost comes on a little harder but for the most part it feels much smoother. prob due to the pope mani.
 
Last edited:
tks, i will have to try this soon, local princess auto is only 10mins drive for me.

btw how long was ur rod by it self / or suggested length?
 
I just baught a full 3fter. Used a benchvise and angle grinder. Make them the stock length plus a half inch or so
you can adjust.
I had a hell of a time holding the rod when tapping though. Kept turning in the vice.
The most expensive part were the rodends at $10each. Rod was like.. $8 for all 4 links. Hardware maybe $10? If you don't have the correct die add thay as well and you see why so many people just go for escape links.
These links worked out to around $50/pair but they are adjustable..

I'd suggest painting the rods too if you went with cold steel. Princess or crappytire don't have any aluminum that's up to the task.
 
Last edited:
My car at the 10th anniversary Vancouver island all Japanese show and shine. Not surprising it didnt garner that much attention.. but it wasnt bright ass yellow. id really like to get the msp built and to this show but we will see what the budget allows.. lots of very modified cars. even marks p5 didn't get any mention..

i might have to do something to quiet down the intake though. its kinda loud... obnoxious even. stock boost level just doesnt require that much noise ha.


not a lot to report on the p5 really.

I changed the rear brakes finally which were badly needed but ill have to pull the rotors and paint the hubs at some point soonish. prob when i have the msp front rotors turned as they are pulsing a bit. might get new pads when that happens.. an oem spec replacement over the hawks i had before.
wife has the raybestos brakes on her es and those are surprisingly grabby for cheap brakes...

tied up a few loose ends with the engine ventilation, figured out why i had no heat ect.. Otherwise the car has been perfectly reliable and just been living daily life with it.

starting some cheap projects for the wifes es though that i should have got to when the weather was a little better. now the forcast is for snow and the winter tires i mounted on peeling, bad rims last year need to come out for her.
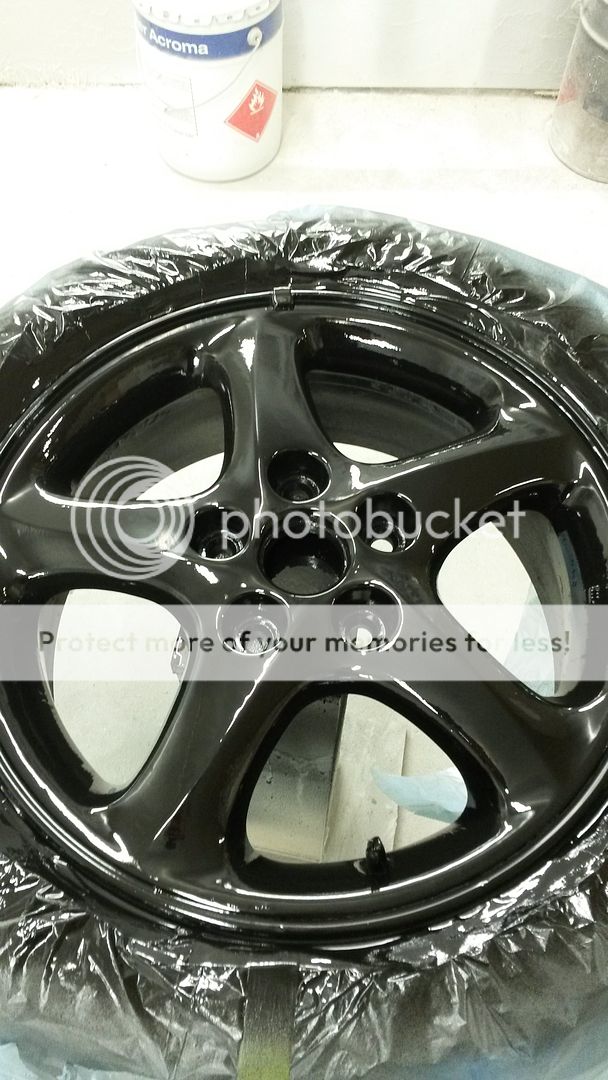
i had planned to paint them in the summer but now into a bit of a speed paint of them.

since they had tires on already, the first step was aircraft stripper.


this was not the advertised, apply, blow off with a pressurewasher... nope. this was spend an hour with a scraper mangling the paint off them...

i then switched to the correct tool... lol


giving me this


after about a half hour of sanding with 150 with the orbital, then the dremel drum in the holes then hand sanding with paper, dumped some rattle can etch on.


not doing anything super special with these wheels.
I had thought i had enough sunlight silver to refinish them to oem colorish but i dont have enough grey sealer or enough silver to guarantee finishing. i dont want to buy paint so i might paint them 16w black mica, which i baught to do a p5 bumper and side skirts thats been sitting on my lawn for some time.
so she will ahve a totally blacked out es for winter bwa ha.
 
got the other two wheels stripped with the grinder, sanded and etched. i had perfected the process a little on these two so they look nicer than the first ones.. but they are all a quick and dirty job for the purpose of winterizing.

scuffed the etch on all 4 after a couple hours and dumped a thick coat of black valspar sealer. i don't have much left so hoping to not need a second one. but prob will. not gonna go through the wet sand effort. will just get an attack with a fine 3m pad and probably a final wet sealer, then scuff and black mica.


If the paint wasn't coming off in big pieces, i wouldn't have gone through the effort of stripping. i think if i had the abrasive disc first, i would have gone over the wheels and taken as much off as i could without using chemical stripper.. once you commit to chemical stripping you pretty much HAVE to remove all the paint as it compromises it too much to paint over. the abrasive made such short work of the spokes it was crazy, but couldn't use it on the lip really for fear of murdering the tire.
 
Back