What have you done to your Mazda3 today?

Thank you! They actually replace the original mirror covers, not just cover them up. I liked that about them. Also they already came in my color (A4D, Rally White) so that was easy too.
You can wire them anyway you want, but for only one function @ a time.
My original plan, and one reason I haven't done these until now is that I wanted to get rid of the turn signal "repeaters" (TSR's) on the front fenders. Weld up the holes, smooth and paint, but don't think that's ever going to happen. So my updated plan is, the next time I have the front end off, to make the TSR's into running lights and these into the repeaters.
 
bbrich57-The LED strips above the headlamps, PEP Boys? I was thinking about doing the same kind of thing, but my plan was to have them on the bottom of the headlamps. Your 3 looks sweet.
 
bbrich57-The LED strips above the headlamps, PEP Boys? I was thinking about doing the same kind of thing, but my plan was to have them on the bottom of the headlamps.
Your 3 looks sweet.

Thank you. Always nice to hear that some appreciate my efforts, however slow they have come.
No, not Pep Boys, though they may be available there as well. ('Wouldn't surprise me in the least.) I bought them online here: http://www.gtandled.com/index.php but I must tell you that in the Texas sun they are not holding up very well. As you can see in the pic, the RS seems a little darker? That's because the substrata the LEDs are encased in is burning up. The LEDs are fine, but the flexible plastic "gel" is now brown in places. I only installed them 1 1/2 yrs ago. :(
I may try replacing them w/the newer SM LED strips. They may hold up better in the long run and will certainly be more stealthy too... till they're on of course. :D
 
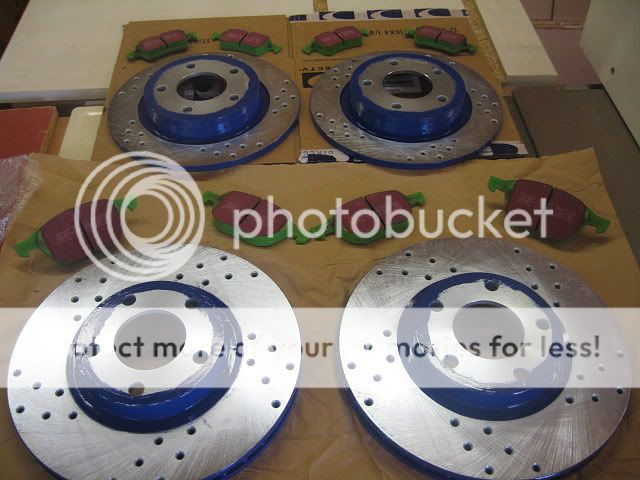
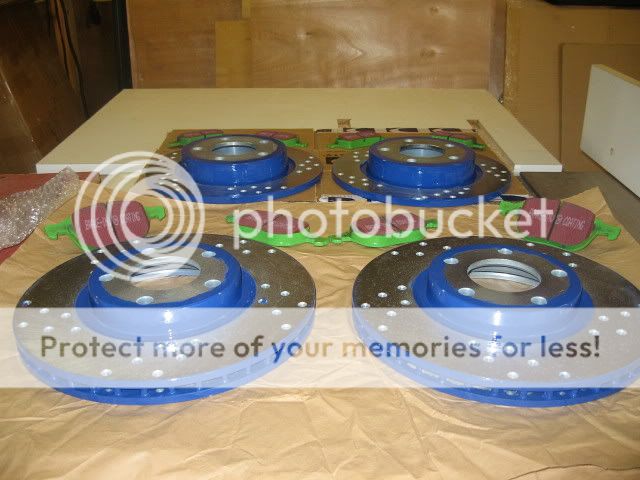
Ready for the install (G2 paint system)... 'cept it's 101.5* out there right now.

IMG_2015.jpg


IMG_2016.jpg
 
Those rotors look sweet. With the hats and edges painted it should help keep those sufaces free of rust. Great idea!
 
My newest addition. lol hm.. i'd say it gives me about 5hp jk. (cabpatch)
 

Attachments

  • 0719001257.jpg
    0719001257.jpg
    10.2 KB · Views: 142

Well, it's 6:30 AM my time and I'm off.....

Today we will do EVERYTHING!!! It's gonna be a long day, but I'm sooo looking forward to seeing all these parts I've collected go on the car and work.
New brakes all around and new DOT3 too, various suspension pieces that are not currently on, new sneakers (the Kumho's are bald/slicks) and 4-wheel alignment, and that has never been done.

Perhaps more later, or tomorrow when I get her all cleaned up again!
See ya'z in P'ville!!

 
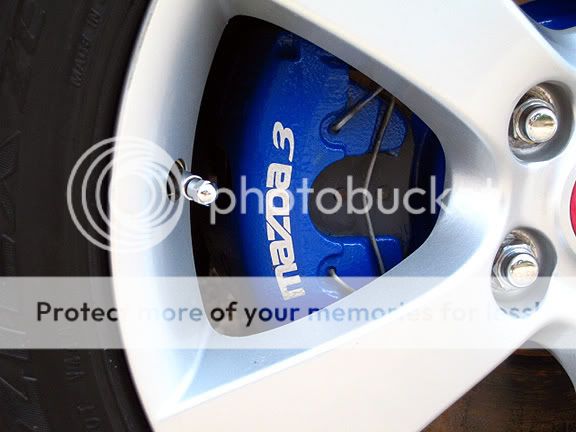
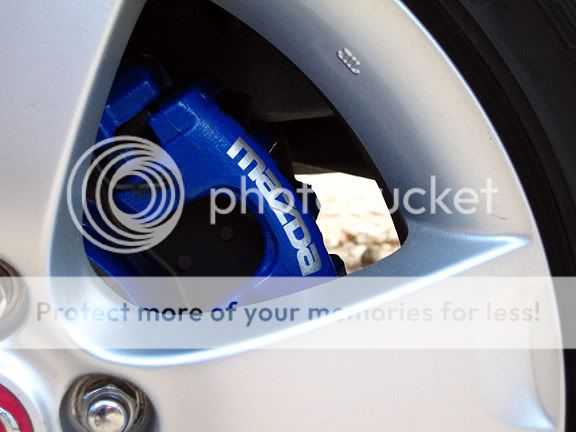
did some painting over the weekend, (wheels, capilers, emblems, headlights, horns)

DSC_0372_3_4_5_6.jpg


4816002888_353b5e9435_b.jpg
 
Last edited:
Looks nice jeans. like the headlights. i'll be doing that once the hid's go in.

you should match the tails.
 
Iridium spark plugs and monzta advanced timing mod just went in. Car feels goooood (yippy)

Waiting for my voltage stabilizer in the mail. Once that gets here I'm gonna do a throttle body ground at the same time. Then on to the bigger mods...
 
Iridium spark plugs and monzta advanced timing mod just went in. Car feels goooood (yippy)

Waiting for my voltage stabilizer in the mail. Once that gets here I'm gonna do a throttle body ground at the same time. Then on to the bigger mods...

So was the timing mod as easy as it sounds?
 
Installed my big type r TWM shift knob and a jbarone short shift plate. Shifts are a LOT shorter now, especially combined with my mazdaspeed accessory short shifter.
 
Hat. The only hard part was getting the sockets on the bolts to loosen them. you need a short 5/8th, and an extended one. Short guy for the higher bolt, extended one for the lower bolt to push the timing belt out of the way.

Don't forget to reset the ecu!
 
Just put the hyper yellow bulbs in. Looks awesome and was easy as pie. i'll post pics tonight once it gets dark.
 
Hat. The only hard part was getting the sockets on the bolts to loosen them. you need a short 5/8th, and an extended one. Short guy for the higher bolt, extended one for the lower bolt to push the timing belt out of the way.

Don't forget to reset the ecu!

How far did you move the sensor? Counter clockwise right?
 
Yeah there's barely 1/4" of play there. Just push it down all the way and make sure when you tighten the bolts back up you're keeping downward pressure on the sensor to keep it as far down as possible.

It's very easy. Don't over think it. Just reverse engineer buddy. I've done everything to my car by myself so far, with no direction. I'm no mechanic. Just use common sense and remember how things came off : )
 
Back