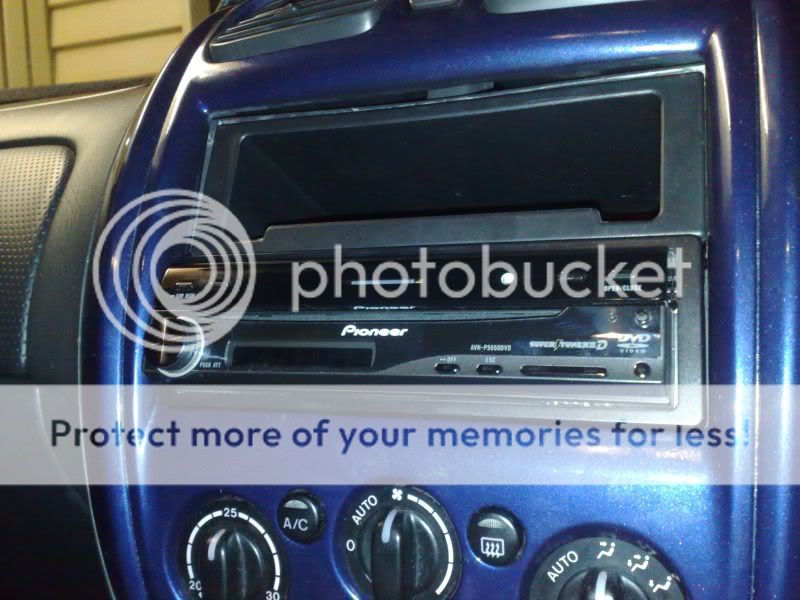
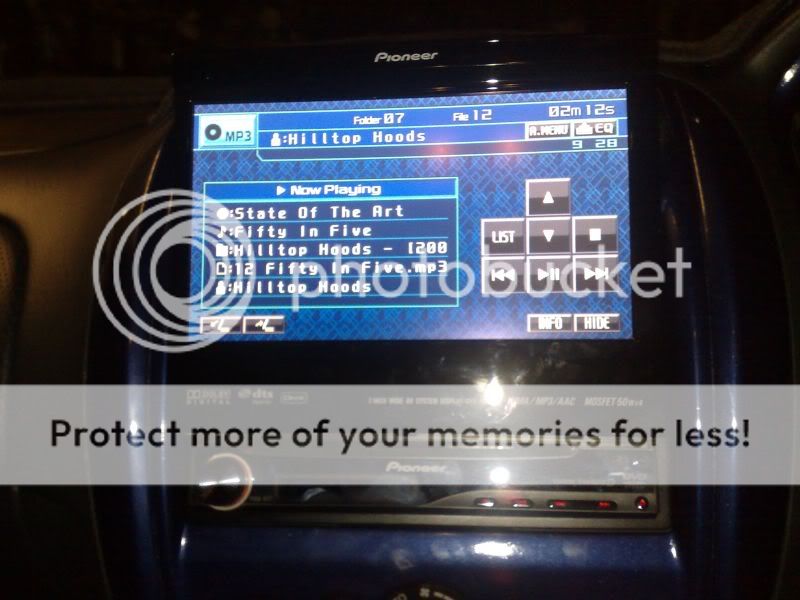
Pioneer AVH-P5950DVD
In-dash motorised 18cm screen with integrated DVD player, AM/FM tuner and high power output
Dual Motor Drive for superior operation and rigidity
Full-width Detachable Face Panel (theft-deterrent LED)
Sub Display when screen closed
Single-chassis design
Player Features
Compatible with CD, CD-R/RW, VCD, DVD, DVD-R/RW
Suitable for double-sided and dual-layer discs
Direct Search by Title, Chapter, Time
Pause and Repeat (Chapter, Title, Disc)
Frame Play and Slow Play
Auto Play on disc insertion
Bookmark Play and Bookmark Eject
Subtitle, Angle and Language selection
Built-in MPEG 2/1 Decoder
MP3, WMA and AAC playback with ID tag
Supports MP3, WMA and AAC from CD and DVD
Supports DivX (v.6) video files from CD and DVD
Disc Title Memory and CD Text support
Disc Eject Lock selectable
LCD Monitor
Touch Screen operation
QVGA-specification TFT active matrix screen
Anti-Reflective and Fingerprint resistant screen coating
Auto switching to Rear View when reverse gear selected
5 Viewing Modes (WideScreen, 3:4, etc.)
Adjustable screen position with memory
“Half Close” (10 secs) to allow access behind screen
“Set Back” screen, 2-position selectable
TFT (Thin Film Transistor) Display
PAL and NTSC compatible
OSD (On Screen Display) for touch operation
Auto Dimmer Control
Audio Features
MOSFET 50 Watts x 4 high power
Rotary Volume Control
7-Band Graphic EQ within EEQ
Fixed Frequency and Q for EQ adjustments
SFEQ and EQ-EX not supported
5 Preset + 2 Custom EQ Mode
LPF Subwoofer Crossover (-24~+6dB by 1dB)
50/ 63/ 80/ 100/ 125Hz @ -18dB/oct.
Normal/Reverse Subwoofer Phase Selection
Direct Subwoofer Drive (from headunit power)
HPF (High Pass Filter) 50/ 63/ 80/ 100/ 125Hz @ -12dB/oct.)
Selectable 3-Mode Loudness Control
Electronic Volume / Balance / Fader controls
SLA (Source Level Adjuster)
3 prs RCA Preouts (Front + Rear + Subwoofer)
4 Volts RCA Preout Level
Spectrum Analyzer and Level Indicator
Connectivity
USB adapter ready (CD-UB100 via EXT)
AUX Input jack on rear panel ( 3.5mm) Audio / Video
iPod Video connection and control (Play, Pause, Chapter Up/Down)
Optical digital output for Dolby Digital and dts 5.1 audio
PCM Linear stereo audio output
RCA Input (L+R+Video)
RCA Video Input for Rear View Camera (not included)
RCA Output for rear screen (Video)
AV Bus Input for GEX-P5750TVP TV Tuner
Pioneer P-Bus Input, Changer, AUX, etc Control
AUX Input via CD-RB10 or CD-RB20
Bluetooth adapter ready (CD-BTB100 via P-Bus)
Parking Brake connection (on-screen safety message)
Additional Features
IR Remote Control
5-Colour selection for OSD (On Screen Display)
2-Colour button illumination (Red / Blue)
Cellular Mute / Attenuate (-20, -10dB)
Operation and Detach Face warning beep tones
System / Auto ant. Relay control
Clock

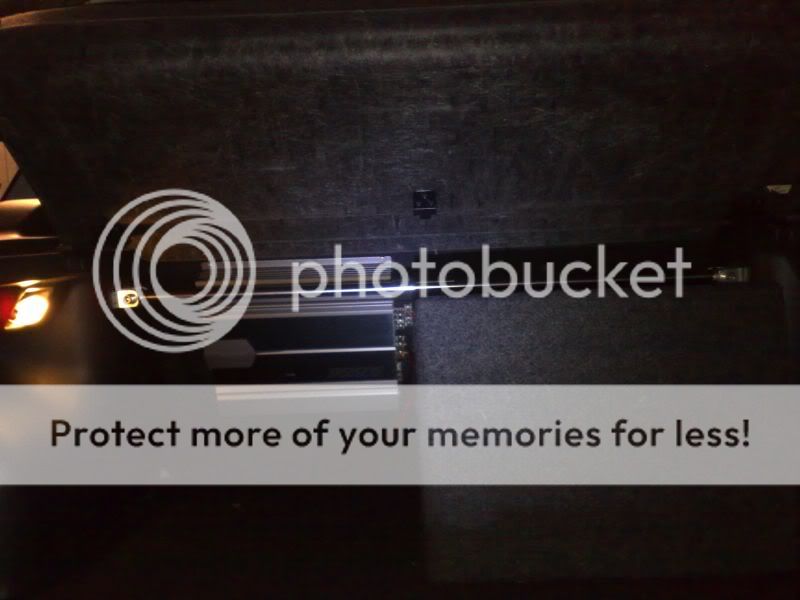
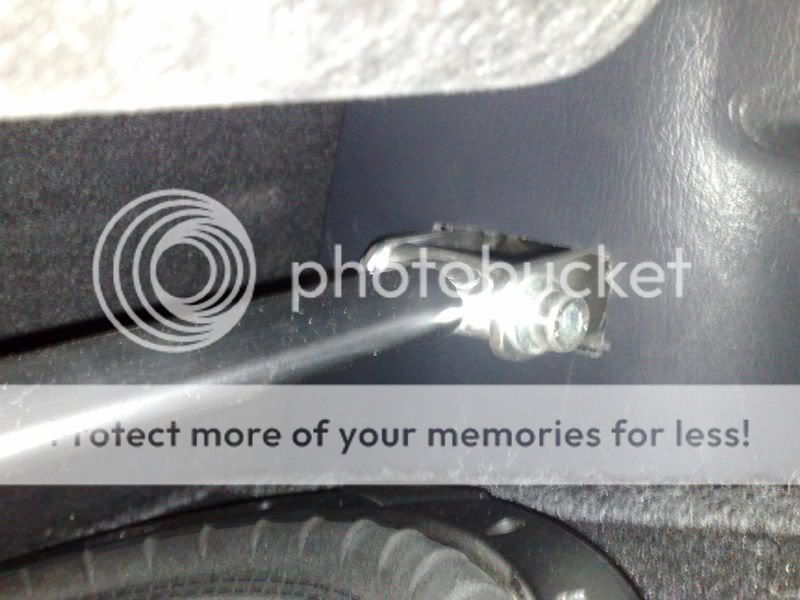
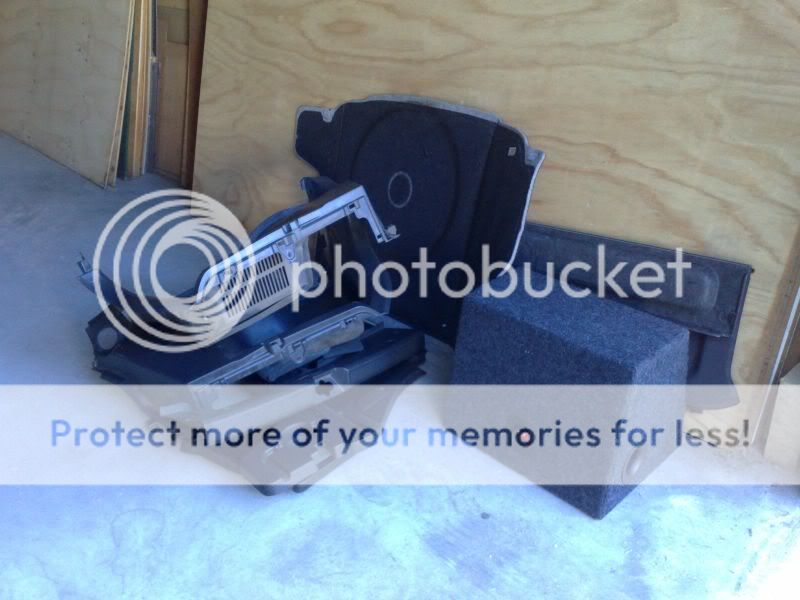
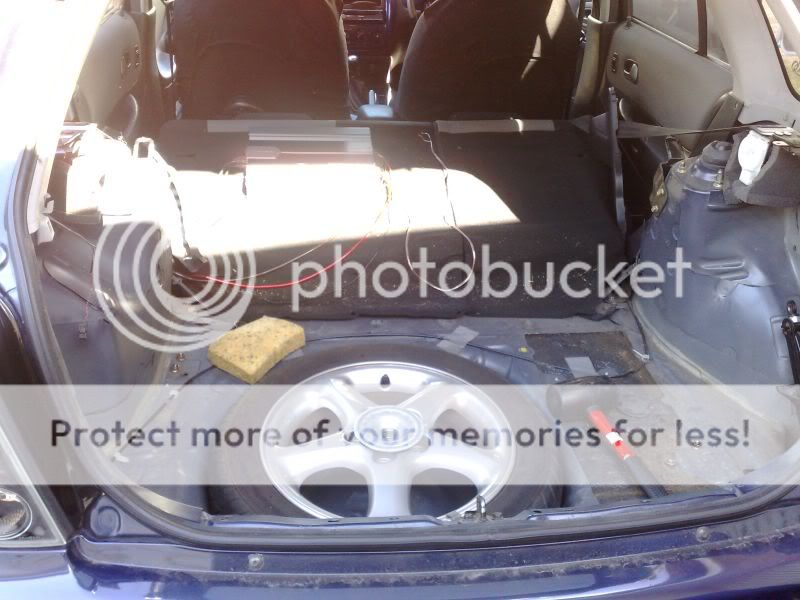
 All good, got one already, just need it fitted