Introduction
First of all, I am not writing this guide as a replacement for the other guide written by mazdaspeed777.
I personally referenced that one when i repaired my p5 bumper a few years ago and it was a life "money" saver.
I am writing this primarily as a "How I did it" for people wanting to take a stab at repairing their own front lips and ground effects.
If is going to be pretty long, but I take lots of pics so please do read through it completely before starting your project.
Most body shops will encourage you to replace the part as the hours of labour spent are going to outweigh the cost of a new part.
I'm sure some people out there who are actually autobody techs would be able to do this job in much less time than i did. I spent some where in the ball park of 10 hours doing the actual repair work and 3-4 hours prepping/painting it.
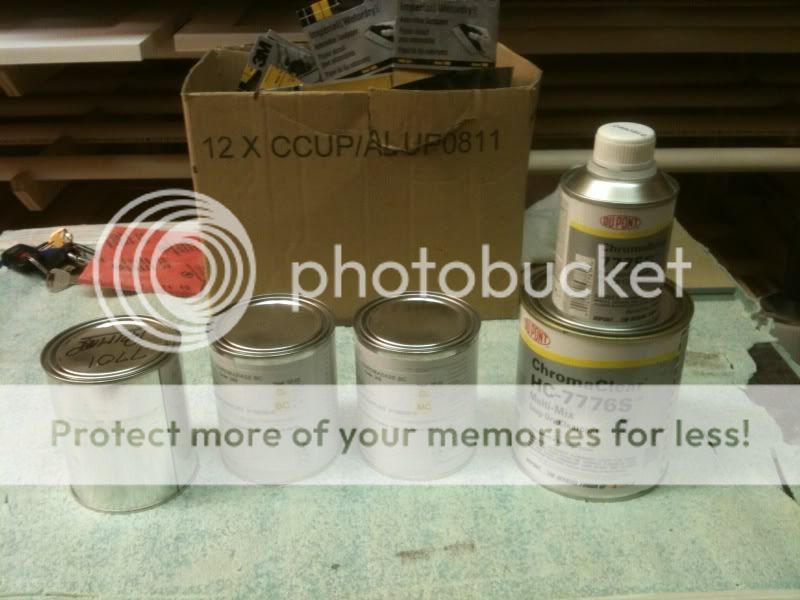
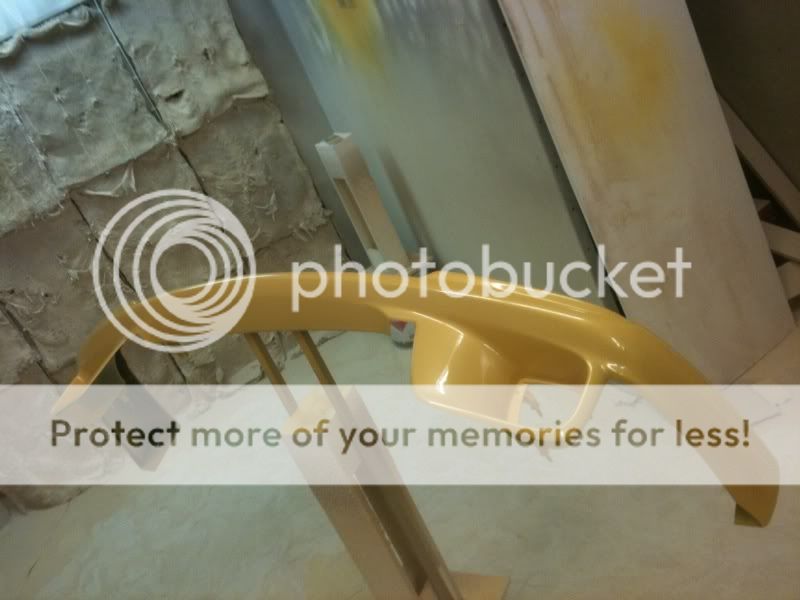
For me, it was a learning experience and I could not have done this without countless references on the internet, and my own bodyshop jobber at jb precision engines. I paint for a living, but I spray lacquer based single stage paint.
Base coat clear coat took a bit of practice heh.
I know you don't read Mazda forums Jim, but you saved my life!
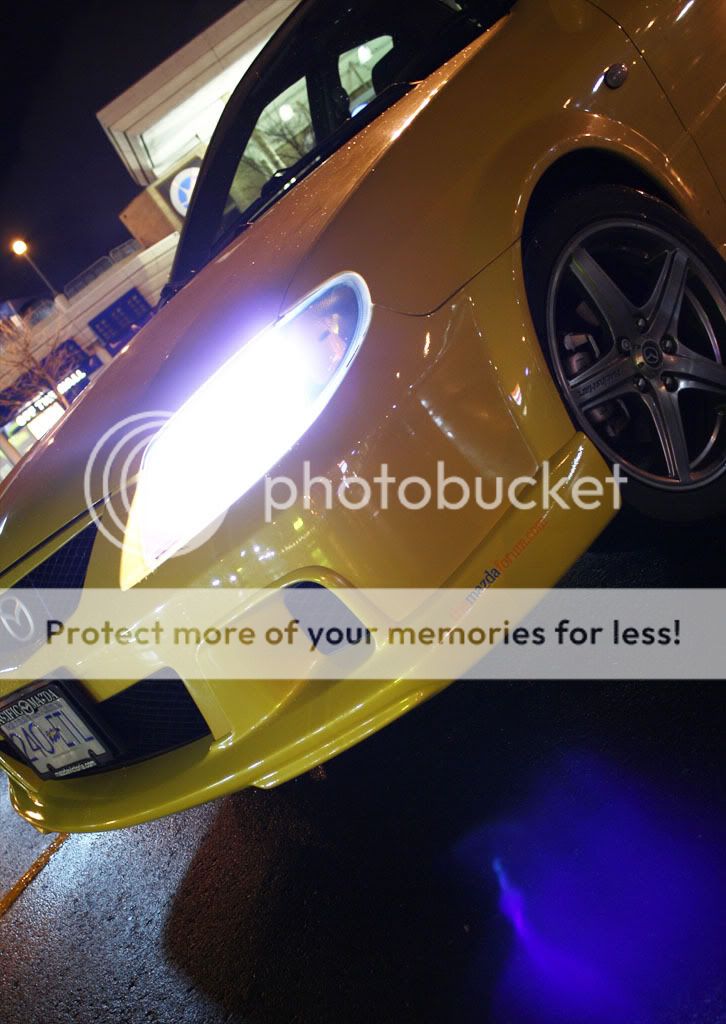
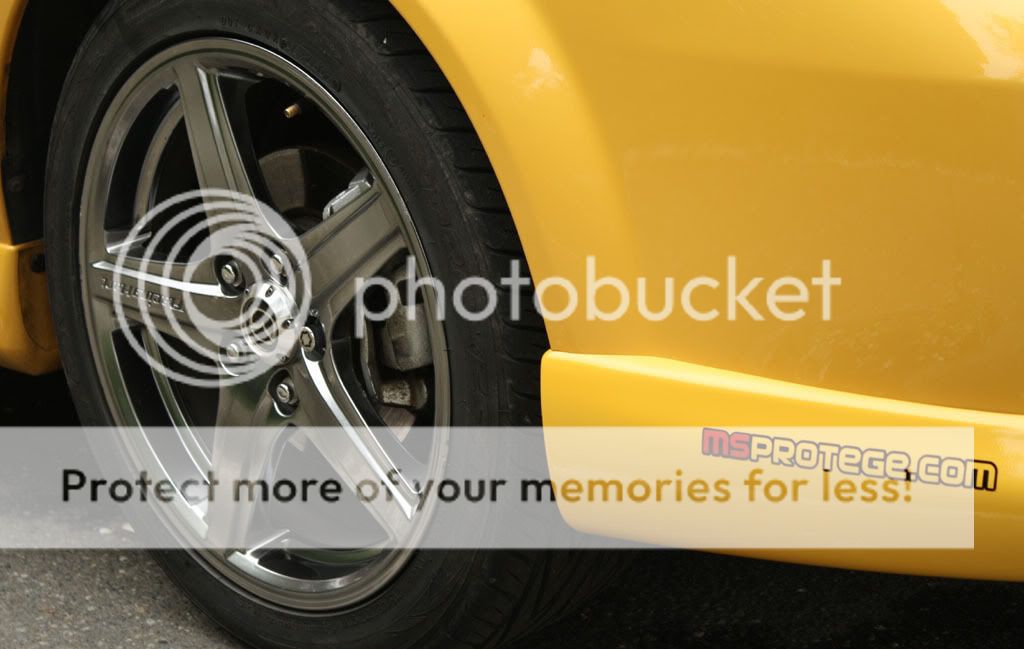
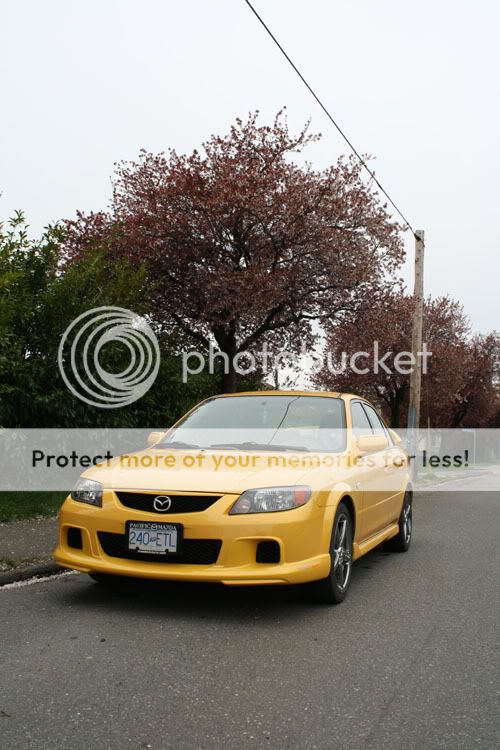
I'd also like to thank him for the hours of his time spend on trying to match my paint... I drive a Blazing yellow msp and ill tell you, when the body shop guy says its going to cost this stupid amount of money to paint it, he means it.
Matching a tricoat is next to impossible without blending a large portion of your car. for my purpose, close enough was good enough as the whole part is getting painted and there is a definite seam seperating the two parts.
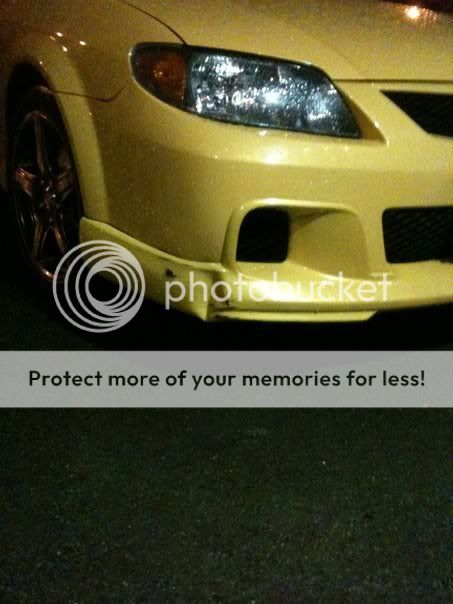
The kind of damage is also going to dictate how or if you should take this project on yourself.
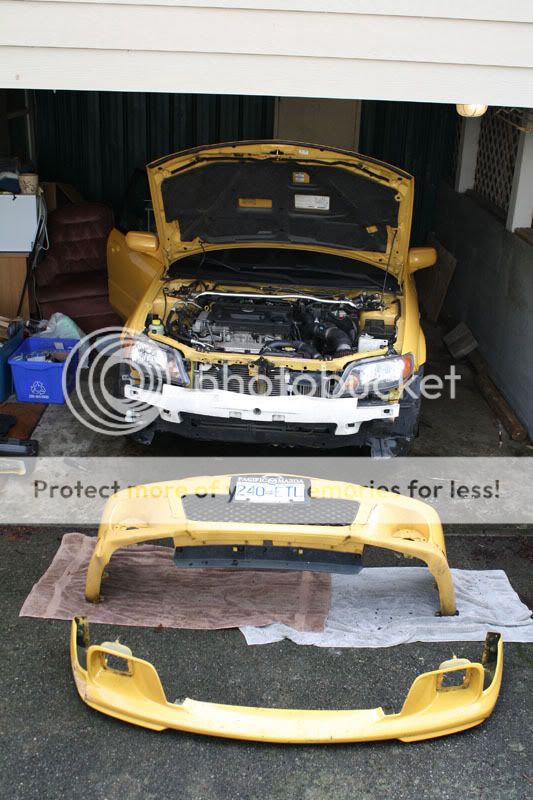
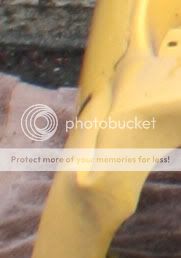
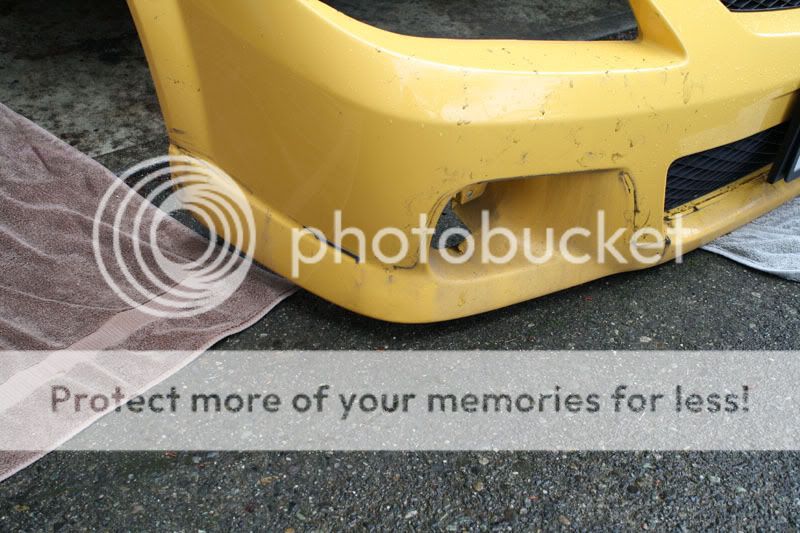
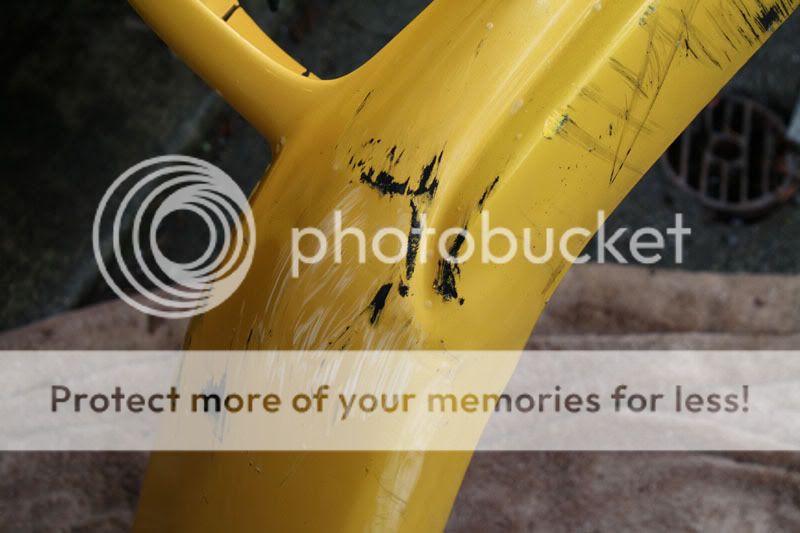
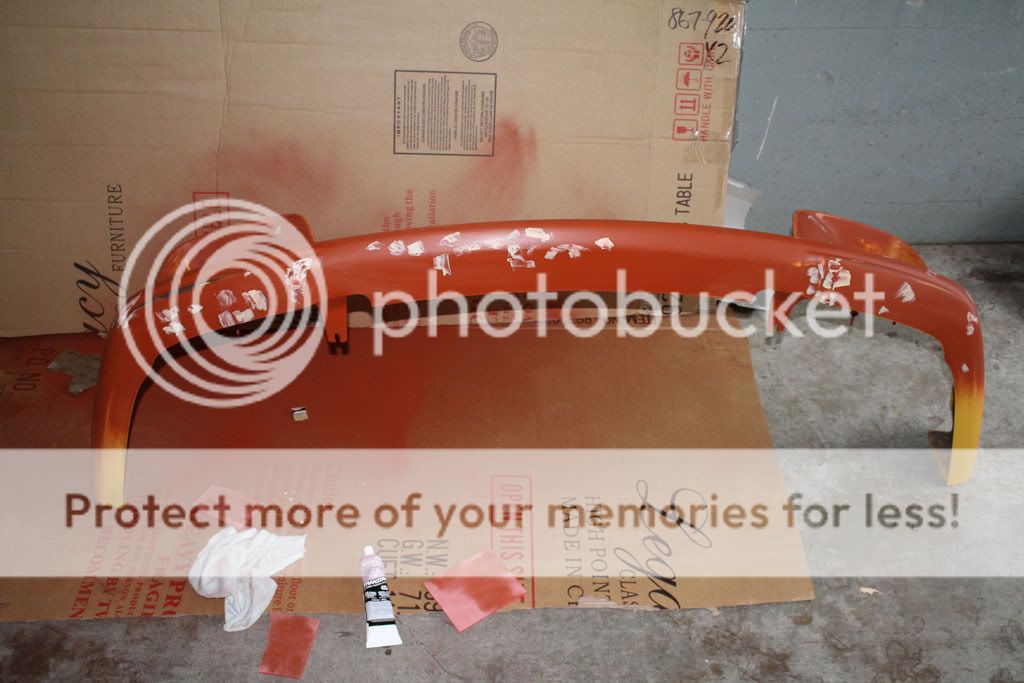
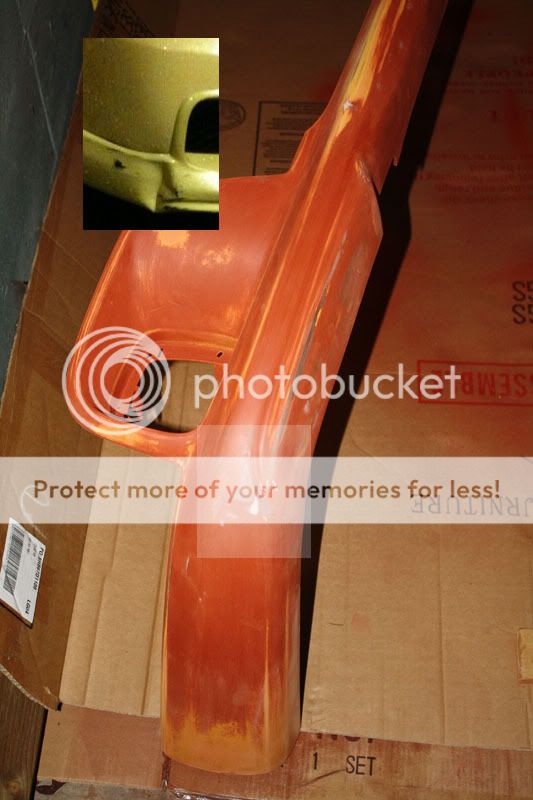
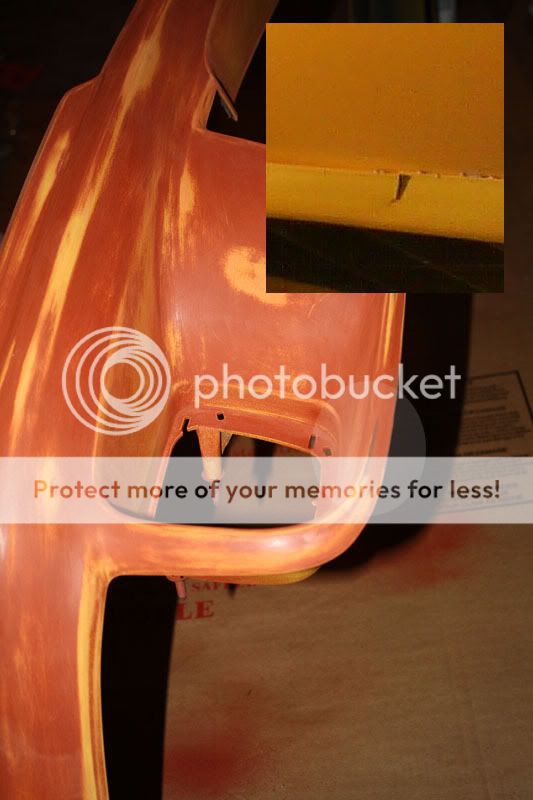
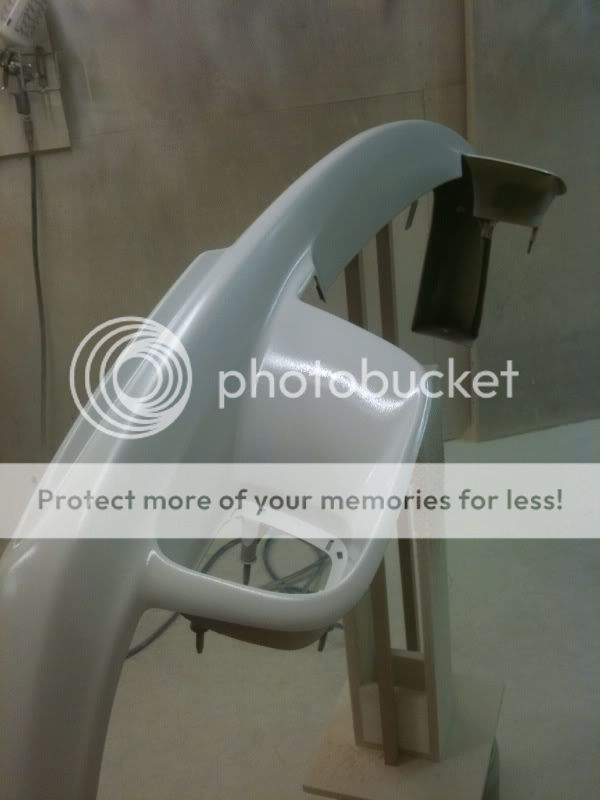
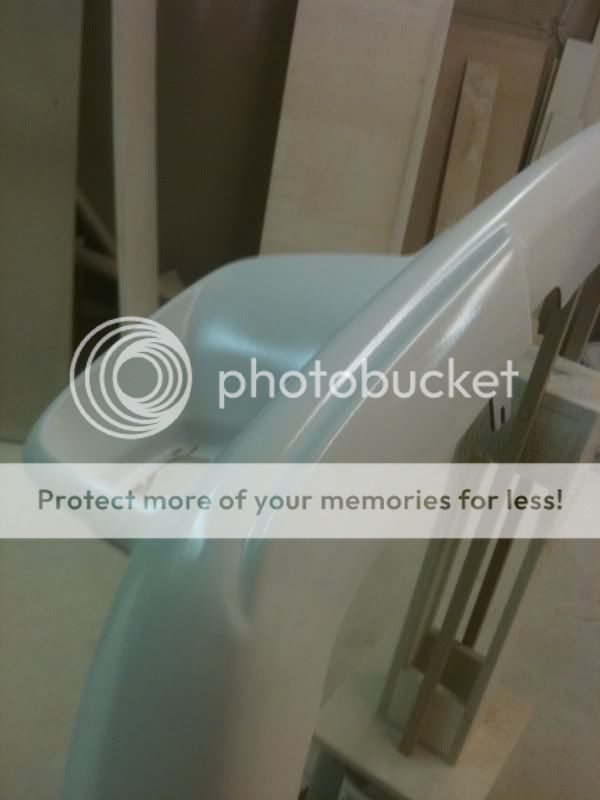
I was very lucky and only had a crushed corner to push out. I needed to build up the corner a little bit as well, fill rash, fill a tear and many rock chips.
First of all, I am not writing this guide as a replacement for the other guide written by mazdaspeed777.
I personally referenced that one when i repaired my p5 bumper a few years ago and it was a life "money" saver.
I am writing this primarily as a "How I did it" for people wanting to take a stab at repairing their own front lips and ground effects.
If is going to be pretty long, but I take lots of pics so please do read through it completely before starting your project.
Most body shops will encourage you to replace the part as the hours of labour spent are going to outweigh the cost of a new part.
I'm sure some people out there who are actually autobody techs would be able to do this job in much less time than i did. I spent some where in the ball park of 10 hours doing the actual repair work and 3-4 hours prepping/painting it.
For me, it was a learning experience and I could not have done this without countless references on the internet, and my own bodyshop jobber at jb precision engines. I paint for a living, but I spray lacquer based single stage paint.
Base coat clear coat took a bit of practice heh.
I know you don't read Mazda forums Jim, but you saved my life!
I'd also like to thank him for the hours of his time spend on trying to match my paint... I drive a Blazing yellow msp and ill tell you, when the body shop guy says its going to cost this stupid amount of money to paint it, he means it.
Matching a tricoat is next to impossible without blending a large portion of your car. for my purpose, close enough was good enough as the whole part is getting painted and there is a definite seam seperating the two parts.
The kind of damage is also going to dictate how or if you should take this project on yourself.
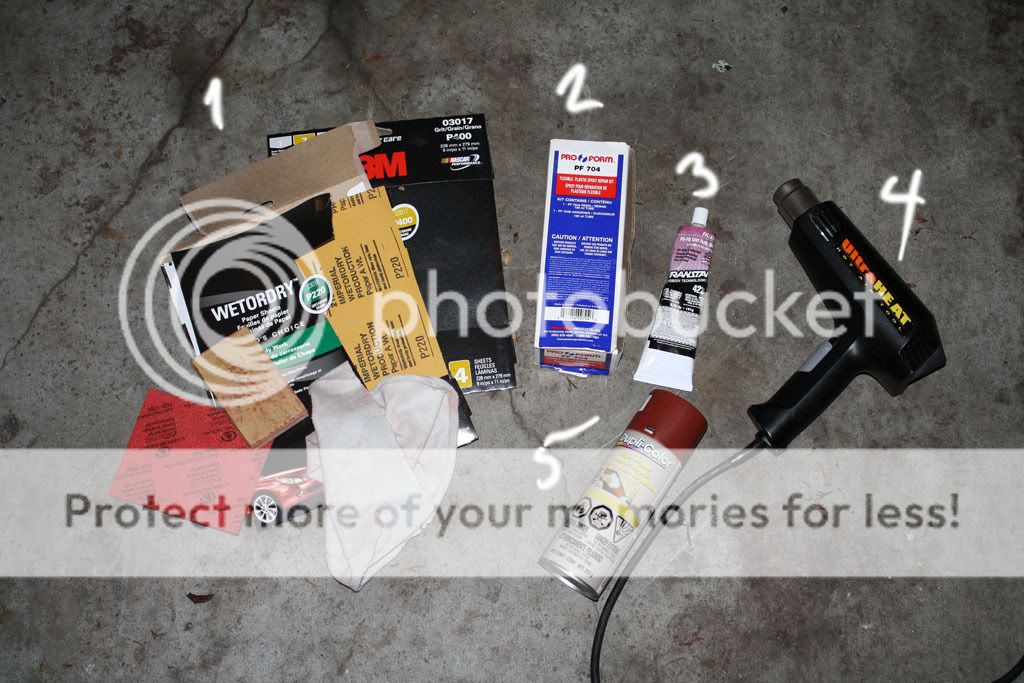
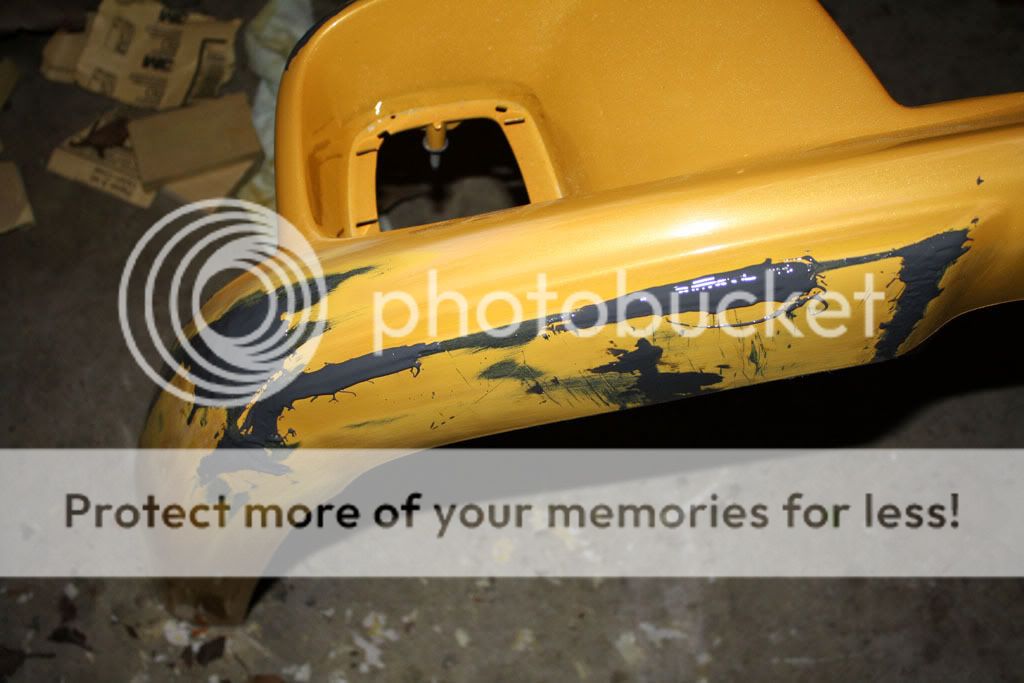
- If you have a dent or crush damage, you can repair this fairly easily with a heat gun and some body filler.
- if you have tears, rips shreads ect, you will need a plastic repair epoxy filler/welding kit. something that will actually bond the plastic and can be used to build it up.
- if your tear is very large, or you have a hole in your piece, you will need reinforment patches to use with your epoxy kit.
I was very lucky and only had a crushed corner to push out. I needed to build up the corner a little bit as well, fill rash, fill a tear and many rock chips.
Last edited: