Caboose 3.0

:
2002 323 Protege
Hey guys,

Who Am I:
For those that don't know me, I'm Ice (Kris) I used to own a Blue BJ SP20 (Protege5). Im a bit of a NA nut, the challenge of getting power NA is what drives me. I'm well aware that boost is cheaper but a good engine shouldn't need copious amounts of boost to make power. An efficient engine is a good engine.

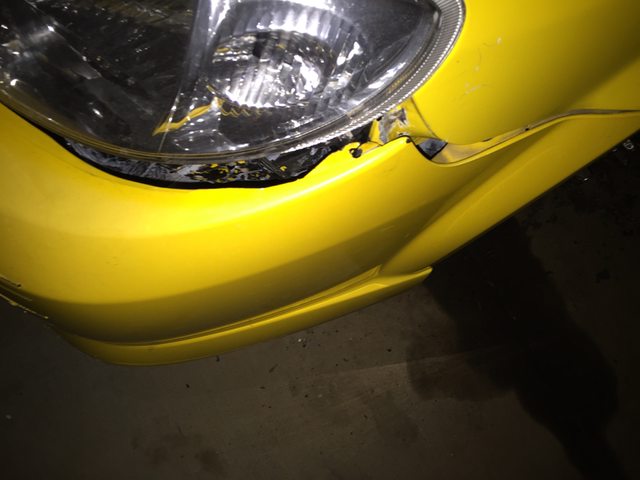
Unfortunately I had my first accident at fault and the Blue SP20 came to an end. I toyed with swapping my engine into a MX5 but the amount of custom fabrication, and potential changes to my circumstances in the future meant that a two seater with a small boot would simply not be big enough. Further, the amount of fabrication meant that it may not get finished, a risk I wasn't willing to take.

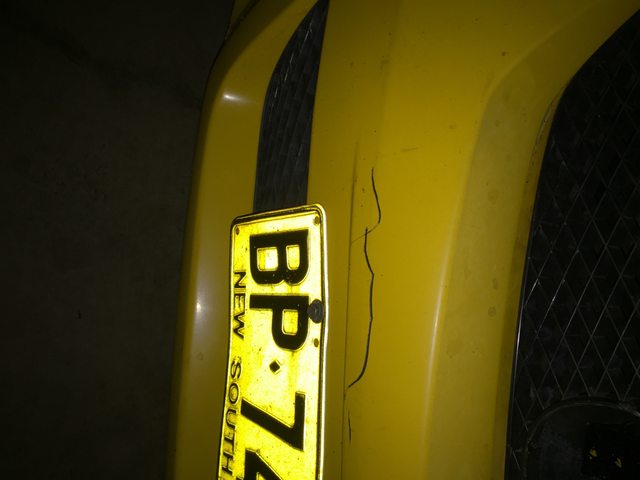
The reason that this car is called Caboose 3.0 is that prior to this I had a blue 1.8 protege which got written off when someone ran up the back of me. The second blue protege (the SP20 referred to above), I wrote off :(

While this car isn't Blue it has enough of the old car going into it that I conceded that it would be ok to call it 3.0.

Scope:
Build 2.0 is going to be a continuation of 1.0, I will endeavour to document more of this build. However I am quite busy and forget at times to update forums.

Aim is to reach 190whp on pump fuel. The excellent news is that down the road I now have a station that has Flex Fuel (e70-e85) and a little further away a station that sells race fuel. So that should be a nice little surprise to see how much I make on e85. Anyone wanna take a guess?

Only other consideration for the build is that it needs to last a while, I won't say uber reliable. But I don't want the engine turning into a tear down and rebuild every year. I don't have the coin nor the inclination to repeat all this work. If this engine blows up then another build will occur, on another platform.

Otherwise, if you have any questions regarding my build or theory regarding why I did something ask away :)

Hopefully you learn something along the way as well.
 
Last edited:
Found this fixer upper on the internets. So a friend and I flew down and drove it 12hrs back to Brisbane.


Sorry about the night time shots but I work late. Works already begun on installing the coilovers and MSP brakes:
UtWHIhul.jpg


Panel gap between quater and bonnet:
e2XdCKDl.jpg


The bonnet in question:
A18l8hdl.jpg


The 6x9s the previous owner installed:
Q4d3SOal.jpg

They didn't last long..

Crack in front bar:
CDFH5qUl.jpg


Broken tabs on front bar:
TULAB77l.jpg


Don't have a photo of it but the car actually has 1.8 headlights so they will need to be converted.

Also requires a new radiator support panel:

JDM Parts arrived today:
7eUoeGgl.jpg


Infiniti RX7 steering wheel:
TzRQJgel.jpg

GBLgPaIl.jpg
 
Last edited:
Oooooooo shiiiiit new car already eh? What did u manage to salvage off the old car before it got scrapped?
 
Oooooooo shiiiiit new car already eh? What did u manage to salvage off the old car before it got scrapped?

Everything buddy.

Build 2.0 (Car 3.0) should be pretty epic, got some quality stuff coming and increasing the scope a bit to encompass more show :)
 
So I'm looking at installing ITBs on the Protege, this was posted on Facebook but explains why using 4age throttles is less then idea on an FS engine:

As you increase your RPM band, the placement of the injector ideally should become further and further out towards the throttle plate. The obvious reason is that the air and fuel are able to mix ideally.

This works wonderfully at high rpm, constant high speed operation. This is less then stellar on an engine that experiences varying low throttle positions and low speed operation. Now with earlier mazda engines and some other engines the injector holes are actually in the head, meaning that this is a moot point as you simply reuse the stock location and block up the 4age injector holes or just leave them there. As I've explained above using an injector that is so far out from valve face isn't ideal on a street engine.

Further the 4ages do not share the same port spacing, this means that the adapter now needs to be quick thick as to transition from the 4age to FS port spacing. Less then ideal. This also creates the potential for fuel to stick to pool on the walls of the adapter plate. Also creates turbulence, disturbs flow etc etc.

The method that I hope to use will be more expensive. But will provide a solid base for anyone going turbo or NA. It will fit out of the box etc etc. Will just plain work better all round.

Hope that all makes sense. Have any questions let me know
 
n/a you'll probably only get 1-3 hp more on e85, not worth it IMO.

Not sure hey. Im severely starved of timing in current tune, i run 0 timing below 4k rpm and then very very moderate amounts (low teens IIRC).
 
Time to start collecting parts again:
- Need hose cutters
- Braided Line - AN6
- AN Spanners
- 90 Degree AN10 Fitting
- Extra ECU + Loom to extend existing loom.

Already ordered a host of other parts. That will take a while to get here. Stuff is kinda coming together, really need to order the parts now so that I have them for christmas break. When I have time to work on the car.

Want to rethink Battery position and battery box. Not happy with the way it was last time. Will post up some photos of this weekends efforts.
 
Sub!!!


Are you keeping all of the boot plastics? If so, a nice slim 12V battery can fit into the jack location, with the bump removed. Both JT and I have the same battery in the same location.

3BEE068C-930A-4835-945E-1FCE475CC847_zpsbrytp4sw.jpg
 
Yeah last time was a bit too race spec, want to dial it back a little this time. Was all function and little form, starting it required you to sort of stroke it the right way etc.

This time, I want to get everything working, make it clean and more subtle interior/function wise. Quieten down the exhaust a little if I can, replace it with a lighter option. Just general clean up really.

Also need to get a video of the engine, it really is crazy.

EDIT: Found the following videos the car at idle, iPhone fails to really pick it up, sounds so much deeper and menacing in person :(:
http://youtu.be/vENeL_u5ZRM
http://youtu.be/aJ1AwF3Yx1w
 
Last edited:
Sorry, I never followed your old build thread, glad to see you chose to stick to the SP20, great color choice too :)

In any case, what kind of engine management are you running?
 
Aluminum exhaust? =)

lol no. It'd melt hella quick, exhaust temps are actually pretty flipping high. O2 sensor cooks itself :S

Sorry, I never followed your old build thread, glad to see you chose to stick to the SP20, great color choice too :)

In any case, what kind of engine management are you running?


I run Adaptronic E440D. There a newish company, but there product is fantastic :)

Sub!!!


Are you keeping all of the boot plastics? If so, a nice slim 12V battery can fit into the jack location, with the bump removed. Both JT and I have the same battery in the same location.

3BEE068C-930A-4835-945E-1FCE475CC847_zpsbrytp4sw.jpg

@Circuit, yeah love the position. Just need to work out if a Braille will turn over the behemoth. There are harley battery which have more grunt which are a tad bigger I think which have close to the same CCA as my current battery.
 
Last edited:
OK photo update this time :D

Unfortunatley I dont have a photo of the radiator support panel that came with the car, but it really was rippled (picture surface of the moon). As such it really needed replacing, I purchased a Non OEM panel, which frankly didn't cut the mustard it was all out of whack and was quite floppy. When the panel didnt line up, was worried briefly that the car wasnt square till I realised logically that it wasnt possible (the rad support was too short between the fenders).

A OEM radiator support purchased a friend welded and fitted for me. Unfortunatley the radiator on the previous panel was held up in the panel by a set of drive shaft nuts. This really didnt work, the previous owner had to bend the bracket to sort of get it to fit (you can sort of see in pic 1 on the left). Further, the spair bushings that we had lieing around where for a BA 323 which funnily enough are the same height as the drive shaft nuts used previously. As i wasnt about to bend my CR3 brackets out of shape, you can see my zip tie action in the first photo:
nmnF2IRl.jpg


502kNA3l.jpg


Prolly the worst part of the car after the repairs:
XXPQyA2l.jpg


This is what the car looks like now. Check out the custom faded paint job:
Z4SYtTZl.jpg


The other work that I have done is to clean out the car, the rear of the car was full of rusty nails, electrical supplies, zip ties etc. Couple of buckets of water and lots of small cuts to the hands from sheet metal and the car is pretty clean. Unfortunatley quite a few nails had rusted to smithers. End result is that its attracted(?) rust into the car. This is after hitting it with a steel brush attached to a drill:
iiyc64Ul.jpg


Just needs a bit of prep and then a coat of rust kill primer to seal and prevent further rust.

I've had this rear strut bar for about 2 years, but having to cut interior plastic pieces etc to fit and potentially stuffing it up means it was never done before now:
CFeuAZTl.jpg


Bonus the sub even fits between the seat and the strut bar:
LwFAIgbl.jpg


Fitted the front strut brace:
fnWYSfnl.jpg


Bought some GC8/GF8 WRX Cloth seats. They fit like a glove, are incredibly comfortable. Only complaint is that for tall people (I'm 188cm or so) you might run into head room issues sitting up very straight or when trying to wear a helmet.
UnXvZdQl.jpg


This afternoon got a bit of time so installed my DG Carbon Fibre Interior pieces:
Bg4j0ocl.jpg


iQPzFRnl.jpg


Also did a few other things such as flushing the power steering system with new fluid, flushing the radiator to get rid of the grime (always always use distilled water + appropriate concentrate).
 
Last edited:
Back