Thanks. It sure was!
Thanks. Yeah, I'm glad I finally got her back on a course. That whine is addicting, I just have to put my foot in it any time I drive her.
Thanks. Yes it is, see below.
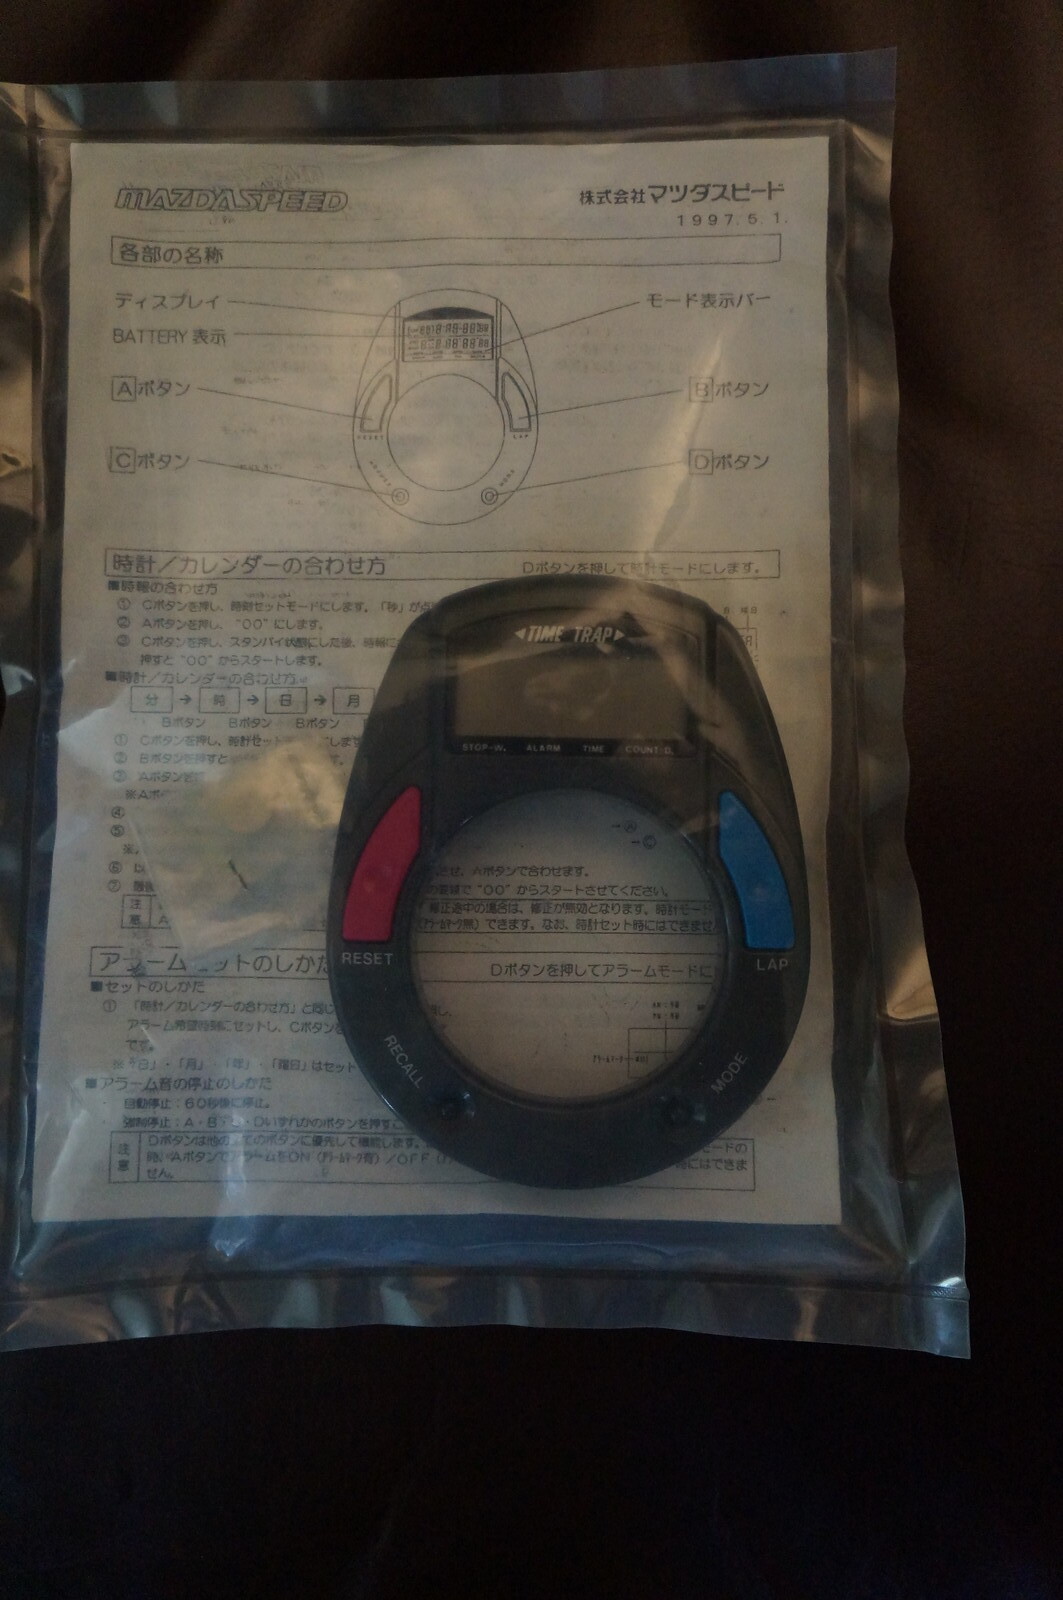
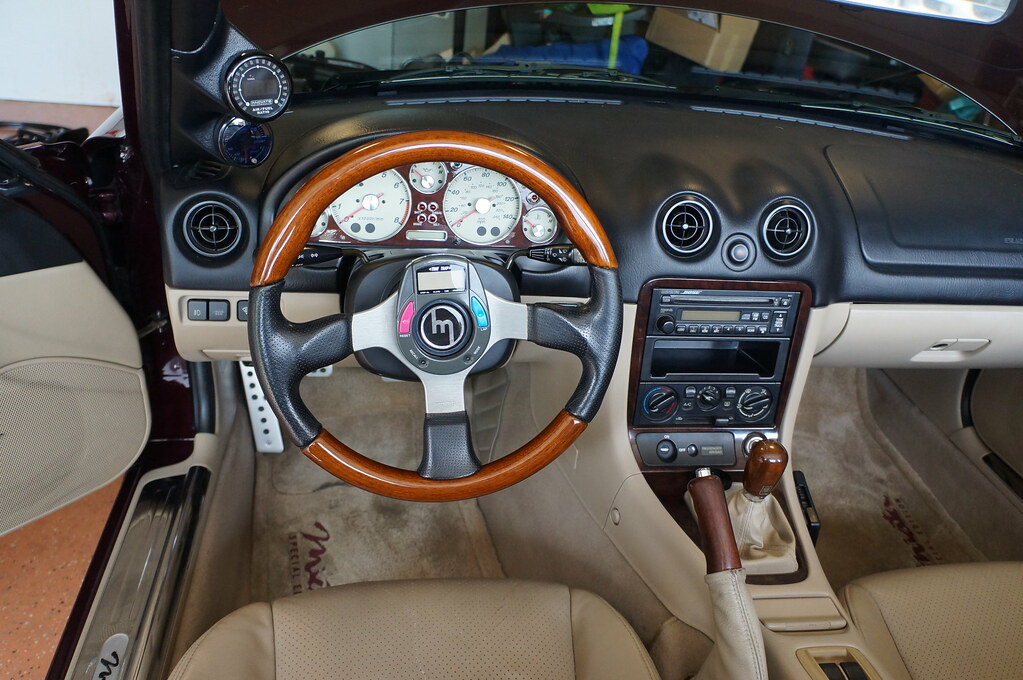
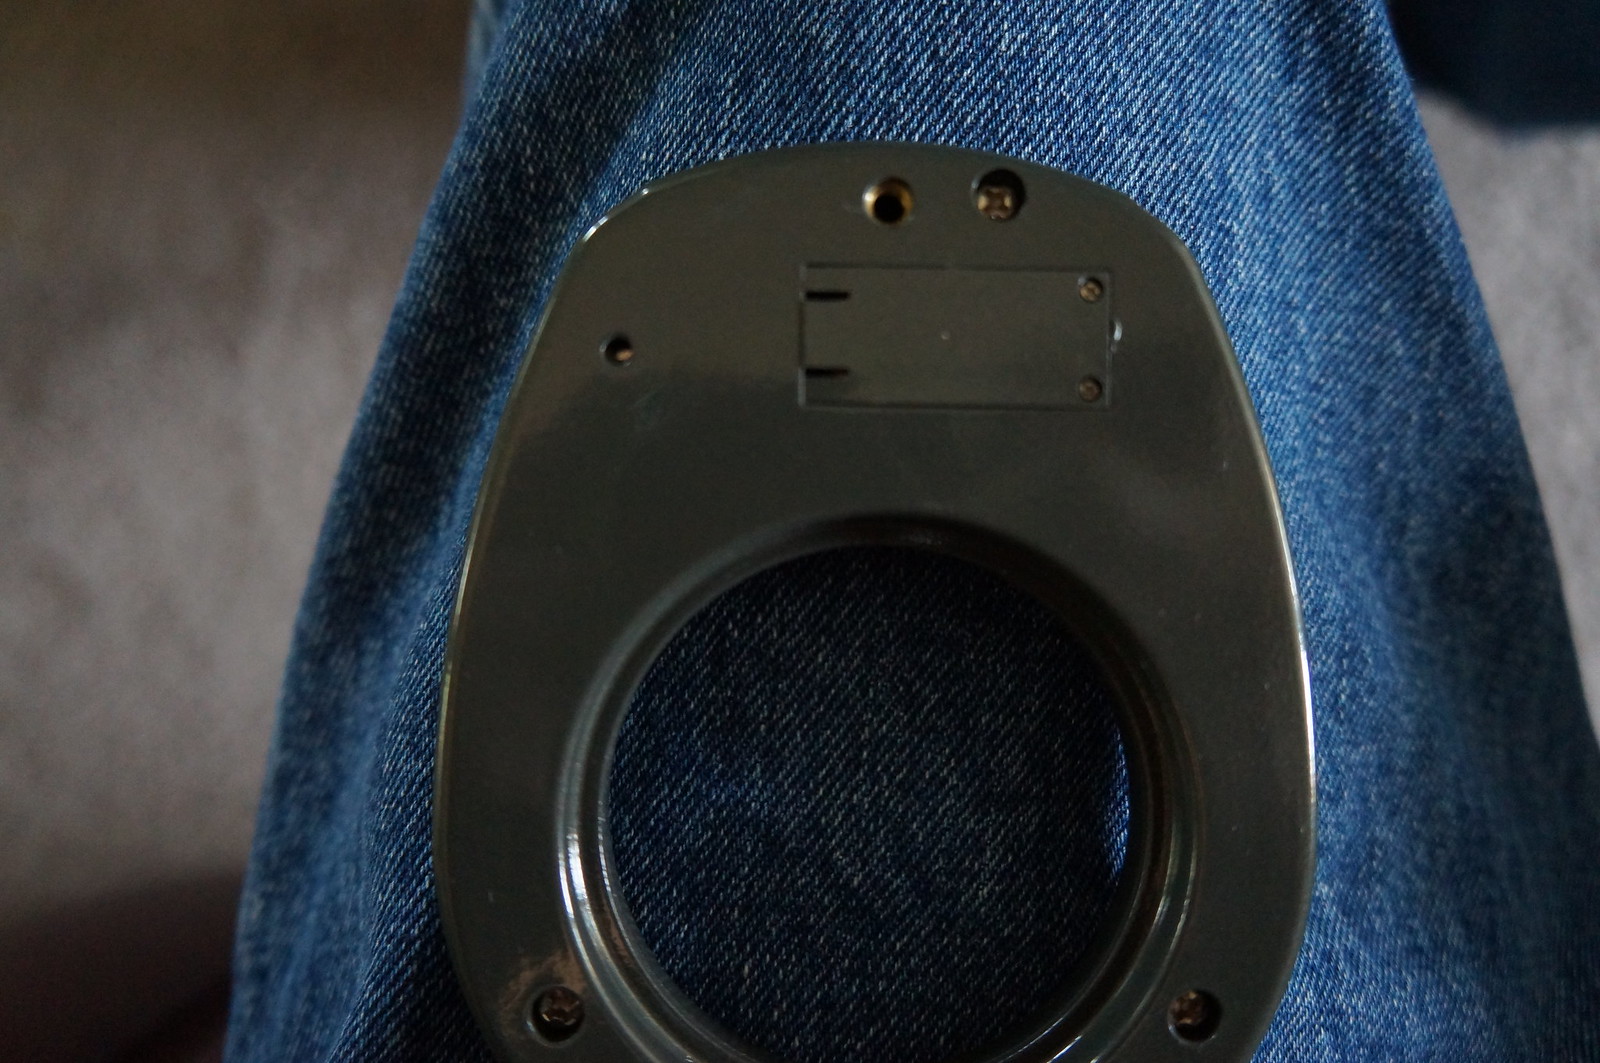
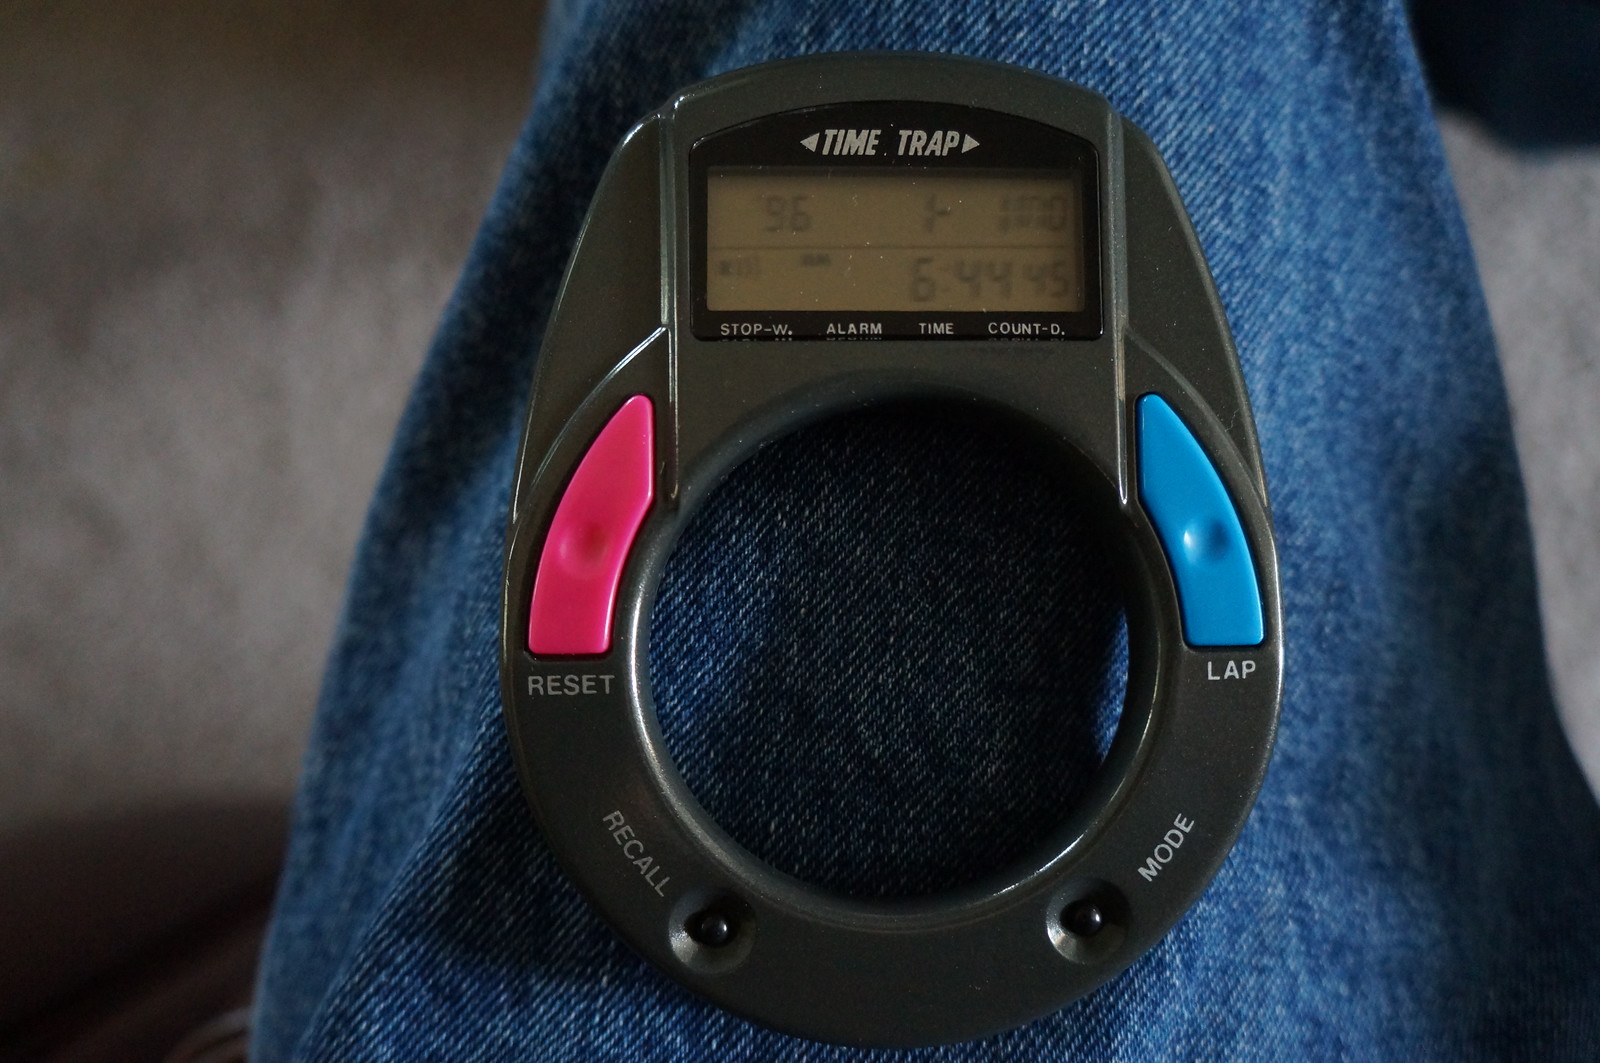
Had some free time to myself this afternoon so jumped into things. I opened the sealed bag my trap timer was in and found that someone had it out in the open previously. This was a good thing though as the mounting bracket had been modified so it would fit a Momo wheel:
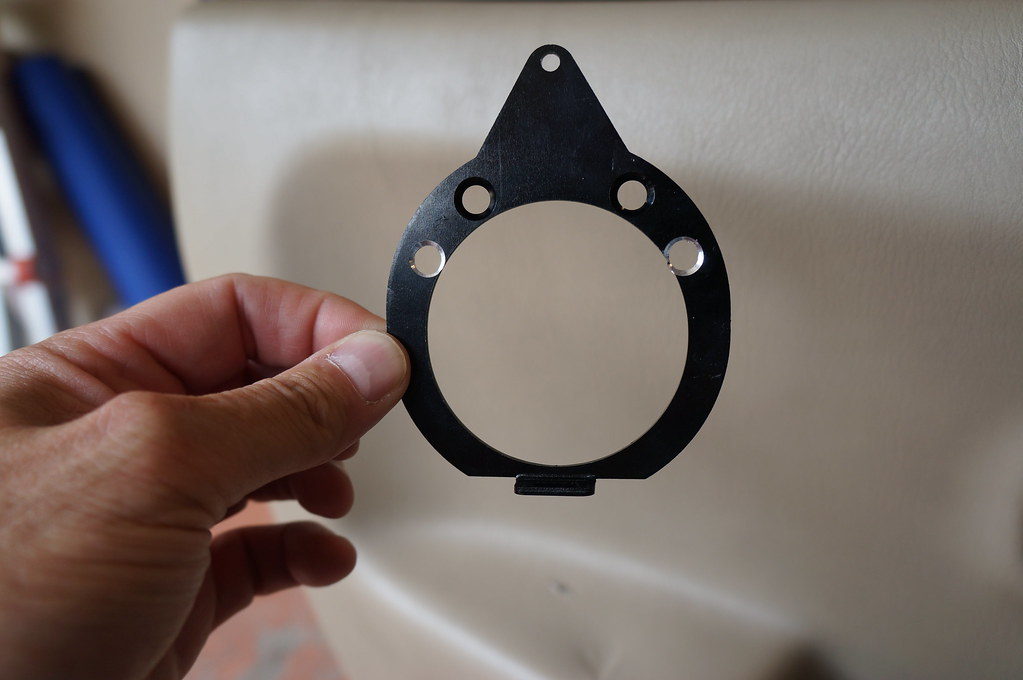
I ran to Ace to get some appropriate fasteners then proceeded to get it installed. First, the mount:
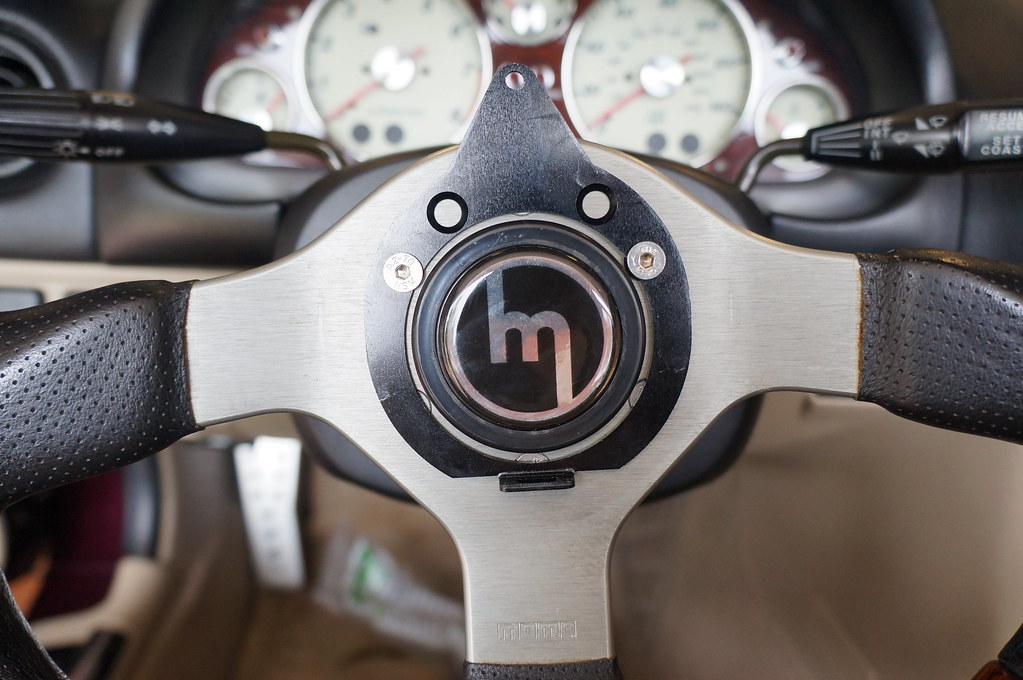
You put four screws in to hold the wheel first, then the last two (seen) are what hold the mount in place. After that the trap timer goes on bottom first on that lip you can see sticking out. There is a small Allen screw that goes into the hole at the top, and that is all there is to it.
I need to break out my teeny-tiny jeweler's screwdrivers in order to install the battery, and then I can try to figure out how to operate it. One thing to note, with the timer in place the horn button is very recessed so it can't be operated as you normally would.