
Well here is my first post. I did use some posts from here as reference along with the shop manual. I am mechanically inclined and my dad being a mechanic also helps a lot. Ive done chains and belts in the past but this was my first dohc.
**** This is not for the faint of heart just so you know****
Well here goes
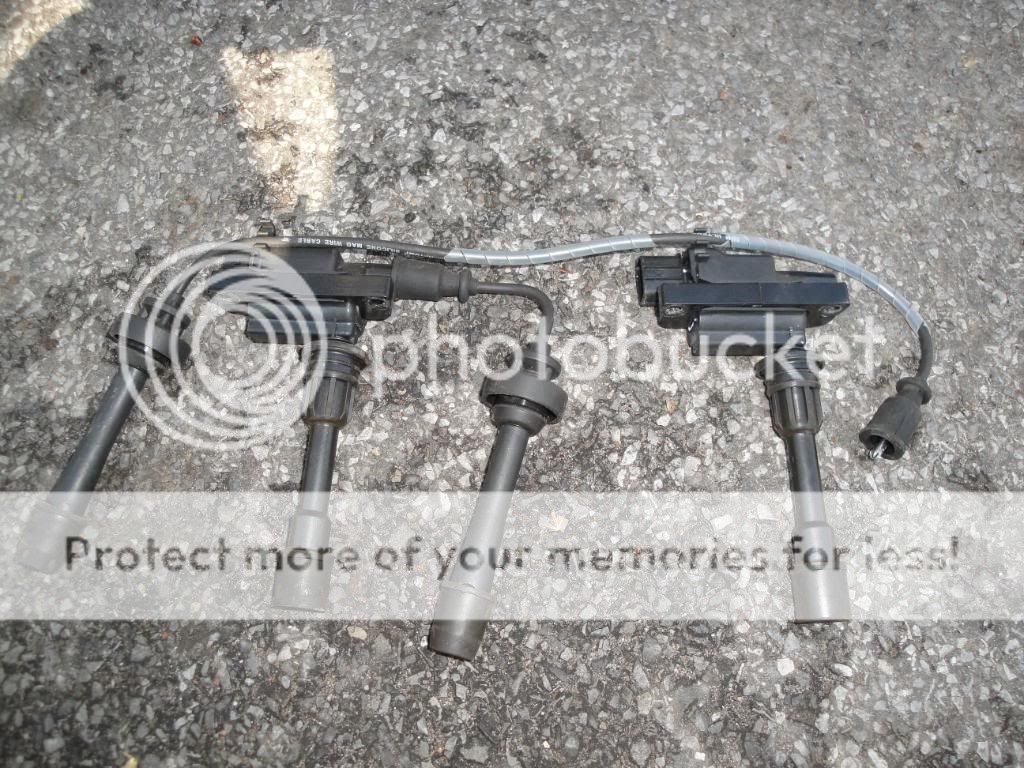
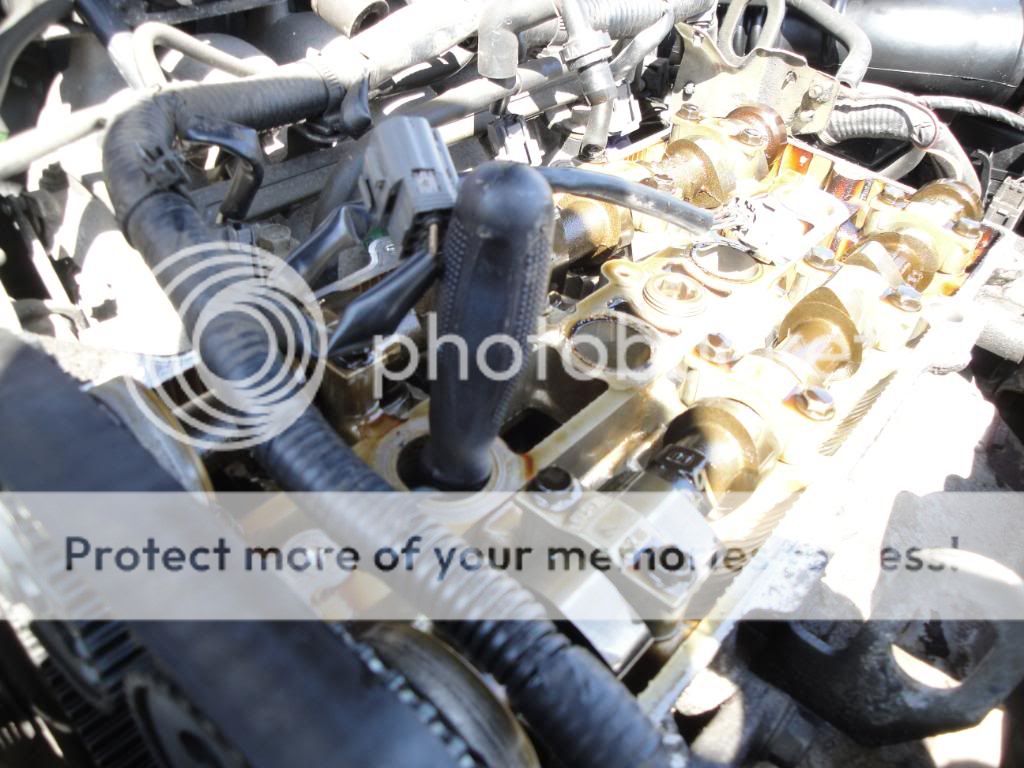
Took off the coils

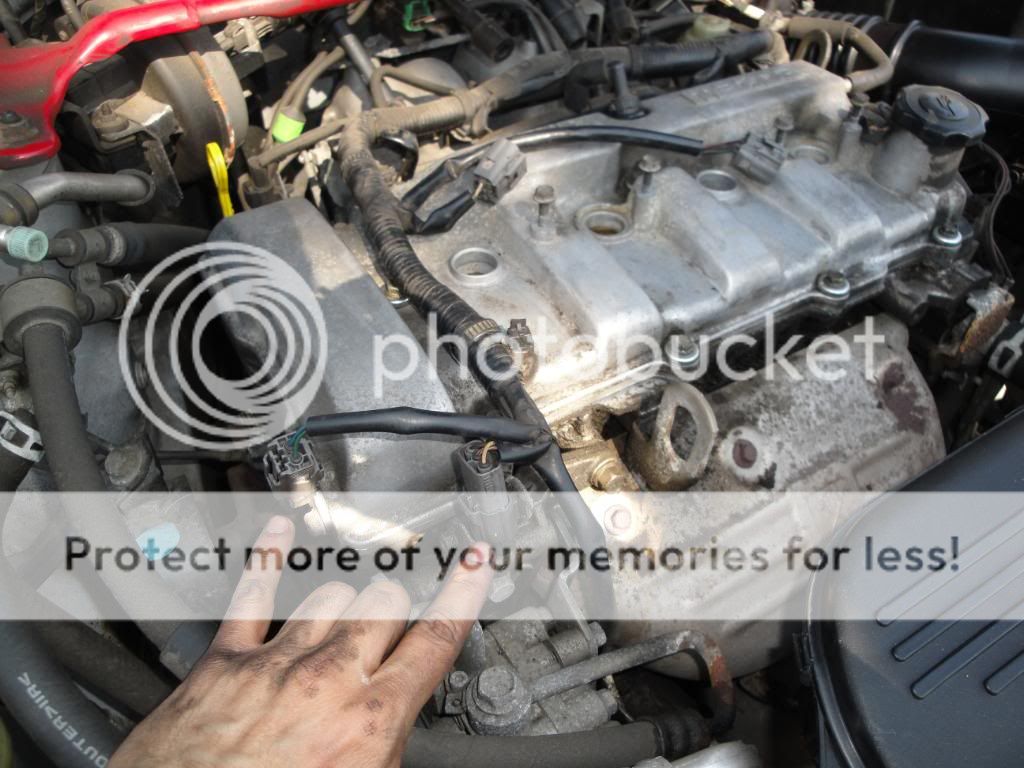
Unplugged the harness partially
Then took off the valve cover
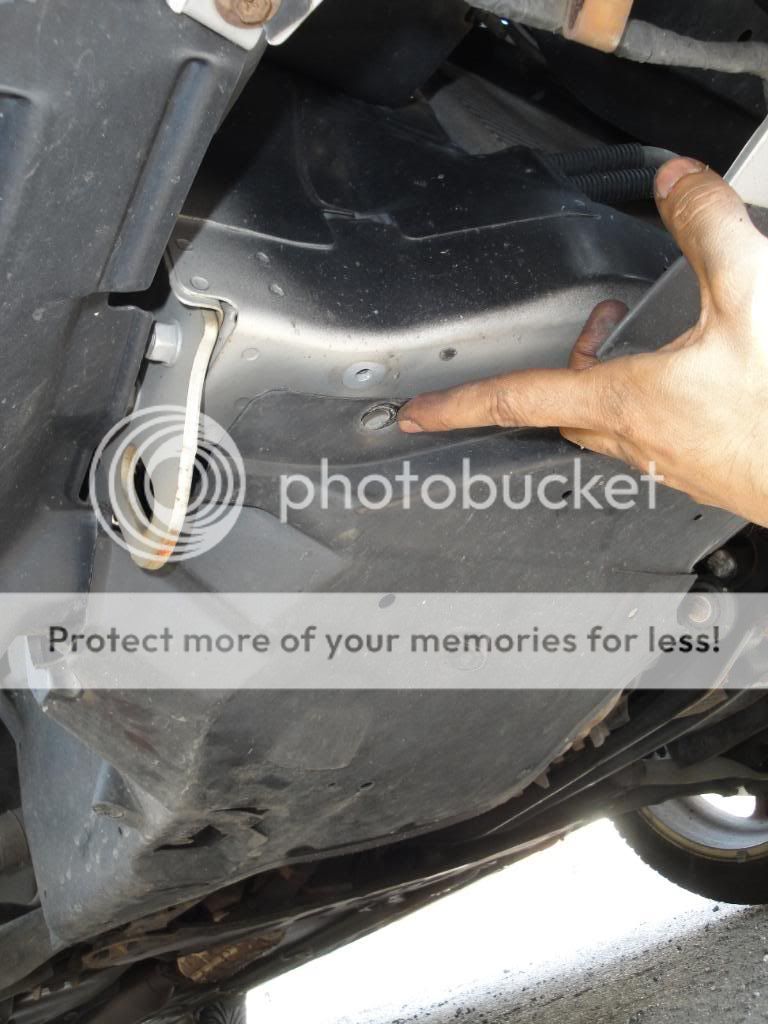
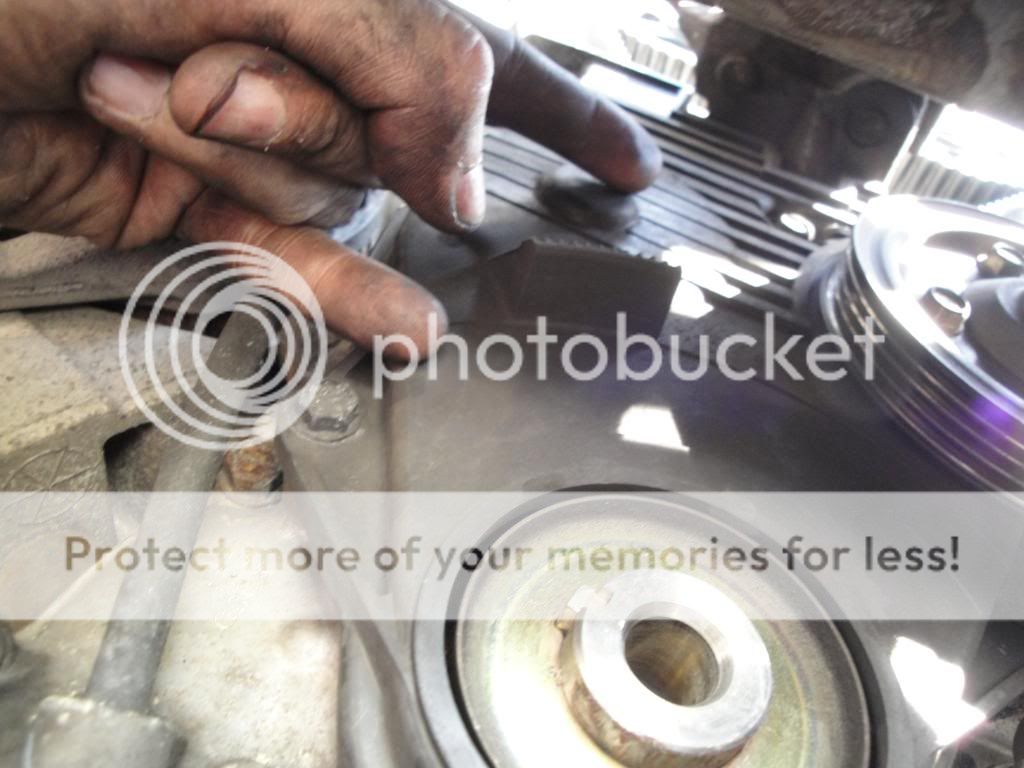
Removed the splash guard engine cover

Note bolt locations
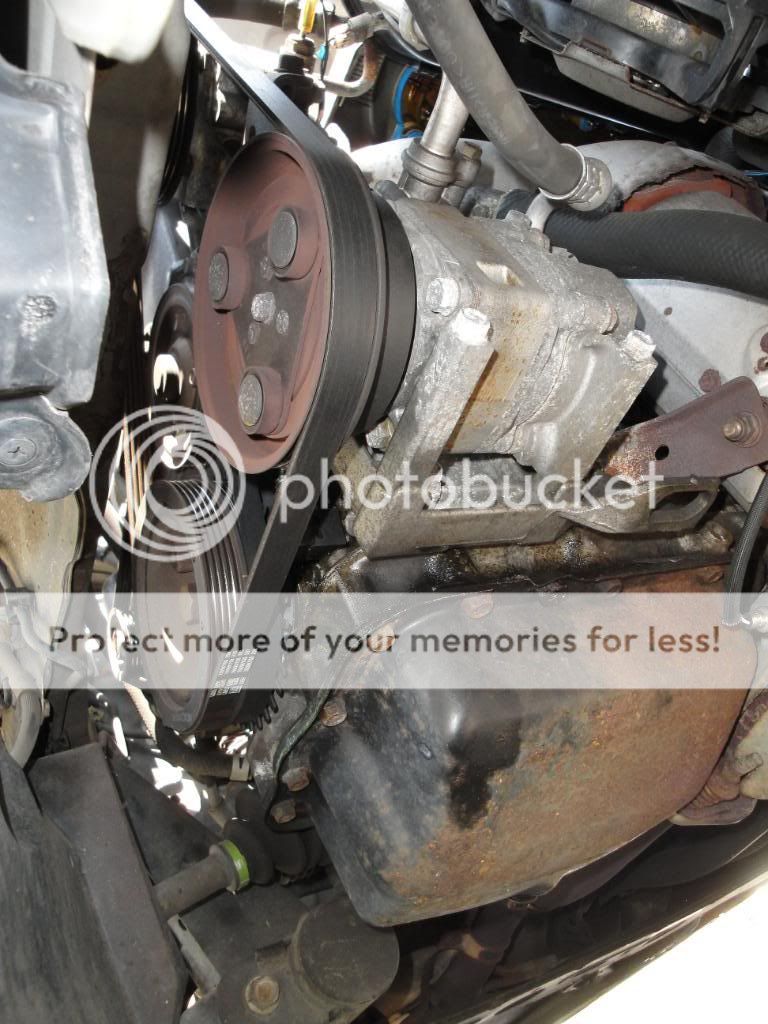
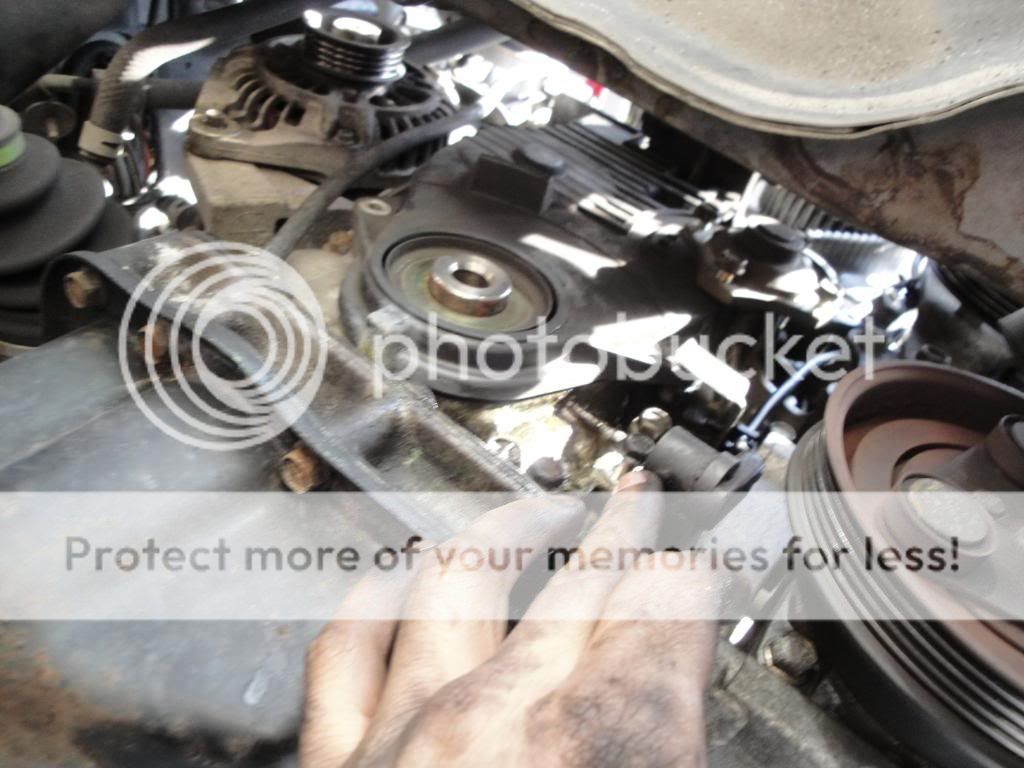
Now the compressor and crankshaft pulley are visible
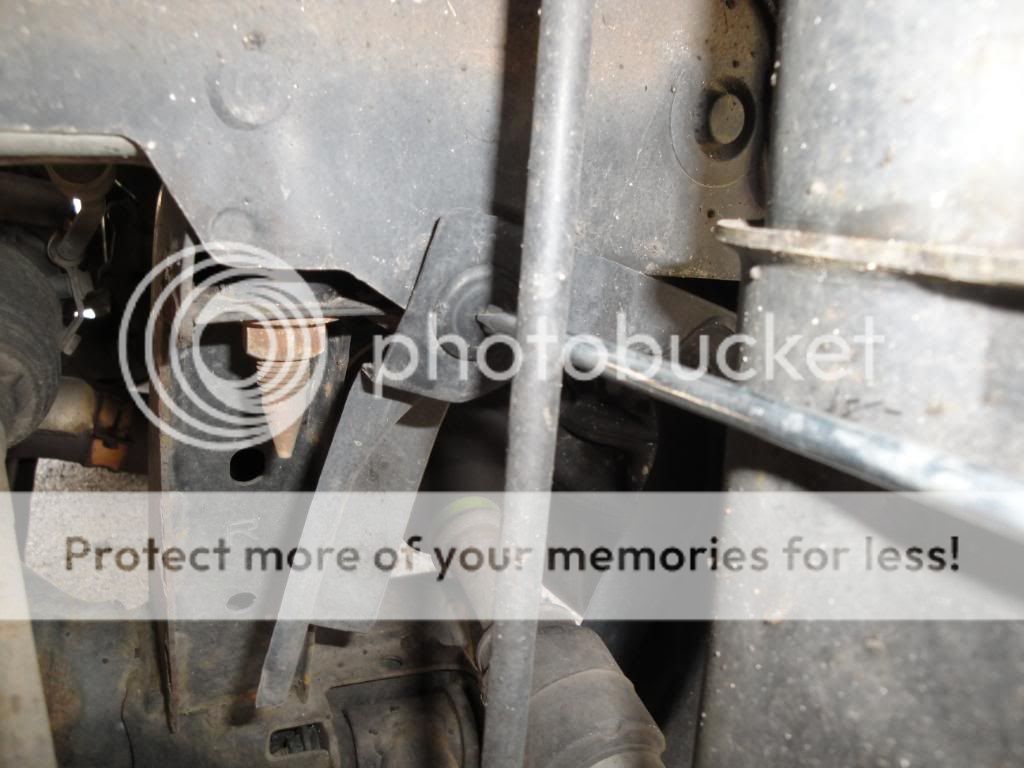
Don’t forget this little clip
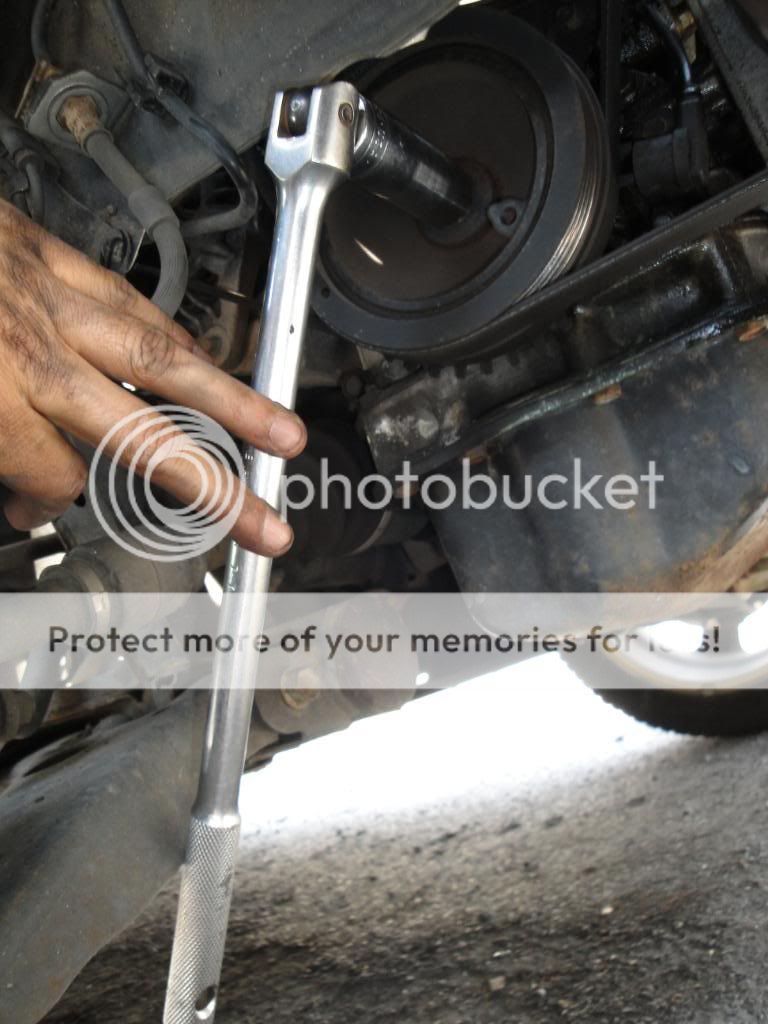
Next I removed the crankshaft pully bolt. I placed the breaker bar on the bolt and secured it on the lower control arm the turned the ignition key and it loosened on the first tap of the key
Then before removing the serpentine belts I loosened the water pump pulley bolts

I then started to loosen the compressor
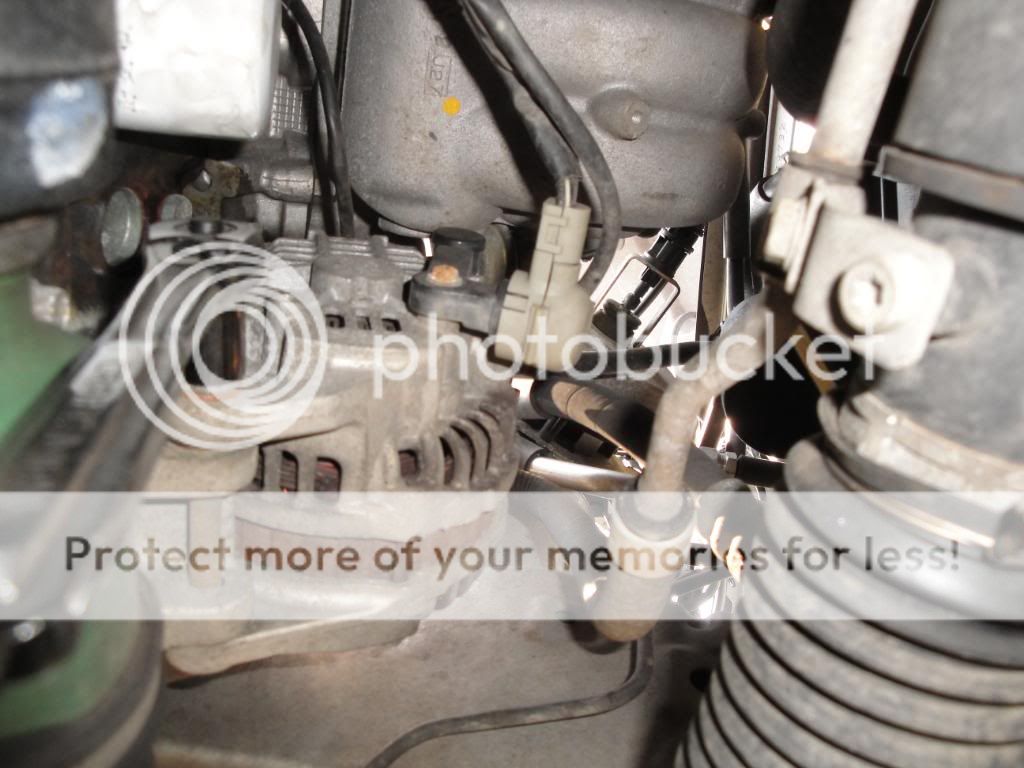
Then I started to loosen the alternator. This was done from top and below the car

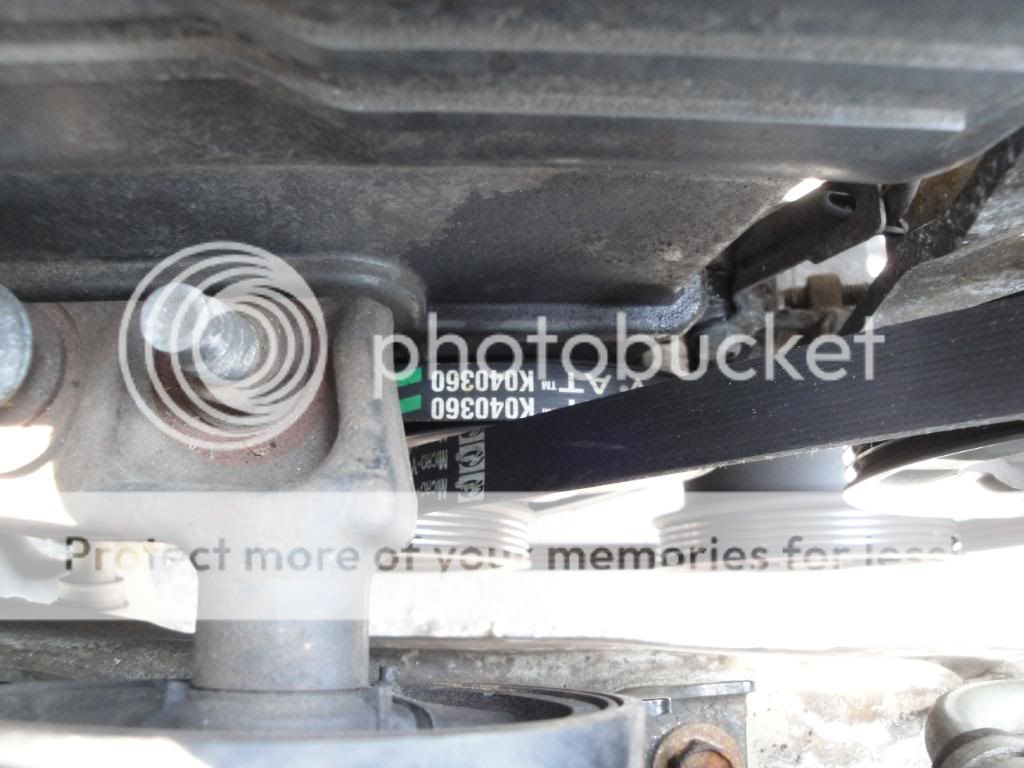
Just for reference I took a photo of the serpentine belts
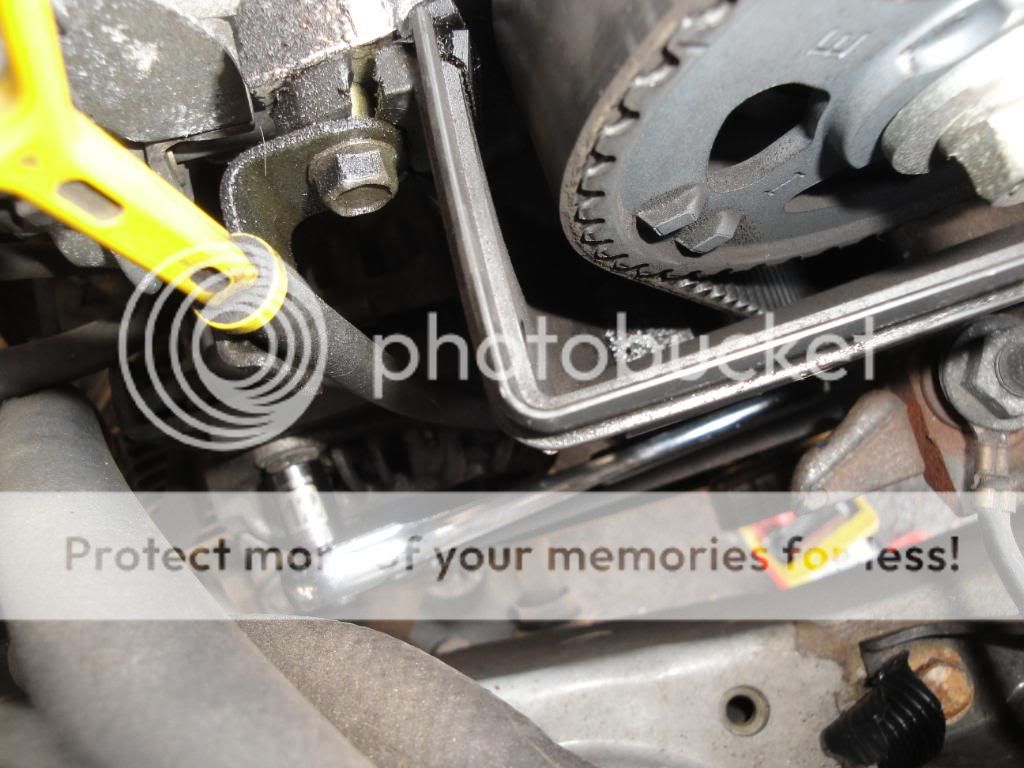
I then proceeded to remove the upper timing belt cover

Then I proceeded to remove the lower timing cover. Take not of the three bolts
Then I removed the cam position sensor
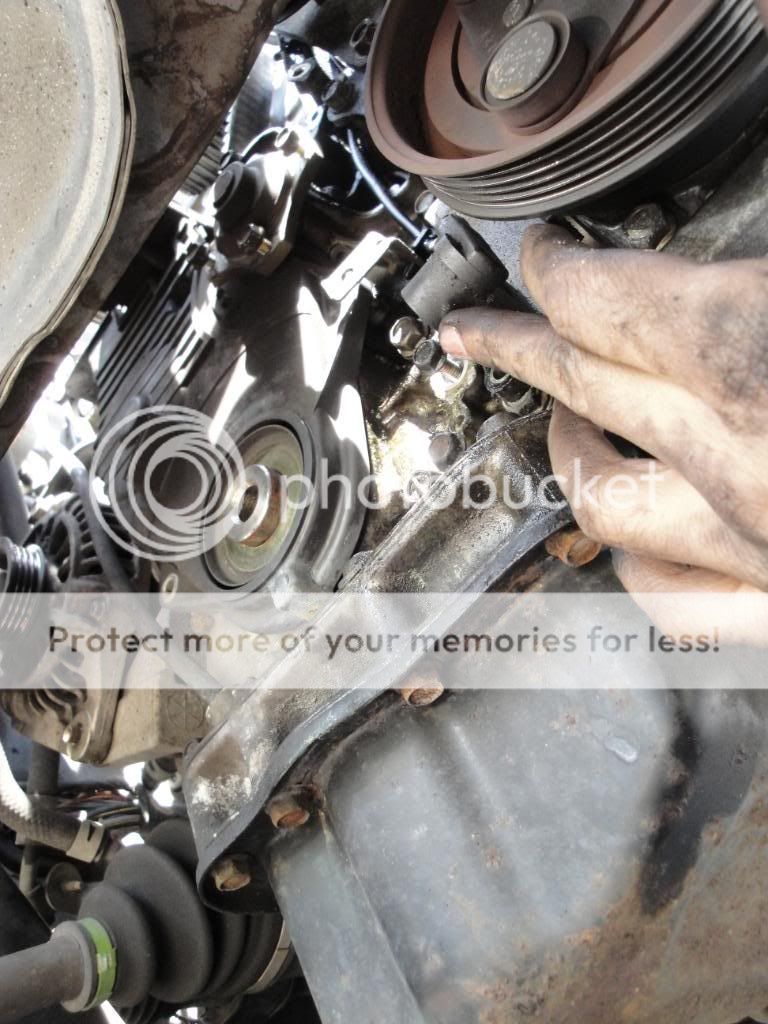
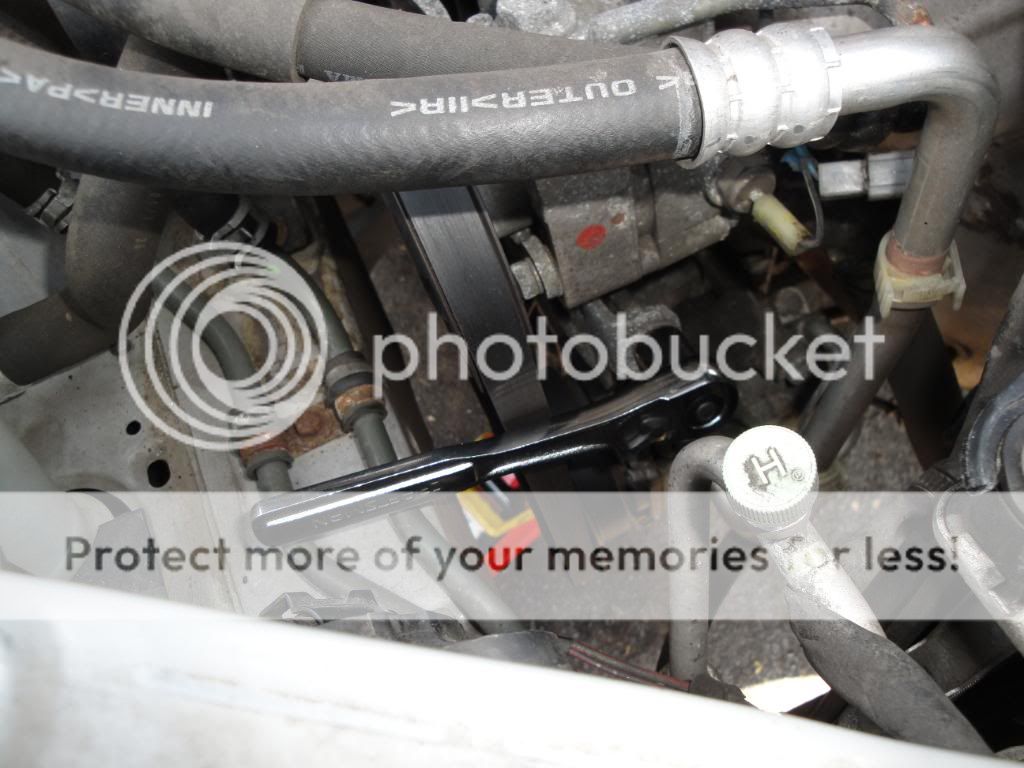
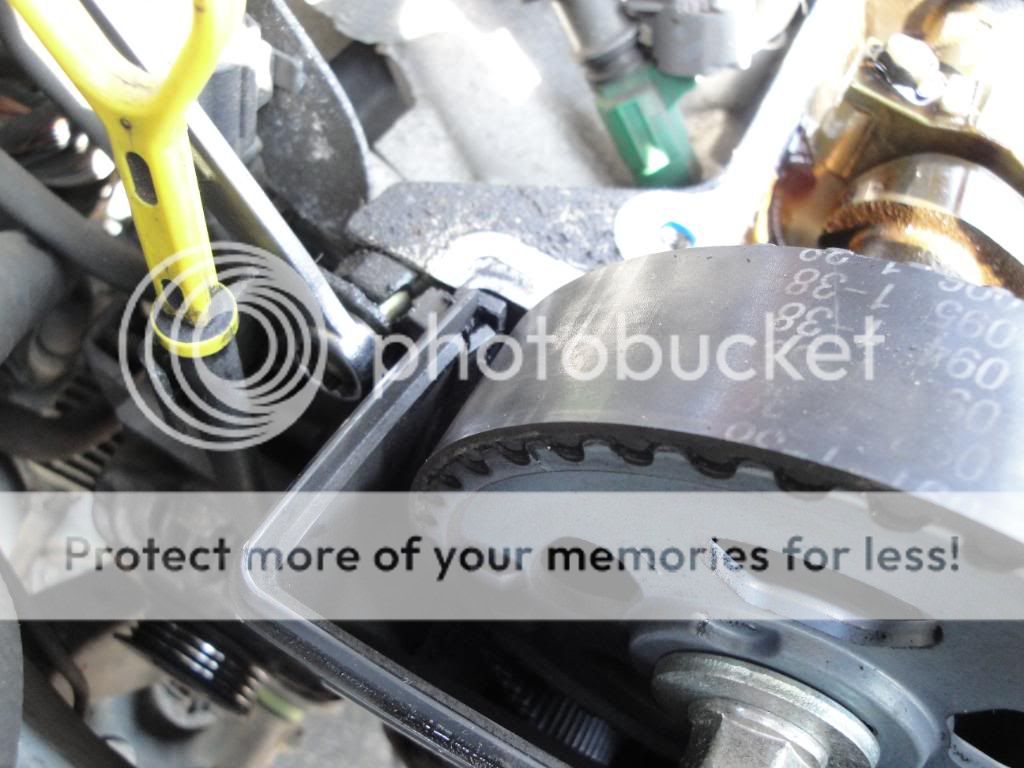
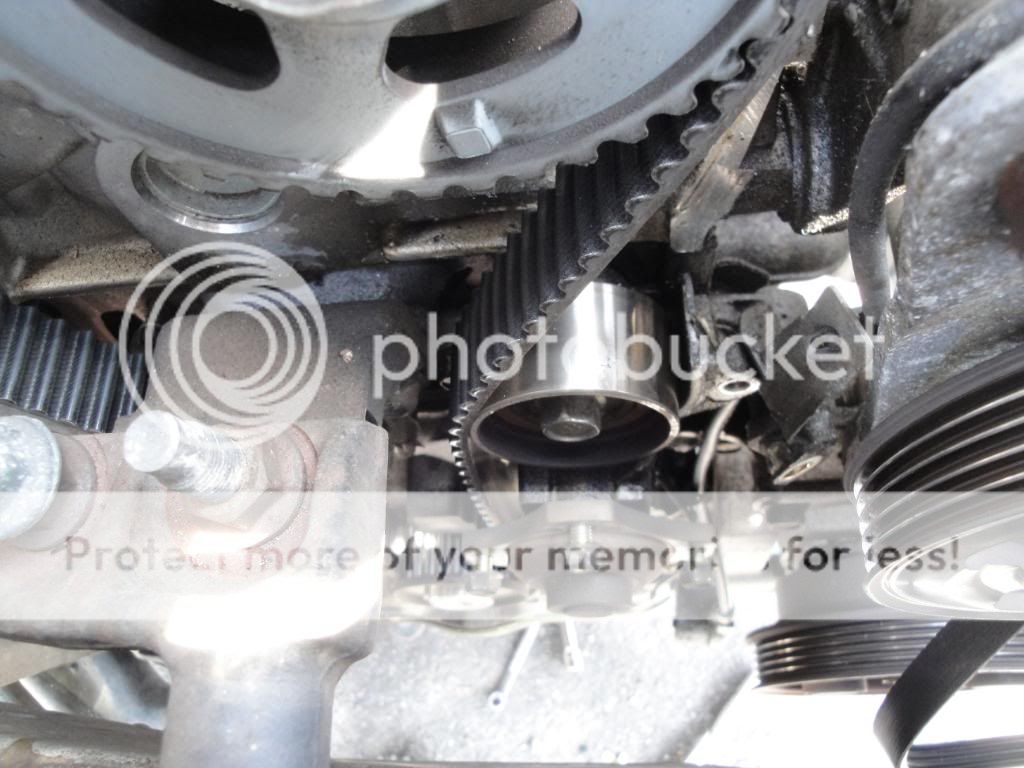
I took a pic of the spring, tensioner and idler pulley for reference
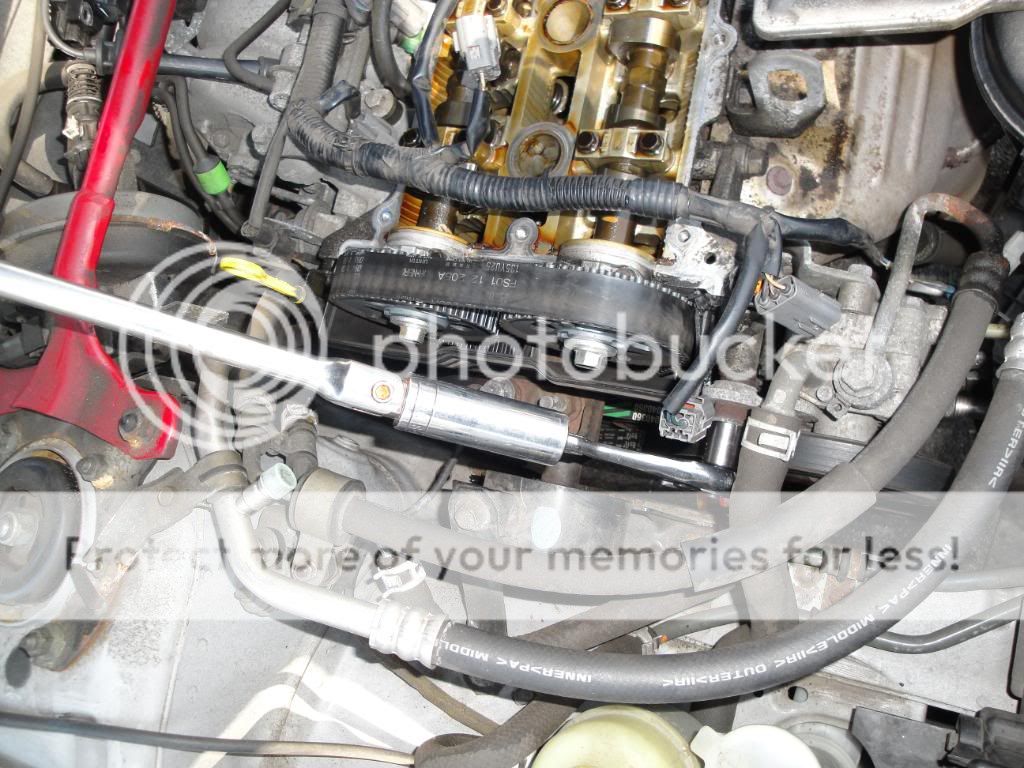
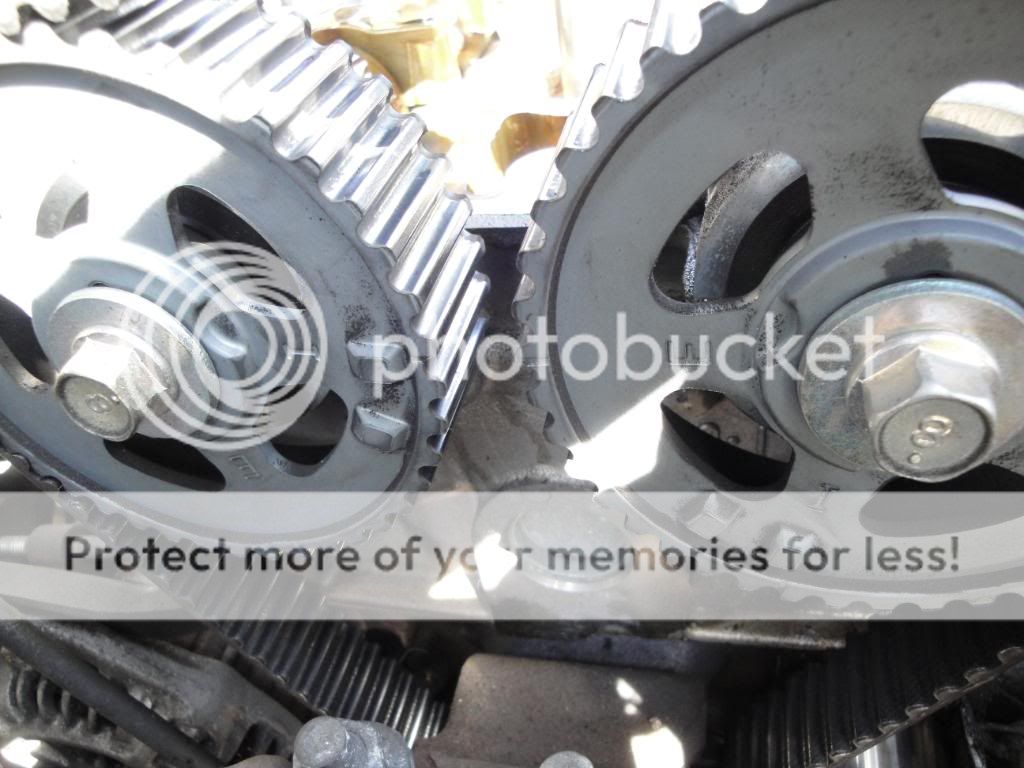
I proceeded to position the the cam gears to the correct position to TDC however in the shop manual it indicates that the left cam cam gear “ Mark I” and the right cam gear “Mark E” should be at the top. Mine didn’t exactly match however I knew I was at TDC since I verified it by doing two things.
1. I verified that the pulley boss notch was facing upward or at 12 oclock
2. I took off the spark plug from #1 piston and put a screwdriver in to make sure it was TDC
See photos describing visuals
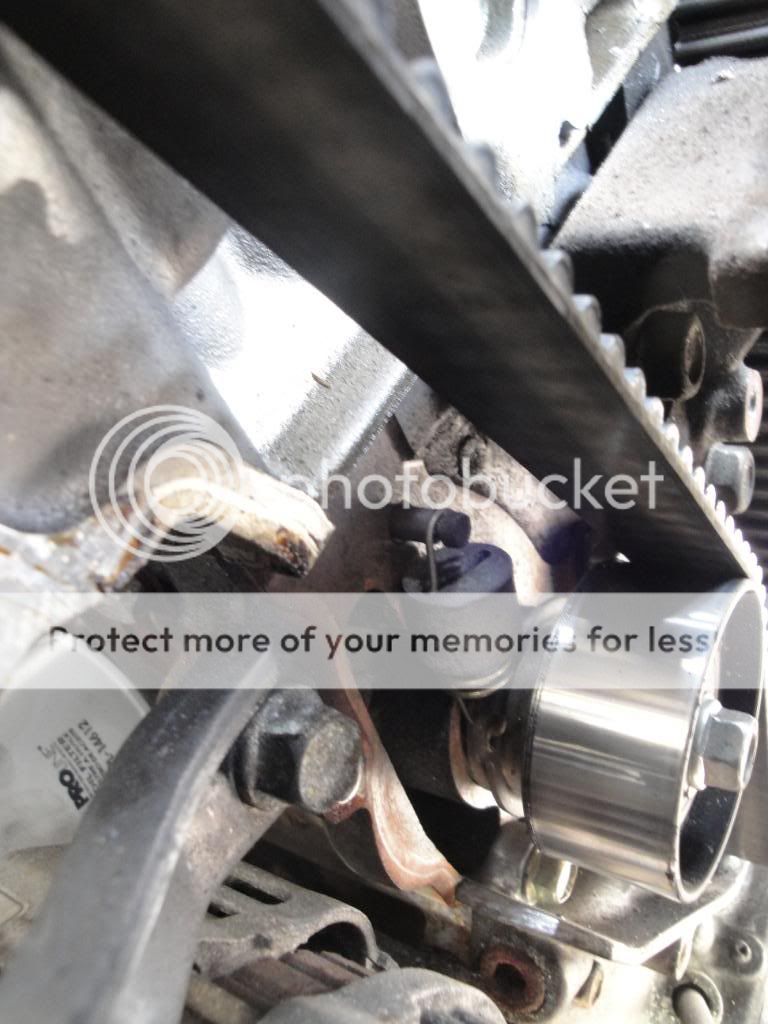
Timing marks are where they should be. I did notice a notch in the the gears also faced each other
Here you can see pulley boss timing mark facing top or 12 oclock
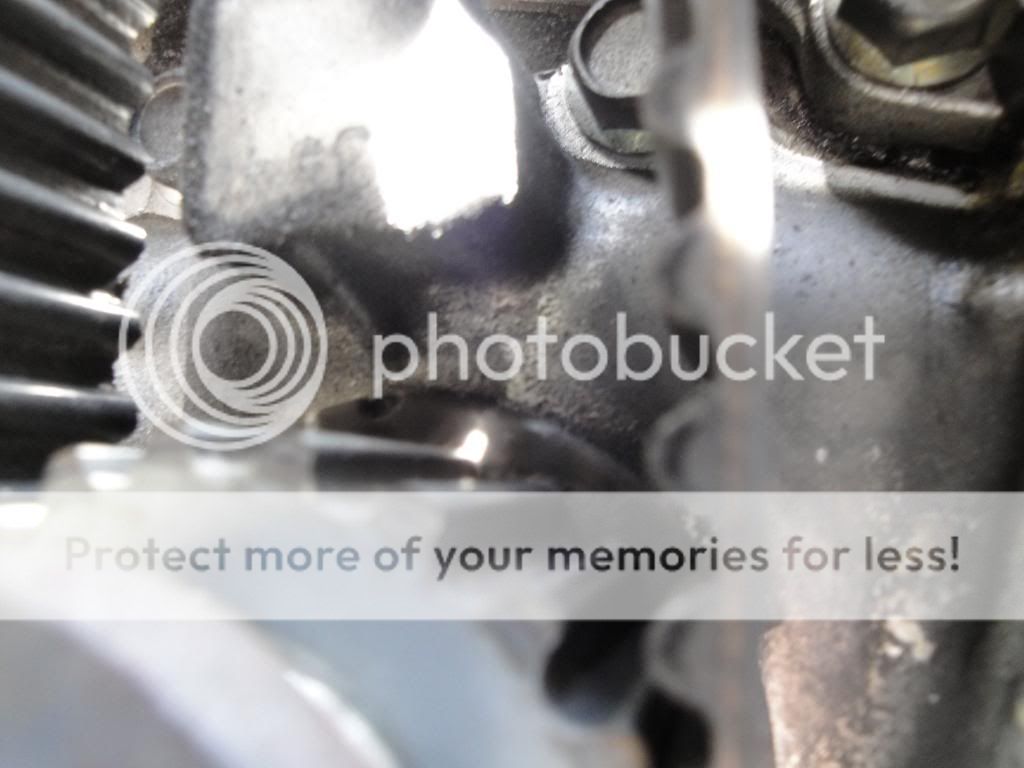
Here is the screwdriver at TDC
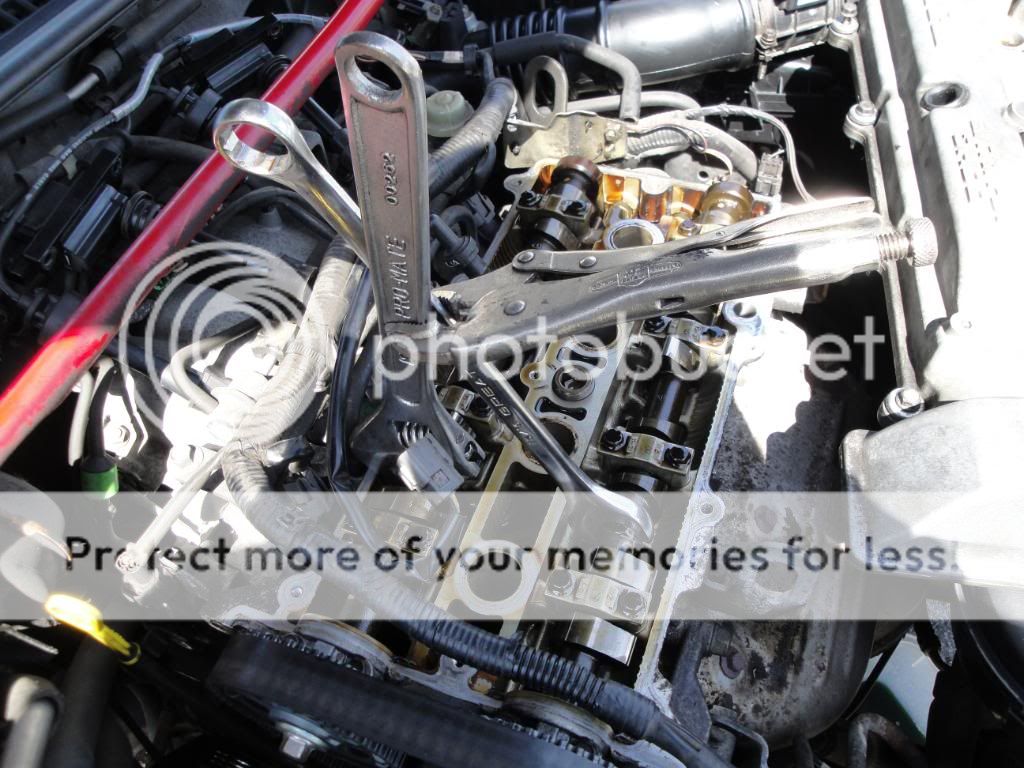
I then secured both cams with an adjustable wrench and wrench clamped down by a vise grip to ensure that they would not move when I removed the belt and worked on the other stuff. My dad gave me the idea and I had also seen it on another post
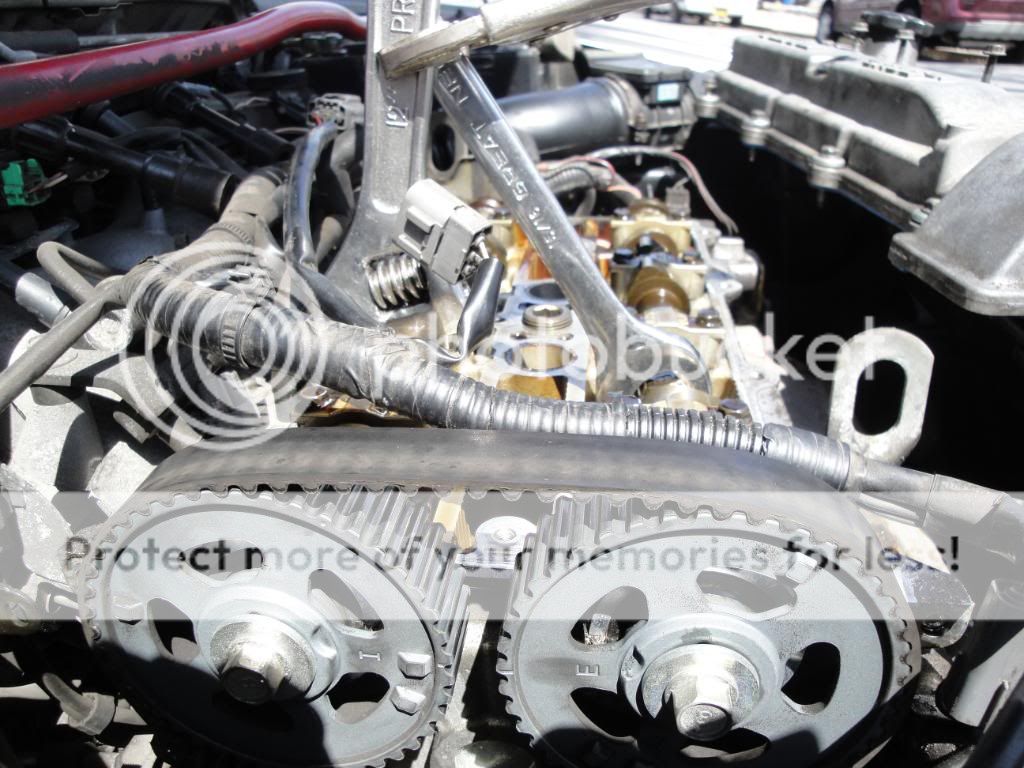
Notice the top of the belt has a bit of slack
I made marks on the belt to match to the new one and this should ensure the belt is properly mounted.
I had to remove the motor mount in order to remove the belt!
Since I was replacing the water pump I drained the coolant. The drain plug is under the radiator a plastic Phillips head screw. I unscrewed the radiator cap to allow the coolant to flow freely
At this point I removed the idler, tensioner, water pump and crankshaft seal.
Reassembly
Installed new crankshaft seal and water pump.
Installed new idler pulley
I matched the old belt to the new and painted the marks on the new belt from the old belt making sure all the teeth were properly aligned
I installed the new belt matching the marks on the gears
Belt with marks

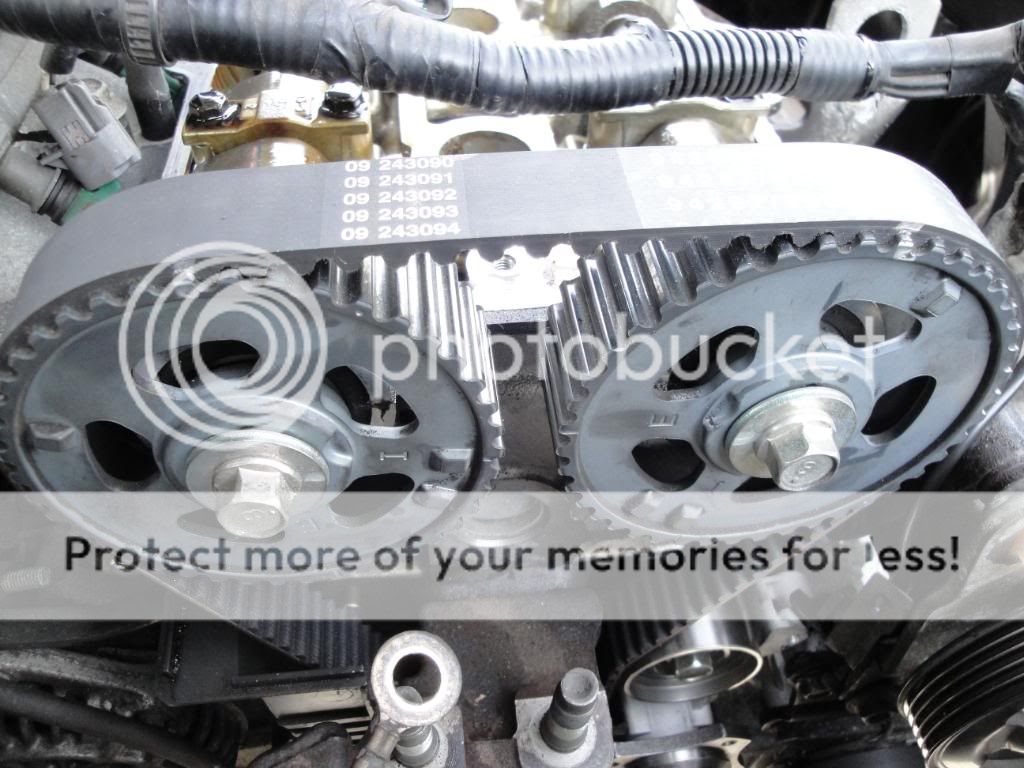
New belt on. Note marks on belt and gears
Then I proceeded to install the tensioner. I did not tighten tensioner until you hook up the spring.
Then with an allen wrench in the tensioner I applied the most pressure towards the ensuring there was no slack anywhere on the belt. Once it was tightened, I repositioned the allen wrench again to apply more pressure, loosened the tensioner and applied more pressure then tighten the tensioner again
Be sure to take note of the position of the spring before removal since I believe it goes on a certain way.
Then I proceded to reassemble everything back in the reverse order.
Its always a good idea to either label everything or take pics for reference.
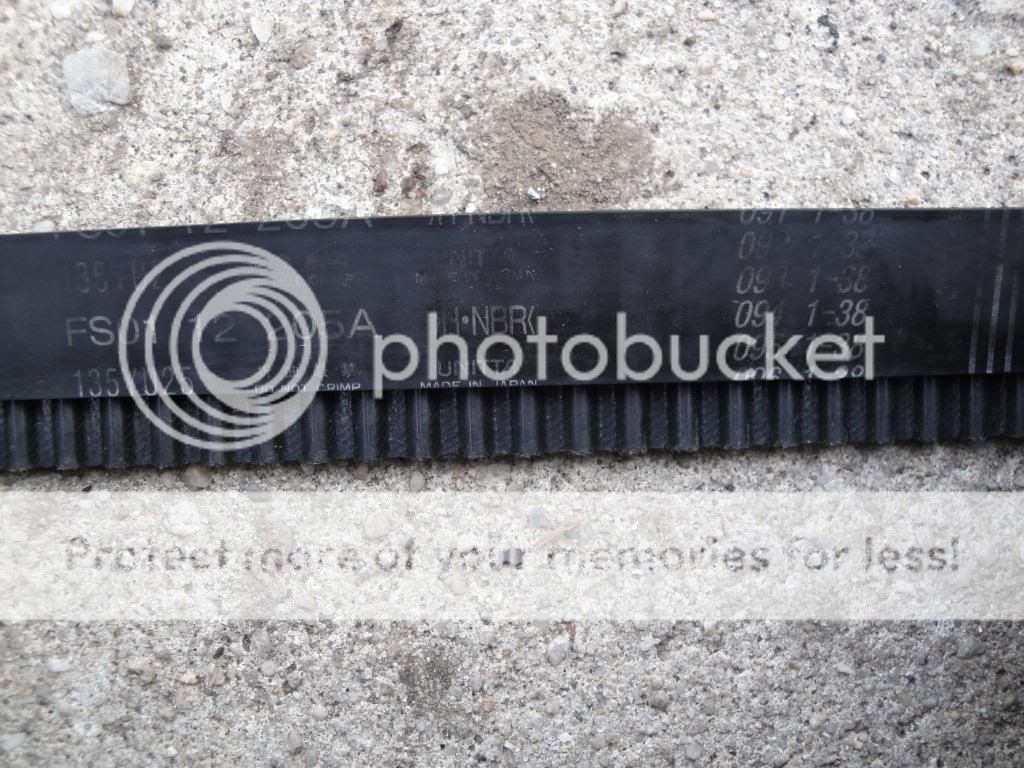
Old belt.
Im wondering if this is the original belt?
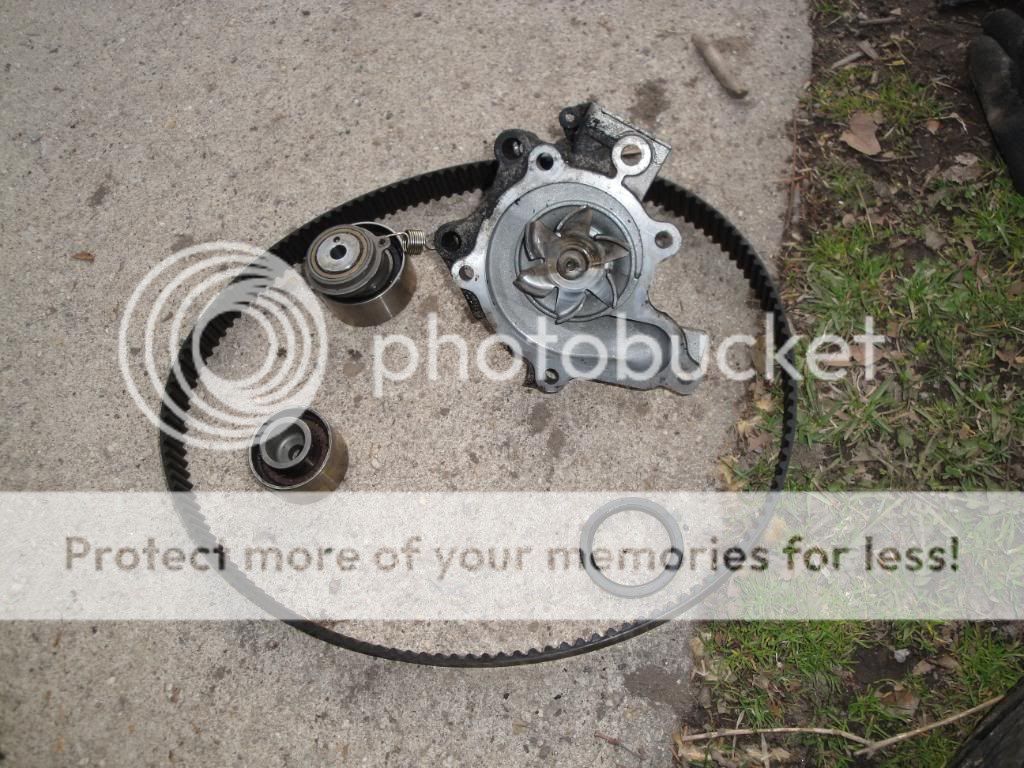
Here are all the old parts replaced
This is to be used as reference at your own risk. This is how I did it and it may help someone trying to save a few buck and do it themselves. Take your time as you and have patience and in the end it will pay off.
**** This is not for the faint of heart just so you know****
Well here goes
Took off the coils
Unplugged the harness partially
Then took off the valve cover
Removed the splash guard engine cover
Note bolt locations
Now the compressor and crankshaft pulley are visible
Don’t forget this little clip
Next I removed the crankshaft pully bolt. I placed the breaker bar on the bolt and secured it on the lower control arm the turned the ignition key and it loosened on the first tap of the key
Then before removing the serpentine belts I loosened the water pump pulley bolts
I then started to loosen the compressor
Then I started to loosen the alternator. This was done from top and below the car
Just for reference I took a photo of the serpentine belts
I then proceeded to remove the upper timing belt cover
Then I proceeded to remove the lower timing cover. Take not of the three bolts
Then I removed the cam position sensor
I took a pic of the spring, tensioner and idler pulley for reference
I proceeded to position the the cam gears to the correct position to TDC however in the shop manual it indicates that the left cam cam gear “ Mark I” and the right cam gear “Mark E” should be at the top. Mine didn’t exactly match however I knew I was at TDC since I verified it by doing two things.
1. I verified that the pulley boss notch was facing upward or at 12 oclock
2. I took off the spark plug from #1 piston and put a screwdriver in to make sure it was TDC
See photos describing visuals
Timing marks are where they should be. I did notice a notch in the the gears also faced each other
Here you can see pulley boss timing mark facing top or 12 oclock
Here is the screwdriver at TDC
I then secured both cams with an adjustable wrench and wrench clamped down by a vise grip to ensure that they would not move when I removed the belt and worked on the other stuff. My dad gave me the idea and I had also seen it on another post
Notice the top of the belt has a bit of slack
I made marks on the belt to match to the new one and this should ensure the belt is properly mounted.
I had to remove the motor mount in order to remove the belt!
Since I was replacing the water pump I drained the coolant. The drain plug is under the radiator a plastic Phillips head screw. I unscrewed the radiator cap to allow the coolant to flow freely
At this point I removed the idler, tensioner, water pump and crankshaft seal.
Reassembly
Installed new crankshaft seal and water pump.
Installed new idler pulley
I matched the old belt to the new and painted the marks on the new belt from the old belt making sure all the teeth were properly aligned
I installed the new belt matching the marks on the gears
Belt with marks
New belt on. Note marks on belt and gears
Then I proceeded to install the tensioner. I did not tighten tensioner until you hook up the spring.
Then with an allen wrench in the tensioner I applied the most pressure towards the ensuring there was no slack anywhere on the belt. Once it was tightened, I repositioned the allen wrench again to apply more pressure, loosened the tensioner and applied more pressure then tighten the tensioner again
Be sure to take note of the position of the spring before removal since I believe it goes on a certain way.
Then I proceded to reassemble everything back in the reverse order.
Its always a good idea to either label everything or take pics for reference.
Old belt.
Im wondering if this is the original belt?
Here are all the old parts replaced
This is to be used as reference at your own risk. This is how I did it and it may help someone trying to save a few buck and do it themselves. Take your time as you and have patience and in the end it will pay off.
Last edited:
")