fc3schick87
Member
- :
- mazda 3, rx7, mazda 2
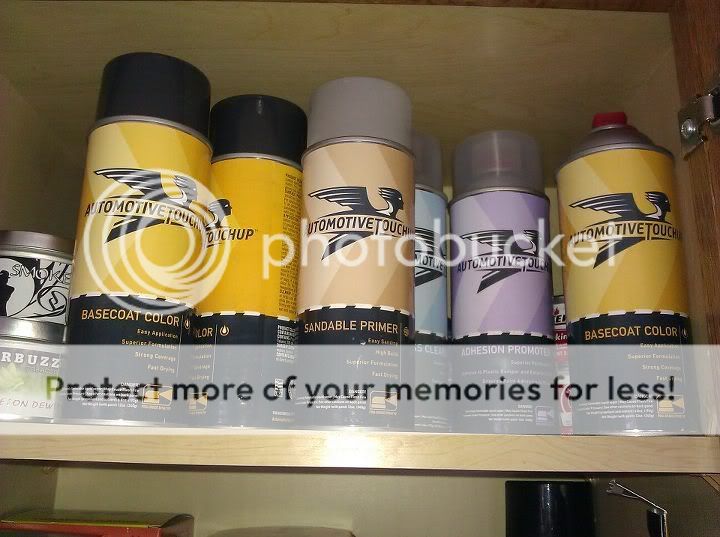
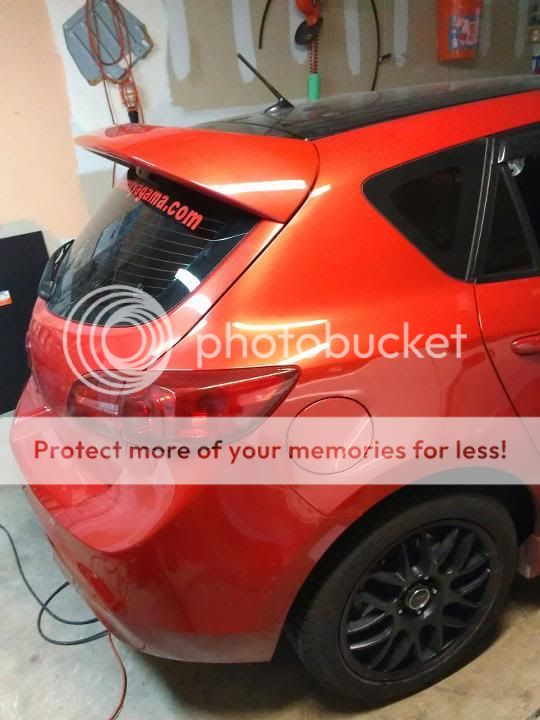
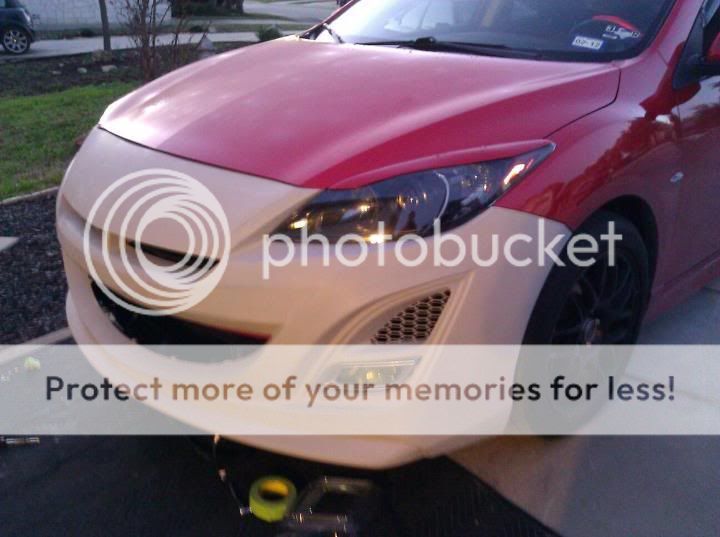
with this site, http://www.automotivetouchup.com/ you can purchase your factory paint in aerosol form.
read their site well, their site explains exactly what to do.
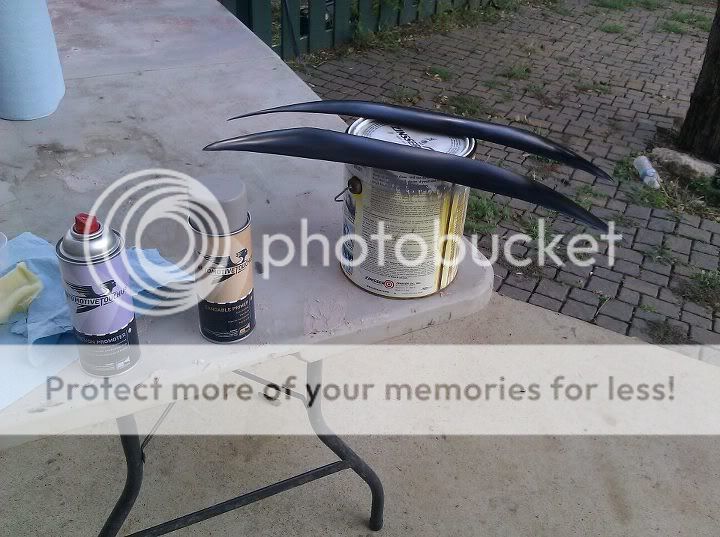
for plastic parts:
start by using a gray scuff pad with some dawn dish soap (or scuffstuff but its expencive) to remove waxes and oils from molding process
use rubbing alcohol mixed 50% with water and wipe down part
use a tack cloth lightly to remove lint and dust do not press down on tack cloth you do not want to leave wax behind
use one light dusting layer of Adhesion promoter, this layer is a "Speckle" coat , this layer SHOULD NOT coat the entire piece, but rather, dust it.
apply a 2nd layer of adhesion promoter after waiting 10 min. this coat is a light speckle coat and should not be applied to heavy.
let adhesion promoter dry for 30 min (or as specified on the can always follow the instructions on the can)
applying to much adhesion promoter will cause cracking and splitting of the primer.
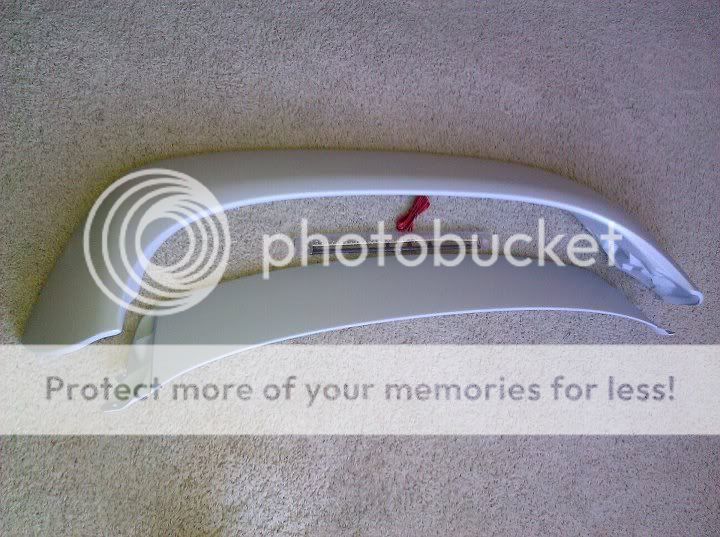
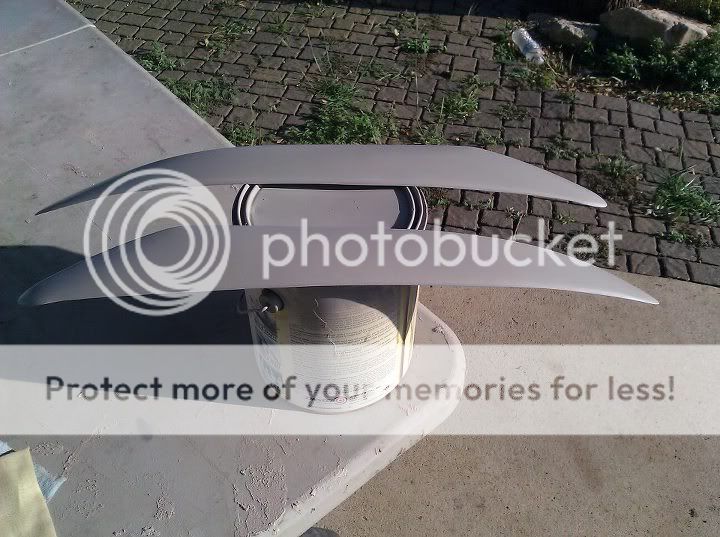
apply gray primer(or red or black) following the instructions on the can waiting 5-10 min between coats. apply 2-3 coats.
wait 15-30 min to sand primer
wet sand with water, and 800 grit until smooth, do not cut threw primer to expose plastic. if you expose to much plastic just re-coat with a coat of primer and lightly sand smooth
prep area with alcohol once more, use tack cloth. let dry completely
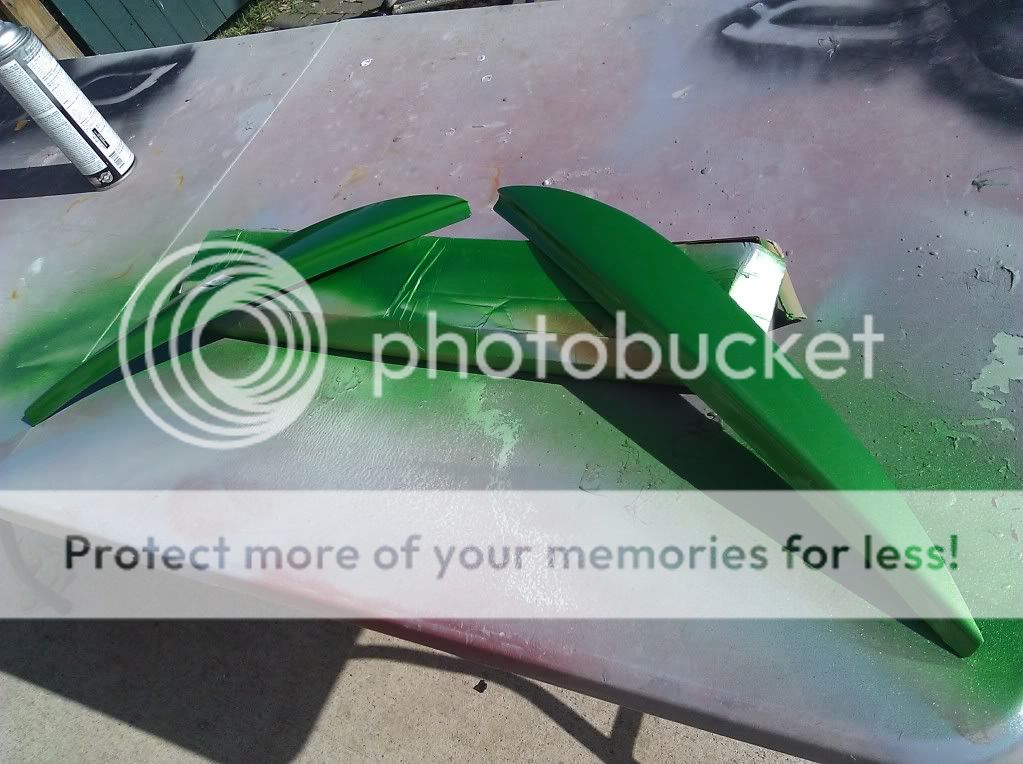
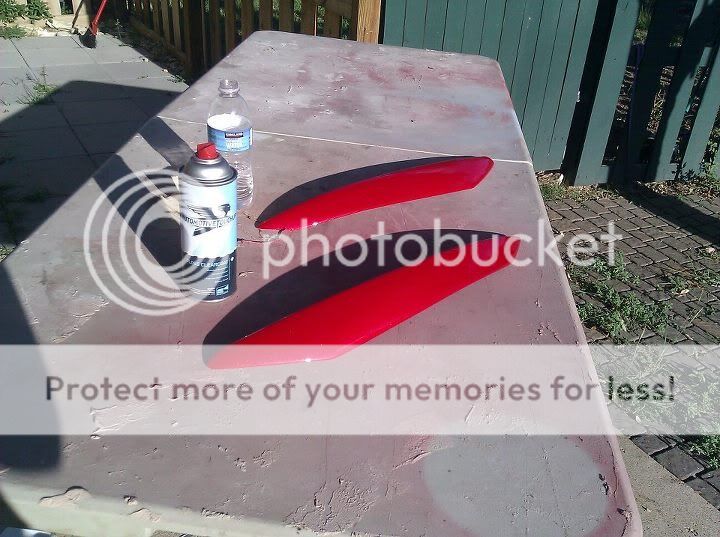
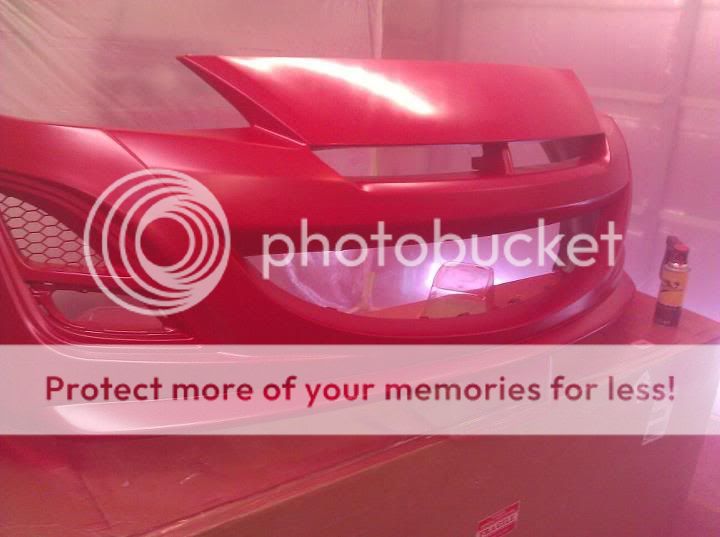
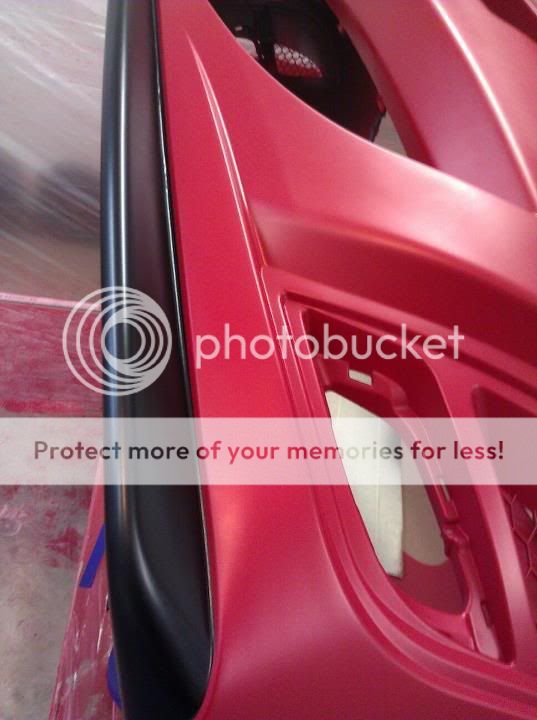
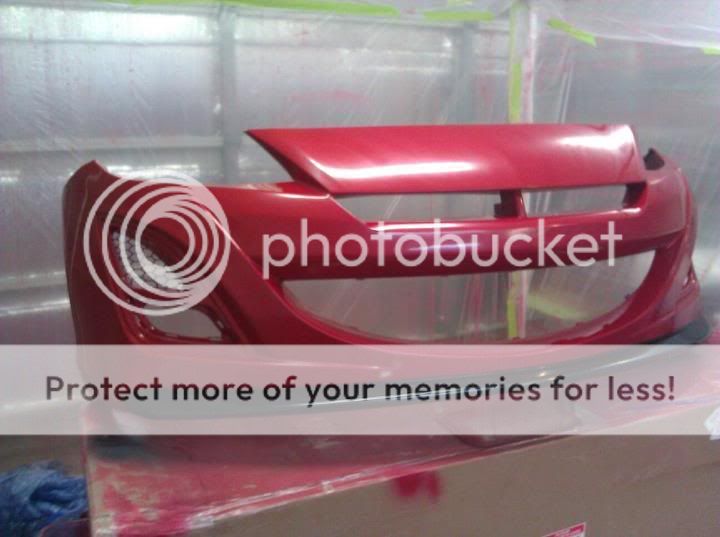
COLOR! color coat the part 3-6 medium coats. waiting 5-10 min between coats
final color coat should be a light dusting, to "Toss on" the metalic flake. this will literally dust metalic flake onto the surface these flakes are necessary for proper paint match.
wait 30 min at least prior to clear coat.
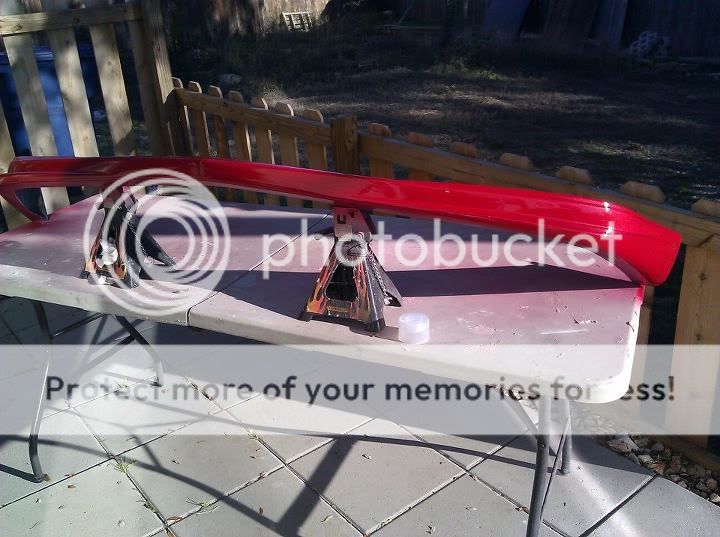
Urethane CLEAR COAT:
the clear coat from automotivetouchup is very tacky, it stays wet a very long time, because of this you will not have to worry about "dry application" or "over spray" if working with in the time frame indicated on the can, 5-10 min between each coat.
apply a medium/thin coat of clear. cover entire part well but do not over-apply the first coat of clear. wait 10 min.
after 10 min apply 2nd coat of clear, this may be even lighter then the first coat. this 2nd coat will "melt" into the first coat. wait another 10 min
after 10 min, apply a 3rd coat of clear, do NOT over apply this coat, runs or sags may occur if the clear coat is to wet, and to heavy. to prevent this make sure to apply medium/thin coats.
let part sit for 20-90 min depending on temperature and humidity before you may handle them. clear coat will remain soft for about 8-12 hours or longer depending on temperature or humidity. clear coat may look "white" or "cloudy" if applied to thick, or if applied when it was to humid. this "white cloudy" look will dry, do not worry.
if you get a bug, or debris in your clear coat : use a tooth pick, or a folded piece of tape and remove the item out of the clear coat. apply another layer of clear to "fill in" and blend the affected area. wet sanding and buffing may be required after 24 hours.
what you will need:
sand paper 600 and 800 wet/dry
gray scuff pad
dawn dish soap or scuff stuff (if painting an exposed plastic part)(if using scuff stuff use latex gloves this stuff will burn your skin)
rubbing alcohol
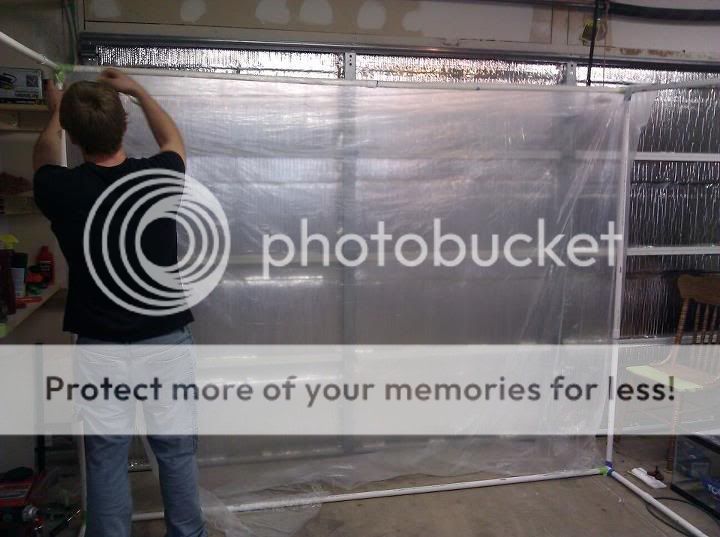
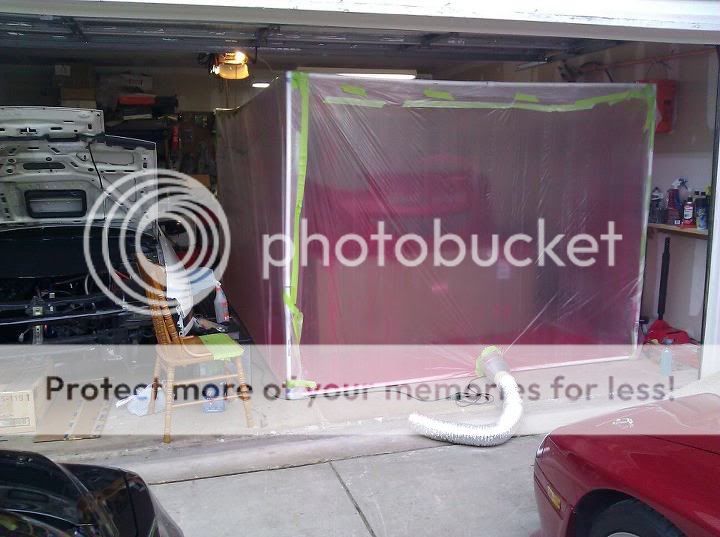
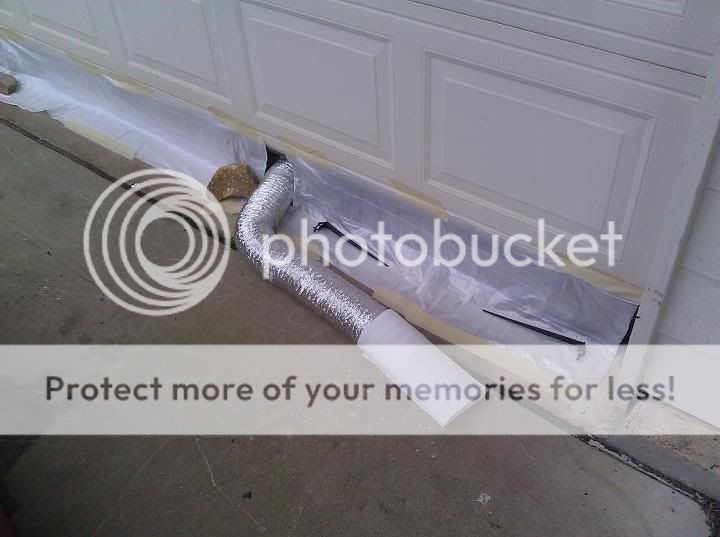
RESPIRATOR! (extremely important for indoor garage jobs or larger jobs)
tack cloth
Aerosol Spray Can Trigger (very important for ease of application theirs is superior to the ones found locally in lowes home depot or autoparts stores)
adhesion promoter (if painting directly onto plastic)
primer (for filling in minor imperfections on plastic parts and creating a smooth surface to paint on)
color coat
2k urethane clear spraymax (acrylic lacquer clear coat will go dull quickly and wont hold its shine)
read their site well, their site explains exactly what to do.
for plastic parts:
start by using a gray scuff pad with some dawn dish soap (or scuffstuff but its expencive) to remove waxes and oils from molding process
use rubbing alcohol mixed 50% with water and wipe down part
use a tack cloth lightly to remove lint and dust do not press down on tack cloth you do not want to leave wax behind
use one light dusting layer of Adhesion promoter, this layer is a "Speckle" coat , this layer SHOULD NOT coat the entire piece, but rather, dust it.
apply a 2nd layer of adhesion promoter after waiting 10 min. this coat is a light speckle coat and should not be applied to heavy.
let adhesion promoter dry for 30 min (or as specified on the can always follow the instructions on the can)
applying to much adhesion promoter will cause cracking and splitting of the primer.
apply gray primer(or red or black) following the instructions on the can waiting 5-10 min between coats. apply 2-3 coats.
wait 15-30 min to sand primer
wet sand with water, and 800 grit until smooth, do not cut threw primer to expose plastic. if you expose to much plastic just re-coat with a coat of primer and lightly sand smooth
prep area with alcohol once more, use tack cloth. let dry completely
COLOR! color coat the part 3-6 medium coats. waiting 5-10 min between coats
final color coat should be a light dusting, to "Toss on" the metalic flake. this will literally dust metalic flake onto the surface these flakes are necessary for proper paint match.
wait 30 min at least prior to clear coat.
Urethane CLEAR COAT:
the clear coat from automotivetouchup is very tacky, it stays wet a very long time, because of this you will not have to worry about "dry application" or "over spray" if working with in the time frame indicated on the can, 5-10 min between each coat.
apply a medium/thin coat of clear. cover entire part well but do not over-apply the first coat of clear. wait 10 min.
after 10 min apply 2nd coat of clear, this may be even lighter then the first coat. this 2nd coat will "melt" into the first coat. wait another 10 min
after 10 min, apply a 3rd coat of clear, do NOT over apply this coat, runs or sags may occur if the clear coat is to wet, and to heavy. to prevent this make sure to apply medium/thin coats.
let part sit for 20-90 min depending on temperature and humidity before you may handle them. clear coat will remain soft for about 8-12 hours or longer depending on temperature or humidity. clear coat may look "white" or "cloudy" if applied to thick, or if applied when it was to humid. this "white cloudy" look will dry, do not worry.
if you get a bug, or debris in your clear coat : use a tooth pick, or a folded piece of tape and remove the item out of the clear coat. apply another layer of clear to "fill in" and blend the affected area. wet sanding and buffing may be required after 24 hours.
what you will need:
sand paper 600 and 800 wet/dry
gray scuff pad
dawn dish soap or scuff stuff (if painting an exposed plastic part)(if using scuff stuff use latex gloves this stuff will burn your skin)
rubbing alcohol
RESPIRATOR! (extremely important for indoor garage jobs or larger jobs)
tack cloth
Aerosol Spray Can Trigger (very important for ease of application theirs is superior to the ones found locally in lowes home depot or autoparts stores)
adhesion promoter (if painting directly onto plastic)
primer (for filling in minor imperfections on plastic parts and creating a smooth surface to paint on)
color coat
2k urethane clear spraymax (acrylic lacquer clear coat will go dull quickly and wont hold its shine)
Last edited: