
Mazda6smtx
Member
- :
- 2004 Mazda 6
The much-anticipated Koni front shock installation:
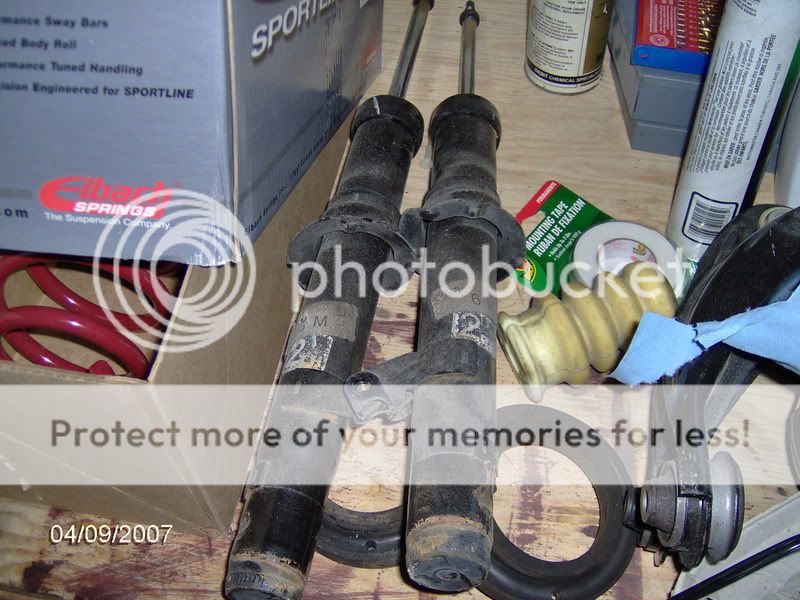
Here you have your stock shocks with the springs and spring perch removed.
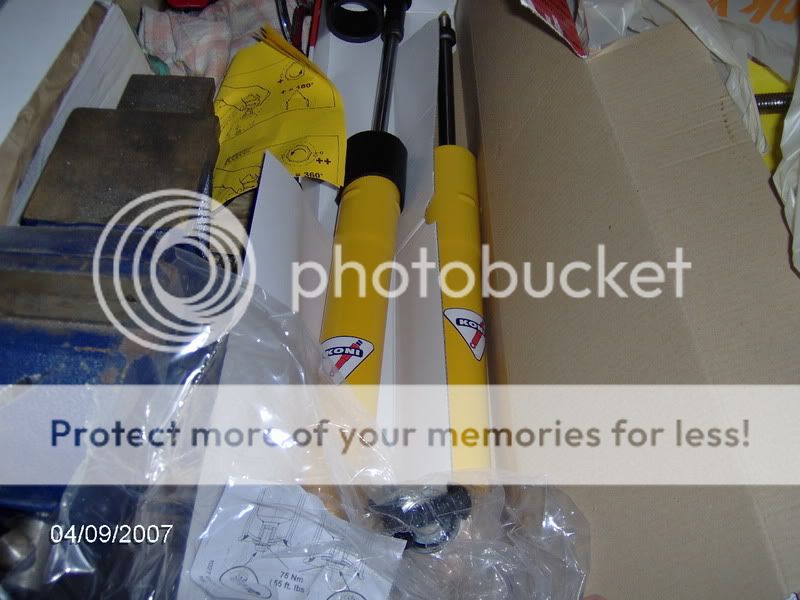
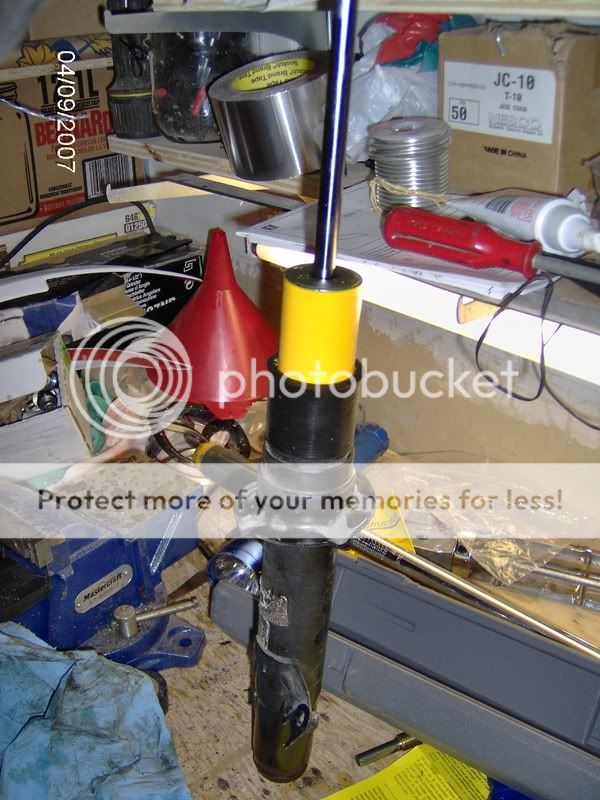
Here you have the Koni yellow shocks.
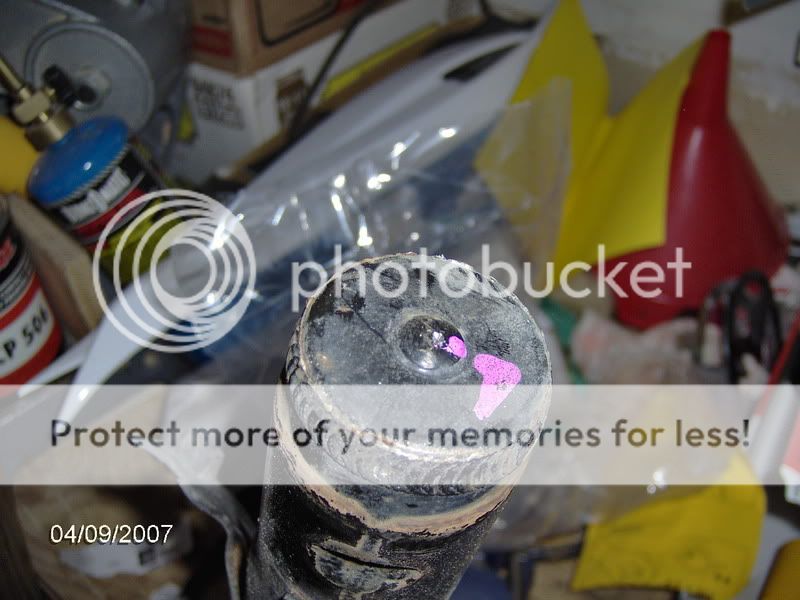
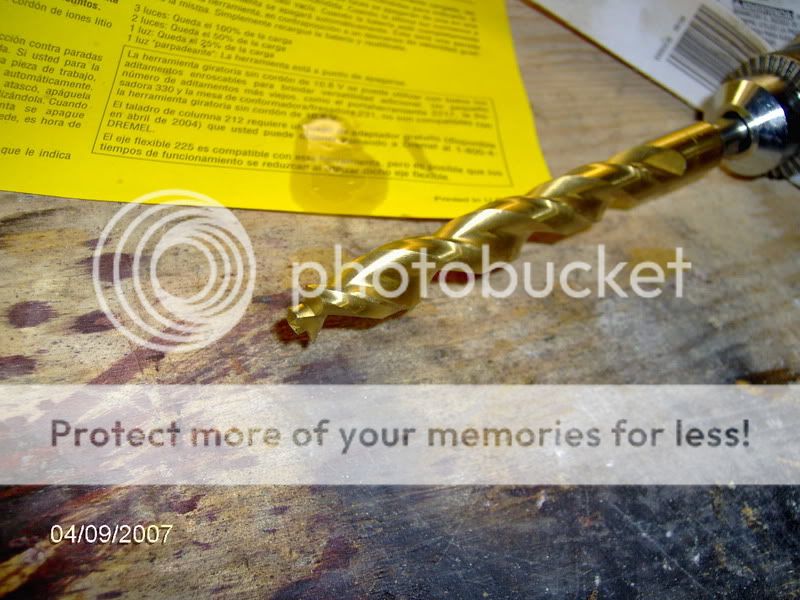
Let’s begin, use a centre punch (or a small tap) and mark the centre of the bottom of the shock.
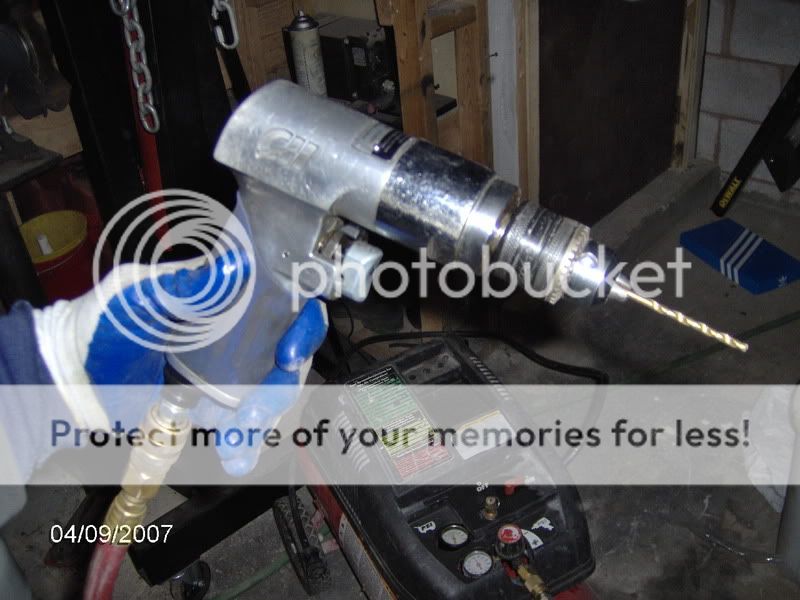
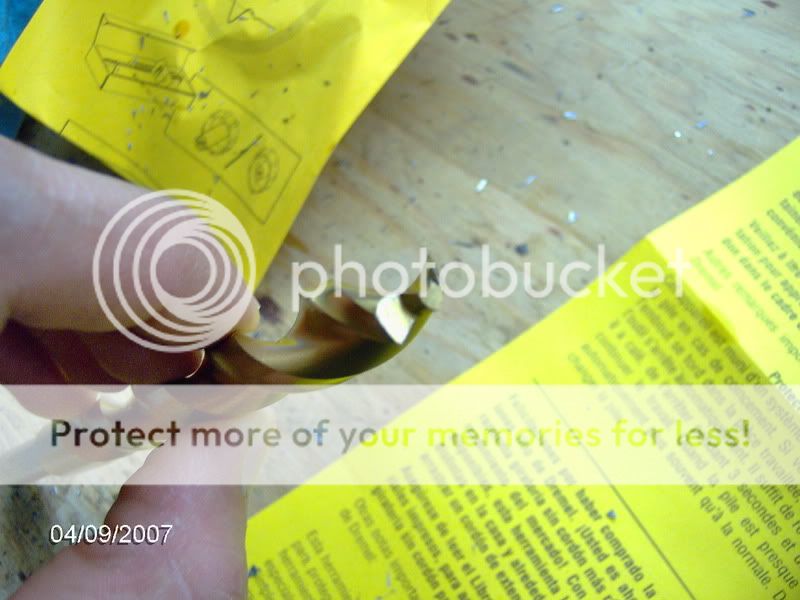
Use a 1/8” drill bit and drill in the punched hole. You will know when to stop because the shock oil will start spraying out. If you have drilled for a while and you believe you are at the end, turn the shock over to see if anything comes out.
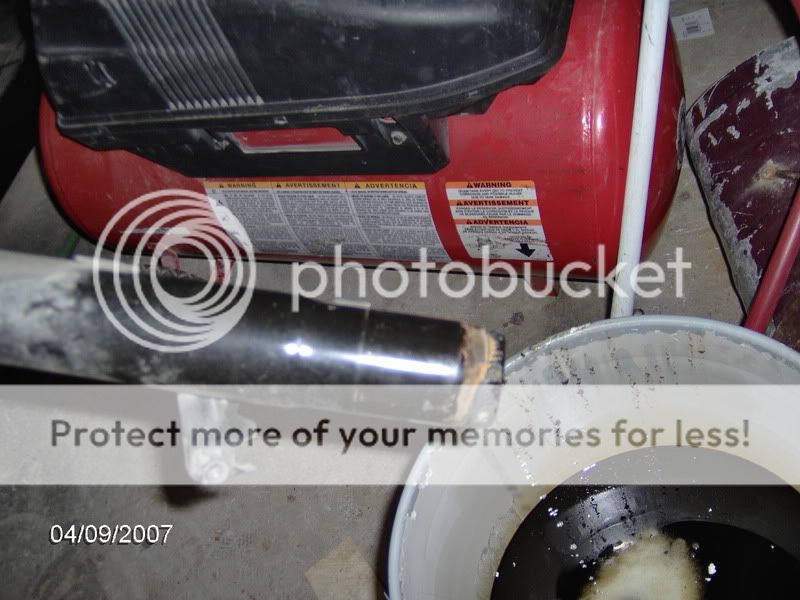
When you are sure that you are through turn the shock over and empty the oil into a bucket. Pump the shock several times to ensure that all of the oil comes out. Don’t throw out the oil just let it will come in handy.
Now as per the Koni instructions mark a line 50mm from the top of the shock.
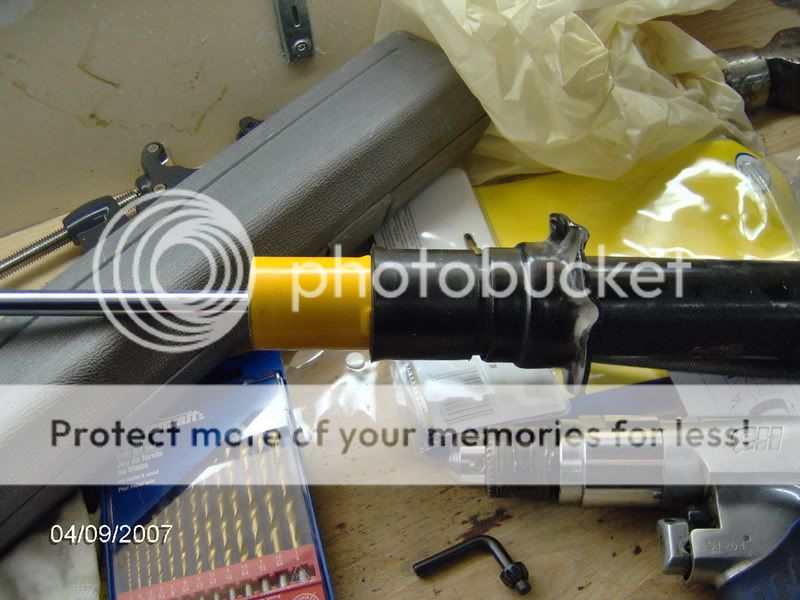
Use a pipe cutter pictured here to cut along the line. You will need one that will cut at least a 2” pipe. I bought this one for $25 at The Home Depot. For those of you who have never used a pipe cutter let me explain. Tighten the pipe cutter around the shock so there is just barely any resistance. Turn the pipe cutter 1 turn around the shock. Tighten the pipe cutter by turn and repeat. Continue doing this until the shock breaks open.


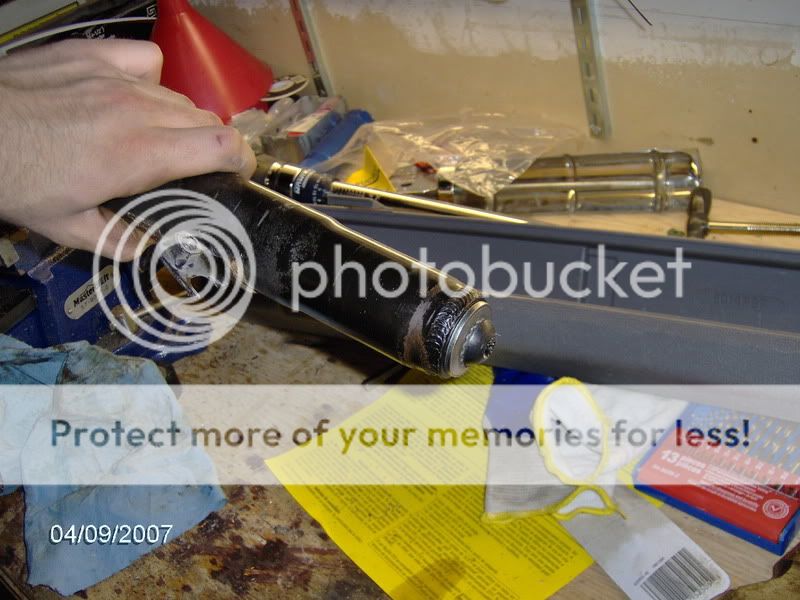
Remove the piston for inside the housing.

Use a tapered bit to drill out the drain hole to ”, I bought this Dewalt bit and it made everything super easy, again this was purchased at The Home Depot. Use the shock oil to lubricate the drill bit. If you do this properly and don’t push on the bit let it do the work. Drill for 5 seconds and then lube, if you do this correctly it will look like you have never used the bit. In which case you can try to return it after you are done. LOL.

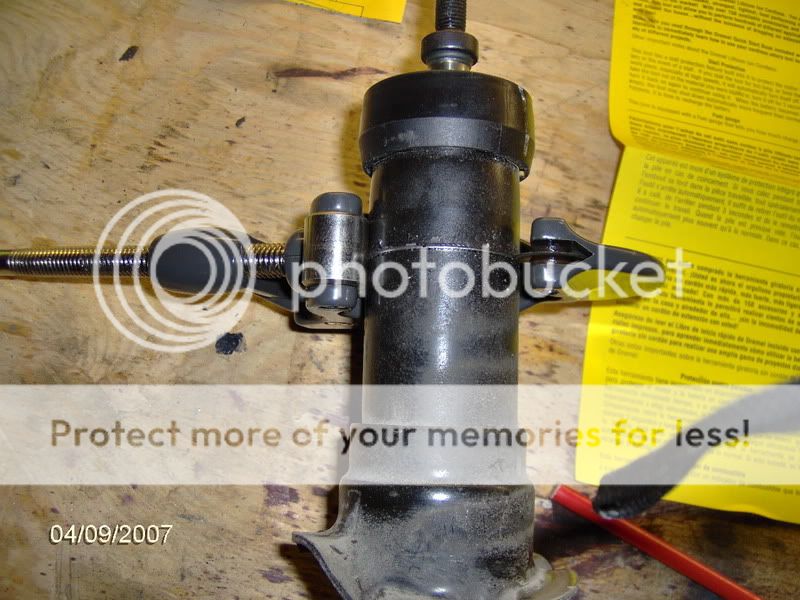
Slide the rubber sleeve over the shock housing and as far down as it will go. Take the Koni shock and insert it into the housing. This will require a bit of force, I just banged the shock housing will the insert against the workbench and after a few times everything was tight and snug. Pull the rubber sleeve until it is over the lip of the shock housing and the shock this will prevent any dirt from entering the sides of the housing. (Although it’s pretty tight I don’t think it needs this but hey, they give it to you so why not)
Once the shock is full inserted into the housing screw in the bottom bolt, it’s a 8mm Allen key which is to be torqued to 55 ft*lbs.
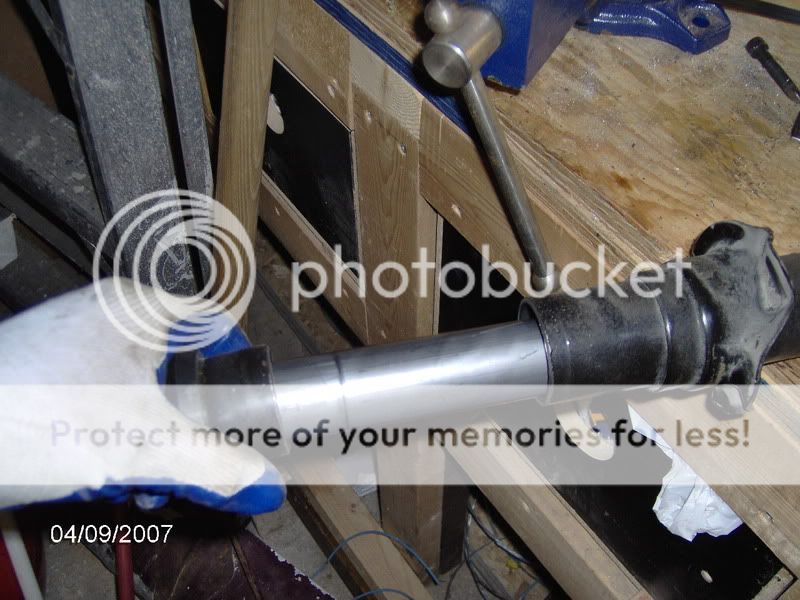
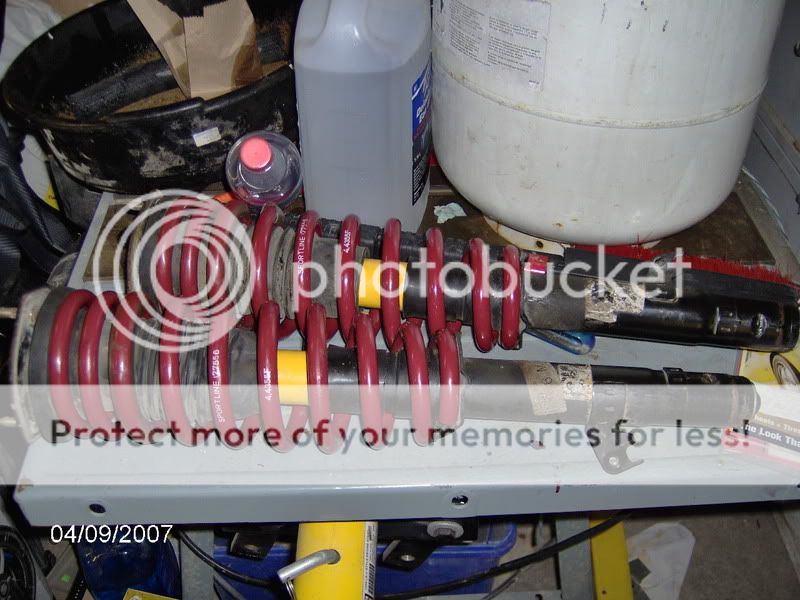
Here is photo of the final product.
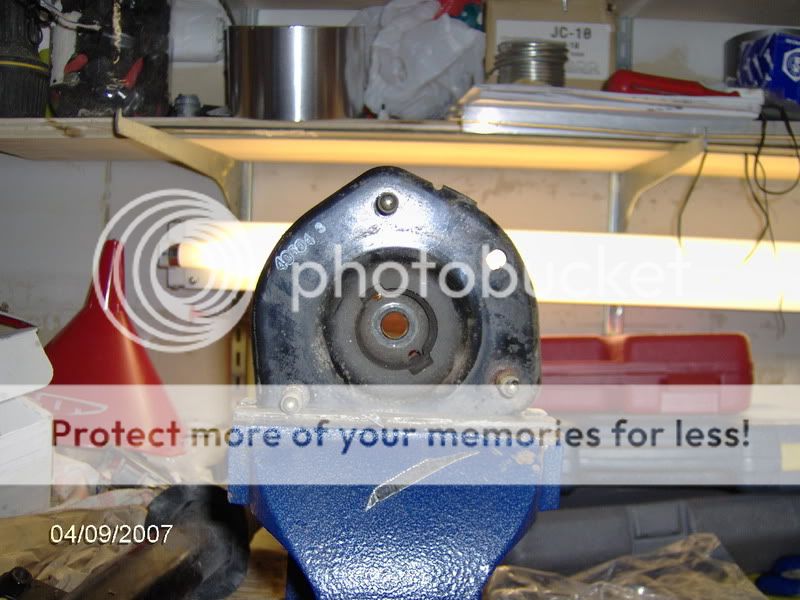
Now I have an 04 V6 MTX Sedan, and I found that my spring perches were too small, for the shock to fit through. So that had to be drilled out to a ” hole. Once this was done the springs and everything was installed perfectly.
Here is a picture of the finished product.
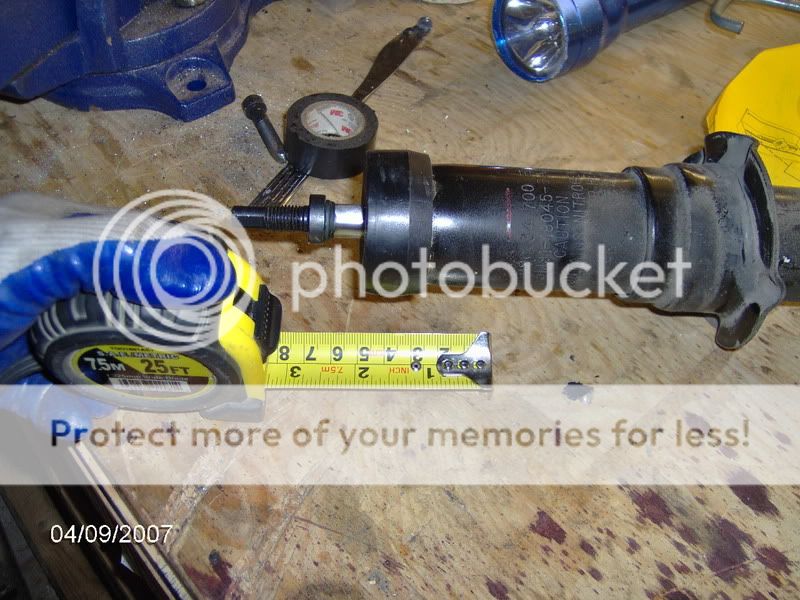
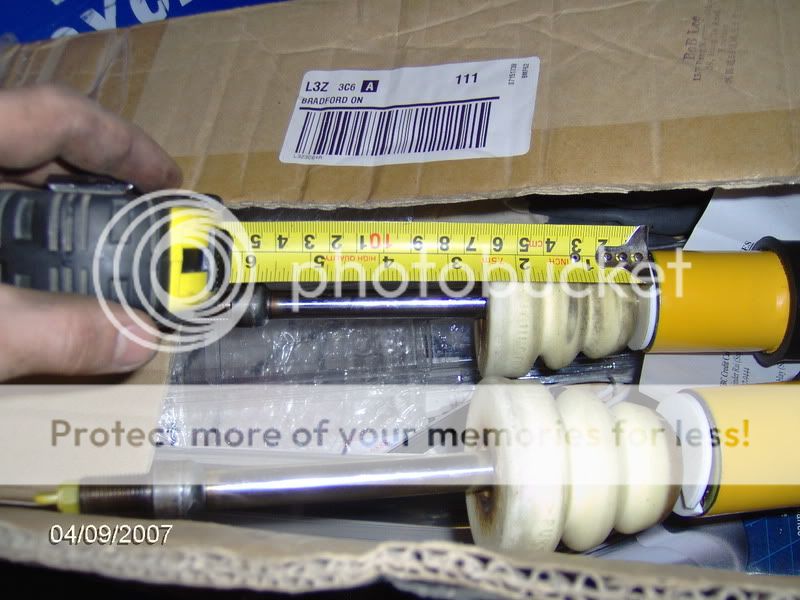
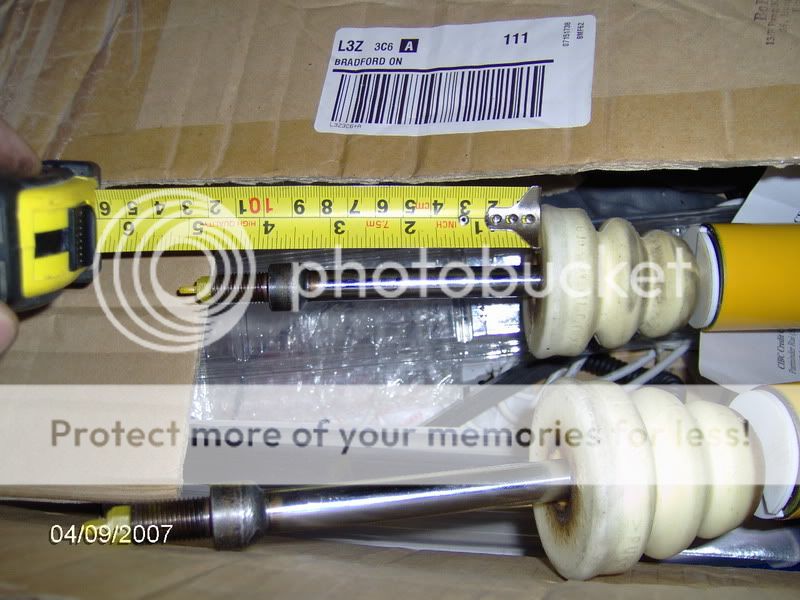
Here are some measurements of the travel on these shocks.
Here you have your stock shocks with the springs and spring perch removed.
Here you have the Koni yellow shocks.
Let’s begin, use a centre punch (or a small tap) and mark the centre of the bottom of the shock.
Use a 1/8” drill bit and drill in the punched hole. You will know when to stop because the shock oil will start spraying out. If you have drilled for a while and you believe you are at the end, turn the shock over to see if anything comes out.
When you are sure that you are through turn the shock over and empty the oil into a bucket. Pump the shock several times to ensure that all of the oil comes out. Don’t throw out the oil just let it will come in handy.
Now as per the Koni instructions mark a line 50mm from the top of the shock.
Use a pipe cutter pictured here to cut along the line. You will need one that will cut at least a 2” pipe. I bought this one for $25 at The Home Depot. For those of you who have never used a pipe cutter let me explain. Tighten the pipe cutter around the shock so there is just barely any resistance. Turn the pipe cutter 1 turn around the shock. Tighten the pipe cutter by turn and repeat. Continue doing this until the shock breaks open.
Remove the piston for inside the housing.
Use a tapered bit to drill out the drain hole to ”, I bought this Dewalt bit and it made everything super easy, again this was purchased at The Home Depot. Use the shock oil to lubricate the drill bit. If you do this properly and don’t push on the bit let it do the work. Drill for 5 seconds and then lube, if you do this correctly it will look like you have never used the bit. In which case you can try to return it after you are done. LOL.
Slide the rubber sleeve over the shock housing and as far down as it will go. Take the Koni shock and insert it into the housing. This will require a bit of force, I just banged the shock housing will the insert against the workbench and after a few times everything was tight and snug. Pull the rubber sleeve until it is over the lip of the shock housing and the shock this will prevent any dirt from entering the sides of the housing. (Although it’s pretty tight I don’t think it needs this but hey, they give it to you so why not)
Once the shock is full inserted into the housing screw in the bottom bolt, it’s a 8mm Allen key which is to be torqued to 55 ft*lbs.
Here is photo of the final product.
Now I have an 04 V6 MTX Sedan, and I found that my spring perches were too small, for the shock to fit through. So that had to be drilled out to a ” hole. Once this was done the springs and everything was installed perfectly.
Here is a picture of the finished product.
Here are some measurements of the travel on these shocks.
Last edited:
") The Koni instructions were a little confusing. I noticed however on the Koni instructions, under "Mazda 6" it said to cut the housing at 45mm from the top, not 50mm. I have a Mazdaspeed 6, so I am not sure if I have the same ones or not, or if there are even other types of Koni yellows. The instructions give measurements for a ton of cars (BMW, "Porshe", Hyundai, Nissan, Mitsubishi, Mazda 6) and each one of them have different measurements on where to cut the housing. I suppose I should play it safe and cut at 45mm like the instructions say, then if that doesn't work cut it for 50mm like you did?
The Koni instructions were a little confusing. I noticed however on the Koni instructions, under "Mazda 6" it said to cut the housing at 45mm from the top, not 50mm. I have a Mazdaspeed 6, so I am not sure if I have the same ones or not, or if there are even other types of Koni yellows. The instructions give measurements for a ton of cars (BMW, "Porshe", Hyundai, Nissan, Mitsubishi, Mazda 6) and each one of them have different measurements on where to cut the housing. I suppose I should play it safe and cut at 45mm like the instructions say, then if that doesn't work cut it for 50mm like you did?