HID Conversion and Projector Lamps

lacklustre484

Member
:
2002 Mazda Protege5
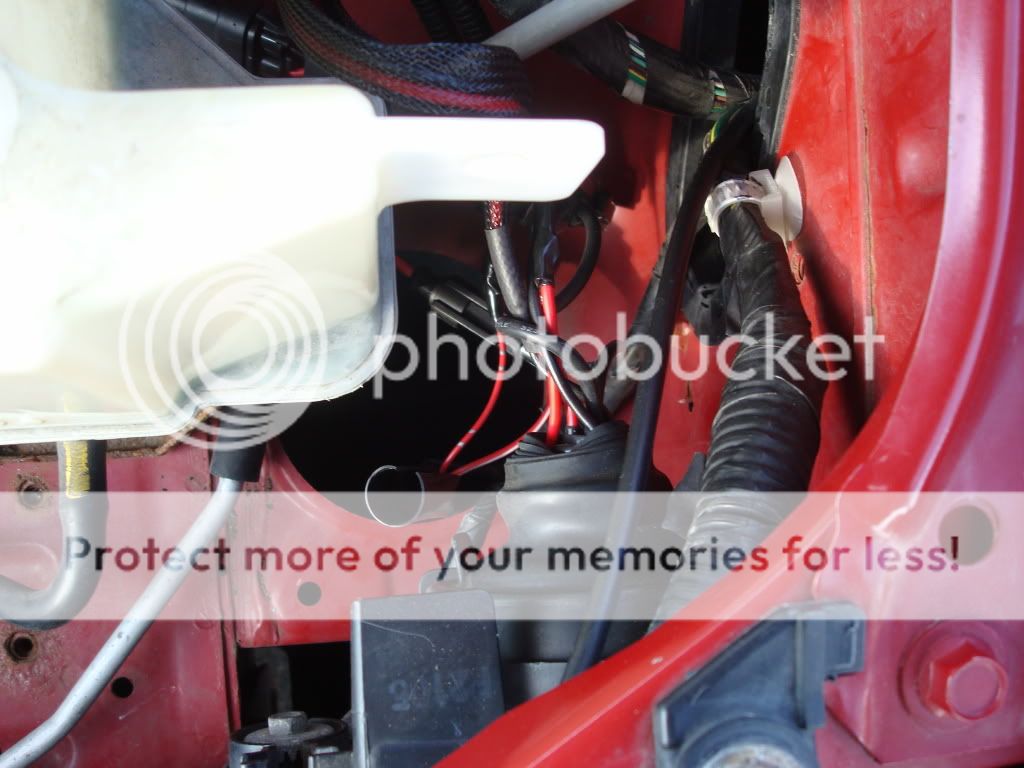
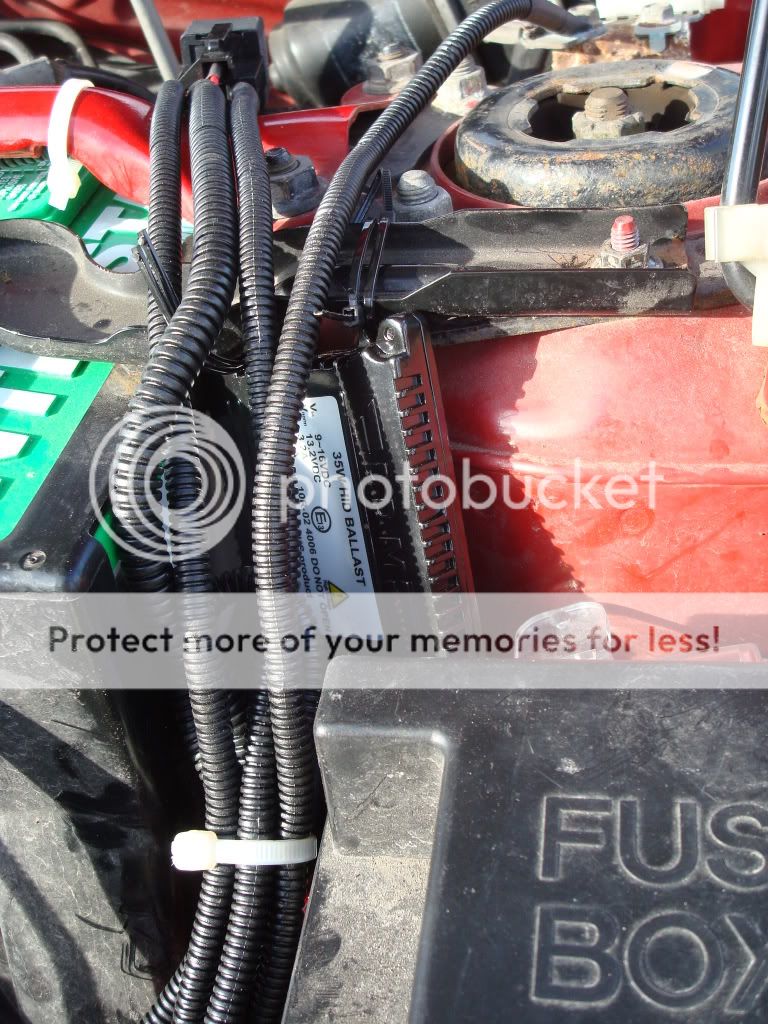
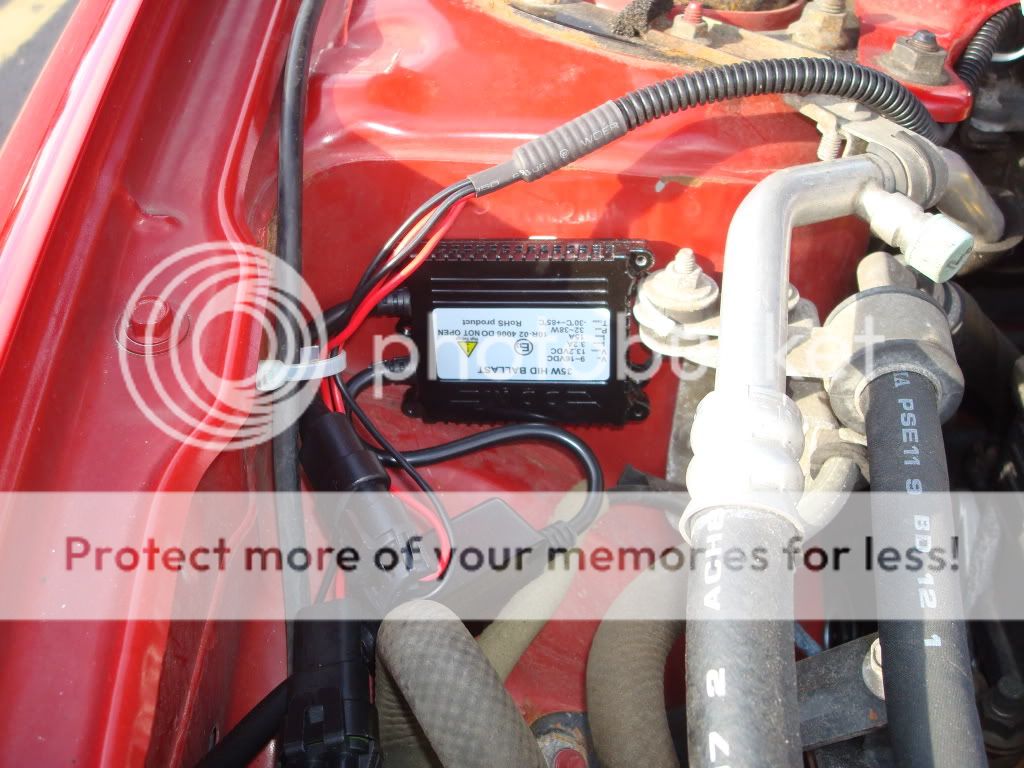
I'm considering installing an HID conversion kit and I'm worried about the bulbs not projecting properly. Does anyone have experience with HID conversion kits on the Pro5? Where did you get them, what brand and are you satisfied? Did you use a projector headlamp or stock? Where did you get your projector headlamp? Sorry to ask a lot of questions, I want to do this right the first time around and I thought this would be the best place.
 
I too have been considering the switch.

Most of the conversions I've seen just use the stock headlamps and aim them significantly lower.

There are a couple people on this forum with projectors, but they are entirely custom... so you can pretty much get whatever you want since the projectors have to be hand built into the system. I think what I've seen is mostly Acura TL projectors with a ton of fiberglass work to get them into modded headlamp enclosures...

You can do a search, there's already a lot of information on this subject in the forum.
 
Thanks, I've been trying to condense all the information found on the forum, but there is some conflicting information and not enough opinion input of how satisfied people are with them. Just hoping to solicit more information.
 
Honestly the HID's in the factory housings aren't bad at all, I quite enjoy mine. Our housings actually produce a pretty decent cutoff, I've noticed this as I've drived along side a concrete barrier on the highway.
 
I've seen quite a few anti-HID posts on here. Just make sure if you do a conversion that the lights are set so you are not blinding other people w/ them at night. Nothing is worse than driving in front of a non-factory HID equipped vehicle at night with their aftermarket HIDs blinding you. Not to mention, illegal.
 
I've seen quite a few anti-HID posts on here. Just make sure if you do a conversion that the lights are set so you are not blinding other people w/ them at night. Nothing is worse than driving in front of a non-factory HID equipped vehicle at night with their aftermarket HIDs blinding you. Not to mention, illegal.

Illegal? I thought that law went away a few years ago. Do you have a reference for that?
 
I've seen quite a few anti-HID posts on here. Just make sure if you do a conversion that the lights are set so you are not blinding other people w/ them at night. Nothing is worse than driving in front of a non-factory HID equipped vehicle at night with their aftermarket HIDs blinding you. Not to mention, illegal.

eh just aim them down a little problem solved... I have ran across the same issue with stock lights. The issues isnt from the conversion but from being improperly aimed or not even aimed at all.
 
I went with the conversion kit found at ddmtuning.com. Very sweet. Easy to install. Required a little modification of the spacer they included, but other than that it was a very quick and easy install - even for electrical-illiterate me.
 
DSC00807.jpg

DSC00808.jpg

DSC00809.jpg

DSC00811.jpg


What we have here are 35 watt 5000K headlights from DDM Tuning and stock Sylvania fog lamps for comparison. I'll get my equiptment out in the spring to take the bumper off and do the fog lights. Too cold to do work outside for long in the midwest already :(
 
DSC00813.jpg

DSC00816.jpg

DSC00818.jpg

DSC00819.jpg

DSC00822.jpg

DSC00825.jpg


This required slight modification of the dust covers and the spacer that came with the set, so let me know if you guys have questions and I can give a description of how I did it (not that I did it the right way). Also, if anyone is considering this set, I'd recommend the "accessory wiring harness" that you have the option to order extra. I tried it with and without. Without, when you turn your lights on, they flash on then dim down and warm up to a normal color over about 20 seconds. If you have the accessory wiring harness hooked up the same thing happens, but in about 2 seconds. If you have to go somewhere in a hurry and don't have time to let them warm up, its worth it.
 
Nice! at first you said you got the 5000k, then you mentioned them as 6000k, which is it?

are the 6000k's purple-ish or more blue-ish?

were they $40 for a pair or $40 each?

please give some details on how the install went, I'm very interested :)
 
Nice! at first you said you got the 5000k, then you mentioned them as 6000k, which is it?

are the 6000k's purple-ish or more blue-ish?

were they $40 for a pair or $40 each?

please give some details on how the install went, I'm very interested :)

My bad - They were 6000K. It was the DDM brand, so they were $65 for the set of them, and it was $20 for the accessory wiring cable.

Here are the basics of the installation:
The set is actually made for a BMW. On a BMW, a square spacer bracket is needed to hold the bulb in place and the dust covers cover the ENTIRE back side of the head LAMP, not the port to insert a BULB as they do on the PR5. So, the only way to make the wire clip that holds the bulb in place is to leave the spacer on the bulb (the instructions will direct you to cut it off- don't). What I did was used a set of needle-nosed pliers to cut off the corners of the spacer and then slid it up to the bulb. Then, I inserted the bulb and the wire clamp fit around the spacer perfectly. Next, (although you should probably do this first, I worked backwards and spent extra time on this because of it) - when you remove your existing light bulbs, there is no need to cut off the wires from the wiring harness to tie into the new connectors for the ballasts. Instead, use a very small flat-headed screw driver and you will see a plastic clip inside of the plastic bracket holding the female wire connectors in the bracket. Unclip them and the female wire connectors come out the back side of the plastic bracket. Insert the male type plugs for the ballast into the female plugs you just unclipped from the bracket. Now, the trick here is that since these kits are built for a BMW, on a BMW the wires for the lights are inside the lamp and underneath the dust cover. Take a look at the closeup of the dust covers. You can see out the back where the wires are coming there are the wires that are taped together (those are the stock female plugs after being connected) and a set of 4 wires which are held in place by a rubber grommet. Once you get the kit you'll be able to see how the wires you just hooked into the stock clips don't even need to be in the rubber grommet, but since they are designed for a BMW, they would be. Next, loop the wires so they come out the dust cover and then push the rubber grommet into the back of the dust cover as hard as you can to form a seal and plug up the back side of the grommet. Thus, you now have a water-tight seal and your wires fit in place perfectly. This may not be the right or best way to do this, but it worked just fine for me. If you found a better way, be sure to let everyone else know. Also, if you can't picture it the way I described it and you're on the fence, just order a set - you'll understand once you have it in front of you. Also, one thing I screwed up on is to watch the polarities of the wires! I went through 4 sets of fuses before I realized on the driver's side that the striped wire was not the positive (as it so commonly is on many other things). Good luck and let me know if you need any more pics or info.
 
That's a damn lot of wiring. I'm glad I got the 35W Raptor kit, didn't come with the BS power and grounding kit.
 
Back