- :
- 2016 CX-5 Sport FWD Auto
I was inspired to write this up as a supplement to Seminole's Hardwiring a Valentine 1 - his write up is very good (and appreciated) and has a lot better instructions in routing the wire, but it's from 2013 and I just wanted to clarify some things I ran into with my 2016.
As usual - I'm not responsible for any damage you cause to your vehicle in using these instructions - so be careful.
I'm using a mobius action cam (from www.buymobius.com) and an installation kit from TheDashcamStore. I'm not affiliated with either of these sites or products. That being said, I'm of a fan of the installation kit just because it's a brand new car and I didn't want to go and screw up the electrical.
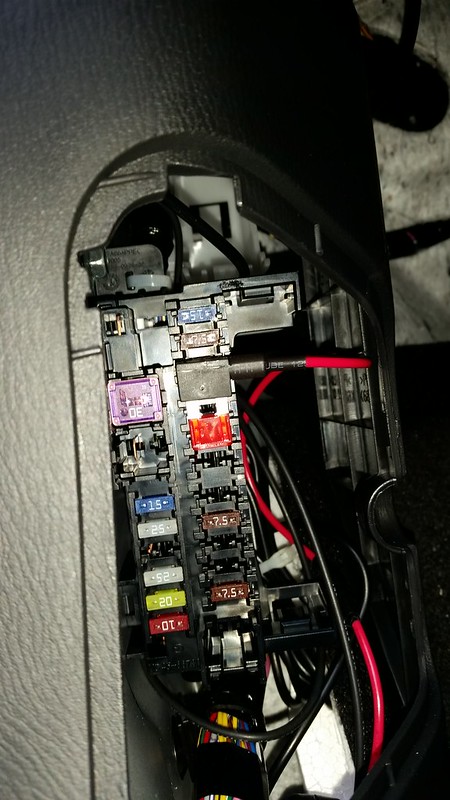
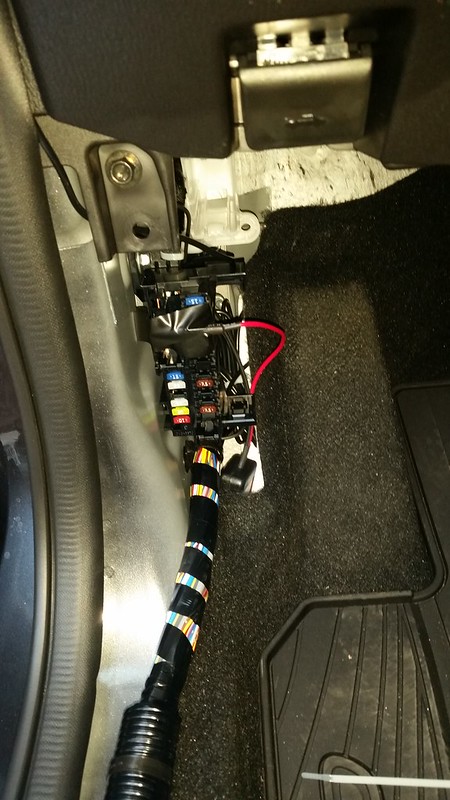
First, I disconnected the negative lead from the battery*. I did this to avoid any shorts and shocks, but also because I needed to install a ground which required unscrewing the fuse panel.
* Whenever you disconnect the battery, things such as the automatic power window may need to be reset. For the window see page 3-33 in the owner's manual.
I followed the 2013 CX-5 Service Manual - Body and Accessories to remove the trim on my 2016.
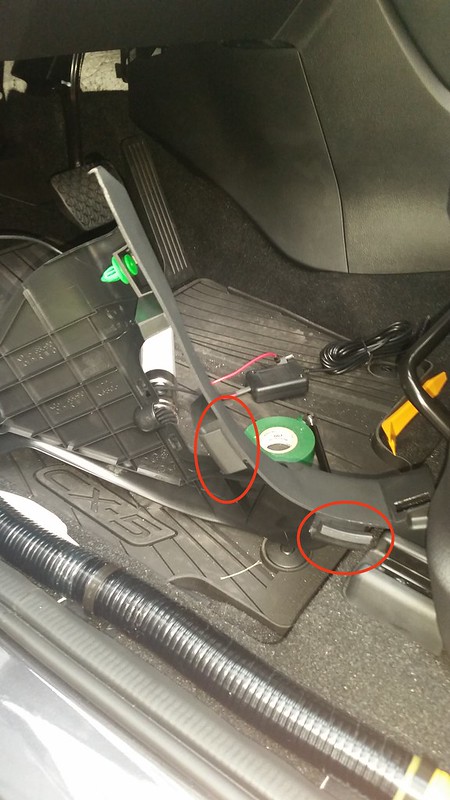
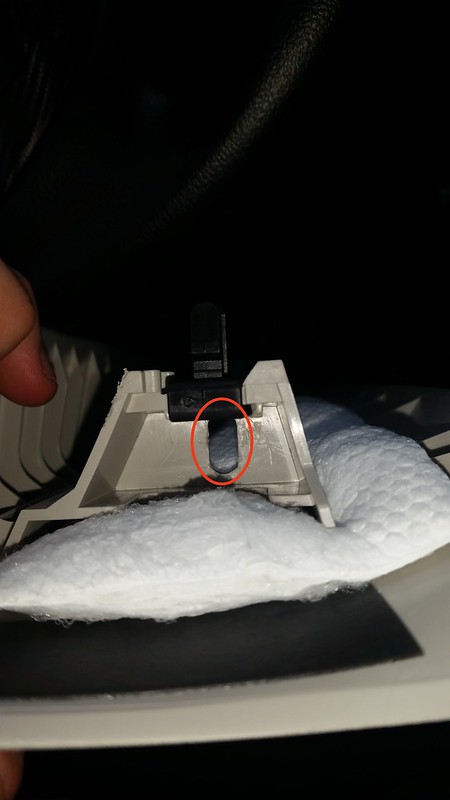
The scuff plate was exactly as described. The front side trim, however, had two hooks that weren't described in the manual -
(click to view larger)
These two hooks seemed like they hooked up under the gasket and I popped them out by pressing down on them. The instructions just say slide the piece toward you, but it didn't seem like it was going to come out without finagling with those clips. I needed to remove that to get clean access to the bolt holding the fuse panel to the frame, so I could unscrew the bolt and put the ground at the frame. You can probably do this without removing the trim, but I was afraid of breaking something.
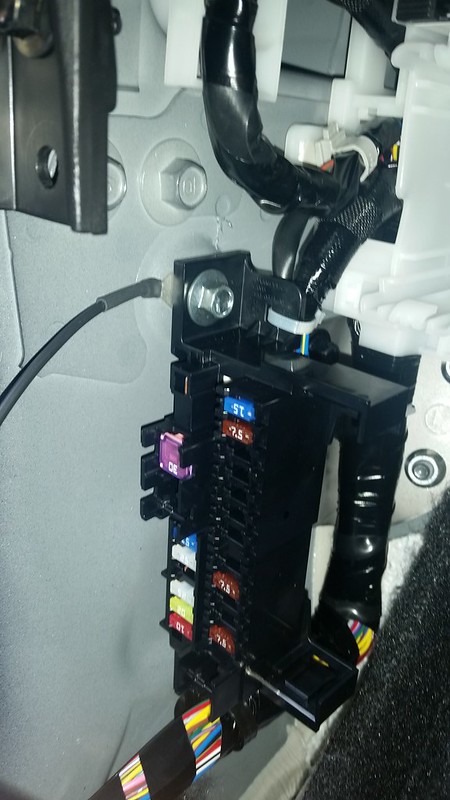
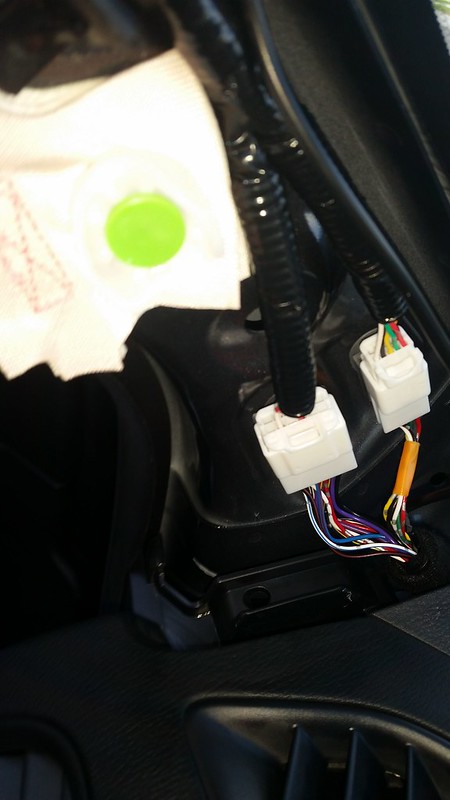
Here's where I first tested for power to the camera.
The removal of the A-Pillar discussed cutting a lead wire connecting the B Clip and grommet.
I managed to slip this out of the hole in trim -
But, it's near impossible to reinstall the trim with that thing in the way, so just cut it. It's plastic and I wouldn't call it a "wire". Something I struggled with before popping the "wire" out was the clips on the bottom of the A-Pillar, I thought they had more hook to them, but they don't. Any resistance I felt was due to not removing the "wire." Anyway, here's the bottom clips on the A-Pillar -
Because I was working from the bottom to the top, I had to snake the wire behind the wire harness at the bottom of the A-Pillar, so don't forget to do that.
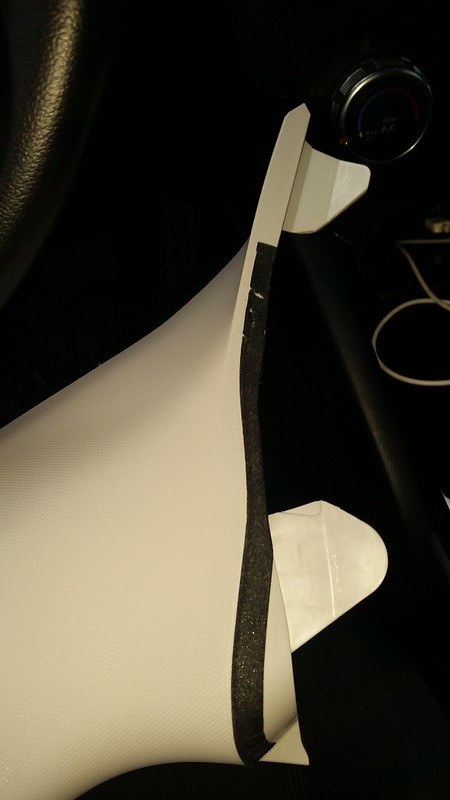
I also followed the directions in the other thread of avoiding crossing over the airbag. I ended up using zip ties to secure my wire to the wire bundle -
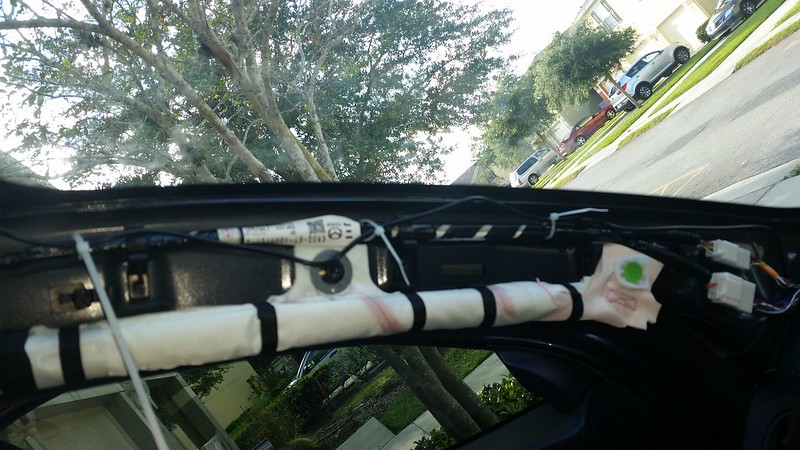
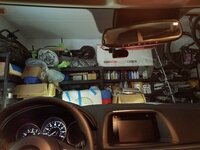
Once I did that, I actually found the header (roof?) trim is not that tight to the roof, so sliding the wire behind the lip was pretty easy. There's a gap where the rear-view mirror is on mine, but maybe that's different if you have the auto-dimming mirror if it has wires or something.
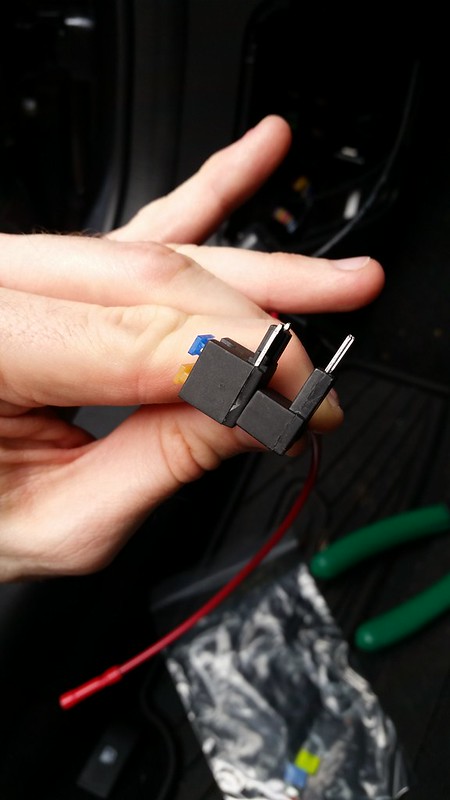
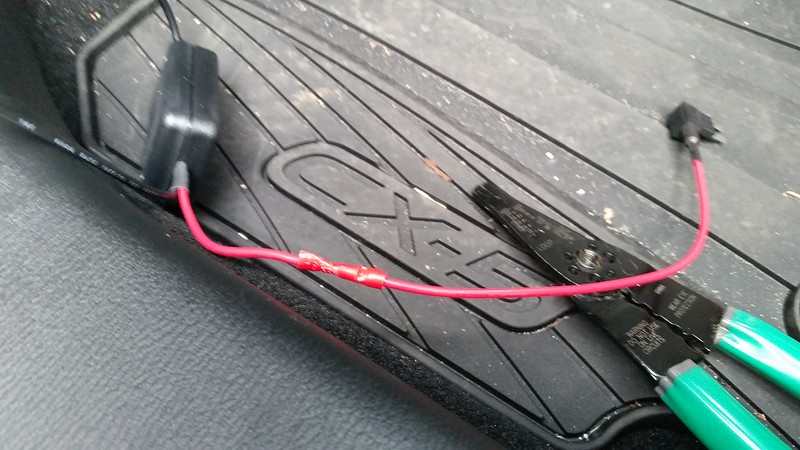
Once I got it into place, I collected the excess wire and the power module and put them under the carpet. One thing I did struggle with was that my fuse tap wouldn't stay seated in the fuse slot, so I had to use some electrical tape to secure contact and ensure it doesn't pop out while driving. YMMV
After ensuring power was still going to the camera, I put the trim back in place. The front side trim gave me problems because it seems like the two clips need to clip in behind the gasket, but if you just slide it back, they should slide into place. The A-Pillar was something I struggled with until I realized the "lead wire" was in my way and nipped it. I had to put a bit more muscle into reseating this trim than any of the other trim.
Now, the camera powers on with the car (thanks to the other thread's fuse selection) and the car is all back together.

I'm pretty proud of not breaking any plastic clips because my only other car was a 98 Camry and I could barely look at those clips without them snapping off.
Tons of thanks to Seminole and everyone that contributed to the other thread!
As usual - I'm not responsible for any damage you cause to your vehicle in using these instructions - so be careful.
I'm using a mobius action cam (from www.buymobius.com) and an installation kit from TheDashcamStore. I'm not affiliated with either of these sites or products. That being said, I'm of a fan of the installation kit just because it's a brand new car and I didn't want to go and screw up the electrical.
First, I disconnected the negative lead from the battery*. I did this to avoid any shorts and shocks, but also because I needed to install a ground which required unscrewing the fuse panel.
* Whenever you disconnect the battery, things such as the automatic power window may need to be reset. For the window see page 3-33 in the owner's manual.
I followed the 2013 CX-5 Service Manual - Body and Accessories to remove the trim on my 2016.
- Front Scuff Plate - pg 1722
- Front Side Trim - pg 1716
- A-Pillar - pg 1712
The scuff plate was exactly as described. The front side trim, however, had two hooks that weren't described in the manual -
(click to view larger)
These two hooks seemed like they hooked up under the gasket and I popped them out by pressing down on them. The instructions just say slide the piece toward you, but it didn't seem like it was going to come out without finagling with those clips. I needed to remove that to get clean access to the bolt holding the fuse panel to the frame, so I could unscrew the bolt and put the ground at the frame. You can probably do this without removing the trim, but I was afraid of breaking something.
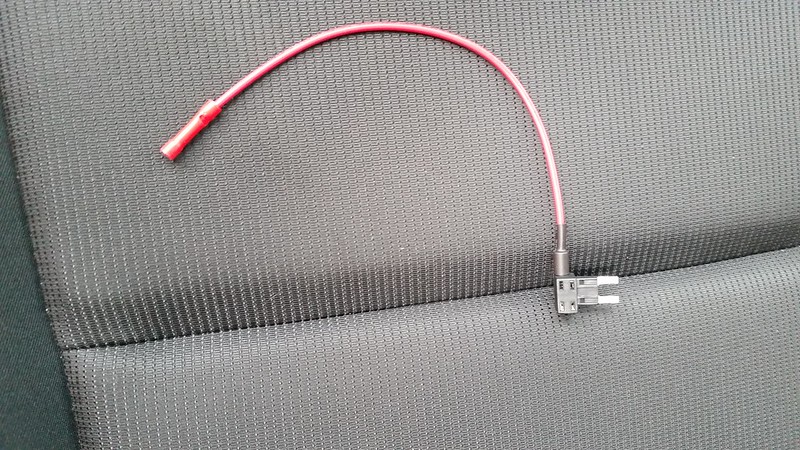
Here's where I first tested for power to the camera.
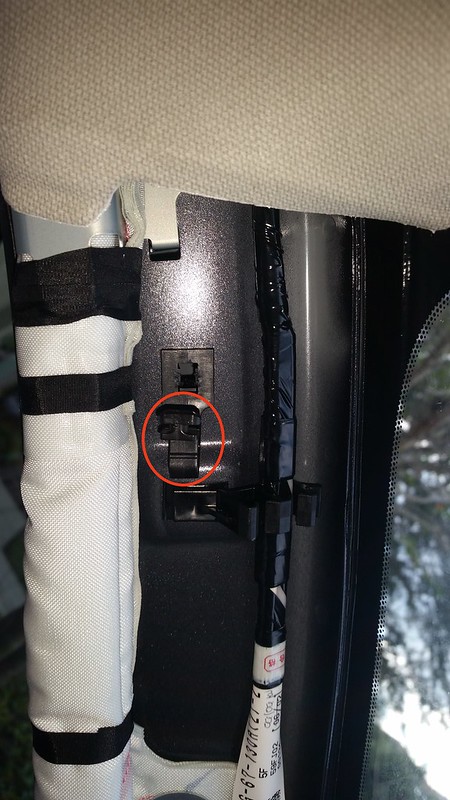
The removal of the A-Pillar discussed cutting a lead wire connecting the B Clip and grommet.
I managed to slip this out of the hole in trim -
But, it's near impossible to reinstall the trim with that thing in the way, so just cut it. It's plastic and I wouldn't call it a "wire". Something I struggled with before popping the "wire" out was the clips on the bottom of the A-Pillar, I thought they had more hook to them, but they don't. Any resistance I felt was due to not removing the "wire." Anyway, here's the bottom clips on the A-Pillar -
Because I was working from the bottom to the top, I had to snake the wire behind the wire harness at the bottom of the A-Pillar, so don't forget to do that.
I also followed the directions in the other thread of avoiding crossing over the airbag. I ended up using zip ties to secure my wire to the wire bundle -
Once I did that, I actually found the header (roof?) trim is not that tight to the roof, so sliding the wire behind the lip was pretty easy. There's a gap where the rear-view mirror is on mine, but maybe that's different if you have the auto-dimming mirror if it has wires or something.
Once I got it into place, I collected the excess wire and the power module and put them under the carpet. One thing I did struggle with was that my fuse tap wouldn't stay seated in the fuse slot, so I had to use some electrical tape to secure contact and ensure it doesn't pop out while driving. YMMV
After ensuring power was still going to the camera, I put the trim back in place. The front side trim gave me problems because it seems like the two clips need to clip in behind the gasket, but if you just slide it back, they should slide into place. The A-Pillar was something I struggled with until I realized the "lead wire" was in my way and nipped it. I had to put a bit more muscle into reseating this trim than any of the other trim.
Now, the camera powers on with the car (thanks to the other thread's fuse selection) and the car is all back together.
I'm pretty proud of not breaking any plastic clips because my only other car was a 98 Camry and I could barely look at those clips without them snapping off.
Tons of thanks to Seminole and everyone that contributed to the other thread!
Last edited: