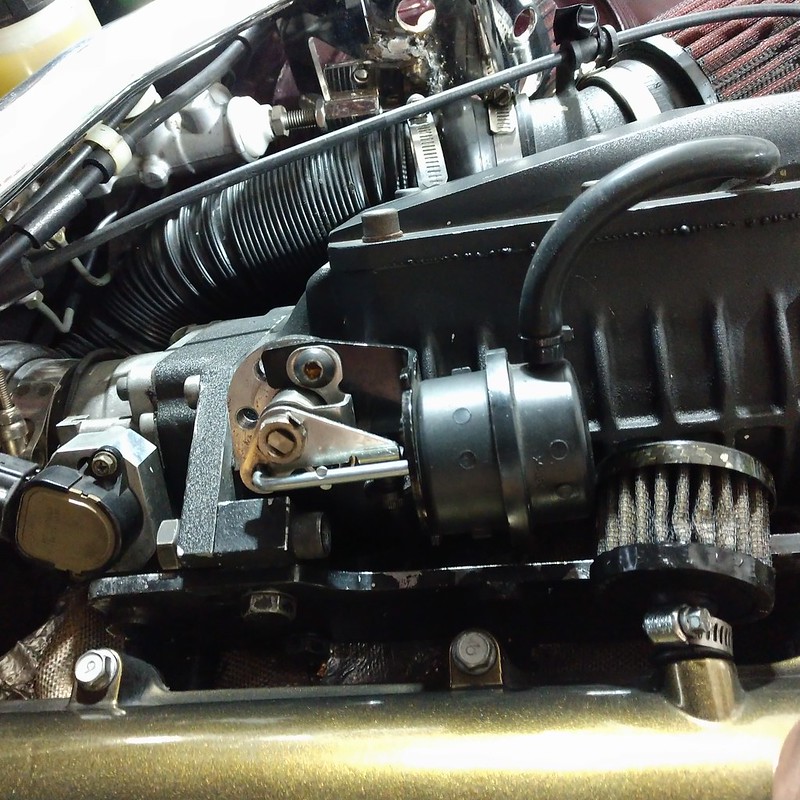
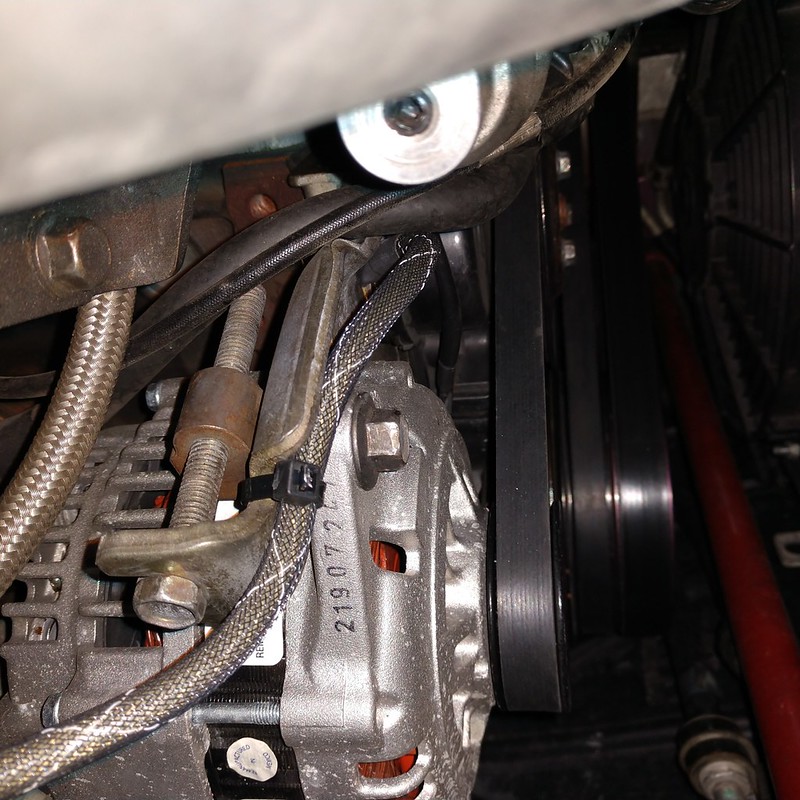
Recently there was a thread on the turbo Miata site about issues with the NB alternator with its internal voltage regulator and how it has caused problems with aftermarket ECUs. Since I have a Megasquirt and would prefer not to fry an $800 part I figured it would be a good preventive measure to ground things. Initially I was looking on Amazon for some ground straps but then remembered I had a grounding wire kit on my Mazdaspeed6 that I removed before selling. Went and picked that up yesterday, then after some measuring determined which two wires I could best use. I connected the alternator at its mounting bolt closest to the block (two birds with one stone kind of thing) and ran that to a chassis ground. For the head, I ran the wire from the rear lifting point to a chassis ground. I did have to hog out the holes on the connectors I attached to the engine/head side bolts as they were a bit too small. Dremel tool to the rescue! Here are pictures of what I’m talking about, the ground wires have black insulation with thin white stripes:

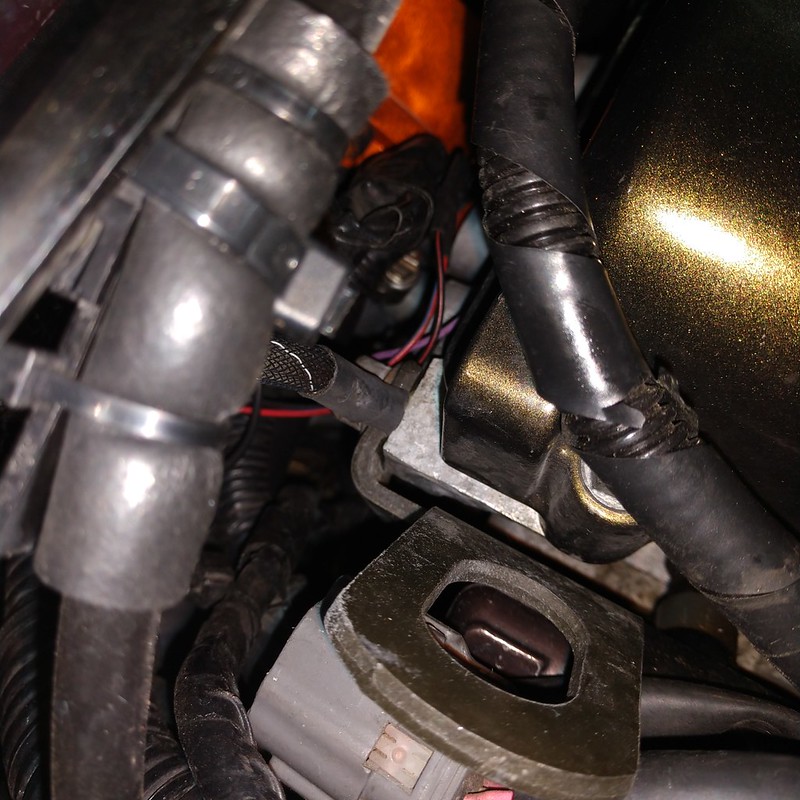
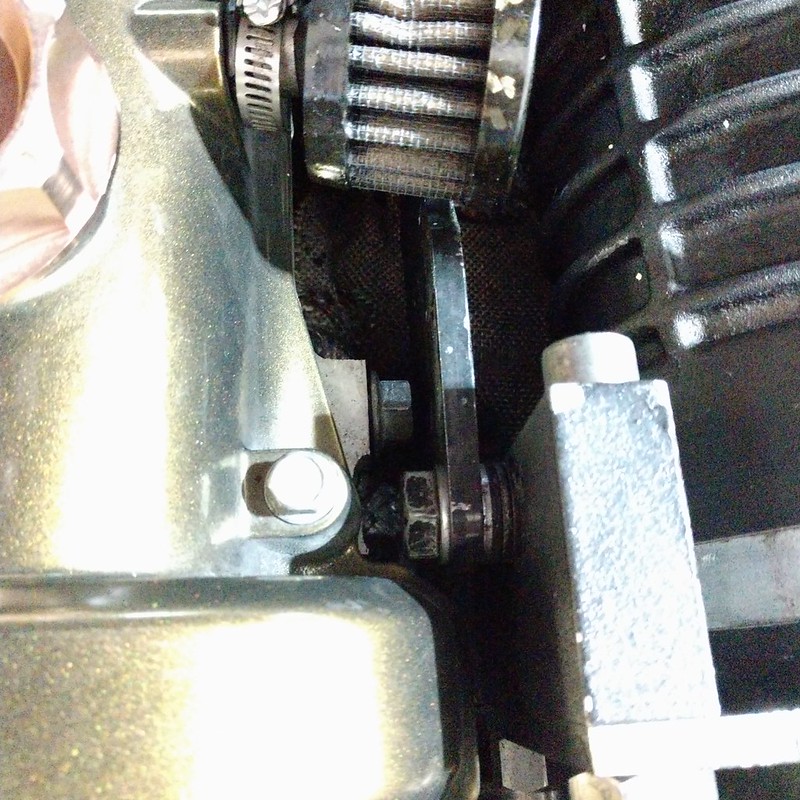
While I was determining where to run the ground wires from/to, I noticed that the bolt (which is normally used to attach the front engine lifting point to the engine) that is supposed to be hard up against the supercharger mounting bracket had set itself into the head. Haven’t seen it do that before which is why I wasn’t looking for it.
Pulled out my thin wrenches and unscrewed it until it was hard against the bracket:
I’ll take a measurement, if there is enough room to get a thin nut in there I’ll put one in to positively lock it next time I remove the supercharger.
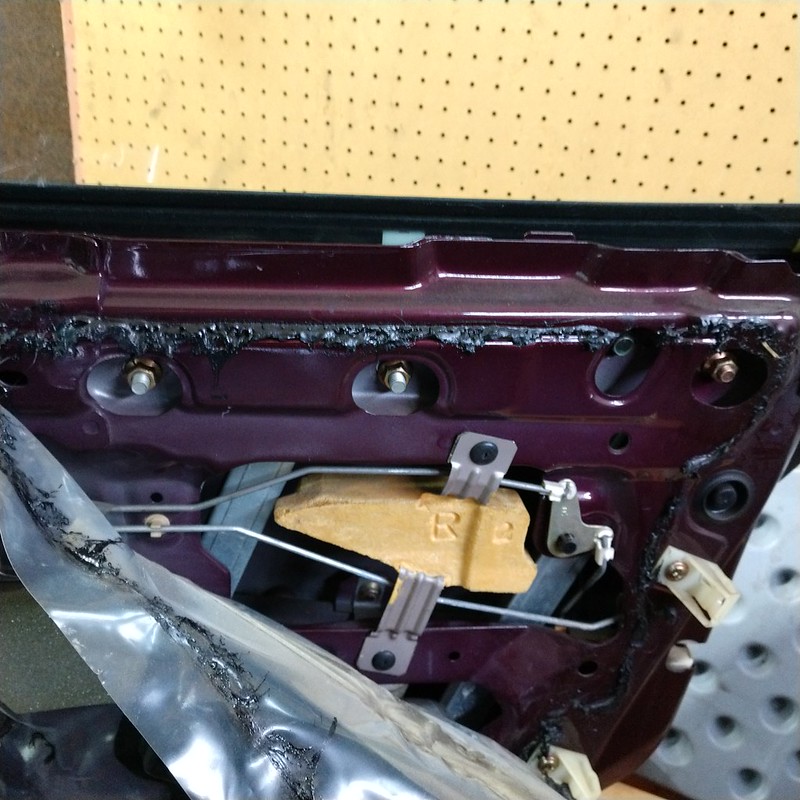
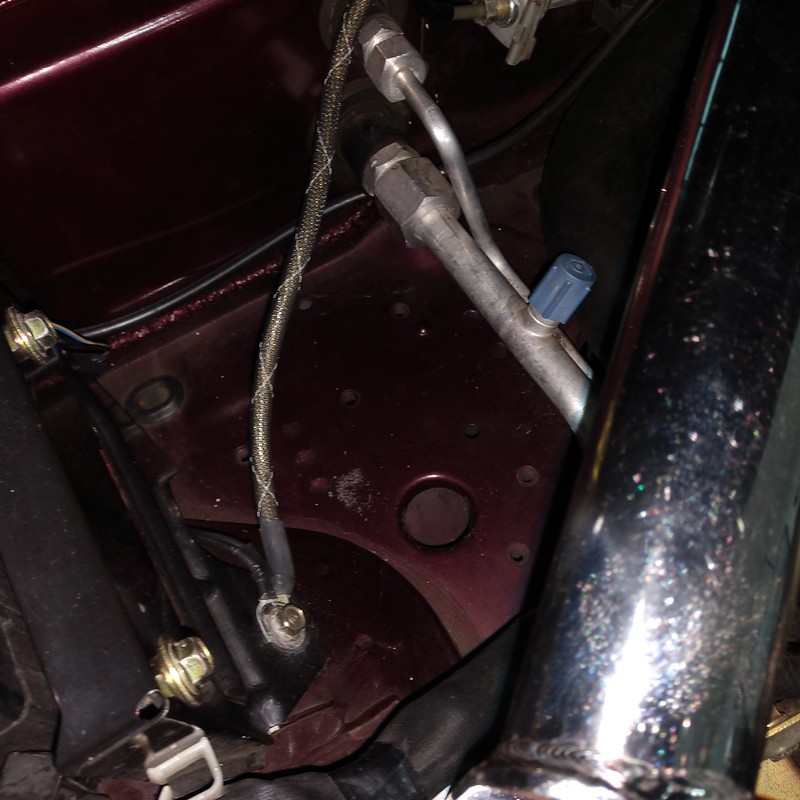
Today the weather was a bit warmer so I set about checking into a rattle I heard in the passenger door. Thought maybe the window was loose in some bracket but everything checked out. While I had the door apart I did some measuring of the clearance between the window and the top weatherstrip bracket to see if I could adjust something to get rid of the remaining slight wind noise I had from the rear of the window. The factory workshop manual has a lot of measurements to check, I only did the ones for the front-to-rear clearances. Ended up moving the window back some, you do this by loosening the upper bolts for the regulator and window guide. Those are the three gold nuts in this picture:
Ended up with the window pretty far back. It may be just a little further than recommended (the way they show the measurements in the manual are a little confusing) but I’m going to see how it sounds next time I go out with the top up.


 Just doing the bumper markers on the NC was driving me batty and took longer than it should have.