
I posted this on another forum, a couple years ago, and I just thought I'd add it here for the regular 3s. lol ")
First of all, you will need to get your appropriate tools.
Need:
Jack/Jack stand
Assorted Socket Set
Flat Head Screw Driver
Philips Head Screw Driver
22mm Deep Socket (to take off driver side front tire)
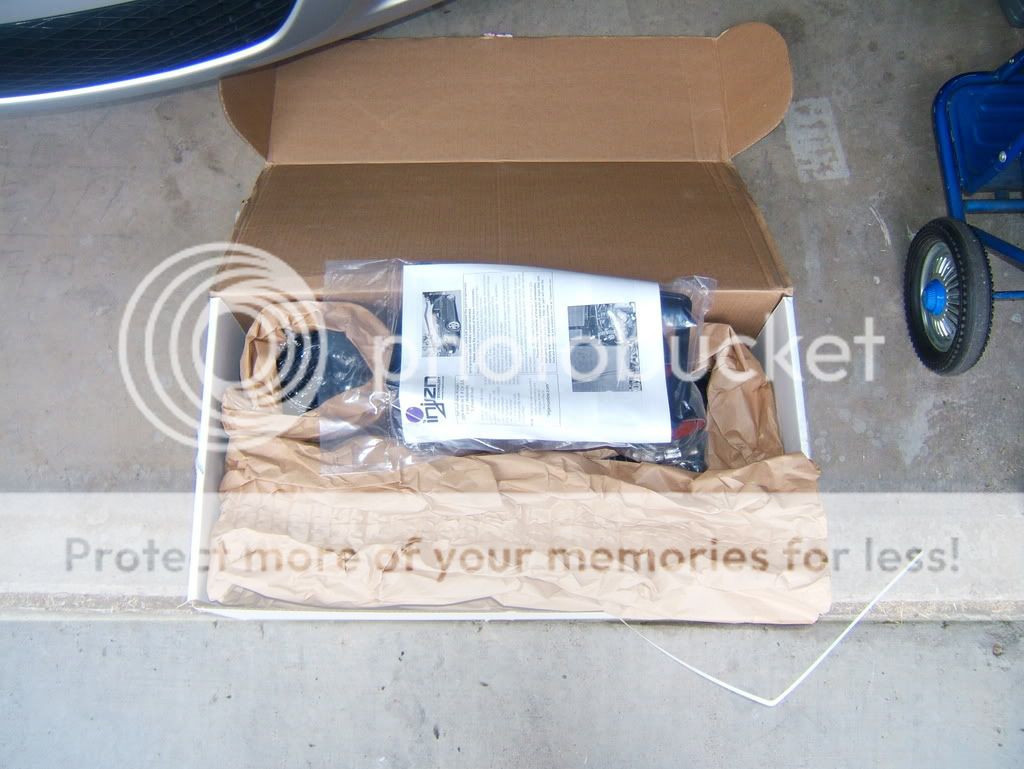
So a month later i finally get my Injen CAI...bout time too! ;-)
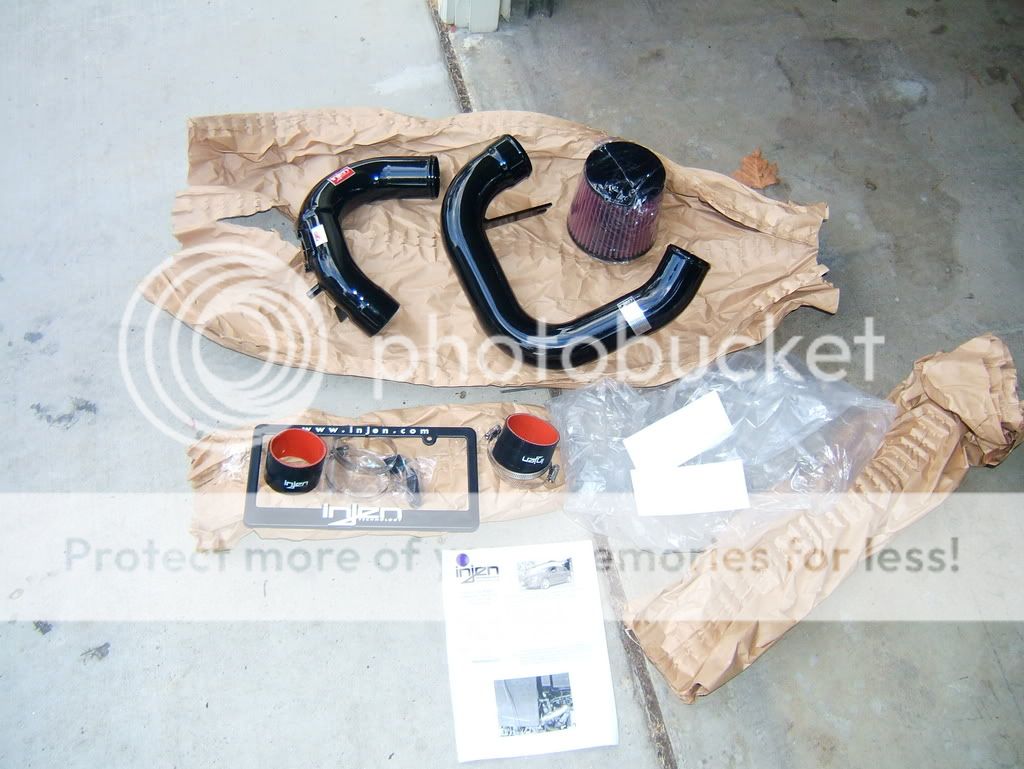
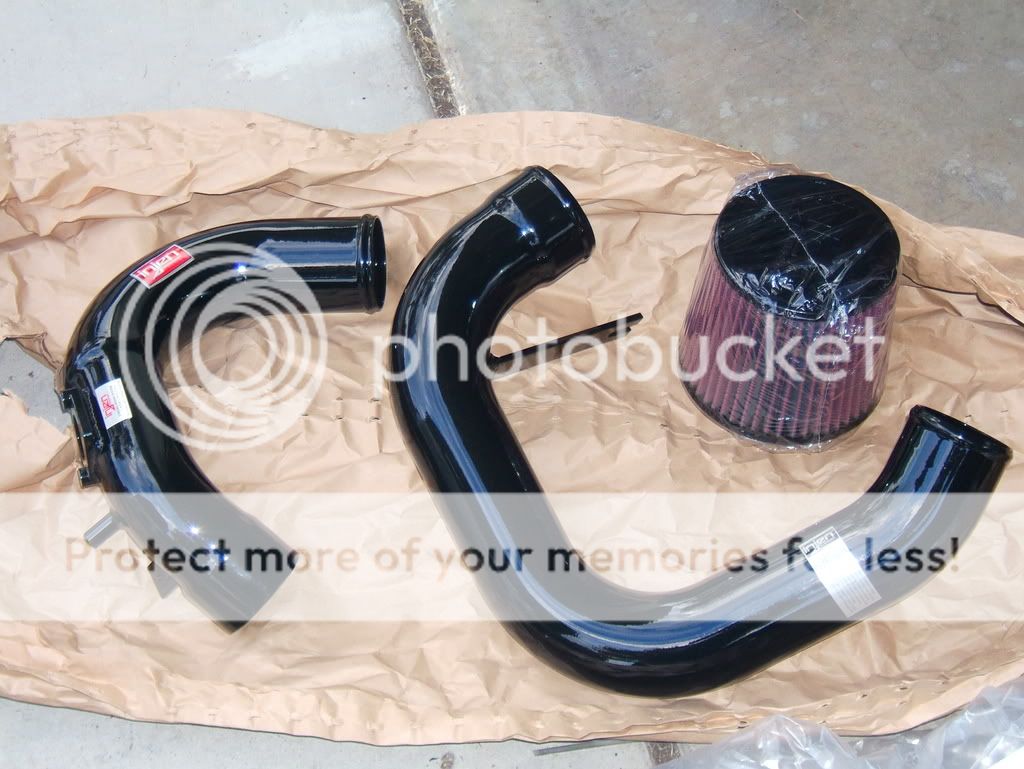
the parts
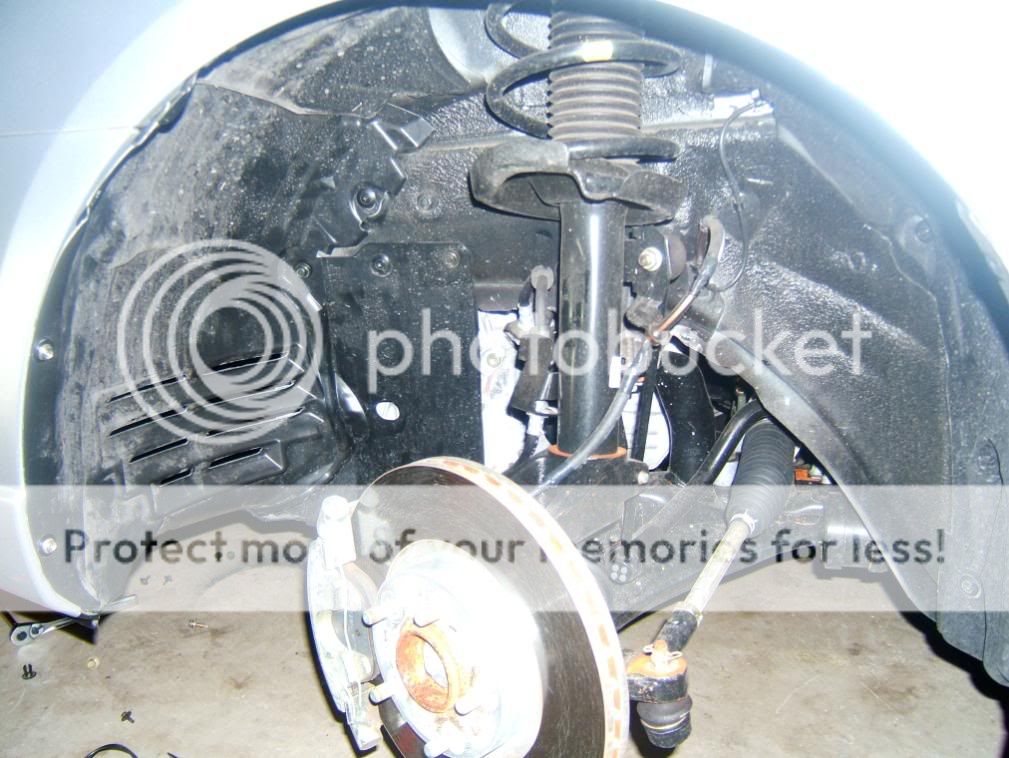
First of all, I found that it is WAYYY EASIER to take off the driver side
front wheel to access the lower portion of the stock intake. if there is
a better way, i didn't take time to think about it. please feel free to let
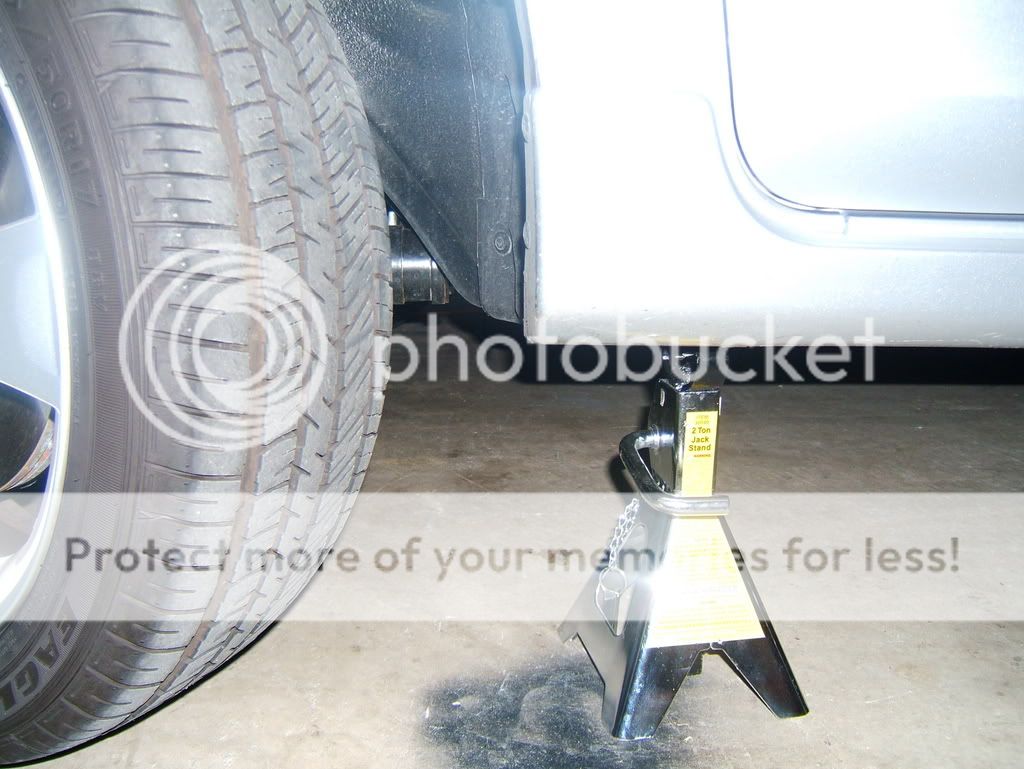
me know! 8) However, make sure the car is properly secure on a jack stand,
i only needed to use one. so here you go! THINK SAFETY SAFETY SAFETY!!!
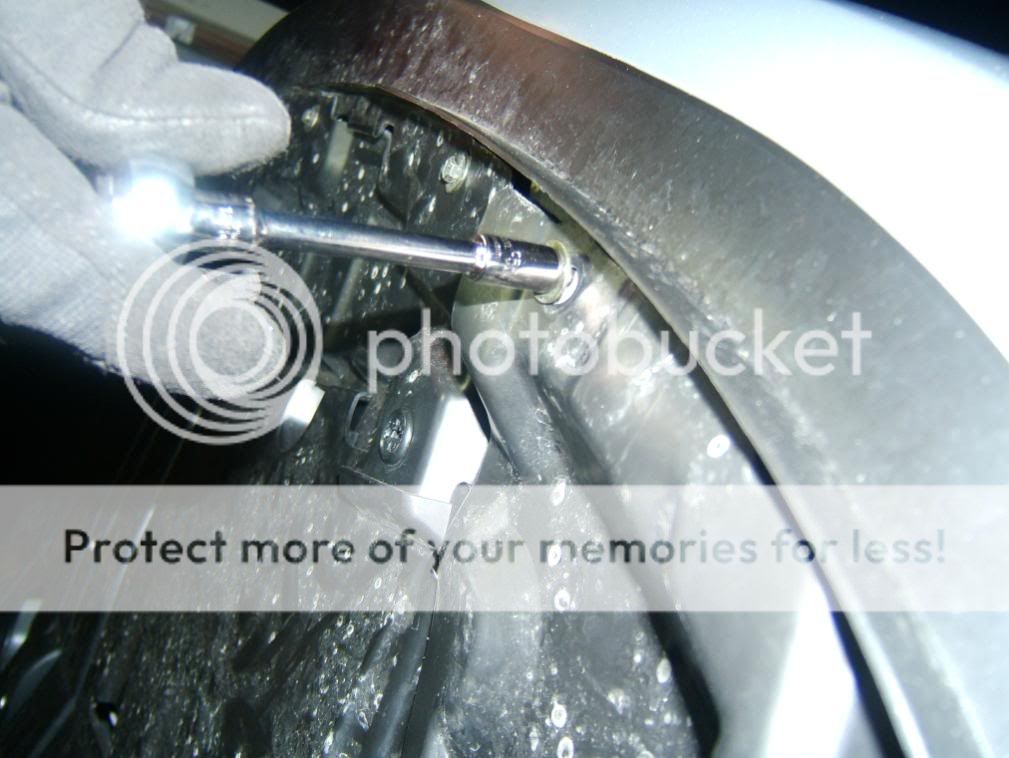
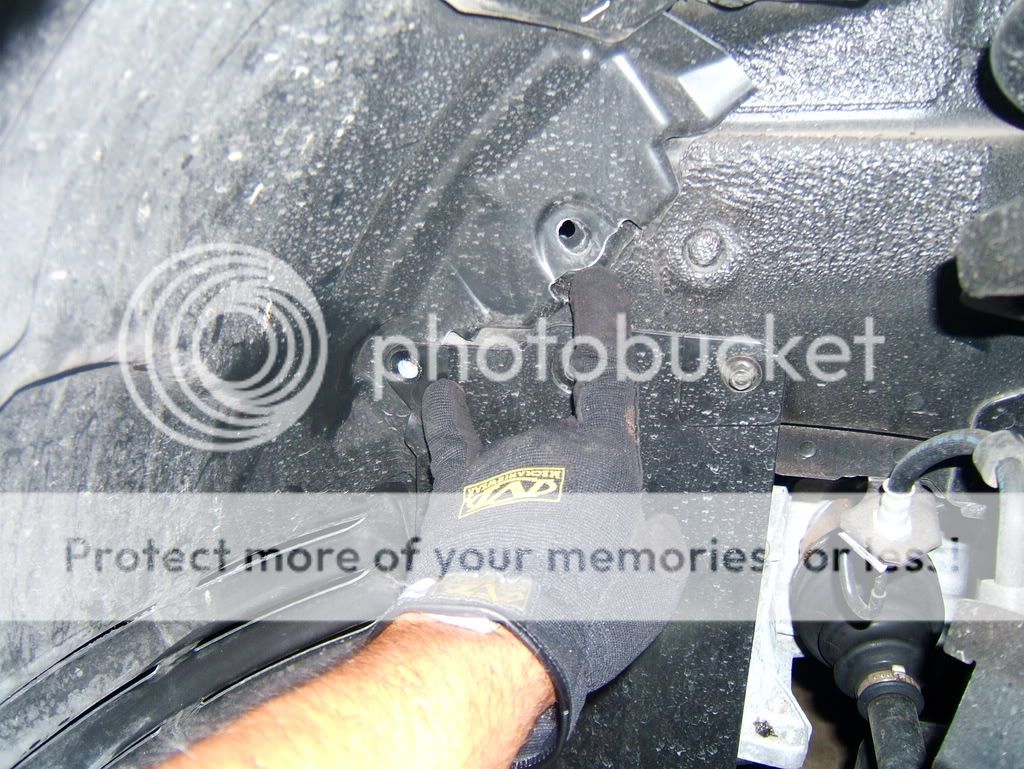
you're gonna undo 3 or 4 screws that hold the
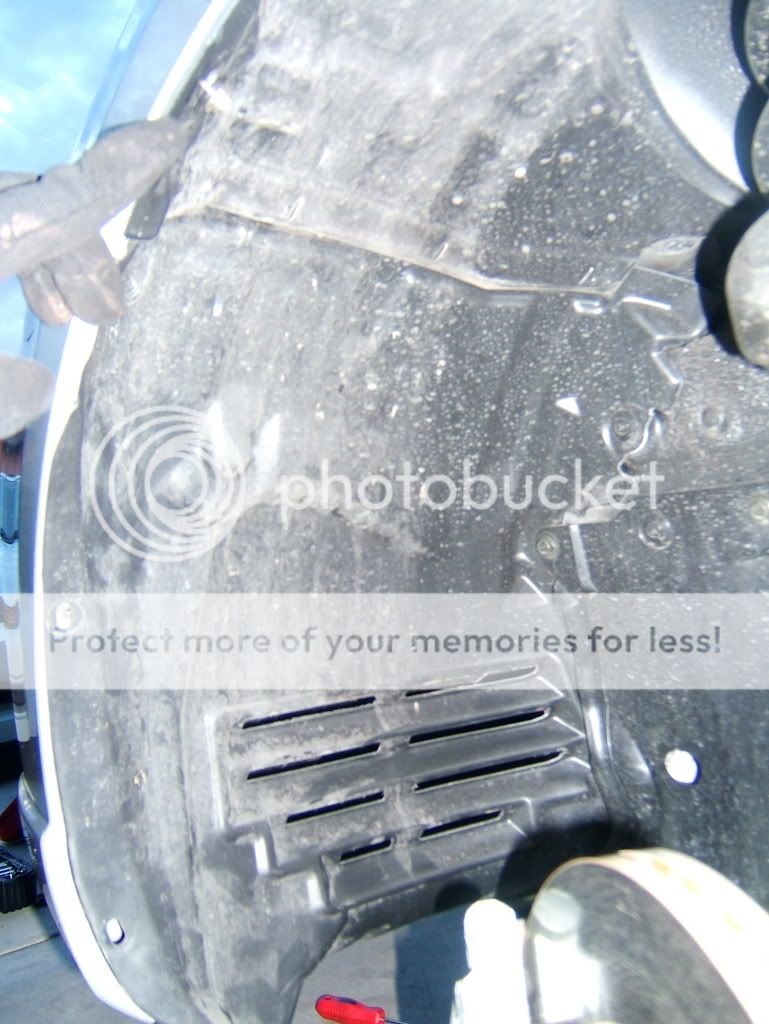
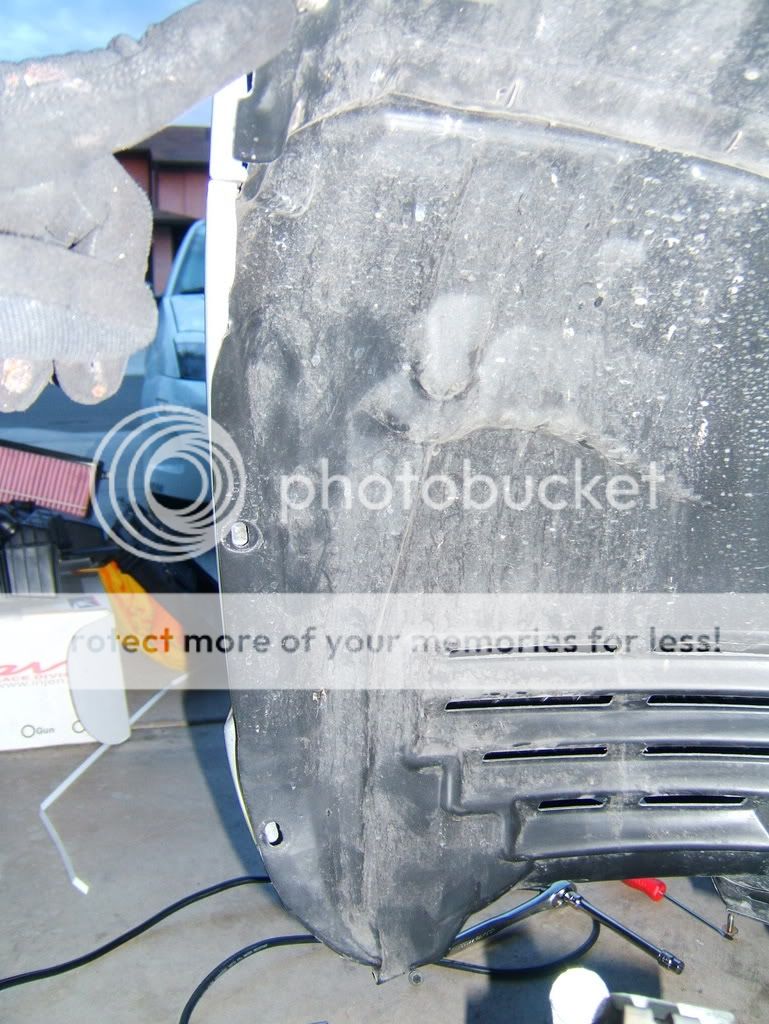
most left portion of the splash guard from under the driver side of the bumper,
it'll fold back once you get the other fastners undone from the wheel well.

you'll nee to use the 22mm deep socket to take of the driver side wheel
then take off the 3 screws that secure the splash guard on the outer side of the wheel well.
then take off these two additional fastners to fold the spalsh guard back.
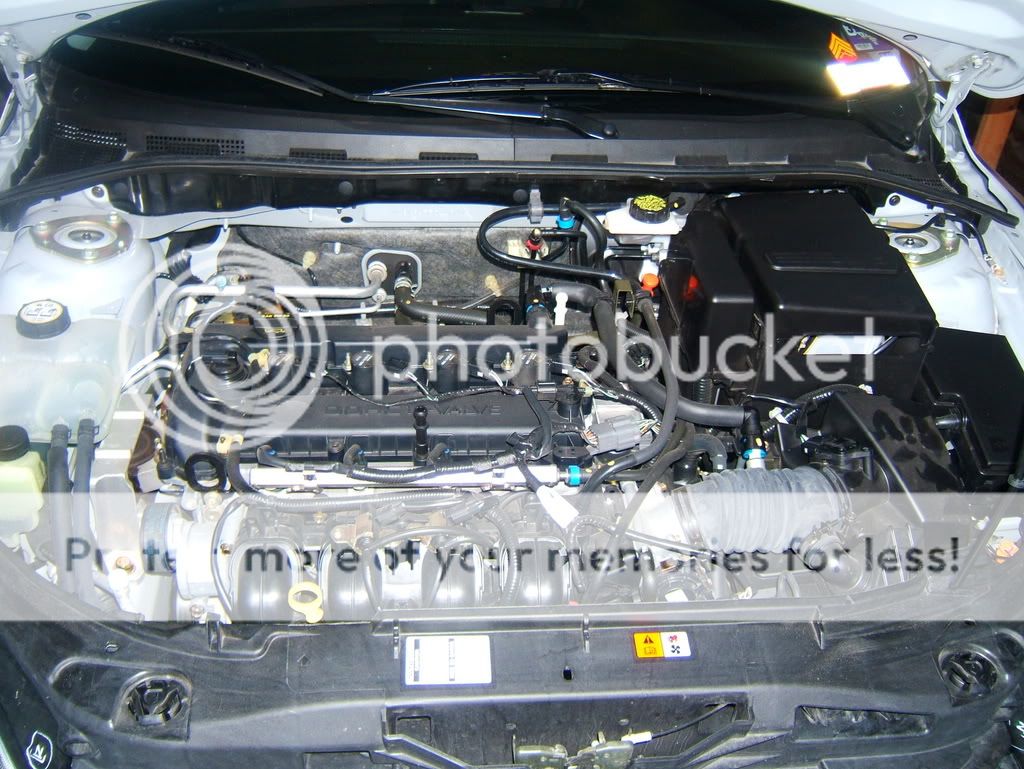
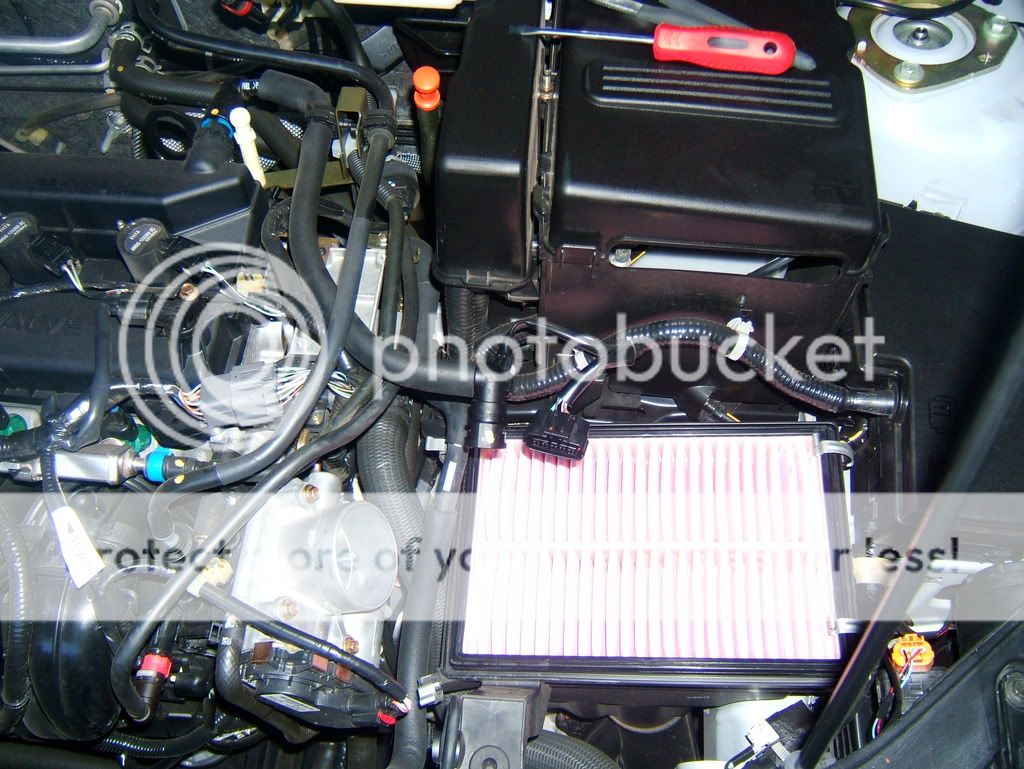
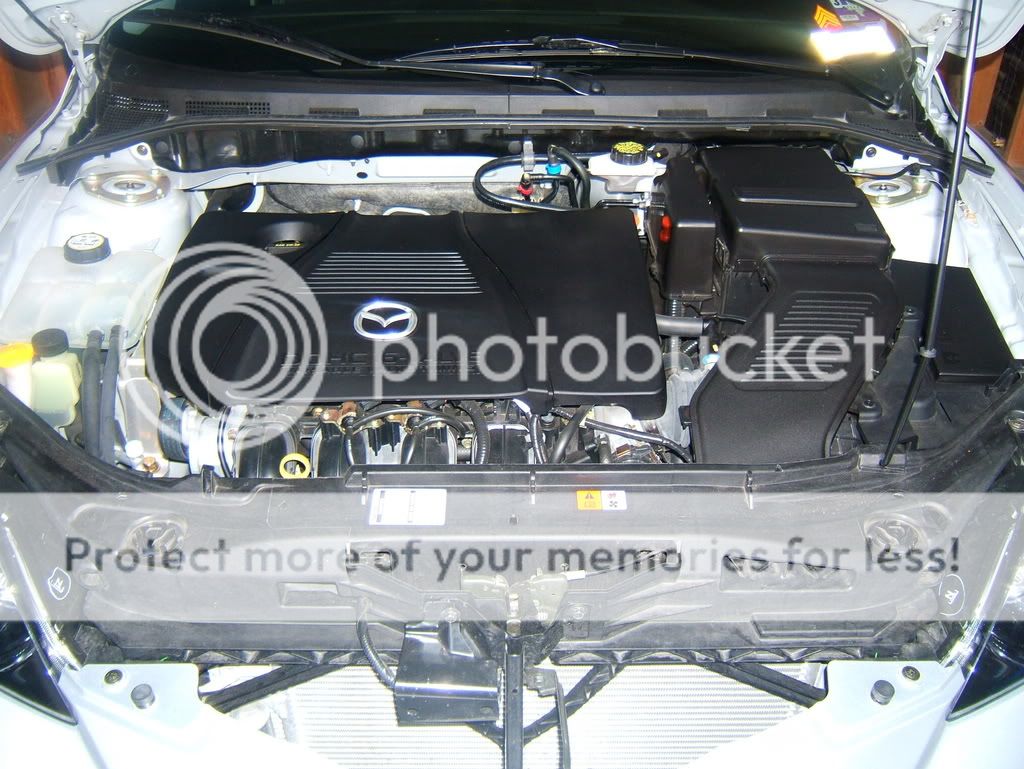
then on top-side of the car, take off the engine cover and the top portion of the intake. it should look like this.
before continuing on, go ahead and disconnect the negative battery cable. so once you're done, the ECU will have been resetted,
I'd suggest waiting a good 10 minutes before plugging it back up. Then you should be good to go!
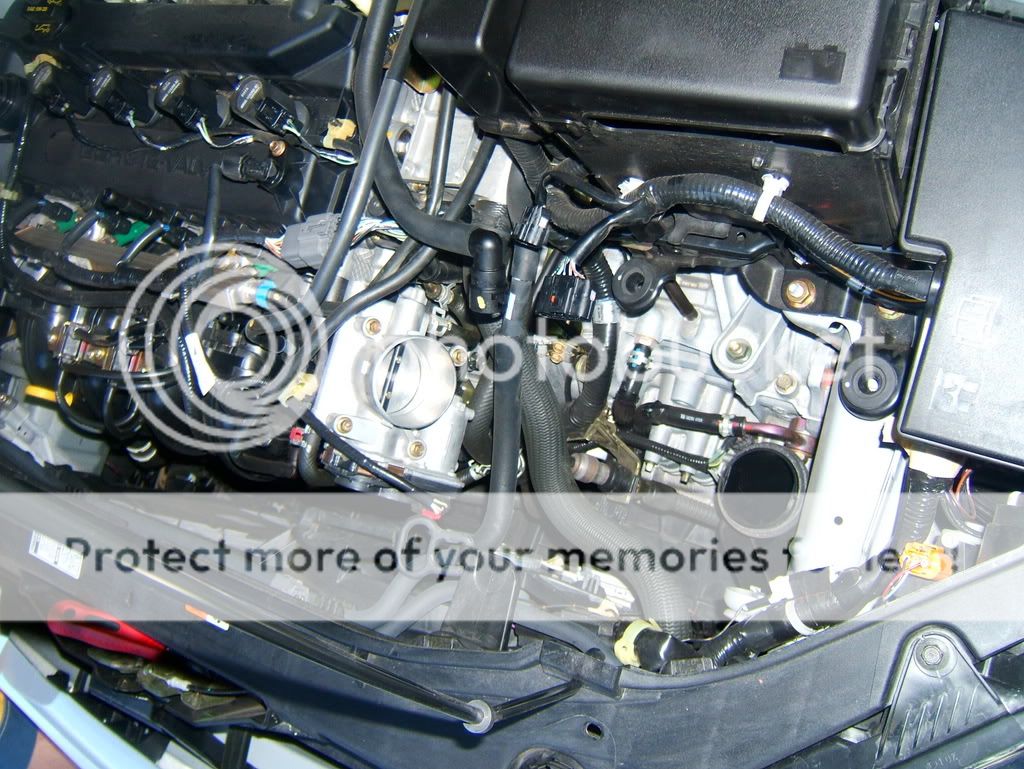
Then you'll disconnect these items, breather hose, MAF sensor, etc.
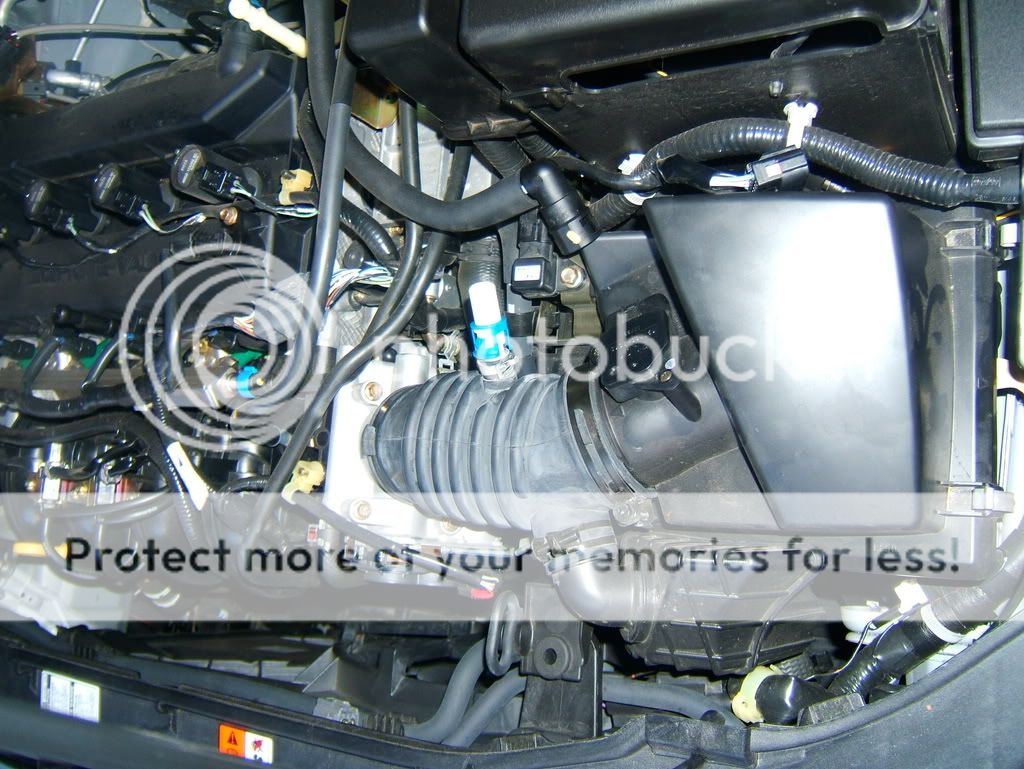

once you get that done, undo the clamps holding the intake to the throttle body.
you may need your flat head screwdriver to help pry tubing off. it is pretty hard as
mazda used an adhesive type seal to hold the tubing to the thottle body to keep it
from leaking/and coming off easily! IMO at least! ;-) set the assembly aside, not too
far, as you will be needing the MAF, and other sensors still on the intake.
this is what it should look like now....
next your gonna be PULLING on the bottom portion of the intake box. just give it
a good tug on the rear portion of the box and it'll come out just like the engine cover
did. here's where you should be now....
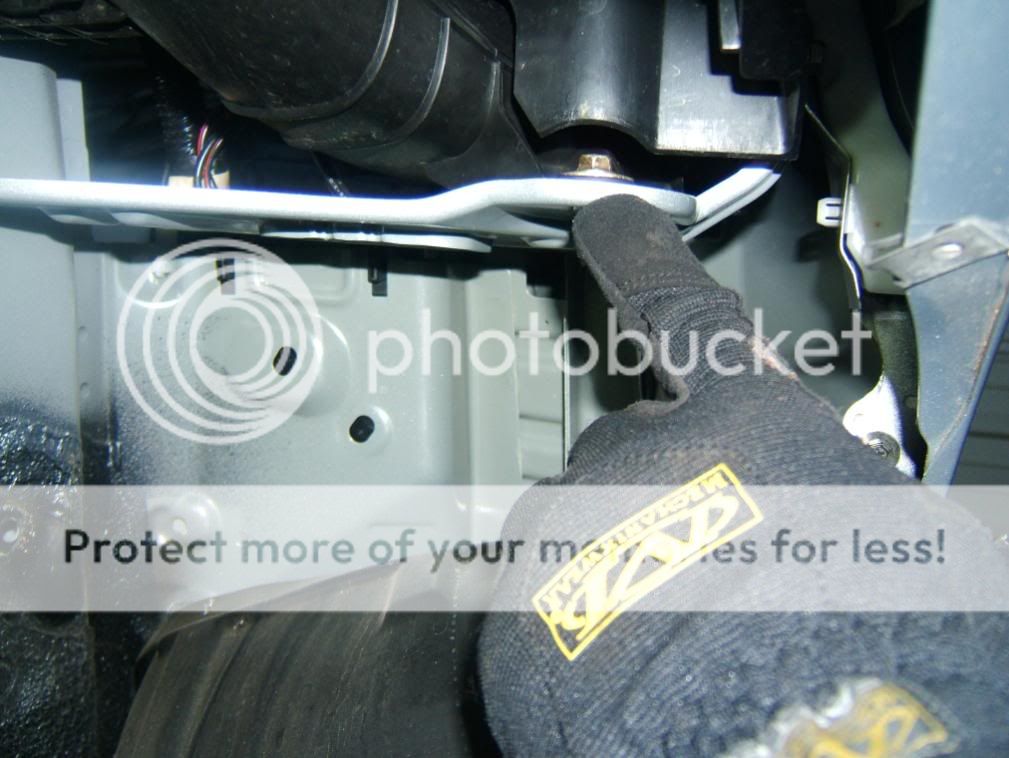
here comes the "FUN" part... it was a PITA to remove the third of 3 screws holding the
lower stock intake assembly...but here goes. My suggestion is to have ratcheting
wrenches. get them from sears, i knew i should've invested in them, would've made short work of these three bolts.....
undo this bolt
the same one except i'm pointing at it, and the pic came out blury. sorry bout that.
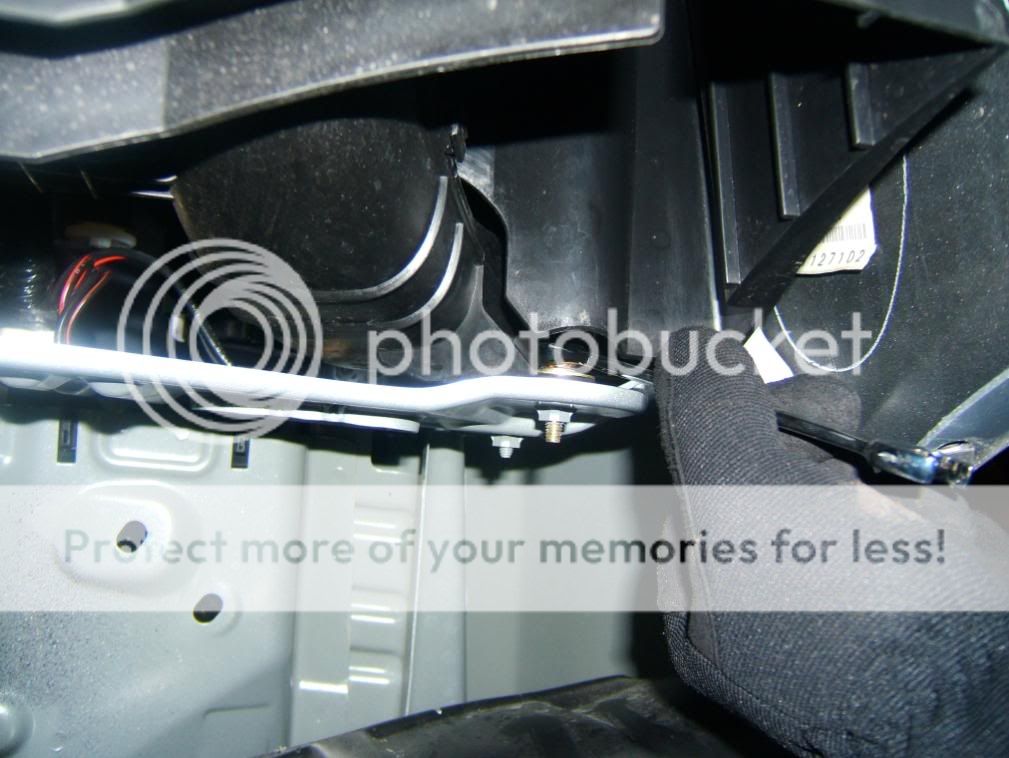
this next bolt was a pain, took me almost 10 minutes to finally get it off! :shock:

This last and final one was the worst one of the 3!!! This is where the ratcheting wrench would've been the most useful....
Once you get those 3 bolts taken out, you're gonna kinda have to wrestle the lower portion out of the wheel
well. Don't worry, use some finnesse and it'll come out! :wink:
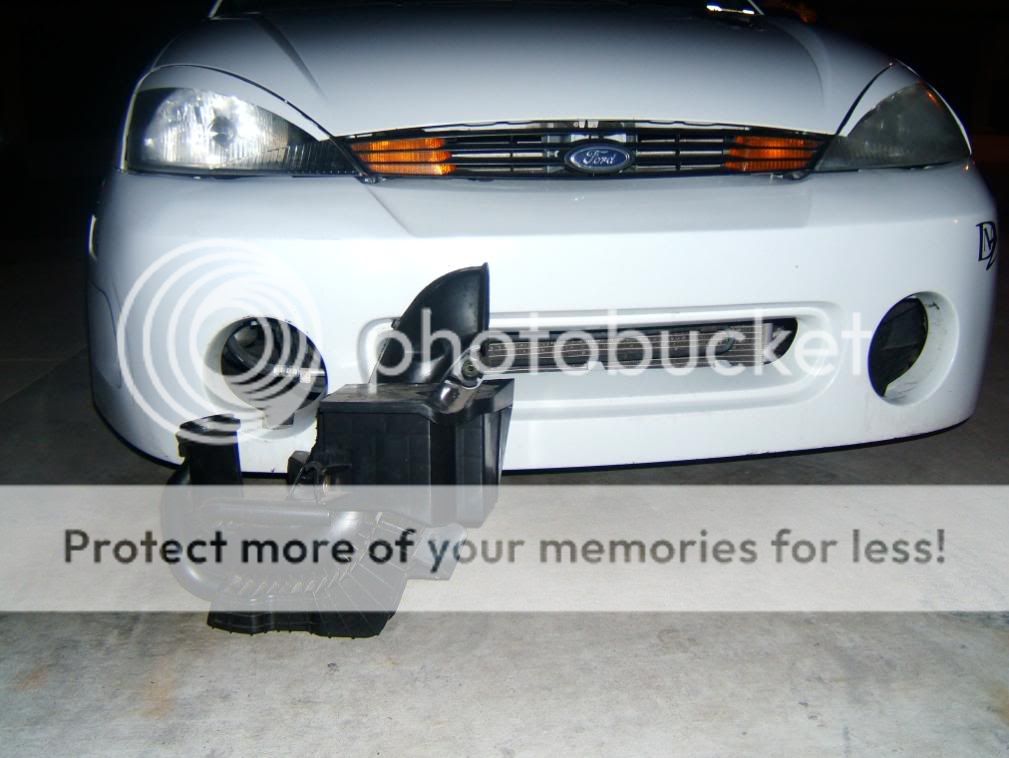
Here's the "TUBA" my buddy Justin who walked up to me as I took it out called it! :lol:

just to reference it to how big it is in front of my focus. :shock:
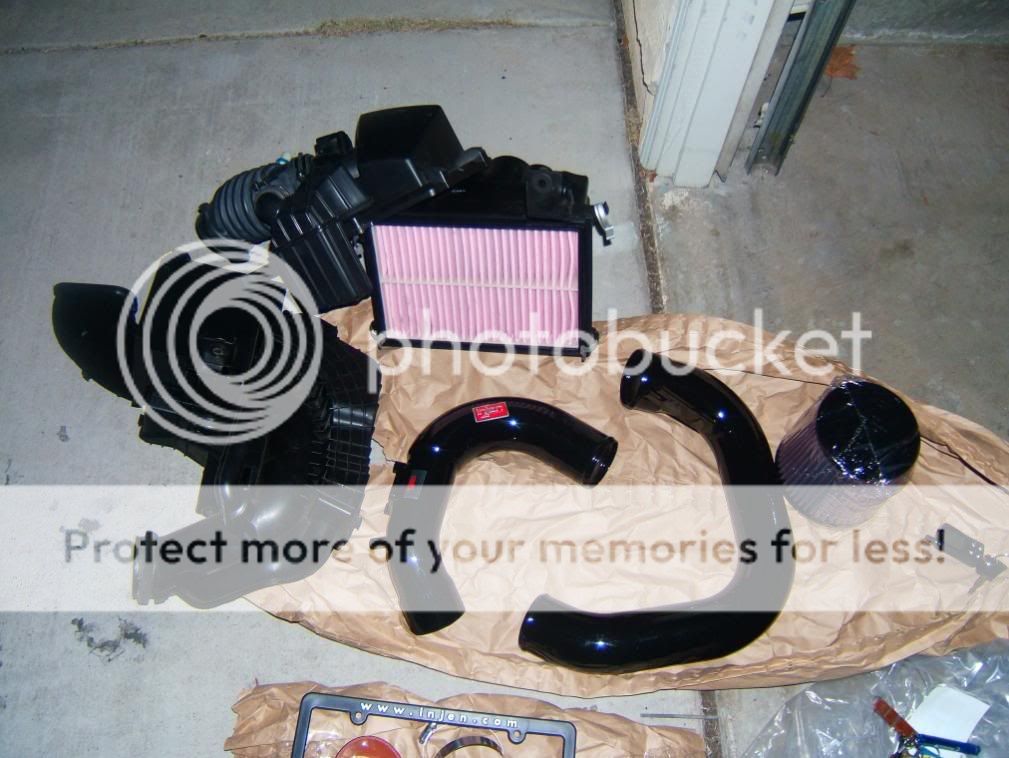
a quick comparison of the OEM and Injen systems side by side...like whoa!
Now remember that upper portion of the intake where the MAF is at? Get that mugga
and take off the white plug that is still in it.... you WILL NEED TO USE SOME UMPH here to get it out...
use a small flat head screw driver for this, makes it easier!
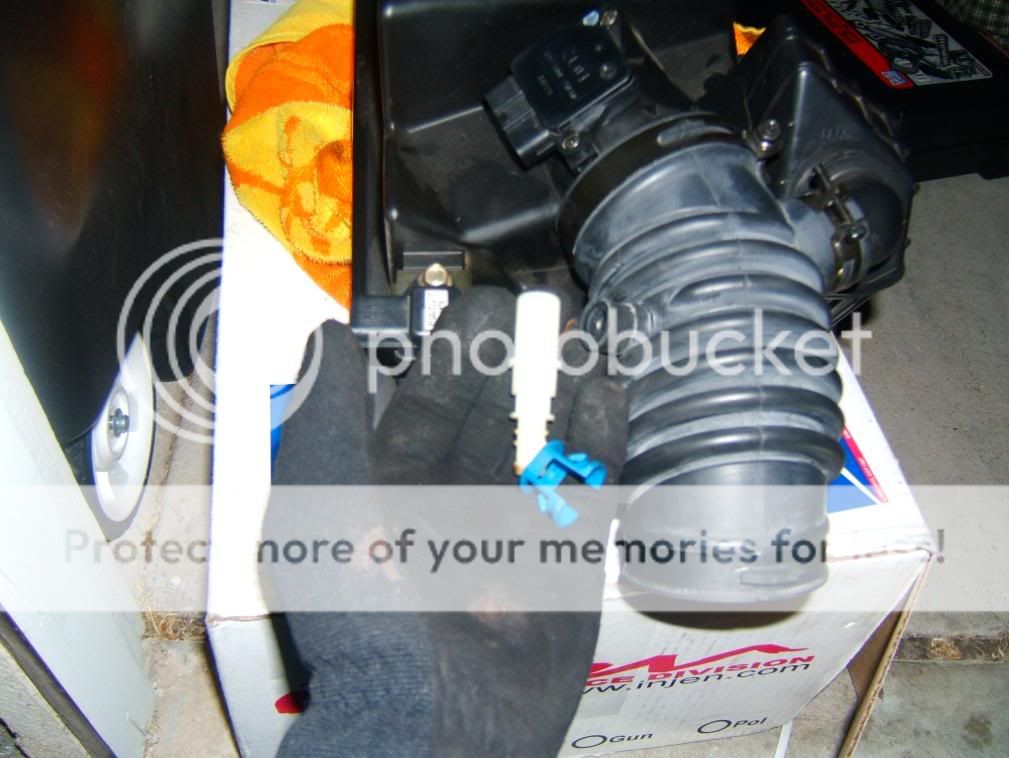
go ahead and stick that white piece with that blue clip back onto the breather
hose it came off of. and while you're there put one of the sleeves that came with the system onto the throttle body.
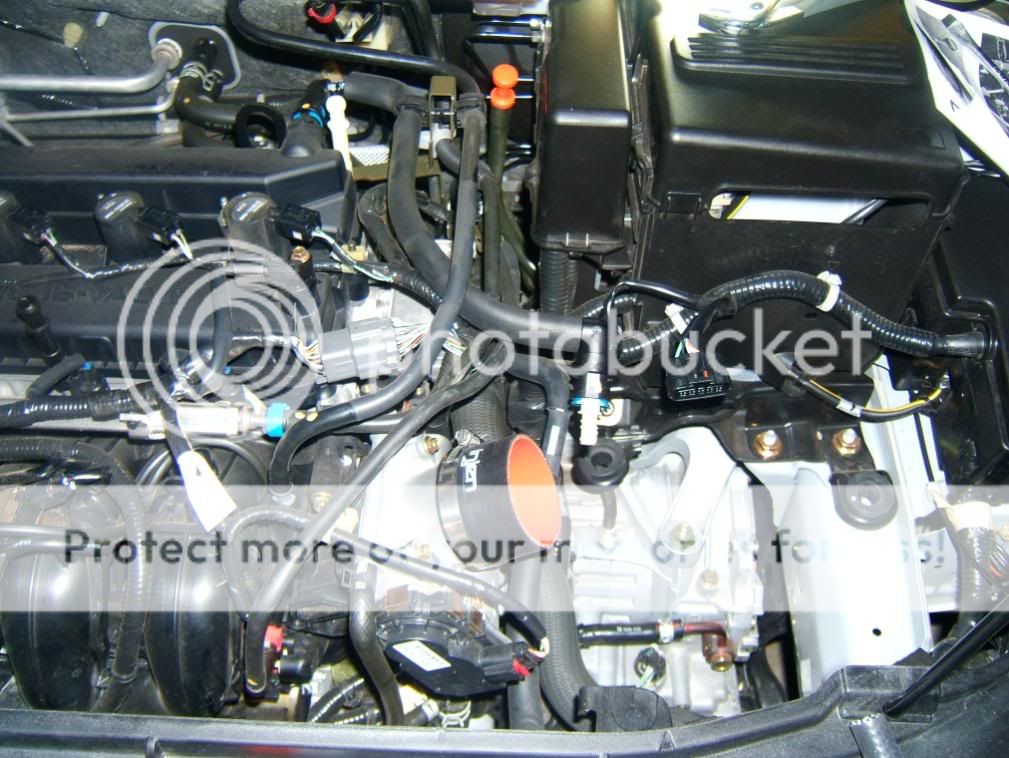
now take off both of the sensors that are still on the stock intake, and put them onto your upper portion of the new CAI system like this.

next go ahead and install the hose that came with your Injen system onto the white portion of the breather hose like this.
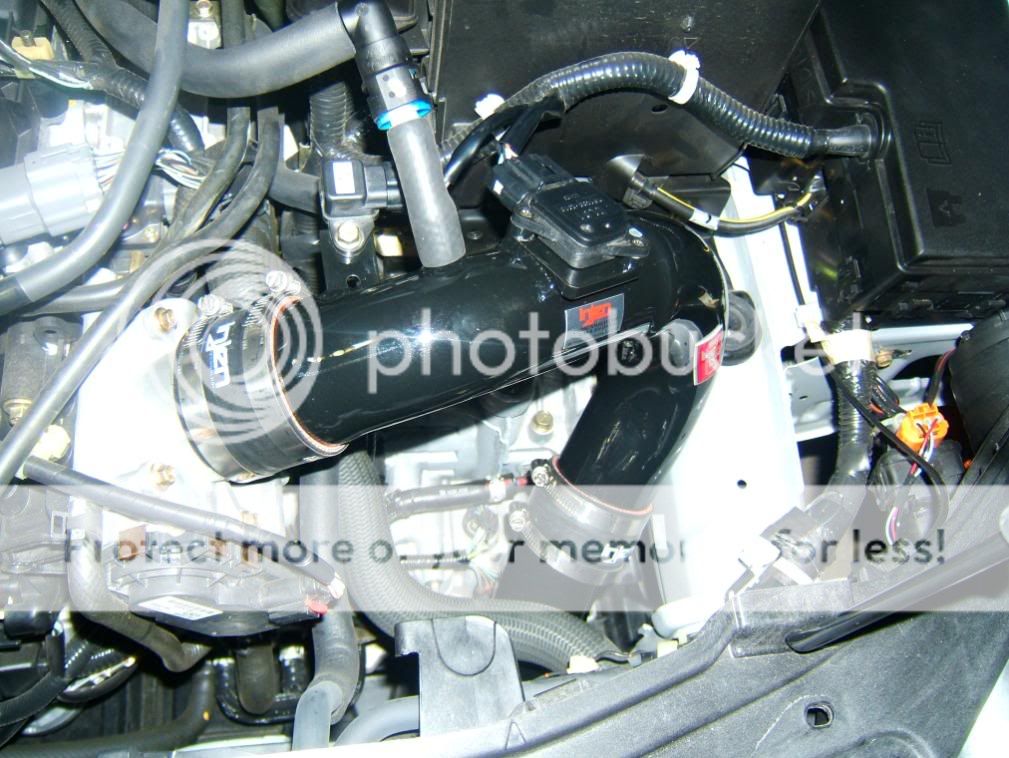
now you are ready to install the upper portion of the CAI system!!! heres what
it looks like. NOTE: Don't tighten the second clamp that holds the intake on too tight, you'll adjut the tubing later on.
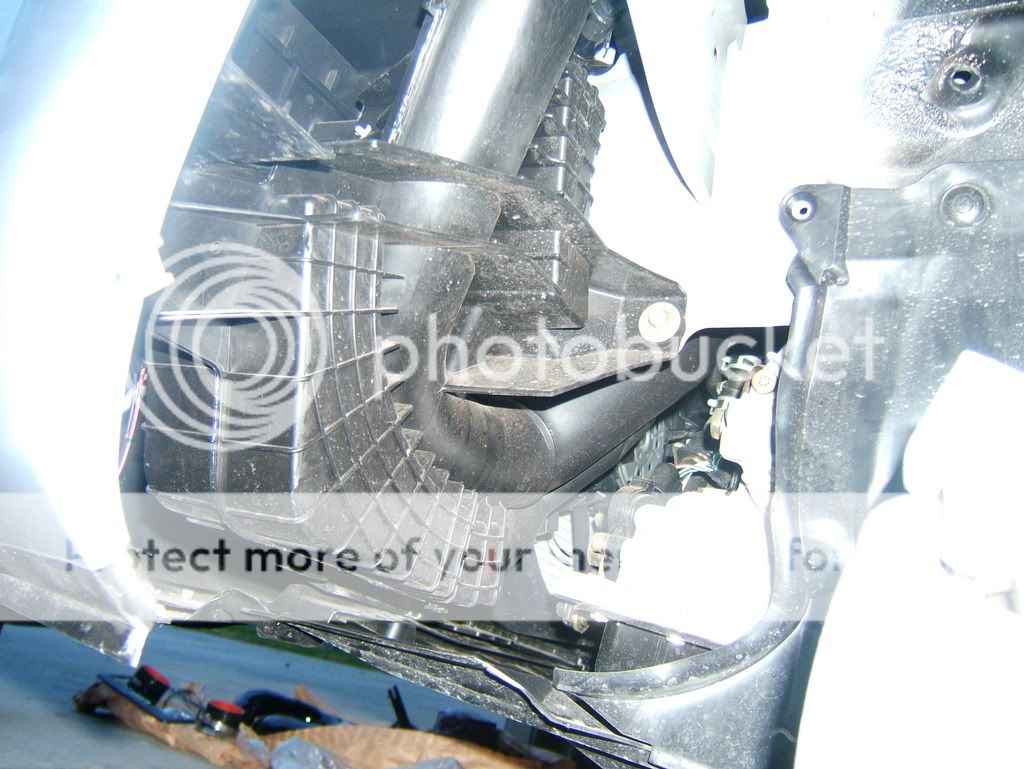
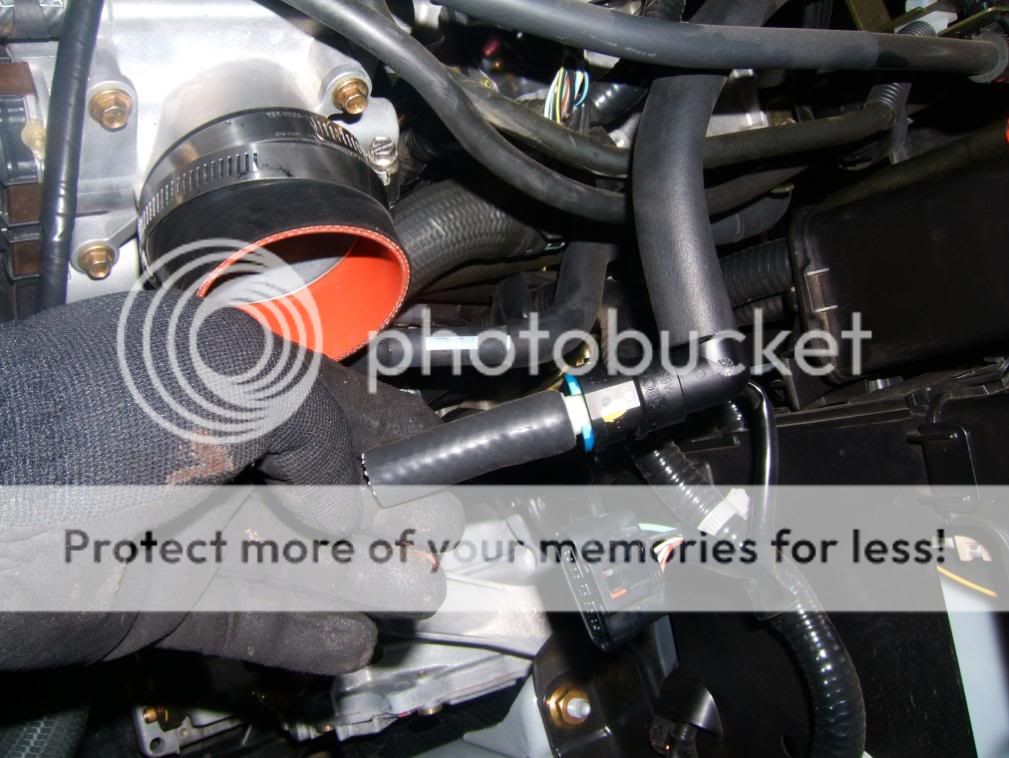
Now grab that rubber gromet bushing thing.... yup that one...
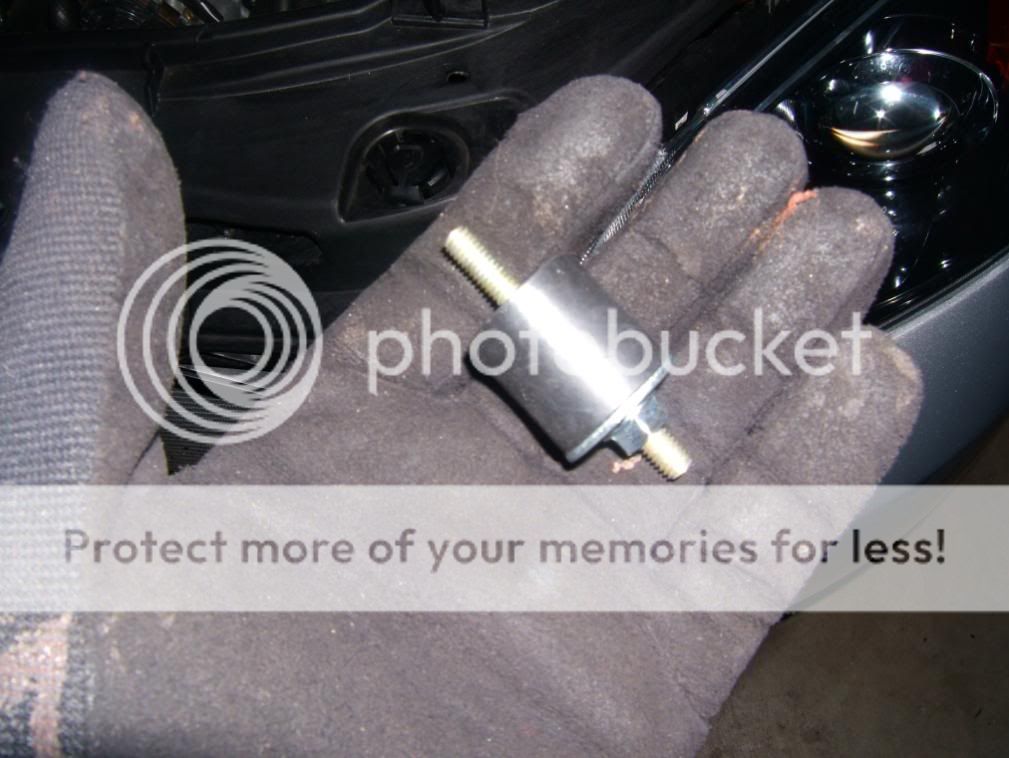
Now go under your car where you can see the horn. Look just to the left of
it you'll see an extension sticking out that seemed to be there to SERVE a
purpose...hmmm i thinking MAZDA planned this from the get go! :wink: :twisted: twist that mofo in there like this!
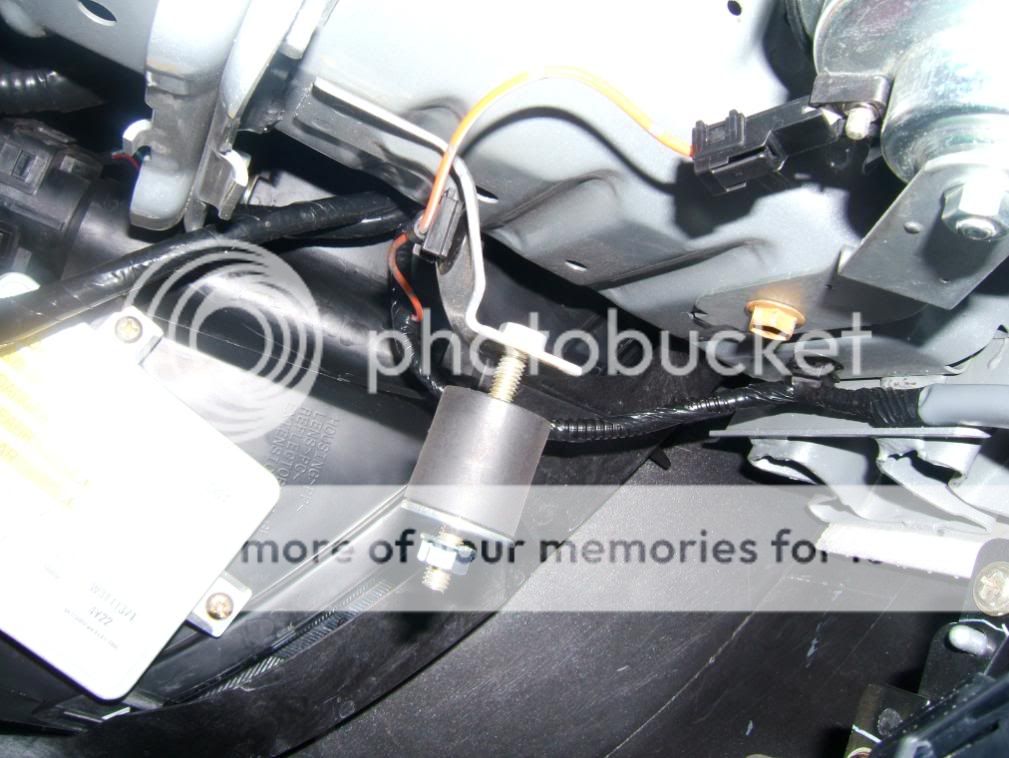
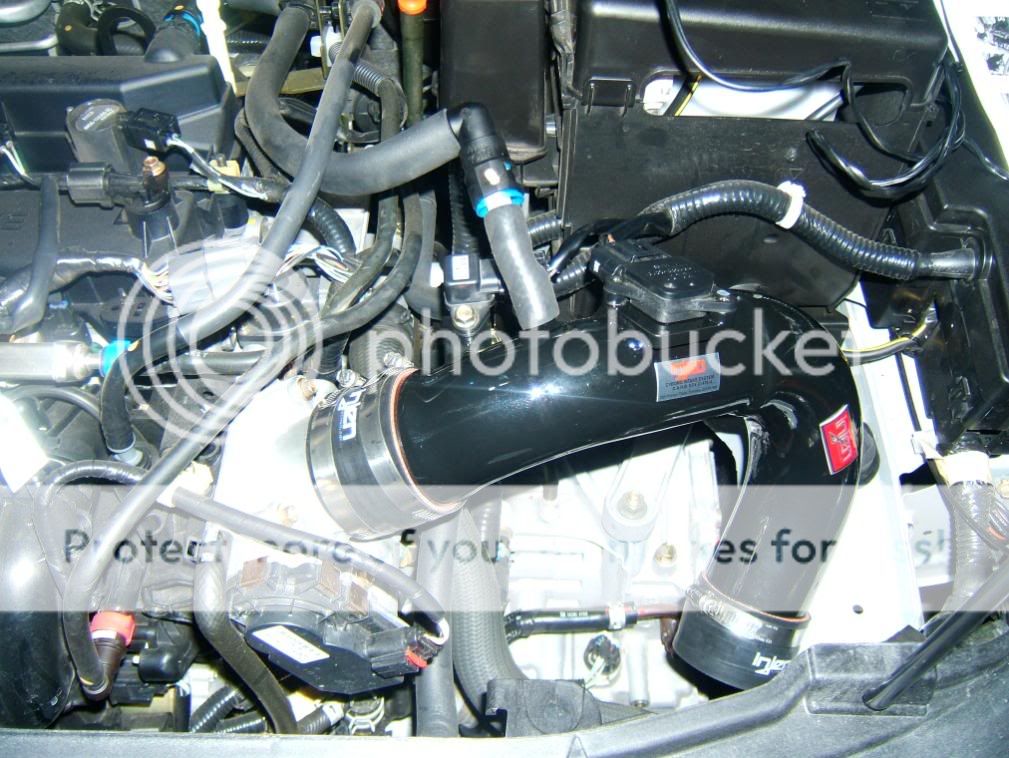
a better shot of what the "WHOLE" picture looks like!
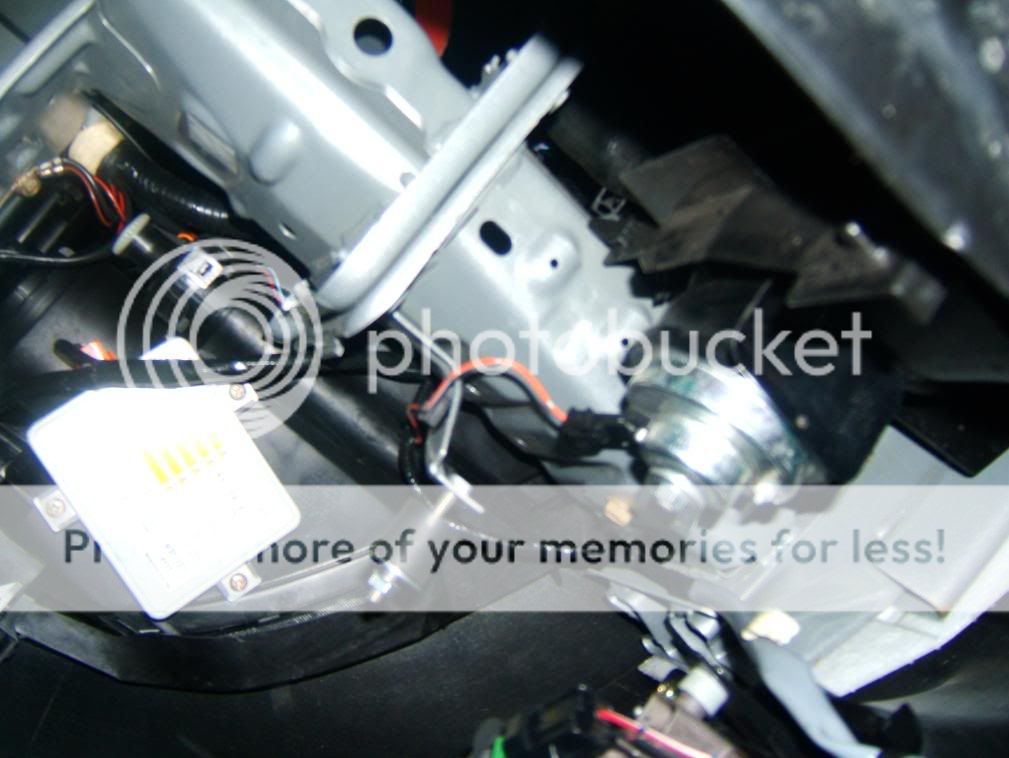
Now here is the few final steps to getting the intake together.... carefully slide the lower
intake in the car, and tighten that gromet to that bracket....like this
once you get that snug, i found it easier by going up top to get the lower portion of the intake
to go into the upper portion of the intake. (that bulge isn't there no more)
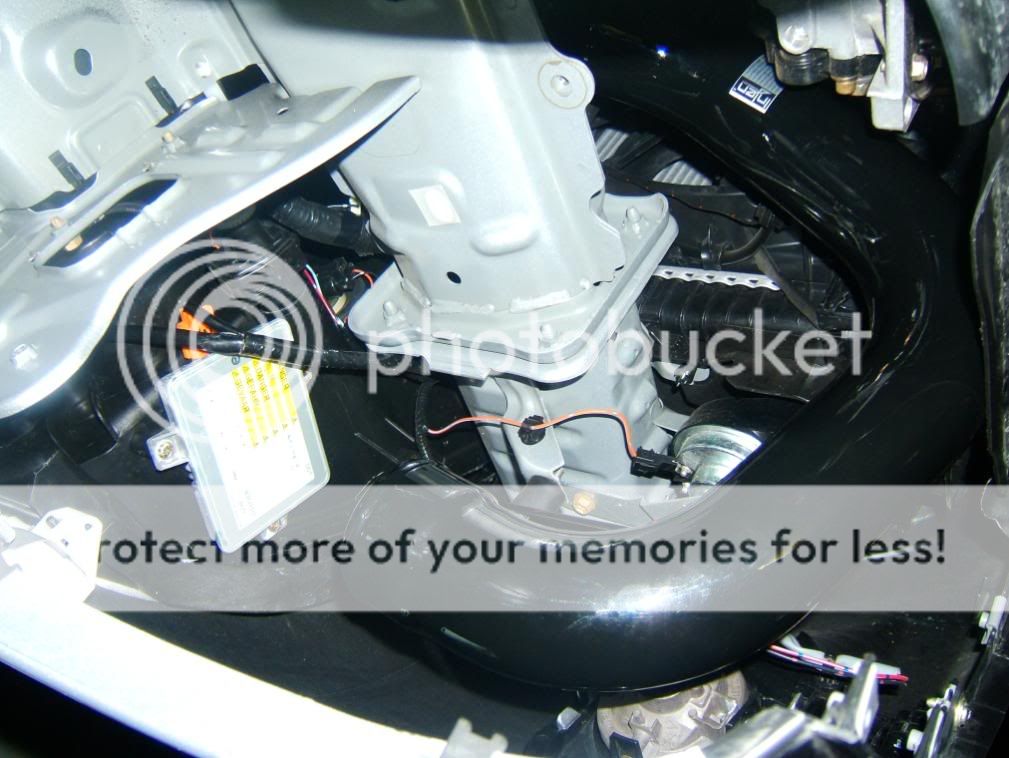
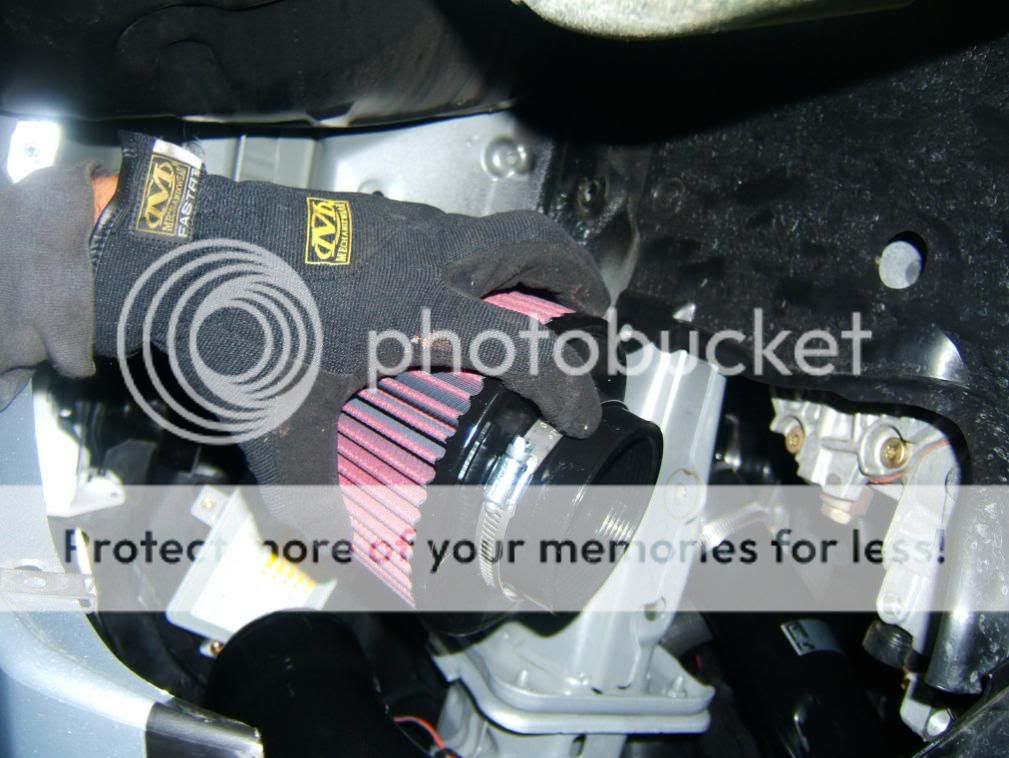
once done there, go back underneath the car with filter in-hand...and put the mofo on there!!
almost done!! oh the suspense! :lol:
TADA!!!
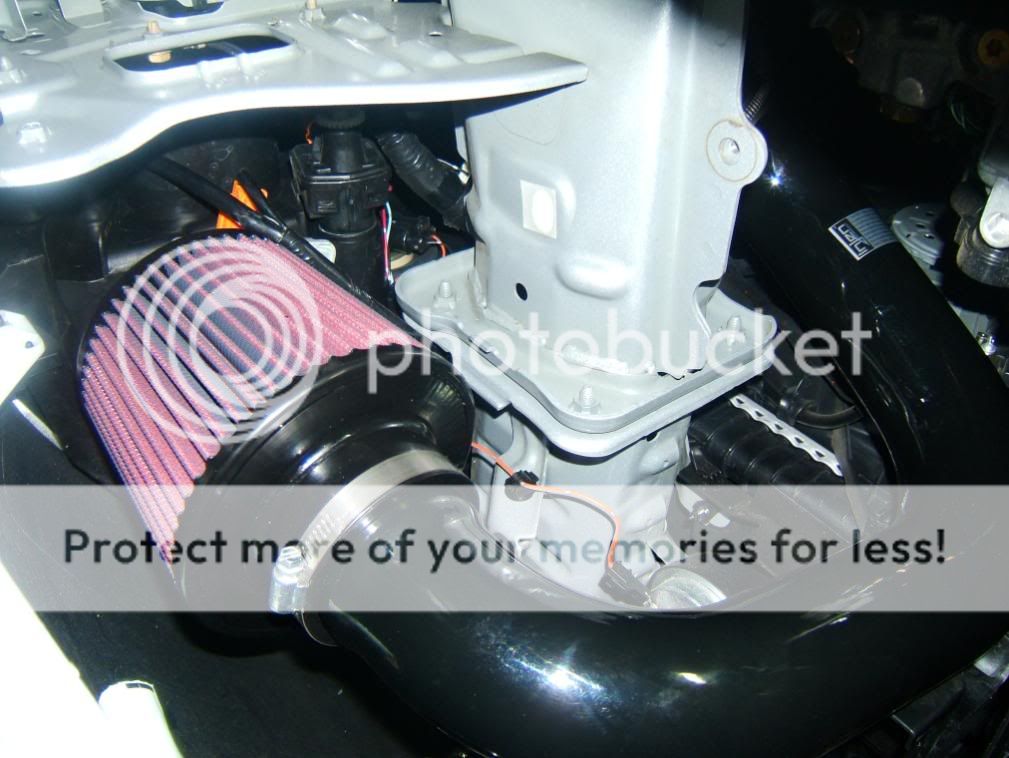
looks good, eh?
now here you're gonna need to adjust your MAF harness from the battery..
in a sense, the harness needs some EXTRA SLACK. just take off the clips to the harness,
should be fine. The white ones, yeah, those on the battery box.
Now get everything back together as you took it apart and you should be good to go!!!
before......
and after!!

:klavergreg: :blue: :klavergreg:
Congradulations on the install! I hope that you all found this useful and if you all can use it, good.
The instructions that came with the system sucked big time. confusing black and white photos, and no
detail. Sticky this if you want to moderators. Next is the exhaust side! :twisted:
If there are any errors or questions, or a better way to get the stock intake out without
having to take off the tire please let me know or post up your tips! It can helps us all out in the
future or to those who will be putting in a CAI system!!! Have fun everyone!
-J
First of all, you will need to get your appropriate tools.
Need:
Jack/Jack stand
Assorted Socket Set
Flat Head Screw Driver
Philips Head Screw Driver
22mm Deep Socket (to take off driver side front tire)
So a month later i finally get my Injen CAI...bout time too! ;-)
the parts
First of all, I found that it is WAYYY EASIER to take off the driver side
front wheel to access the lower portion of the stock intake. if there is
a better way, i didn't take time to think about it. please feel free to let
me know! 8) However, make sure the car is properly secure on a jack stand,
i only needed to use one. so here you go! THINK SAFETY SAFETY SAFETY!!!
you're gonna undo 3 or 4 screws that hold the
most left portion of the splash guard from under the driver side of the bumper,
it'll fold back once you get the other fastners undone from the wheel well.
you'll nee to use the 22mm deep socket to take of the driver side wheel
then take off the 3 screws that secure the splash guard on the outer side of the wheel well.
then take off these two additional fastners to fold the spalsh guard back.
then on top-side of the car, take off the engine cover and the top portion of the intake. it should look like this.
before continuing on, go ahead and disconnect the negative battery cable. so once you're done, the ECU will have been resetted,
I'd suggest waiting a good 10 minutes before plugging it back up. Then you should be good to go!
Then you'll disconnect these items, breather hose, MAF sensor, etc.
once you get that done, undo the clamps holding the intake to the throttle body.
you may need your flat head screwdriver to help pry tubing off. it is pretty hard as
mazda used an adhesive type seal to hold the tubing to the thottle body to keep it
from leaking/and coming off easily! IMO at least! ;-) set the assembly aside, not too
far, as you will be needing the MAF, and other sensors still on the intake.
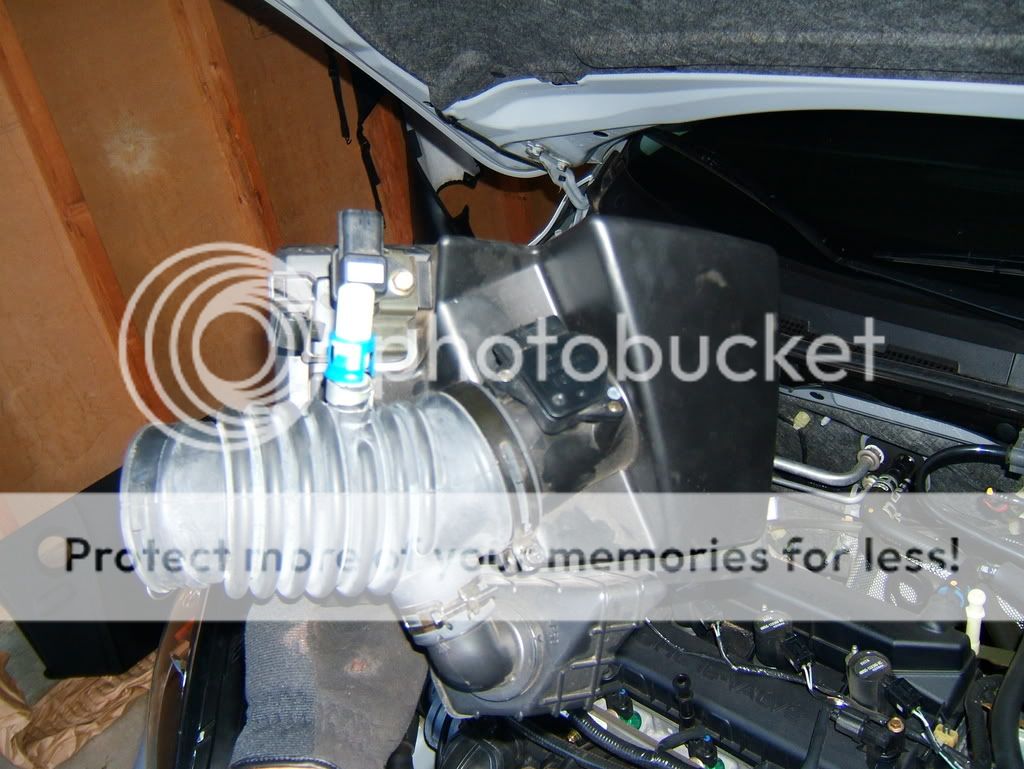
this is what it should look like now....
next your gonna be PULLING on the bottom portion of the intake box. just give it
a good tug on the rear portion of the box and it'll come out just like the engine cover
did. here's where you should be now....
here comes the "FUN" part... it was a PITA to remove the third of 3 screws holding the
lower stock intake assembly...but here goes. My suggestion is to have ratcheting
wrenches. get them from sears, i knew i should've invested in them, would've made short work of these three bolts.....
undo this bolt
the same one except i'm pointing at it, and the pic came out blury. sorry bout that.
this next bolt was a pain, took me almost 10 minutes to finally get it off! :shock:
This last and final one was the worst one of the 3!!! This is where the ratcheting wrench would've been the most useful....
Once you get those 3 bolts taken out, you're gonna kinda have to wrestle the lower portion out of the wheel
well. Don't worry, use some finnesse and it'll come out! :wink:
Here's the "TUBA" my buddy Justin who walked up to me as I took it out called it! :lol:
just to reference it to how big it is in front of my focus. :shock:
a quick comparison of the OEM and Injen systems side by side...like whoa!
Now remember that upper portion of the intake where the MAF is at? Get that mugga
and take off the white plug that is still in it.... you WILL NEED TO USE SOME UMPH here to get it out...
use a small flat head screw driver for this, makes it easier!
go ahead and stick that white piece with that blue clip back onto the breather
hose it came off of. and while you're there put one of the sleeves that came with the system onto the throttle body.
now take off both of the sensors that are still on the stock intake, and put them onto your upper portion of the new CAI system like this.
next go ahead and install the hose that came with your Injen system onto the white portion of the breather hose like this.
now you are ready to install the upper portion of the CAI system!!! heres what
it looks like. NOTE: Don't tighten the second clamp that holds the intake on too tight, you'll adjut the tubing later on.
Now grab that rubber gromet bushing thing.... yup that one...
Now go under your car where you can see the horn. Look just to the left of
it you'll see an extension sticking out that seemed to be there to SERVE a
purpose...hmmm i thinking MAZDA planned this from the get go! :wink: :twisted: twist that mofo in there like this!
a better shot of what the "WHOLE" picture looks like!
Now here is the few final steps to getting the intake together.... carefully slide the lower
intake in the car, and tighten that gromet to that bracket....like this
once you get that snug, i found it easier by going up top to get the lower portion of the intake
to go into the upper portion of the intake. (that bulge isn't there no more)
once done there, go back underneath the car with filter in-hand...and put the mofo on there!!
almost done!! oh the suspense! :lol:
TADA!!!
looks good, eh?
now here you're gonna need to adjust your MAF harness from the battery..
in a sense, the harness needs some EXTRA SLACK. just take off the clips to the harness,
should be fine. The white ones, yeah, those on the battery box.
Now get everything back together as you took it apart and you should be good to go!!!
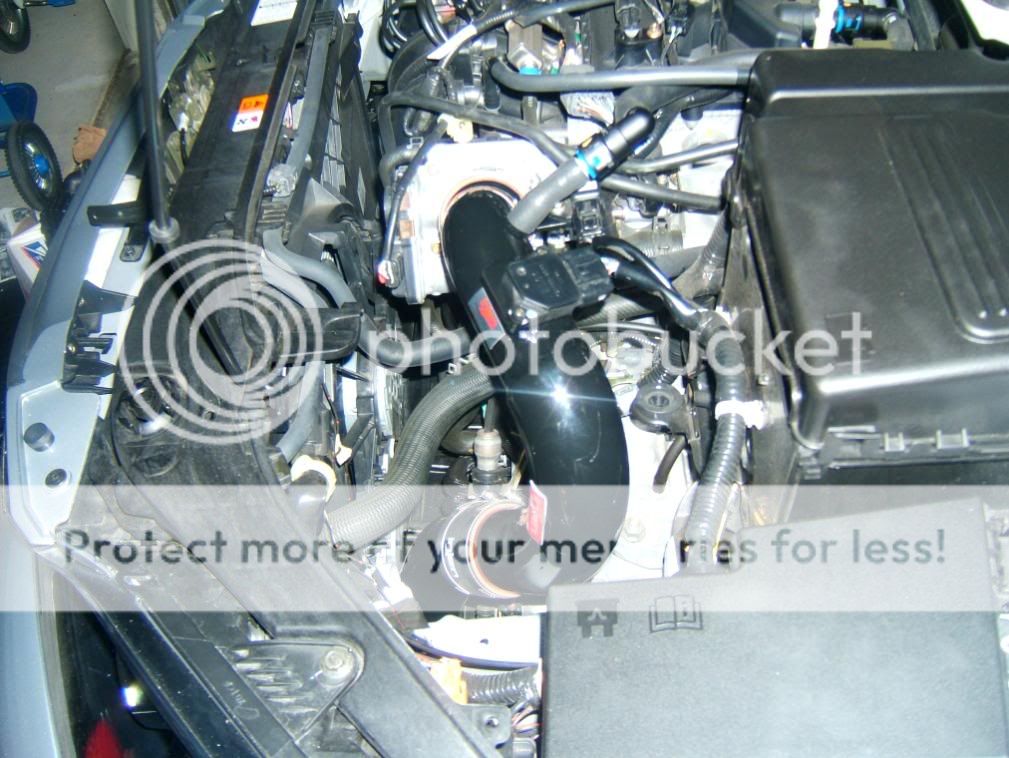
before......
and after!!
:klavergreg: :blue: :klavergreg:
Congradulations on the install! I hope that you all found this useful and if you all can use it, good.
The instructions that came with the system sucked big time. confusing black and white photos, and no
detail. Sticky this if you want to moderators. Next is the exhaust side! :twisted:
If there are any errors or questions, or a better way to get the stock intake out without
having to take off the tire please let me know or post up your tips! It can helps us all out in the
future or to those who will be putting in a CAI system!!! Have fun everyone!
-J