How to install a Walbro fuel pump in a 1st gen protege

turpro

Member
:
1993 mazda protege
Mods if this is in the wrong section please move. I didn't see a how to section for the 1g.


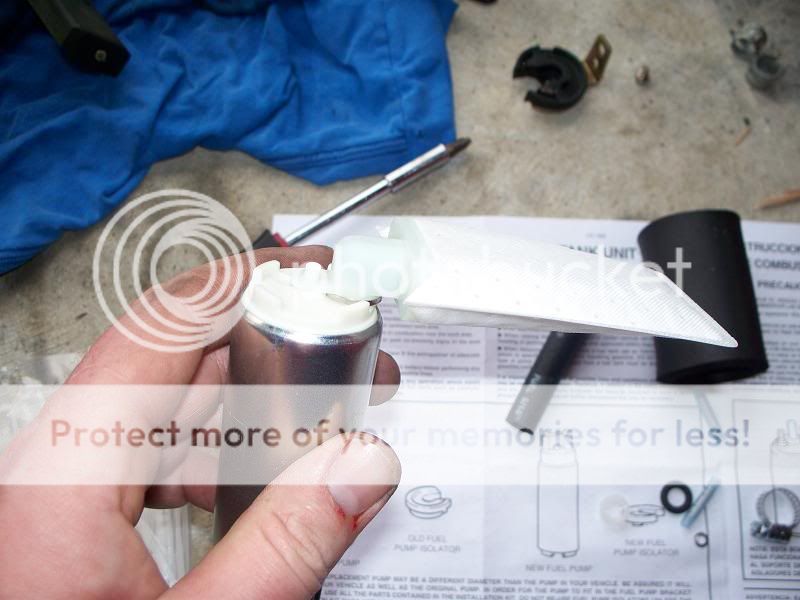
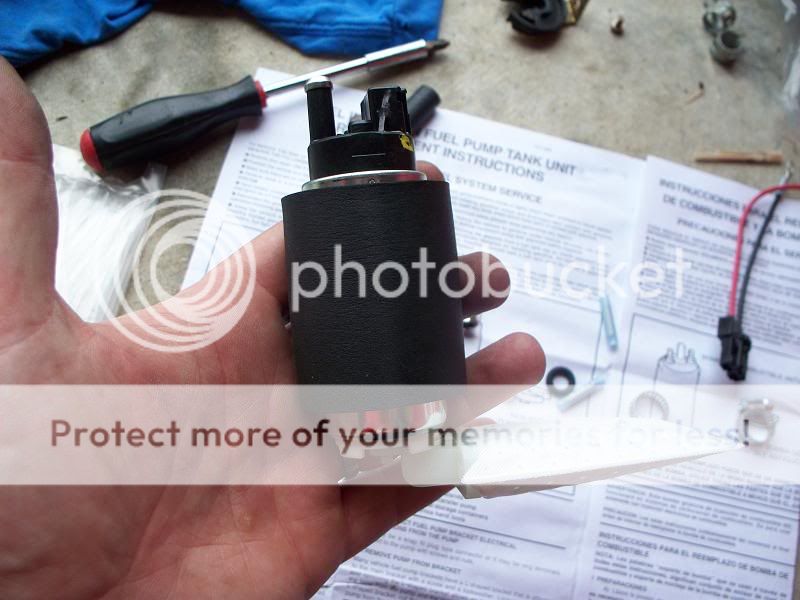
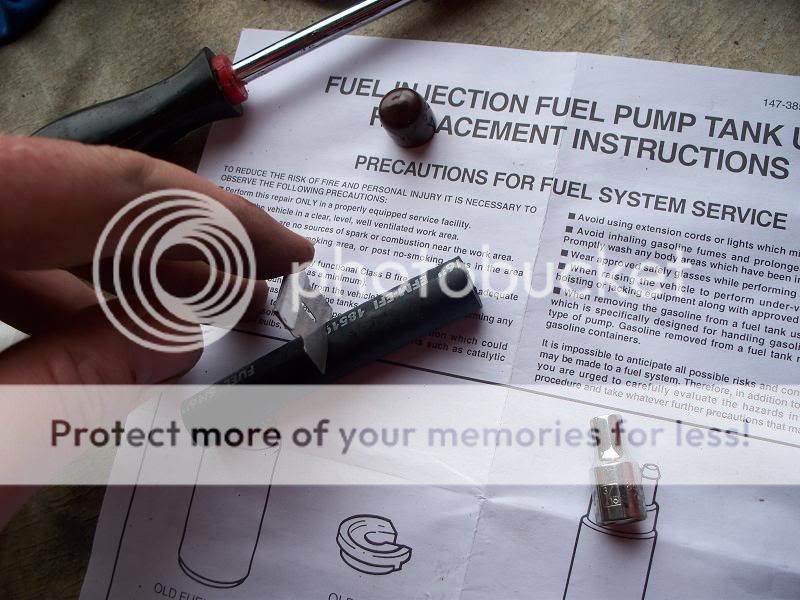
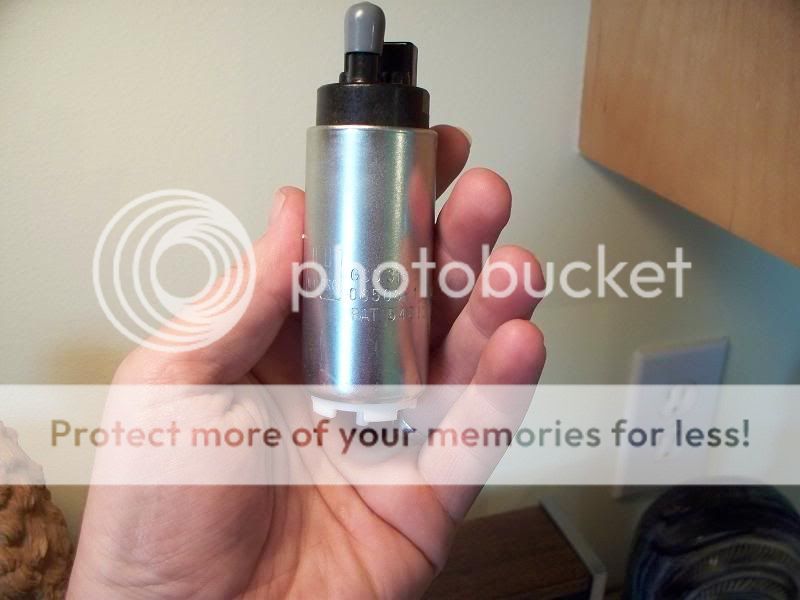
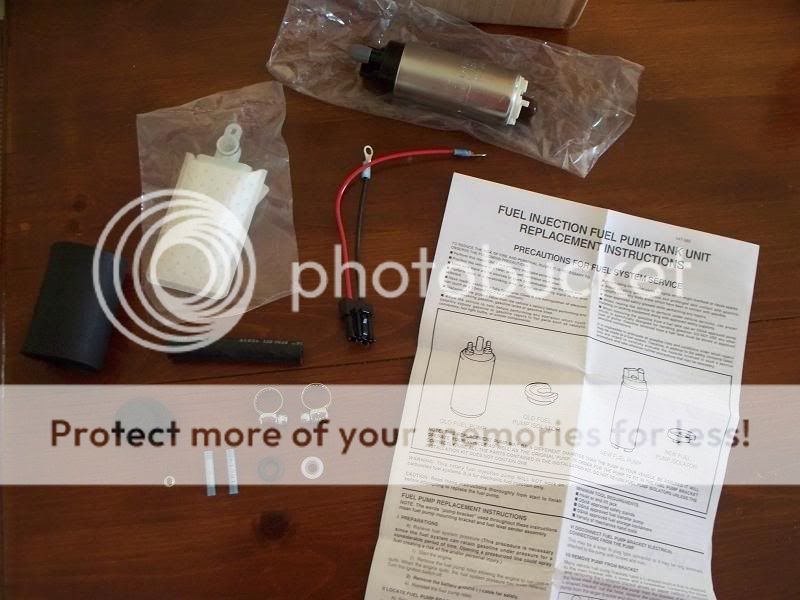
1st you need the pump and install kit.

Pump=gss315(255lph)
gss315.jpg


Install kit=400-866(88-92 Probe/mx6)
400-866.jpg


I got mine from jscspeed.com. Actually they are a vendor on here and since I am a member they gave a sweet discount. Took 2 days to get. Recomended to anyone.
 
Removing the fuel pump assembly

De-pressurize your fuel tank. (I didn't like an idiot :cuss:)

Remove the rear lower seat cushion.
100_0457.jpg


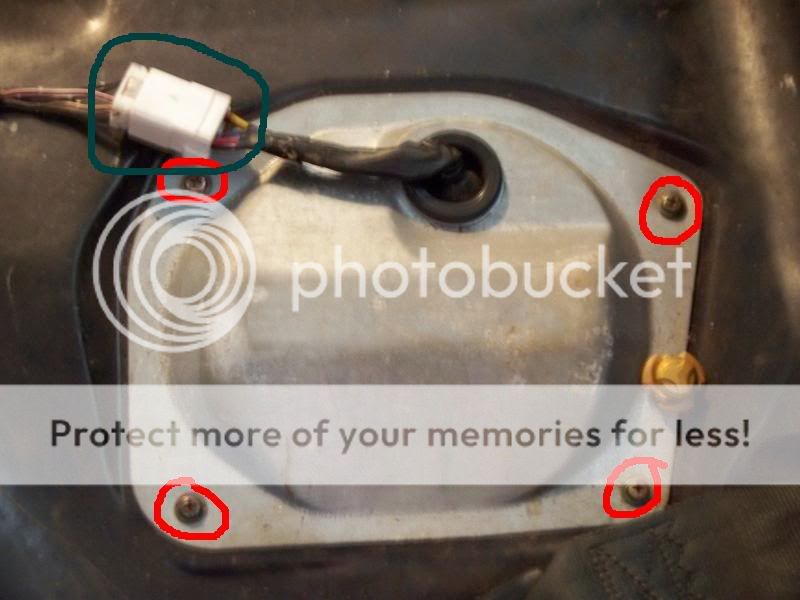
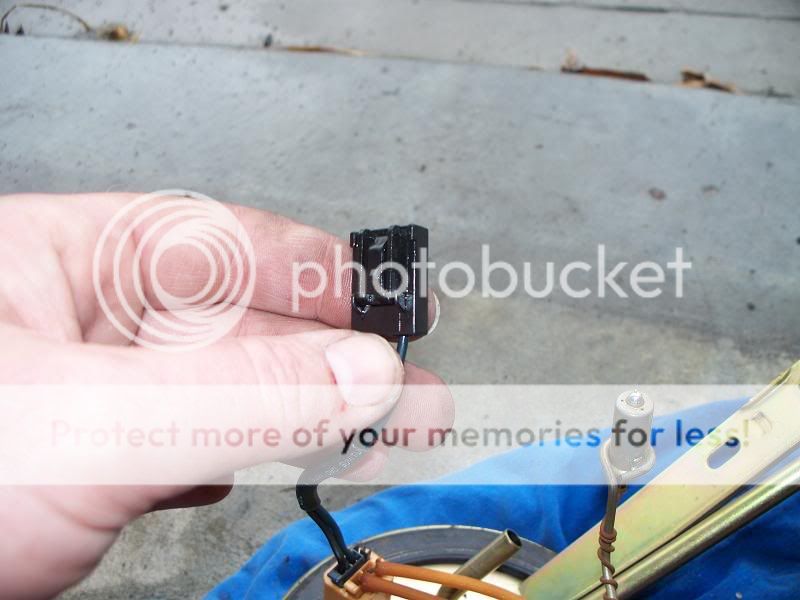
Disconnect the connector(Green) and unscrew the 4 Phillips screws(red)
100_0461.jpg


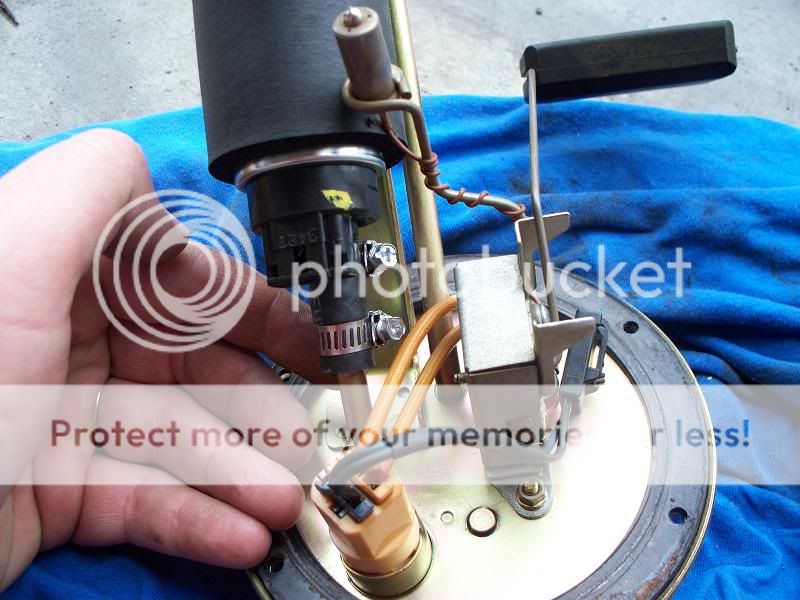
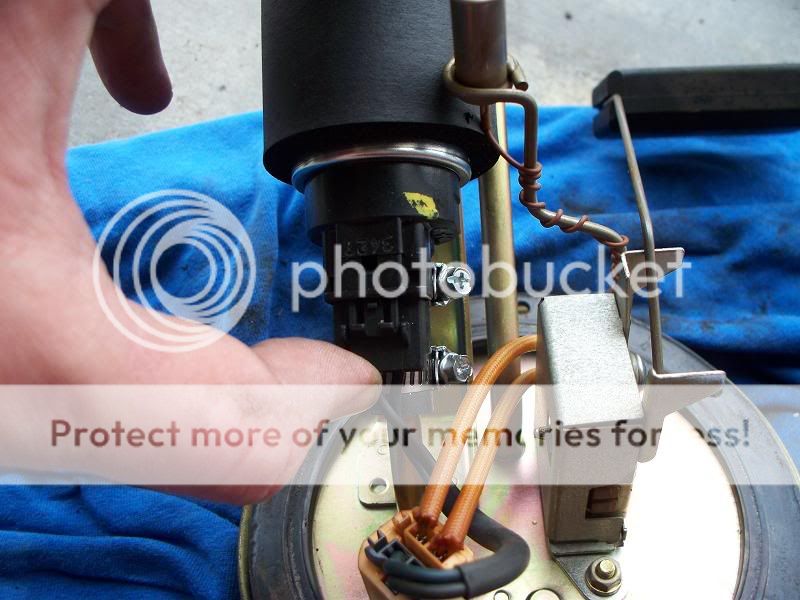
Lift the metal plate. Be careful as there's a 2nd connector and ground wire attached below. Disconnect the connector and unbolt the ground wire(yellow). Then remove the 2 fuel lines by sliding the clamps(blue) back. Have a rag handy for excess fuel that may come out. Now you can remove all 6 phillips screws that hold the assembly in(red dots indicate location of screws
100_0464.jpg


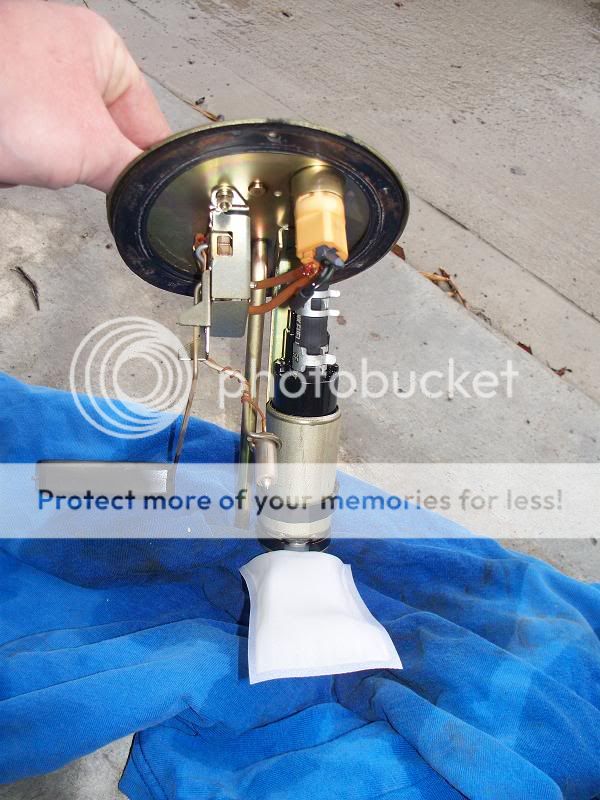
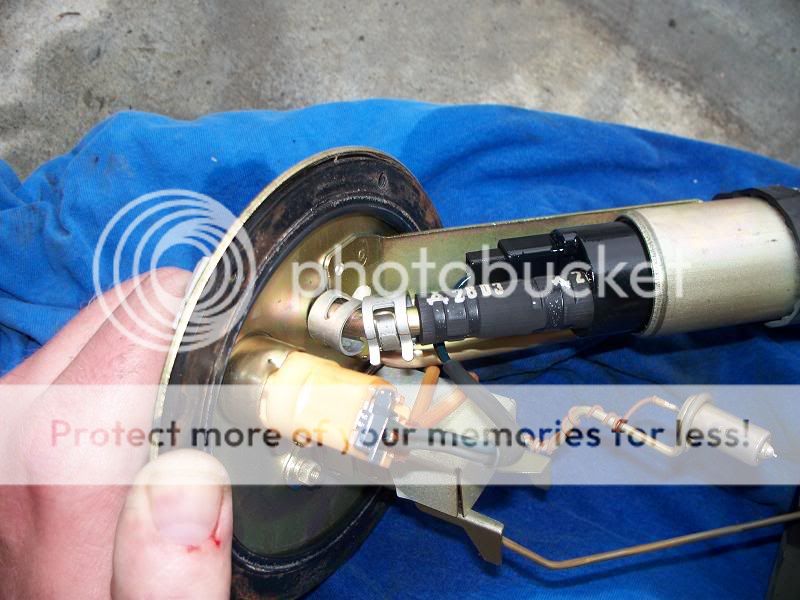
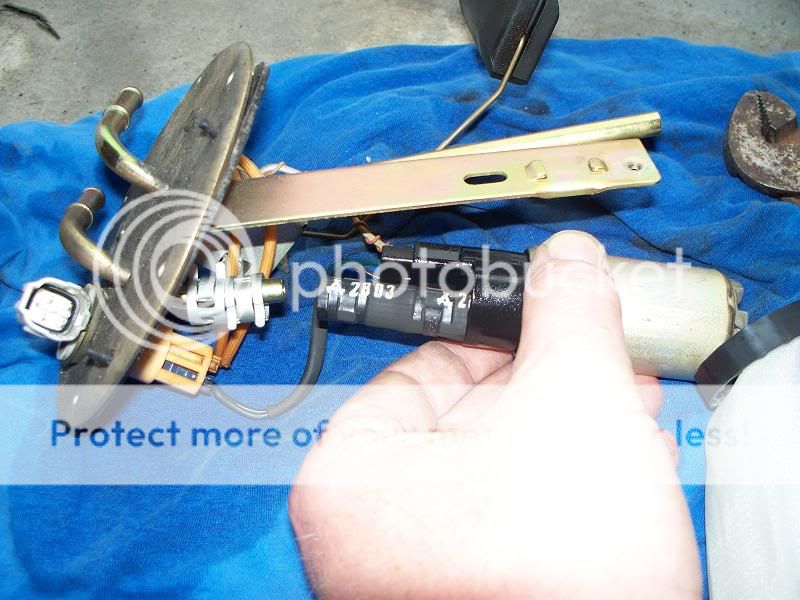
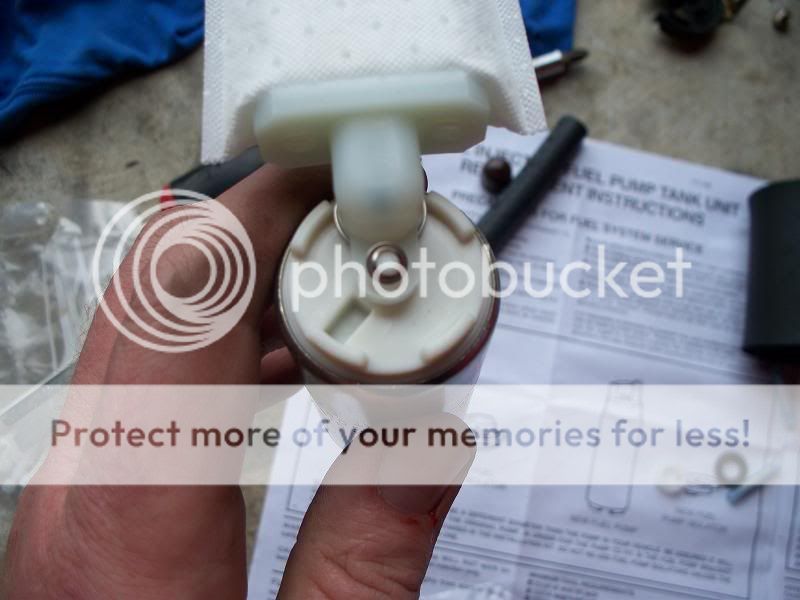
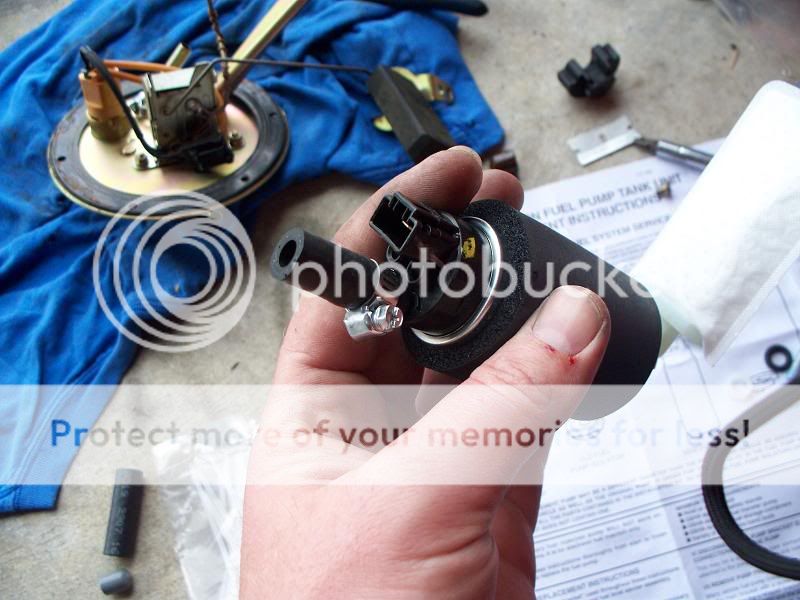
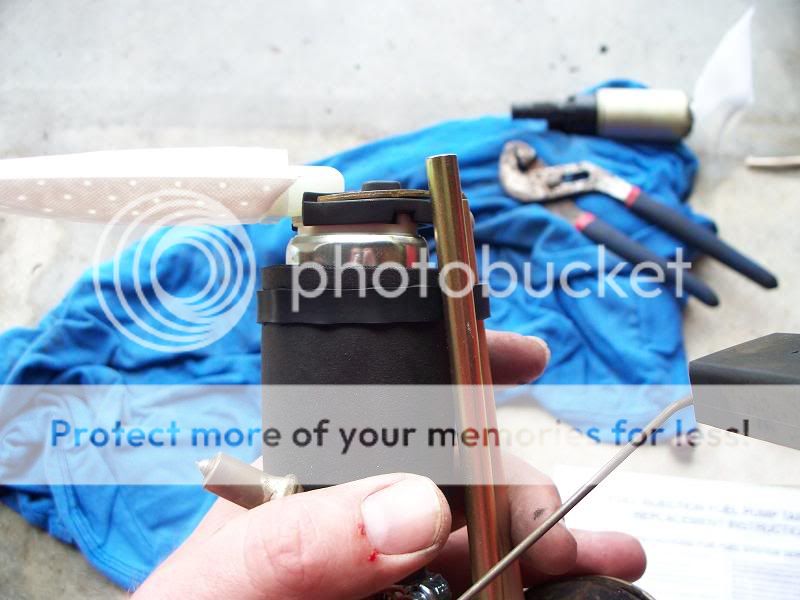
Now pull the fuel pump assembly unit out. Be careful. The floater and all needs a little shimmy but it will come out.
100_0465.jpg


Tada!!!!!
100_0466.jpg
 
Removing the old pump from the assembly


Loosen the clamps that hold the fuel line.
100_0467.jpg


Then remove this Philips head screw
100_0468.jpg


After removing the screw you can pull off this rubber piece and the rubber band and set them aside. You'll need to reuse this.
100_0469.jpg


Now go ahead and slide the old pump off the assembly.
100_0470.jpg


Disconnect the connector
100_0471.jpg
 
Prepping the new pump

Go ahead and take the end caps off and trash them. 1 on each side(brown and grey)
100_0473.jpg


Now take the new sock and slip it in place
100_0474.jpg


This little clip is provided in the kit as well
100_0475.jpg


Put it like this
100_0477.jpg


I used a very small socket and pushed it down
100_0478.jpg


The sock is now secured
100_0479.jpg


I'm not sure if it is needed but I did put the foam sleeve over the pump
100_0480.jpg
 
Installing the new pump onto the assembly

Size up the new fuel line. This is the line that goes from the pump to the assembly. It's a little more than half. Yours may be different.
100_0484.jpg


Install the new clamp provided in the kit
100_0485.jpg


Slide the new pump onto the assembly and clamp the second part down.
100_0487.jpg


Remember that rubber piece I told you to set aside? Well go ahead and put it on the new pump. The one they provide doesn't work.
100_0483.jpg


Put the screw back in place. I had to bend the bracket a hair so the screw could grab onto the thread.
100_0486.jpg


Put the rubber band back on
100_0489.jpg


Now you can go ahead and plug in the original connector as its a plug and play pump ;)
100_0488.jpg
 
Installation is reverse of removal

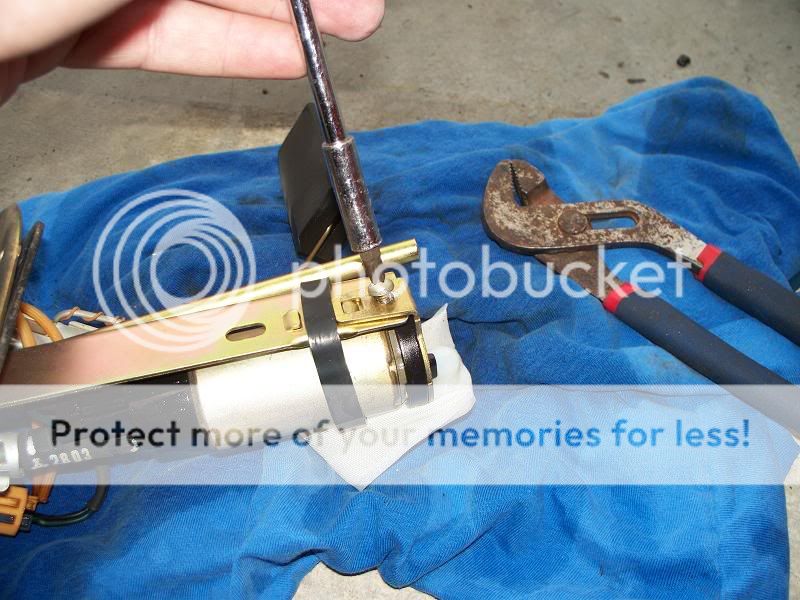
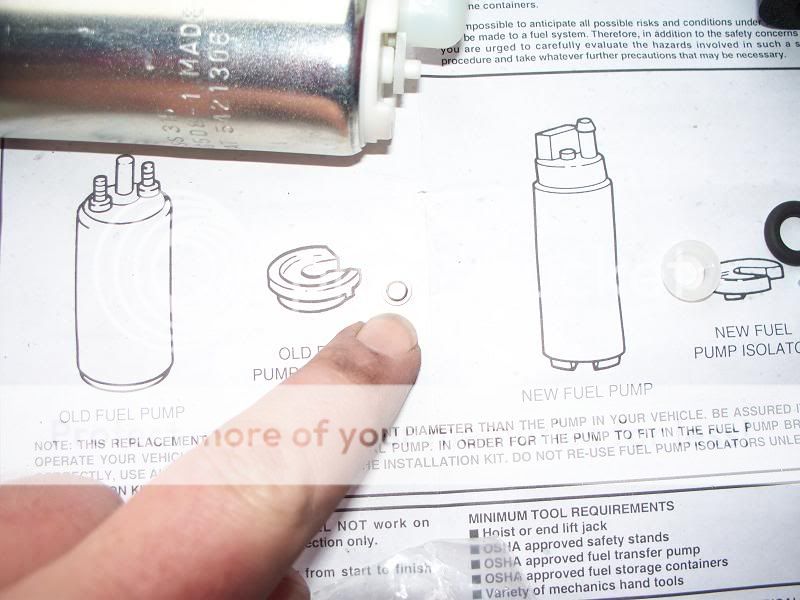
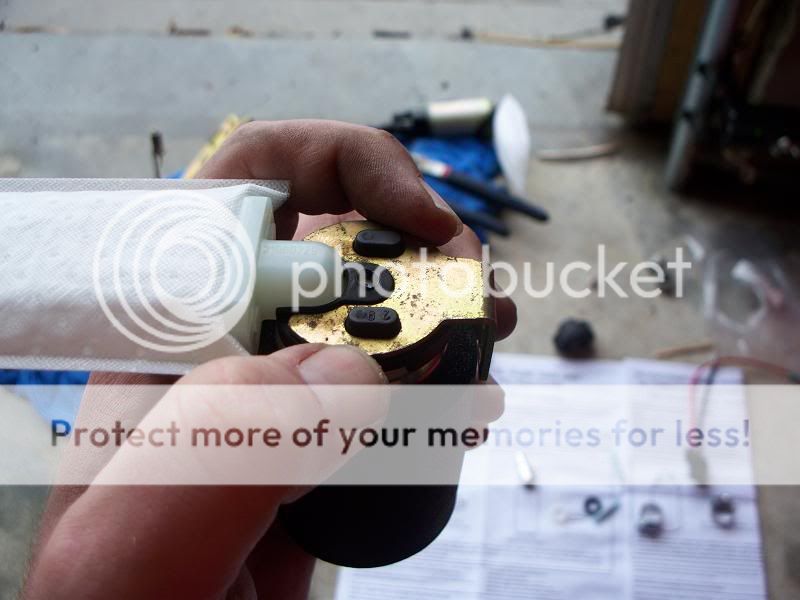
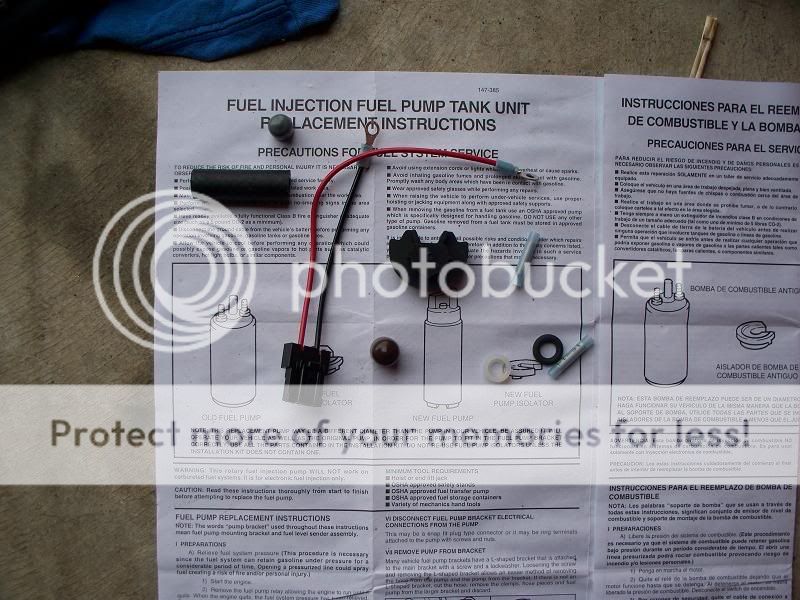
Here is the remaining parts of the kit that are unused. Seems like a waste to buy the kit. I'm not sure if the stock sock fits the walbro pump but I figured just to use all new parts.
100_0490.jpg


The whole process took around 20-30 mins to do. Well worth it. I had a lean out problem with my old pump and this took care of it.

It's louder than the stock pump but it wont drive you nuts. Thanks for all that helped with part numbers and advice. Open for comments. Thanks for looking and hope it comes in handy.

Disclaimer: this is how I did it and these instructions should only be used as a guide. If you fk your s*** up that's on you, I'm not responcable if you screw up.
 

Latest posts

Back