
flatlander937
Member
- :
- '11 Mazda2 Sport
So I got the itch to do one last thing to my car before the last auto-x event this season(next weekend)... so I found out that Napa had the SPC camber bolts in stock... hey why not?
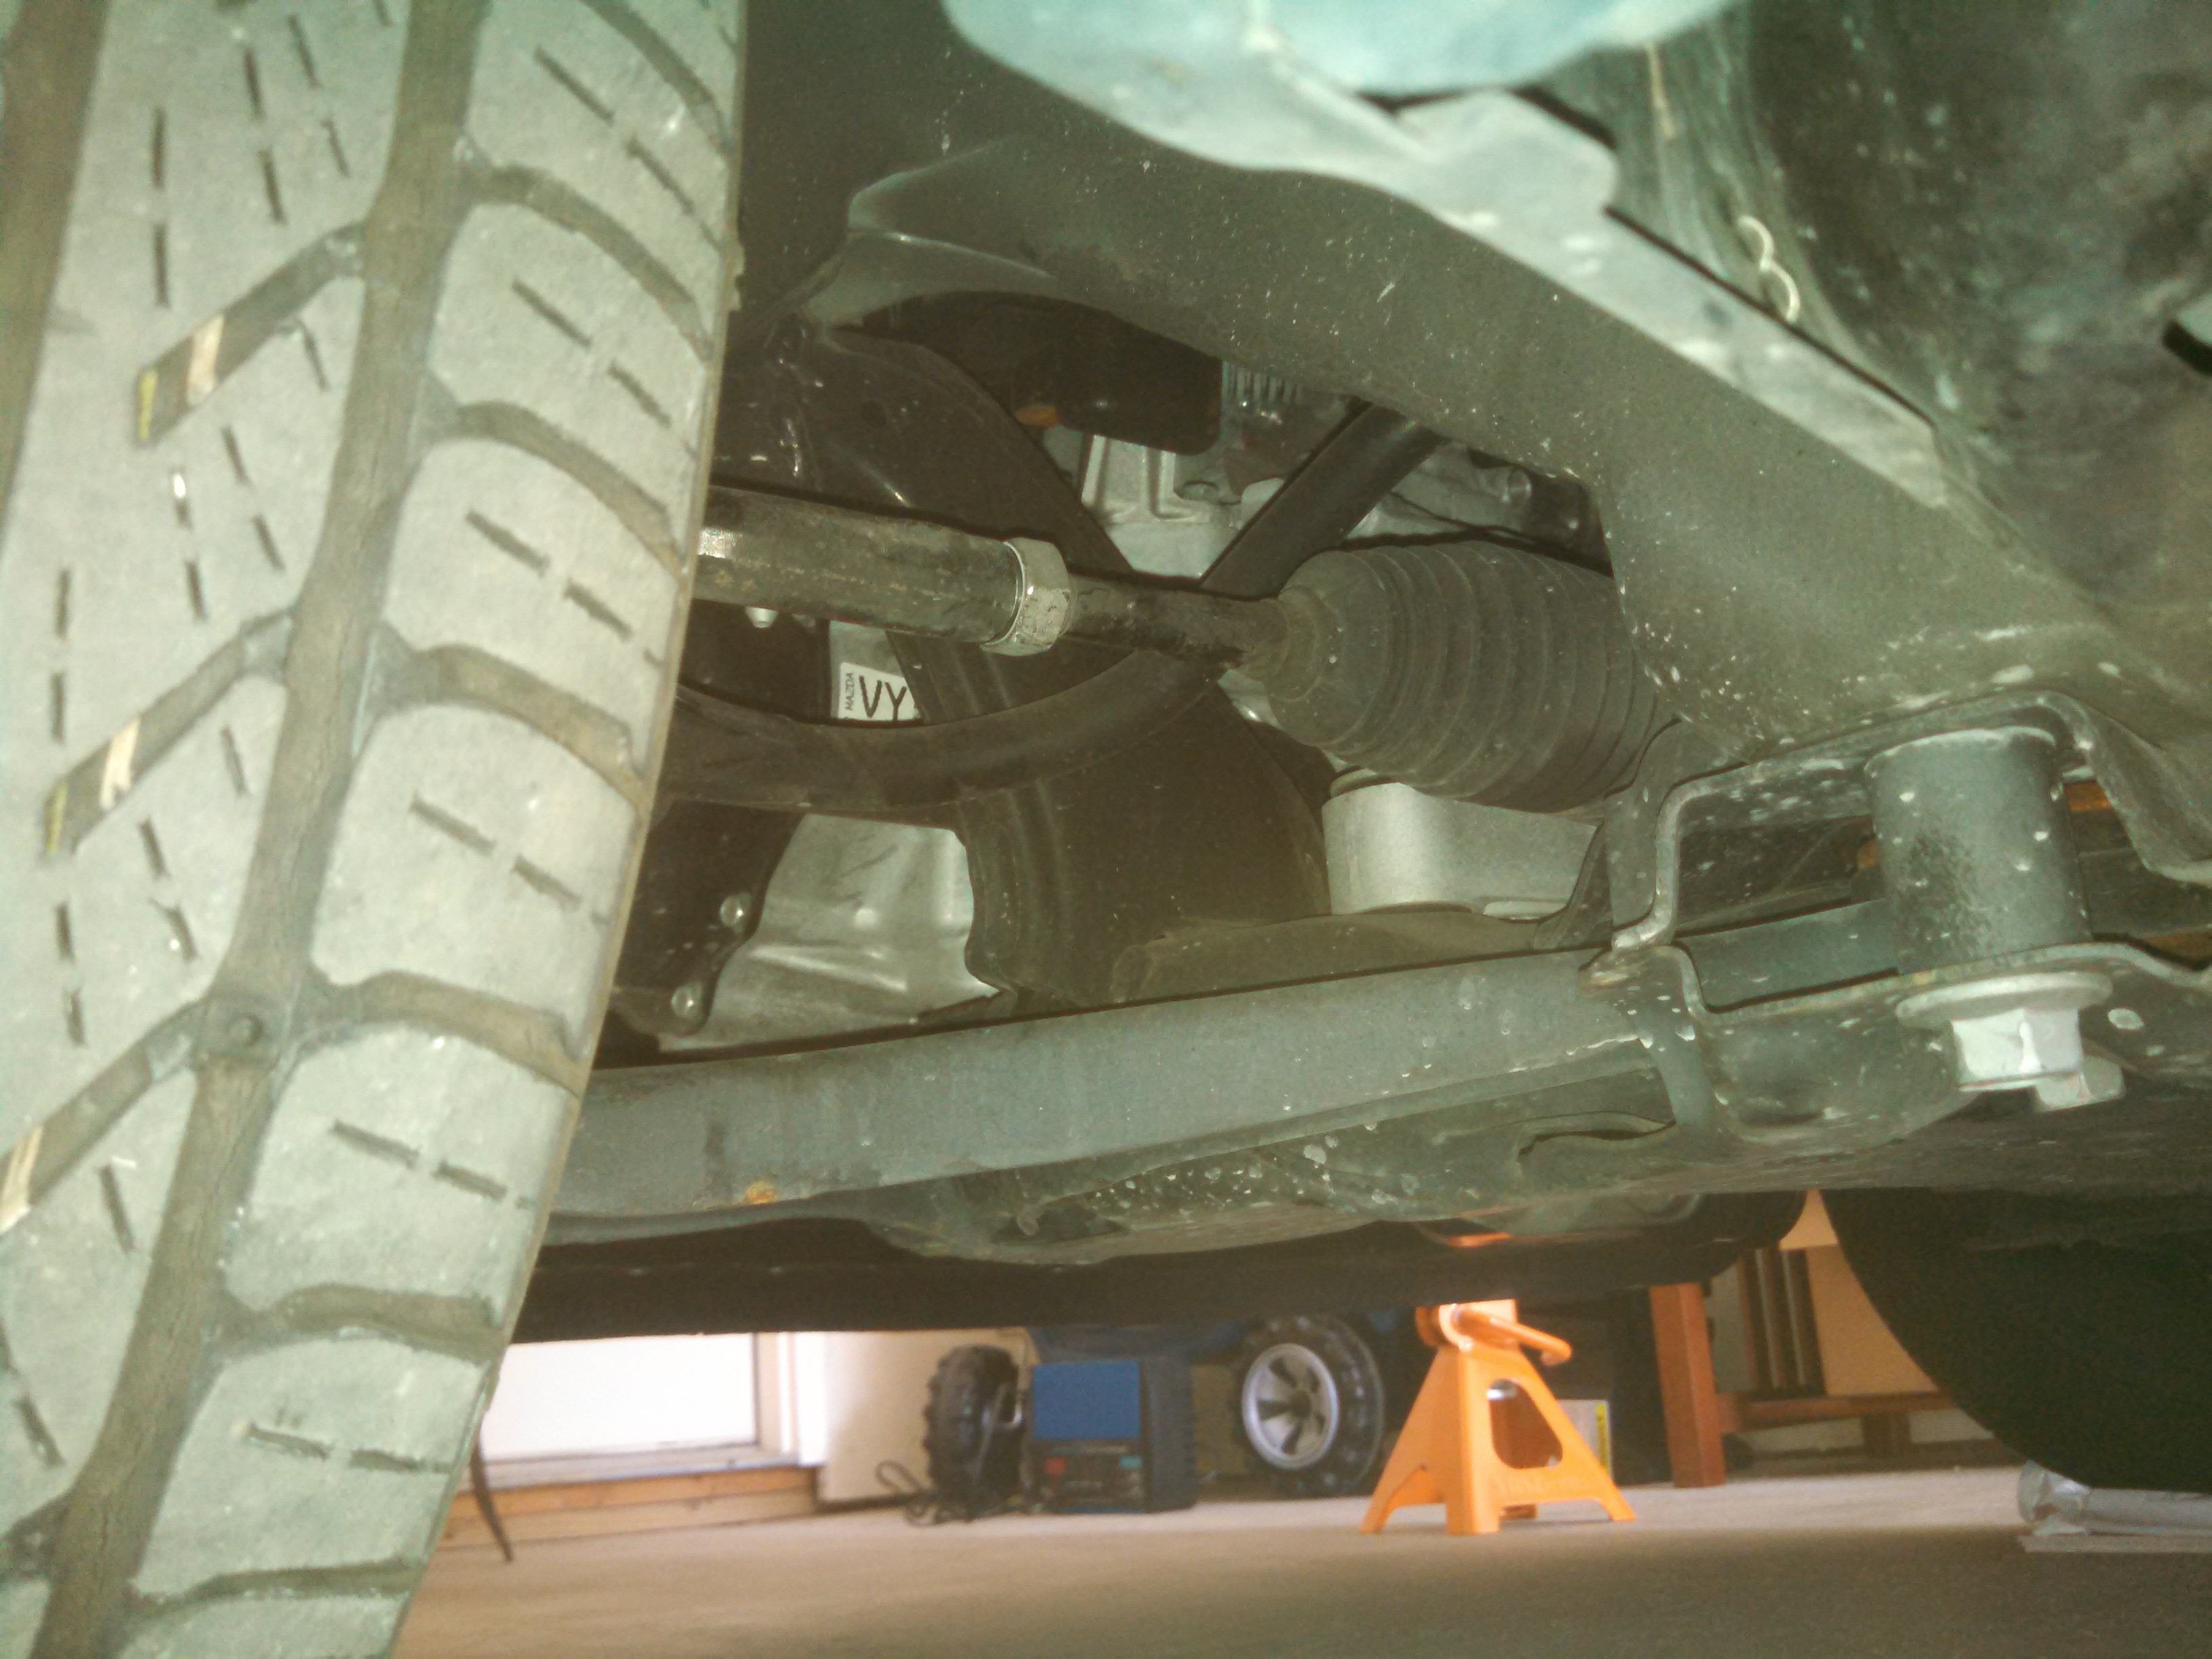
There are a couple how-tos floating around about installing the bolts but I'm not sure that this step is ever mentioned... it's pretty important to pull the knuckle back and clean the knuckle and insides of the strut(where they interface) with a wire brush to eliminate any little grit/surface rust that has accumulated as it gets pretty nasty, and any little bits of stuff acts as a dry lube and may lead to your camber bolts slipping... which shouldn't take much since the 12mm bolt gets replaced by a 10mm bolt and is only torqued to 60 ft-lbs.
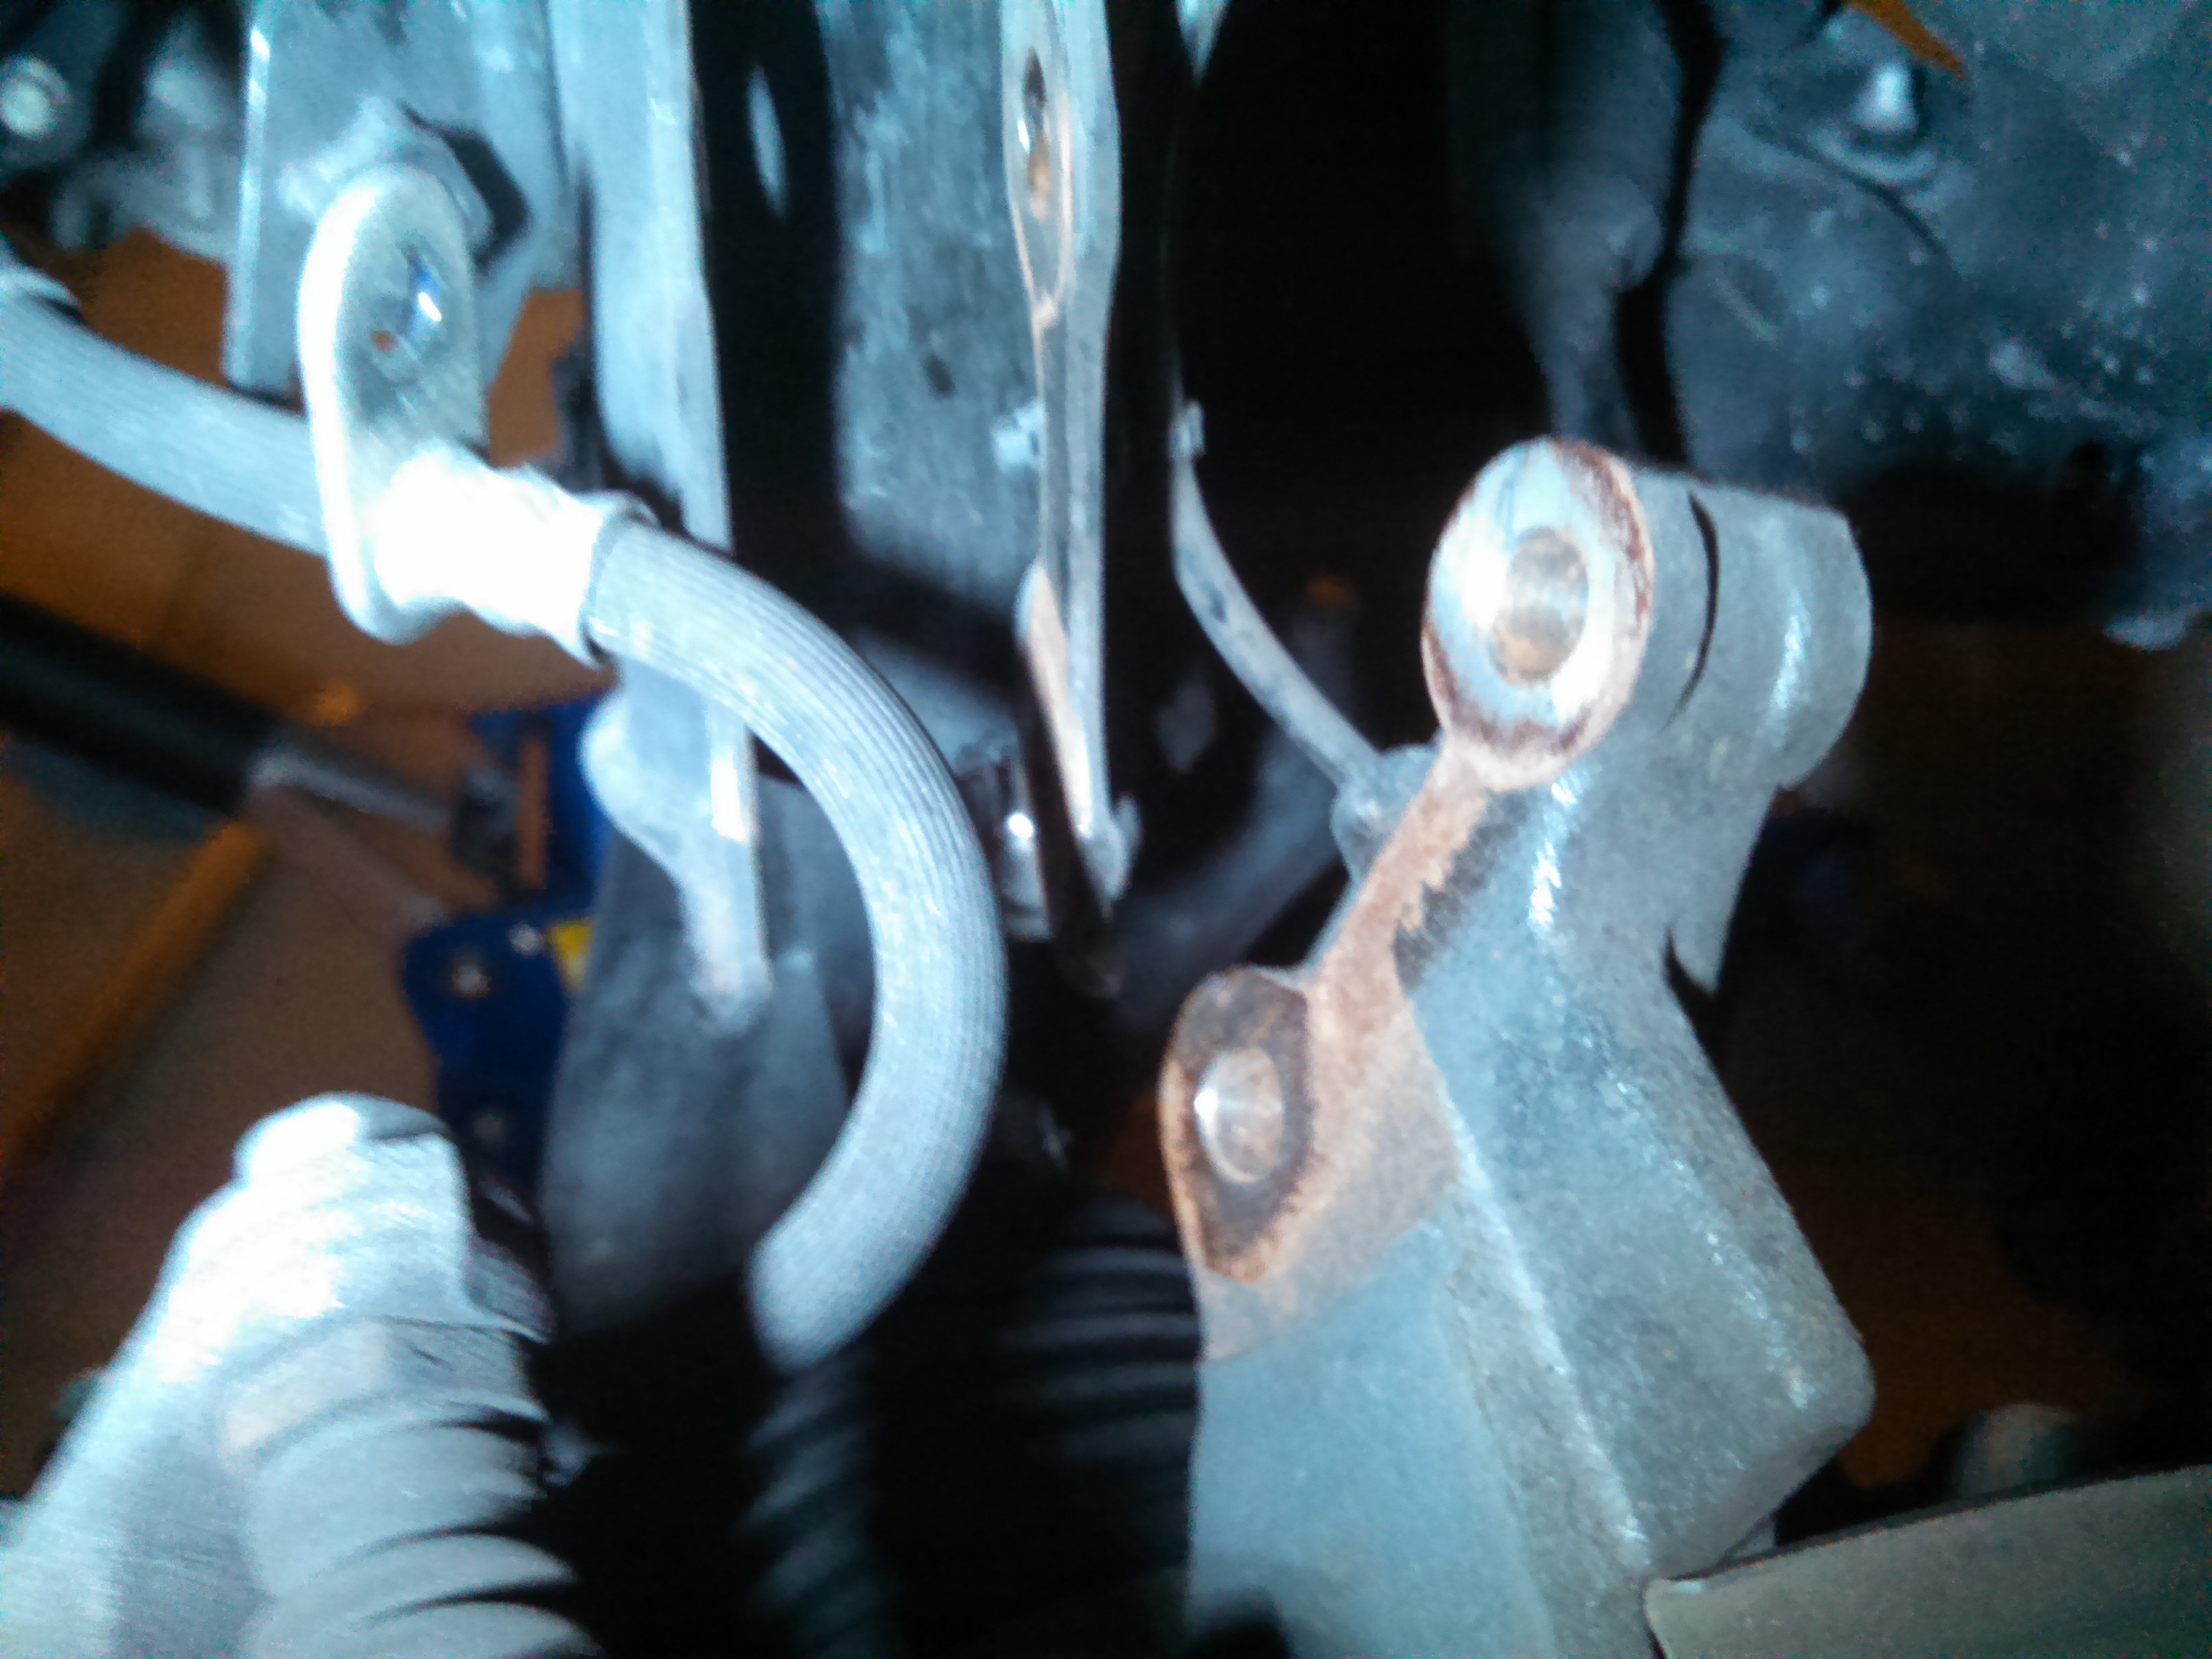
You can see the before above, I got too excited and cleaned it up and forgot to take another pic but you get the idea. Get it as clean as possible and wiped it down with a solvent when done. I really -thought- about putting some loctite on the knuckle to strut surfaces, much like what is done to keep cylinder liner sleeves in a block but decided enough people don't have problems that I wouldn't worry about it. It's something to consider if you have slipping problems.
Anyways the more interesting thing is doing a string alignment at home. For about $30 for stuff from Home Depot(plus jackstands which you should already have) it's simple enough to set toe at home. It takes about 30min to set it all up and check, then may take another 30-60 min depending on how much needs adjusted, more if you have the car lowered a lot(I was able to reach under the string and adjust the tie rods/tighten the jam nuts from beside the car blindly at stock ride height).
For starters I'll give credit where it's due, I went mostly by this site:
http://www.negative-camber.org/jam149/technical/alignment.html
I'll basically just post the pics with a few paragraphs about what's going on and where everything ended up, if you have any questions feel free to ask. Note that I'm a 9yr master tech with a load of alignment experience using a 40k Hunter machine every week... I don't do it at work because we can't work on our own cars there and frankly I like doing stuff myself to know it's done right... I'm super anal about everything I do... like using 3 different kinds of grease on brakes, torque everything to specification every time and mark every nut and bolt I touch.
Here I am leveling the floor with some cheap tiles from the hardwood store. Note that getting the left to right is a LOT more important than front to back... I don't have a long level piece of steel to lay down and level front to back perfectly... but my level says the floor is pretty close to it(and a marble on the floor does too, doesn't go any particular direction) so I shimmed the rear the same as the front.
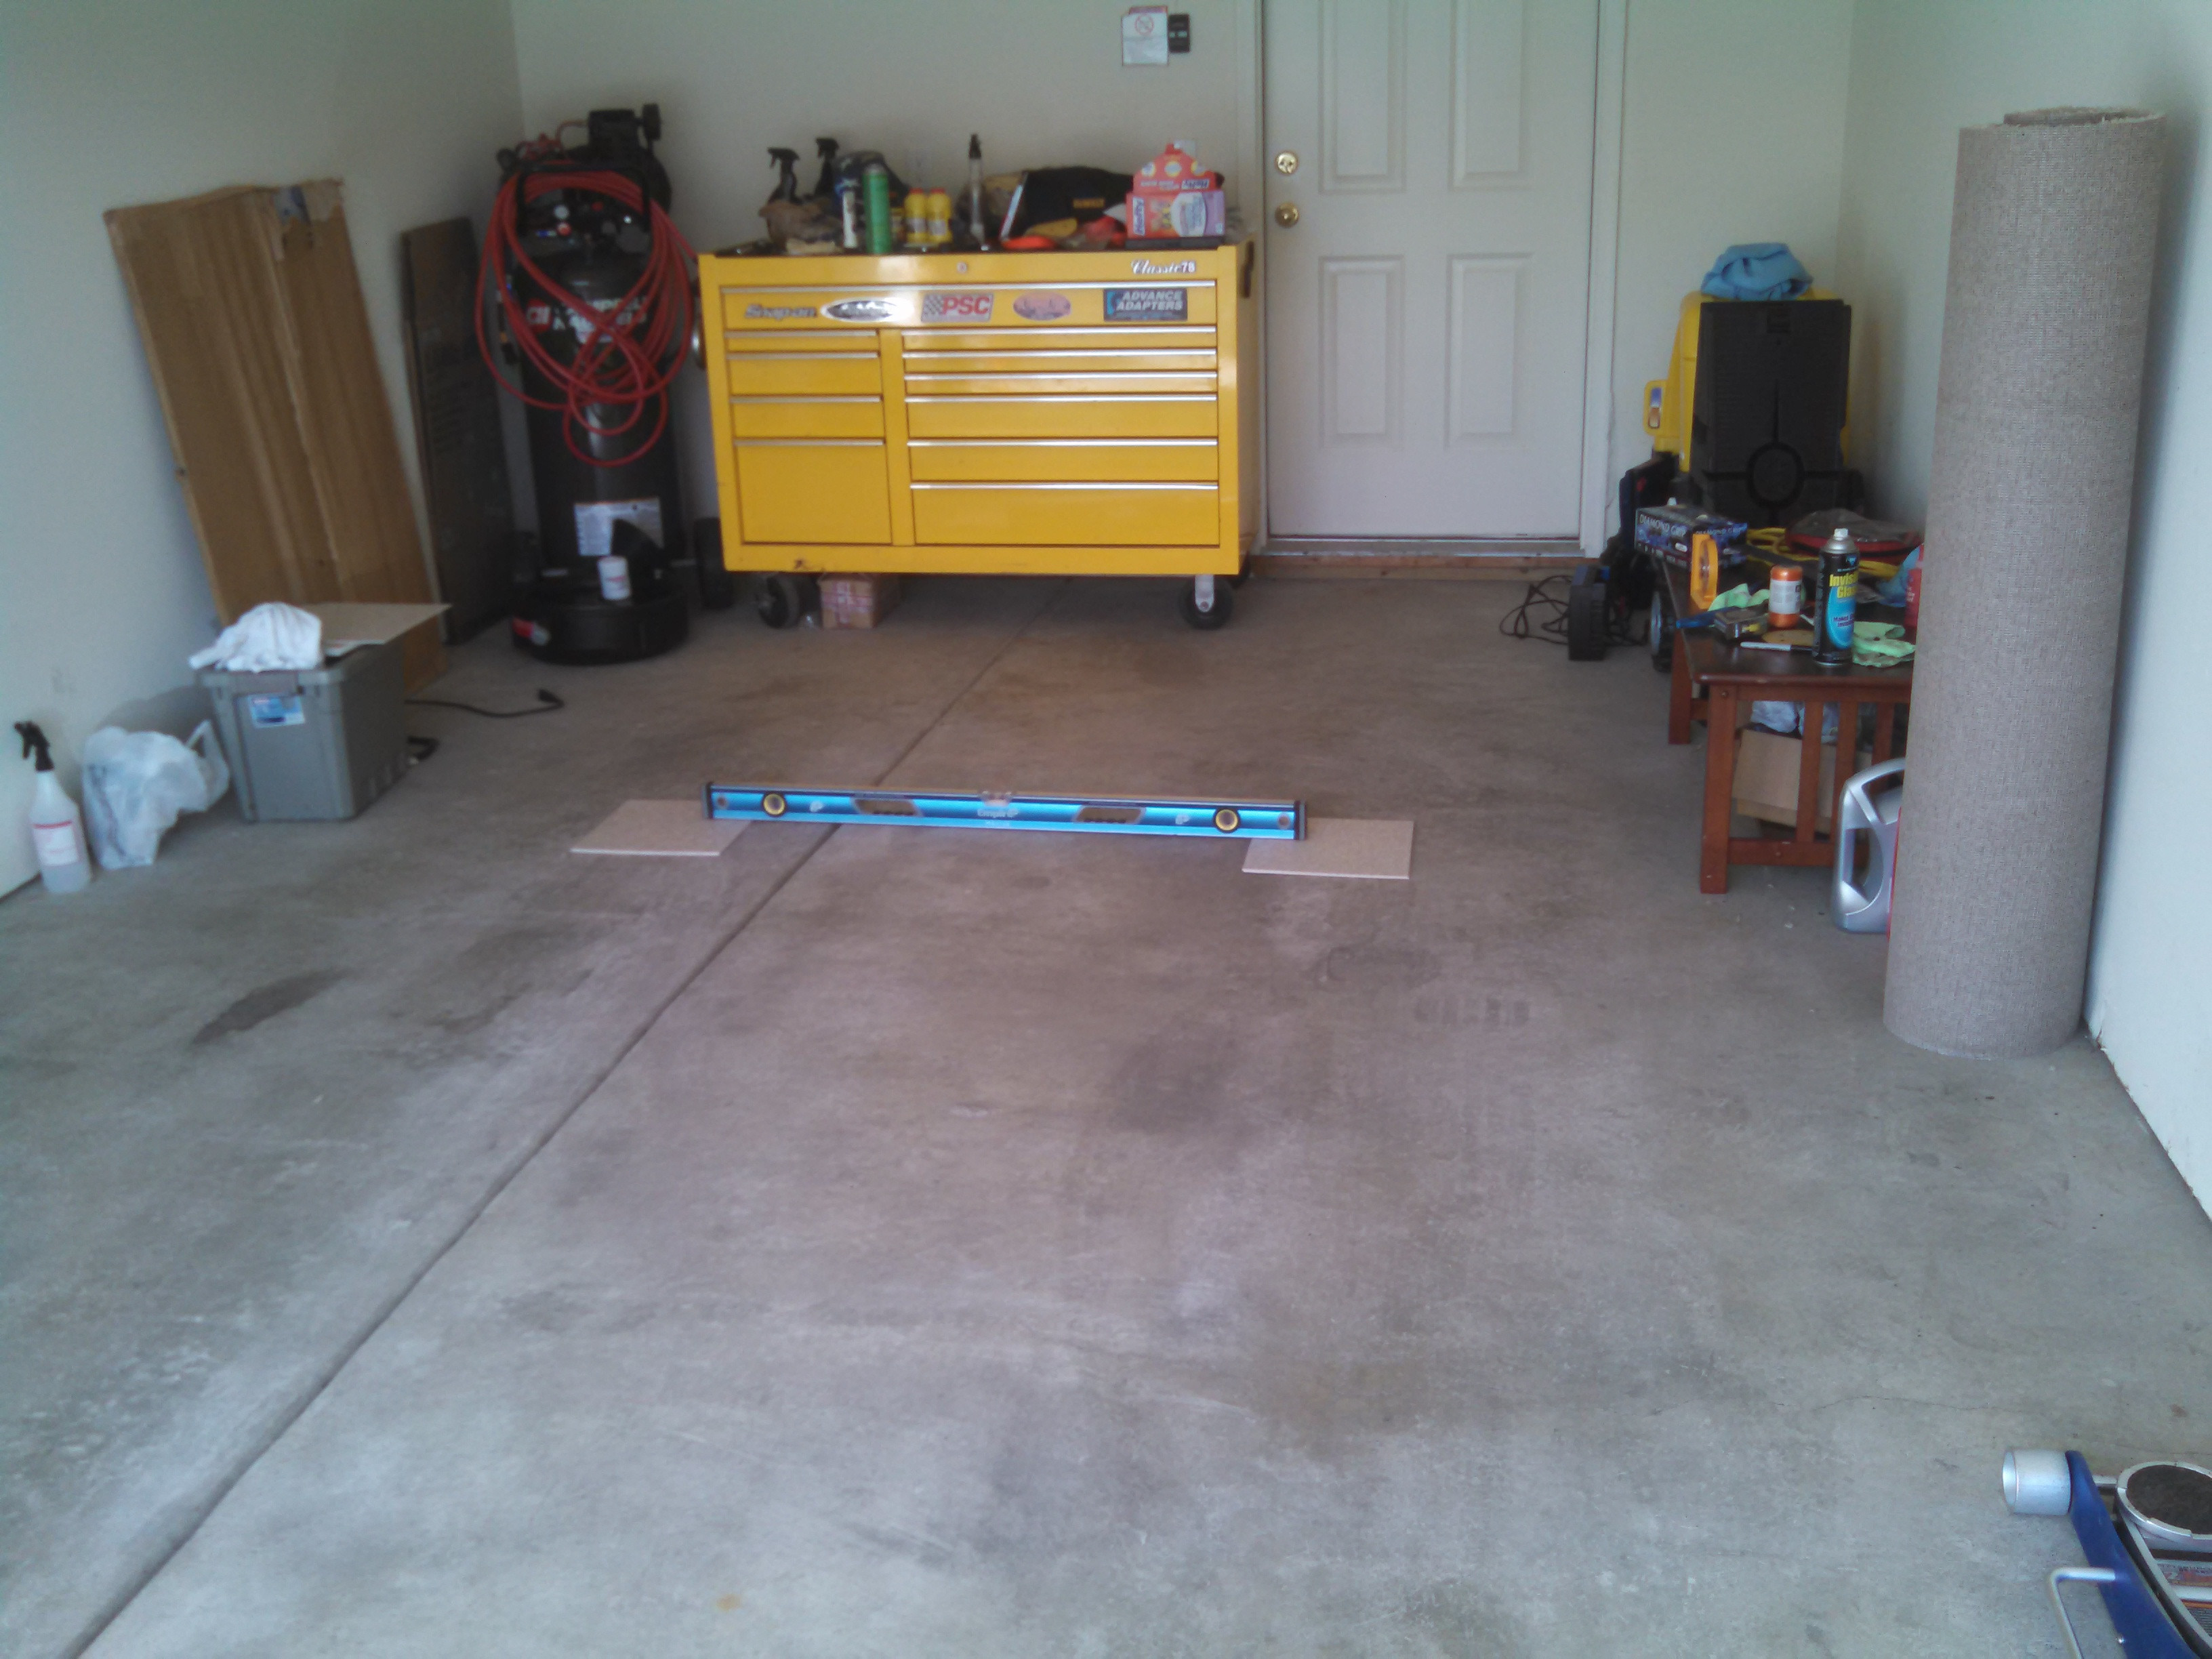

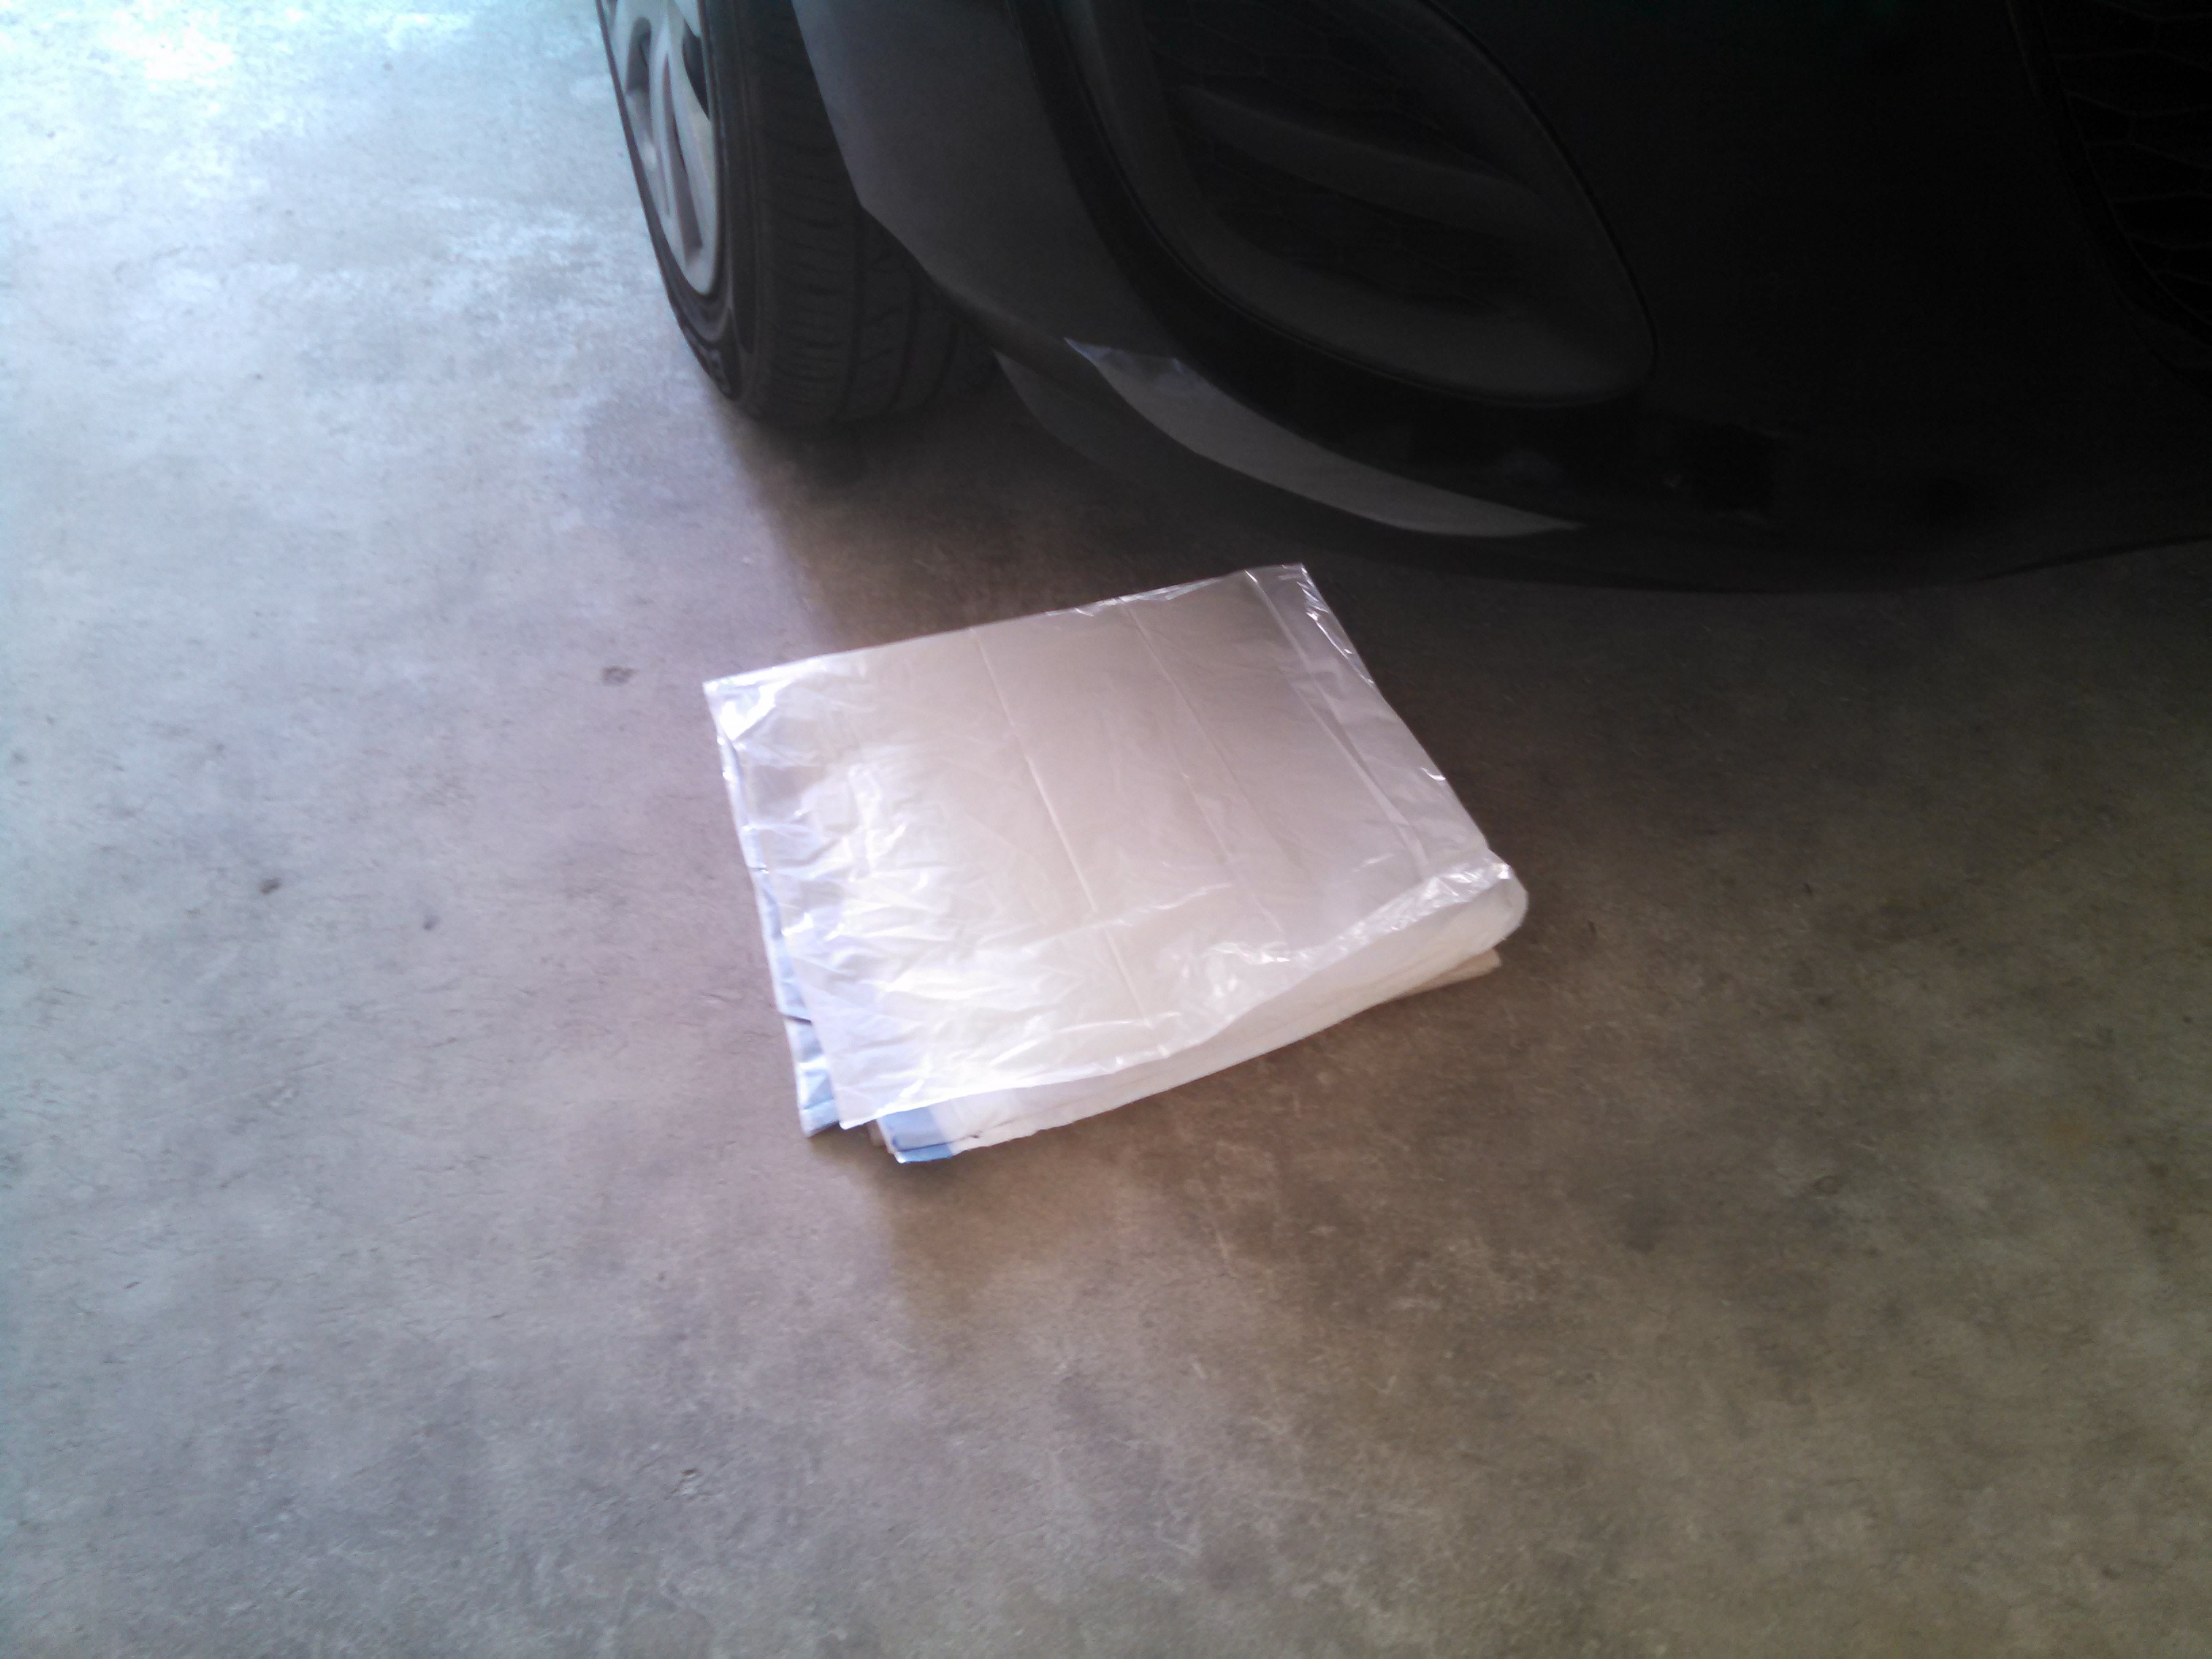
I put a couple trash bags down, folded in half then half again to make a ghetto fabulous slip-plate. This allows the wheels to not have tension on them from the tires. It allows you to jounce the suspension up/down to eliminate any preload on everything.
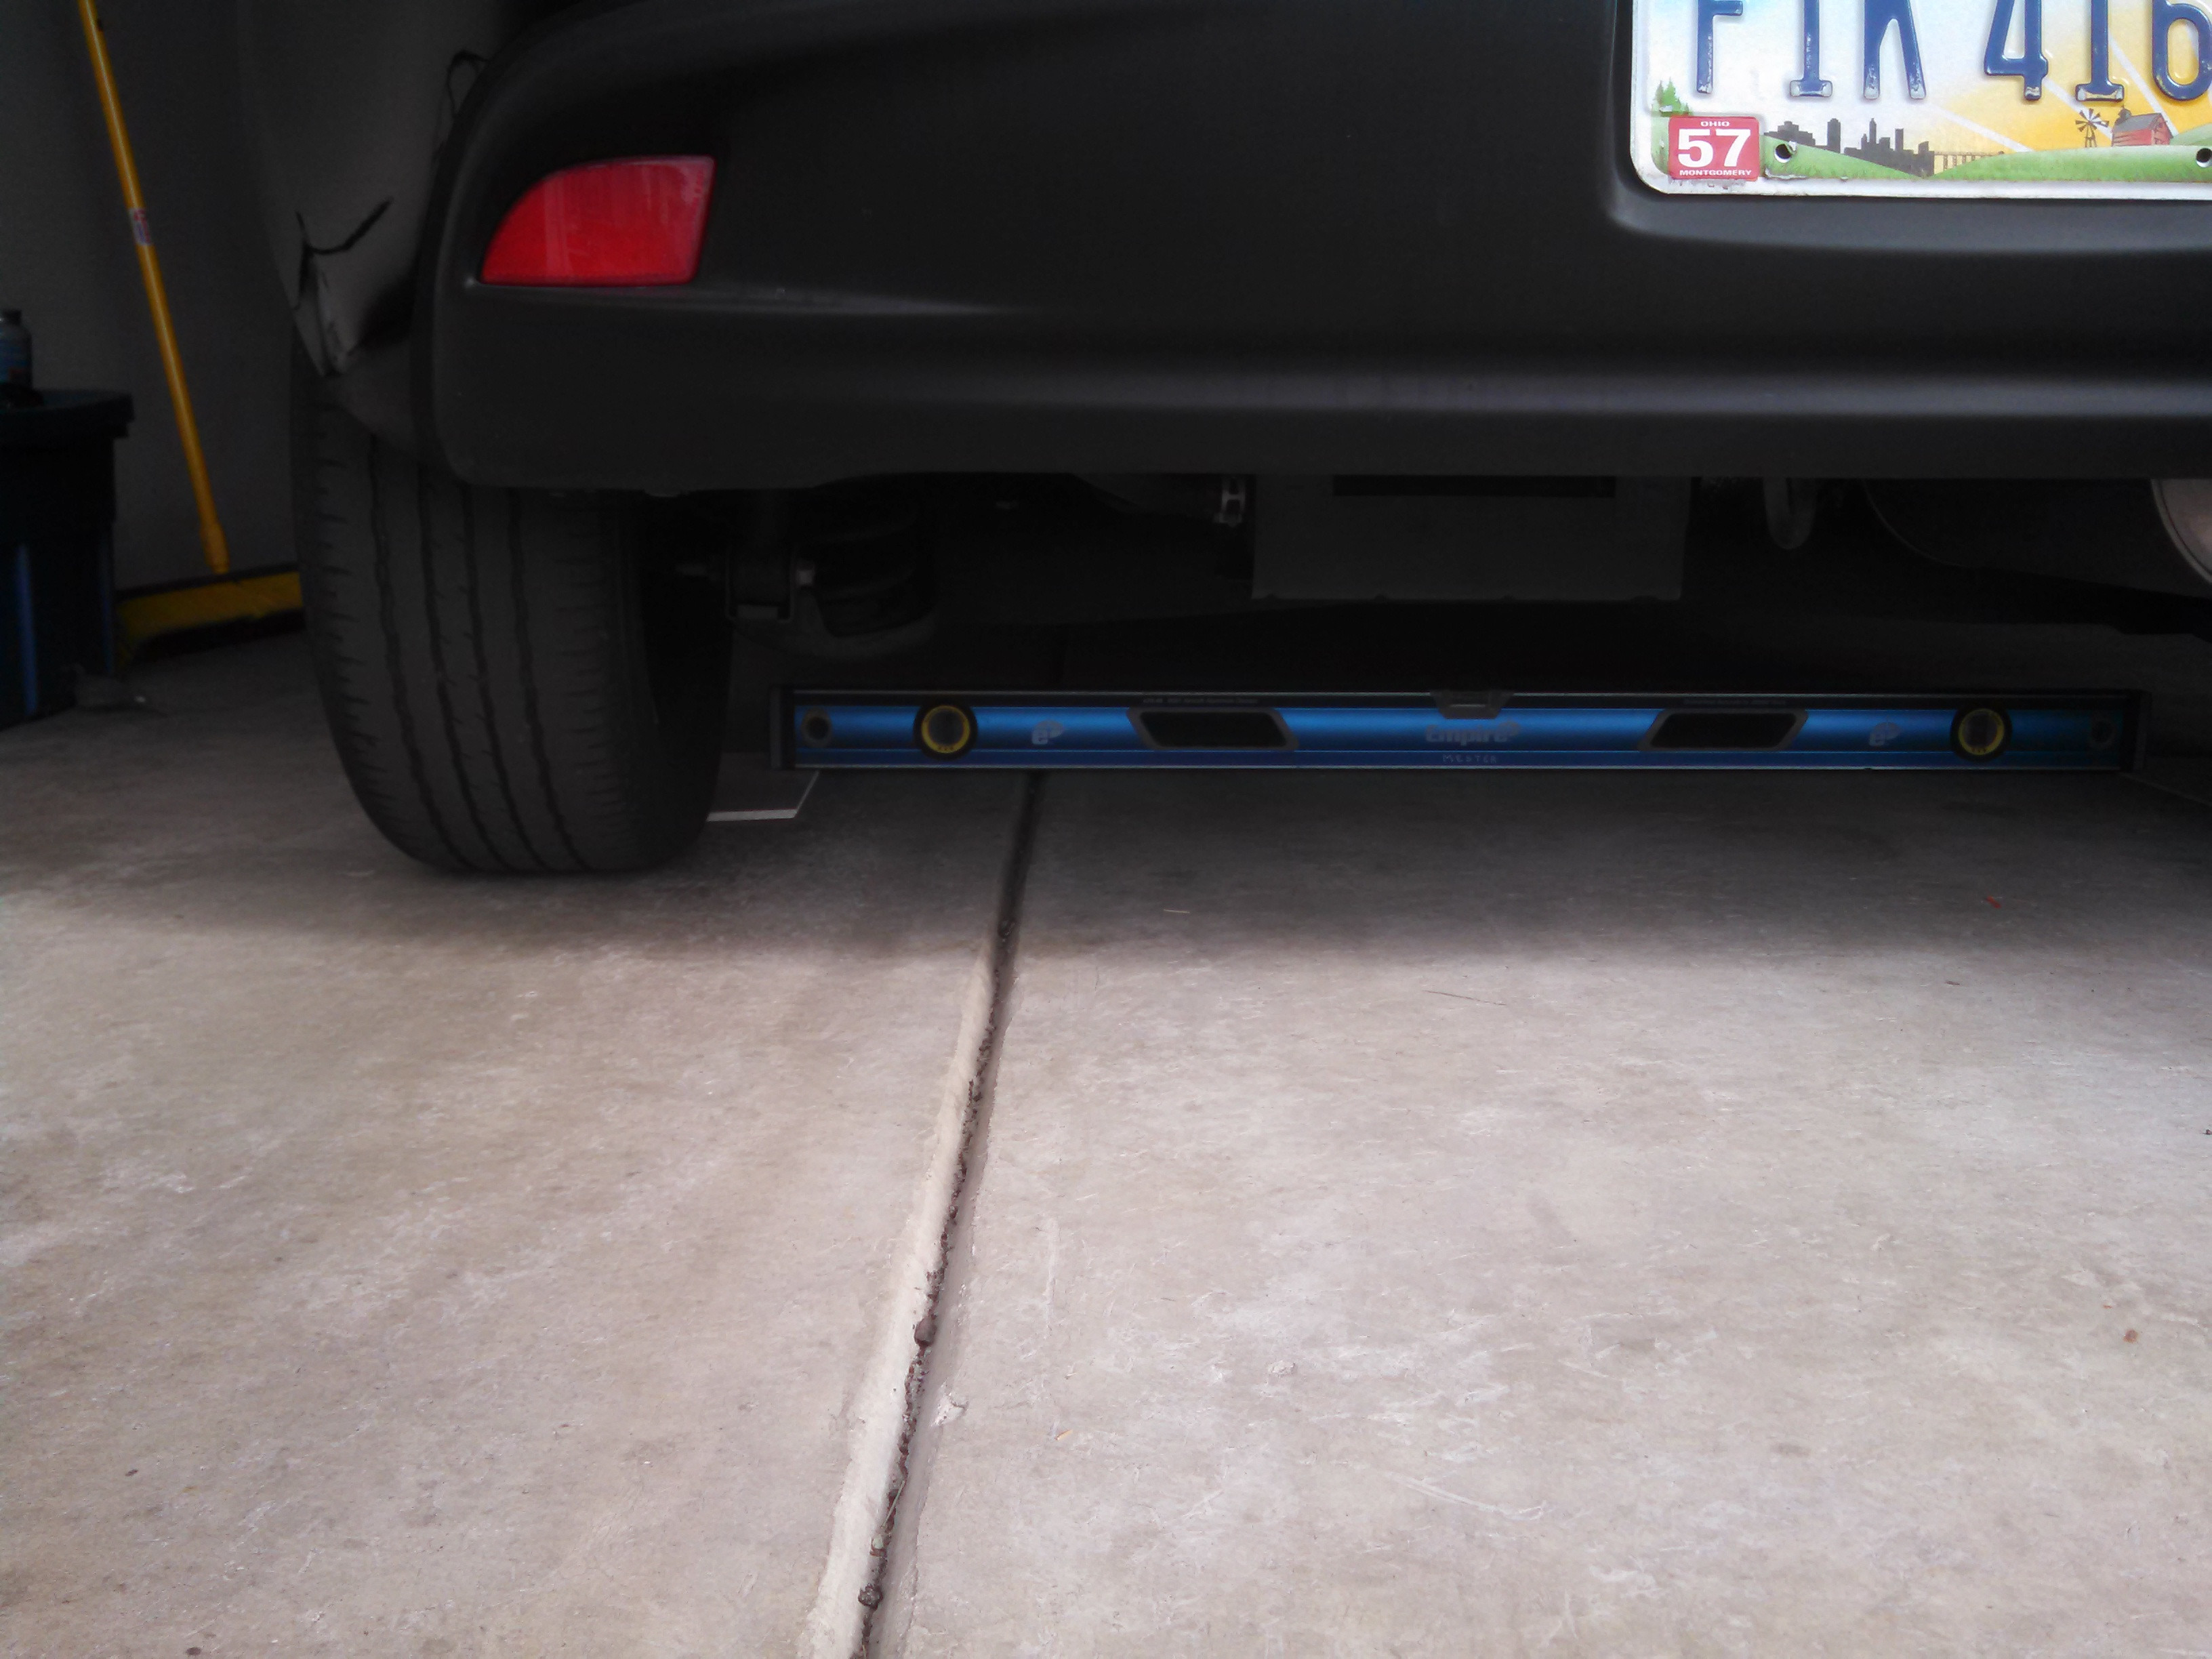
Before I pulled the car forward, I put tiles in front of the rear tires and ran the level under the car to check and make sure it's good back there too.
Pulled onto the tile/ghetto slip plates, I recommend pushing the car forward not driving it to prevent spitting a trash bag.
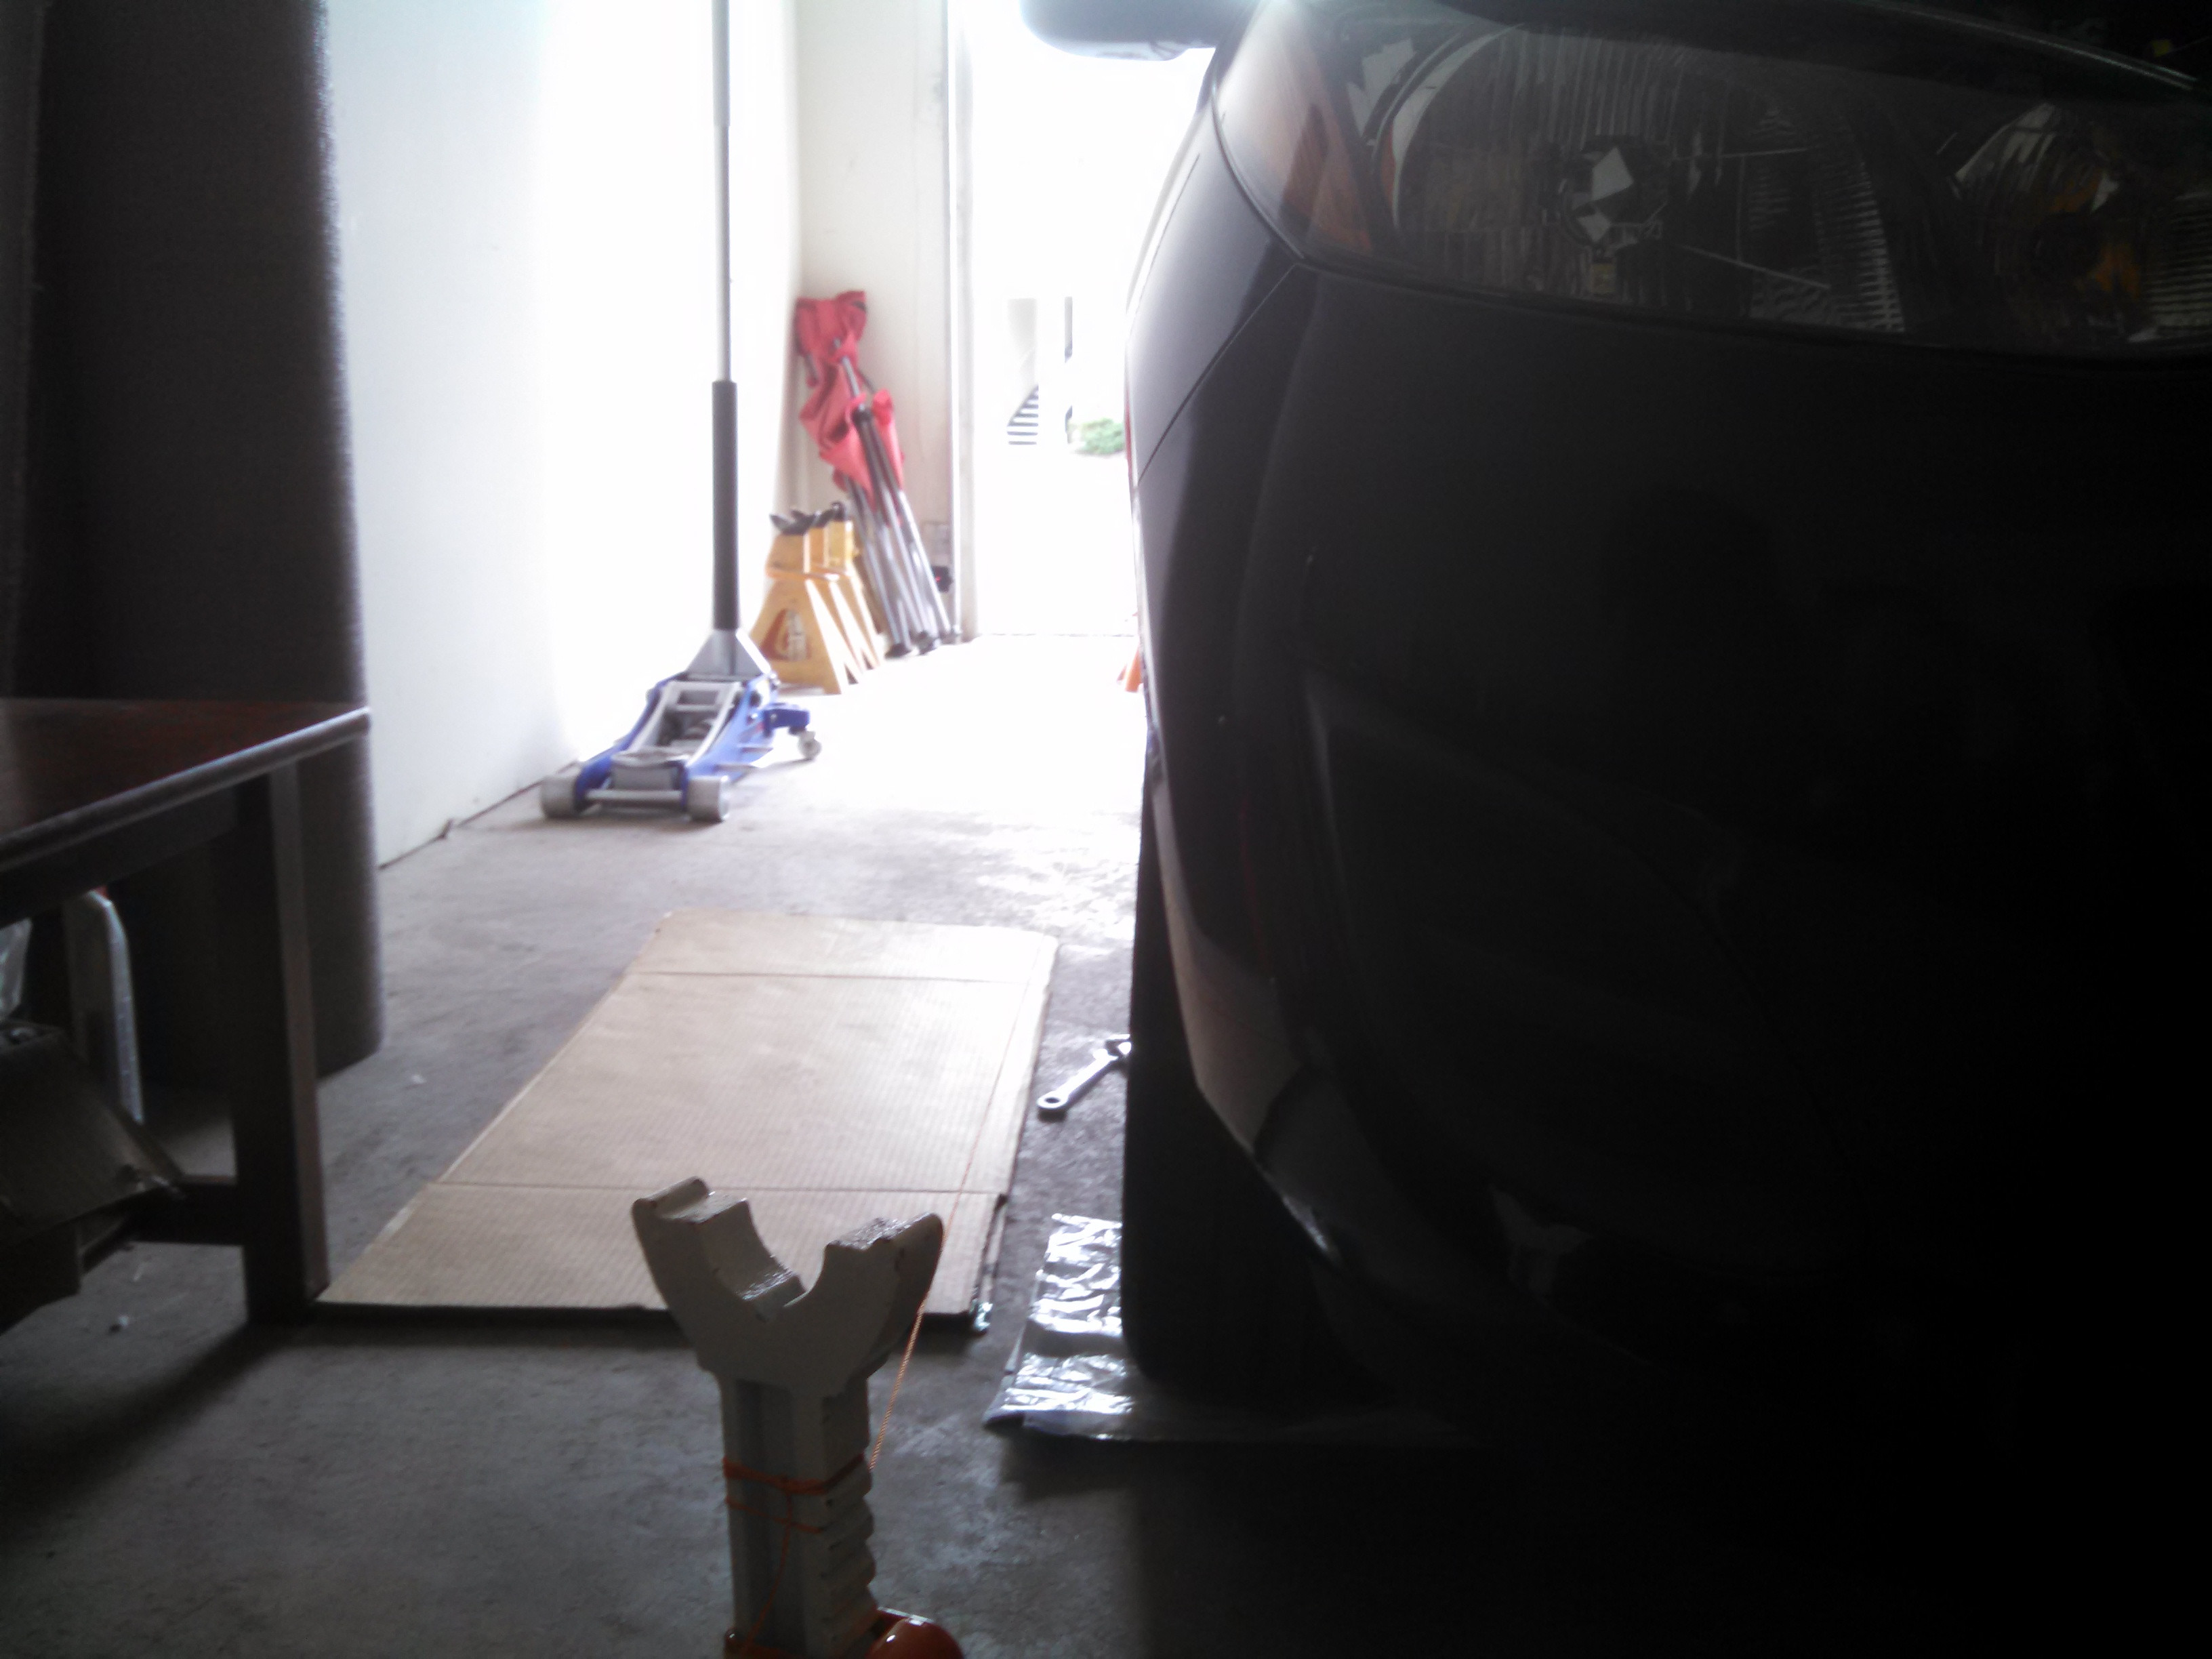
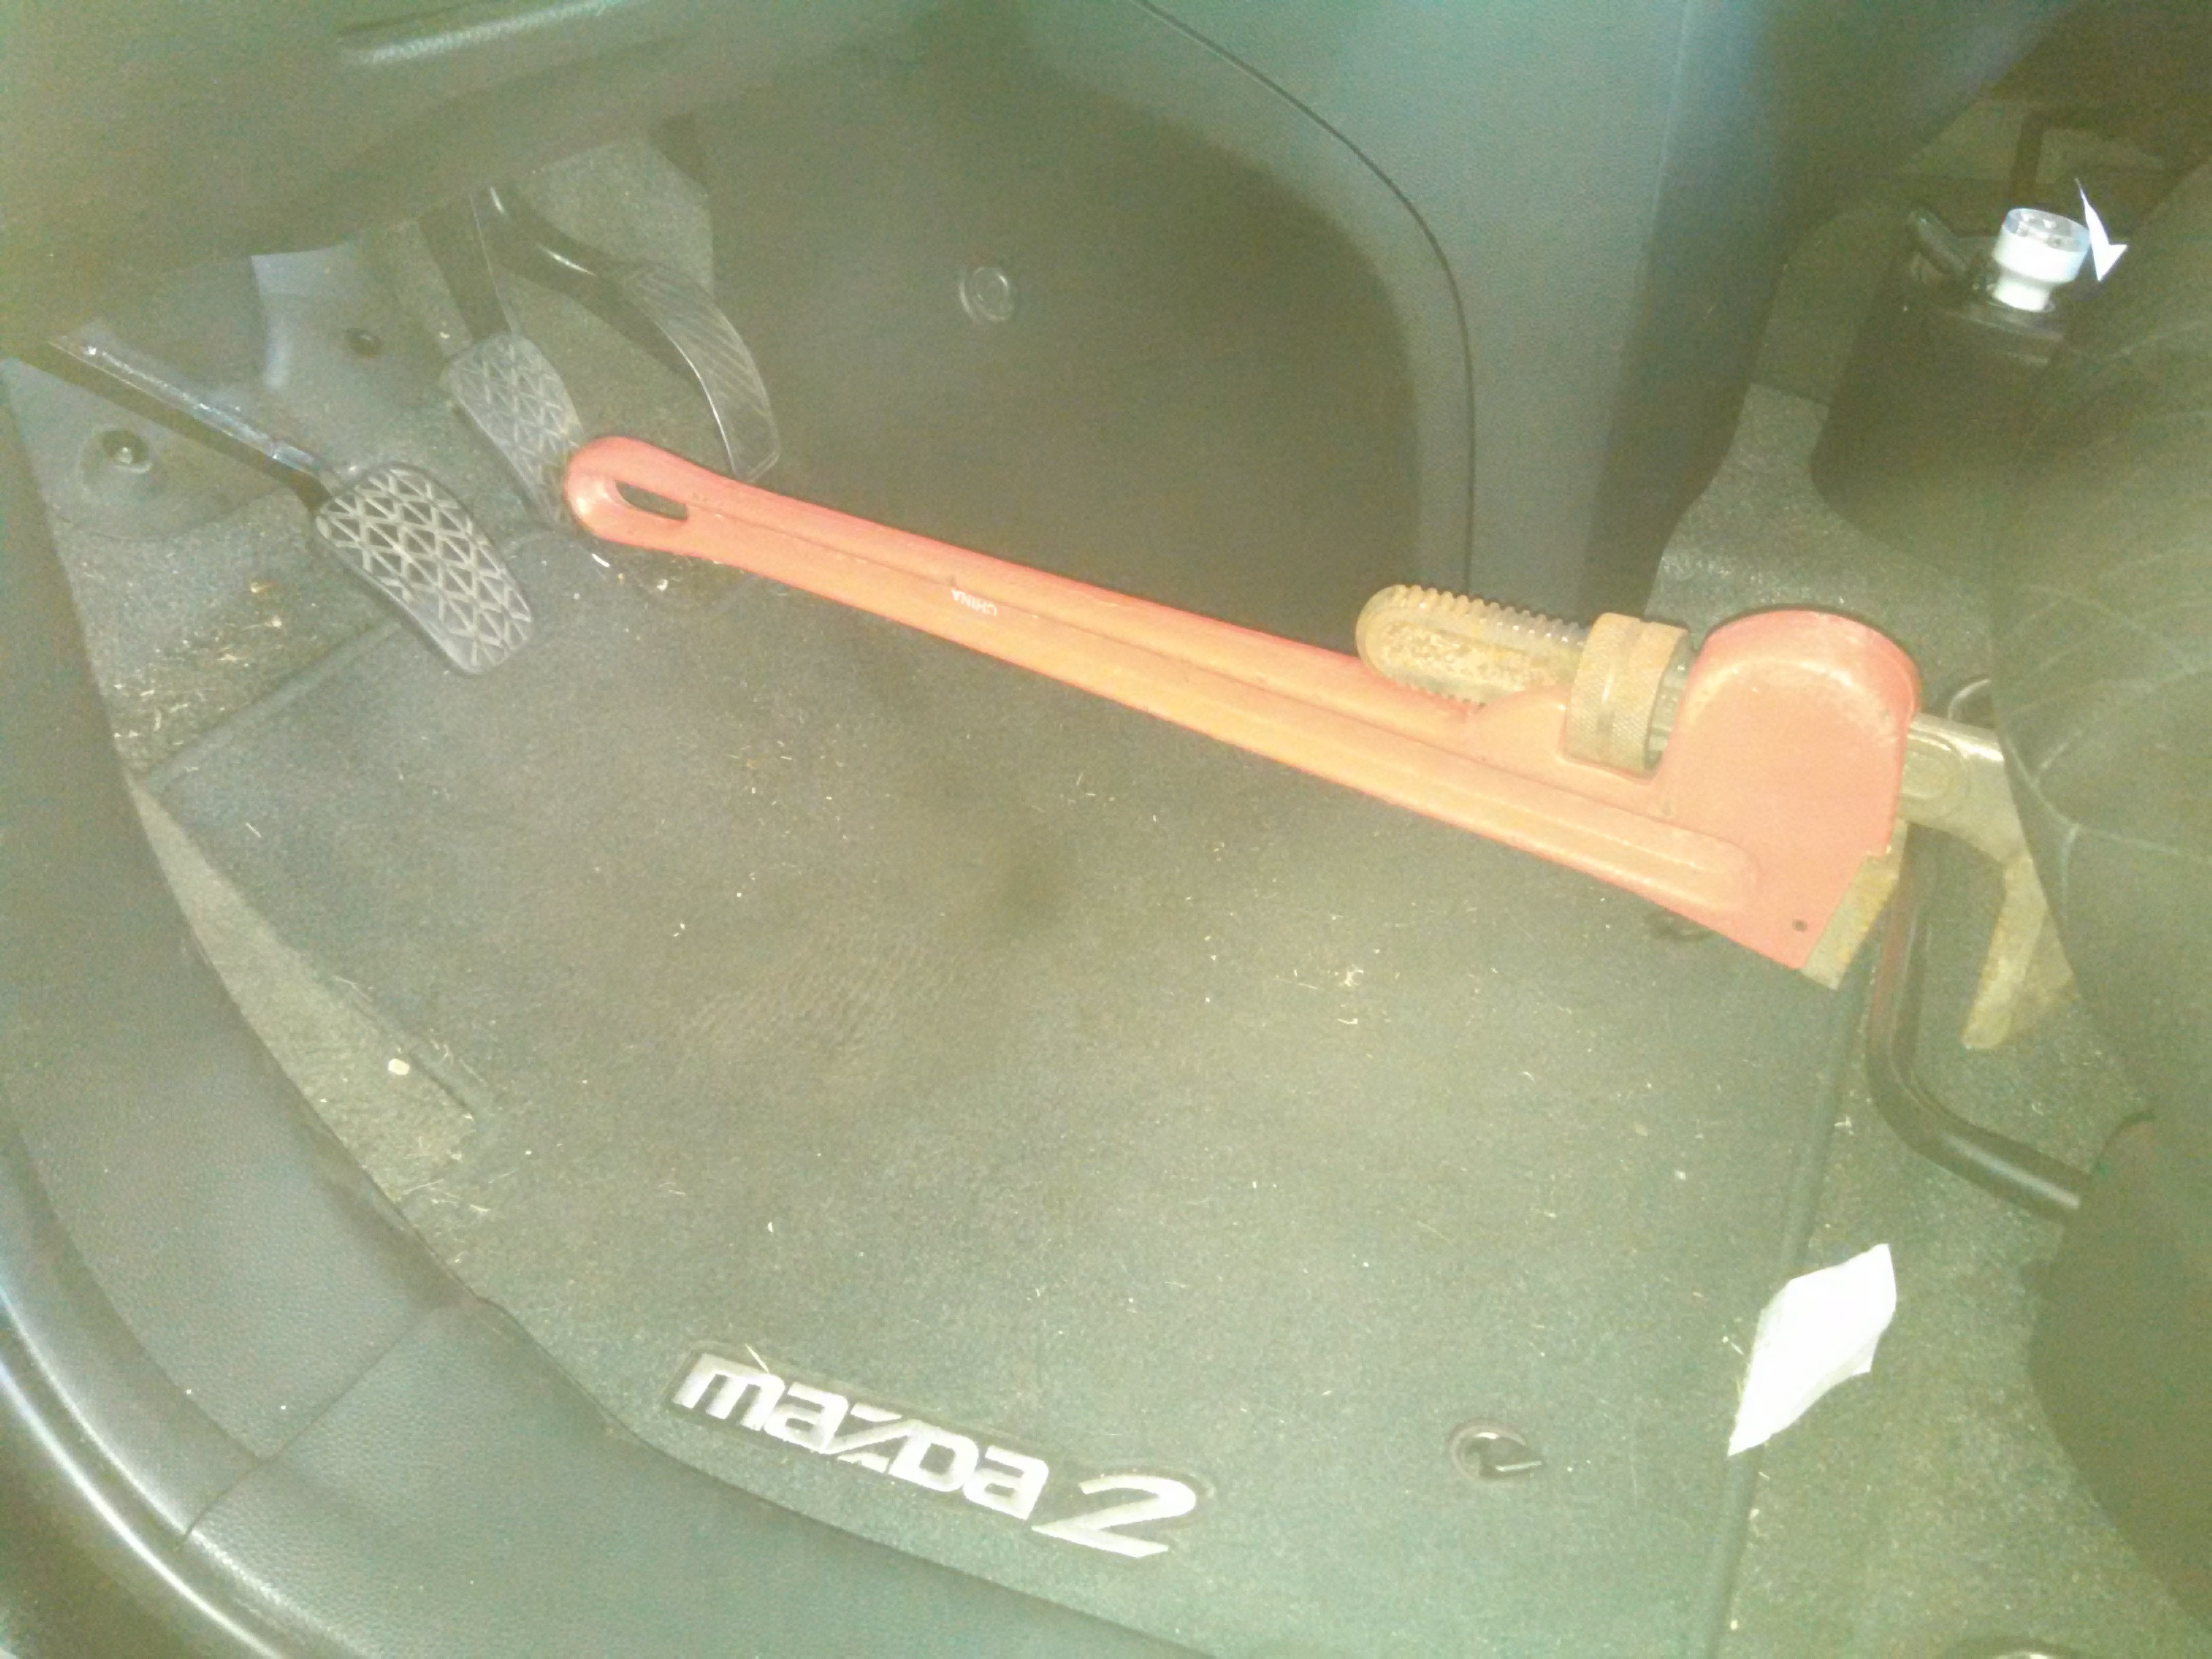
Pulled the e-brake to keep it from moving, then went ahead and jounced the car a few times, then installed my highly advanced brake pedal depressor:
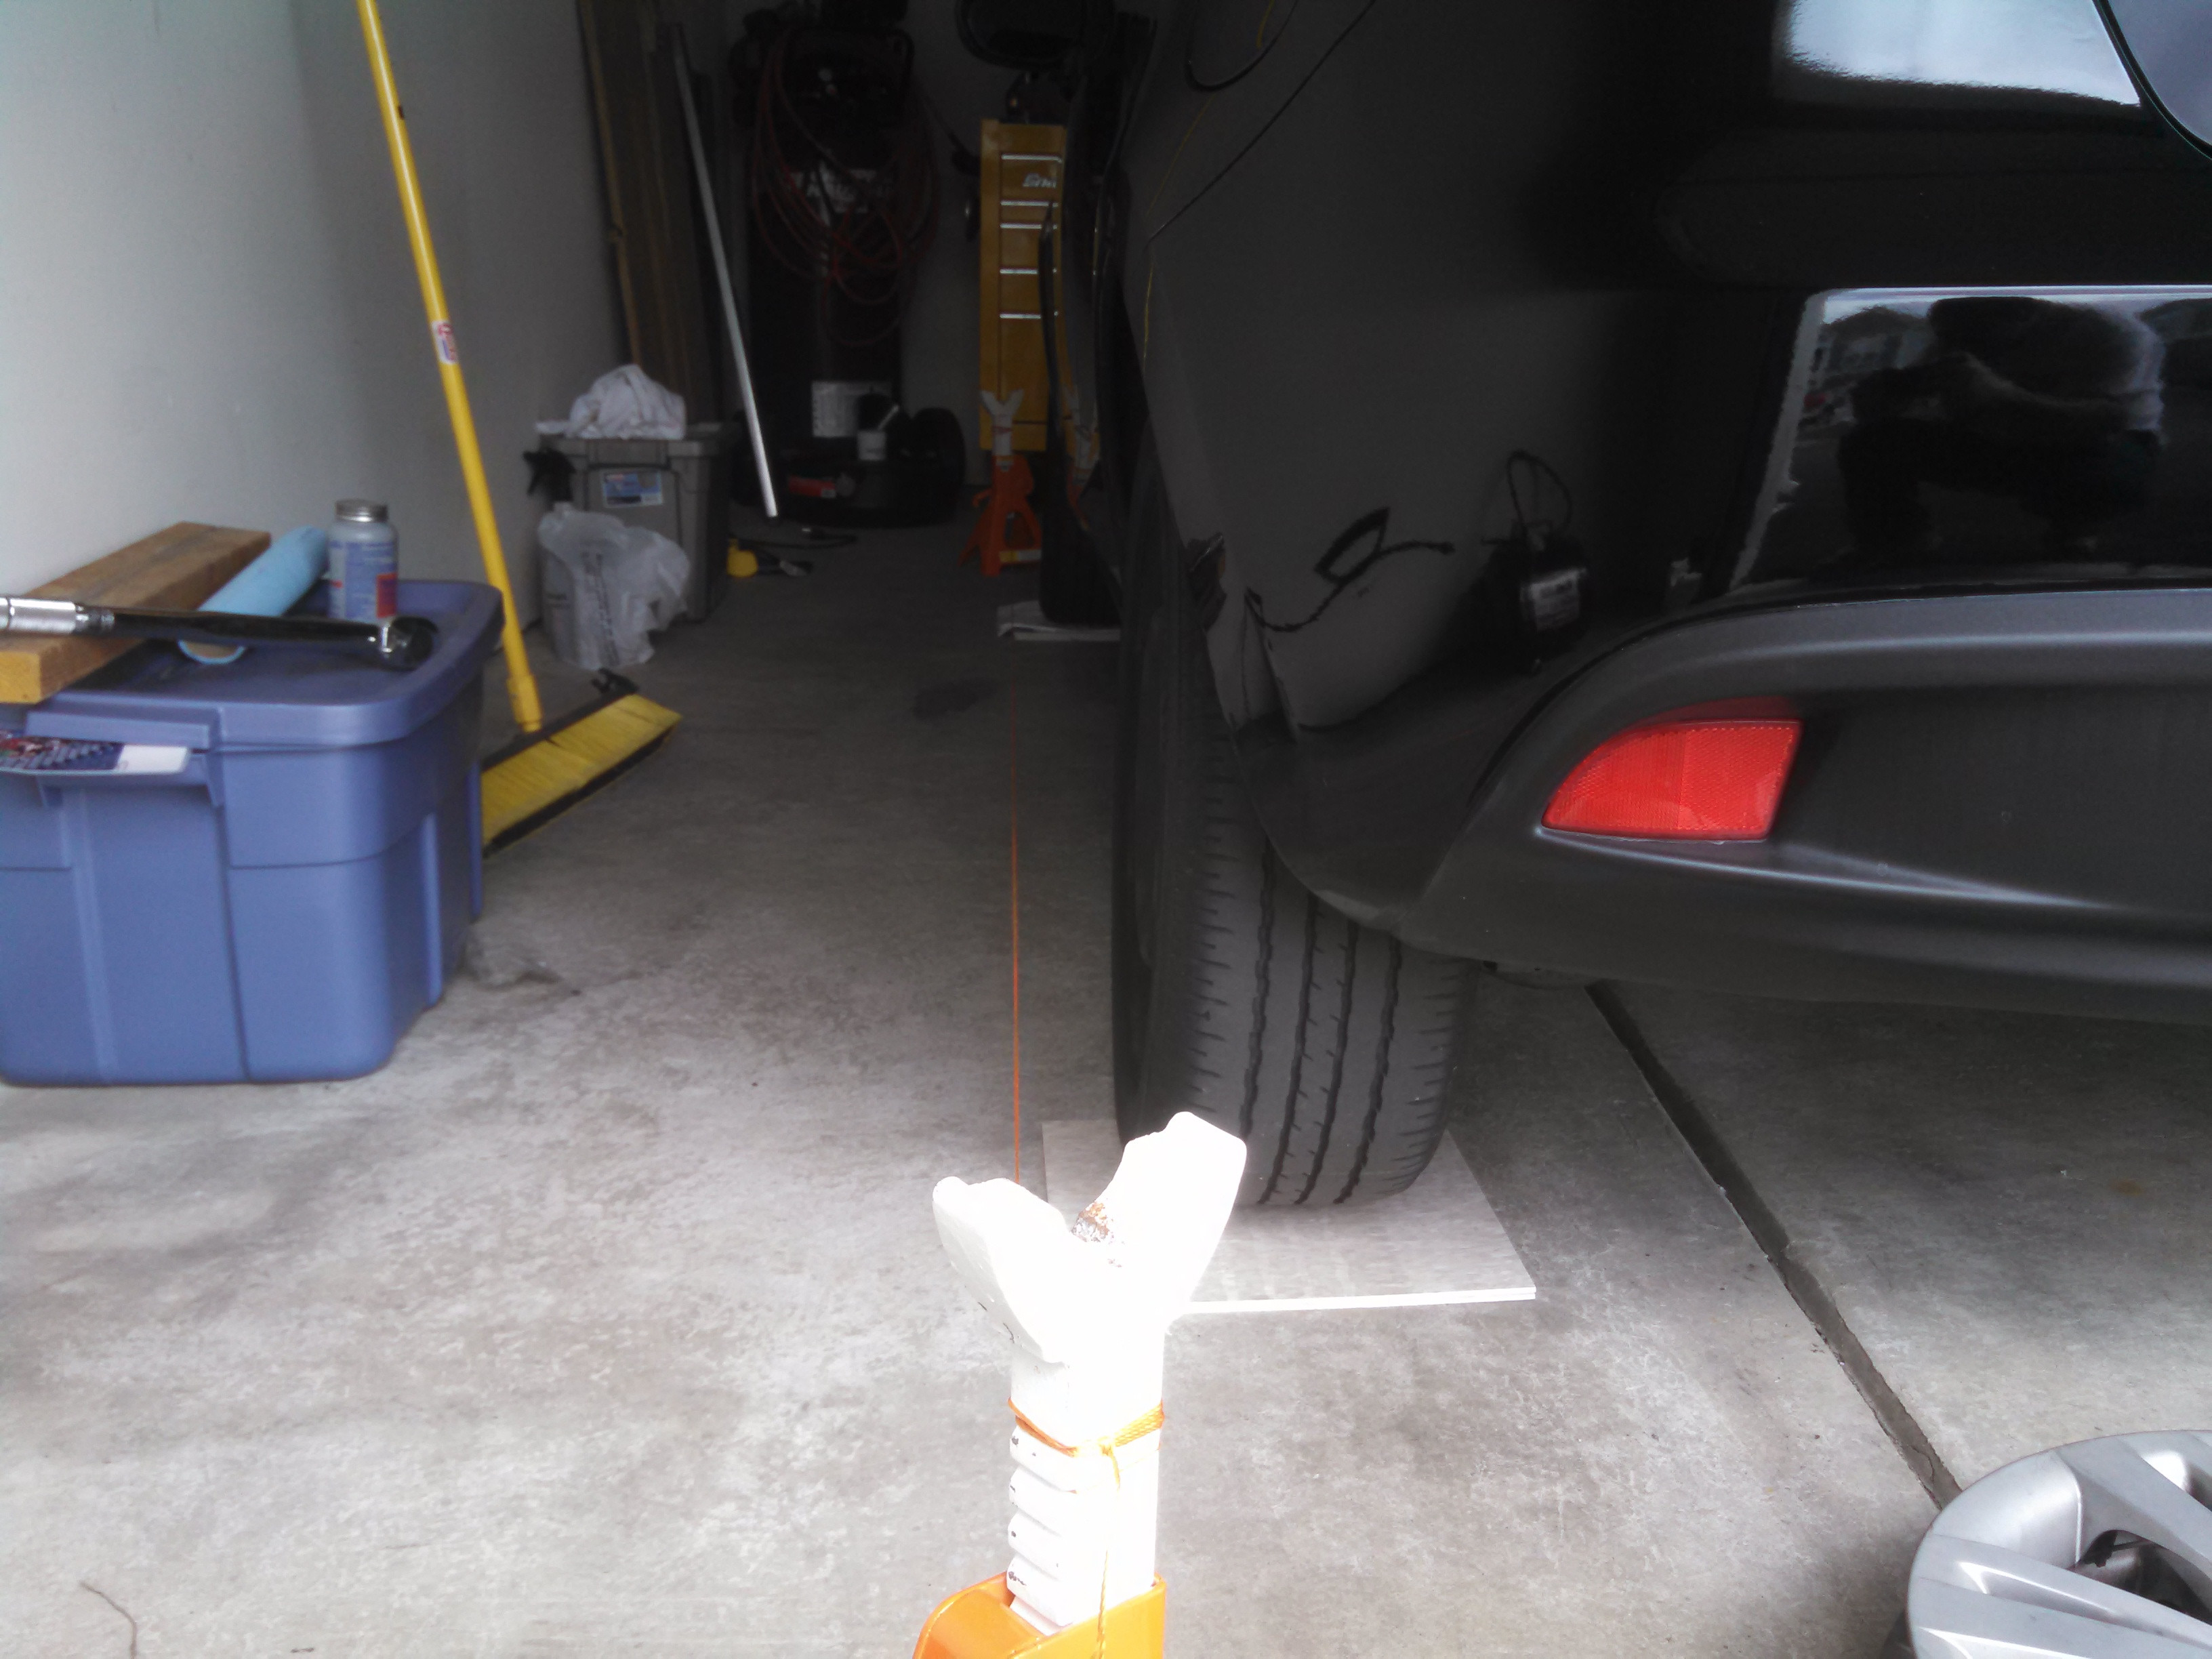
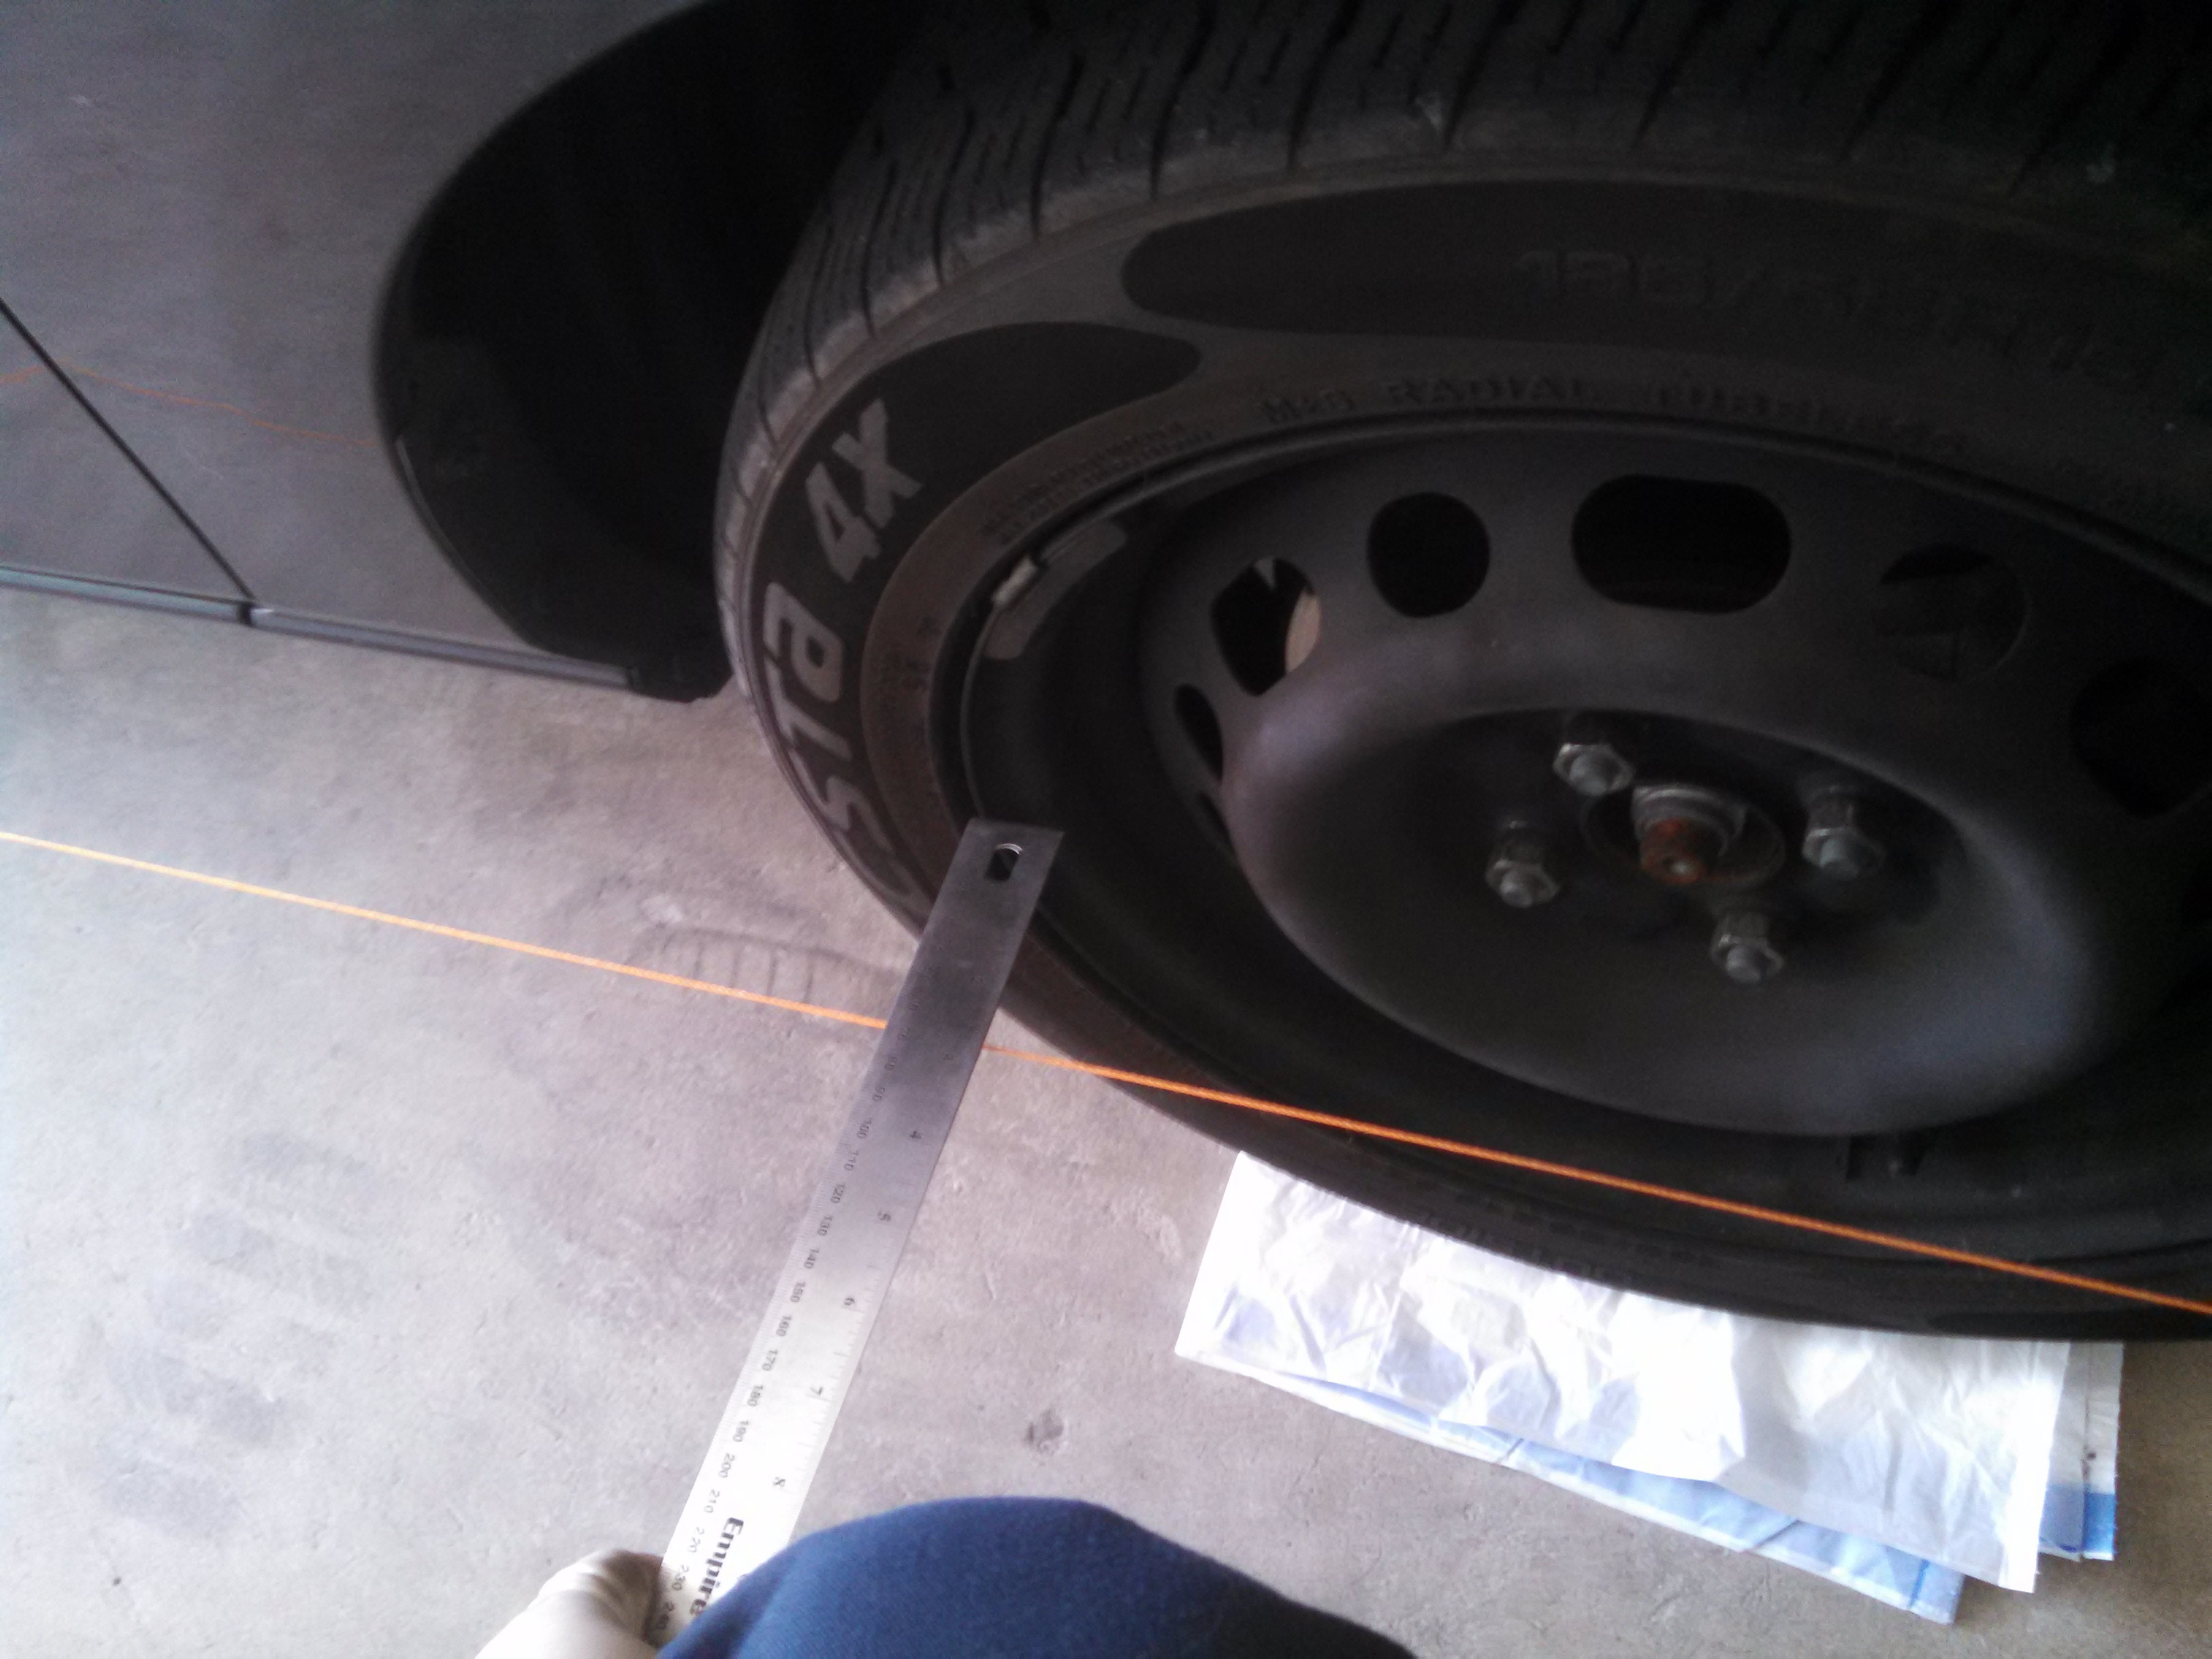
Then you'll want to follow the link about regarding how to set up the strings with jack stands in more detail... but the pertinent information is that the front track with is just about 5mm wider PER SIDE(10mm total)... so when setting up the strings I set them 100mm from the hub centers in the front, and 105mm from hub centers in the rear to keep the strings square.
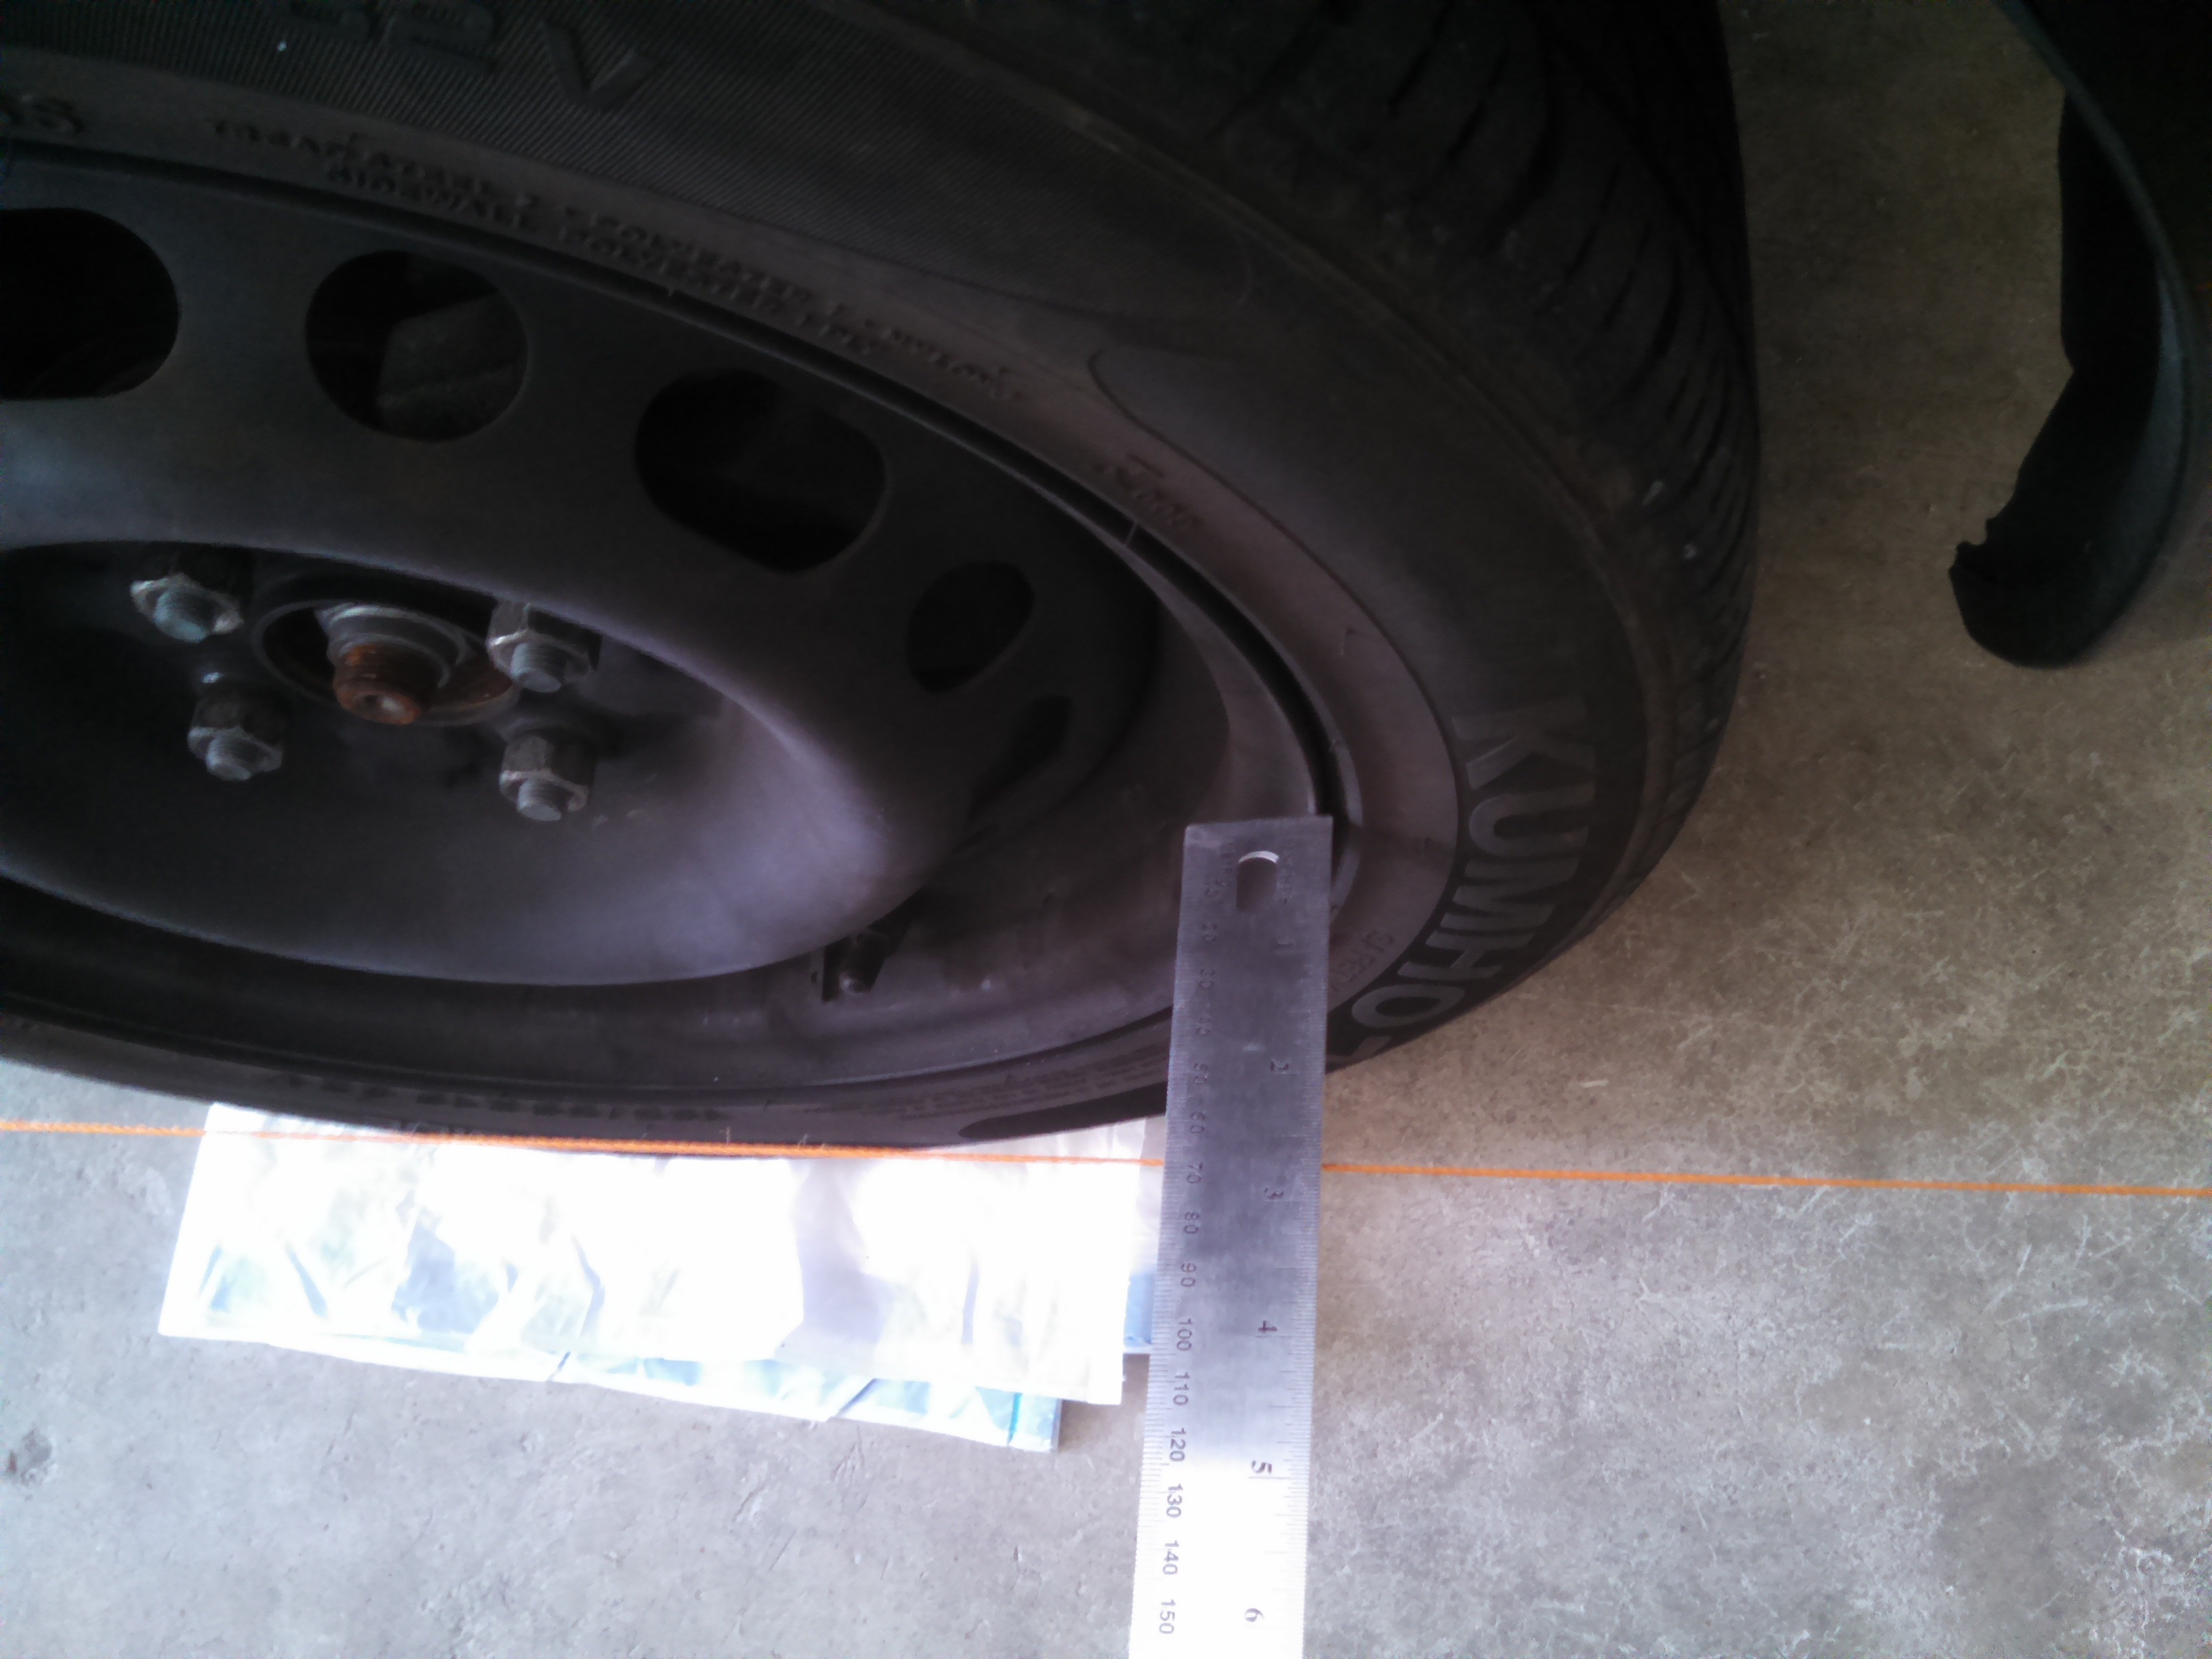
Here is me setting the front wheels. Since I have steel wheels, I went off of the little flange in the center of the wheel(don't use the axle stub end for example) as that's the most repeatable thing between all 4 wheels. If you have aluminum wheels with center caps those will work best. I bought a metal ruler specifically for this.
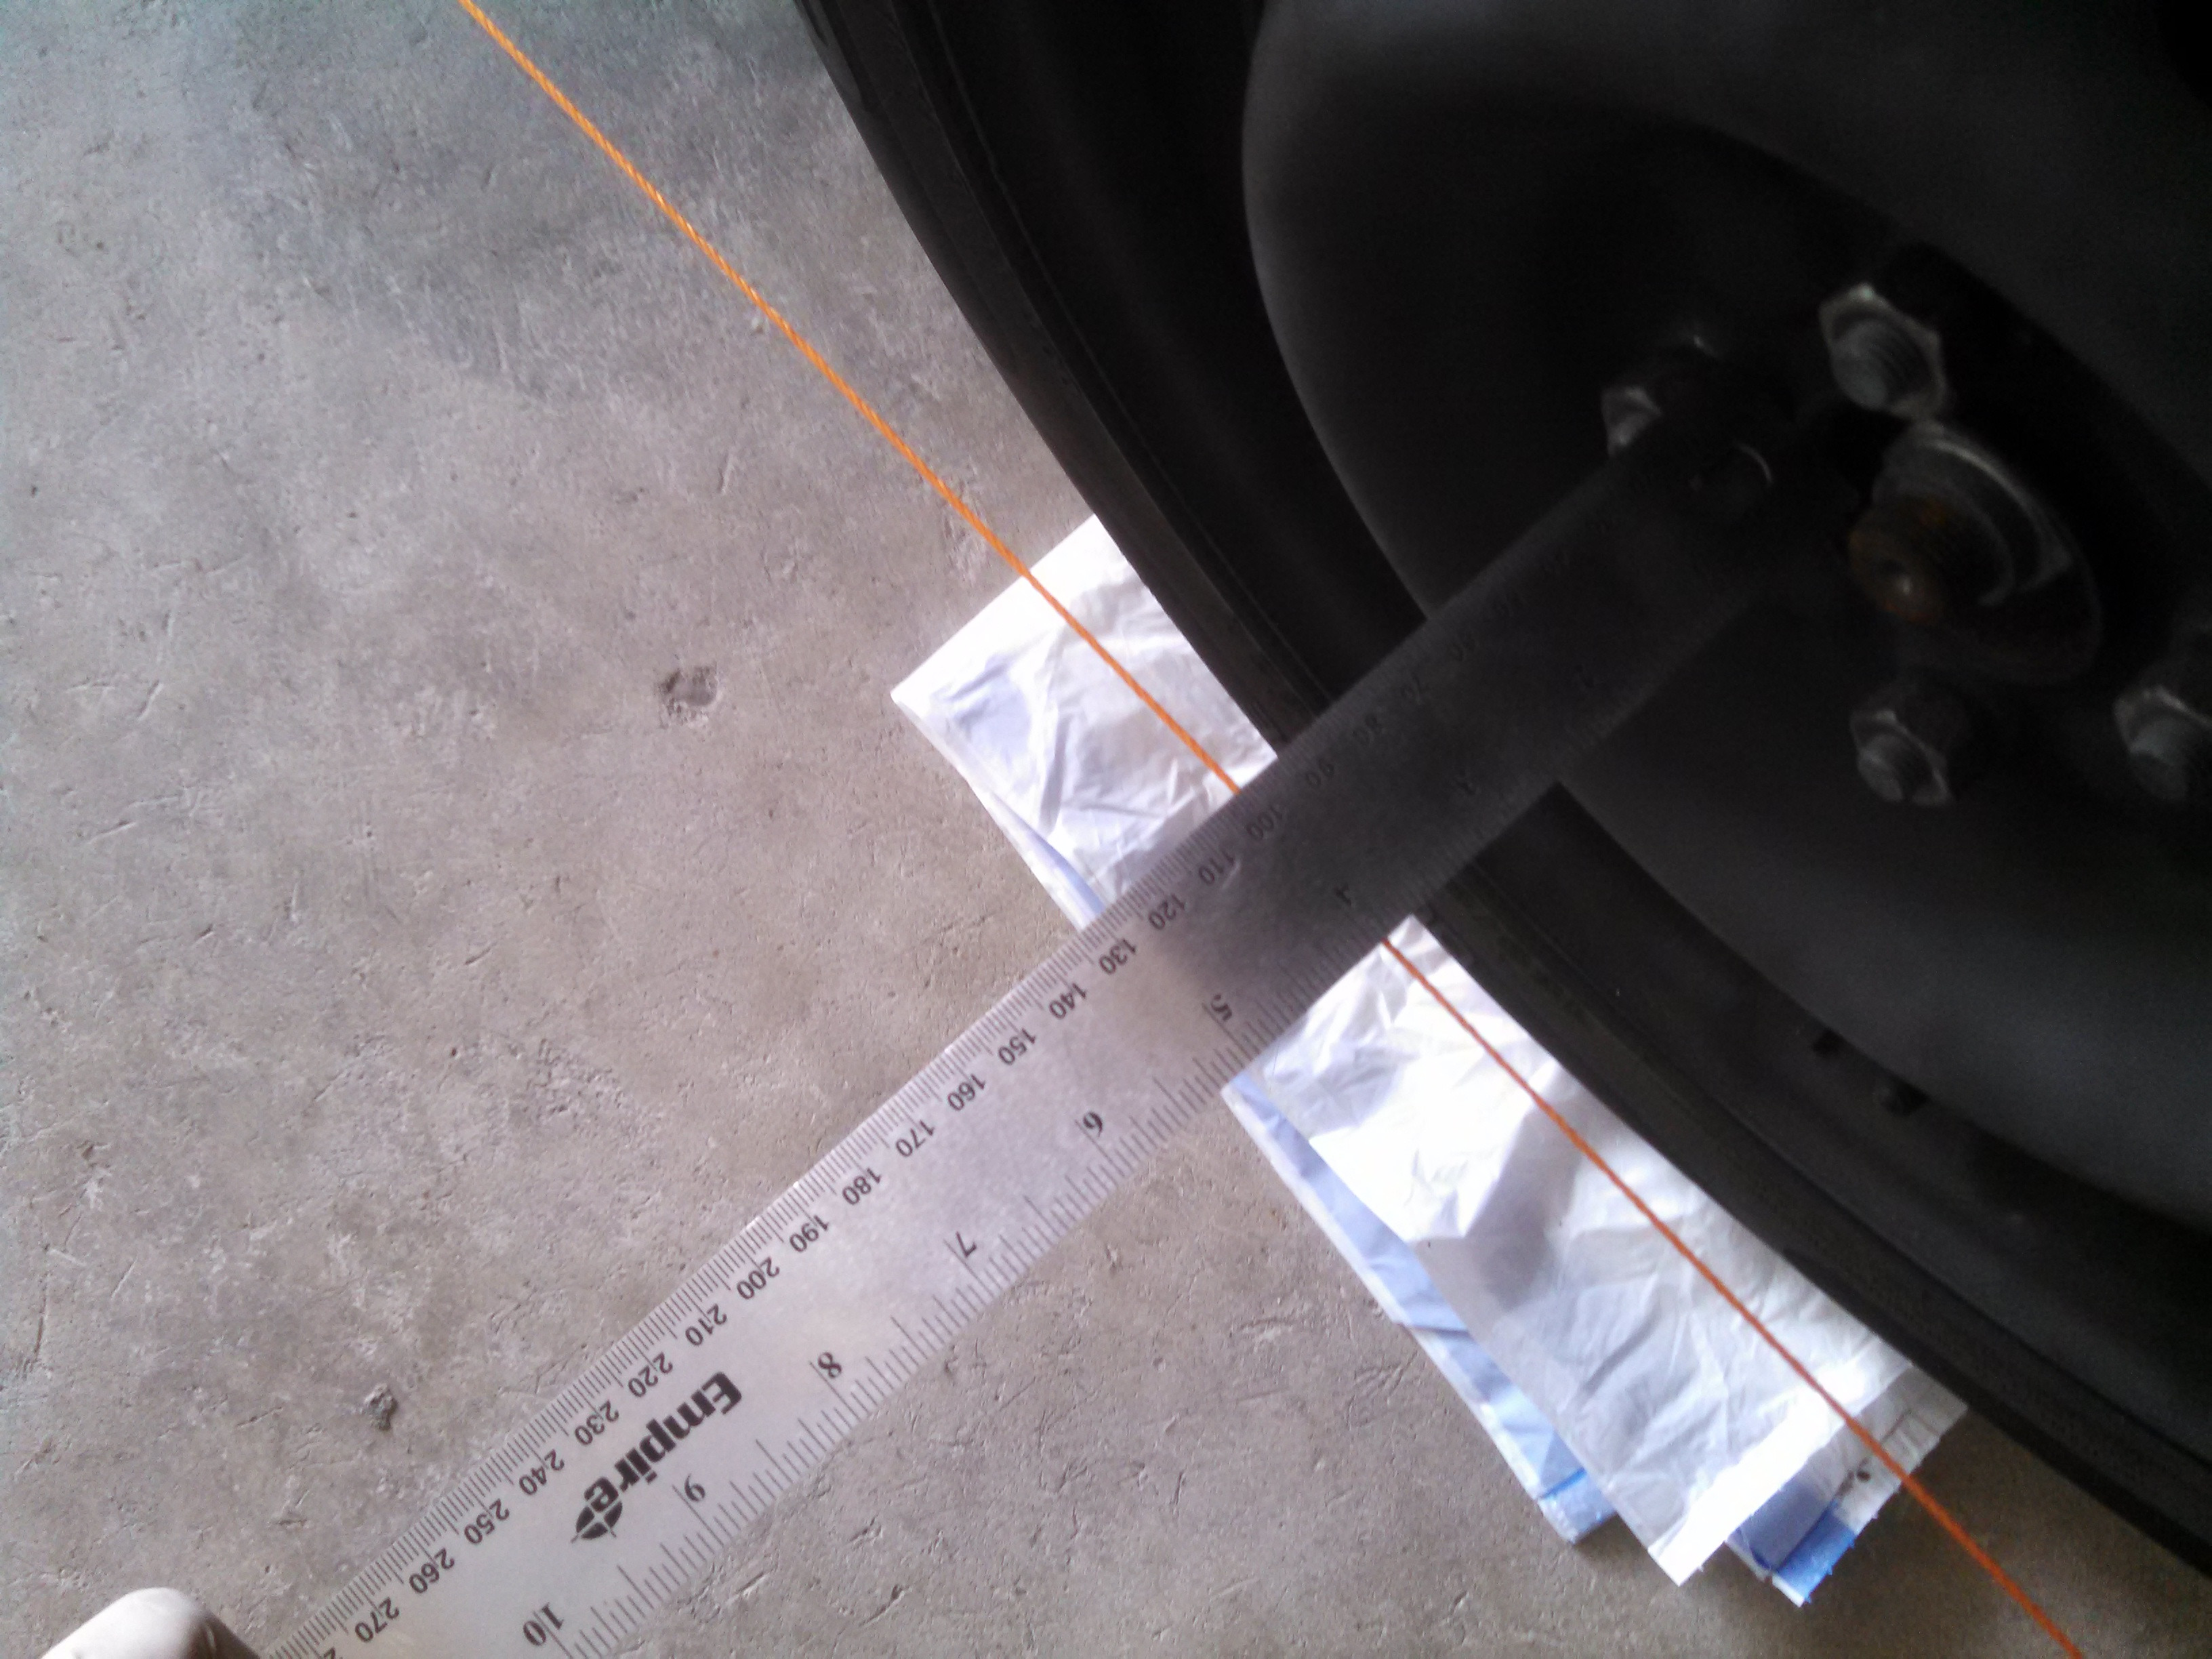
And rear at 105mm..
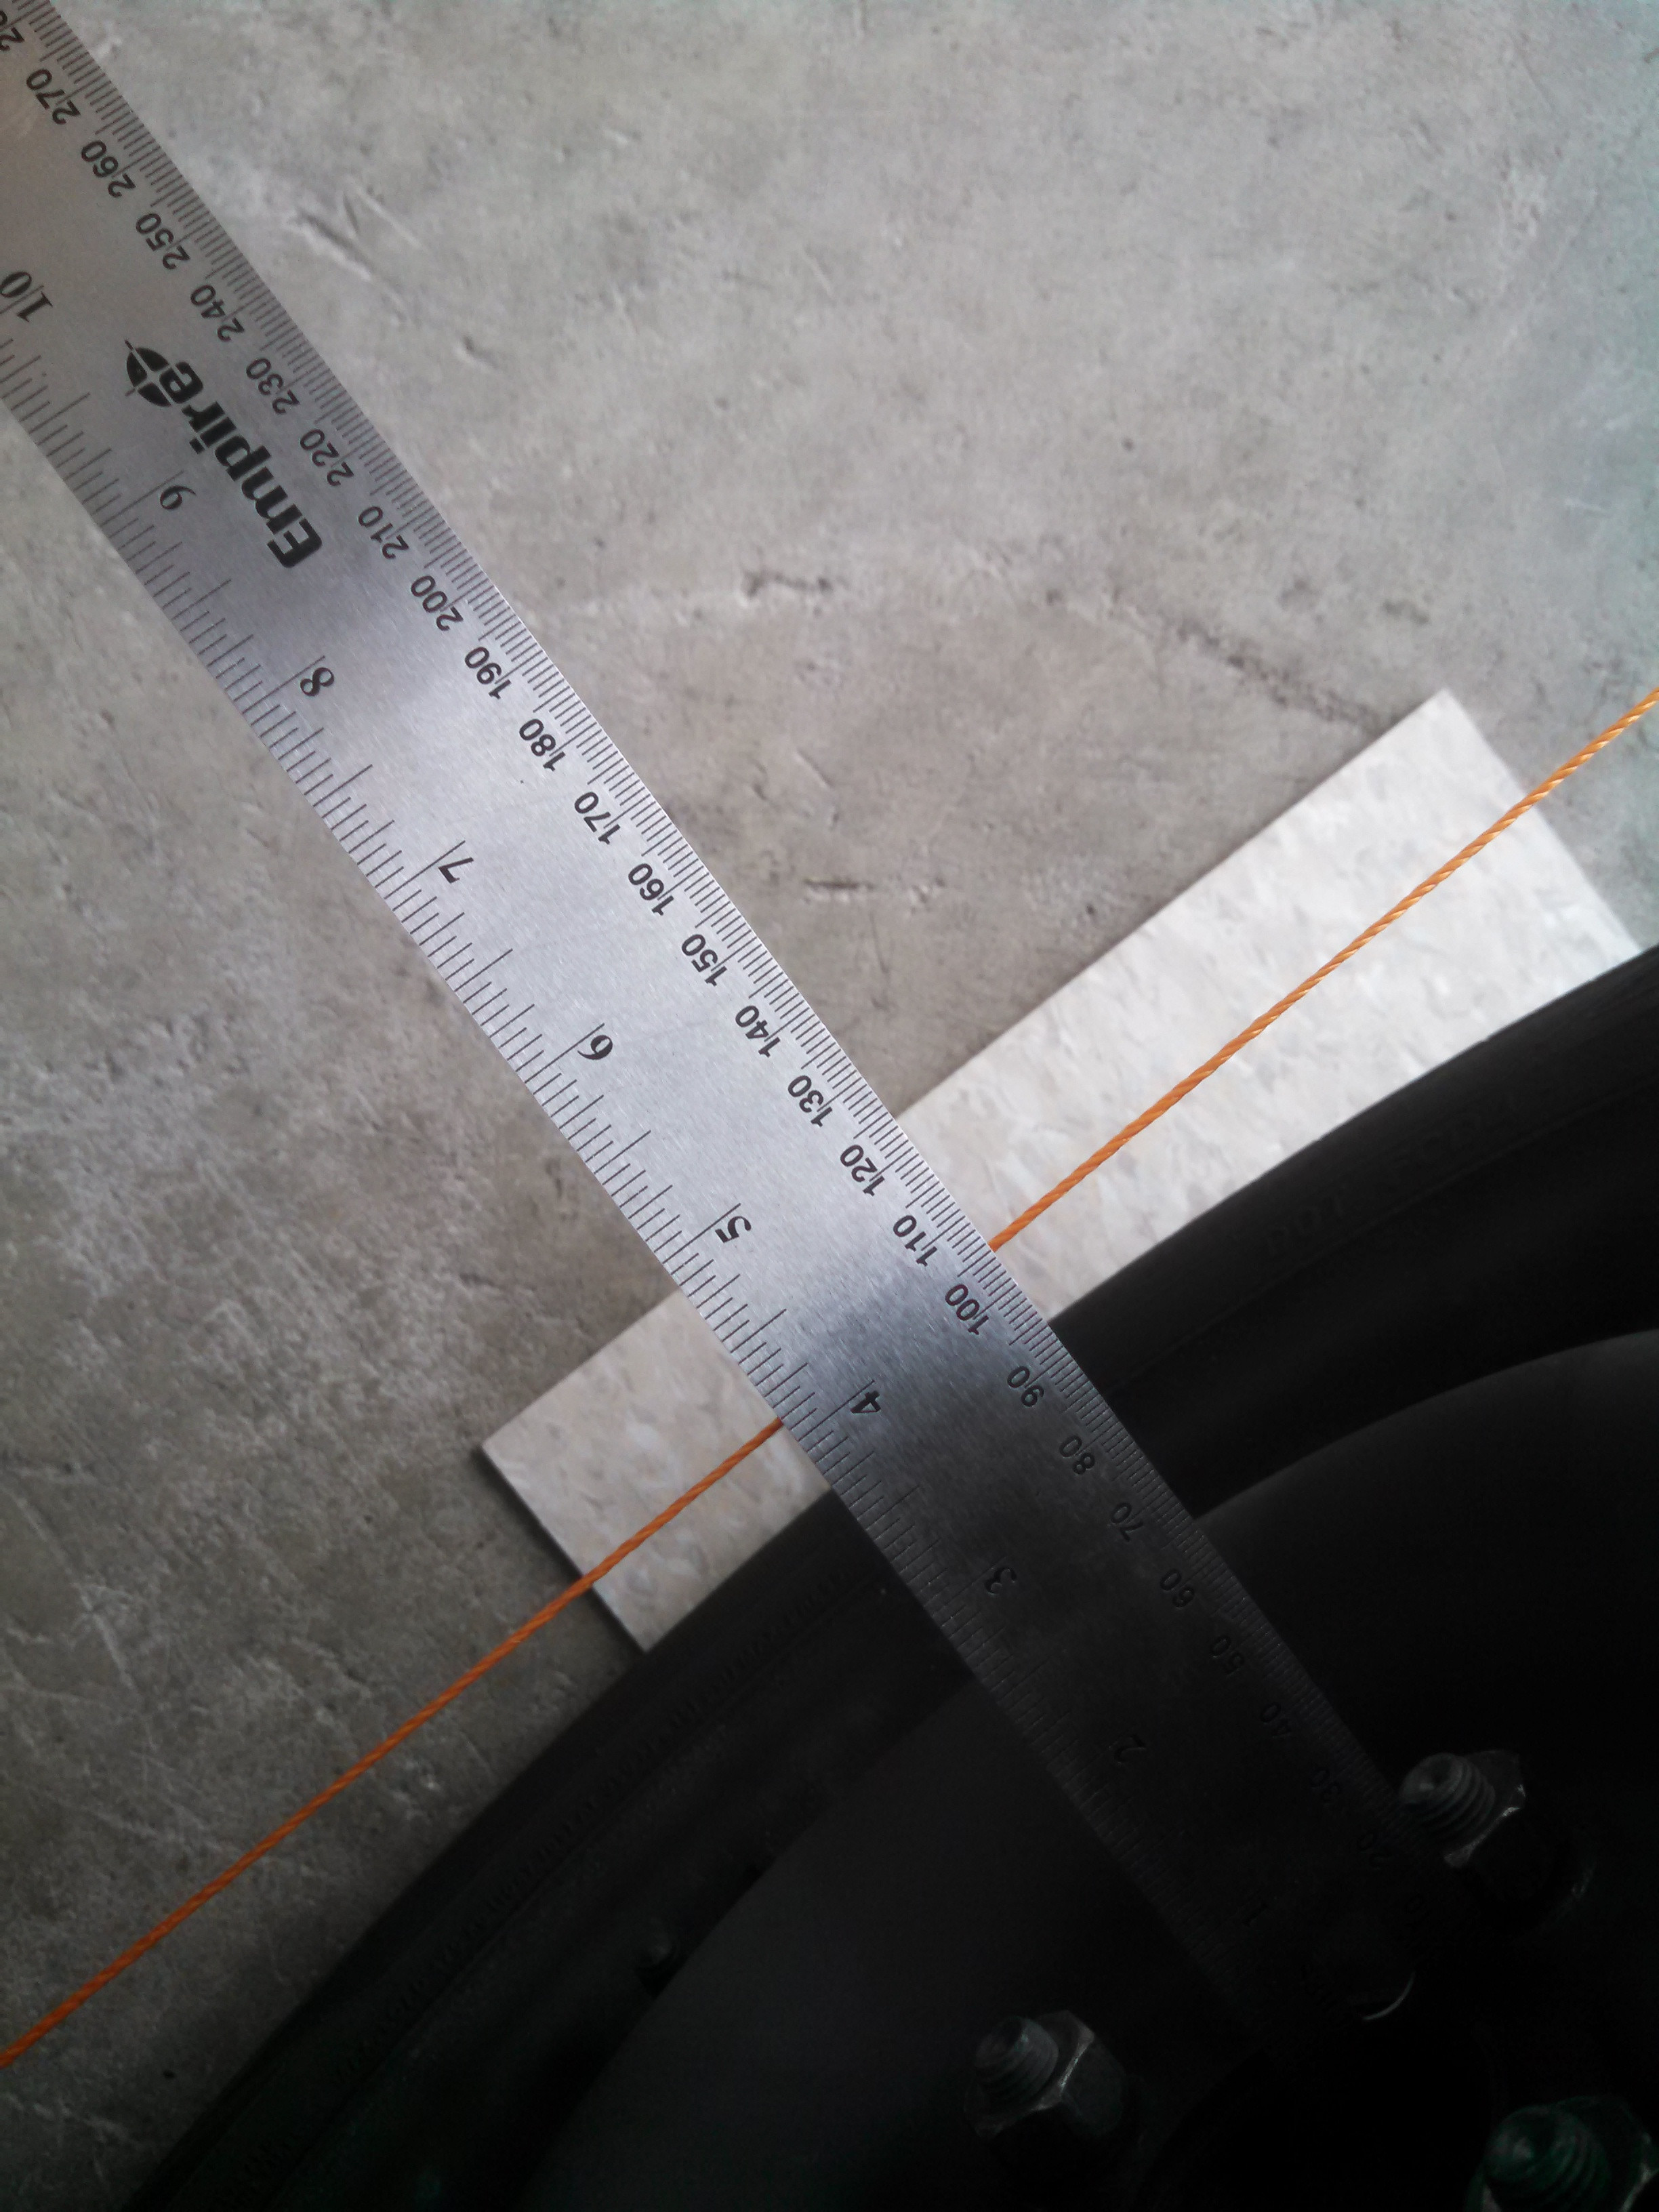
Then with the steering wheel centered, you can check for toe by measuring the front edge of the front rim...
And the rear edge of the front rim:
And you take the difference front minus back. If the front has a larger distance(mine was 66mm initially) than the rear(mine was 65), then you have toe IN. I had 2mm of toe in after my eyeball alignment last night(not bad I'd say!). For reference it took 1.5 turns of the tie rods on both sides(inwards to shorter them) to get to this point. So if you install camber bolts a good guess would probably be turning you tie rods in by about 1.75 to 2.0 full turns on each side as a temporary measure until you get it aligned or do it yourself like this.
So I adjusted the tie rod ends seen here:
And continued checking the distances of the rims to the strings until I got things right. I highly recommend breaking everything loose and making sure it all moves smoothly before doing ANY of this... it makes everything so much easier. It is VERY important to constantly check and make sure you jounce the suspension after every time you make an adjustment, followed by checking the string distance to the hub centers to make sure the car didn't move left or right at all. This is vital to ensure you aren't chasing your tail making adjustments blindly.
For the record I settled on 2mm of total toe OUT(1mm difference on each side... 65mm in front and 66mm in rear of the front wheels).
To figure out the angle in degrees you need to measure the distance between the two points you were referencing(for me it was the outside edges of the rims... which was 410mm from one to the other).
Take the inverse tangent of 1mm/410mm which gives you inv tan(0.002439024) which equates to -0.139 degrees per side.. which is roughly 0.28 degrees of toe out.
So yeah. Thought I'd share. It feels largely the same but going around turns it just wants to go a tiny bit faster now... (nana)
There are a couple how-tos floating around about installing the bolts but I'm not sure that this step is ever mentioned... it's pretty important to pull the knuckle back and clean the knuckle and insides of the strut(where they interface) with a wire brush to eliminate any little grit/surface rust that has accumulated as it gets pretty nasty, and any little bits of stuff acts as a dry lube and may lead to your camber bolts slipping... which shouldn't take much since the 12mm bolt gets replaced by a 10mm bolt and is only torqued to 60 ft-lbs.
You can see the before above, I got too excited and cleaned it up and forgot to take another pic but you get the idea. Get it as clean as possible and wiped it down with a solvent when done. I really -thought- about putting some loctite on the knuckle to strut surfaces, much like what is done to keep cylinder liner sleeves in a block but decided enough people don't have problems that I wouldn't worry about it. It's something to consider if you have slipping problems.
Anyways the more interesting thing is doing a string alignment at home. For about $30 for stuff from Home Depot(plus jackstands which you should already have) it's simple enough to set toe at home. It takes about 30min to set it all up and check, then may take another 30-60 min depending on how much needs adjusted, more if you have the car lowered a lot(I was able to reach under the string and adjust the tie rods/tighten the jam nuts from beside the car blindly at stock ride height).
For starters I'll give credit where it's due, I went mostly by this site:
http://www.negative-camber.org/jam149/technical/alignment.html
I'll basically just post the pics with a few paragraphs about what's going on and where everything ended up, if you have any questions feel free to ask. Note that I'm a 9yr master tech with a load of alignment experience using a 40k Hunter machine every week... I don't do it at work because we can't work on our own cars there and frankly I like doing stuff myself to know it's done right... I'm super anal about everything I do... like using 3 different kinds of grease on brakes, torque everything to specification every time and mark every nut and bolt I touch.
Here I am leveling the floor with some cheap tiles from the hardwood store. Note that getting the left to right is a LOT more important than front to back... I don't have a long level piece of steel to lay down and level front to back perfectly... but my level says the floor is pretty close to it(and a marble on the floor does too, doesn't go any particular direction) so I shimmed the rear the same as the front.
I put a couple trash bags down, folded in half then half again to make a ghetto fabulous slip-plate. This allows the wheels to not have tension on them from the tires. It allows you to jounce the suspension up/down to eliminate any preload on everything.
Before I pulled the car forward, I put tiles in front of the rear tires and ran the level under the car to check and make sure it's good back there too.
Pulled onto the tile/ghetto slip plates, I recommend pushing the car forward not driving it to prevent spitting a trash bag.
Pulled the e-brake to keep it from moving, then went ahead and jounced the car a few times, then installed my highly advanced brake pedal depressor:
Then you'll want to follow the link about regarding how to set up the strings with jack stands in more detail... but the pertinent information is that the front track with is just about 5mm wider PER SIDE(10mm total)... so when setting up the strings I set them 100mm from the hub centers in the front, and 105mm from hub centers in the rear to keep the strings square.
Here is me setting the front wheels. Since I have steel wheels, I went off of the little flange in the center of the wheel(don't use the axle stub end for example) as that's the most repeatable thing between all 4 wheels. If you have aluminum wheels with center caps those will work best. I bought a metal ruler specifically for this.
And rear at 105mm..
Then with the steering wheel centered, you can check for toe by measuring the front edge of the front rim...
And the rear edge of the front rim:
And you take the difference front minus back. If the front has a larger distance(mine was 66mm initially) than the rear(mine was 65), then you have toe IN. I had 2mm of toe in after my eyeball alignment last night(not bad I'd say!). For reference it took 1.5 turns of the tie rods on both sides(inwards to shorter them) to get to this point. So if you install camber bolts a good guess would probably be turning you tie rods in by about 1.75 to 2.0 full turns on each side as a temporary measure until you get it aligned or do it yourself like this.
So I adjusted the tie rod ends seen here:
And continued checking the distances of the rims to the strings until I got things right. I highly recommend breaking everything loose and making sure it all moves smoothly before doing ANY of this... it makes everything so much easier. It is VERY important to constantly check and make sure you jounce the suspension after every time you make an adjustment, followed by checking the string distance to the hub centers to make sure the car didn't move left or right at all. This is vital to ensure you aren't chasing your tail making adjustments blindly.
For the record I settled on 2mm of total toe OUT(1mm difference on each side... 65mm in front and 66mm in rear of the front wheels).
To figure out the angle in degrees you need to measure the distance between the two points you were referencing(for me it was the outside edges of the rims... which was 410mm from one to the other).
Take the inverse tangent of 1mm/410mm which gives you inv tan(0.002439024) which equates to -0.139 degrees per side.. which is roughly 0.28 degrees of toe out.
So yeah. Thought I'd share. It feels largely the same but going around turns it just wants to go a tiny bit faster now... (nana)
