Nurburgringer
Member
- :
- '12 Mazda5 Sp 6MT (traded in on T&C)
I don't use the horn often, but when I do I want to make damned sure the intended target hears it.
In order to save probably $3.39 per car Mazda goes with a wimpy single horn, so I took inspiration from this thread and installed a second:
http://www.mazdas247.com/forum/show...n-Upgrade-Multiple-Pics-56k-connection-beware
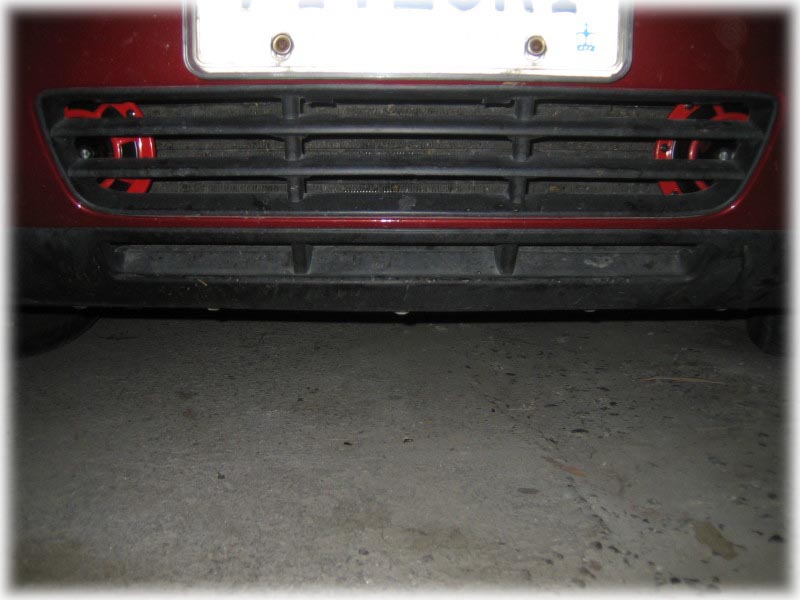
Luckily on the 2012 M5 there is absolutely no need to remove the front bumper to get plenty of access to the horn area. In fact there's enough room in there to add a several bugle-type air horns that play la cucaracha if you're so inclined.
Note: this would also be a good time to install fog lights if you've got a sport model like mine. There's a plug running right there and everything, with the other end behind one of the blank dash buttons I assume.
I haven't decided if it's worth it or not to put them in. We have a decent number of foggy days here in Milwaukee, but honestly in my other cars with FL's they don't seem to do much to help visibility, more of an appearance thing IMO.
Back to the beeper. I chose this "low" tone horn: https://www.amazon.com/dp/ (commissions earned)
2 day shipping was free with Amazon prime, maybe you can get a better price locally if you don't have "Prime" and must pay shipping.
BTW I also bought this tire pressure gauge, very nicely made and gave the exact same reading as a $150 oil-filled gauge at a friend's garage.
https://www.amazon.com/dp/ (commissions earned)
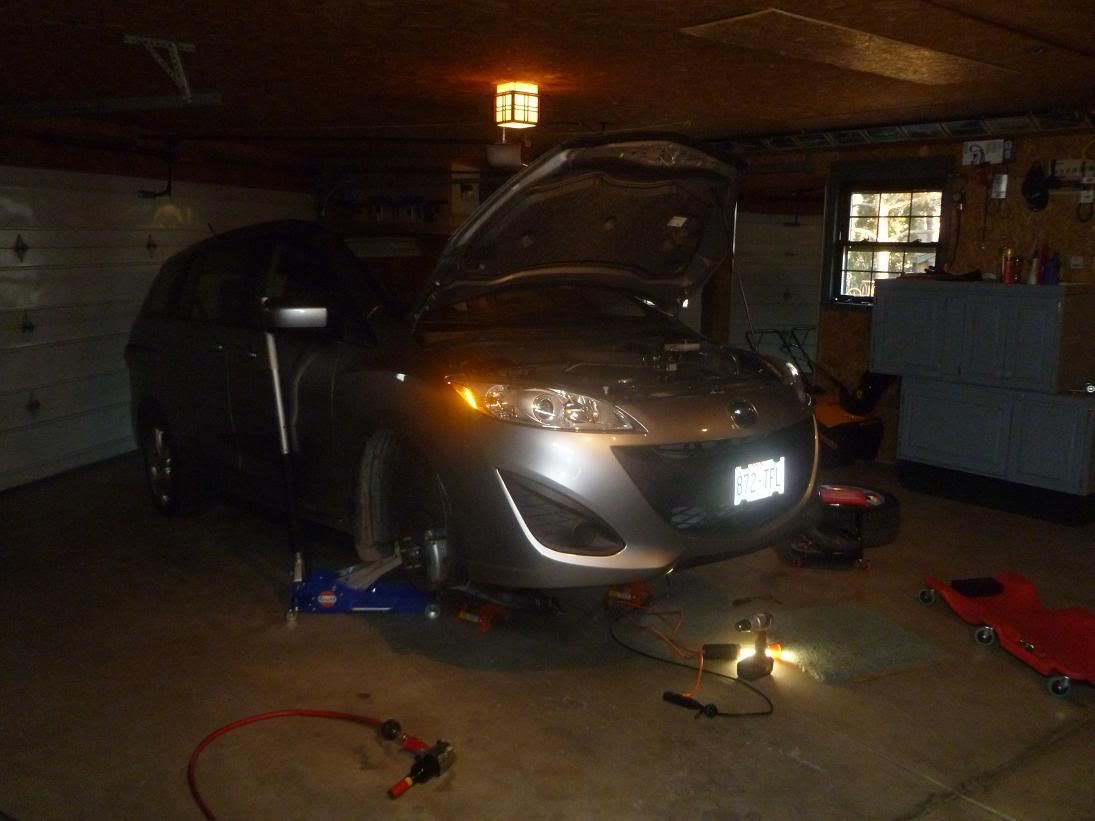
Anyway, I jacked up the front end, removed both front tires, removed the engine undertray via numerous 12mm bolts and annoying little plastic pop-clips (there's surely a removal tool that makes this a piece of cake, or you can use a flat blade screwdriver and pair of pliers, and a dozen or so choice curse words), and finally more plastic pop-rivets in driver's side front fender liner. No need to take this liner completely off, just enough clips to allow peeling it back back out of the way. Don't need to touch the passenger liner.
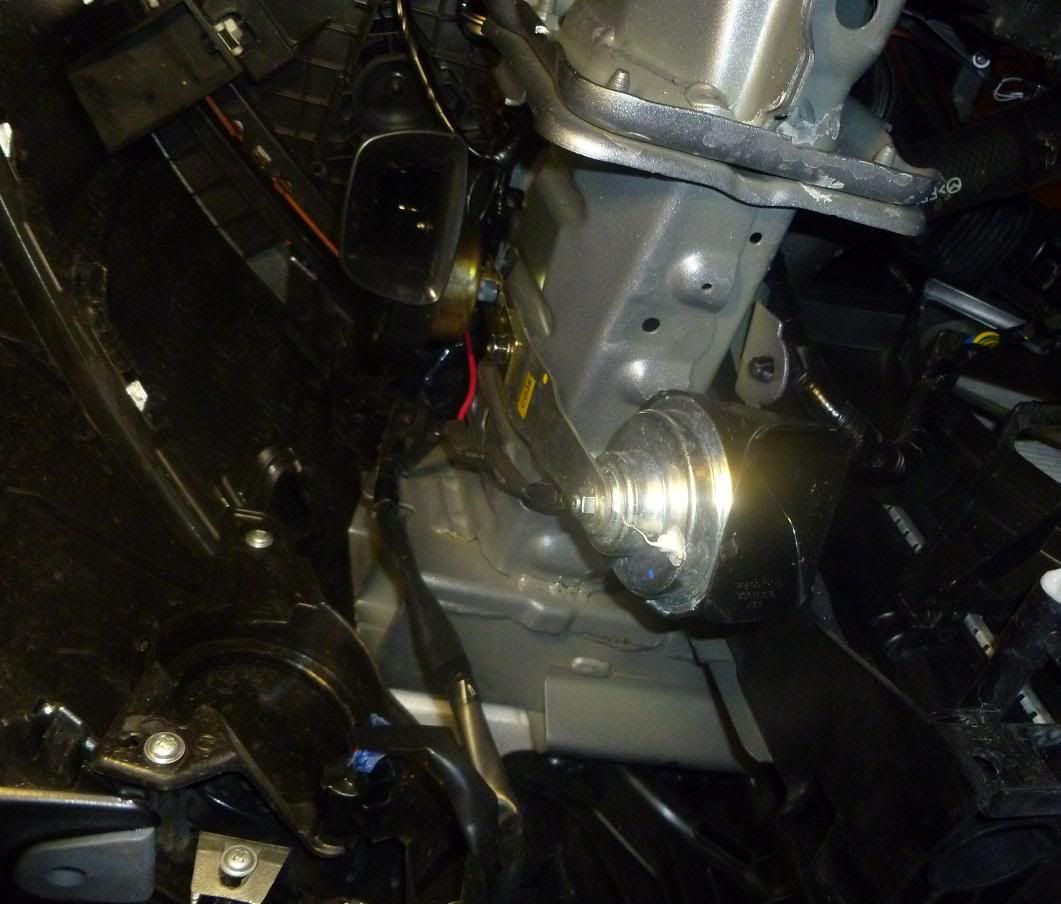
Enlarge one of the mounting holes in the bracket that came with the new horn with a 3/8ish drill bit and use the same chassis bolt as the OEM horn bracket to mount. After fiddling with the position settled on the new horn almost directly above the exisiting, with the horn facing down like the other.
Solder the power lead (you supply the wire and female connector) from the new horn into the OEM horn's single-wire lead after stripping off about 1.5" of protective wrap and ~1/4" of insulation from the wire, wrap in electrical tape and then heat-shrink and voila, at least double the hp (horn power).
With the fender liner and undertray there really isn't any kind of clear path for the sound waves to get outside at whatever jerk you're beeping at, but I can confirm that standing anywhere in front of the car when it's blaring will not be missed. Plus it imparts a nice buzz to the driver's feet
Took me about 1.5 hours start to finish which included drinking a beer and BSing with my father, who's in town visiting.
(breakn)
sorry for the dark pictures
Secured on jackstands:
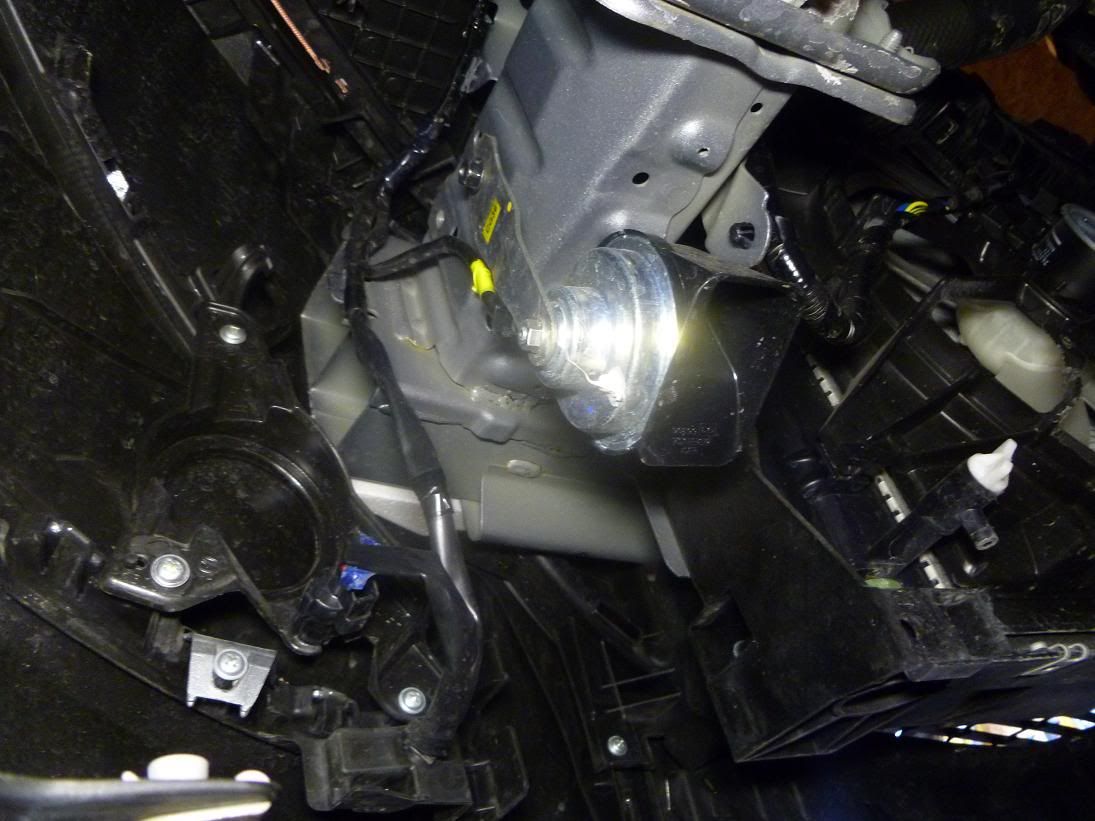
Single horn:
double the fun:
In order to save probably $3.39 per car Mazda goes with a wimpy single horn, so I took inspiration from this thread and installed a second:
http://www.mazdas247.com/forum/show...n-Upgrade-Multiple-Pics-56k-connection-beware
Luckily on the 2012 M5 there is absolutely no need to remove the front bumper to get plenty of access to the horn area. In fact there's enough room in there to add a several bugle-type air horns that play la cucaracha if you're so inclined.
Note: this would also be a good time to install fog lights if you've got a sport model like mine. There's a plug running right there and everything, with the other end behind one of the blank dash buttons I assume.
I haven't decided if it's worth it or not to put them in. We have a decent number of foggy days here in Milwaukee, but honestly in my other cars with FL's they don't seem to do much to help visibility, more of an appearance thing IMO.
Back to the beeper. I chose this "low" tone horn: https://www.amazon.com/dp/ (commissions earned)
2 day shipping was free with Amazon prime, maybe you can get a better price locally if you don't have "Prime" and must pay shipping.
BTW I also bought this tire pressure gauge, very nicely made and gave the exact same reading as a $150 oil-filled gauge at a friend's garage.
https://www.amazon.com/dp/ (commissions earned)
Anyway, I jacked up the front end, removed both front tires, removed the engine undertray via numerous 12mm bolts and annoying little plastic pop-clips (there's surely a removal tool that makes this a piece of cake, or you can use a flat blade screwdriver and pair of pliers, and a dozen or so choice curse words), and finally more plastic pop-rivets in driver's side front fender liner. No need to take this liner completely off, just enough clips to allow peeling it back back out of the way. Don't need to touch the passenger liner.
Enlarge one of the mounting holes in the bracket that came with the new horn with a 3/8ish drill bit and use the same chassis bolt as the OEM horn bracket to mount. After fiddling with the position settled on the new horn almost directly above the exisiting, with the horn facing down like the other.
Solder the power lead (you supply the wire and female connector) from the new horn into the OEM horn's single-wire lead after stripping off about 1.5" of protective wrap and ~1/4" of insulation from the wire, wrap in electrical tape and then heat-shrink and voila, at least double the hp (horn power).
With the fender liner and undertray there really isn't any kind of clear path for the sound waves to get outside at whatever jerk you're beeping at, but I can confirm that standing anywhere in front of the car when it's blaring will not be missed. Plus it imparts a nice buzz to the driver's feet
Took me about 1.5 hours start to finish which included drinking a beer and BSing with my father, who's in town visiting.
(breakn)
sorry for the dark pictures
Secured on jackstands:
Single horn:
double the fun:
Last edited: