The other day I was fortunate to have a few extra hours of time so I got around to using Sm1ke's walkthroughs for replacing all of the halogen bulbs in the ol' girl. Sm1ke, I owe you a thank you because I've wanted to do this for a while and just didn't want to mess around with finding all the part numbers for the bulbs. Which is super lazy if I'm being honest, but it is what it is.
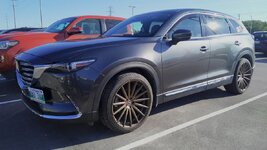
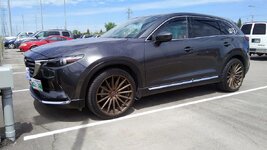
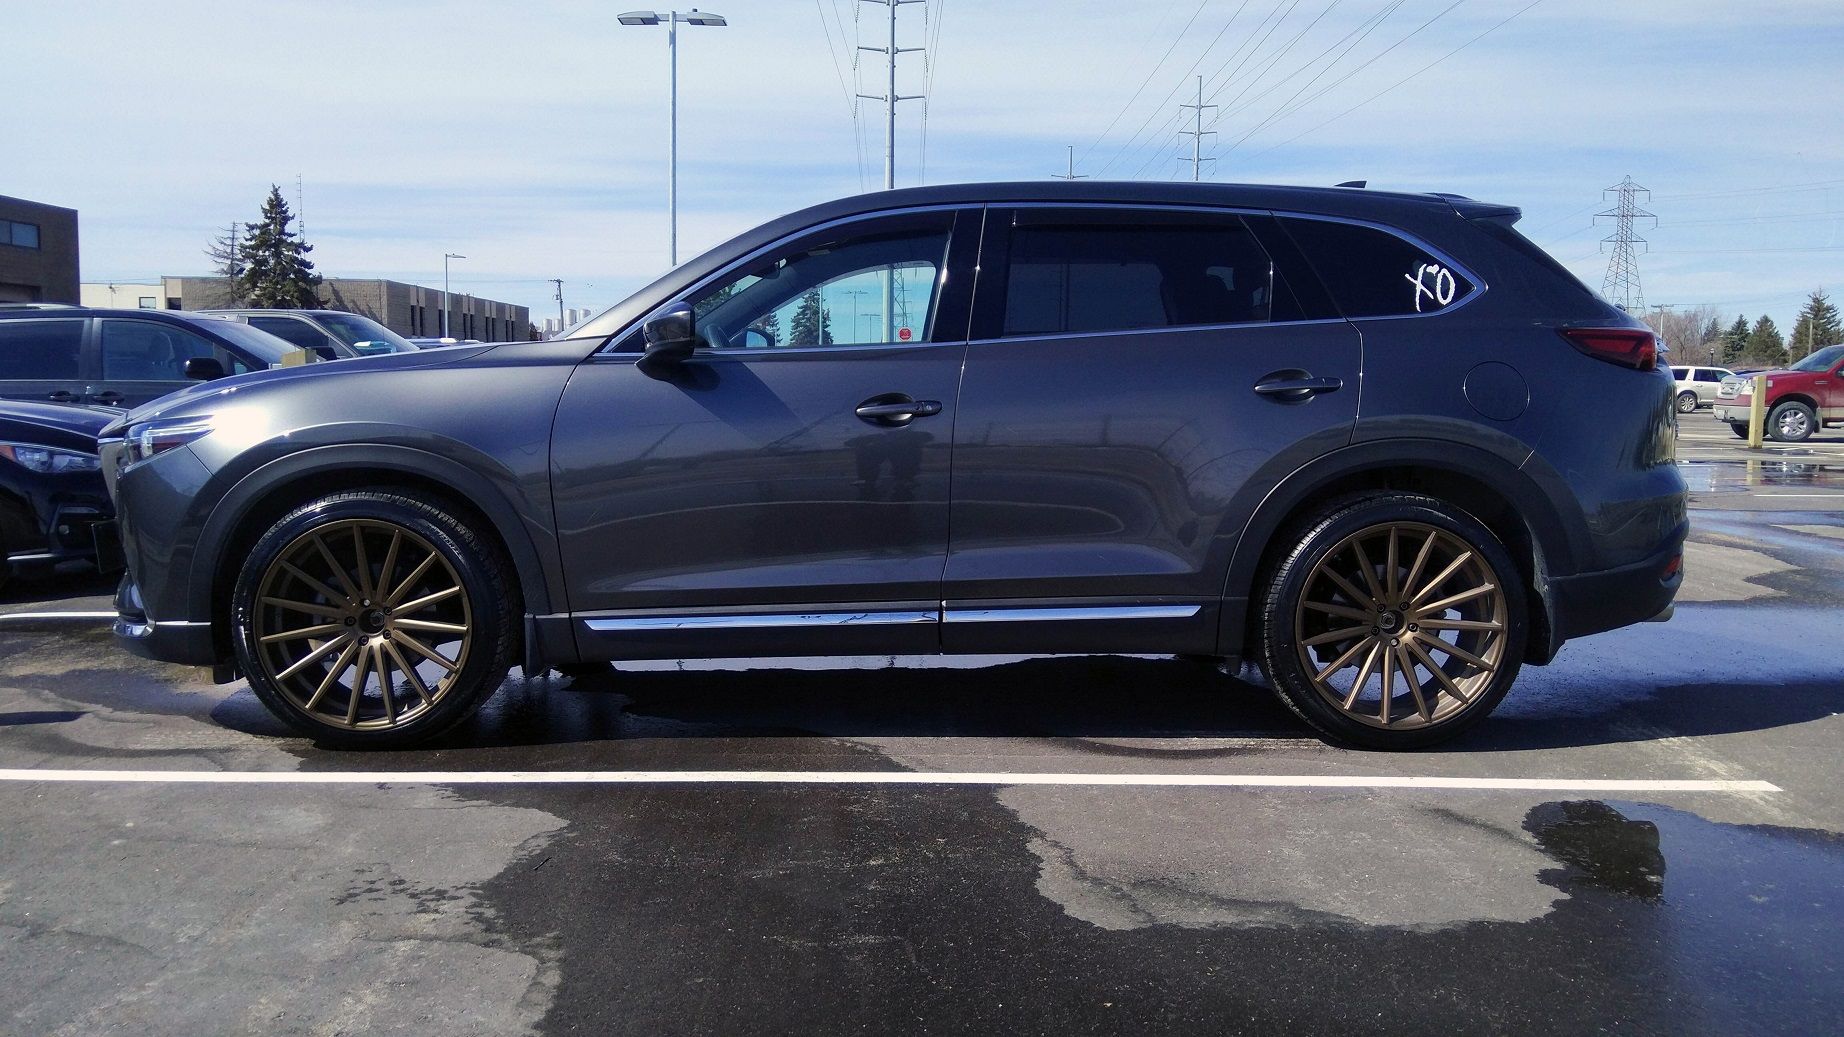
Since I had the time I replaced the cabin and air filters as well, but that's not fun and doesn't look pretty, so we can skip that part. I also decided that I wanted to take all the badges and emblems off the rear hatch. I had started the process a while ago and when I found that they weren't held on with just adhesive strip alone, I put in on hold. I'll come up with a better long term solution for the emblem holes, but for now I used my plotter to cut 1/2" vinyl dots to cover them. As-is I would give it a 7/10, which isn't great but it still beats stock. Few pictures to show her off.
Quick thoughts about everything that was done today:
- The bulb in the cargo area was a pain for me because of the way it is held in place. One of the two metal tabs that holds the bulb in place is slotted with a small circle at the end of it. The tough part is that the small circle that is cut into the tab to hold the conical end of the bulb in place is sloped and I had a hard time getting the bulb to catch the circle and stay in place so I could get the other conical end of the bulb into the metal tab that doesn't have any give/movement. (That probably sounds super confusing, but once you open up the bulb cover you will know what I mean)
- Replacing all of the bulbs, filters, and taking the emblems off and cleaning up the adhesive mounting strips only took an hour and a half. That felt like a a lot of stuff in a little amount of time. I wish I had taken the opportunity a while ago.
- I was so busy thinking about whether I should use quick polish to clean the surface of the paint or Windex, that I forgot to clean the surface before applying the vinyl. What a foolish mistake. Anyway, I didn't want to use polish because I wanted the vinyl to seal well with the surface so that it wouldn't peel and I thought residual waxes or polish residue may not allow the vinyl to seal as well as if the surface was just clean of dust and debris. I will definitely need to peel these dots off and properly clean the surface and then reapply them. So that's good motivation for me to test out the thicker vinyl or using the fridge magnet "technique" to get a smoother application.
- Another thought on placing the vinyl dots is that the vinyl I had loaded in the plotter was pretty thin. I made the mistake of using my finger to apply pressure which allowed the skin on my fingers to sink the vinyl inside the emblem holes. Ok, not a huge deal, but it bothers me because it allows you to see the dots much easier due to the way they catch light differently. I would one of two things in the future for a better solution. Or perhaps both things, I'll need to test it out. 1. Use the thicker automotive vinyl that is used on buses. 2. Cover one of those crappy rectangular fridge magnets with one layer of plastic food wrap (perhaps more layers, but you want to make sure you get a smooth surface so that the 1/2" dot has the smoothest surface possible.). The idea of the food wrap is for paint protection only. The magnet will allow you to apply firmer, even pressure to the dot so that it seals well with the body, but also keep the center from pushing in. Actually, make that one of three things. I think I could reduce the size of the dots to 1/4" or maybe 5/16" so that they are even less noticeable.
- When putting your taillights back in place, there is a mounting point on the body of the vehicle that receives a slotted tab on your taillight. There's a firm what I think was a rubber collar on the mounting point. When you are pushing the light back into place it takes a good amount of pressure and once it gives, it kinda sounds like you are slamming the light back into place. That is what you want to hear. Within reason of course. But you want to get that light properly seated back in place. The left light went right back first try no problem - I heard it slam. On my first try putting the right light back into position it went back but it felt spongey and it didn't slam. I took it out and did it a second time and I got the slam and it felt solid. In all actuality this probably isn't that big of a deal, but take it for what it is worth to you.
- And my Jerry Springer final thought is; I should always wash my filthy car before taking a picture and posting it on the internet.
On to the pictures which may or may not be the only thing you really want to see anyway...

I took two pictures and just happened to catch the LED signals so why not post that one, right?

Skyactiv badge removed and cleaned up. Make sure to get a
https://www.amazon.com/dp/ (commissions earned) so removing this crap is a breeze.

Off the cuff 1/2" vinyl dots. In hindsight I could probably reduce the size to 1/4" or maybe 5/16" so they are even less noticeable.

Obligatory post carwash to redeem myself. AND, the vinyl stayed on so that's a good start.

 Well, I am via my daughter. I listened to The Trilogy album every morning and evening as she was getting ready for school/dance. haha And when her friend bailed at the last minute, I went with her to see him at the Barclays Center on The Madness Fall Tour. I like some of his newer stuff but my top three is House of Ballons/Glass Table Girls, Wanderlust and Professional.