- :
- San Antonio, Texas
- :
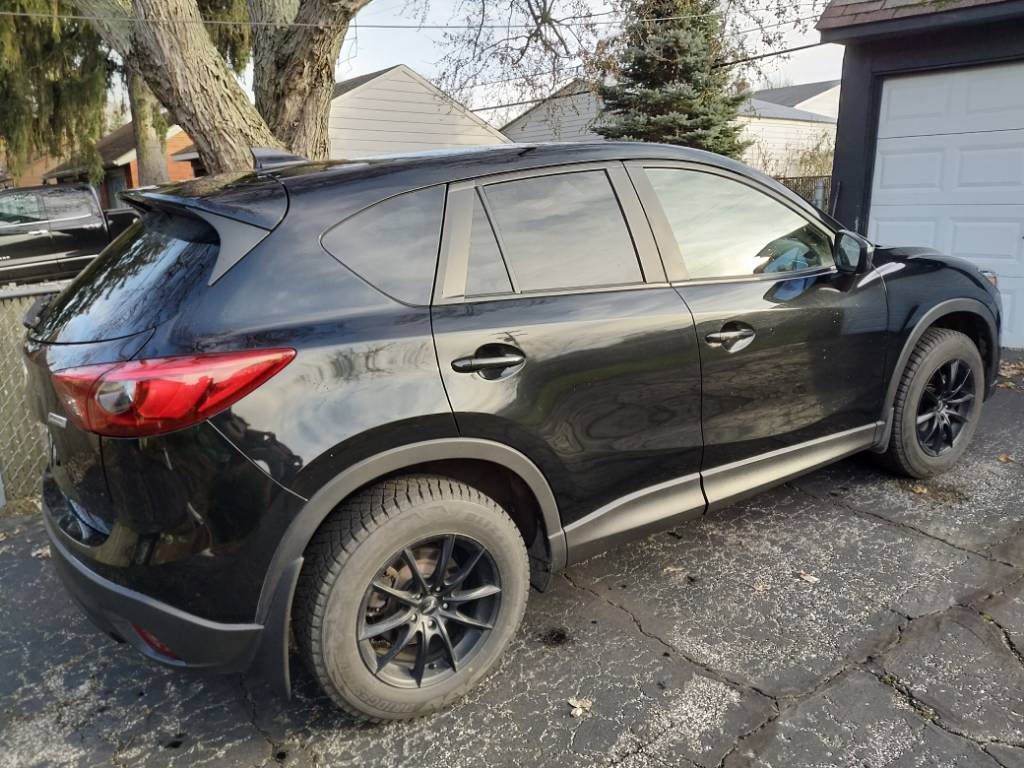
- '15 CX-5 Miata AWD
A while back, I have installed two sets of HID relay kits, to be safe. My fog lights(HID projectors) went out and Thursday, and one of the main lights.
This weekend I had to check it out, what is happening there.
Found a wire from the little fuse box, just fell out from the spade connector. Course, the plastic housing was melted, from all that sparking.
The fuse in it, was melted and bent(!). The legs are made, from thin can material.
The relay connector, where the two red wires go in, was melted.
I had to cut all these off, and soldered new stuff in there.
Lesson learned, no more cheap Chinese kits for me. And I did this, to be safe, ha.
My trunk light kept flickering and when I pulled it to see if the bulb was loose the dang plastic switch is melting! Also the switch is used to partially hold the bulb wtf.
")