Why would you do such a thing, you ask?
Well... cuz it not only sounds better, it improves airflow, thereby increasing performance and fuel economy! Well... theoretically, anyway.
")
Tools you'll need:
Jack and 1 jack stand
21mm lug nut wrench or similar tool
#2 Phillips Screwdriver
10mm deep socket or short socket with extension and ratchet (the smaller the better; 1/4" drive tools will work best.
10mm open-end wrench
Procedure:
1. Loosen lug nuts on left front wheel
2. Jack up left front corner of car
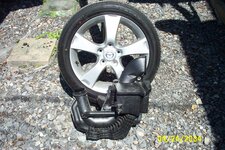
3. Remove lug nuts and wheel
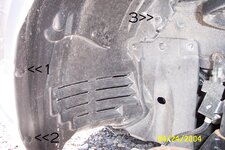
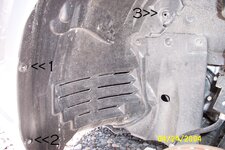
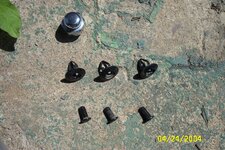
4. Remove 3 phillips-head screws from left front underbody splash shield
5. Remove three phillips-head push pins from front of inner fender (two on the wheel opening lip, one inside the wheel well)
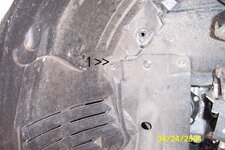
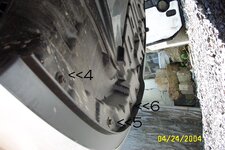
6. Using socket and ratchet, remove 6 10mm-head bolts from splash shields. These bolts only: One in wheel well next to the push pin from step 5, three across the front of the car on main splash shield, two on left side where main splash shield attaches to transmission splash shield. Do not remove the push-pins on the main splash shield.
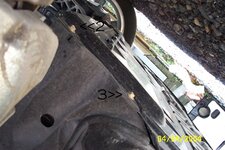
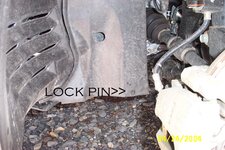
7. Slide main splash shield free from lock-pin where it attaches to the transmission splash shield.
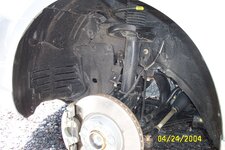
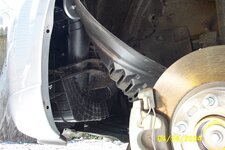
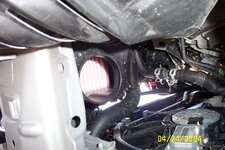
8. Pull front portion of inner fender back away from the front of the car.
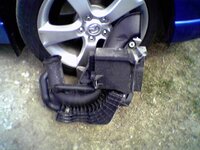
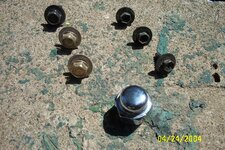
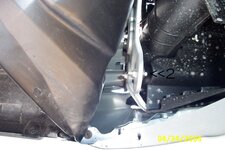
9. See that big honkin hunk o' plastic inside there? That's the resonator. There are three bolts holding it in place.
-10mm Bolt #1: This one is easy. It should be staring you right in the face. Take it out.
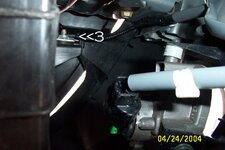
-10mm Bolt #2: This one's a little more difficult. Lie on your back and look up between the resonator and the frame rail, next to the horn. You should see the bottom of the tab that bolt #2 is going through. Use a small ratchet and take it out.
-10mm Bolt #3: This one will take the longest. The resonator was put in before the headlight, so bolt #3 was designed to be accessed from the front. We don't want to take the headlight out, so we will be using the back door method. Take the 10mm open-end wrench, lie on your back and look up inside the fender/bumper area. You'll see the edge of bolt #3 tucked up about a foot from the bottom of the bumper. The resonator will be pretty loose, so just wiggle it and see where it pivots. Take bolt #3 out with the wrench and don't let the resonator fall on your face.
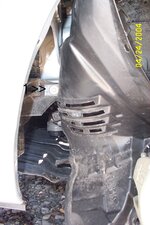
You'll have to turn it this way and that but it will eventually come out through the wheel well.
10. Reverse steps 8-1, tighten lug nuts to 85-90 ft-lbs in a star pattern and you're off and running! (yippy)
11. Call K&N and bug them about getting a new filter.