PCB's Unbuild Thread

It was a nice day so I decided to reglue my door seal.


It was barely hanging on but at least it held till the weather warmed up.

I sanded and cleaned the rubber with brake cleaner and alcohol then applied rubber glue to the seal and silicone on the door.

I thought the glue would stick to the silicone (it is rubber) but it didn't. So I scraped off the silicone (which was stuck on there pretty good) and put two face tape on the door.
I put more rubber glue on the seal, waited for it to dry and stuck it on.

That worked really good.
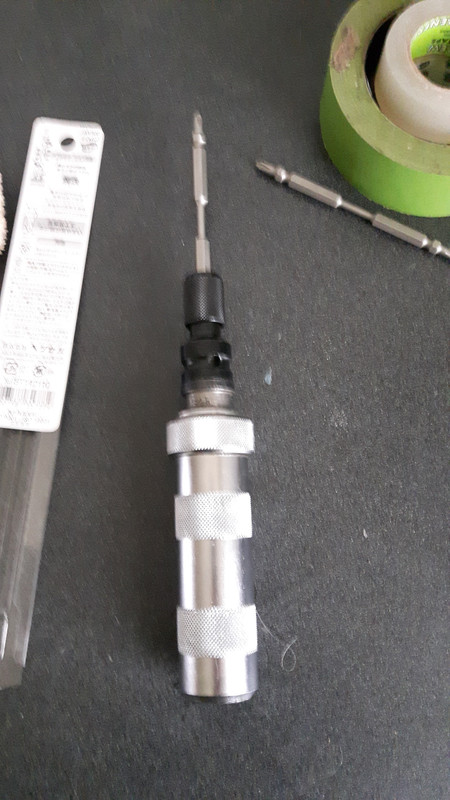
I bought the expensive two face tape for carpets. It's really sticky stuff.

 
It warmed up to 27 C so I decided to finally crawl under my car and hose off the crap and rust.

What a disgusting job.
I was completly soaked, shivering cold, laying in a puddle, covered it greasy sandy dirt.
I got it in my eyes a few times and managed to spray myself in the face a few times.

After washing off and changing clothes, I went back out and finally took off my winter tires which worked well with cleaning the wheel wells.


This is what it looks like after cleaning underneath.


(A bit of a blurry close up)

 
Another good seal adhesive is shoe goo...

Good one !!!

I'm gonna get some of that.
I remember using it on a pair of shoes about 30 years ago.

And it's not "OEM" expensive either.

I still have to fix my drivers side door seal.
I'll see how it works.
 
I bought a set of 1"JIS bits thinking I could use them in really tight spaces or use an extension for more reach.
It's the one on the right. (the one on the left is a Phillips)


It turned out that the bit holder was too "fat" and got in the way preventing me from getting the bit to fit square in some screws.


So I bought a pair of #2 JIS 4" double ended bits.


I can always cut one in half if I need a shorter bit.

I'm wondering what I'll be in for if I ever have to get my EGR or IAC off.
I've got lots of options now.

I also bought a 1/2" - 1/4" impact Hex adaptor for my impact driver so I can use normal sized bits with it.

 
Apparently, a JIS bit works fine in a Phillips screw but Phillips doesn't work in a JIS.

When I looked for JIS bits on line, they would frequently say both JIS and Phillips in the description.
I wanted to make sure I got the right bits so I ordered mine directly from Japan with no mention of Phillips.

All the information on the package is in Japanese.

 
I've heard about them working one way and not another. Obvious Phillips won't work on JIS considering all the stripped screws lol
 
I'm the redneck. lol

I did that in 2013, I put a piece on top then put a jack under the engine and lifted it a bit to make room for the bottom one.

I should go look and see if they're still in there.


LOL. True story. I had a broken passenger side motor mount so I dug into my stash of old skateboard wheels, bored out the center of one, removed all of the old urethane from the mount and shoved it in there. I actually forgot about it for over a year, but never had a problem with it. (drinks)
 
I keep forgetting to check and see if mine is still in there.

I'll be lifting the car again shortly.
I hope I remember to check.
 
I decided to clean up and clearcoat my headlights.
They were looking kinda bad.


After sanding.


I kinda scratched the paint while I was sanding.


I sprayed a light coat of clearcoat and it looked pretty good.

The can said it has no recoat window and you can recoat anytime so I sprayed another coat after 5 minutes.

Not a good idea.
It all went to s***.


What a fricken mess.

So I thought I'd give a third really heavy coat and the cracks might fill in and be a smooth surface.

Another bad idea.

Now I've got three layers of cracked up crap on my headlights.


I spent three hours on each headlight, sanding off all the hardened crap on them.

I finally got them sanded and recoated so they look better but I still have some scratches from sanding showing through.


I fricken suck at applying paint.
I always hose it on like I'm tarring a roof.

I may have learned how to apply it better now but I'm sure I'll forget and do the same stupid s*** again.


One more light coat tomorrow after this coat is fully hardened.
 
Painting anything is a challenge, clearcoating clear plastic is an extra special PITA! Super clean surfaces and a couple of light coats about 20-30 mins apart should do you

Lights look good after sanding, you can also polish them with Autosol/Brasso/Any abrasive polishing compound, it gets rid of the scratches but won't last as long as clear coat
 
When I applied clear on my headlights sedan headlights to put on the p5,, the same thing happened.
 
Damn, I forgot to hit the subscribe button and I've missed so much! When you mentioned Murphy's law I started dying, I've let my floorboards rust away for 2 years before I really painted and carpeted them. Then a week later I spun out into a gaurd rail and havnt driven it since haha. I just finished painting and it seems I have the same problems as you when it comes to painting. Mine has runs all over it, and I probably didn't wait long enough between coats lol. Sorry about my crappy pictures, I really need a new phone
c1f5462ee52b6b1c77ff2865012066d5.jpg
a7e3f8df5ec75cfc8fcb1ff363b05e91.jpg
 
My drivers side doesn't look too bad but the passenger side is pretty bad.


I figure good enough. **** it.

I'll have more fun ripping the tranny out of my parts car.

How do you do that anyway ?
Do you have to pull the engine ?
It's half pulled out anyway.

Maybe there's some shortcuts if you can butcher the donar car ?
 
s*** !!

I just read though that link and found this..


I didn't know (or remember) that there is a clear coat for plastic.

My can is labelled "general purpose" and says it's good for metal wood and fiberglass. No mention of plastic.

I'm not gonna bother trying the plastic clearcoat.
I've wasted enough time on my headlights.
 
hmm. clearcoat i used was highly recommended from someone on a vw forum. i'll find it for you sometime this week. just for research so you don't buy mine i guess since mine did the same s*** lol

IMG_1818-XL.jpg


IMG_1819-XL.jpg
 
Back