- :
- Canada
This is a DIY How-To for applying a ceramic coating to a set of wheels. I decided to document this process just to provide my own experience with the ceramic coating and share some tips, as well as receive feedback from others who may have used a ceramic coating in the past.
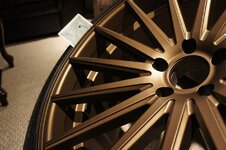
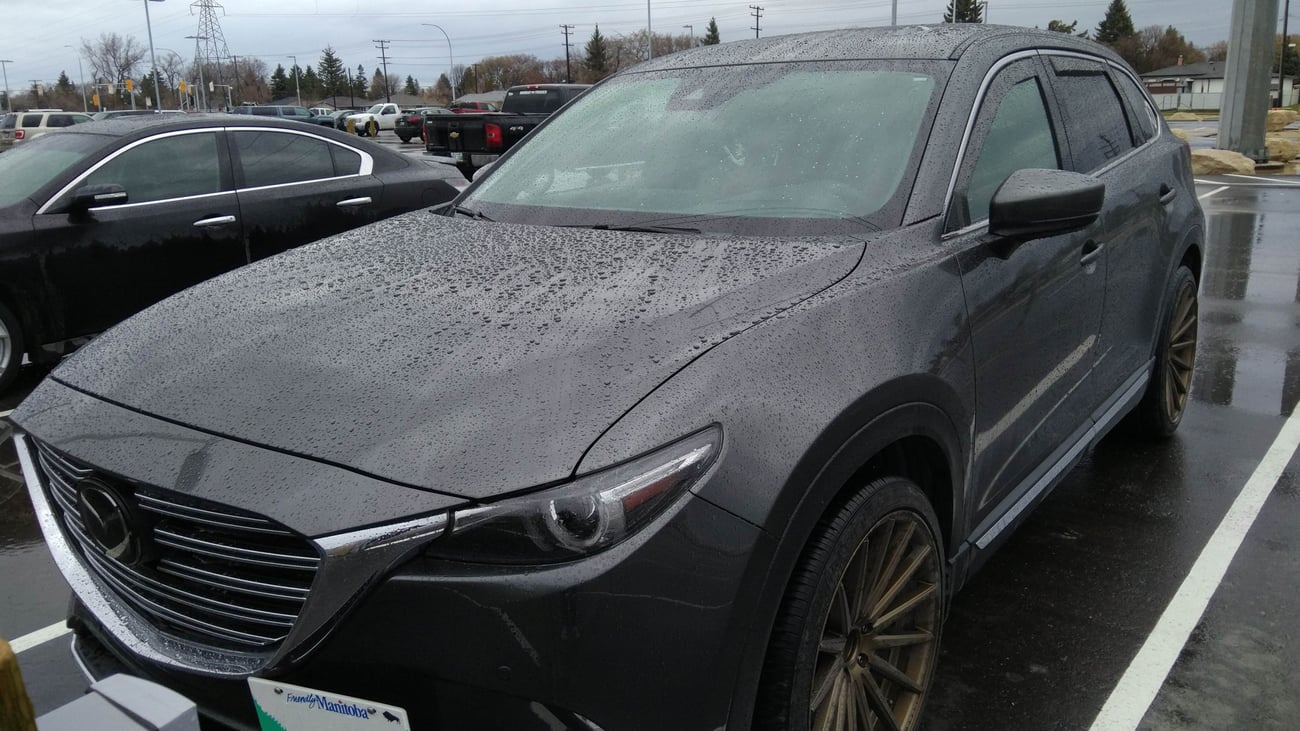
This process was documented/photographed by myself, using an old P+S camera and my wheels (22x10.5 Vossen VFS-2) as the "demos". This DIY is provided as a learning aid and reference guide. I assume no responsibility for any warranties this process may void, or damages you may inflict on yourself or your wheels.
Here's some background info on Ceramic Coatings:
Wiki description: What is a Coating?
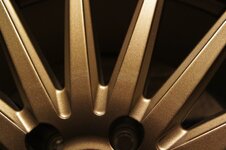
The multi-spoke wheel design that I chose has the unfortunate property of being hard to clean. I chose to apply a ceramic coating for the sole purpose of making them easier to clean due to the hydrophobic qualities of the coating. Technically I could have also used a wax or sealant, but these are typically not as durable as a ceramic coating, and I would prefer for this coating to last for the entire summer season (a good 6-8 months).
You can use these instructions with virtually any ceramic coating available, and there are plenty to choose from. CQuartz UK is a brand that is both durable and well-reviewed in the detailing world, but for my purposes I chose to go with a cheap ceramic coating that I found on eBay for $6. The goal is to practice and learn with the cheap coating, test it for the first season, and if it works well enough, I'd upgrade to the more expensive CQuartz UK for the wheels, and possibly look into coating the entire vehicle as well. There are videos on YouTube that actually test the durability and effectivity of different brands of coatings, and CQuartz UK seems to be one of the most durable, lasting well over a year, while others, like the cheap coating I bought, would last for a month or two.
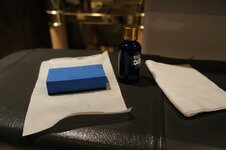
What you'll need:
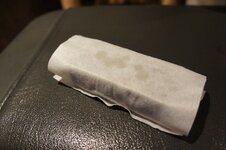
EDIT: It's also important to note that the coating does have a smell to it as it is drying, so I would recommend working in a well ventilated area. Also, use nitrile gloves if you have them handy (I didn't when I took the pics for this guide).
This process was documented/photographed by myself, using an old P+S camera and my wheels (22x10.5 Vossen VFS-2) as the "demos". This DIY is provided as a learning aid and reference guide. I assume no responsibility for any warranties this process may void, or damages you may inflict on yourself or your wheels.
Here's some background info on Ceramic Coatings:
Wiki description: What is a Coating?
The multi-spoke wheel design that I chose has the unfortunate property of being hard to clean. I chose to apply a ceramic coating for the sole purpose of making them easier to clean due to the hydrophobic qualities of the coating. Technically I could have also used a wax or sealant, but these are typically not as durable as a ceramic coating, and I would prefer for this coating to last for the entire summer season (a good 6-8 months).
You can use these instructions with virtually any ceramic coating available, and there are plenty to choose from. CQuartz UK is a brand that is both durable and well-reviewed in the detailing world, but for my purposes I chose to go with a cheap ceramic coating that I found on eBay for $6. The goal is to practice and learn with the cheap coating, test it for the first season, and if it works well enough, I'd upgrade to the more expensive CQuartz UK for the wheels, and possibly look into coating the entire vehicle as well. There are videos on YouTube that actually test the durability and effectivity of different brands of coatings, and CQuartz UK seems to be one of the most durable, lasting well over a year, while others, like the cheap coating I bought, would last for a month or two.
What you'll need:
- A bottle of isopropyl alcohol
- Some soapy water (preferably with some dish detergent)
- A bottle of ceramic coating (usually comes in 30ml bottles)
- An applicator block/sponge (comes with the coating)
- Microsuede applicator cloths (comes with the coating)
- Two clean microfibers (one for the alcohol wipe, another for the soapy water)
- Clean microfiber buffing cloth
EDIT: It's also important to note that the coating does have a smell to it as it is drying, so I would recommend working in a well ventilated area. Also, use nitrile gloves if you have them handy (I didn't when I took the pics for this guide).
Last edited: