
- :
- Canada
This is a DIY How-To for an aftermarket brake and accelerator pedal cover installation for the 2nd Generation Mazda CX-9. I decided to document this process as it seems nobody has done it yet. Hopefully this helps someone who wants to change the look of the pedals up a bit. Please note that I did not provide instructions to install the dead pedal - this is simply because the floor liners I have cover my dead pedal.
This process was documented/photographed by myself, using my crappy cellphone camera and my 2018 Mazda CX-9 Signature as the "demo" vehicle. This DIY is provided as a learning aid and reference guide. I assume no responsibility for any damages you may inflict on yourself or your vehicle.
What you'll need:
- Aftermarket pedal covers
- Flathead screwdriver (optional)
First, these are the pedals I ordered. They are the same ones Stryker medic ordered and installed back in 2016. https://www.ebay.com (commissions earned)
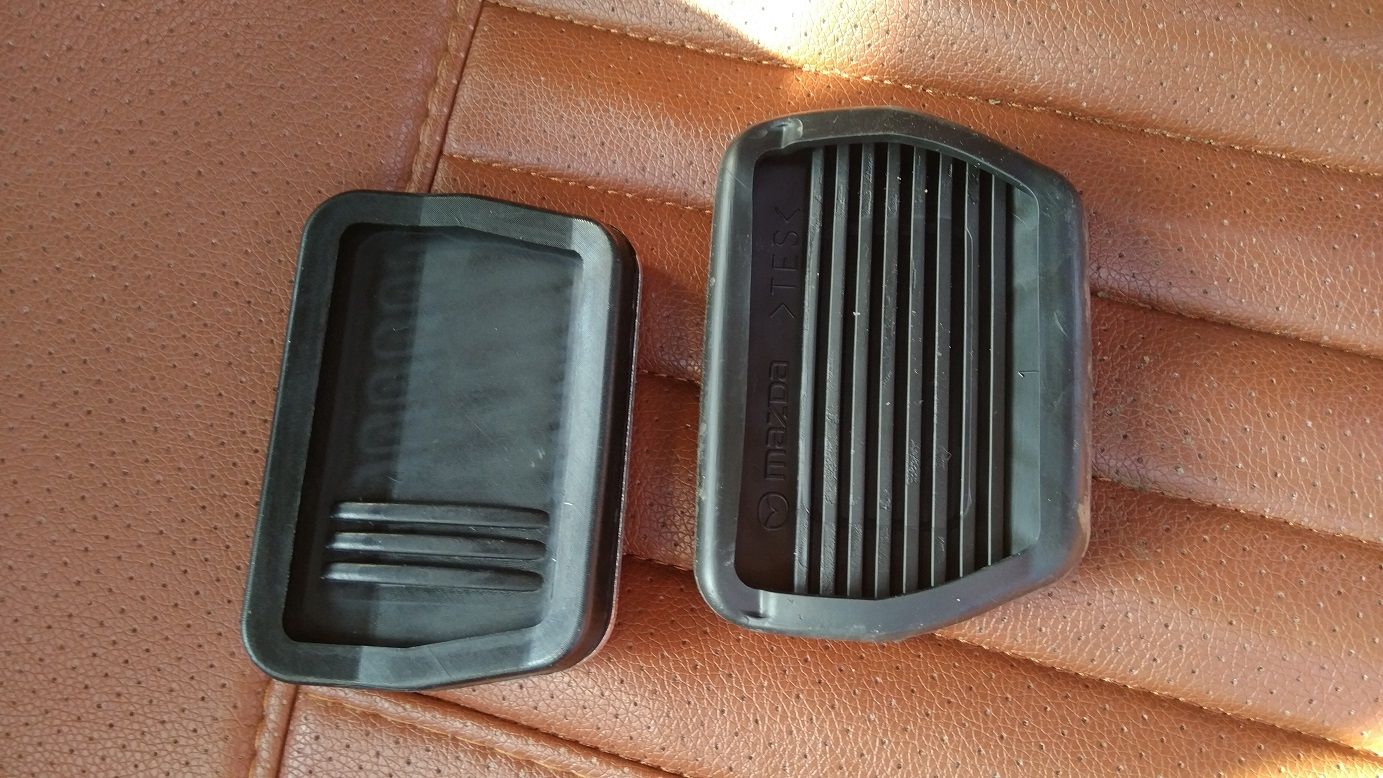
Here is a picture comparing the aftermarket brake pedal cover and the OEM brake pedal cover.

1. Make sure the vehicle is off, in Park, with the parking brake engaged (just in case).
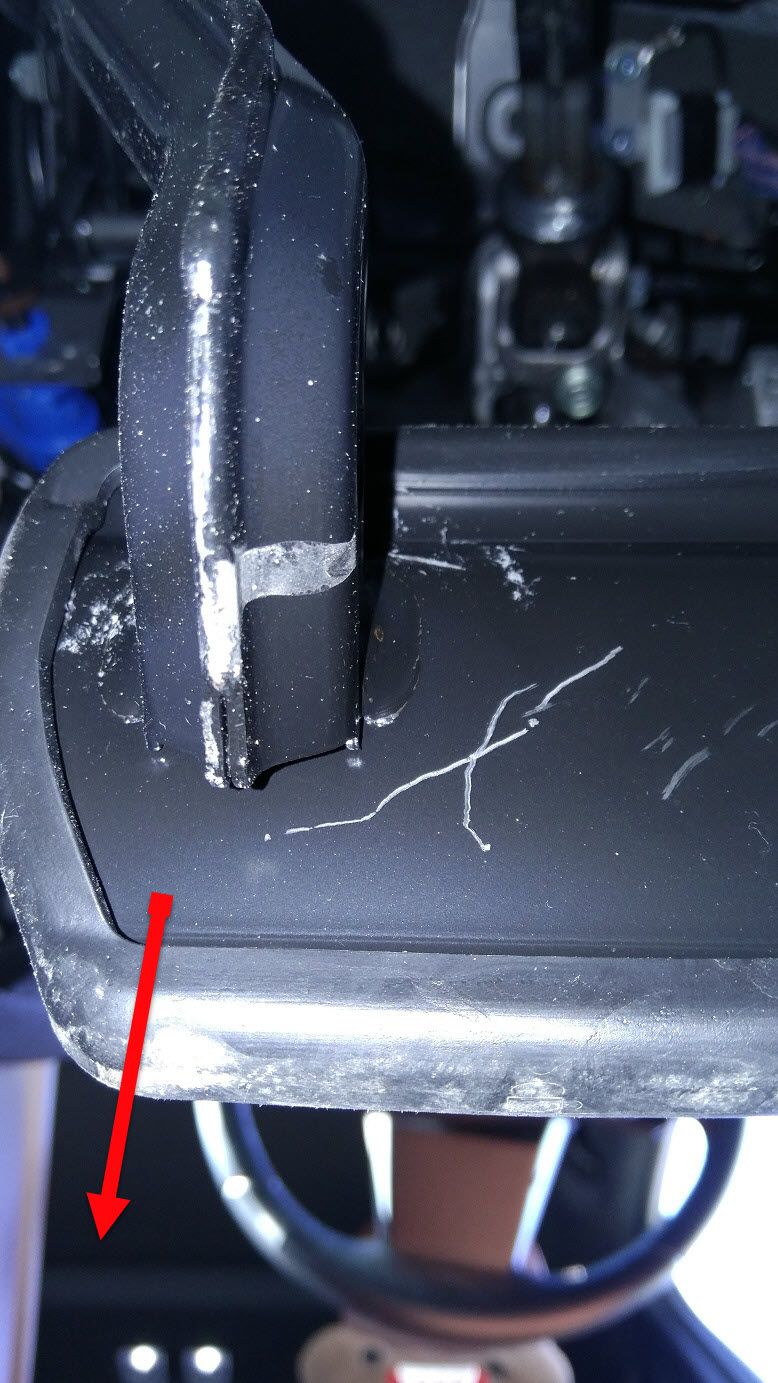
2. Remove the OEM brake pedal cover. It's very easy. I've found that its easiest to pull it off starting from one of the bottom corners. Just grab a hold of the rubber edge shown in the picture below, and pull to free it from the metal pedal it is covering.


3. Install the aftermarket brake pedal cover. This might be the hardest part, simply because you have to pull back the rubber lip on each edge separately to get it attached snugly. If you have a screwdriver, you can use it to help you pull the rubber lip back, but I found it easier and faster to just use my hands.
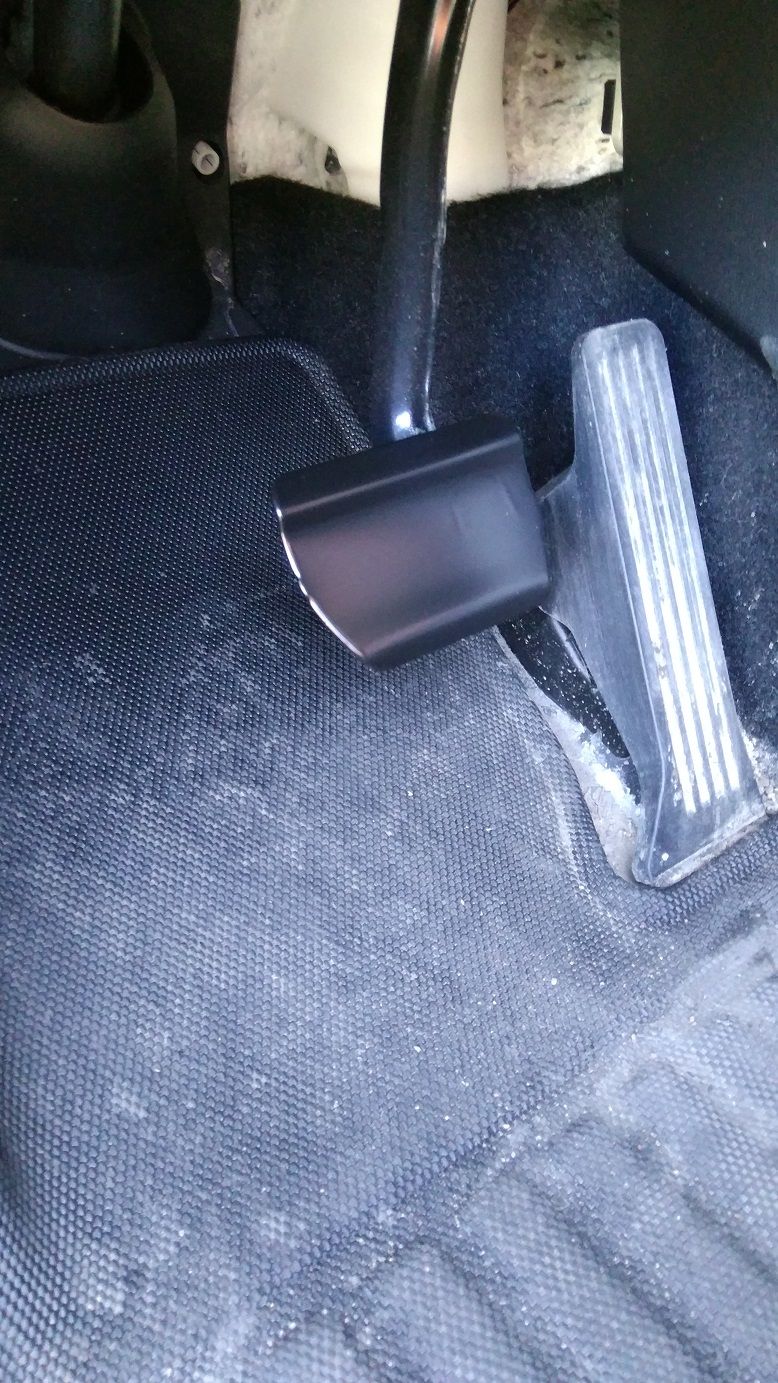
4. Install the aftermarket accelerator cover. The cover just slips right over the OEM pedal. Once the cover has been slid all the way down, feel around the edges to make sure all of the rubber tabs on the back wrap around the OEM pedal. If there are any out of place, just pull them out and wiggle them behind the pedal.
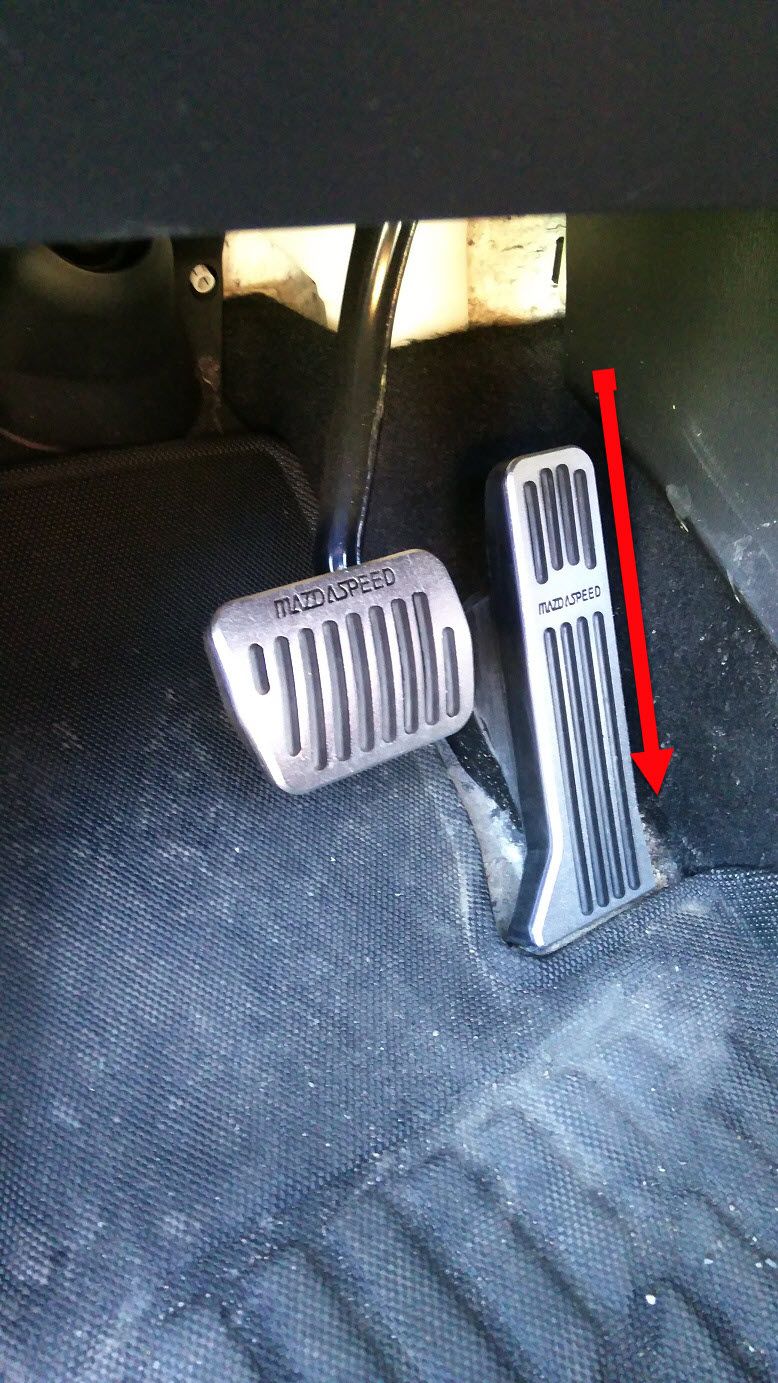

5. Step back, because you're done! Super easy.
Hope that helped you guys out! If you have any questions, post them here and I'll do my best to answer them.
This process was documented/photographed by myself, using my crappy cellphone camera and my 2018 Mazda CX-9 Signature as the "demo" vehicle. This DIY is provided as a learning aid and reference guide. I assume no responsibility for any damages you may inflict on yourself or your vehicle.
What you'll need:
- Aftermarket pedal covers
- Flathead screwdriver (optional)
First, these are the pedals I ordered. They are the same ones Stryker medic ordered and installed back in 2016. https://www.ebay.com (commissions earned)
Here is a picture comparing the aftermarket brake pedal cover and the OEM brake pedal cover.
1. Make sure the vehicle is off, in Park, with the parking brake engaged (just in case).
2. Remove the OEM brake pedal cover. It's very easy. I've found that its easiest to pull it off starting from one of the bottom corners. Just grab a hold of the rubber edge shown in the picture below, and pull to free it from the metal pedal it is covering.
3. Install the aftermarket brake pedal cover. This might be the hardest part, simply because you have to pull back the rubber lip on each edge separately to get it attached snugly. If you have a screwdriver, you can use it to help you pull the rubber lip back, but I found it easier and faster to just use my hands.
4. Install the aftermarket accelerator cover. The cover just slips right over the OEM pedal. Once the cover has been slid all the way down, feel around the edges to make sure all of the rubber tabs on the back wrap around the OEM pedal. If there are any out of place, just pull them out and wiggle them behind the pedal.
5. Step back, because you're done! Super easy.
Hope that helped you guys out! If you have any questions, post them here and I'll do my best to answer them.
Last edited:
")