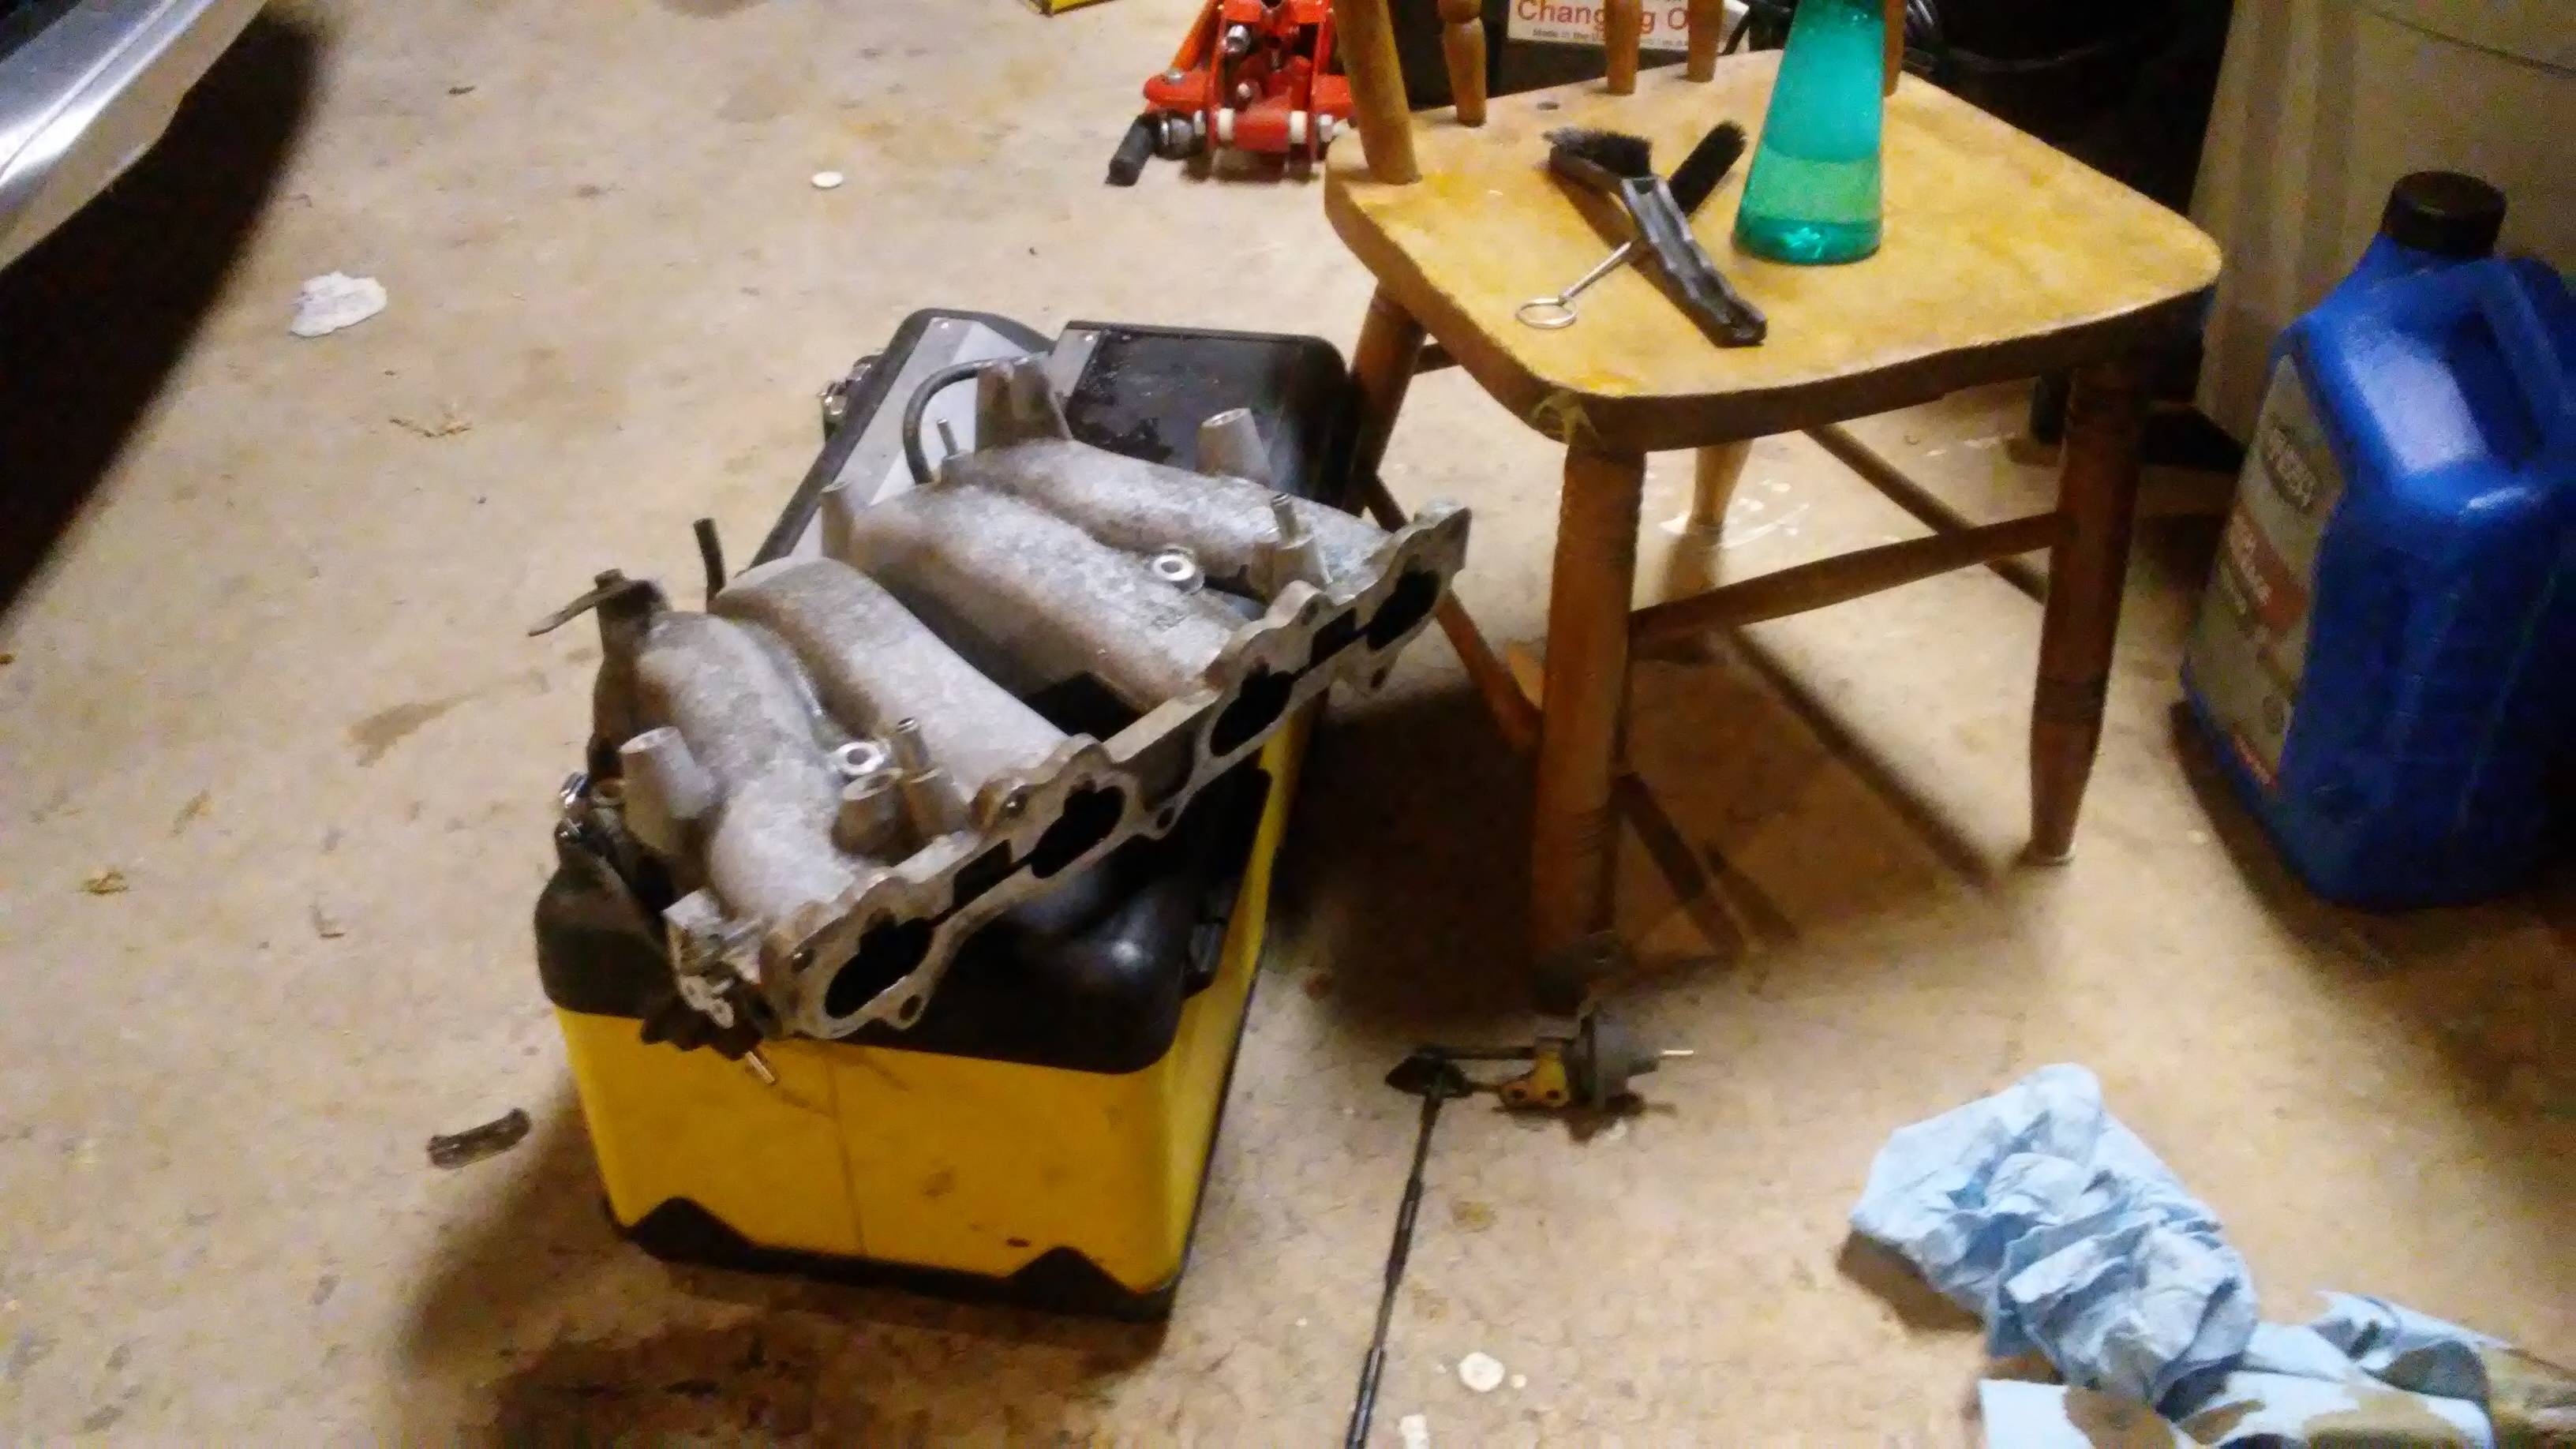
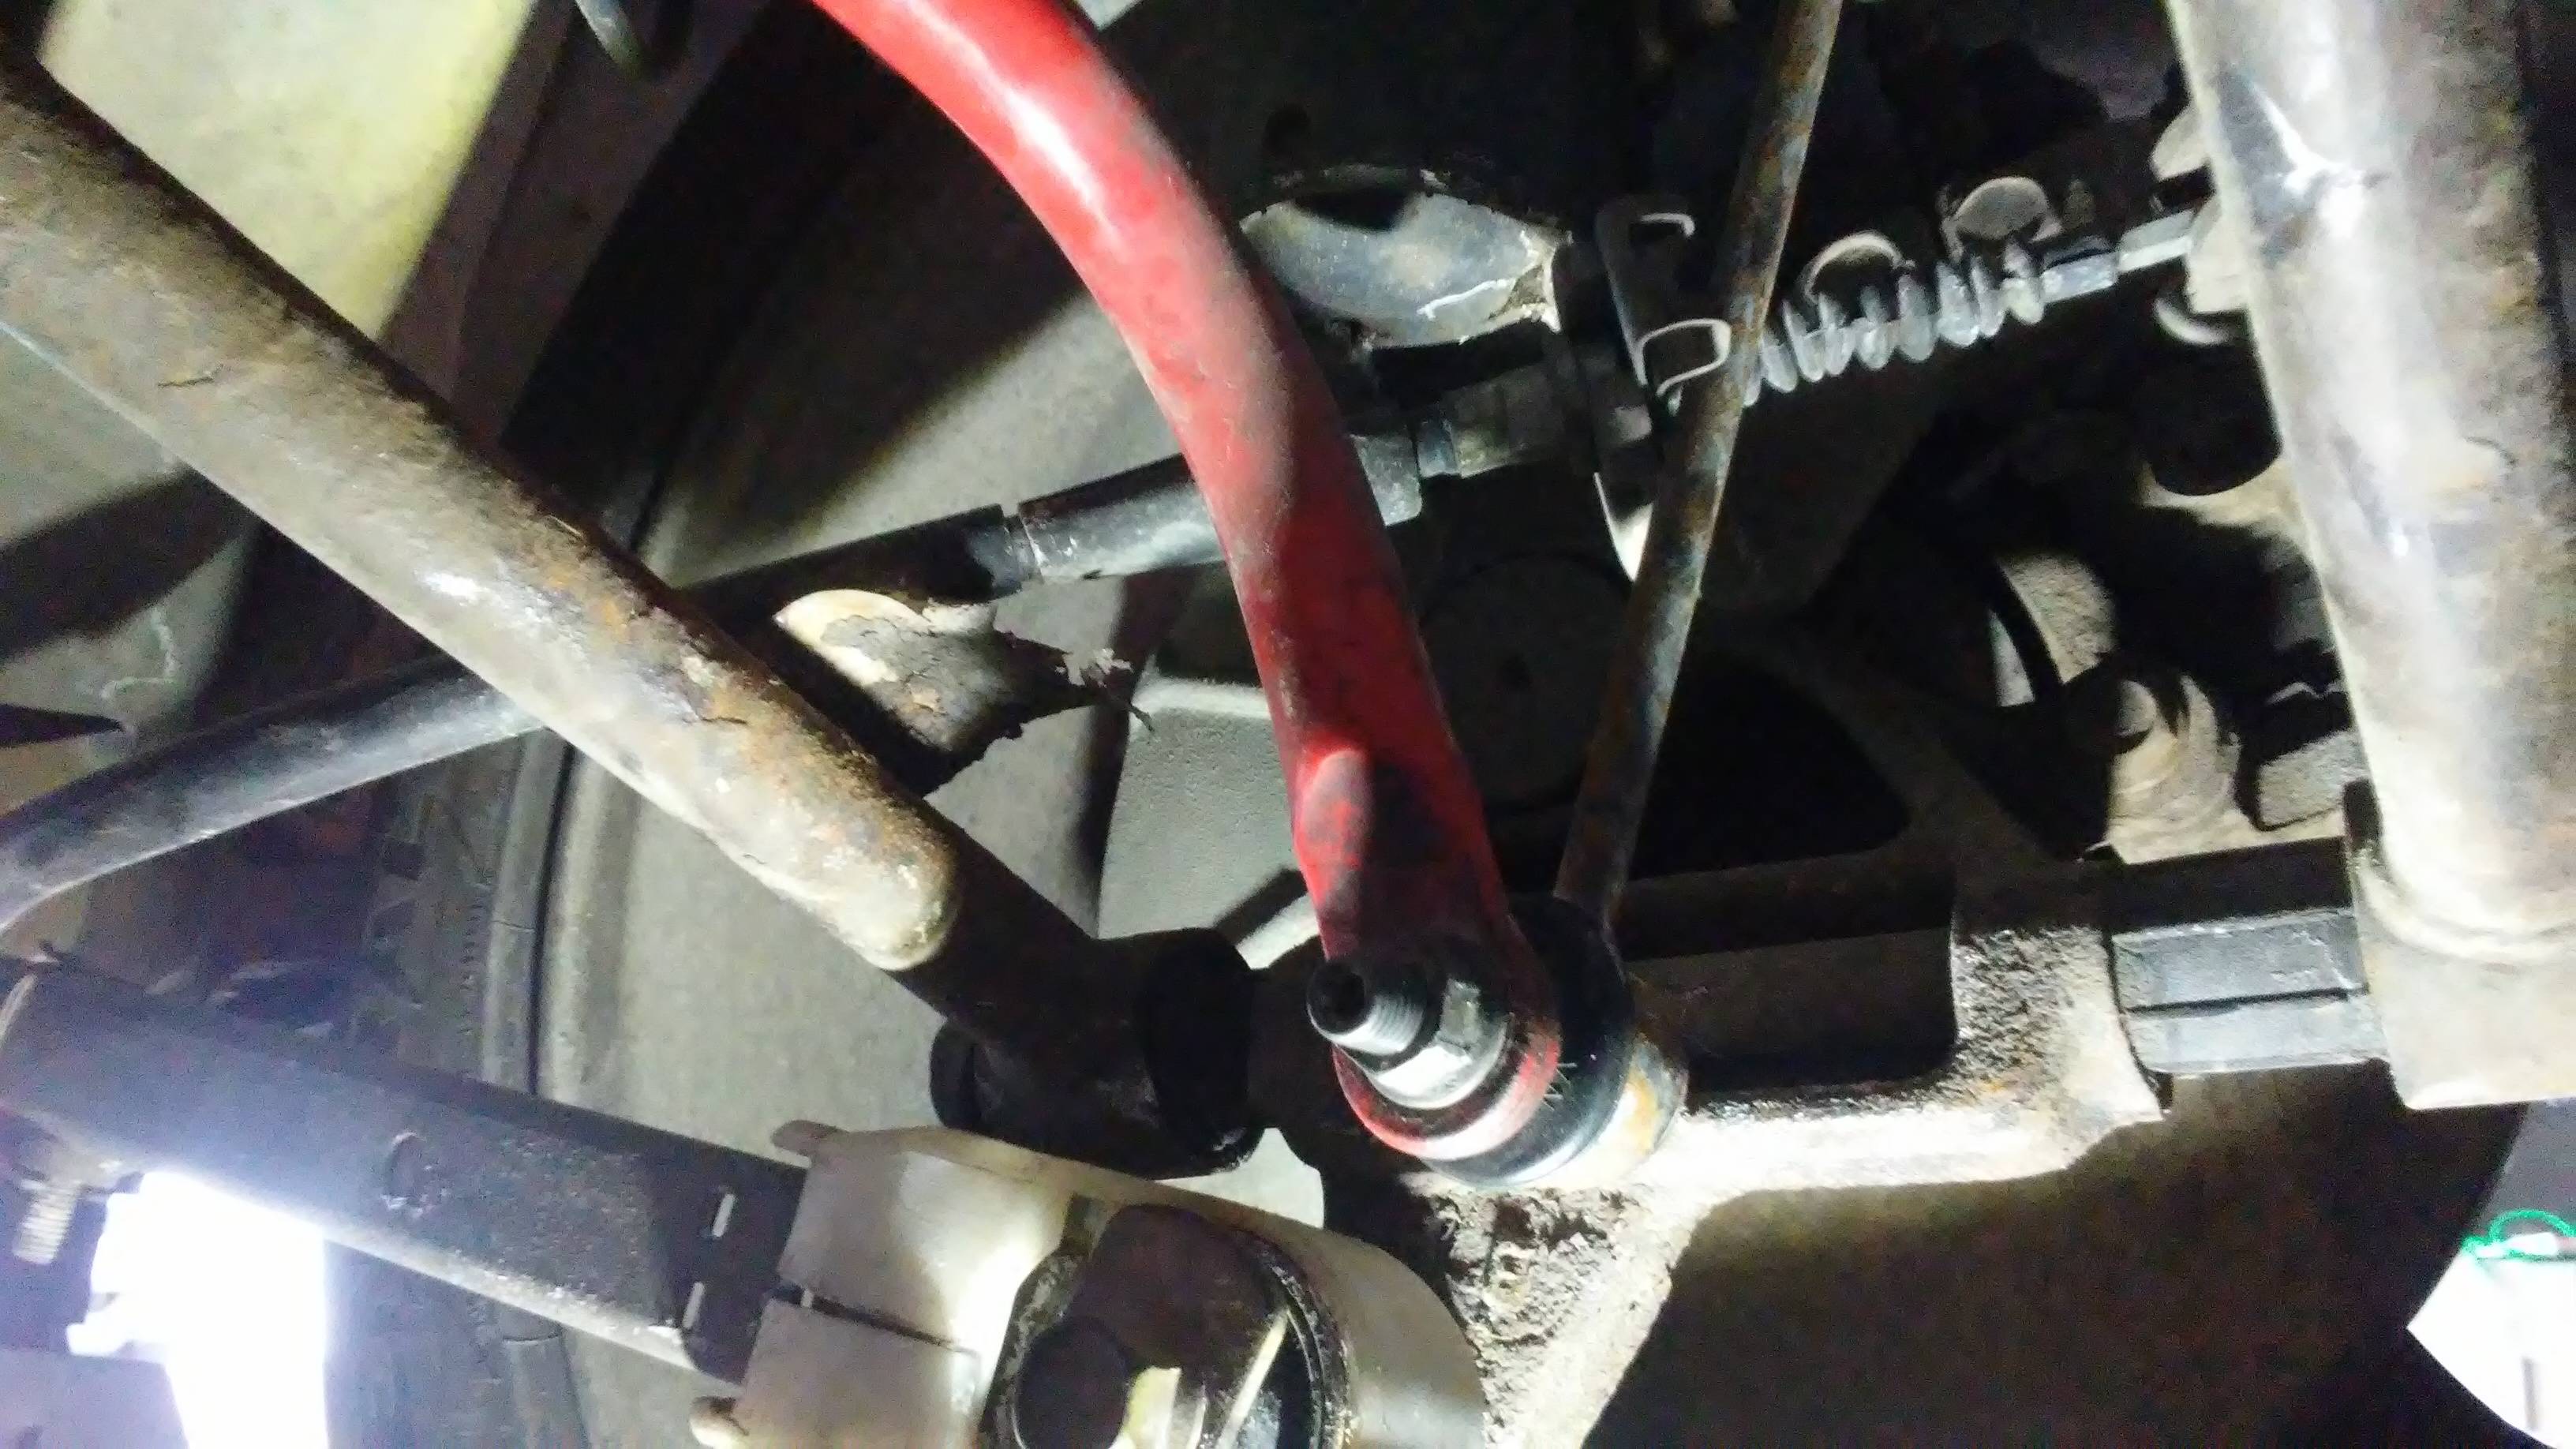
Alright lads, as I wait for an optimal time to fix my rear suspension fiasco, I'll begin setting up the IM upper half DP sent me.
I began with just a removal of surface dust and dirt, and then began hosing the thing down with water and dish soap. Well, it's a little cleaner now, but it still looks crusty.
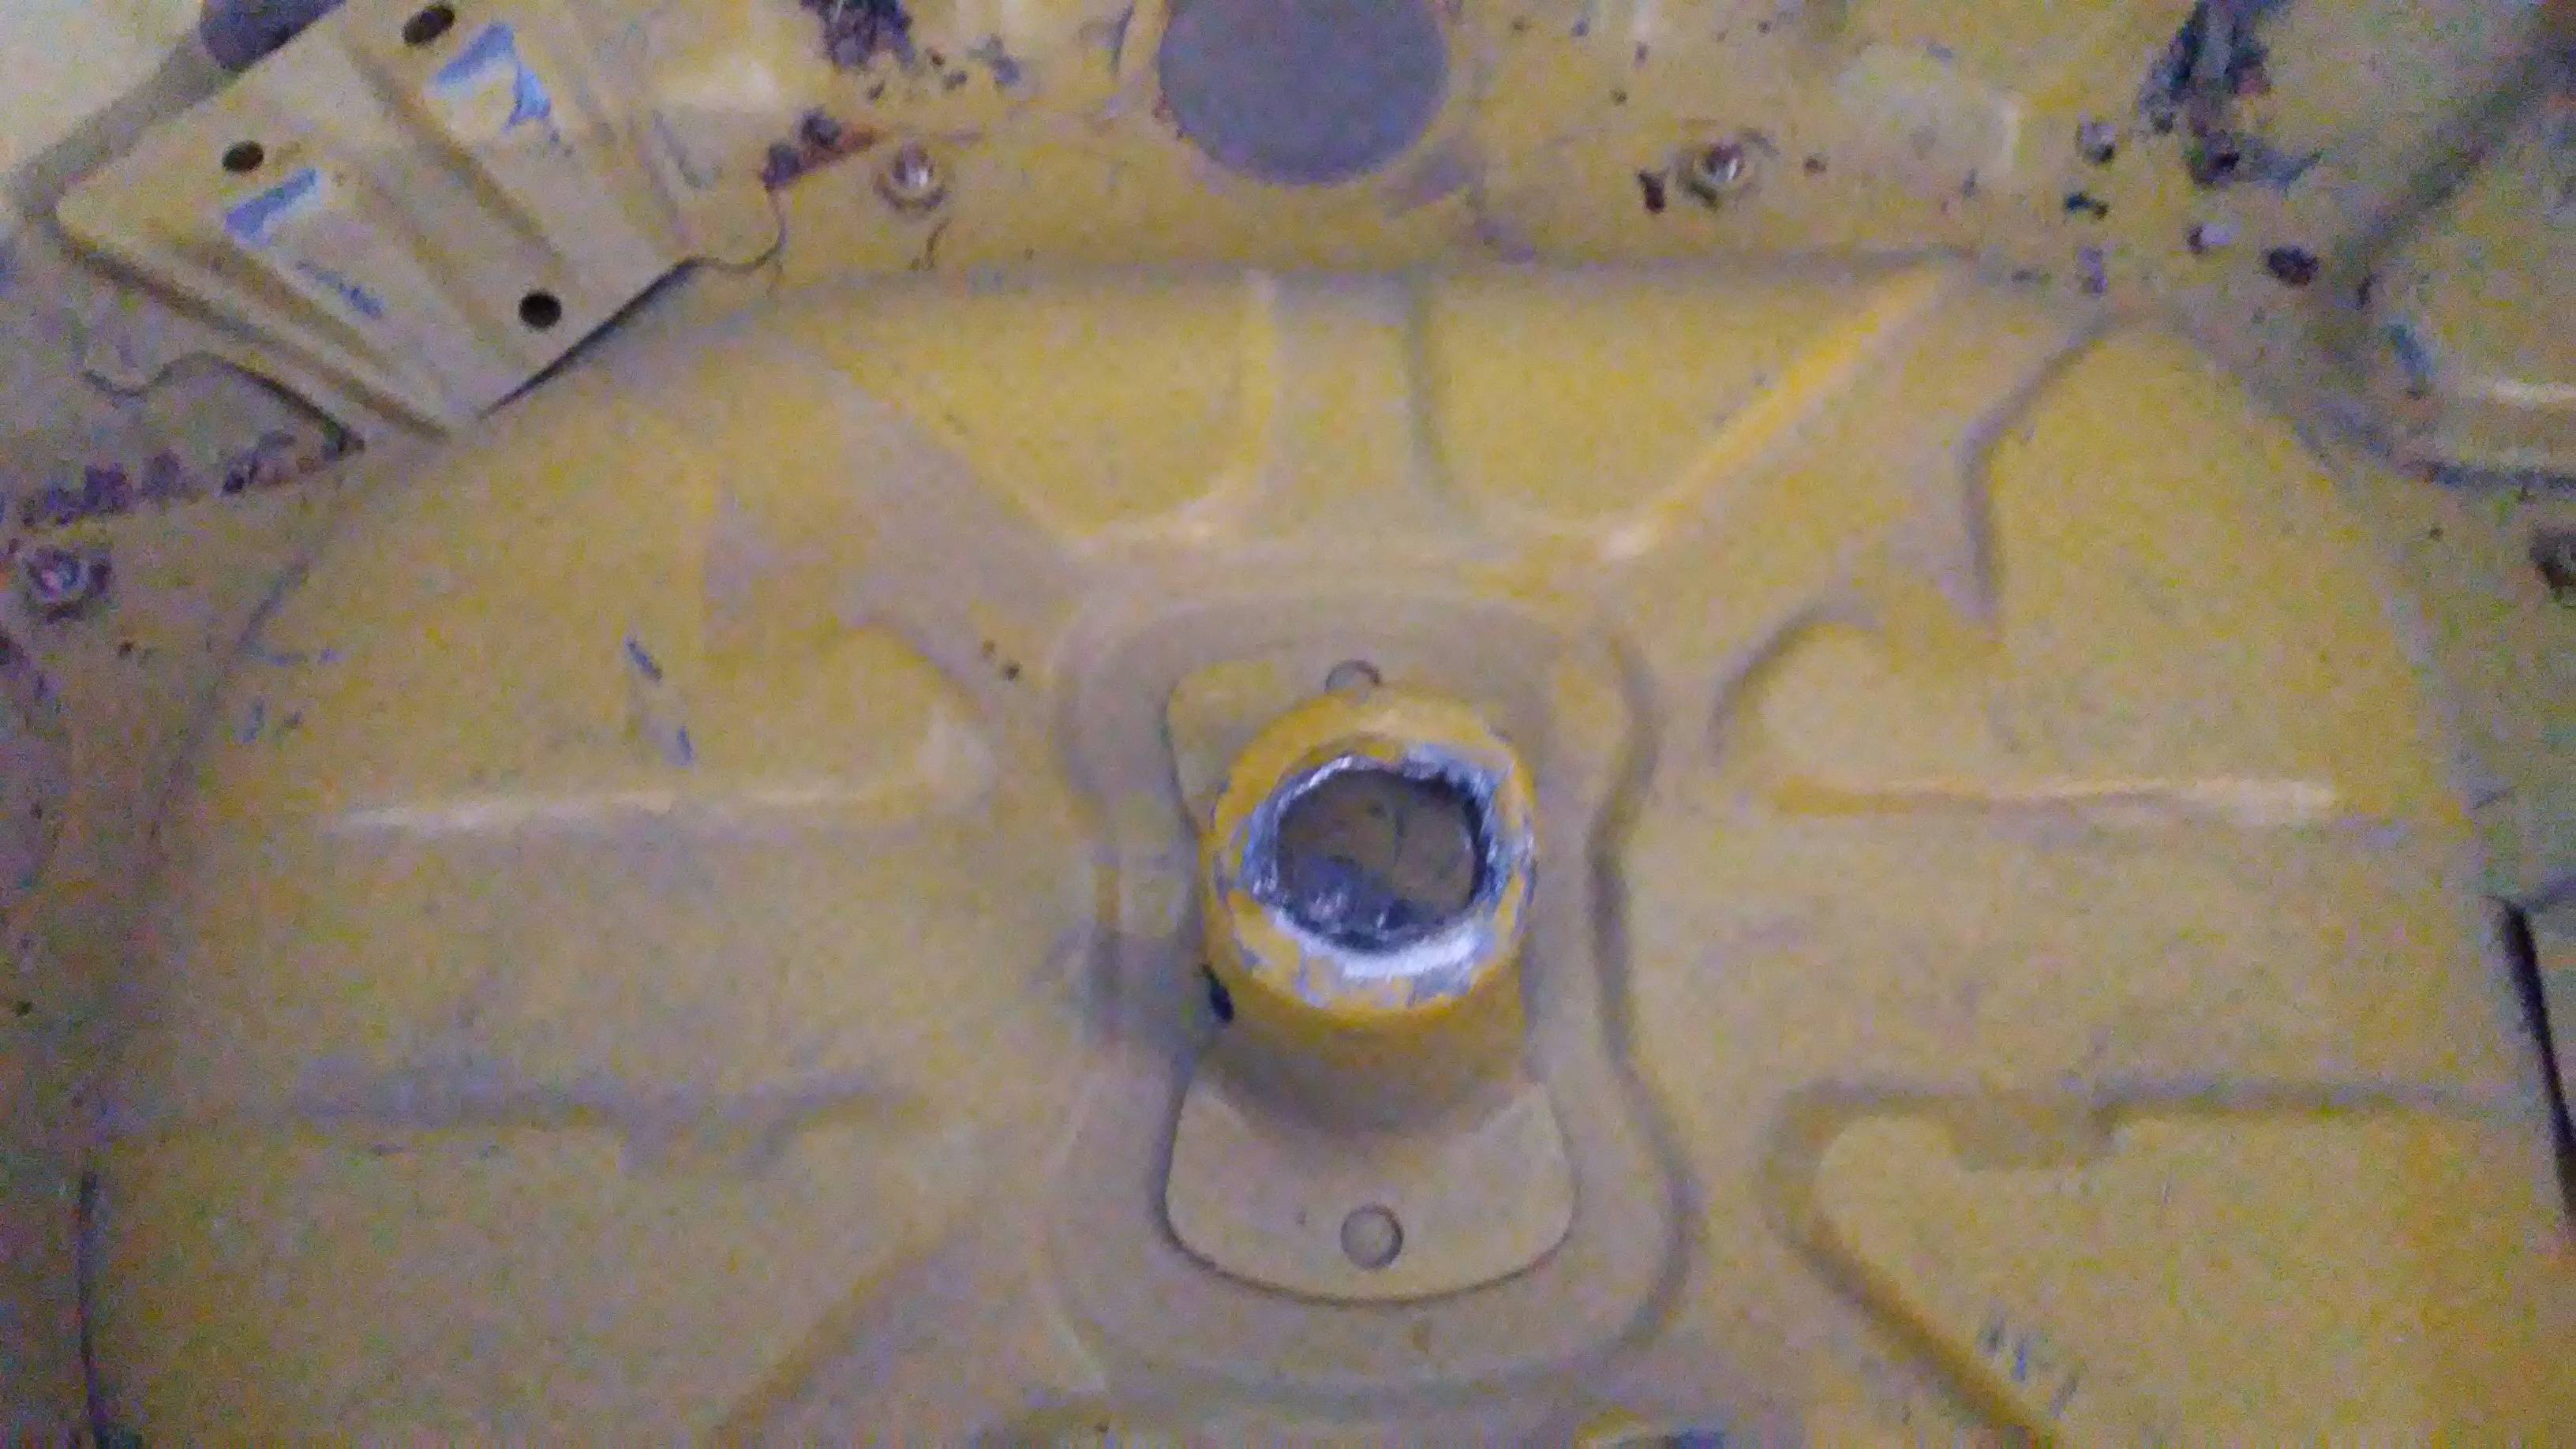
I then went ahead and pulled out the butterfly valves, the vacuum valve actuator piece, and that rod holding in all the valves itself. The screws were annoying, as half of them were glued in place thanks to the carbon buildup, but thankfully they drilled out just fine. That's the last of the removal process, so now I'm on to filling in those holes.
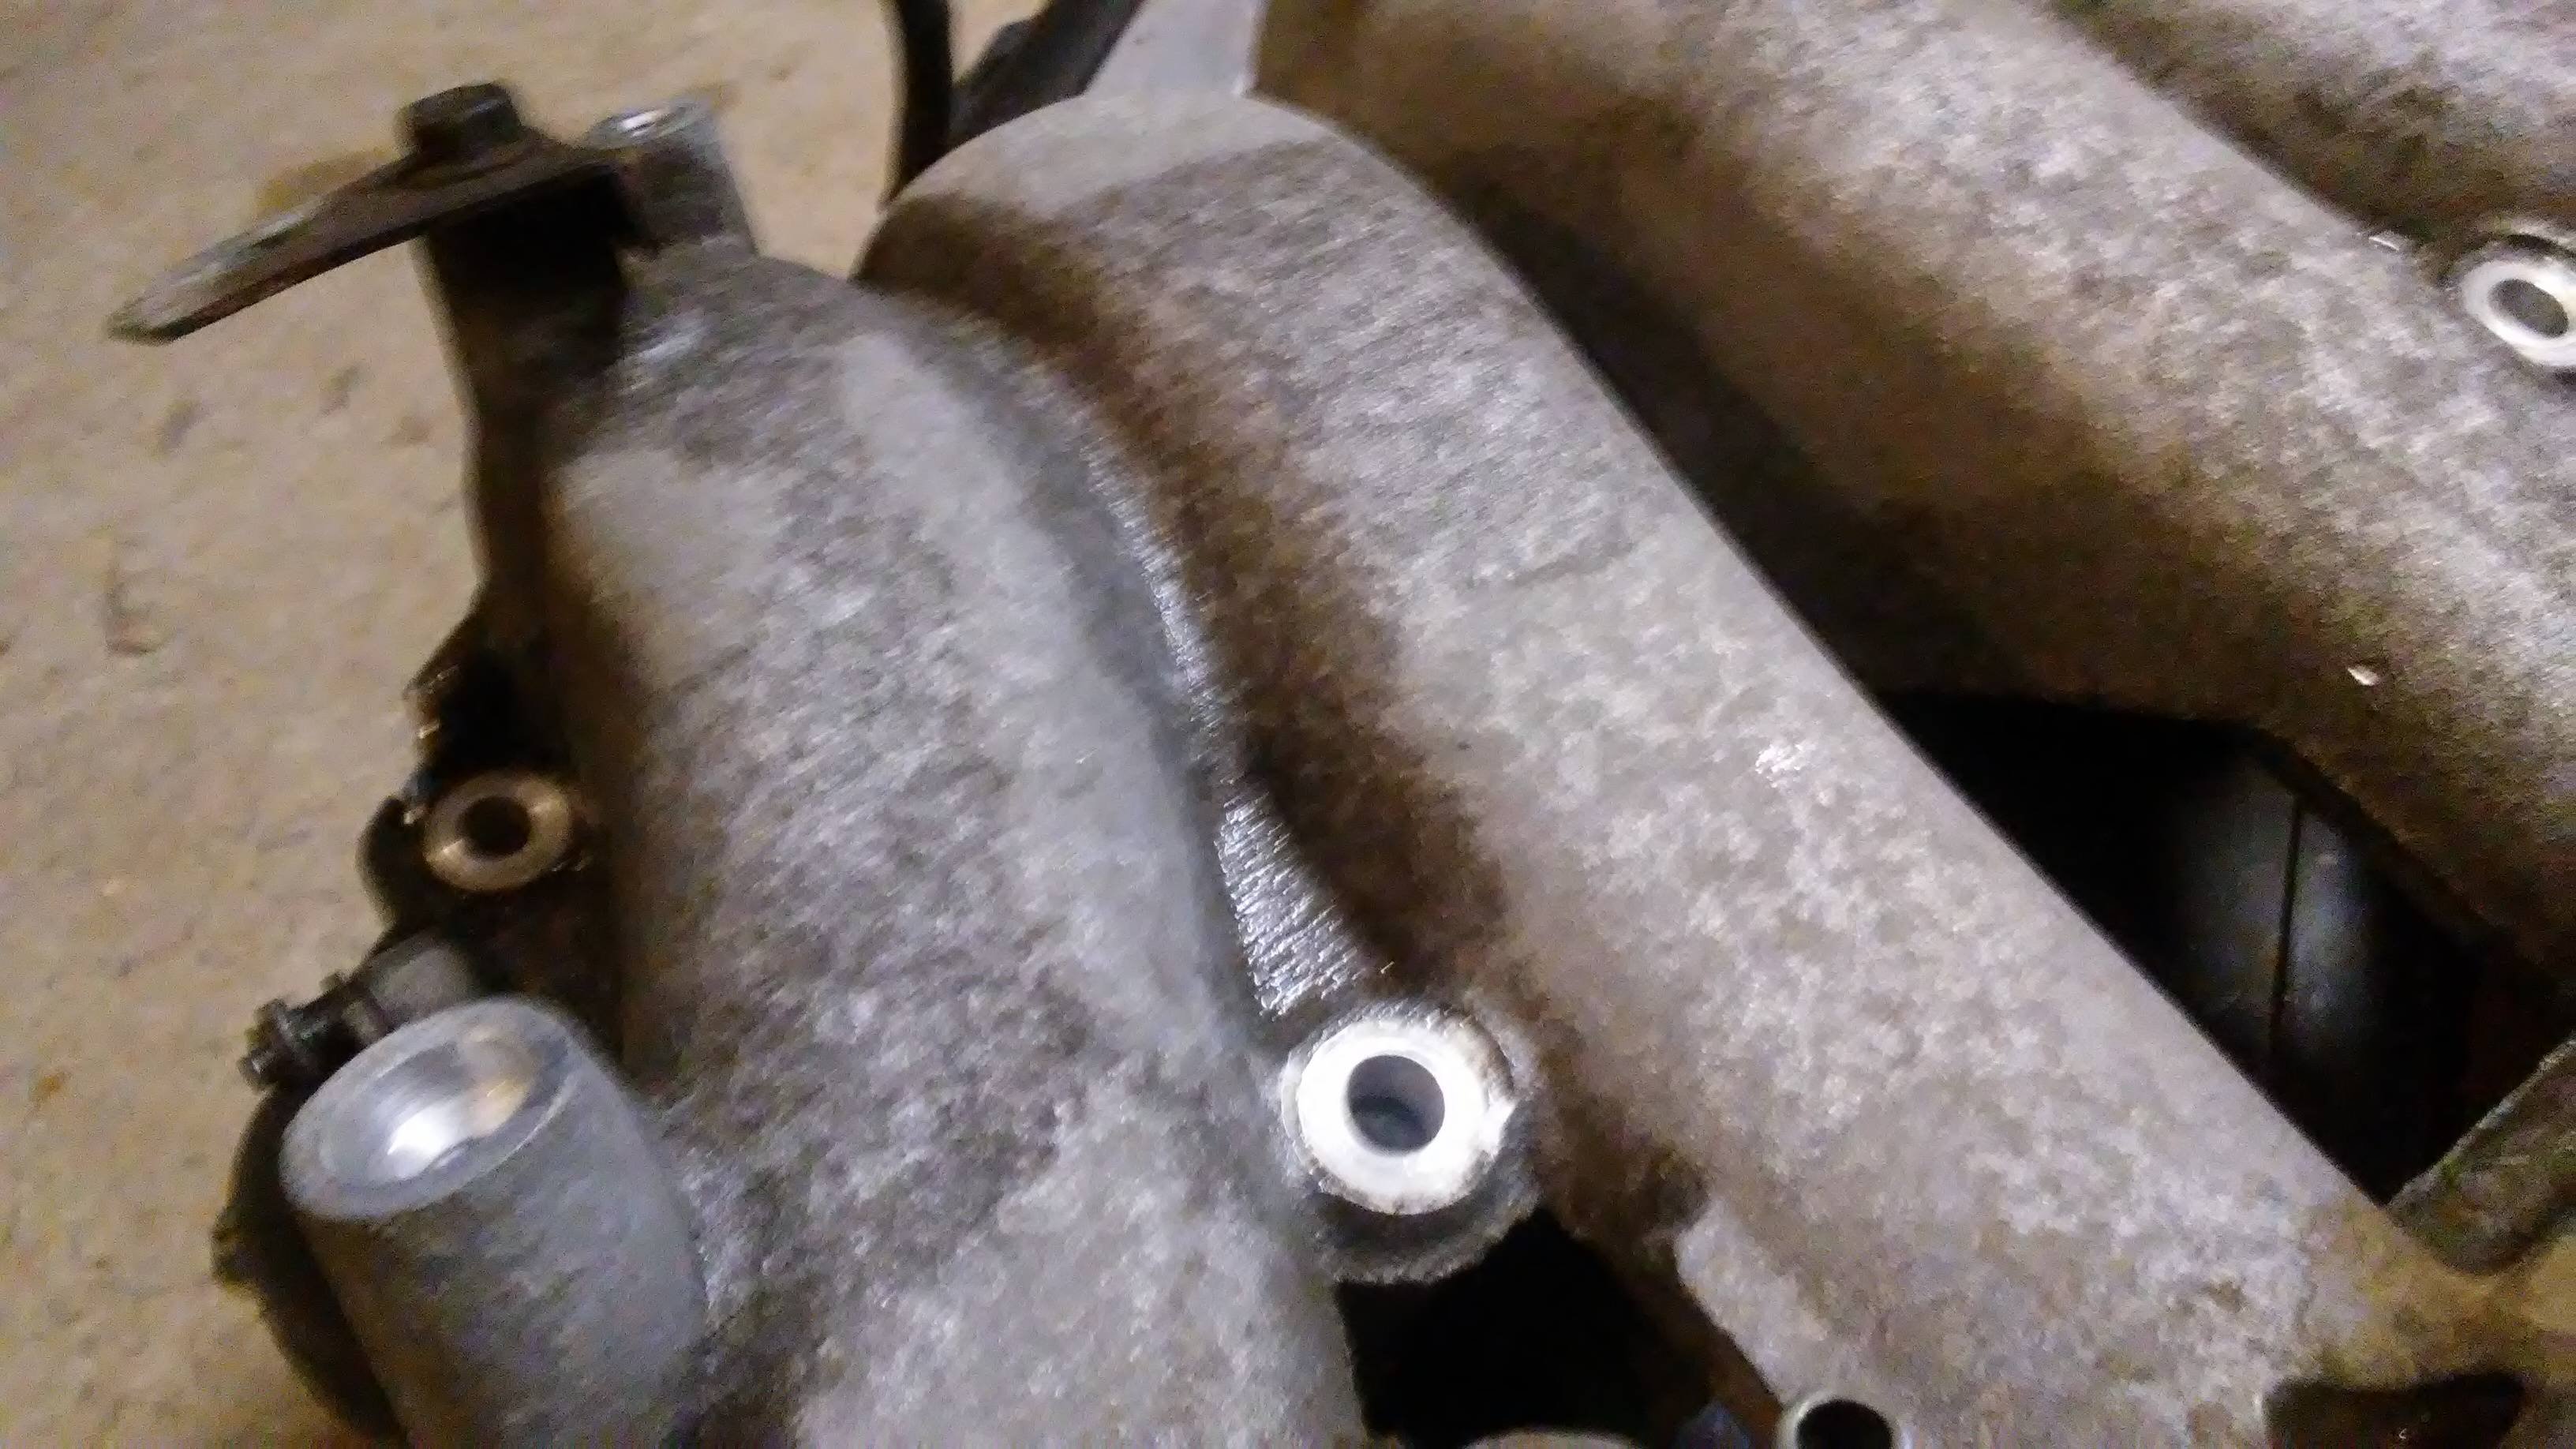
Frankly, I'm a little nervous about filling in those holes with epoxy, so I may try to find some stud-like objects to tap into them first. That way, I minimize the amount of epoxy I use, and have something much more solid fill it in. Then again, that may be too much work. Ah whatever...
Bad image aside, how do I get it really looking clean? Do I need to sand the thing down past this point, or is there some more scrubbing I can do? It's not the best job I could've done, but that's because I didn't know if I was wasting my time or not. Also, any ideas on how to get the interior of the IM
really clean? I just about wasted an entire can of carb cleaner on it, and I didn't get a whole lot of gunk out. It's a little nasty in there, and it would be preferable to install a clean part.
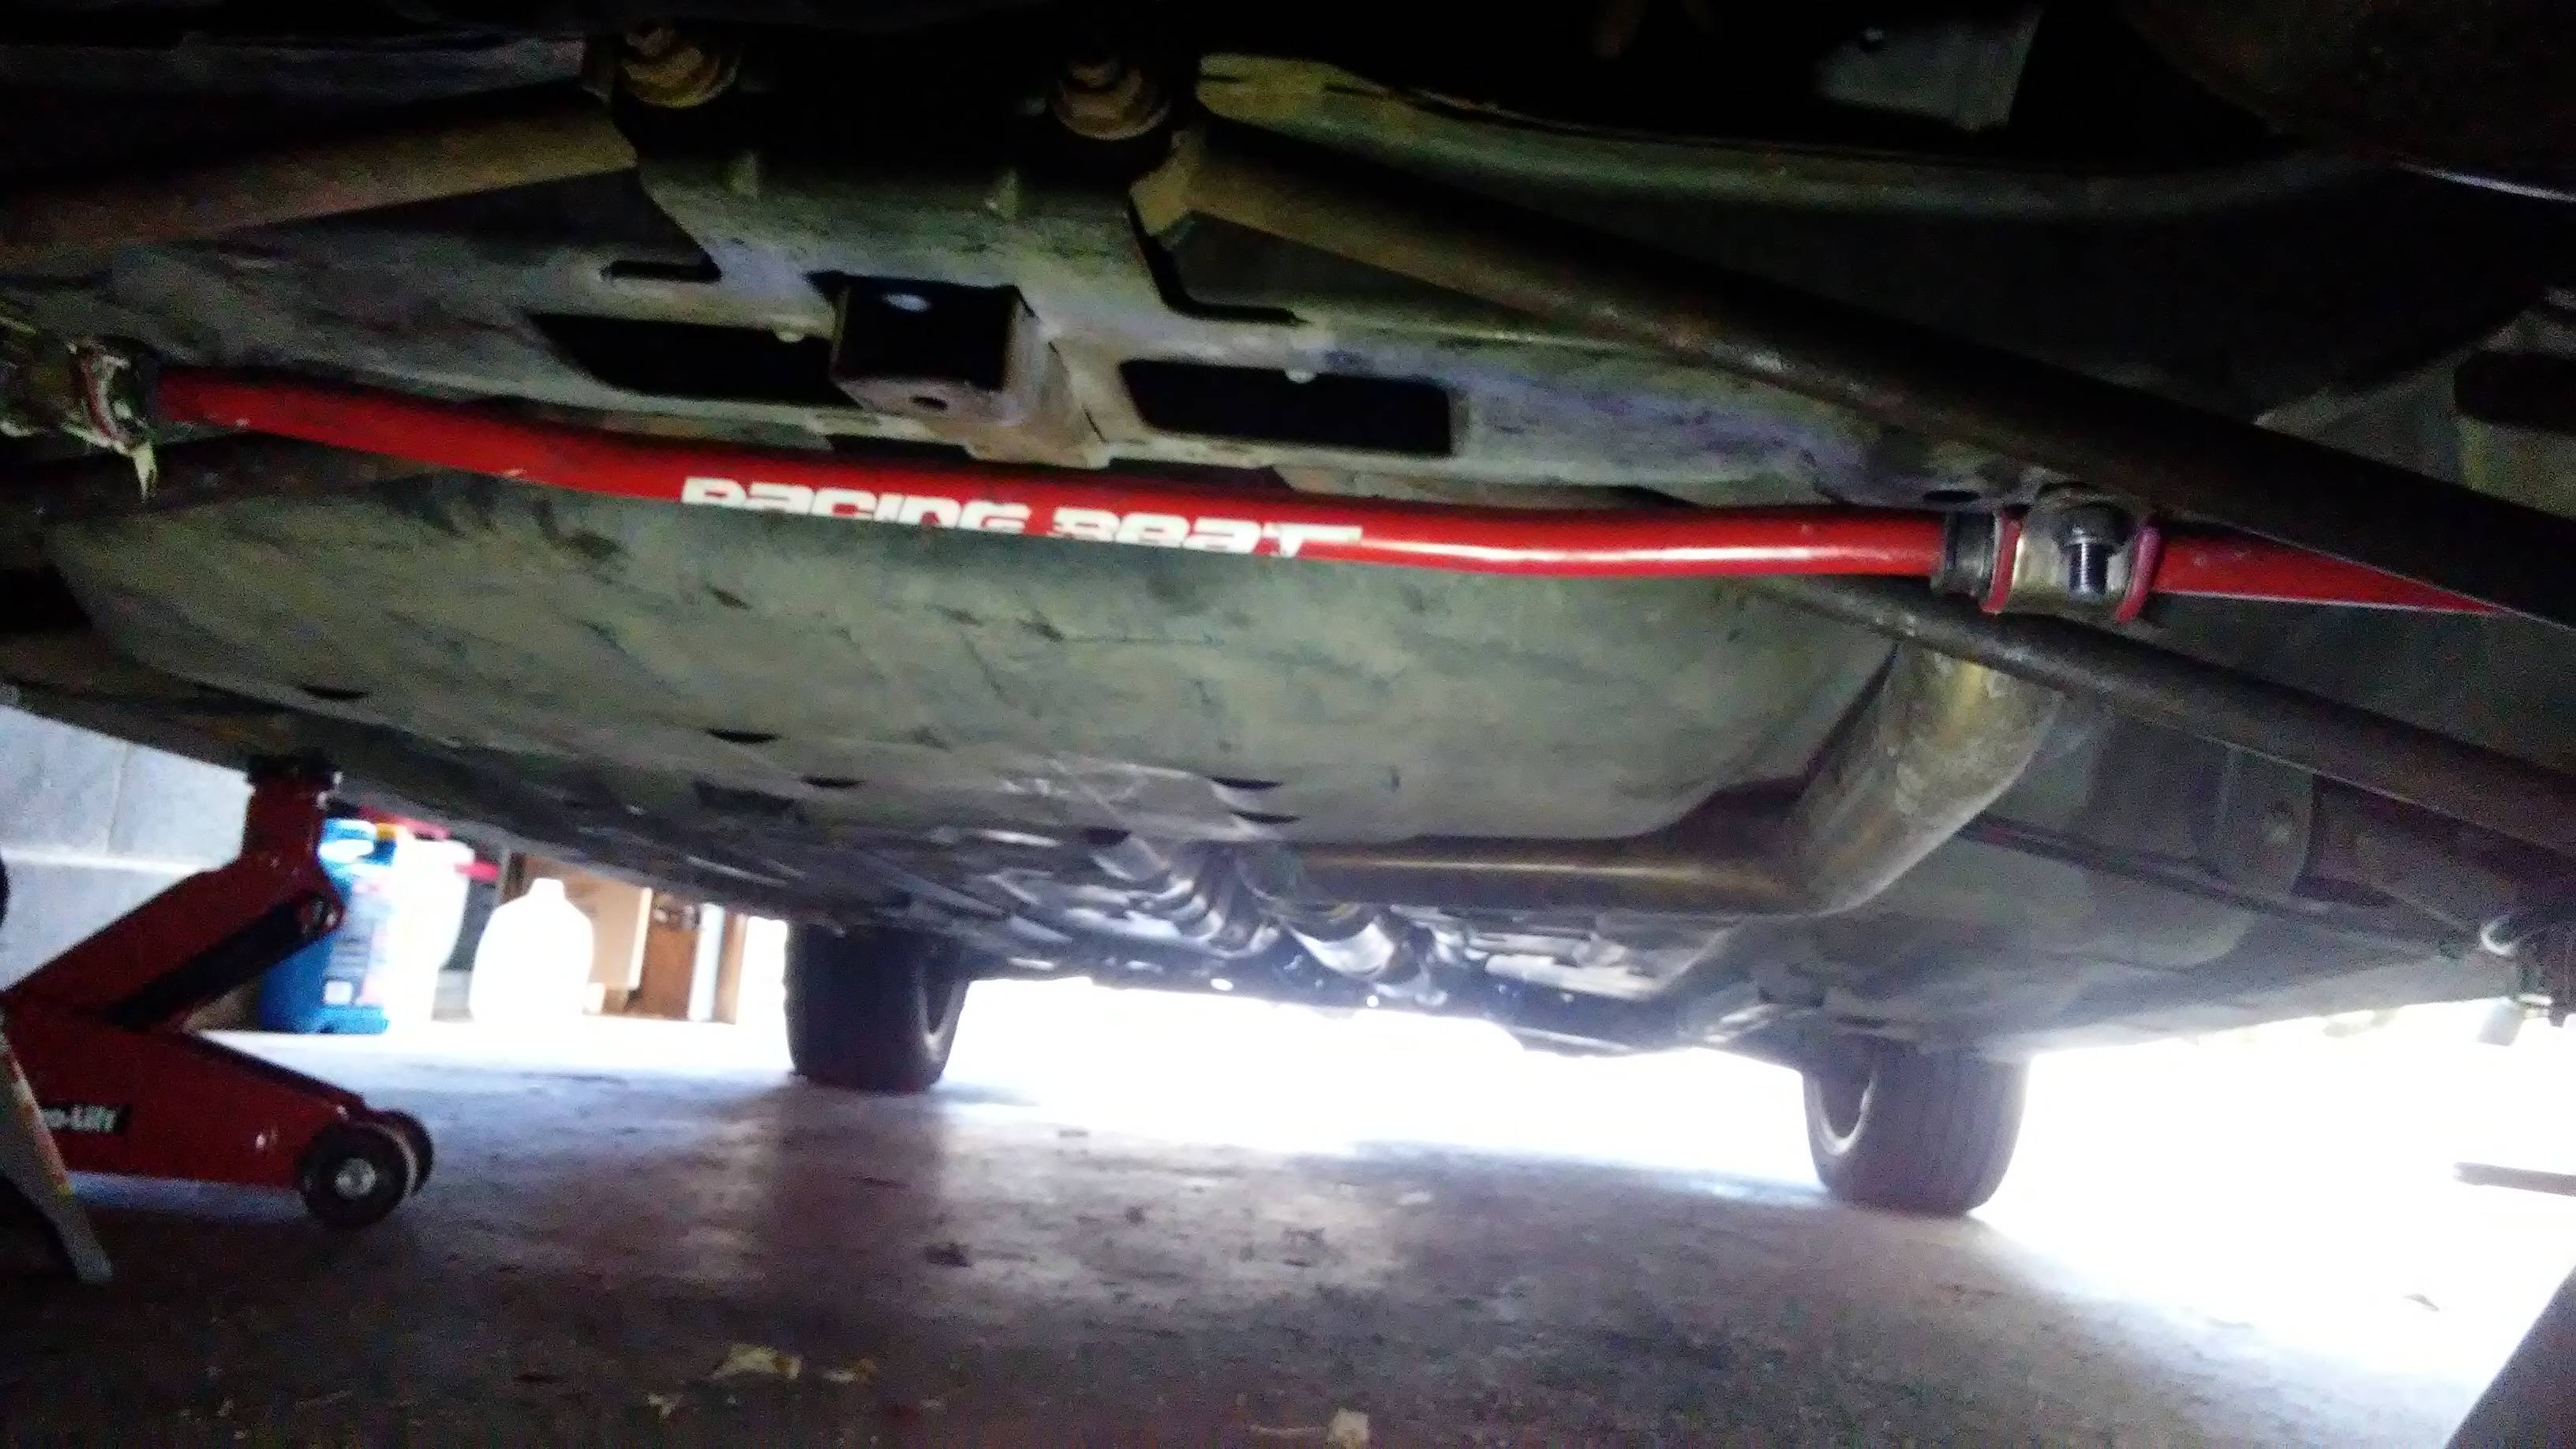
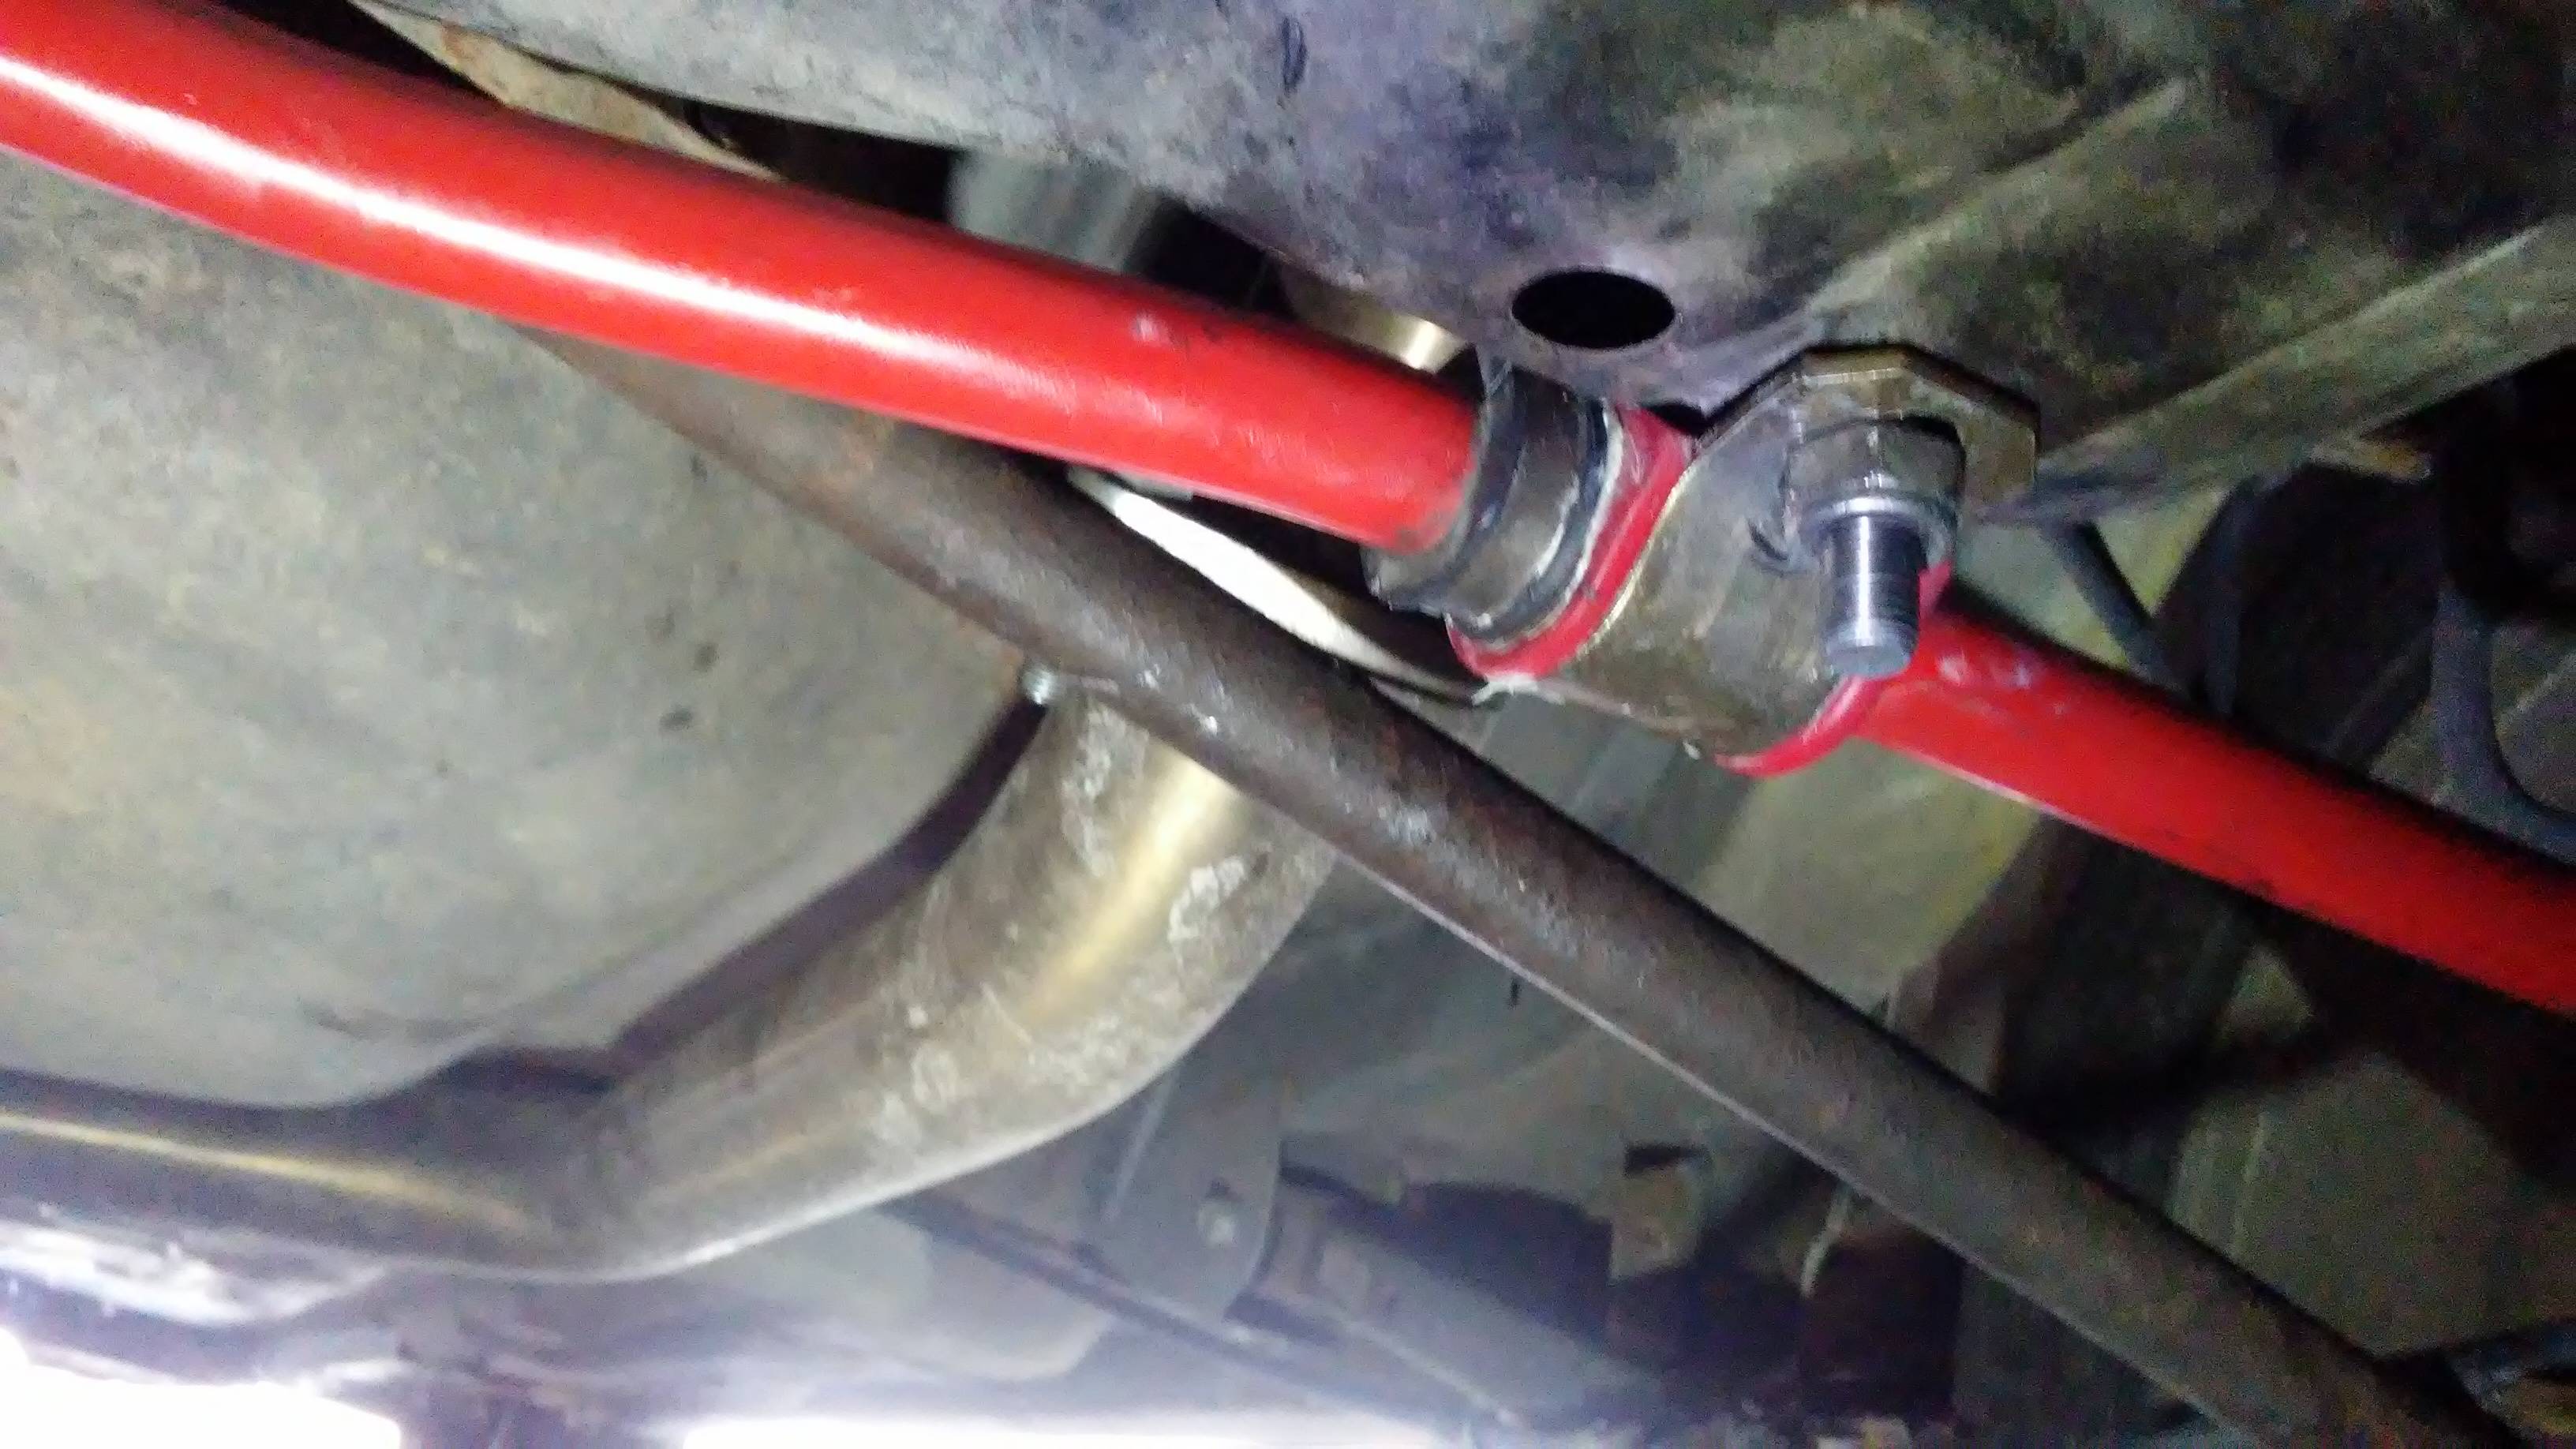
I can't wait to nail the rear suspension issue, install this VTCS-less IM, and drop in the MP3 ECU.