- :
- 2022 CX-5 Turbo
And they don't cost $60 a pair. I have not seen any flaps on Amazon that were OE flaps.
Genuine one is about $50 a pair.
I am not saying genuine one is better.
Just pointing out a fact.

And they don't cost $60 a pair. I have not seen any flaps on Amazon that were OE flaps.
Genuine one is about $50 a pair.
I am not saying genuine one is better.
Just pointing out a fact.
I contacted a Mazda dealer here in Orlando today to inquire about mud flaps for the 2017 Mazda 6.
They retail for $74.90 at the dealership.
I'm from Canada, and I wanted to compare prices.
They are over $100 back home.
$75 USD is almost $100 CAD, so...
My Hyundai has some small mud flaps and I would argue that they make a pretty good difference. Easily seen when going down gravel/muddy roads. Flapless cars will have a big splatter streak of mud up the side of the car.IMO they don't help that much due to their size.
Previous car I owned had similar size and they didn't make much difference. Car before that had larger ones and they helped
My Hyundai has some small mud flaps and I would argue that they make a pretty good difference. Easily seen when going down gravel/muddy roads. Flapless cars will have a big splatter streak of mud up the side of the car.
My experience is it blocking the splatter from the fronts that run up the doors. Let me take a look when I get out to my car today.My question to you then is fronts only or both front and rear? Me I'm leaning towards both front and rear.
My question to you then is fronts only or both front and rear? Me I'm leaning towards both front and rear.
Each to their ownMy Hyundai has some small mud flaps and I would argue that they make a pretty good difference. Easily seen when going down gravel/muddy roads. Flapless cars will have a big splatter streak of mud up the side of the car.
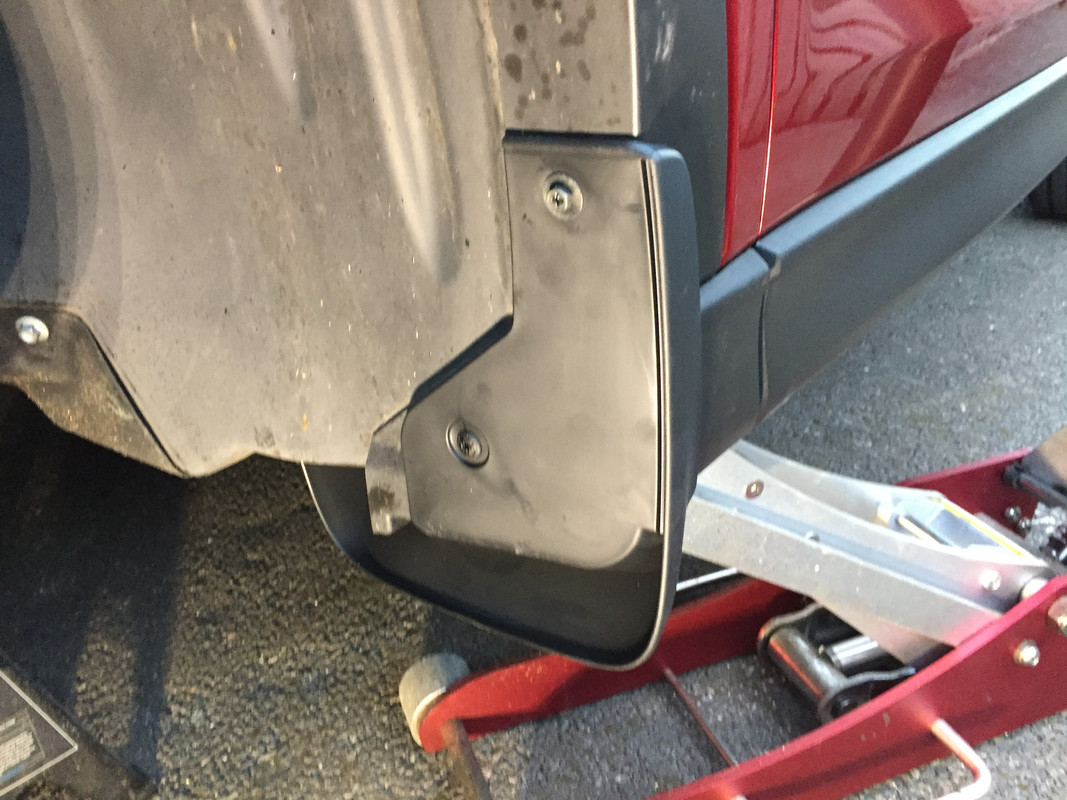
Finally able to att. Pictures. My 2018 has 4 small flaps ....2 behind front wheels and 2 in front of back wheels. Do they serve as mud flaps? Do earlier cx5's have them? Would you still add mud flaps with these? Thanks [emoji16]They are kept small to avoid messing with the aerodynamics but they do stop quite a bit of crud being slung up the sides. Fitting the rears is easy but the fronts are a bit more demanding. I can add the instructions if you like?


Finally able to att. Pictures. My 2018 has 4 small flaps ....2 behind front wheels and 2 in front of back wheels. Do they serve as mud flaps? Do earlier cx5's have them? Would you still add mud flaps with these? Thanks [emoji16]View attachment 218492View attachment 218493
")
Thanks!Those are not mudflaps. From memory, these are supposed to help air flow under the vehicle (happy to be corrected)
Thanks!
They are kept small to avoid messing with the aerodynamics but they do stop quite a bit of crud being slung up the sides. Fitting the rears is easy but the fronts are a bit more demanding. I can add the instructions if you like?
I installed them myself.
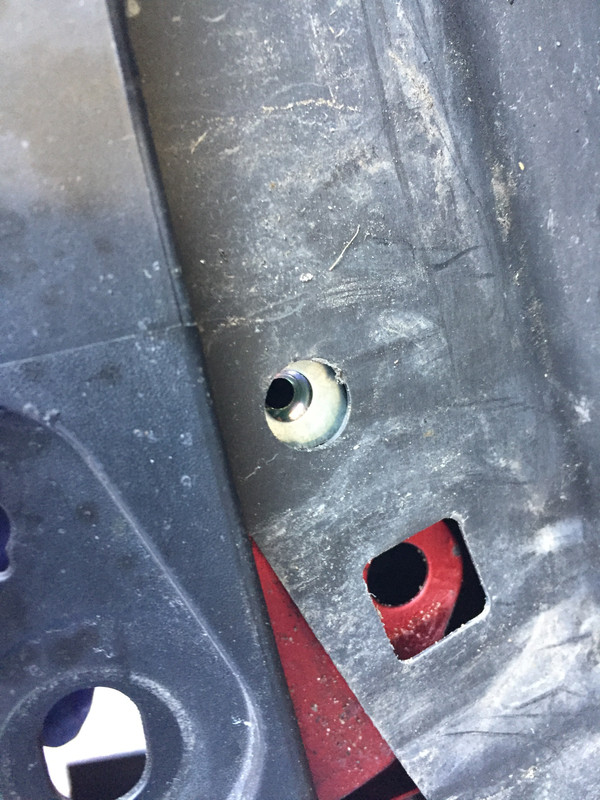
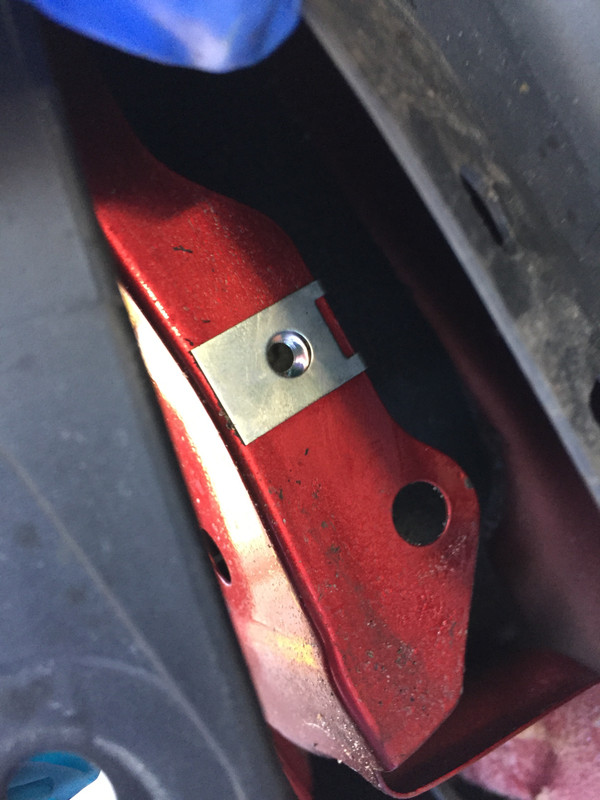
It always involve some cutting on the trim.
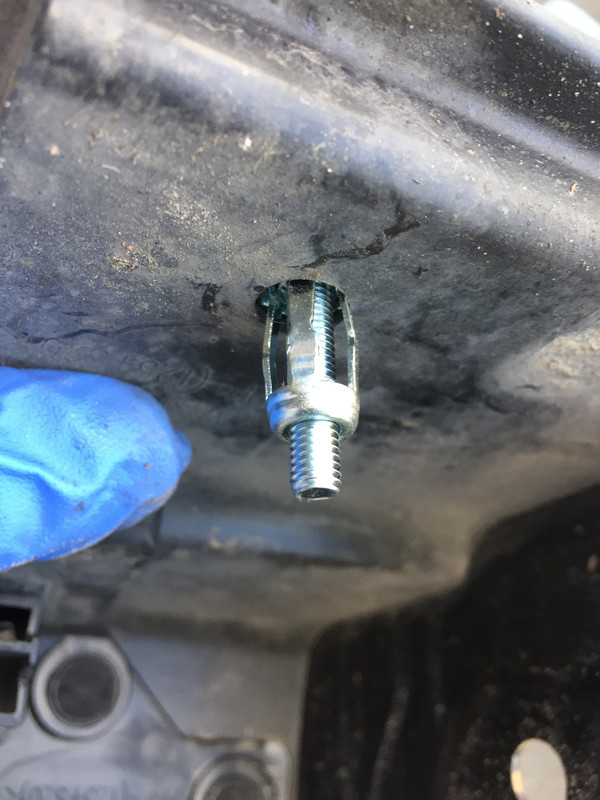
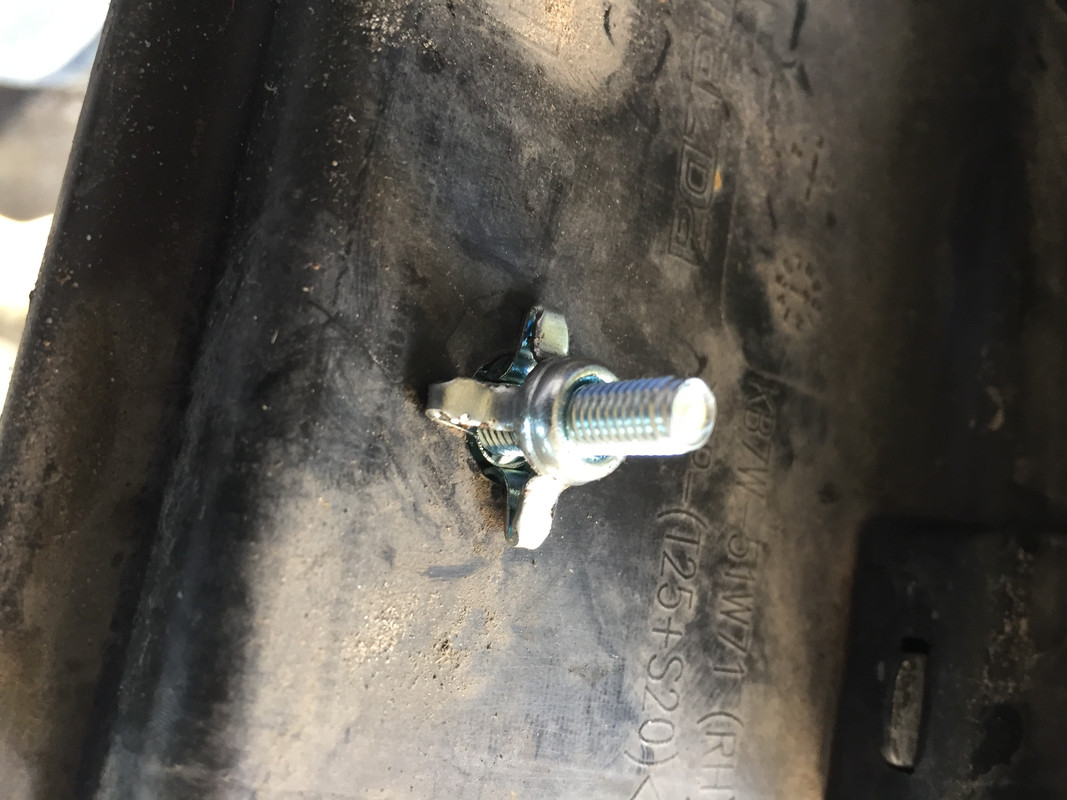
However, for 2017/front, it needs to install one jack nut.
That should have been OK, but the jack nut that came with my set was of poor precision.
I had to do some *surgery* to make it work.
The instruction on that was not clear either.