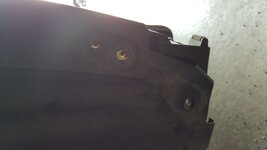
Thanks, looks like I need to do some cutting to the plastic, because the clips for the screws come with it seems too short.
Do you still have the instructions somewhere?
I think I still have the instructions, but will have to dig in the garage for them.
Have you tried googling the instructions?
The clips and screws were the right size for mine. The screws are extremely hard to turn in, and after I did the first one, I "pre-screwed" the clip.
I held the clip with a vise grip in one hand, and turned the screw in with the other, then out again. Made it a lot easier when I did it on the car.
I also dabbed the screw and clip in a little grease to (hopefully) reduce the chances of them rusting out in a few years.
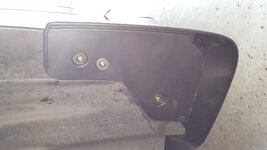
On the 6, the front guards just went in without having to cut any plastic or anything. The holes are visibly there.
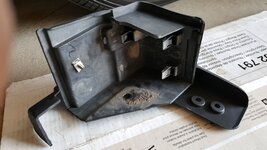
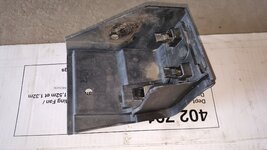
You just have to remove the two plastic retainers that hold the plastic wheel well shroud in place.
The rears holes are there as well, in the sheet metal. They are covered up by the plastic wheel well insert though. No plastic clips there.
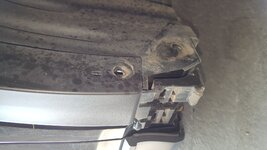
The instructions tell you to cut away a small part of the plastic shroud, to expose the holes,
but I just gently made a hole in the plastic where the holes are. Same result.
The rears are a bit more of a PITA, especially because you can't move the rear tire out of the way, like you can with the fronts.
Hope this makes sense.
Edit: I just googled Mazda 6 mud flap instructions, and the OEM instructions are there in PDF form.
I suspect it's the same for the CX-5.
Good luck.

")