
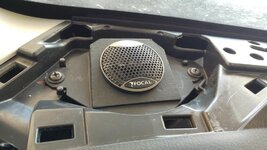
Installation of 8 "speakers and Tweeter (Focal ISS200)
Sometime ago, I installed 6.5" JBL speakers in my Mazda CX5 2014:
https://www.mazdas247.com/forum/sho...lation-of-JBL-Component-Speaker-in-Mazda-CX-5
But I still wanted to improve sound quality and bass, so now I decided to install 8 "speakers. Looking for alternatives I found the following 8" bass-mid speakers:
• Rockford Fosgate PPS4-8. This speaker is 125W RMS and is designed to reproduce the sound at high SPL, but it does not suitable for the type of music I listen to.
Http://www.rockfordfosgate.com/products/details/pps4-8
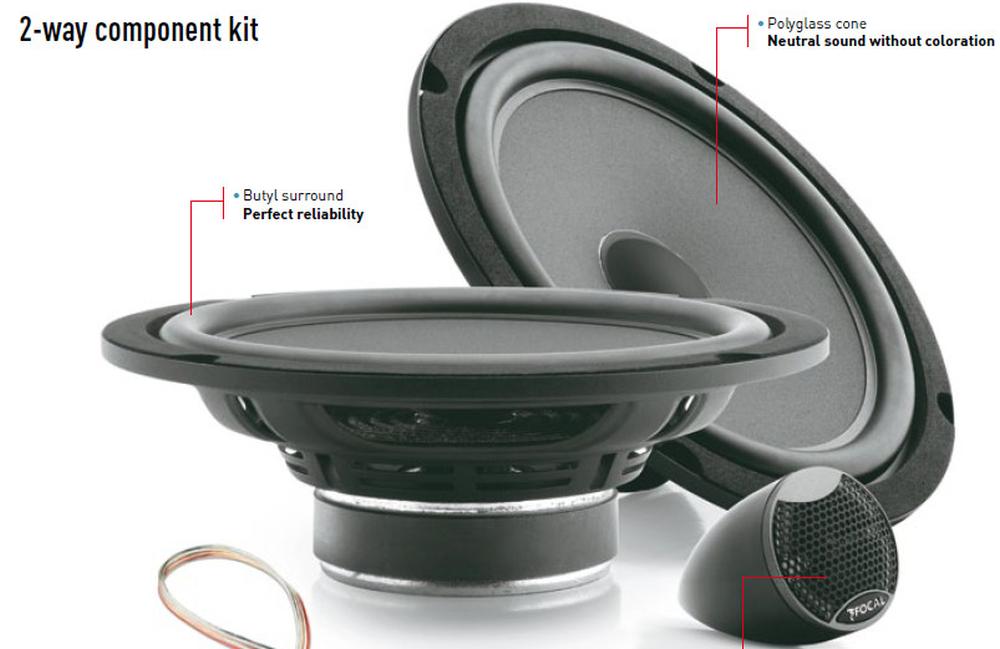
• Focal ISS200. It includes an 8 "(200mm) Woofer and a Tweeter, with the crossover filters integrated in the cable, the RMS power is 80W. I think this is more suitable for the type of music I listen to.
Finally I decided for the Focal ISS200.
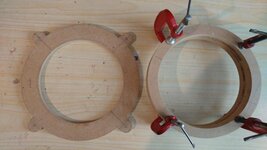
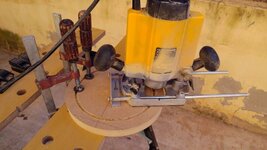
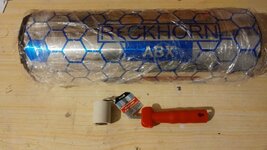
To install the woofer in the CX5 I had to make a custom spacer, and this was a good opportunity to try my El Cheapo Router. I used the router accessories, plus a custom aluminum angle, and I was able to make perfect circumferences:

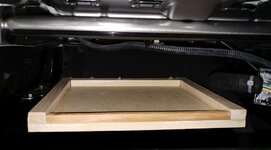
The spacer is made:

I glued the three DM parts, and I also used through screws to improve robustness.
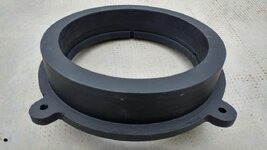
Keep in mind that in case of rain there may be water falling through the glass of the door that may damage the spacer and speaker, cone and magnet so I waterproofed the spacer with 3 layers of paint and I also included a "roof" that covers the speaker magnet and will protect it from water.
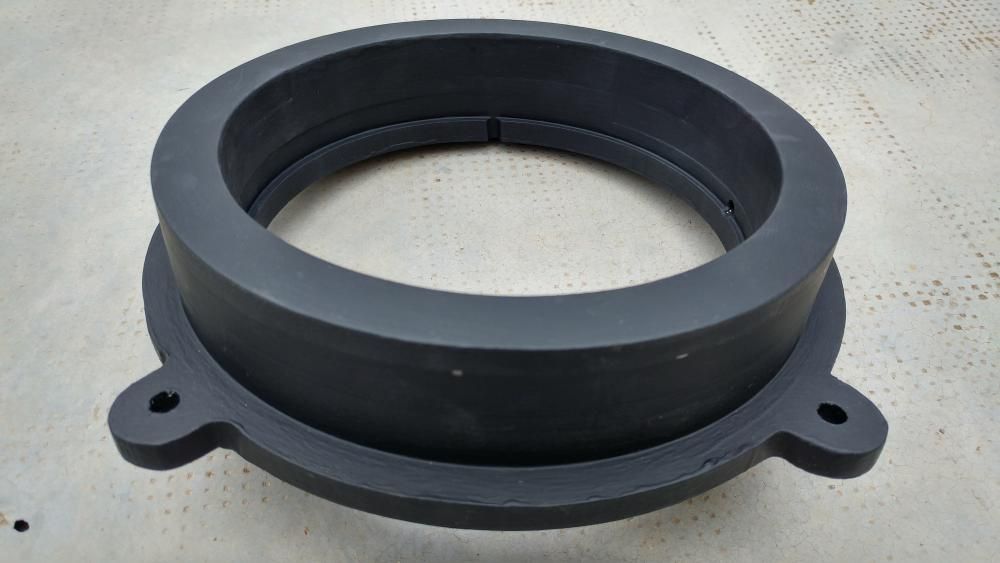
Spacer Front View:
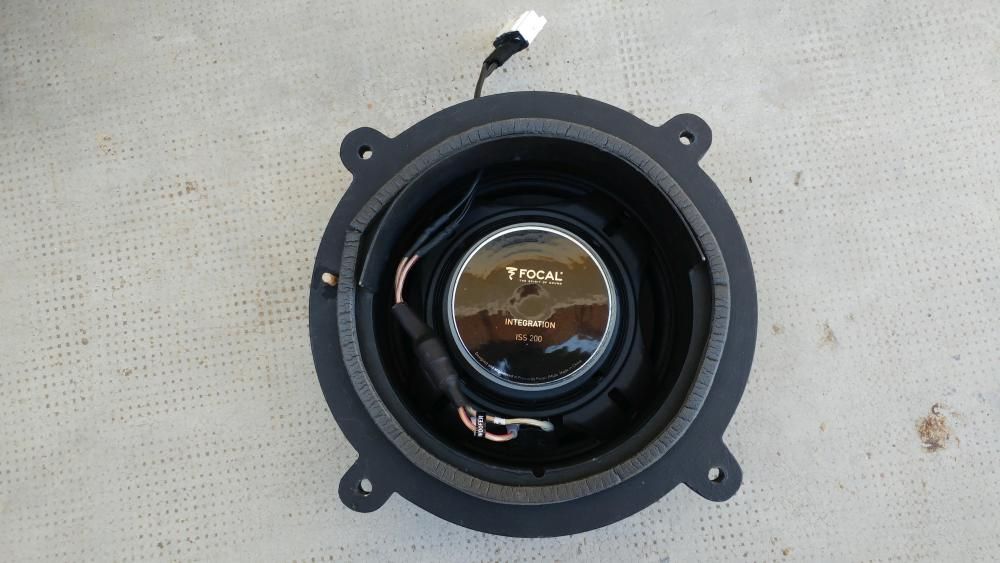
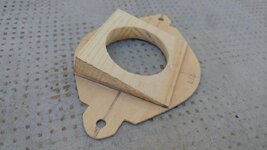
Spacer Rear View with Woofer already installed, and you can see rain protecting "roof" and a foam to prevent vibrations:
Sometime ago, I installed 6.5" JBL speakers in my Mazda CX5 2014:
https://www.mazdas247.com/forum/sho...lation-of-JBL-Component-Speaker-in-Mazda-CX-5
But I still wanted to improve sound quality and bass, so now I decided to install 8 "speakers. Looking for alternatives I found the following 8" bass-mid speakers:
• Rockford Fosgate PPS4-8. This speaker is 125W RMS and is designed to reproduce the sound at high SPL, but it does not suitable for the type of music I listen to.
Http://www.rockfordfosgate.com/products/details/pps4-8
• Focal ISS200. It includes an 8 "(200mm) Woofer and a Tweeter, with the crossover filters integrated in the cable, the RMS power is 80W. I think this is more suitable for the type of music I listen to.
Finally I decided for the Focal ISS200.
To install the woofer in the CX5 I had to make a custom spacer, and this was a good opportunity to try my El Cheapo Router. I used the router accessories, plus a custom aluminum angle, and I was able to make perfect circumferences:
The spacer is made:
- Base made of 10mm DM with "ears" for the mounting holes to the door. I used the OEM spacer as a template
- 2 x DM spacers made of 19mm DM. External Diameter is 220mm, and internal diameter is 180mm
- Total thickness is 10 + 19 + 19mm = 48mm, which is enough for the Focal ISS200.
I glued the three DM parts, and I also used through screws to improve robustness.
Keep in mind that in case of rain there may be water falling through the glass of the door that may damage the spacer and speaker, cone and magnet so I waterproofed the spacer with 3 layers of paint and I also included a "roof" that covers the speaker magnet and will protect it from water.
Spacer Front View:
Spacer Rear View with Woofer already installed, and you can see rain protecting "roof" and a foam to prevent vibrations:
Attachments

Last edited:


")