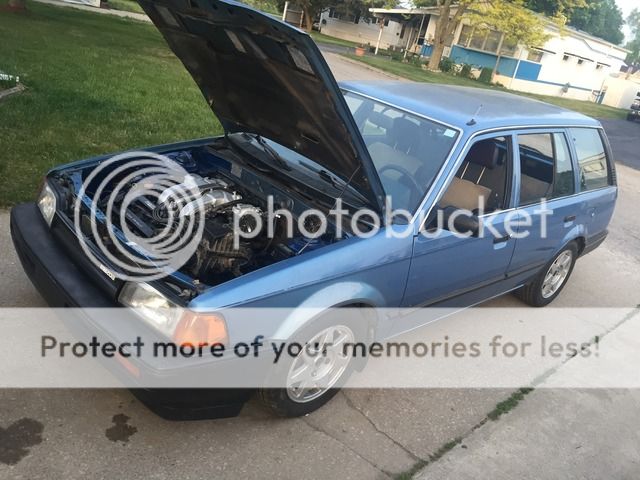
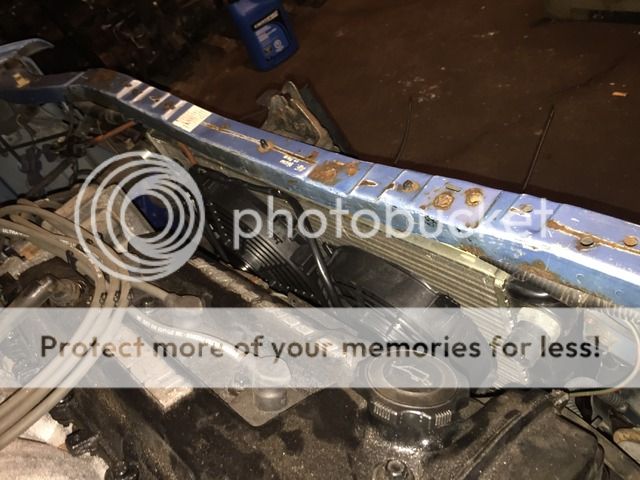
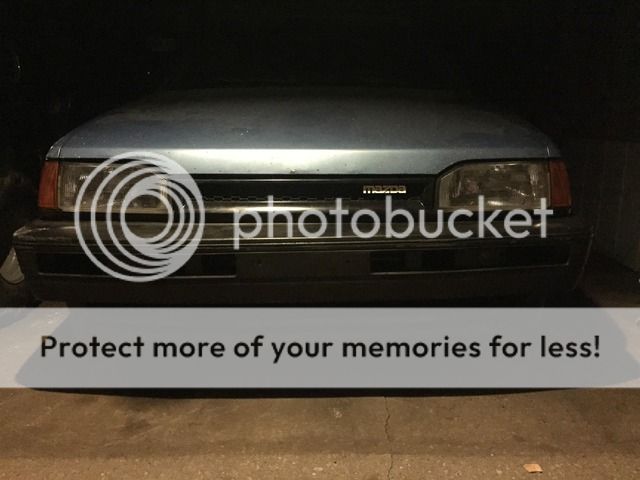
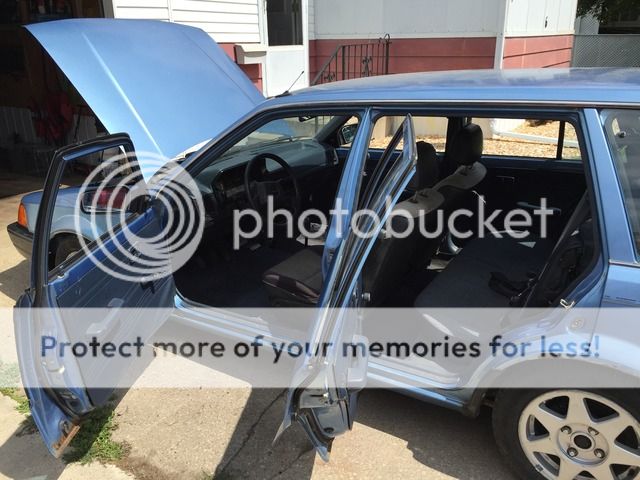
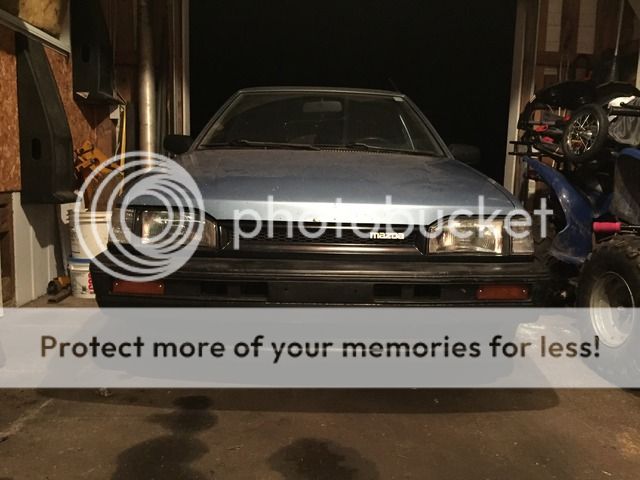
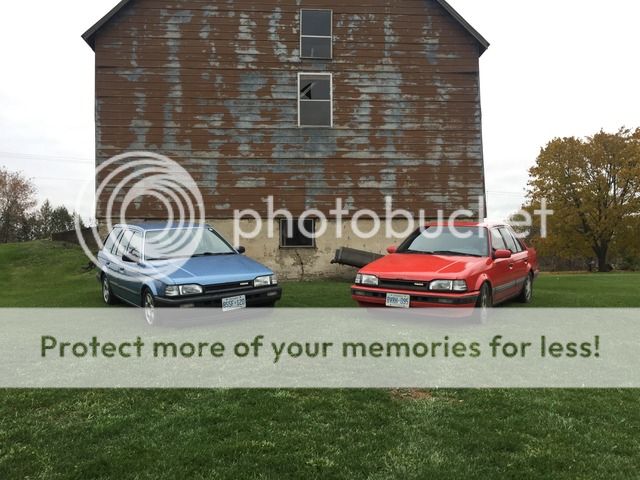
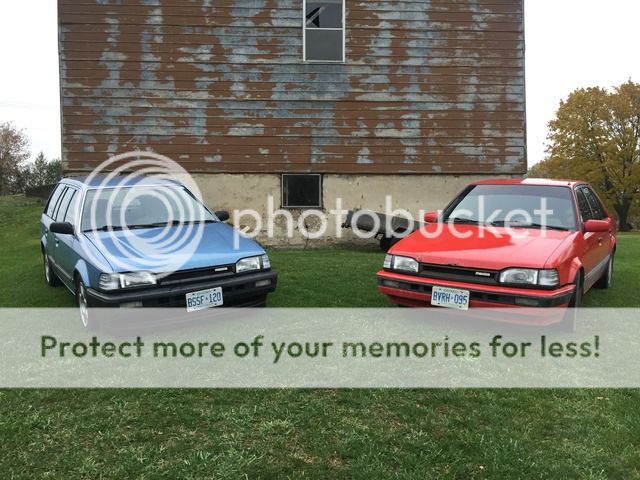
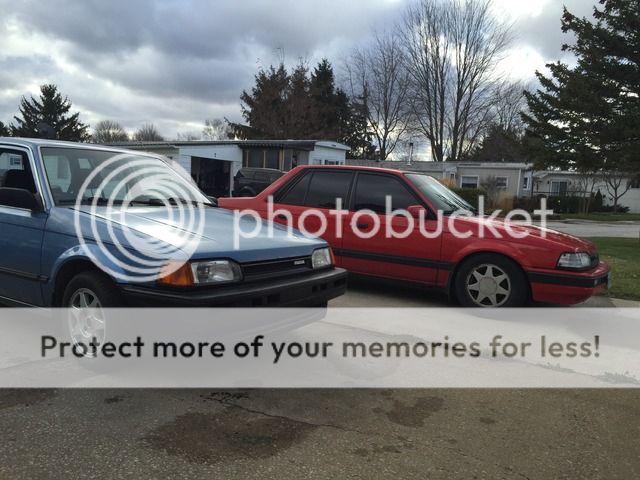
I recently purchased myself a 1988 323 Wagon, it has been mechanically converted to a GT with the rear disk brakes, sway bars, and of course the B6T
The plan for it is to get it running and plated with the B6T then later I'll pull it out and swap in a KLG4 with a turbo, 5 lug conversion and get it riding nice and low
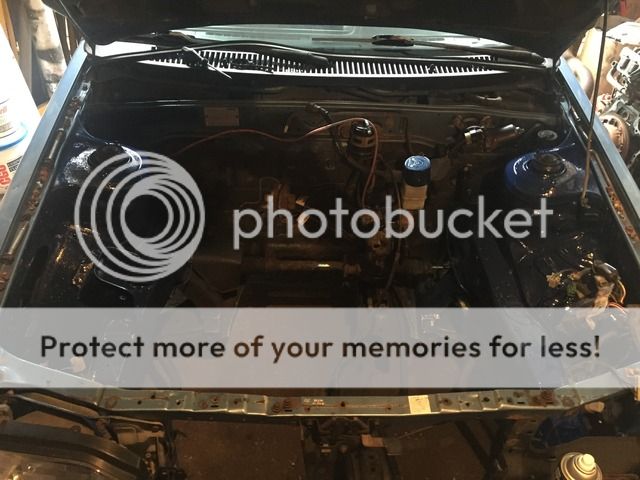
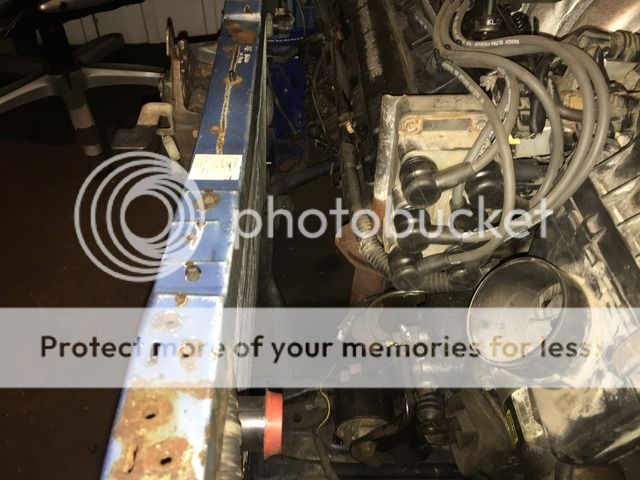
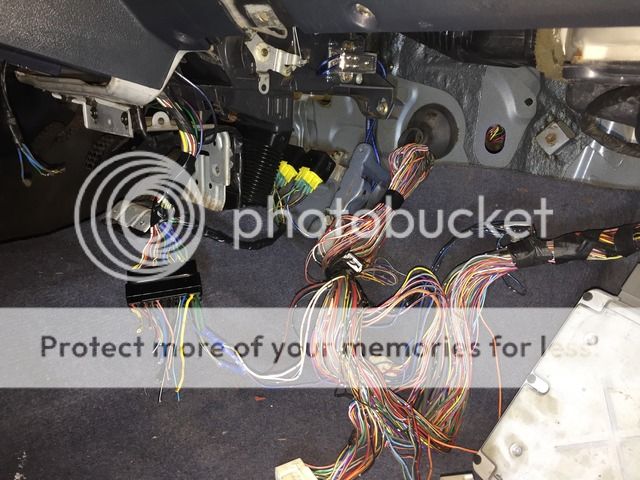
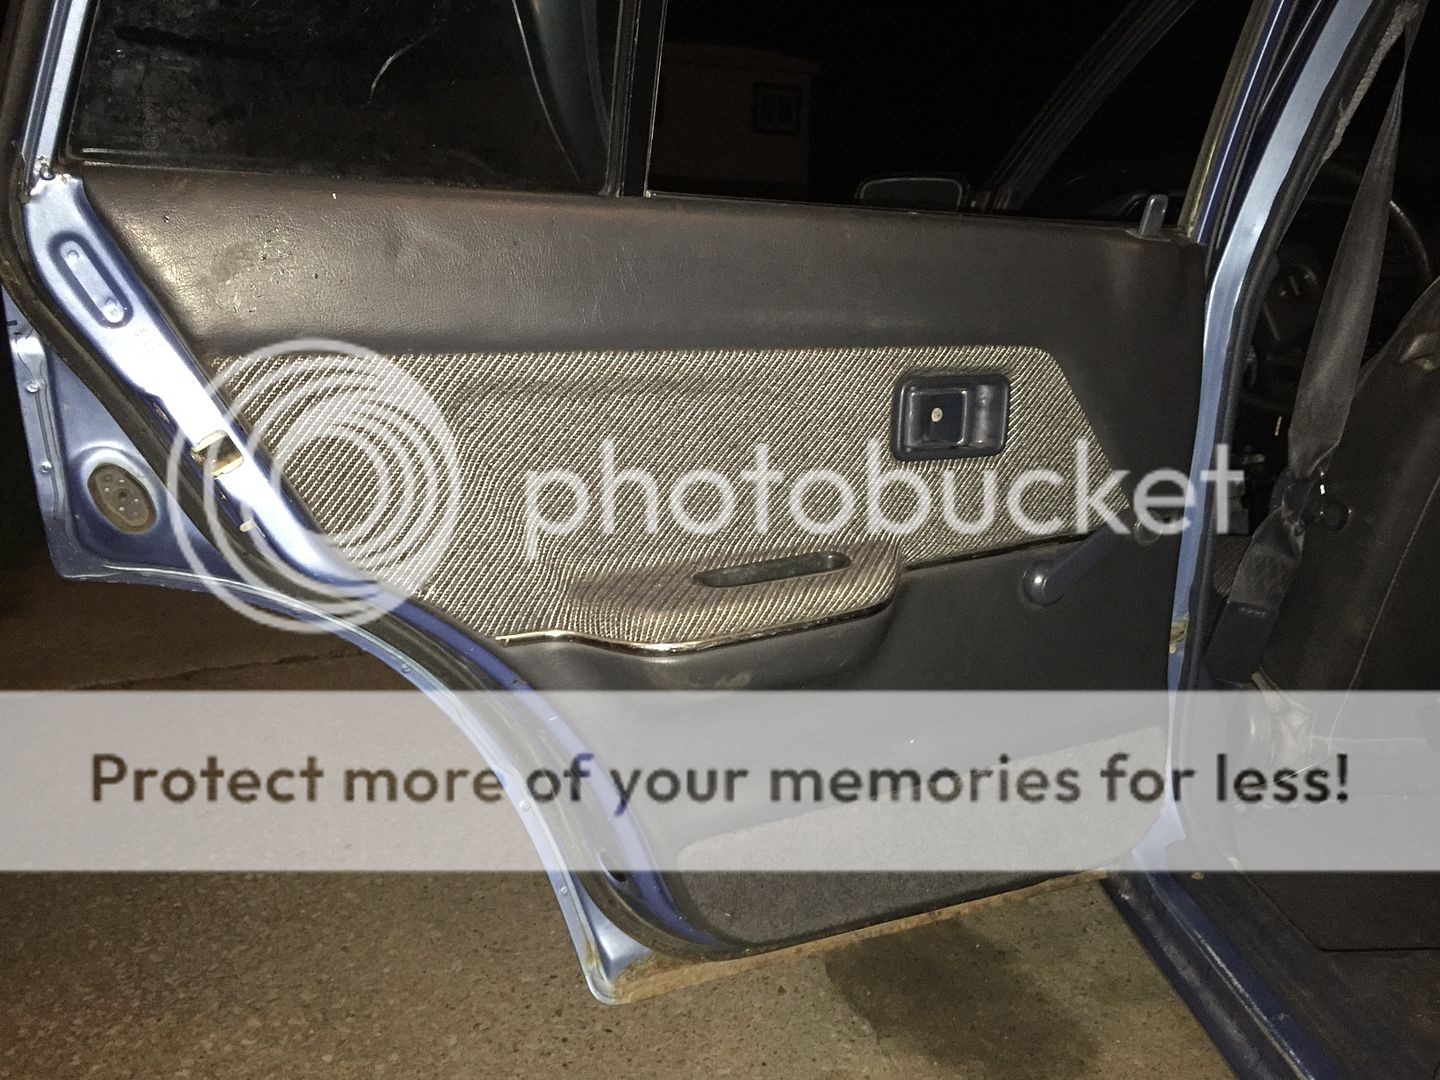
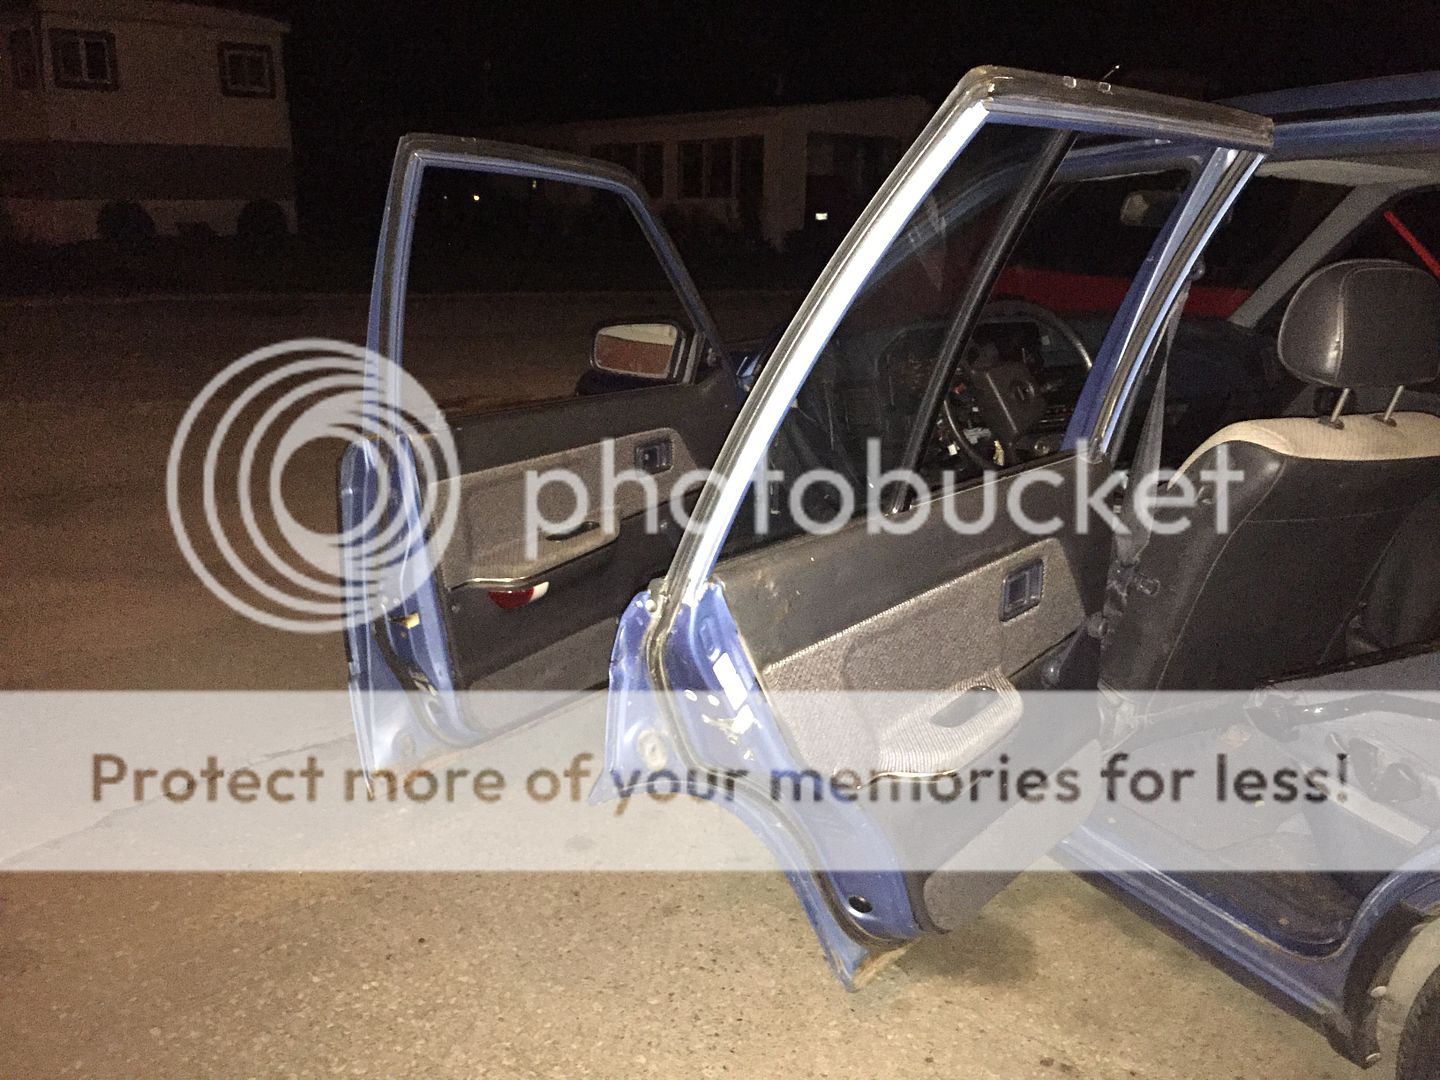
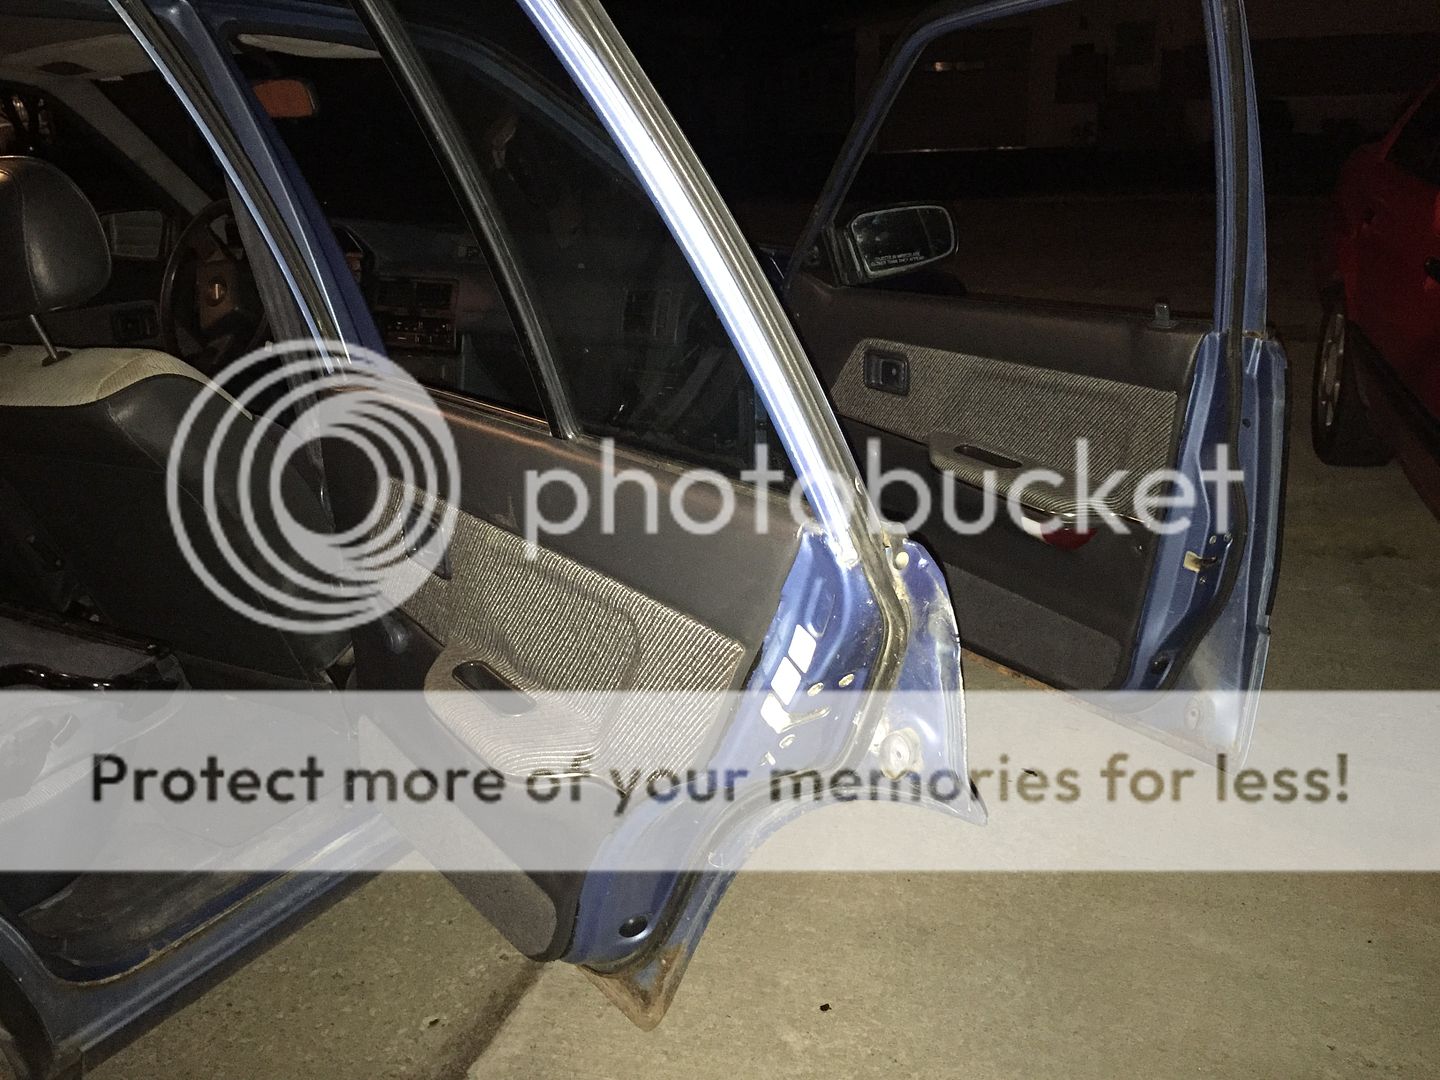
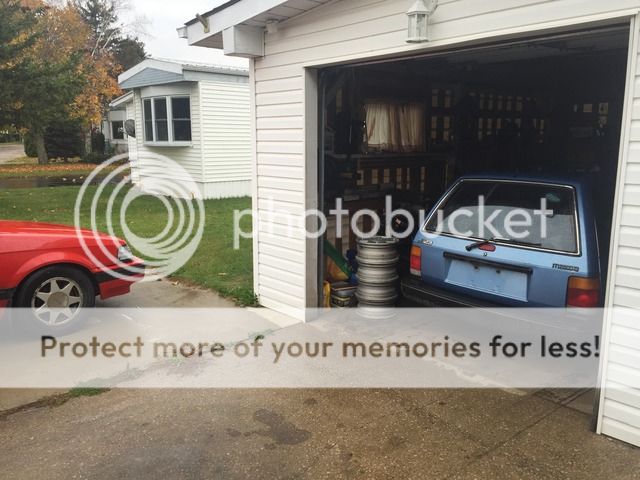
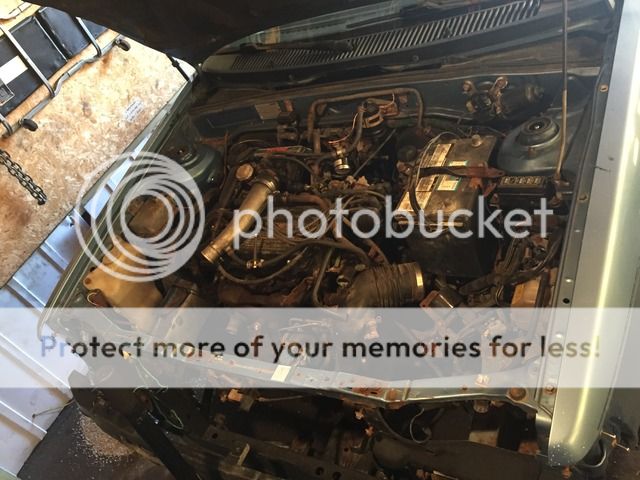
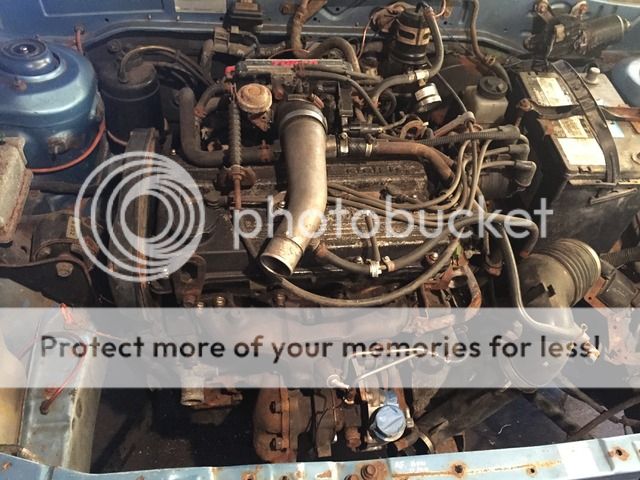
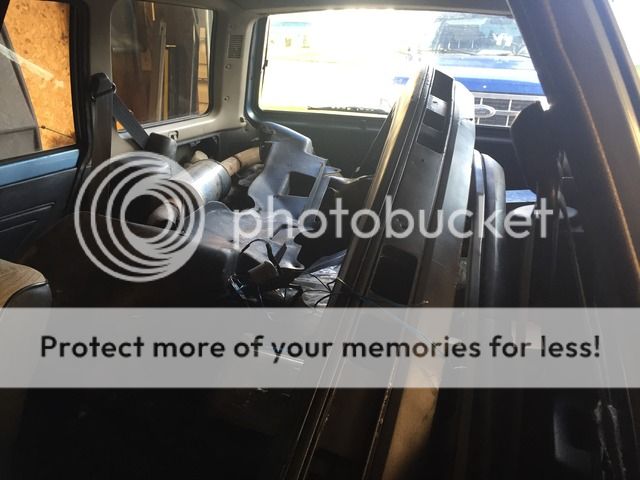
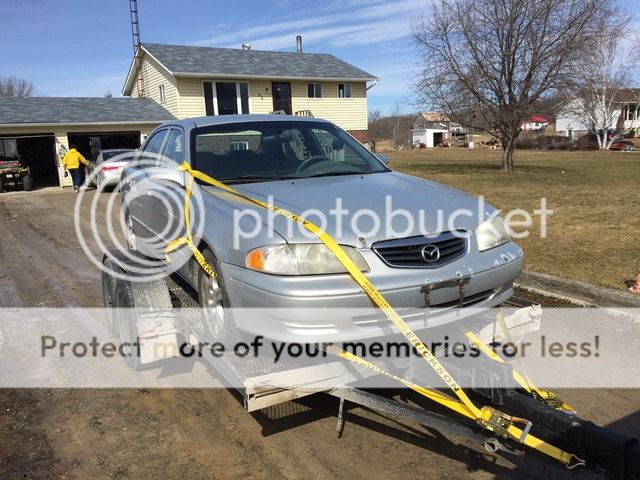
It was in the beginning stages of being parted out so it didn't run when I picked it up but was told it shouldn't take too much work to get fired back up again
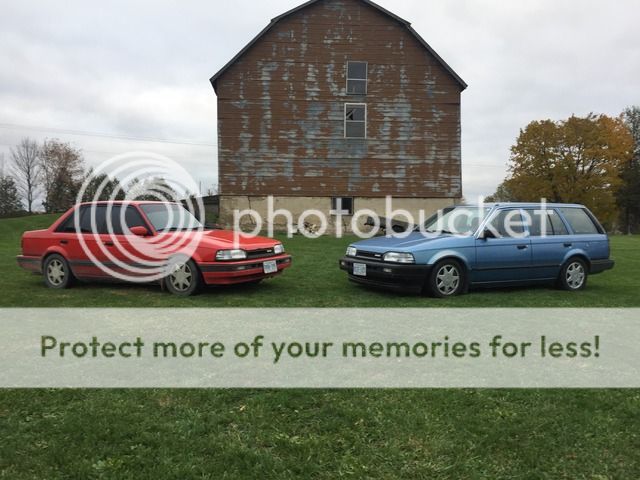
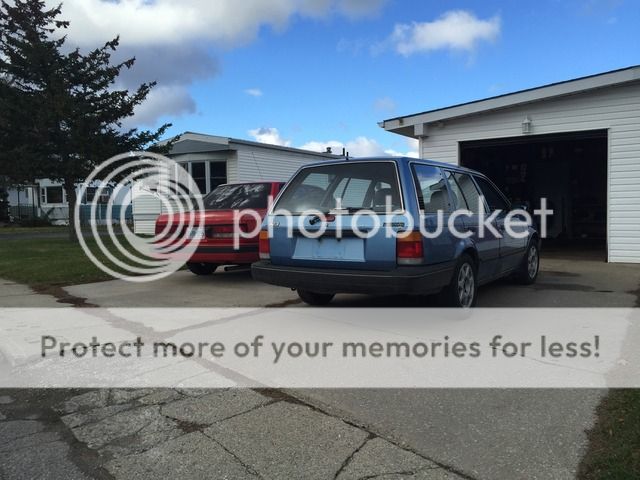
Here's a few pics from when I picked it up
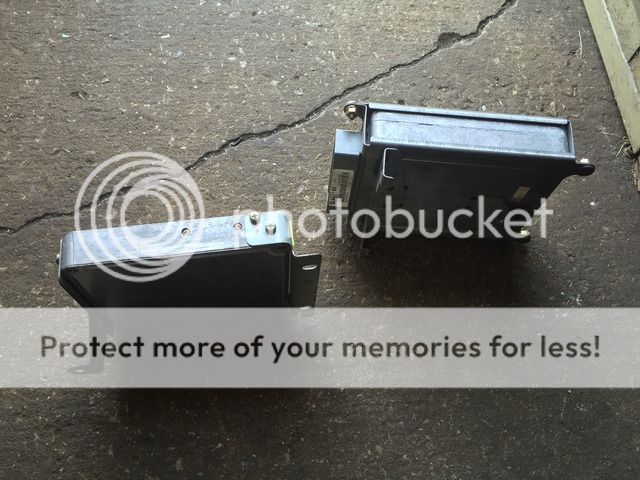
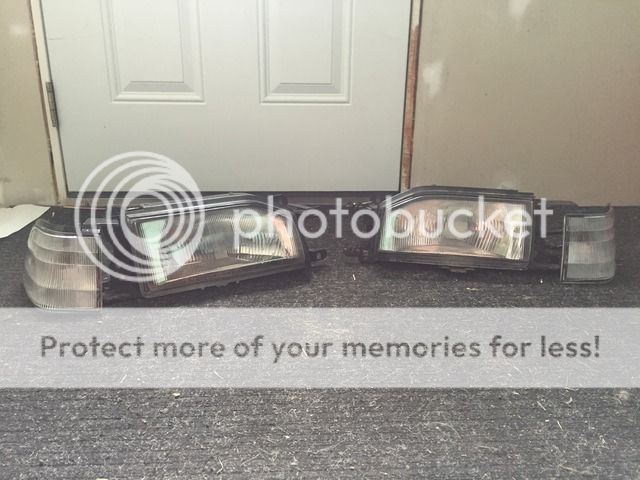
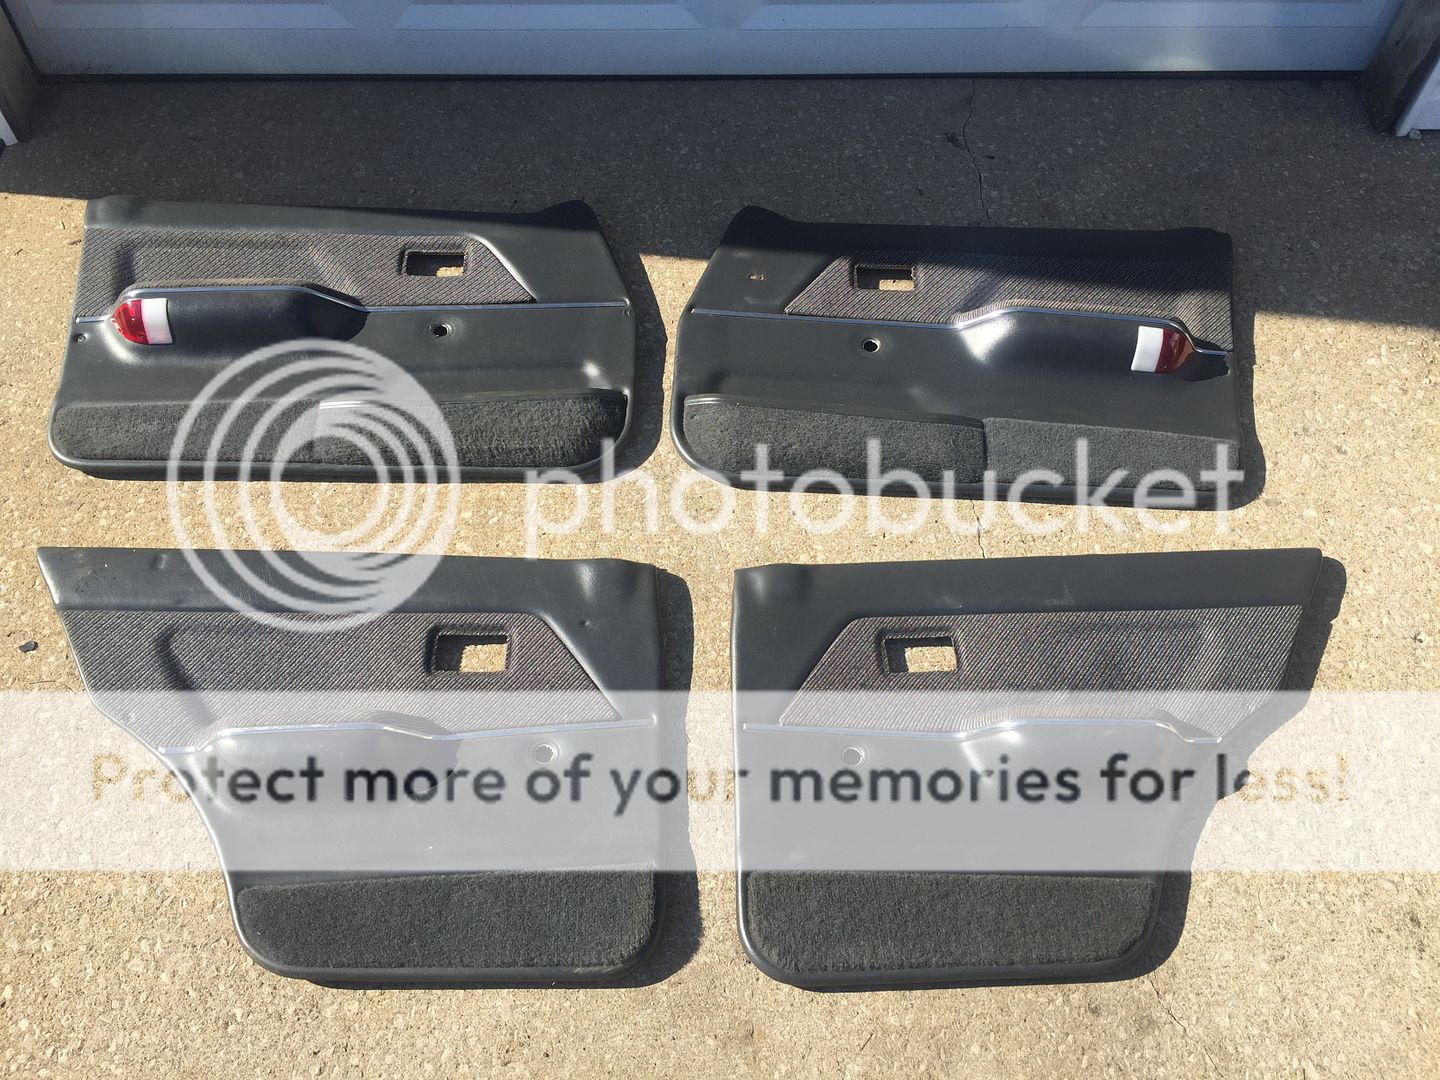
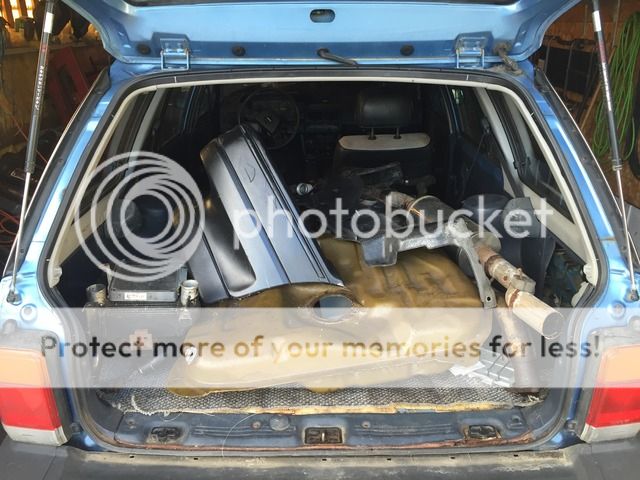
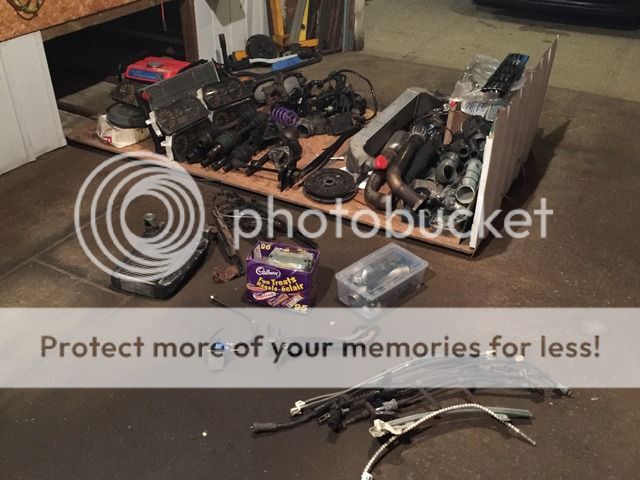
And a bunch of spare parts to go with it
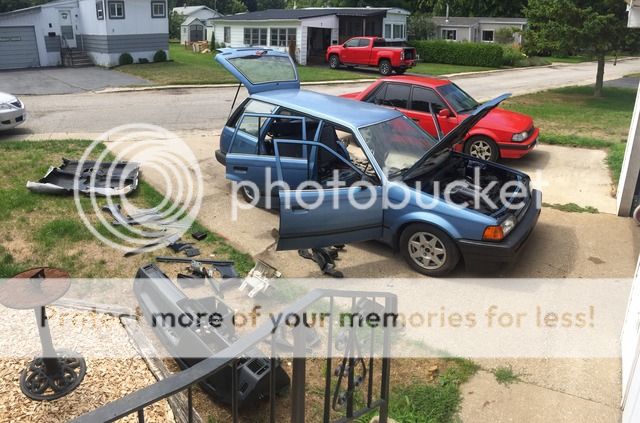
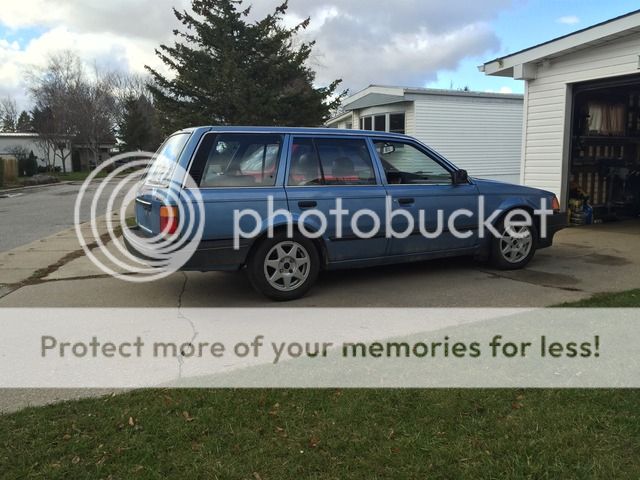
It also had 4 garbage tires on it which can somewhat be seen in this pic

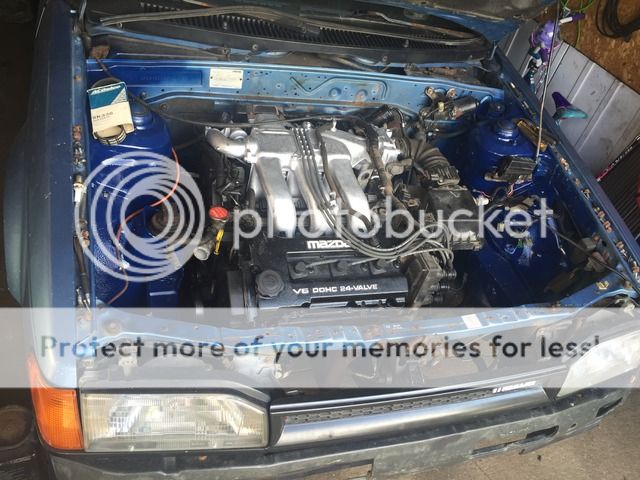
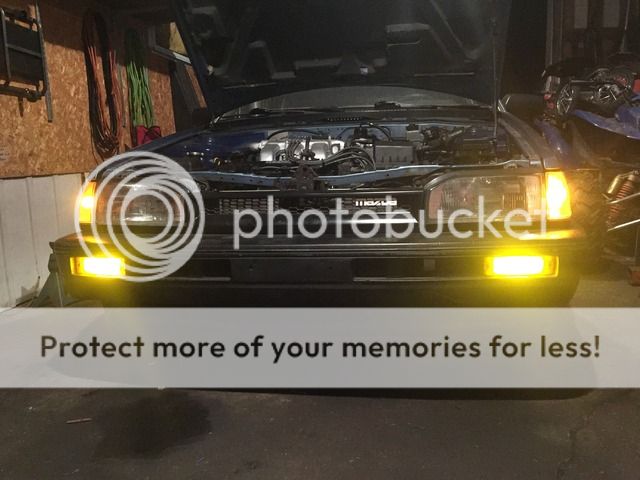
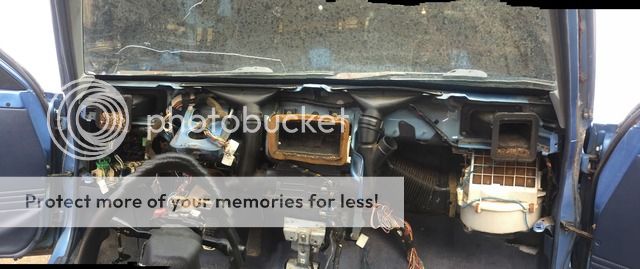
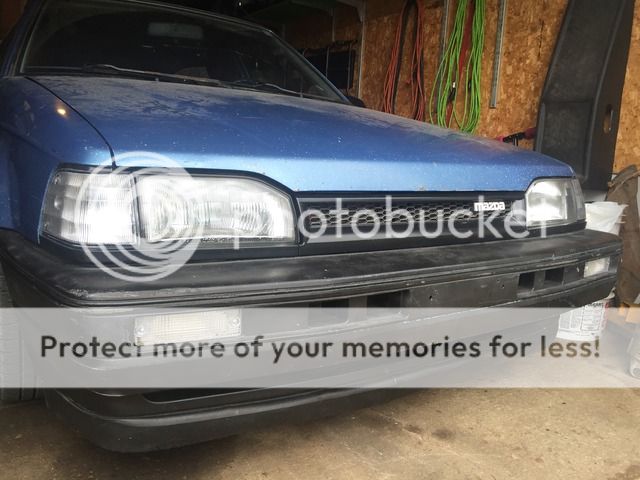
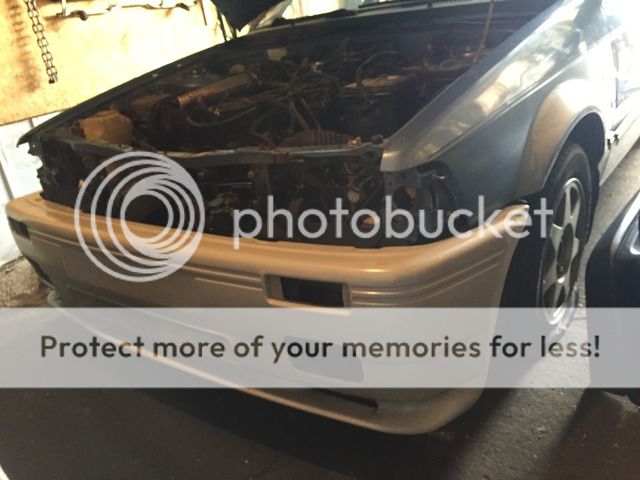
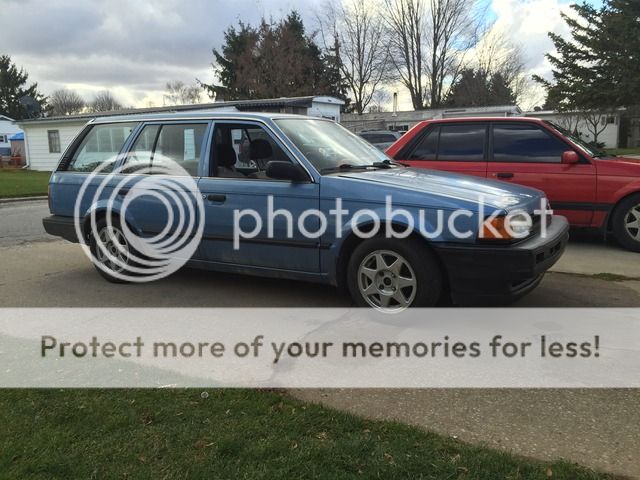
Before I started putting a face back on it I wanted to test fit my festiva ATH front bumper on it, it fits beautifully if I choose to use it")
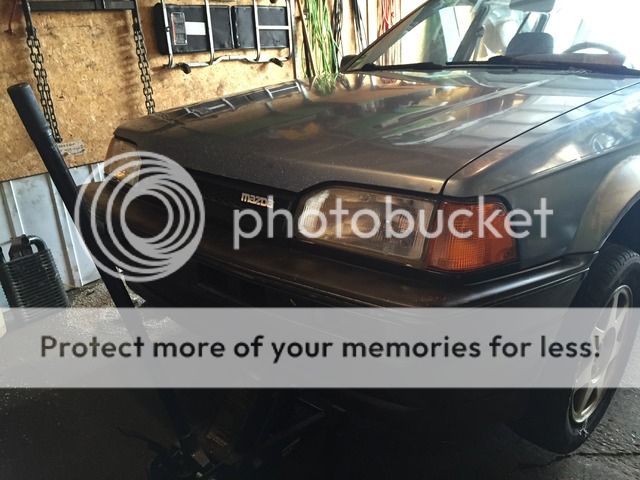
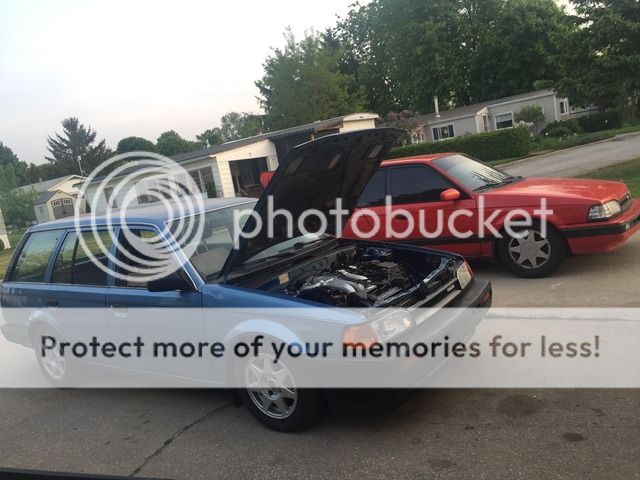
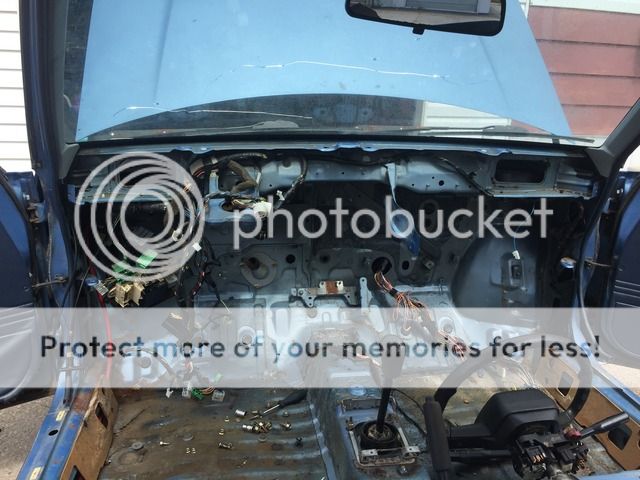
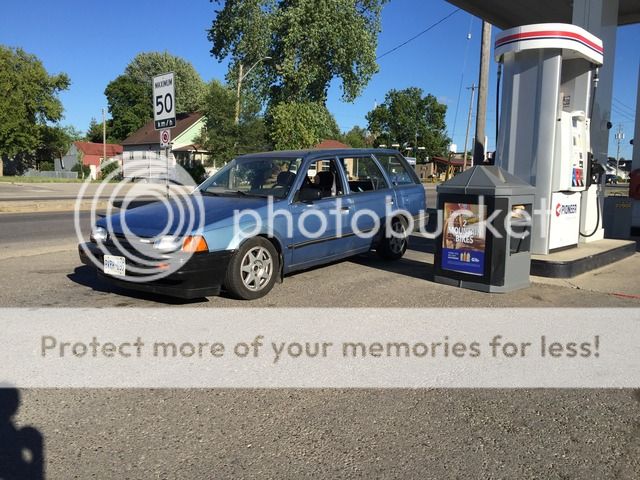
After a set of tires I was able to roll it out of the garage for a quick photo shoot and to clean up the garage before I get started on fixing it up

My collection of spare parts
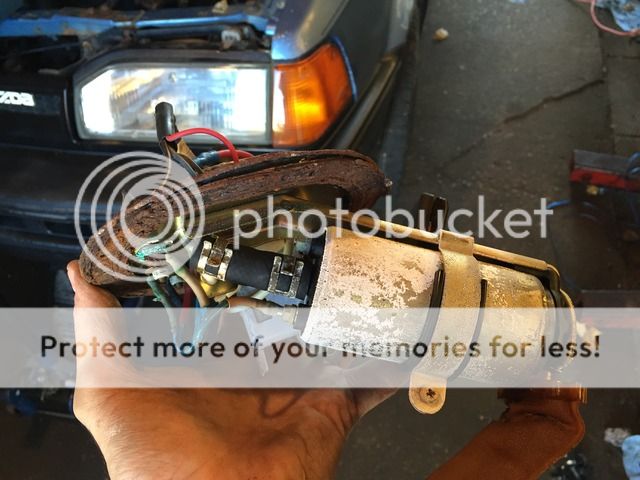
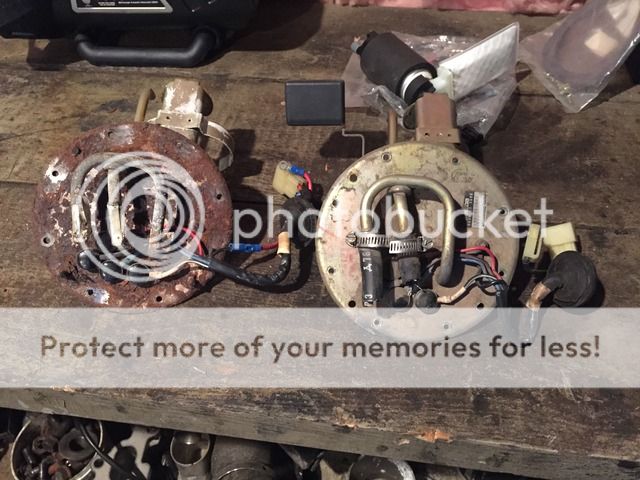
First disgnoses showed it has spark but no fuel pressure, so digging further I found out that the fuel pump was dead
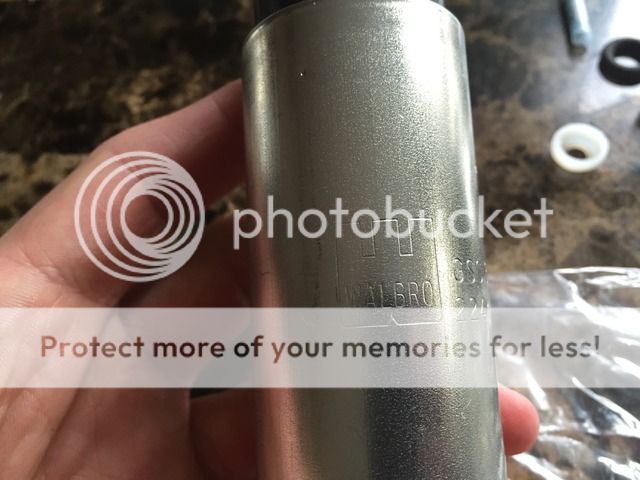
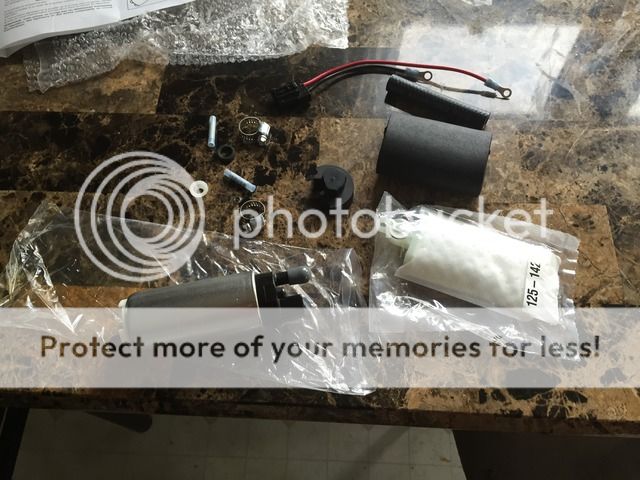
So it's a perfect time for an upgrade with a walbro 255lph pump
Along with a new sending unit and gas tank
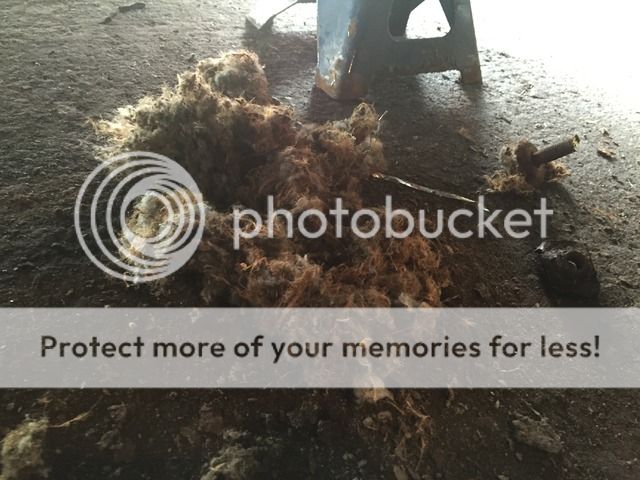
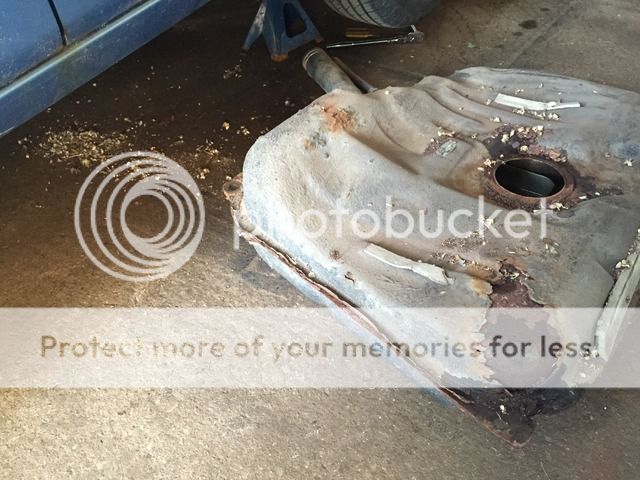
The old, beat gas tank with the remains of a mouse nest that was on top of the tank
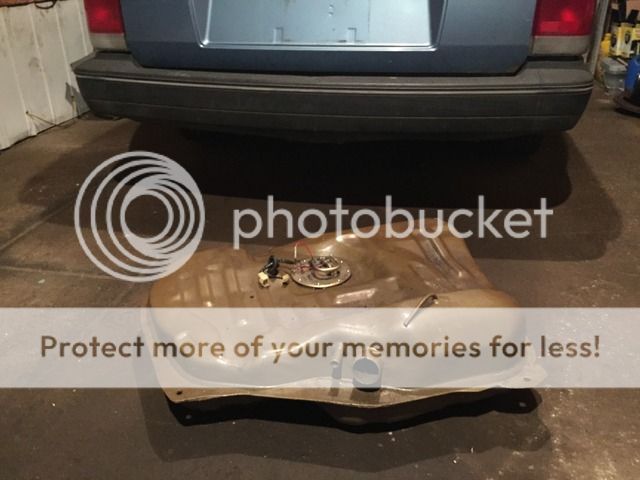
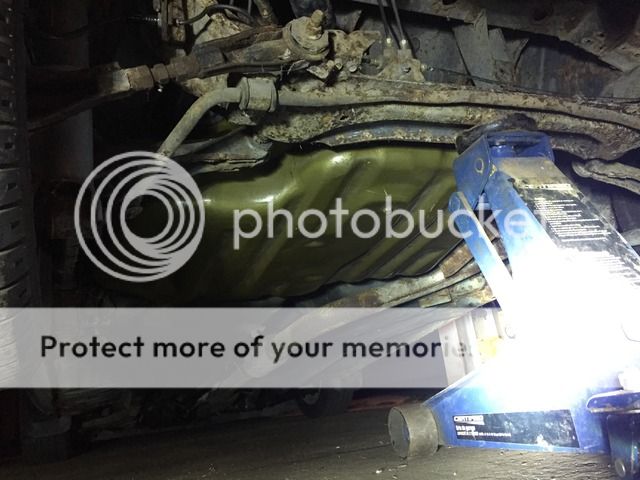
New tank ready to go in
But after getting fuel pressure to the fuel rail, it still won't fire up, checking things out I found out it lost spark..... Ugh
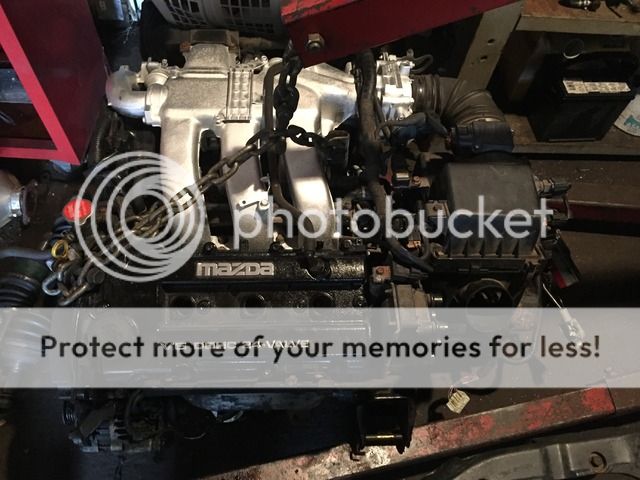
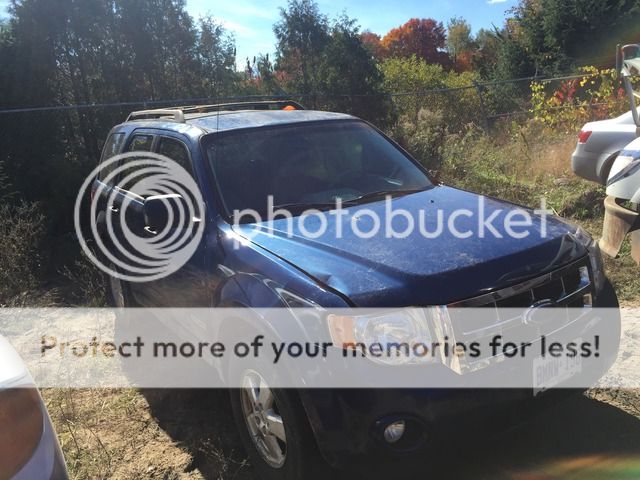
So I didn't bother putting much effort into getting the B6T running since I wanted a KLG4 in there anyway, so I picked up my donor cat
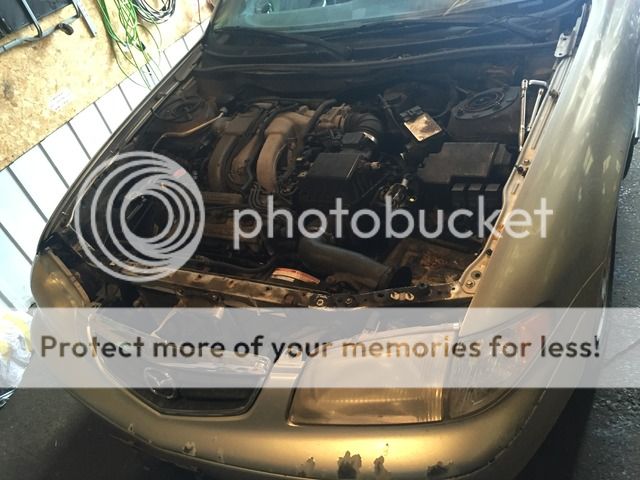
A 2000 626 with a 5 speed
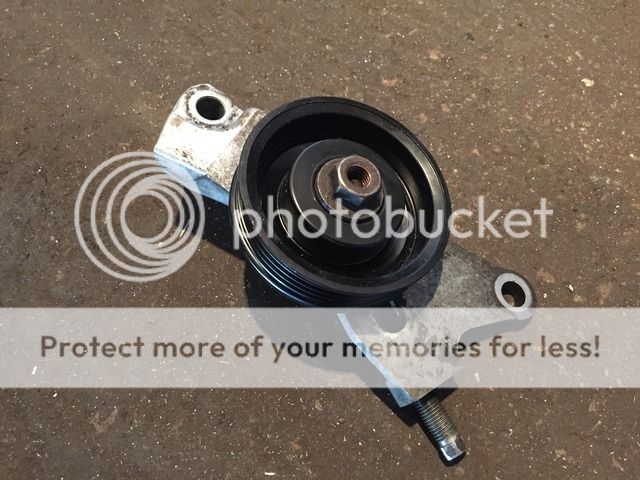
The goods
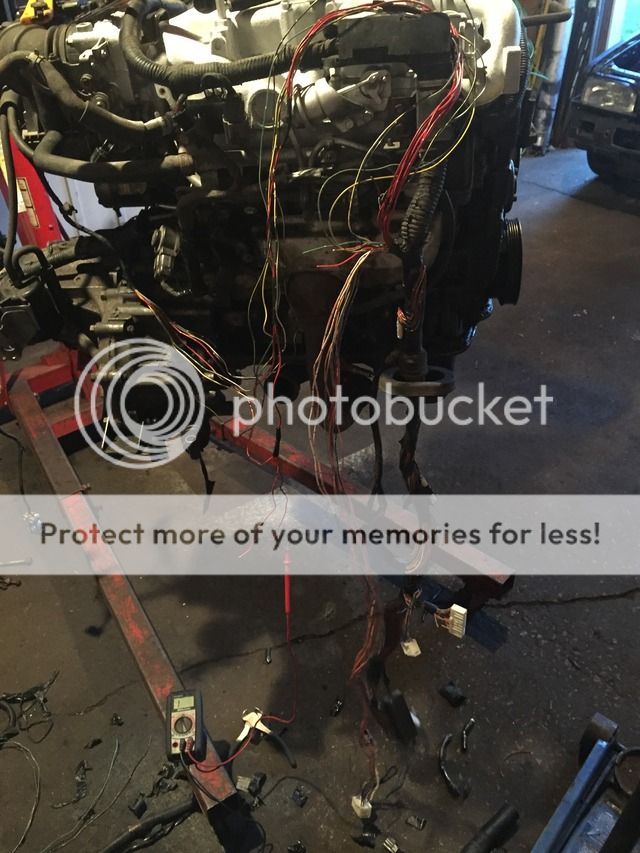
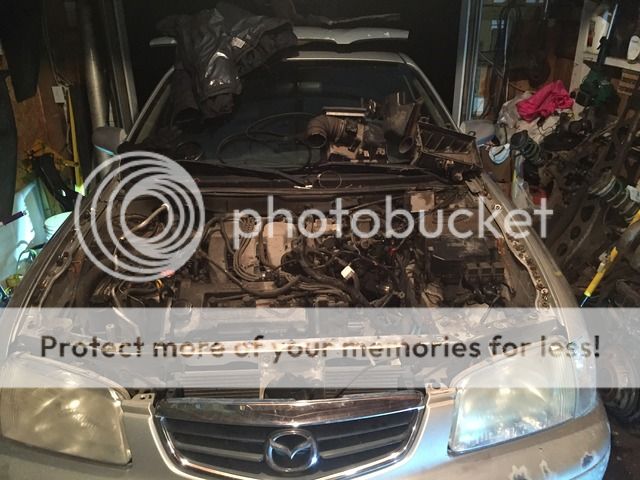
And it's almost ready to come out
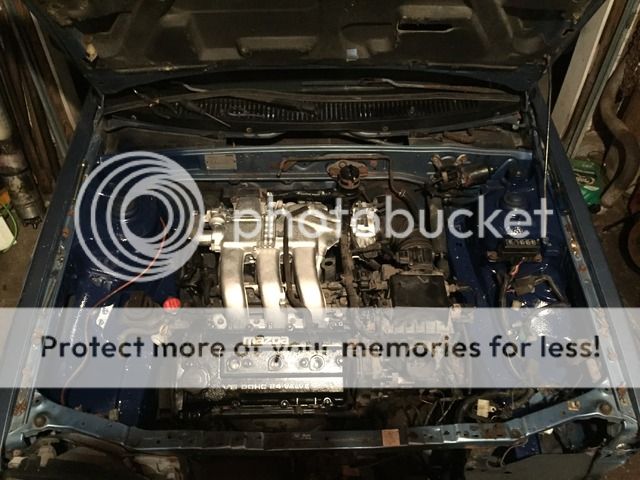
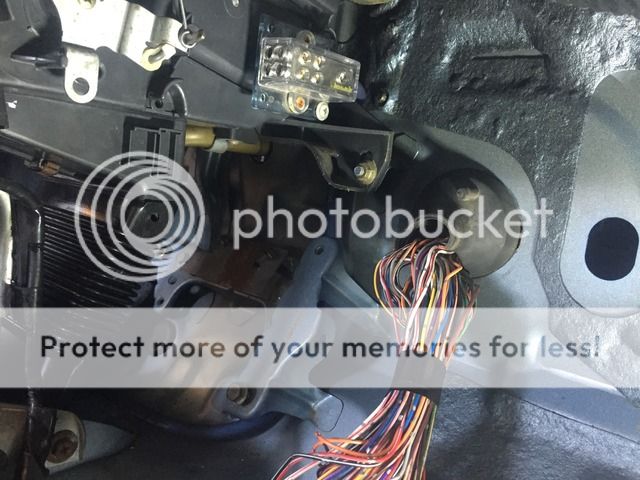
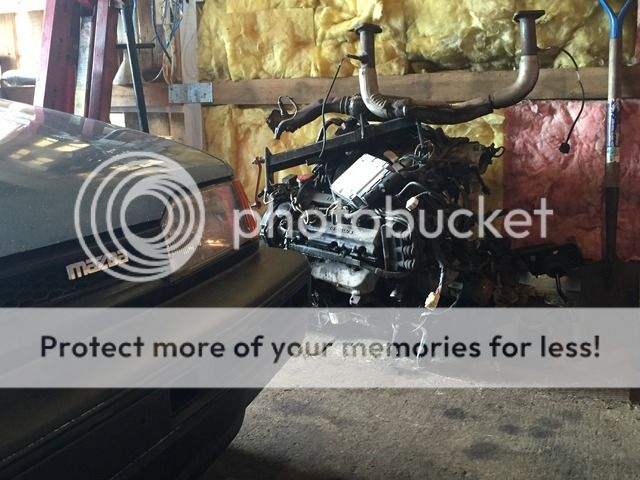
KLG4 is out
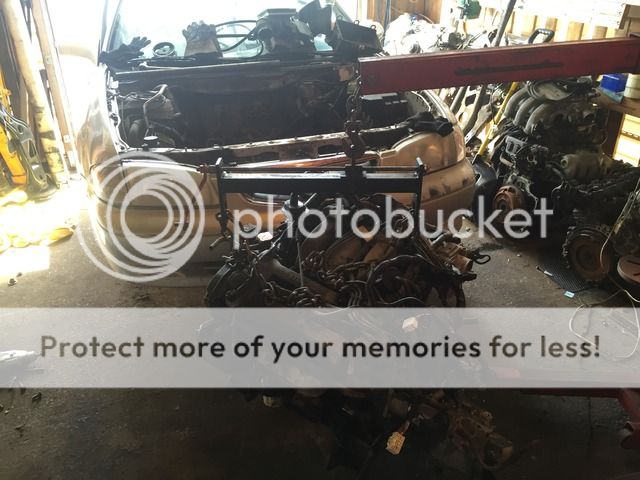
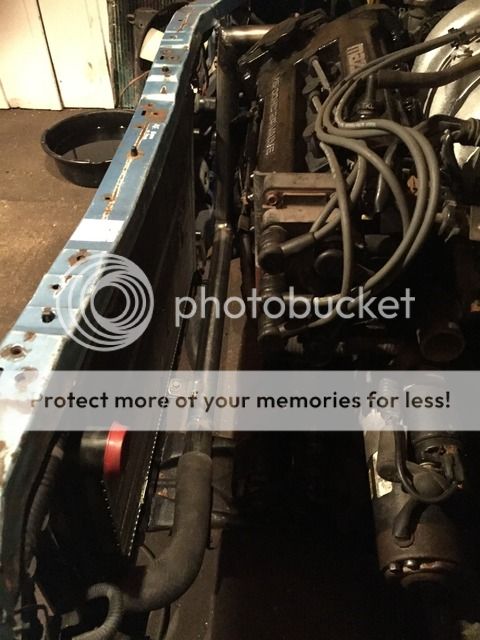
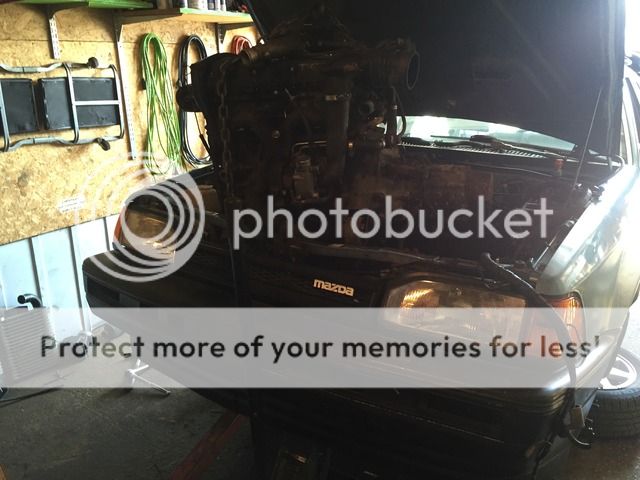
Pulled the B6T out
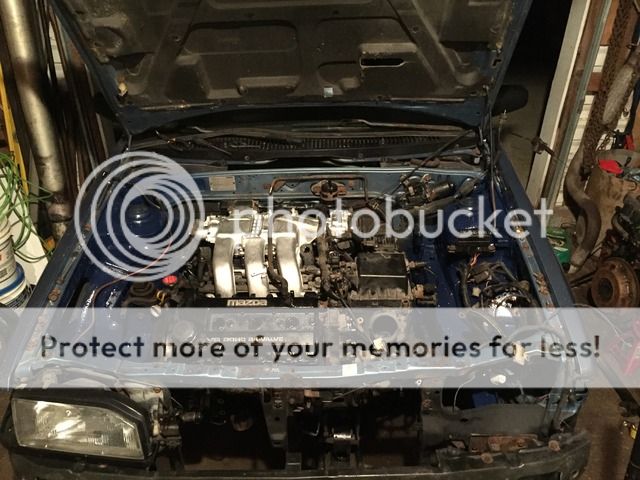
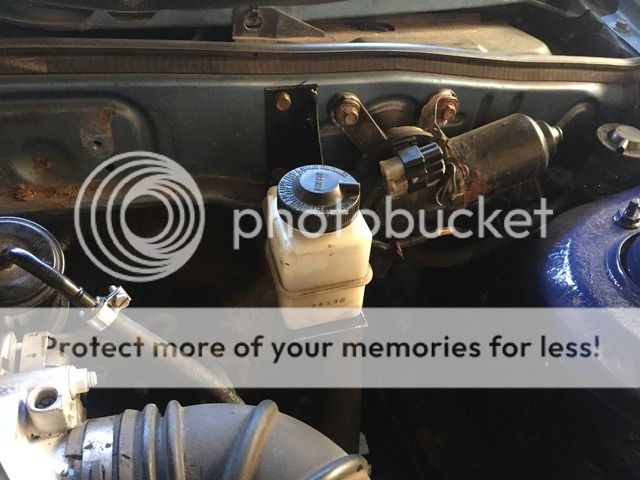
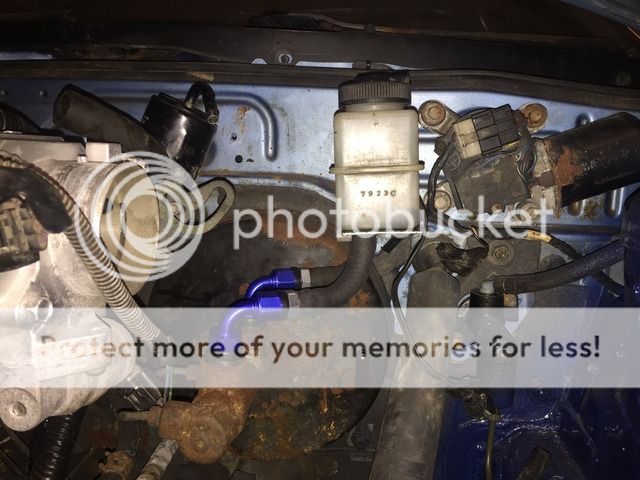
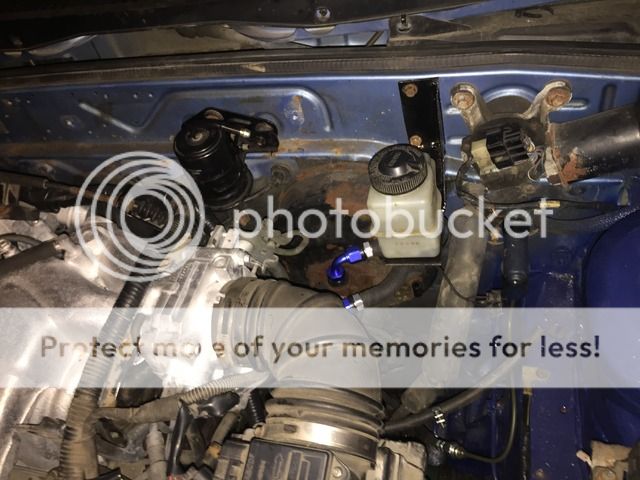
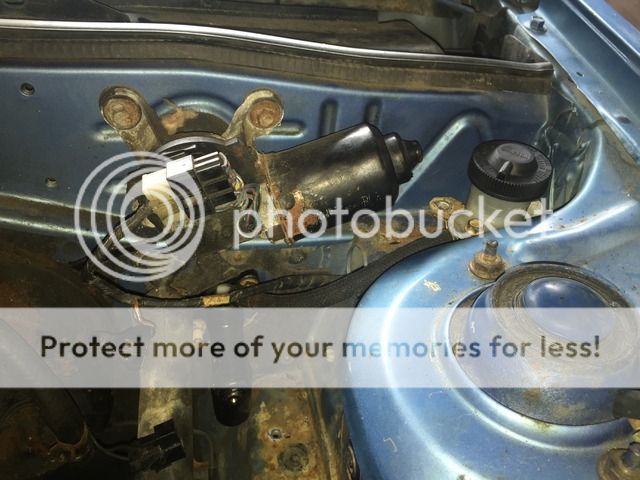
Since I've worked on KL's in tight engine bays before, I counted on having clearance issues with the KLG4 intake/throttle body and master cylinder and since this engine bay has more room in it then my old festiva, I figured if there's enough room to work with, I'll move the engine forward to clear the MC so it was time for a test fit so I can see exactly what I'm working with
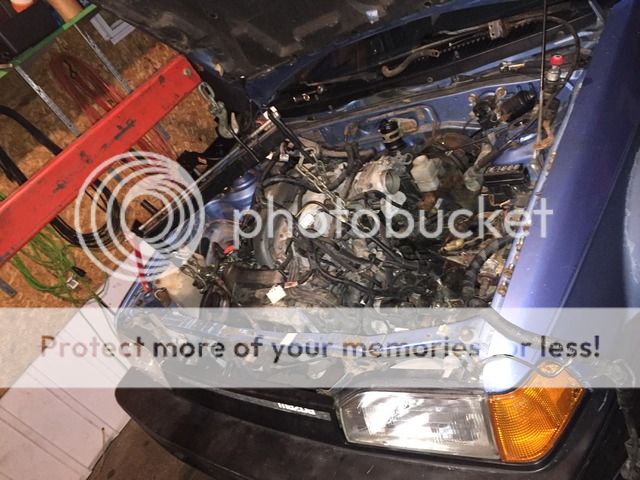
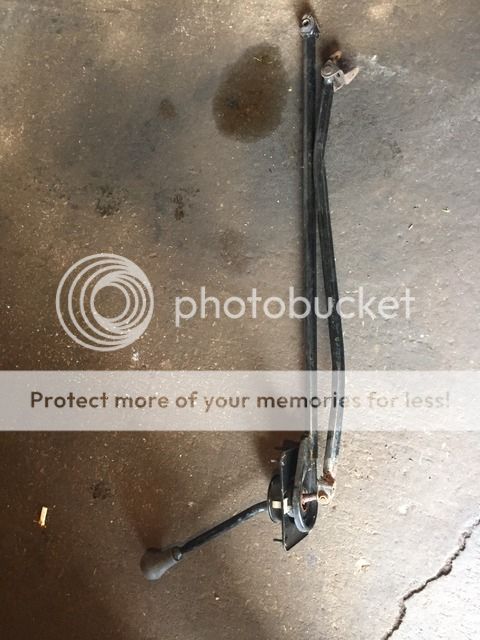
And like I anticipated the throttle linkage interferes with the MC

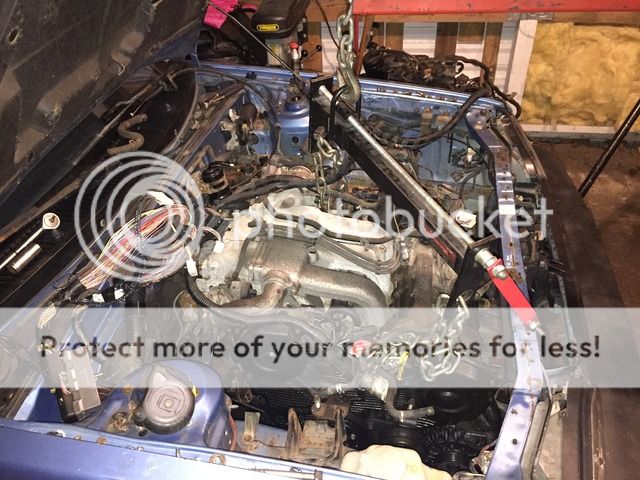
It looks like I can move the engine forward by 2-1/2 inches and I should still have enough room for the rad
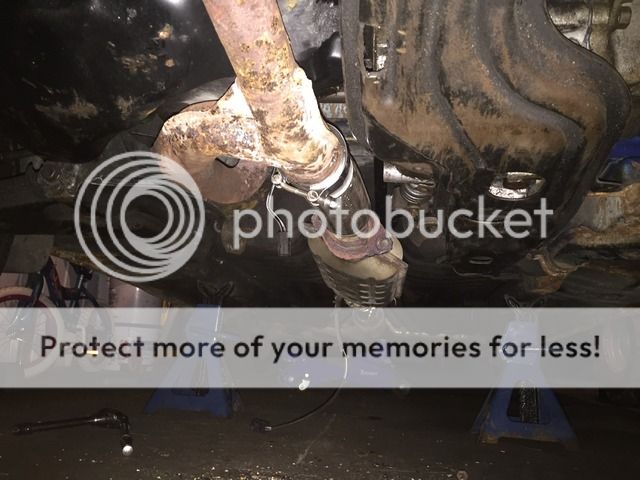
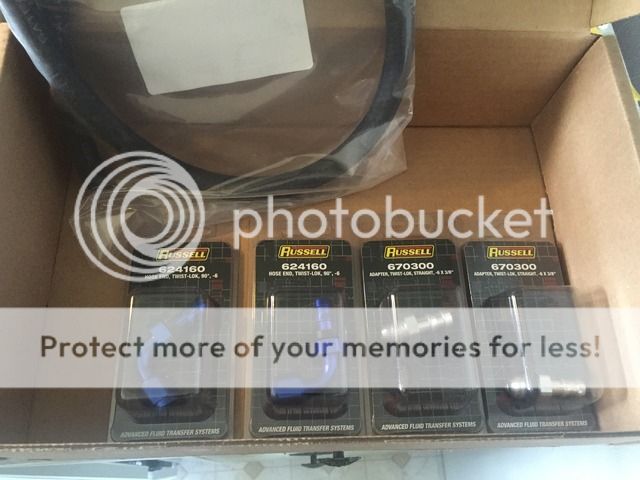
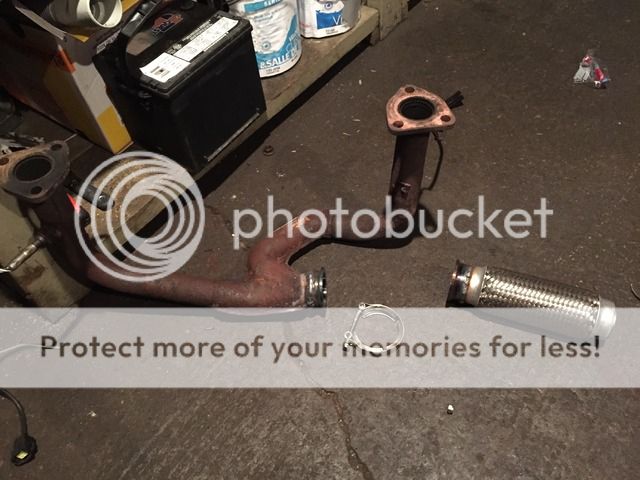
The flex pipe on the Y-pipe needed to be replaced so I figured to also add a V-band clamp to make life easier down the road
Hydraulic clutch conversion using GTX parts

When I did the diff swap in the festive I learned of a thickness difference in the ring/pinion gears between the B6T/BP G series vs the KL G series which does not allow the complete internal gear sets to interchange
And since there was a difference in final drive gear ratios I couldn't simply drop in the 26 diff to the KL trans so I ended up separating ring gears and bolting the KL ring gear to the 26 spline diff..... That proved un-reliable in the long run
For this project I don't want to go with an Mfactory because I didn't like how it felt to drive in the festiva so I started using my brain at what options I have to run an open differential and retain the factory rivets
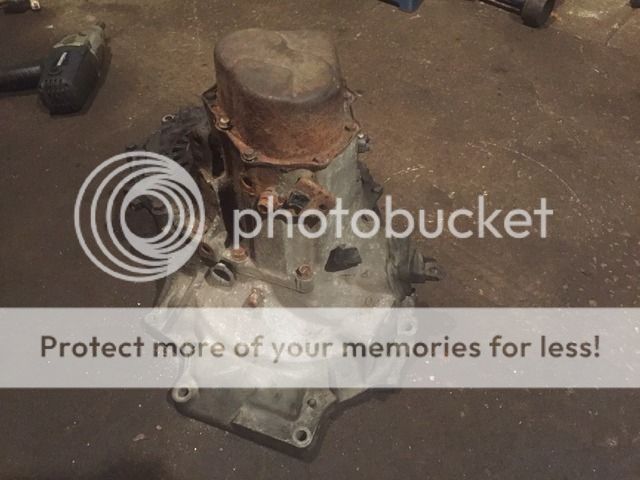
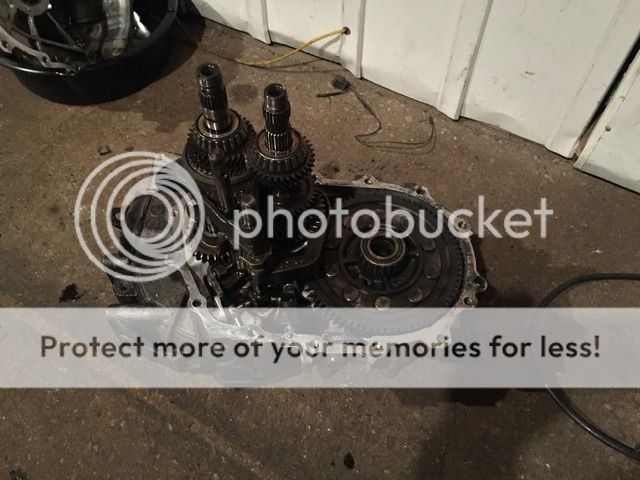
So knowing KL trans either came with a 4.10 or 4.38 final drive, I got thinking about what 26 spline G series had a 4.10 final drive.... The BP trans..... So tonight I picked one up and got to work
After pulling both transmissions apart, I confirmed they had identical final drive gear ratios
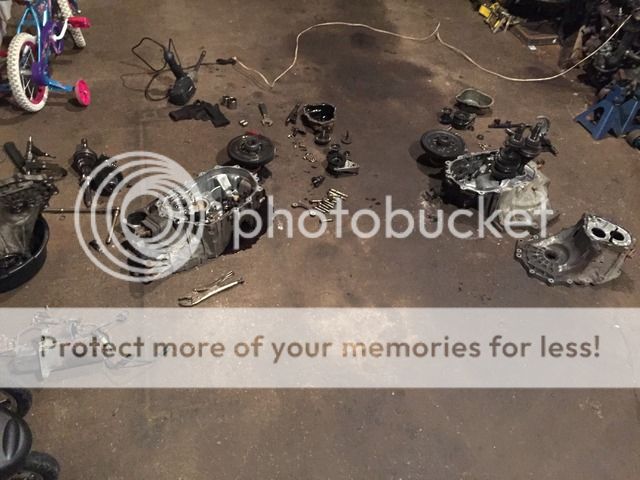
The BP ring gear is not as thick as the KL ring gear but I don't think it will cause a problem since the gear ratios match
I was really happy how that turned out so I started the re-assembly
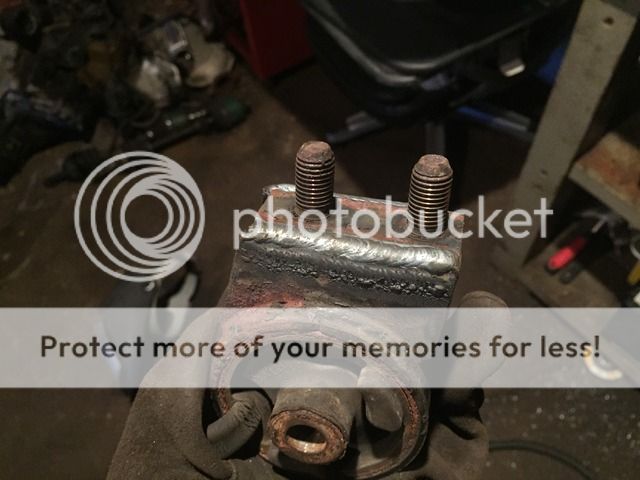
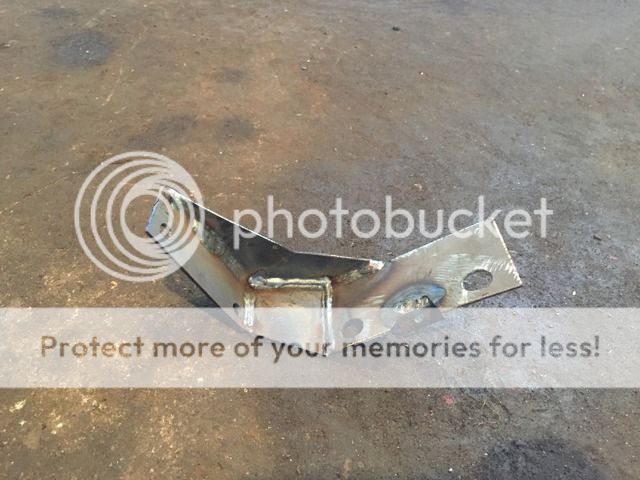
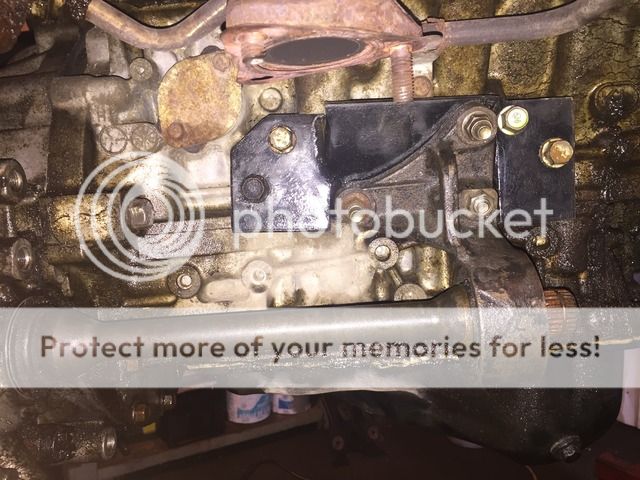
Today I re-threaded the holes in the block for my intermediate shaft mounting plate I made and installed it
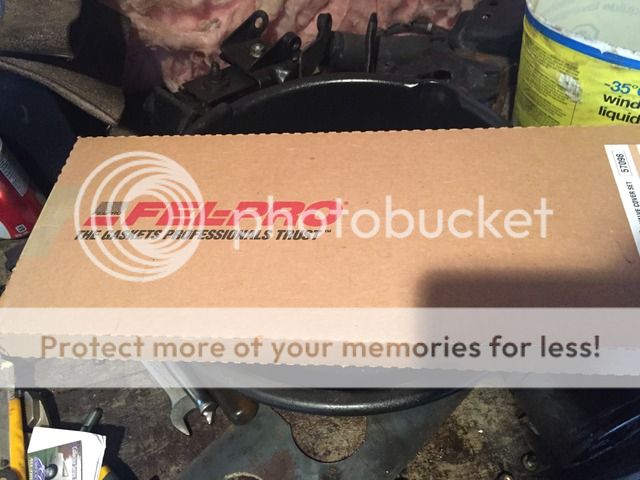
When I bought the 626 the owner said it leaked a lot of oil.... So I ordered new valve cover gaskets which arrived today, so I got those replaced as well
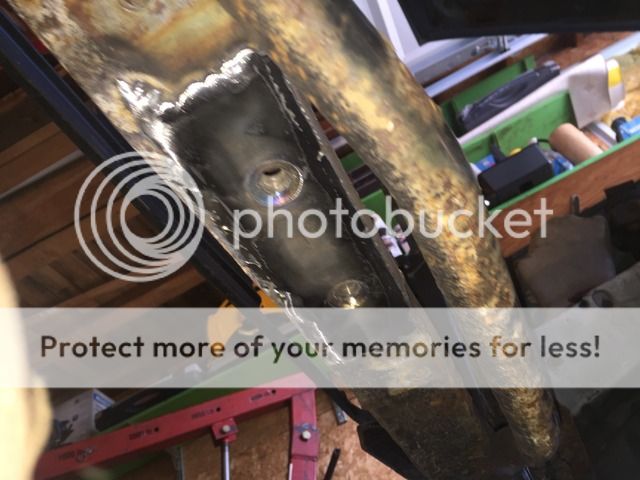
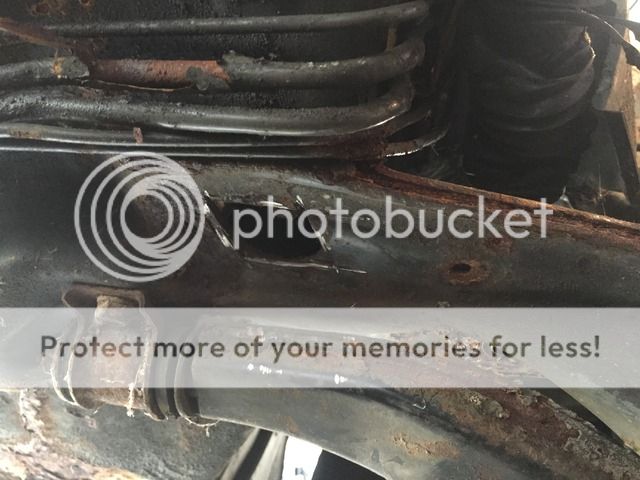
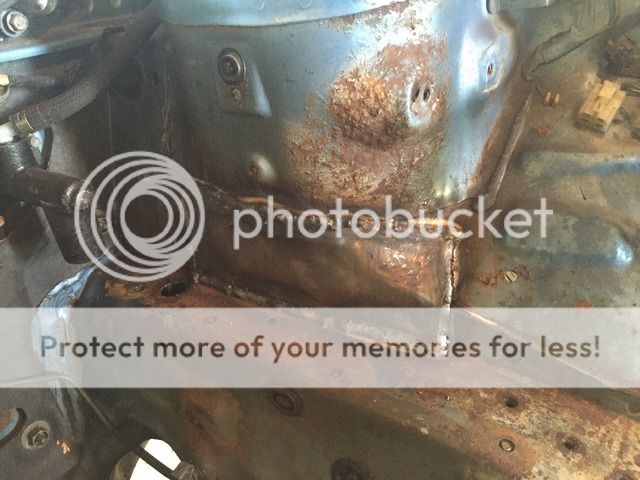
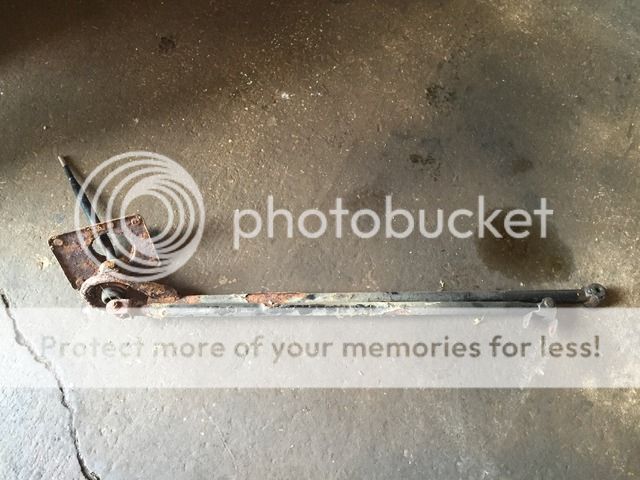
The previous owner of the wagon must have had trouble at some point with the crossmember bolts because the front was welded directly to the lower rad support
So while the engine is out I decided to cut it off so I can make the proper repairs to both the crossmember and the lower rad support
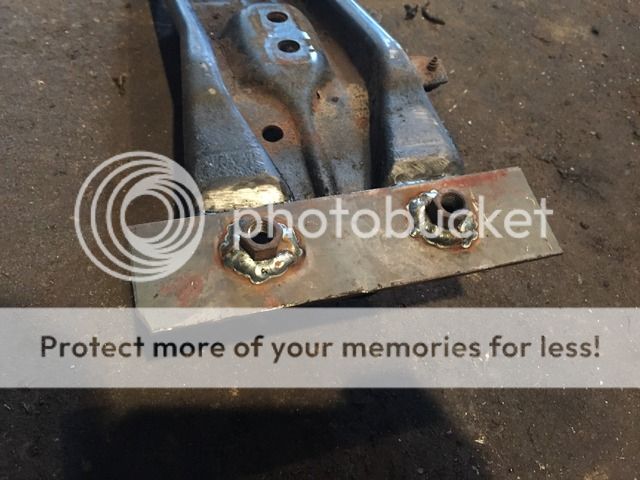
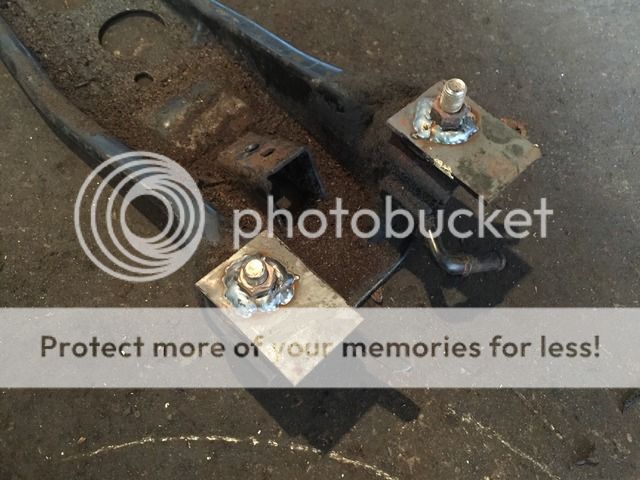
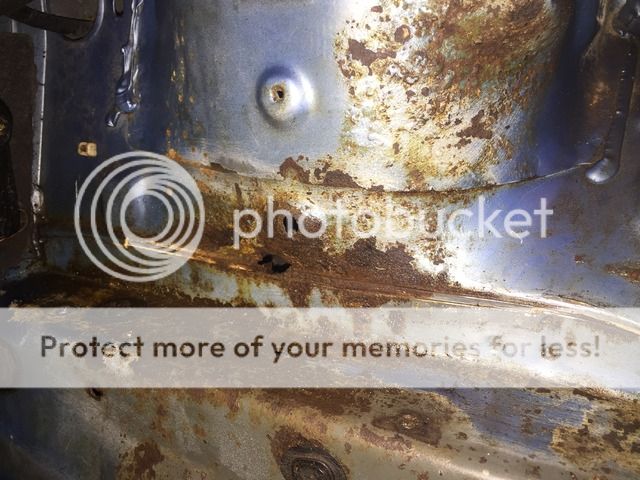
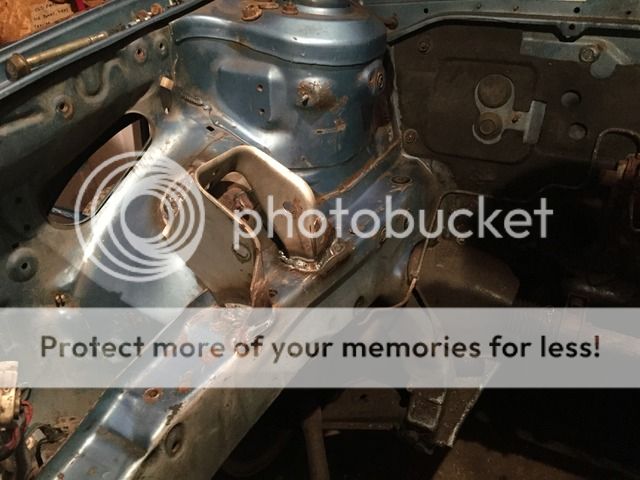
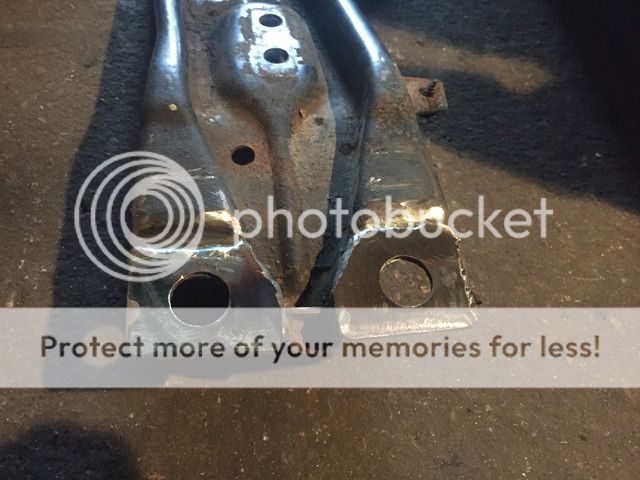
In the process of removing the crossmember I also found the rear bolts were rusted pretty good to the point where I need to basically replace all 4 captive nuts to properly re-attach the crossmember
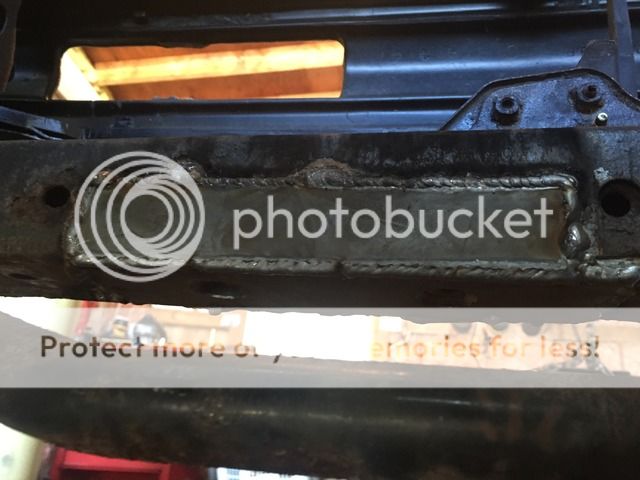
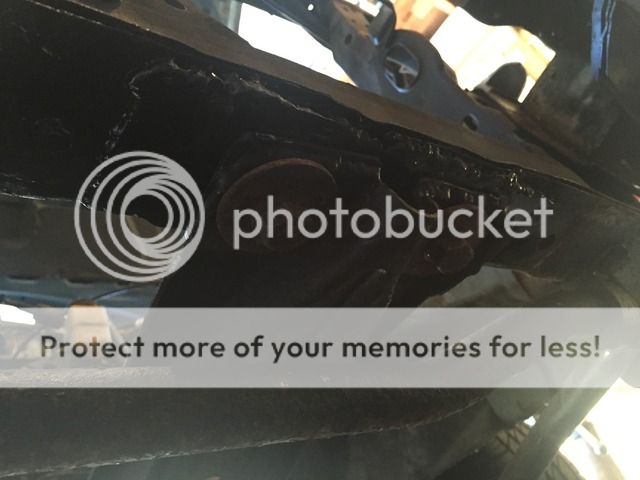
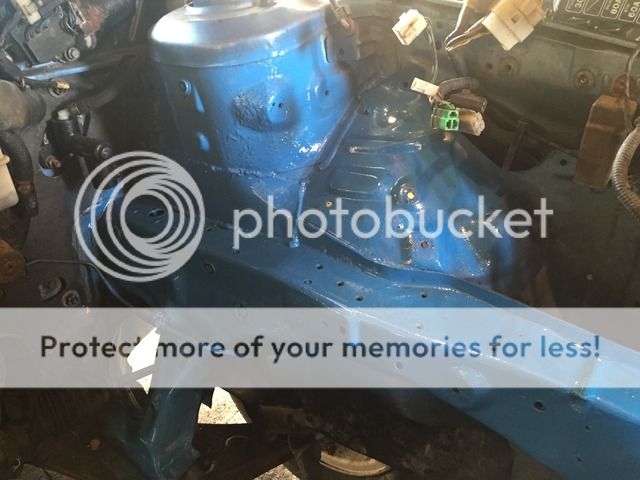
So today I ground off all the welds on the crossmember, drilled out the mounting holes again (they were full of welds) and re-inforced the ground down areas
Next job is to replace the captive nuts.... ****
The plan for it is to get it running and plated with the B6T then later I'll pull it out and swap in a KLG4 with a turbo, 5 lug conversion and get it riding nice and low
It was in the beginning stages of being parted out so it didn't run when I picked it up but was told it shouldn't take too much work to get fired back up again
Here's a few pics from when I picked it up
And a bunch of spare parts to go with it
It also had 4 garbage tires on it which can somewhat be seen in this pic
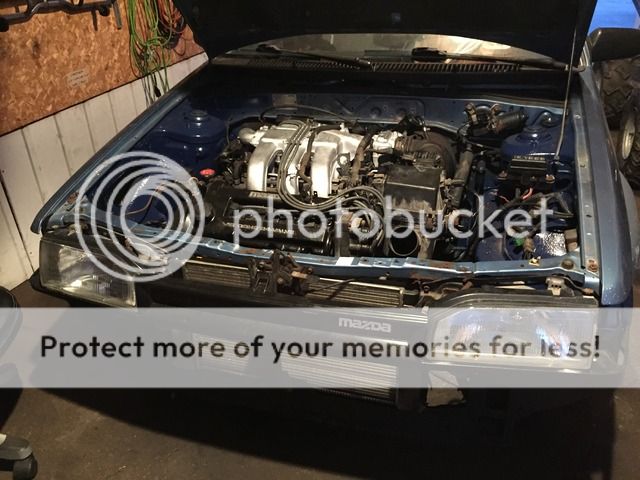
Before I started putting a face back on it I wanted to test fit my festiva ATH front bumper on it, it fits beautifully if I choose to use it
After a set of tires I was able to roll it out of the garage for a quick photo shoot and to clean up the garage before I get started on fixing it up
My collection of spare parts
First disgnoses showed it has spark but no fuel pressure, so digging further I found out that the fuel pump was dead
So it's a perfect time for an upgrade with a walbro 255lph pump
Along with a new sending unit and gas tank
The old, beat gas tank with the remains of a mouse nest that was on top of the tank
New tank ready to go in
But after getting fuel pressure to the fuel rail, it still won't fire up, checking things out I found out it lost spark..... Ugh
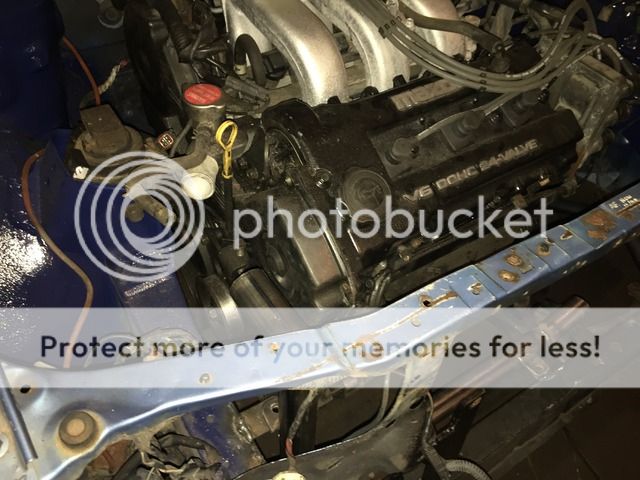
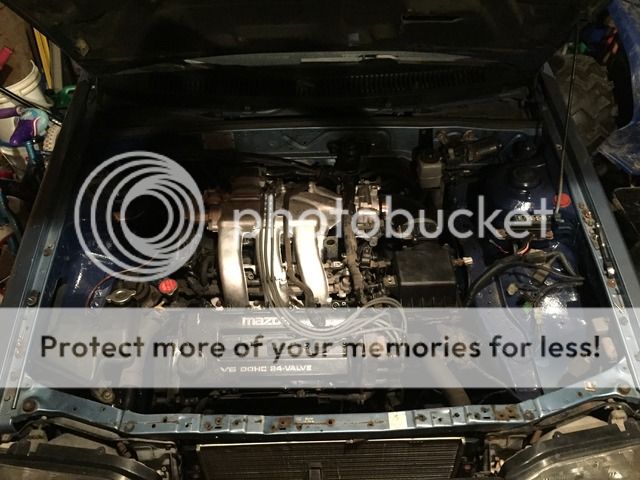
So I didn't bother putting much effort into getting the B6T running since I wanted a KLG4 in there anyway, so I picked up my donor cat
A 2000 626 with a 5 speed
The goods
And it's almost ready to come out
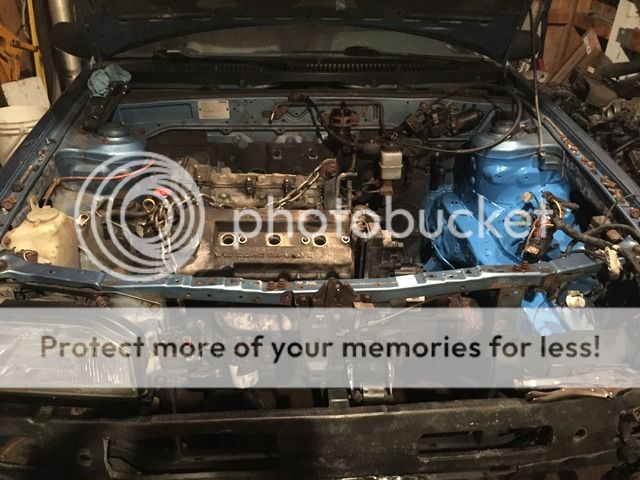
KLG4 is out
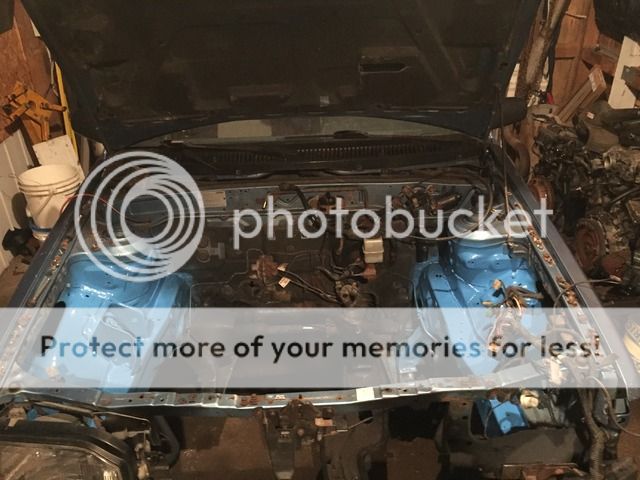
Pulled the B6T out
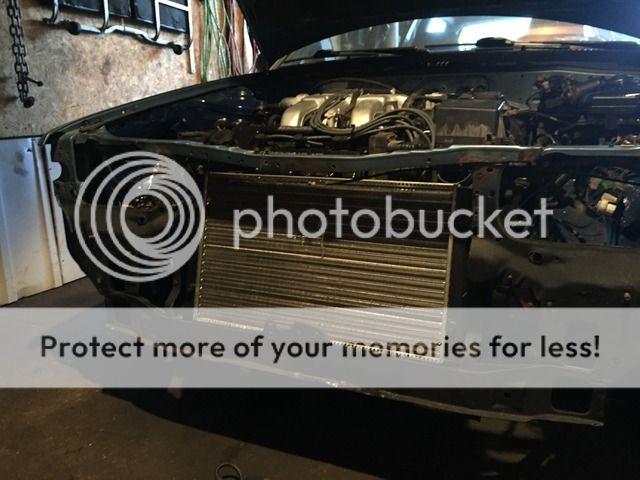
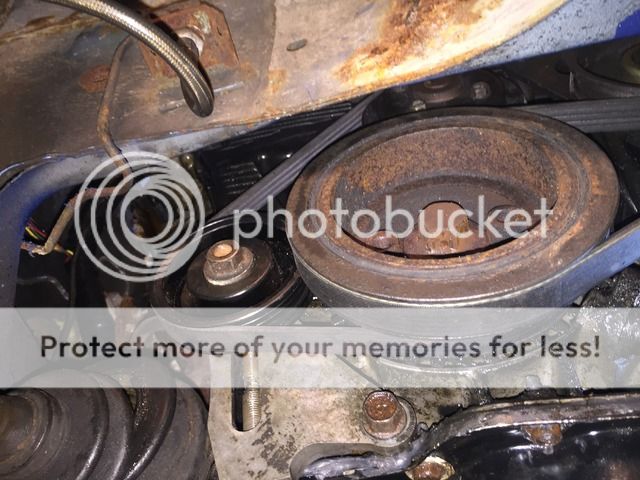
Since I've worked on KL's in tight engine bays before, I counted on having clearance issues with the KLG4 intake/throttle body and master cylinder and since this engine bay has more room in it then my old festiva, I figured if there's enough room to work with, I'll move the engine forward to clear the MC so it was time for a test fit so I can see exactly what I'm working with
And like I anticipated the throttle linkage interferes with the MC
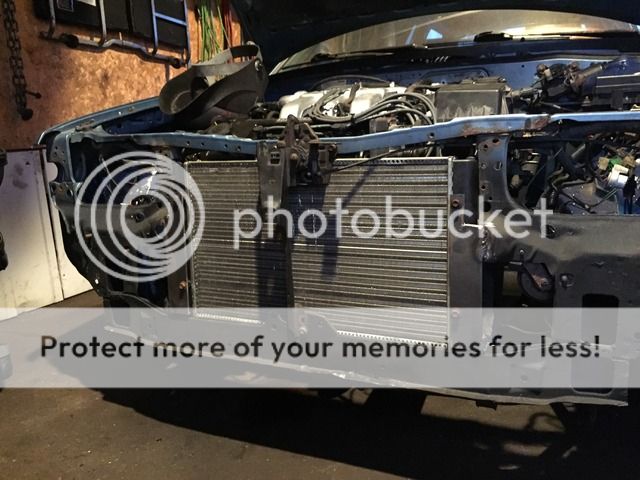
It looks like I can move the engine forward by 2-1/2 inches and I should still have enough room for the rad
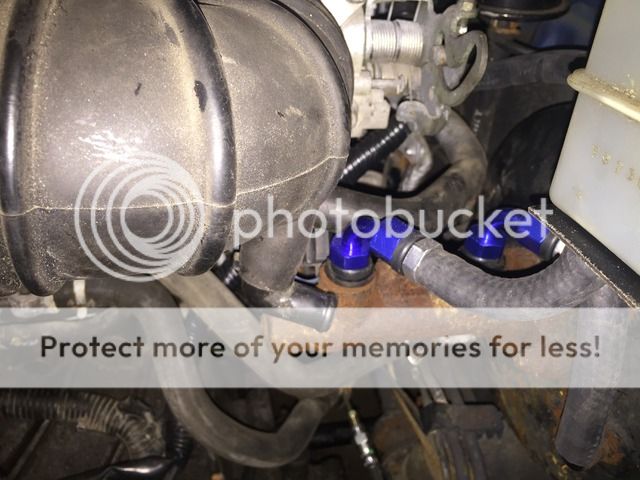
The flex pipe on the Y-pipe needed to be replaced so I figured to also add a V-band clamp to make life easier down the road
Hydraulic clutch conversion using GTX parts
When I did the diff swap in the festive I learned of a thickness difference in the ring/pinion gears between the B6T/BP G series vs the KL G series which does not allow the complete internal gear sets to interchange
And since there was a difference in final drive gear ratios I couldn't simply drop in the 26 diff to the KL trans so I ended up separating ring gears and bolting the KL ring gear to the 26 spline diff..... That proved un-reliable in the long run
For this project I don't want to go with an Mfactory because I didn't like how it felt to drive in the festiva so I started using my brain at what options I have to run an open differential and retain the factory rivets
So knowing KL trans either came with a 4.10 or 4.38 final drive, I got thinking about what 26 spline G series had a 4.10 final drive.... The BP trans..... So tonight I picked one up and got to work
After pulling both transmissions apart, I confirmed they had identical final drive gear ratios
The BP ring gear is not as thick as the KL ring gear but I don't think it will cause a problem since the gear ratios match
I was really happy how that turned out so I started the re-assembly
Today I re-threaded the holes in the block for my intermediate shaft mounting plate I made and installed it
When I bought the 626 the owner said it leaked a lot of oil.... So I ordered new valve cover gaskets which arrived today, so I got those replaced as well
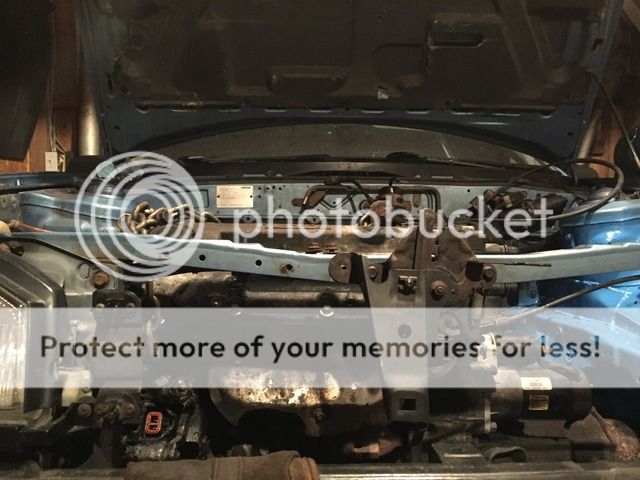
The previous owner of the wagon must have had trouble at some point with the crossmember bolts because the front was welded directly to the lower rad support
So while the engine is out I decided to cut it off so I can make the proper repairs to both the crossmember and the lower rad support
In the process of removing the crossmember I also found the rear bolts were rusted pretty good to the point where I need to basically replace all 4 captive nuts to properly re-attach the crossmember
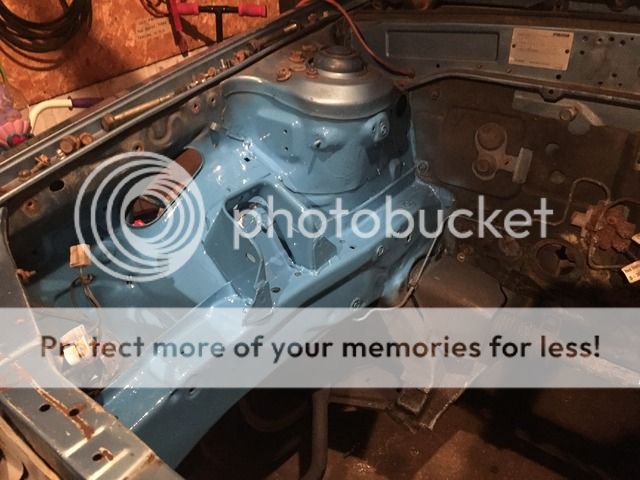
So today I ground off all the welds on the crossmember, drilled out the mounting holes again (they were full of welds) and re-inforced the ground down areas
Next job is to replace the captive nuts.... ****