
utmorpheus
Member
- :
- 13 Mz2 Touring MTX
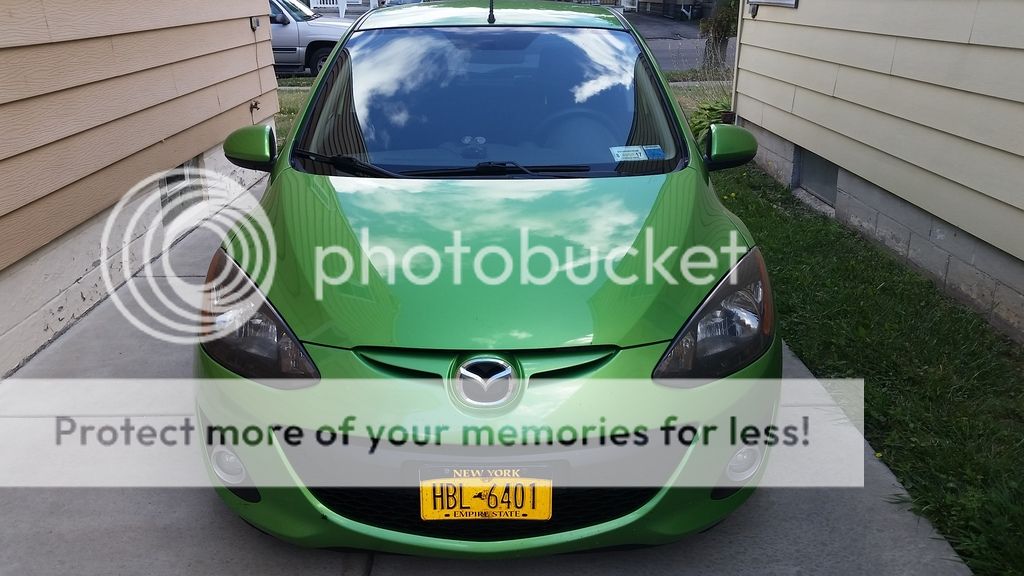
This thread will be an all-in-one guide for anyone looking to replace their halogen reflector headlights with OEM projector lights from various markets. This will have all the relevant part numbers and links for everything needed for as close to OEM as possible(more on this later). Let's face it, we got BONED in the US and Canada market with this car. It's not much more than a shell with an engine compared to European and Asian markets. Nowhere is this more evident than the poor headlights on the car. This car came with three headlight options depending on the market: 1) Halogen reflector combination(what we have), 2) Halogen projector(two halogen bulbs, projector lowbeam/reflector highbeam), and 3) HID (Xenon projector low-beam, halogen high-beam). These are listed in order from worst to best.
The standard halogen reflector has been around since as long as cars have had headlights, and while the past 15 years have seen MASSIVE improvement in reflector based systems thanks to CAD and high-quality injection molding, they are still sub-par in all but urban environments. Halogen projectors are a very large improvement as they can focus the light much better than a reflector, however putting an HID system into these will still result in poor performance because the projector was designed to focus a halogen filament at a certain position - all HID bulbs will provide a 'point' of light that isn't in the focal area. This causes blinding glare to be produced above the cutoff(blinding other drivers) and additional foreground light directly in front of the car. While this may seem like a good idea at first, if you drive in suburban or rural areas or at high speeds and need to see well into the distance this additional light will cause your pupils to constrict hurting your distance vision. This can easily be proven by grabbing a bright flashlight and shining it in front of your face in a dark room. You will lose detail in your vision until you turn off the light and let your eyes readjust over the next minute or two.
This leaves us with only two options for "properly" putting more usable light on the road. A retrofit, or OEM swap. They each have pros and cons, which I will try to document below:
Retrofit Pros:
- Significantly cheaper
- Has proper LHD beam pattern(left side of cutoff "step" is lower for LHD cars)
- Multiple options for customization such as halos, demon eyes, shrouds, and even projector design
- Uses existing headlights, or inexpensive aftermarket replacement
Retrofit Cons:
- Significantly more time consuming
- Quality of workmanship is dependent on skill level
- Higher chance of failure from used or aftermarket components
- Some electronic components known to cause FM radio feedback
- Places with strict headlight laws will immediately know it's a retrofit(single projector design), especially if you have customizations done
OEM Pros:
- Designed to be durable and last a long time
- HID components designed to be totally compatible with car's systems
- Can be installed in under an hour with a Phillips screwdriver and a 10mm socket
OEM Cons:
- 3-4x the cost of a retrofit
- High-beam reflector is molded and low-beam cutoff shield is a solid cast aluminum piece(cannot make the beam pattern "proper" for LHD cars)
- This makes them technically illegal for use in LHD countries, however since the part is OEM only the most observative techs will notice this
- Limited availability of parts will cause a nightmare to get replacements in case of accident or damage
Now retrofitting guides are everywhere, I'll leave finding them to the brave souls who possess the insanity and free time to tackle them. Here I will give all the information I have on doing a JDM HID swap. These are the follow parts that are REQURIED as a minimum for the swap.
Left Headlamp: D65251041F
Right Headlamp: D65251031F
(2) HID housing caps: C514510A1A
(2) Halogen housing caps: T061510A1
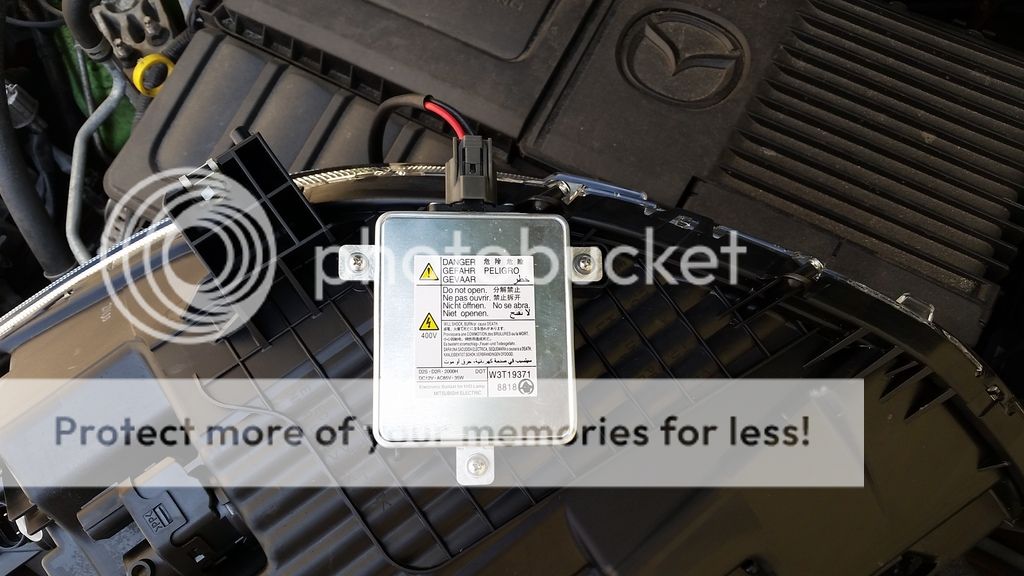
(2) Mitsubishi HID Ballasts*: D530510H3
(2) HID Ballast Gasket: C236510B2
(6) OEM screws(Recommended): L170510E3 (#6 x 5/8" and a washer will also work, but not as well)
(2) D2S HID Bulbs** https://www.theretrofitsource.com/components/bulbs.html
(2) HB3/9005 Halogen Bulbs*** Local Auto Part Store
(1) H4 Motocontrol Relay**** https://www.theretrofitsource.com/components/harnesses/morimoto-h4-motocontrol-bi-xenon-wire-harness.html
* These are OEM for many, many cars. What is most important is the ballast to 9006 harness. If you order just the ballast you will likely NOT GET THE HARNESS and have no way to connect it. I got mine from https://www.amazon.com/dp/ (commissions earned). That set also came with the igniter, however if you get your headlights NIB they will have the igniter already wired through them. Keep them as a spare.
** OEM is the Phillips 85122 bulb. There are much better options. I run the Morimoto XB 5500k(straight white with a very, very slight blue tint). It's generally recommended to use 4300k-5500k bulbs for best lumen output.
*** You can also use a Phillips 9011 HIR1 bulb for better output. There are guides on how to trim the bulb to fit, but these are expensive and aren't readily available if one fails.
**** This harness is absolutely required to connect to the single-bulb harnesses on the NA cars. We cannot use the JDM harness with our cars due to the relay setup that shuts off the low beam when the high beam is engaged. If you live in an area where you use the high-beams very often and/or for a long period of time it is recommended to piggy-back a 9005 harness off the MotoControl box to drive the halogen high-beam bulbs.
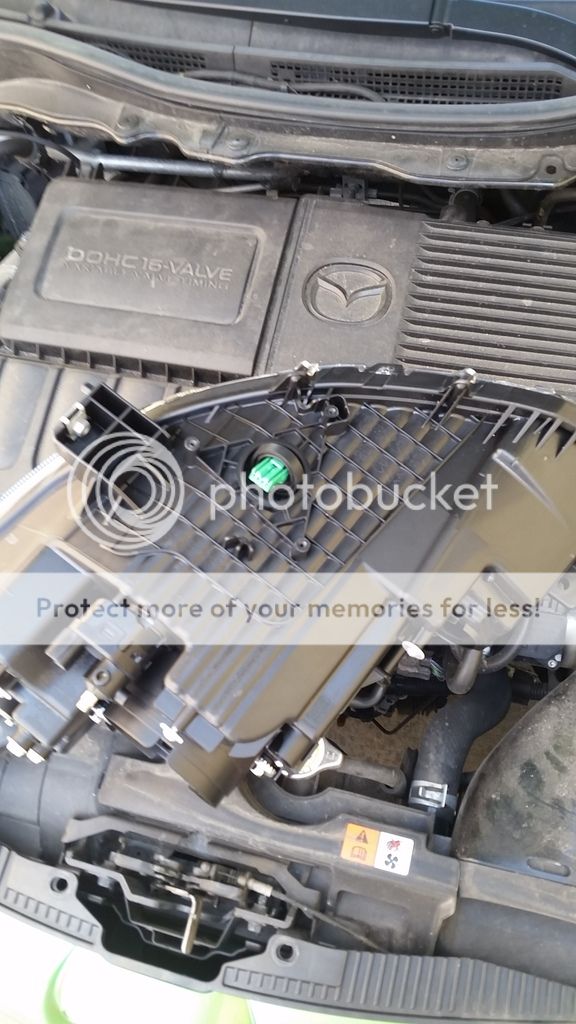
Installing these things is a 1/5 on the difficulty scale. If you can change a headlight bulb you're already over qualified. You need a Phillips screwdriver, and a deep-well 10mm socket. You do not need to totally remove the bumper to change them, just loosen it to get to the two bolts. There are four screws holding the bumper in, two near the release, and two small ones in the wheel well. There are 8 push-pin clips - two on the upper headlight tabs, 4 small screw-type near the hood latch, and two large push-pin type near the hood latch. Finally the only bolts you need to remove are one each on the upper headlight tabs, and one each behind the bumper ahead of the wheel wells.
Once you get the headlights out remove the stock wiring harness, turn signal bulb and parking light bulb from the headlights, and transfer the harness to the new headlights. Insert the D2S bulb and DO NOT TOUCH THE GLASS before seating it and cliping it in place. Lock the igniter onto the bulb and install the halogen high beam bulb. Install the back caps onto the headlights. Flip the headlight over and place the gasket over the igniter plug, and plug the igniter into the ballast. Carefully position the ballast onto the headlight ensuring the gasket is seated and screw into place.
Connect the Motocontrol box to the battery + and put the - leads under two well-cleaned body bolts(do not directly connect to battery). Pretty much take some sandpaper or a wire brush and make sure the paint is scratched off and you have good contact between the ground and the chassis. Connect the "Ballast" lead to the ballast, and the "High Beam" lead to the high beams(or second relay if you elected the safe route). Install is the reverse of disassembly, do NOT over-tighten the bolt behind the bumper. It's very easy to over-tighten and potentially break this part. The rest is pretty self-explanatory.
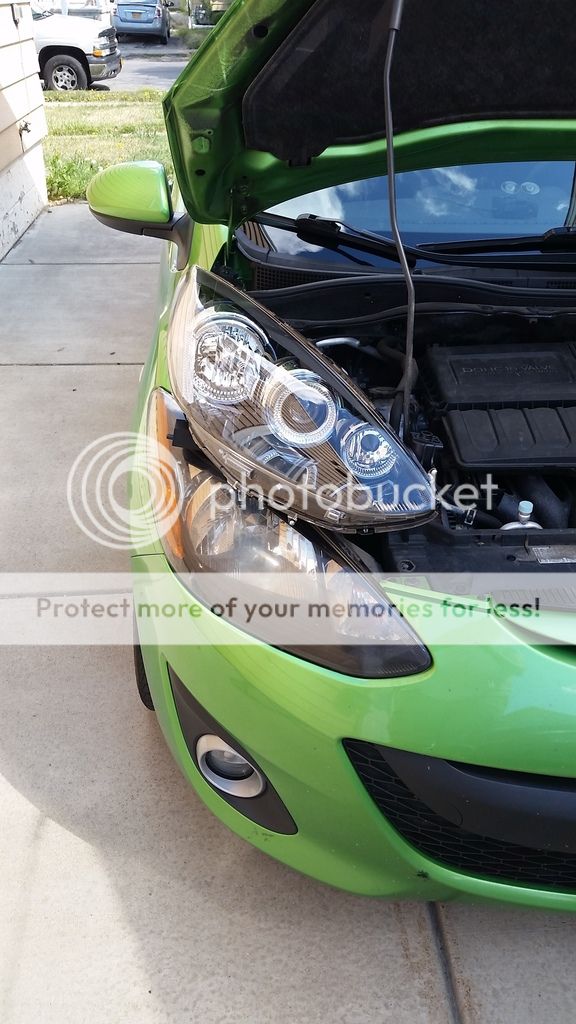

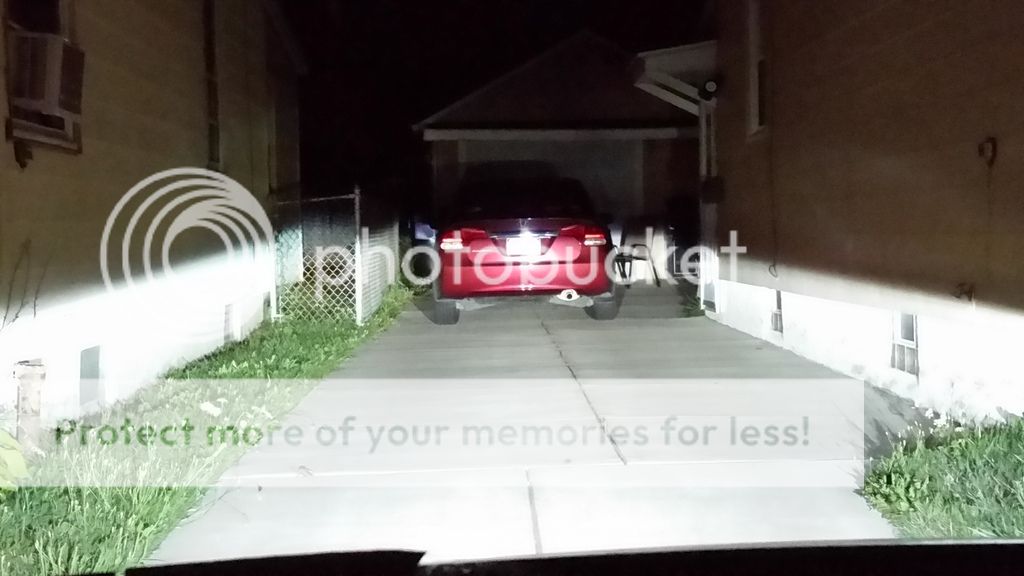
JDM low+high vs plug-n-blind HID setup. Both running 5500k bulbs.

The standard halogen reflector has been around since as long as cars have had headlights, and while the past 15 years have seen MASSIVE improvement in reflector based systems thanks to CAD and high-quality injection molding, they are still sub-par in all but urban environments. Halogen projectors are a very large improvement as they can focus the light much better than a reflector, however putting an HID system into these will still result in poor performance because the projector was designed to focus a halogen filament at a certain position - all HID bulbs will provide a 'point' of light that isn't in the focal area. This causes blinding glare to be produced above the cutoff(blinding other drivers) and additional foreground light directly in front of the car. While this may seem like a good idea at first, if you drive in suburban or rural areas or at high speeds and need to see well into the distance this additional light will cause your pupils to constrict hurting your distance vision. This can easily be proven by grabbing a bright flashlight and shining it in front of your face in a dark room. You will lose detail in your vision until you turn off the light and let your eyes readjust over the next minute or two.
This leaves us with only two options for "properly" putting more usable light on the road. A retrofit, or OEM swap. They each have pros and cons, which I will try to document below:
Retrofit Pros:
- Significantly cheaper
- Has proper LHD beam pattern(left side of cutoff "step" is lower for LHD cars)
- Multiple options for customization such as halos, demon eyes, shrouds, and even projector design
- Uses existing headlights, or inexpensive aftermarket replacement
Retrofit Cons:
- Significantly more time consuming
- Quality of workmanship is dependent on skill level
- Higher chance of failure from used or aftermarket components
- Some electronic components known to cause FM radio feedback
- Places with strict headlight laws will immediately know it's a retrofit(single projector design), especially if you have customizations done
OEM Pros:
- Designed to be durable and last a long time
- HID components designed to be totally compatible with car's systems
- Can be installed in under an hour with a Phillips screwdriver and a 10mm socket
OEM Cons:
- 3-4x the cost of a retrofit
- High-beam reflector is molded and low-beam cutoff shield is a solid cast aluminum piece(cannot make the beam pattern "proper" for LHD cars)
- This makes them technically illegal for use in LHD countries, however since the part is OEM only the most observative techs will notice this
- Limited availability of parts will cause a nightmare to get replacements in case of accident or damage
Now retrofitting guides are everywhere, I'll leave finding them to the brave souls who possess the insanity and free time to tackle them. Here I will give all the information I have on doing a JDM HID swap. These are the follow parts that are REQURIED as a minimum for the swap.
Left Headlamp: D65251041F
Right Headlamp: D65251031F
(2) HID housing caps: C514510A1A
(2) Halogen housing caps: T061510A1
(2) Mitsubishi HID Ballasts*: D530510H3
(2) HID Ballast Gasket: C236510B2
(6) OEM screws(Recommended): L170510E3 (#6 x 5/8" and a washer will also work, but not as well)
(2) D2S HID Bulbs** https://www.theretrofitsource.com/components/bulbs.html
(2) HB3/9005 Halogen Bulbs*** Local Auto Part Store
(1) H4 Motocontrol Relay**** https://www.theretrofitsource.com/components/harnesses/morimoto-h4-motocontrol-bi-xenon-wire-harness.html
* These are OEM for many, many cars. What is most important is the ballast to 9006 harness. If you order just the ballast you will likely NOT GET THE HARNESS and have no way to connect it. I got mine from https://www.amazon.com/dp/ (commissions earned). That set also came with the igniter, however if you get your headlights NIB they will have the igniter already wired through them. Keep them as a spare.
** OEM is the Phillips 85122 bulb. There are much better options. I run the Morimoto XB 5500k(straight white with a very, very slight blue tint). It's generally recommended to use 4300k-5500k bulbs for best lumen output.
*** You can also use a Phillips 9011 HIR1 bulb for better output. There are guides on how to trim the bulb to fit, but these are expensive and aren't readily available if one fails.
**** This harness is absolutely required to connect to the single-bulb harnesses on the NA cars. We cannot use the JDM harness with our cars due to the relay setup that shuts off the low beam when the high beam is engaged. If you live in an area where you use the high-beams very often and/or for a long period of time it is recommended to piggy-back a 9005 harness off the MotoControl box to drive the halogen high-beam bulbs.
Installing these things is a 1/5 on the difficulty scale. If you can change a headlight bulb you're already over qualified. You need a Phillips screwdriver, and a deep-well 10mm socket. You do not need to totally remove the bumper to change them, just loosen it to get to the two bolts. There are four screws holding the bumper in, two near the release, and two small ones in the wheel well. There are 8 push-pin clips - two on the upper headlight tabs, 4 small screw-type near the hood latch, and two large push-pin type near the hood latch. Finally the only bolts you need to remove are one each on the upper headlight tabs, and one each behind the bumper ahead of the wheel wells.
Once you get the headlights out remove the stock wiring harness, turn signal bulb and parking light bulb from the headlights, and transfer the harness to the new headlights. Insert the D2S bulb and DO NOT TOUCH THE GLASS before seating it and cliping it in place. Lock the igniter onto the bulb and install the halogen high beam bulb. Install the back caps onto the headlights. Flip the headlight over and place the gasket over the igniter plug, and plug the igniter into the ballast. Carefully position the ballast onto the headlight ensuring the gasket is seated and screw into place.
Connect the Motocontrol box to the battery + and put the - leads under two well-cleaned body bolts(do not directly connect to battery). Pretty much take some sandpaper or a wire brush and make sure the paint is scratched off and you have good contact between the ground and the chassis. Connect the "Ballast" lead to the ballast, and the "High Beam" lead to the high beams(or second relay if you elected the safe route). Install is the reverse of disassembly, do NOT over-tighten the bolt behind the bumper. It's very easy to over-tighten and potentially break this part. The rest is pretty self-explanatory.
JDM low+high vs plug-n-blind HID setup. Both running 5500k bulbs.
Last edited: