
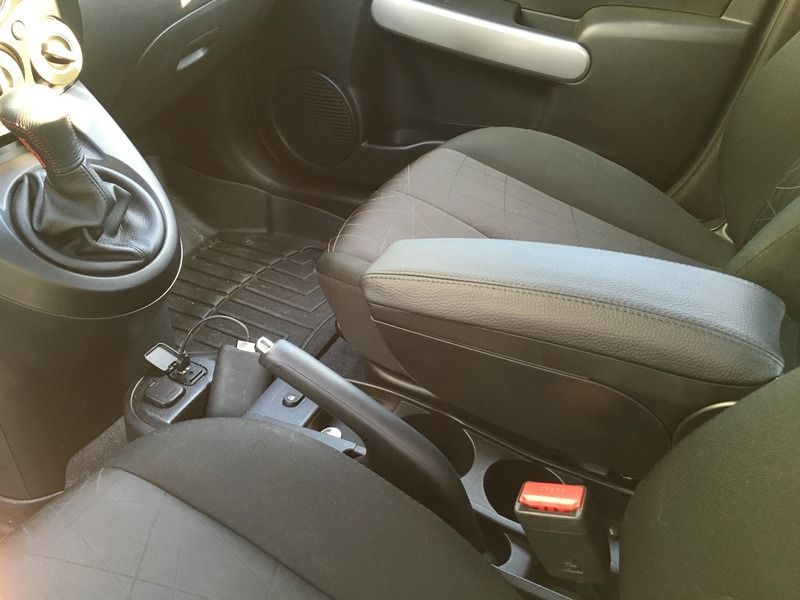
This leather armrest cover by Redline Goods is designed to fit the OE Accessory armrest 0000-8D-P10 for 2011-2014 Mazda 2.
I'll post a link to the product once it's listed on their website.
Tools required:
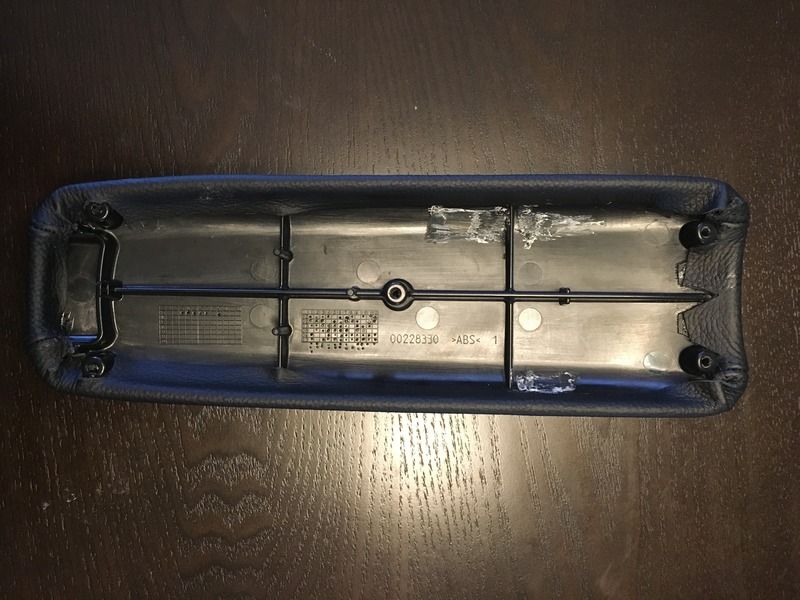
2. Line up the new leather cover directly over the OEM pad, ensuring that the overlap at the front lines up with the overlap of the original vinyl cover.
3. Once you're satisfied with how it's lined up, you can begin gluing (only the front) applying glue directly to the underside of the armrest pad on the overlap of the OEM vinyl cover, the pressing the new leather cover into place.
4. Once the glue has had time to set, pull the leather cover tight towards the rear, and once properly lined up, glue at the rear using the same method.
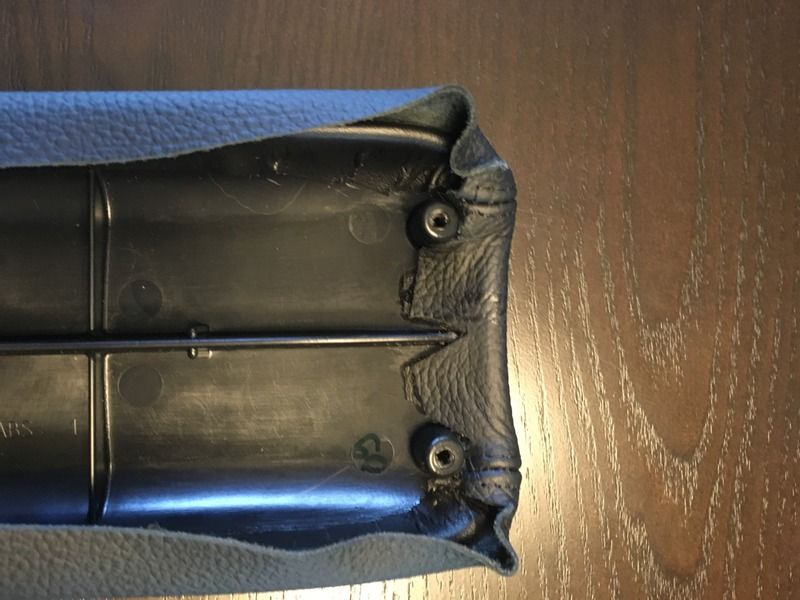
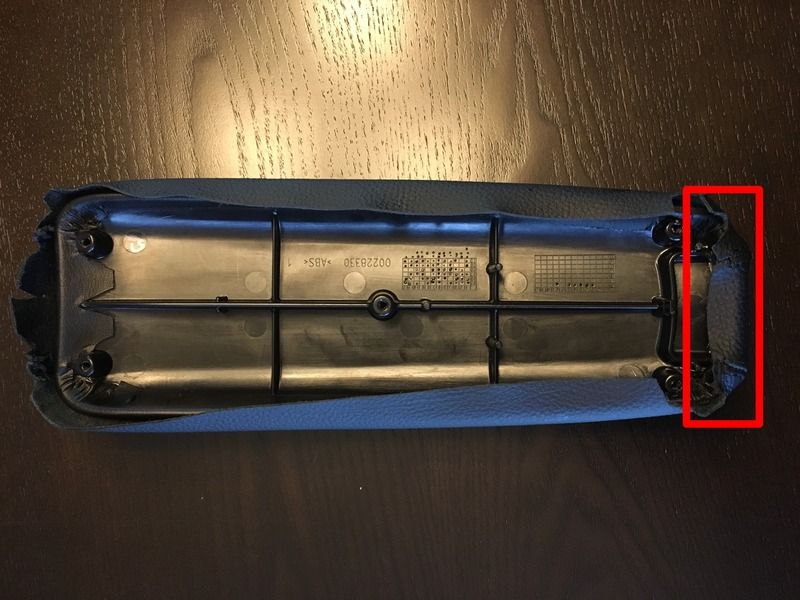
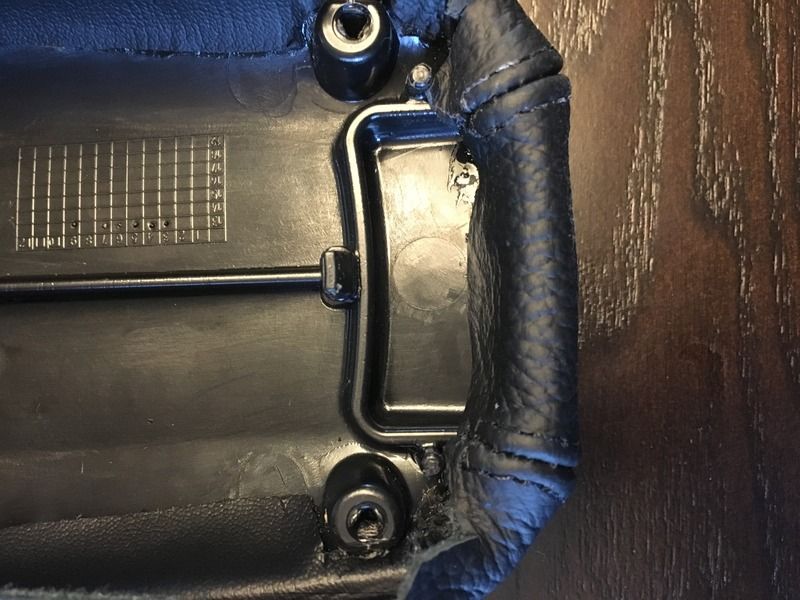
5. Repeat with each side, one at a time, ensuring that the cover is pulled tight as you go. Pay close attention to the two rear corners, ensuring that you fold them in a way that will not interfere with the screw holes.
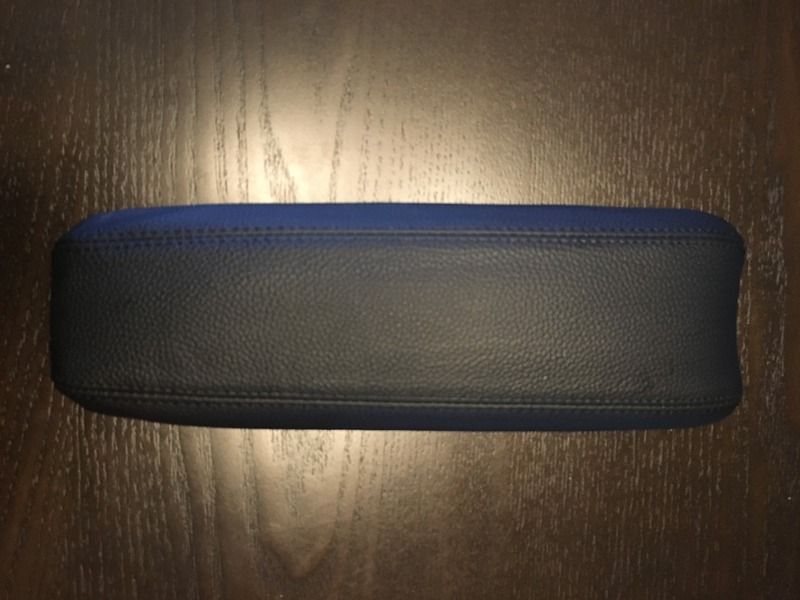
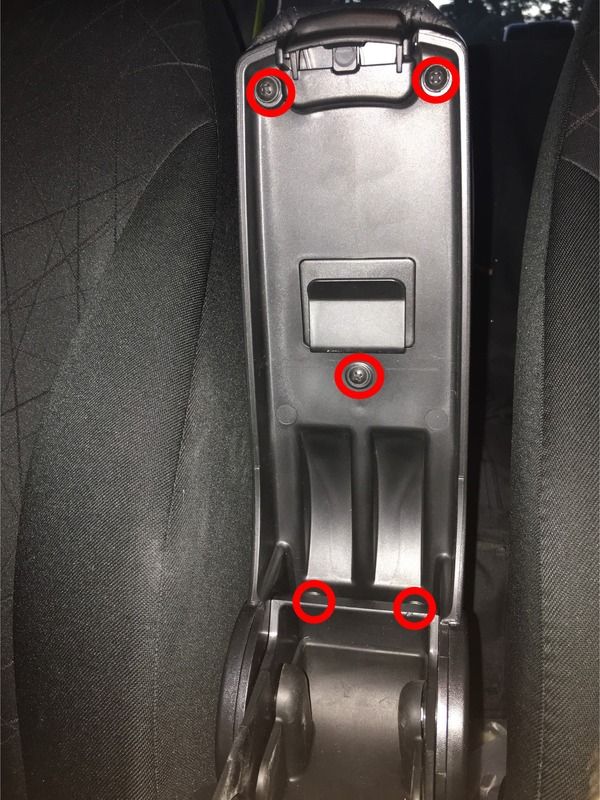
6. Reinstall the pad on the armrest lid using the same 5 screws.
I'll post a link to the product once it's listed on their website.
Tools required:
- Philips screwdriver
- Philips screwdriver bit or stubby screwdriver
- Leather safe glue
2. Line up the new leather cover directly over the OEM pad, ensuring that the overlap at the front lines up with the overlap of the original vinyl cover.
3. Once you're satisfied with how it's lined up, you can begin gluing (only the front) applying glue directly to the underside of the armrest pad on the overlap of the OEM vinyl cover, the pressing the new leather cover into place.
4. Once the glue has had time to set, pull the leather cover tight towards the rear, and once properly lined up, glue at the rear using the same method.
5. Repeat with each side, one at a time, ensuring that the cover is pulled tight as you go. Pay close attention to the two rear corners, ensuring that you fold them in a way that will not interfere with the screw holes.
6. Reinstall the pad on the armrest lid using the same 5 screws.
