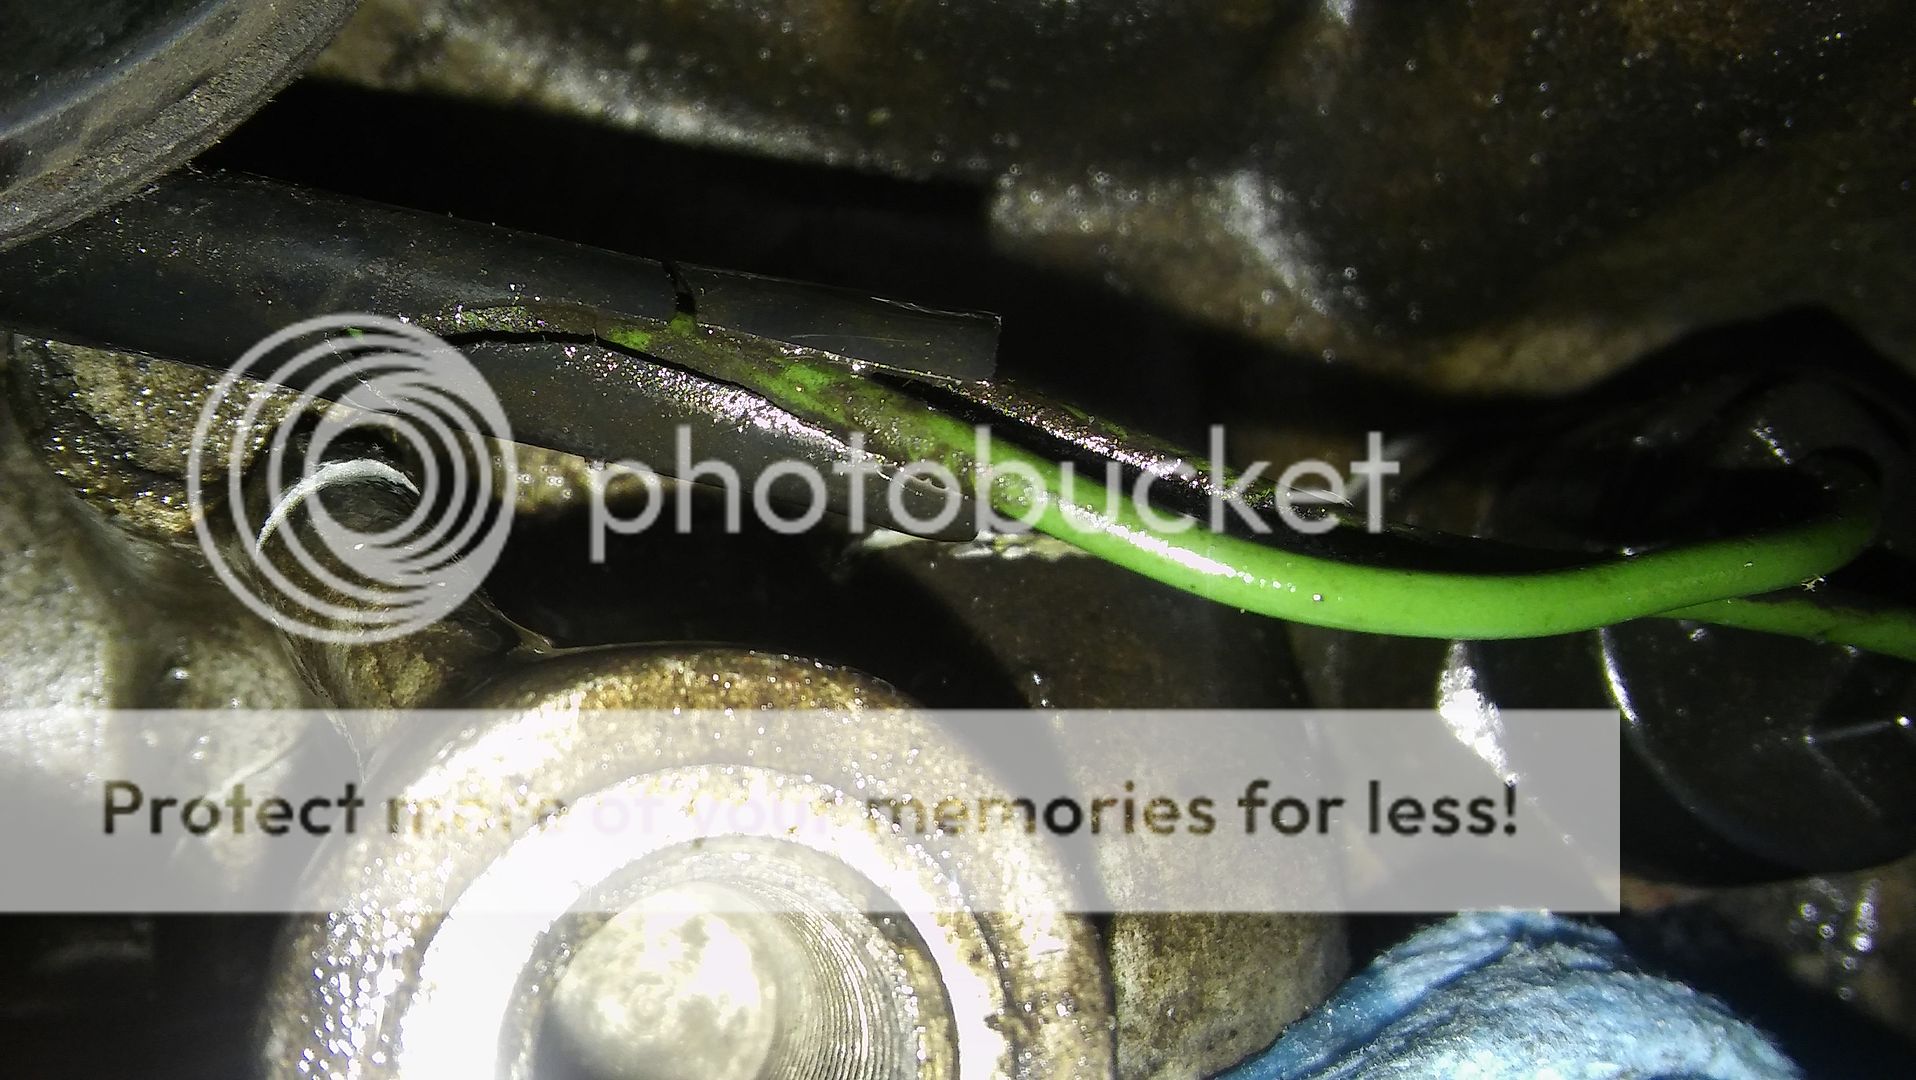
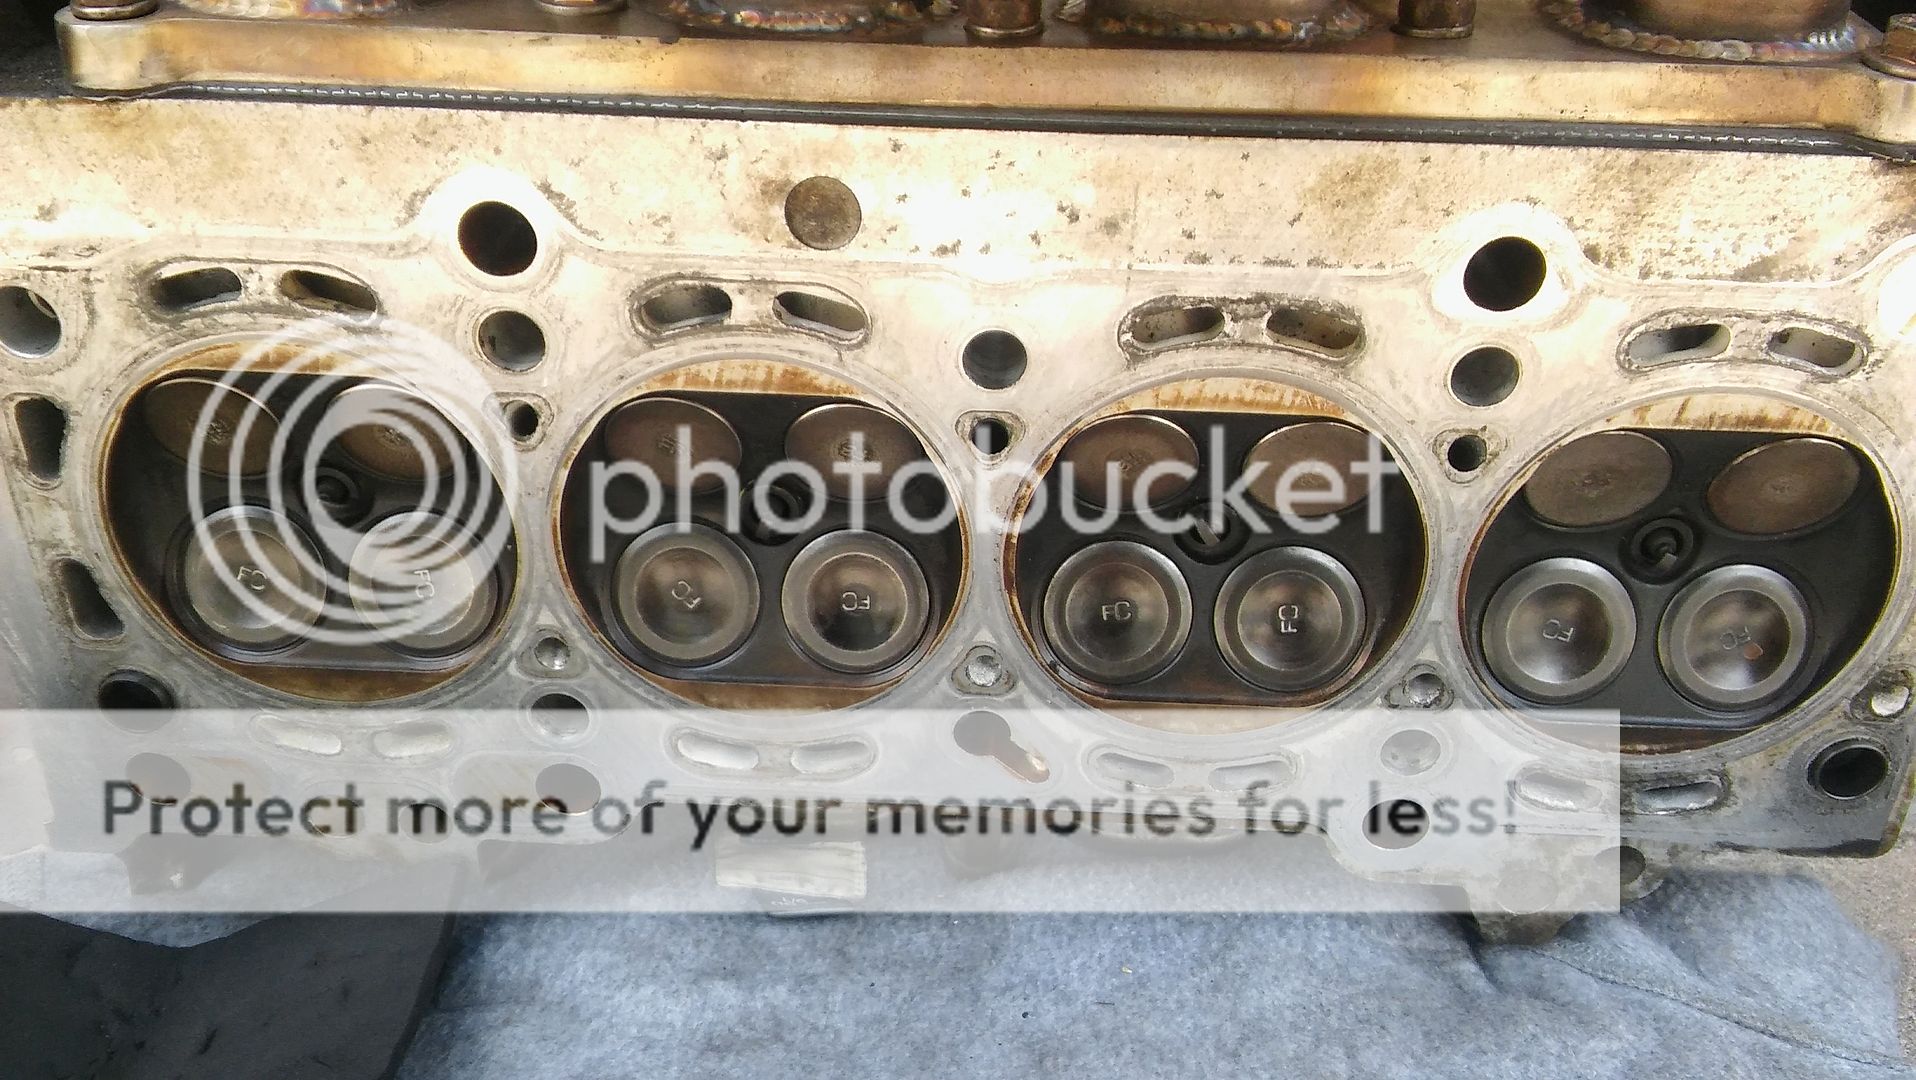
UPDATE 6/10 - We checked the cylinder walls. Everything looks ok. We didn't see any damage to the head or block. The spark plugs were black as can be so they were probably not sparking. I bought a head gasket set and other relevant gaskets, head bolts, timing belt, pulley, and engine/rod bearings and piston rings. I was gonna buy K1 rods but I read they don't work on stock pistons, and I cant afford to put more money into this thing. We havent actually checked the bearing clearances yet but I figured we would put new ones in sine we're doing the piston rings. The valve stems are blackened on the exhaust side with hard buildup around the surfaces. I bought new stem seals and we're gonna clean the stems with a drill and brillo pad. I should have an update in about 2 weeks.
UPDATE 7/3 - Did all but the 4th cylinder piston ring set and rod bearing set. I've decided not to touch the crank bearings. I don't feel up to the task, as they are harder to get to and I don't wanna remove the clutch or flywheel to do so (properly). Next week the new set of piston rings should be in so I can do the 4th cylinder (Broke a piston ring on my first try). After that, I can go ahead and begin reassembly.
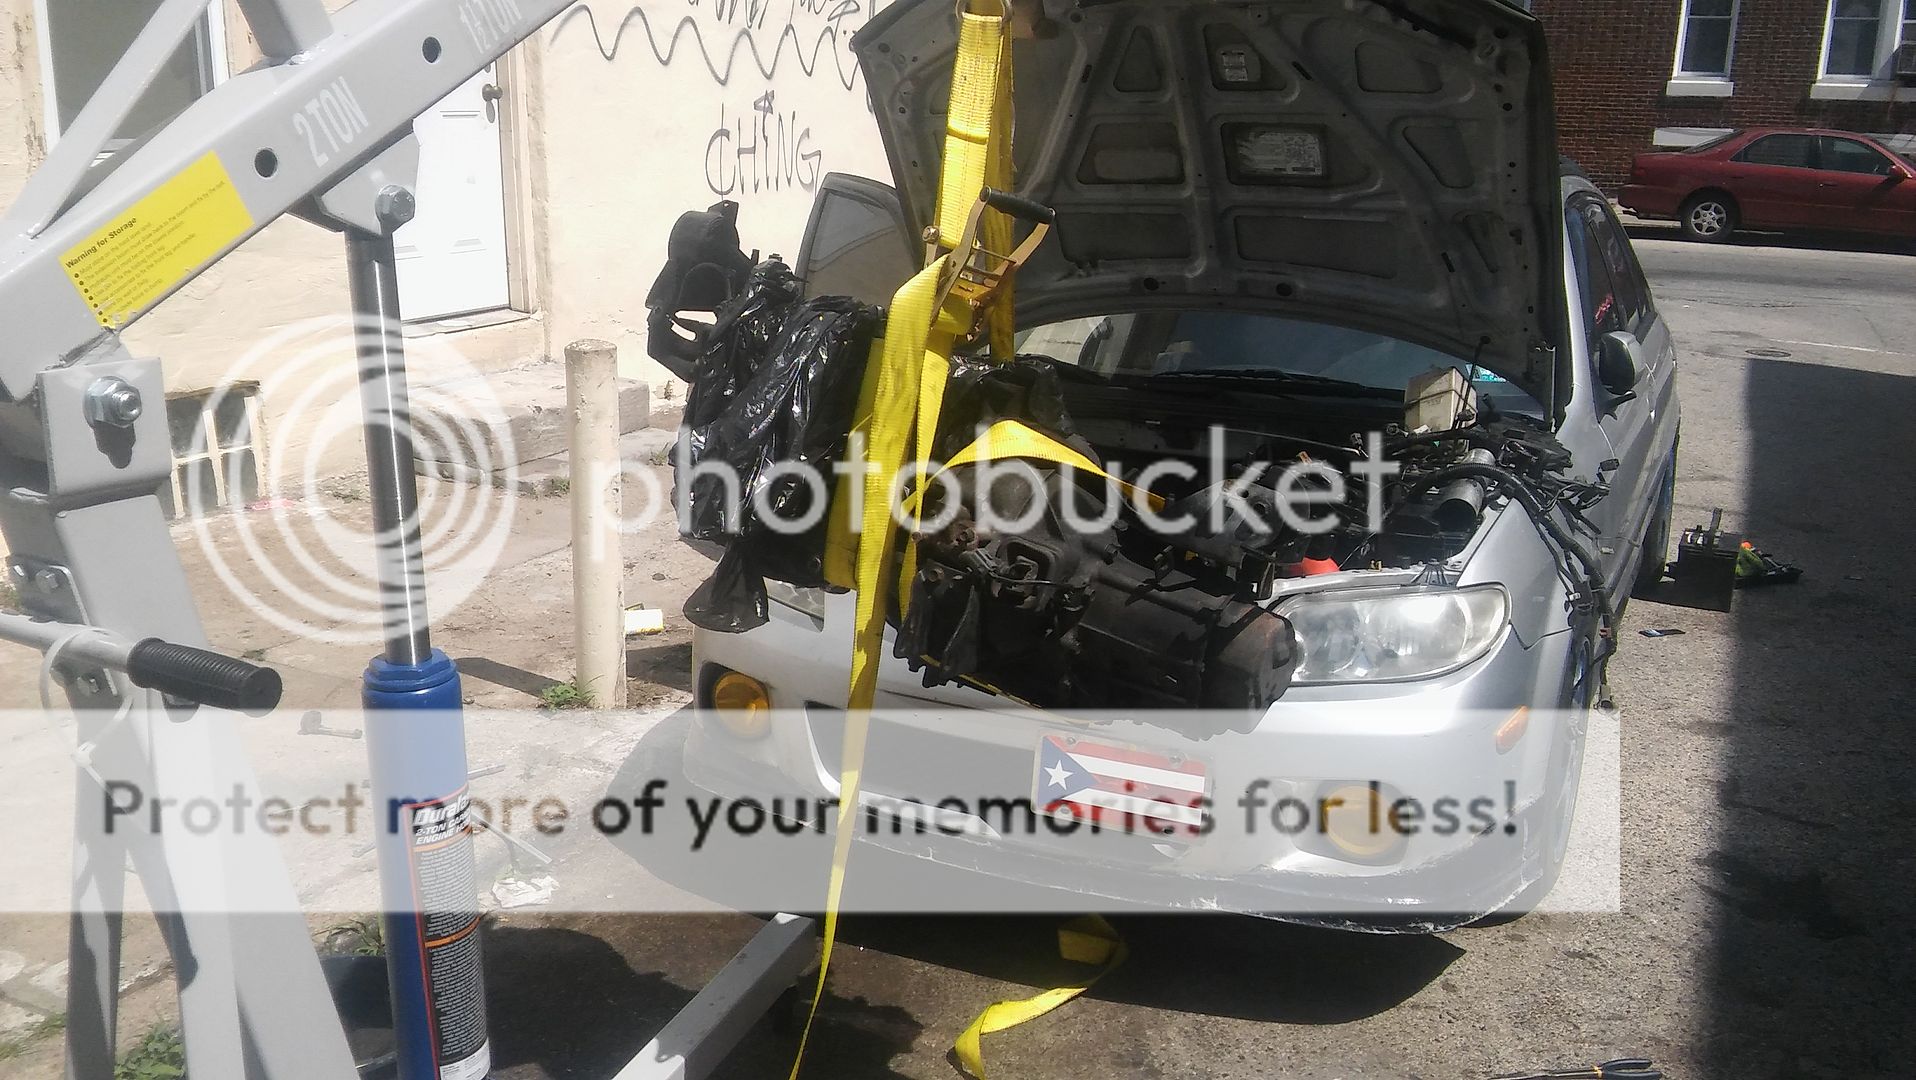
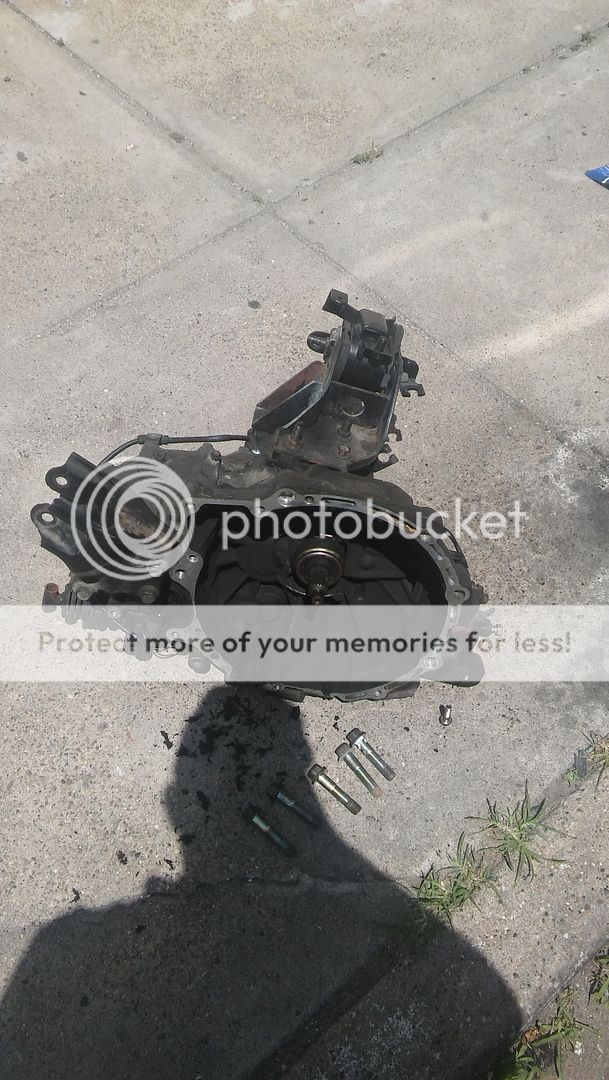
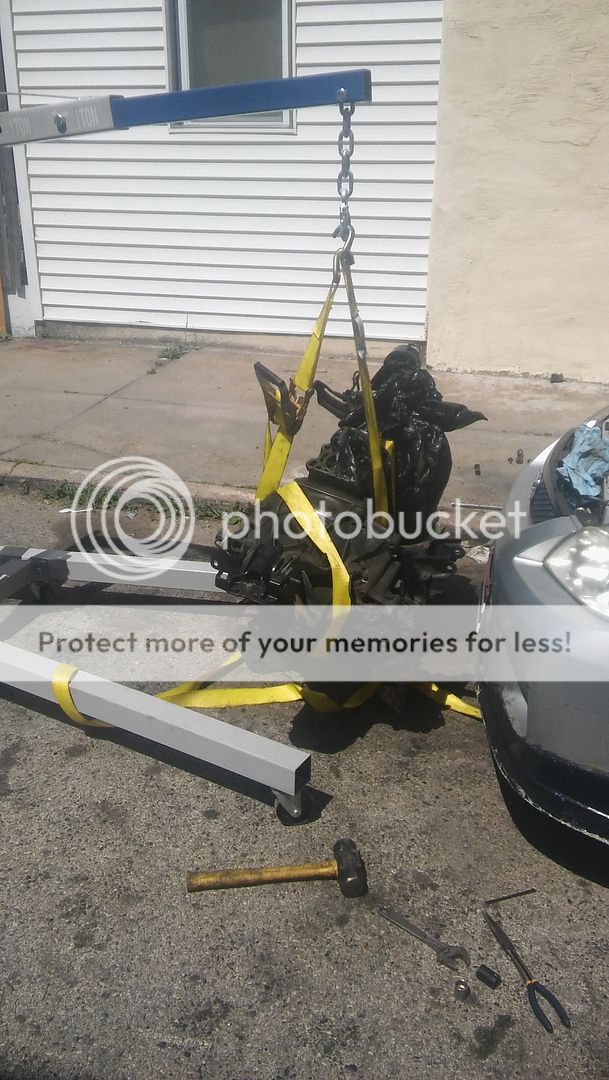
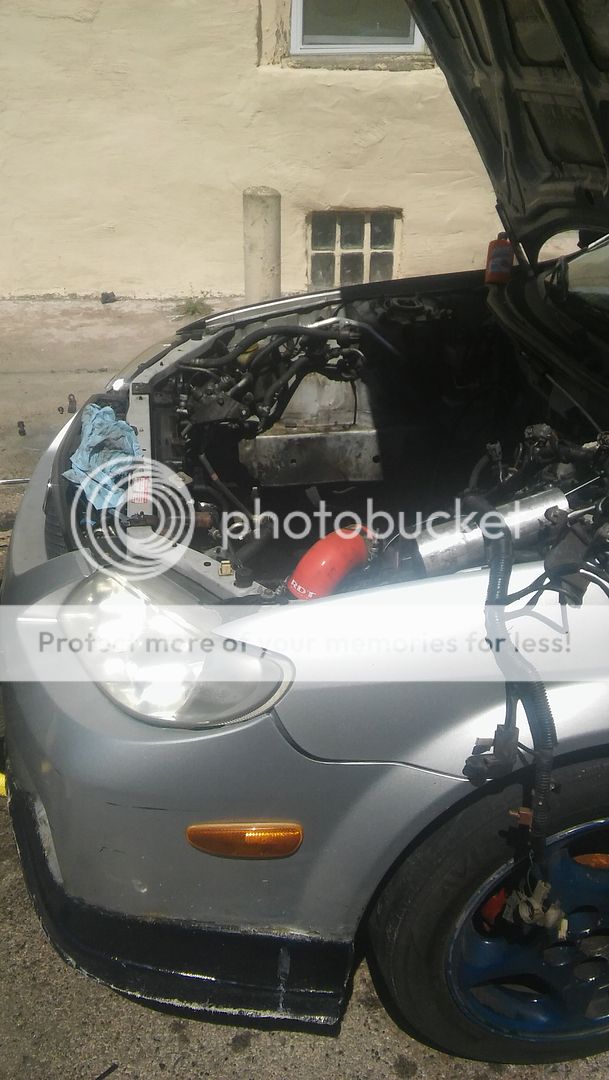
UPDATE 7/14 - Motor is in, everything is hooked up. Transmission has a crack and wont drive. I'm gonna see about buying a used trans to swap in it asap. I relocated the blowoff valve closer to the throttle body. It works and sounds awesome. Almost there.
UPDATE 7/29 - Car is finally running! My diff gear fell out of alignment when I first reassembled the engine, and when I went to drive, the gear blew through the trans housing. With the help of Mazdas247 user socjdqcer (thanks a mil man), I was able to complete this project by him selling me his p5 transmission with a welded diff. It feels great to be back on the road again and I'm making boost after 4k rpm, going all the way to 10psi as I reach redline. The car is untuned, running a hood-exit exhaust. This thing spits fire on the highway and at redline. Gas mileage is piss poor. I traveled about 90 miles city/highway (mostly city) and I'm nearly down to a 1/4 tank. Small oil leak near the valve cover, I probably need to use more rtv near the cam gear areas. I still need to make the exhaust and use the o2 sensors.
Hi all. I've had a 2002 Protege5 since January and I gotta say its a beast! I have a G35x and I would rather be driving the P5 any day. I always come to this site for help and ideas. A while back I wanted to try to do a turbo setup on the P5. I've done a bit of work on the G35 (Welding exhaust, headers, intake, manifold) so I figured I could easily tackle a job like this in a 4 cylinder engine bay. Especially since there's good space in front of the engine. Now I know this goes against everything this forum says; I bought a Ebay turbo kit. I bought this one
https://www.ebay.com (commissions earned)
There are a few things this particular kit does not have:
45 degree couplers
more than 2 90 degree couplers
2" to 2.5" coupler (Turbo outlet is 2" and intercooler pipe is 2.5")
additional clamps for said couplers
fuel pressure regulator
slim fans
oil pressure gauge
air fuel gauge
And other things. I'm gonna top this all off with a MP3 ecu because I'm going for low boost. The engine is nearly stock (2.0l)
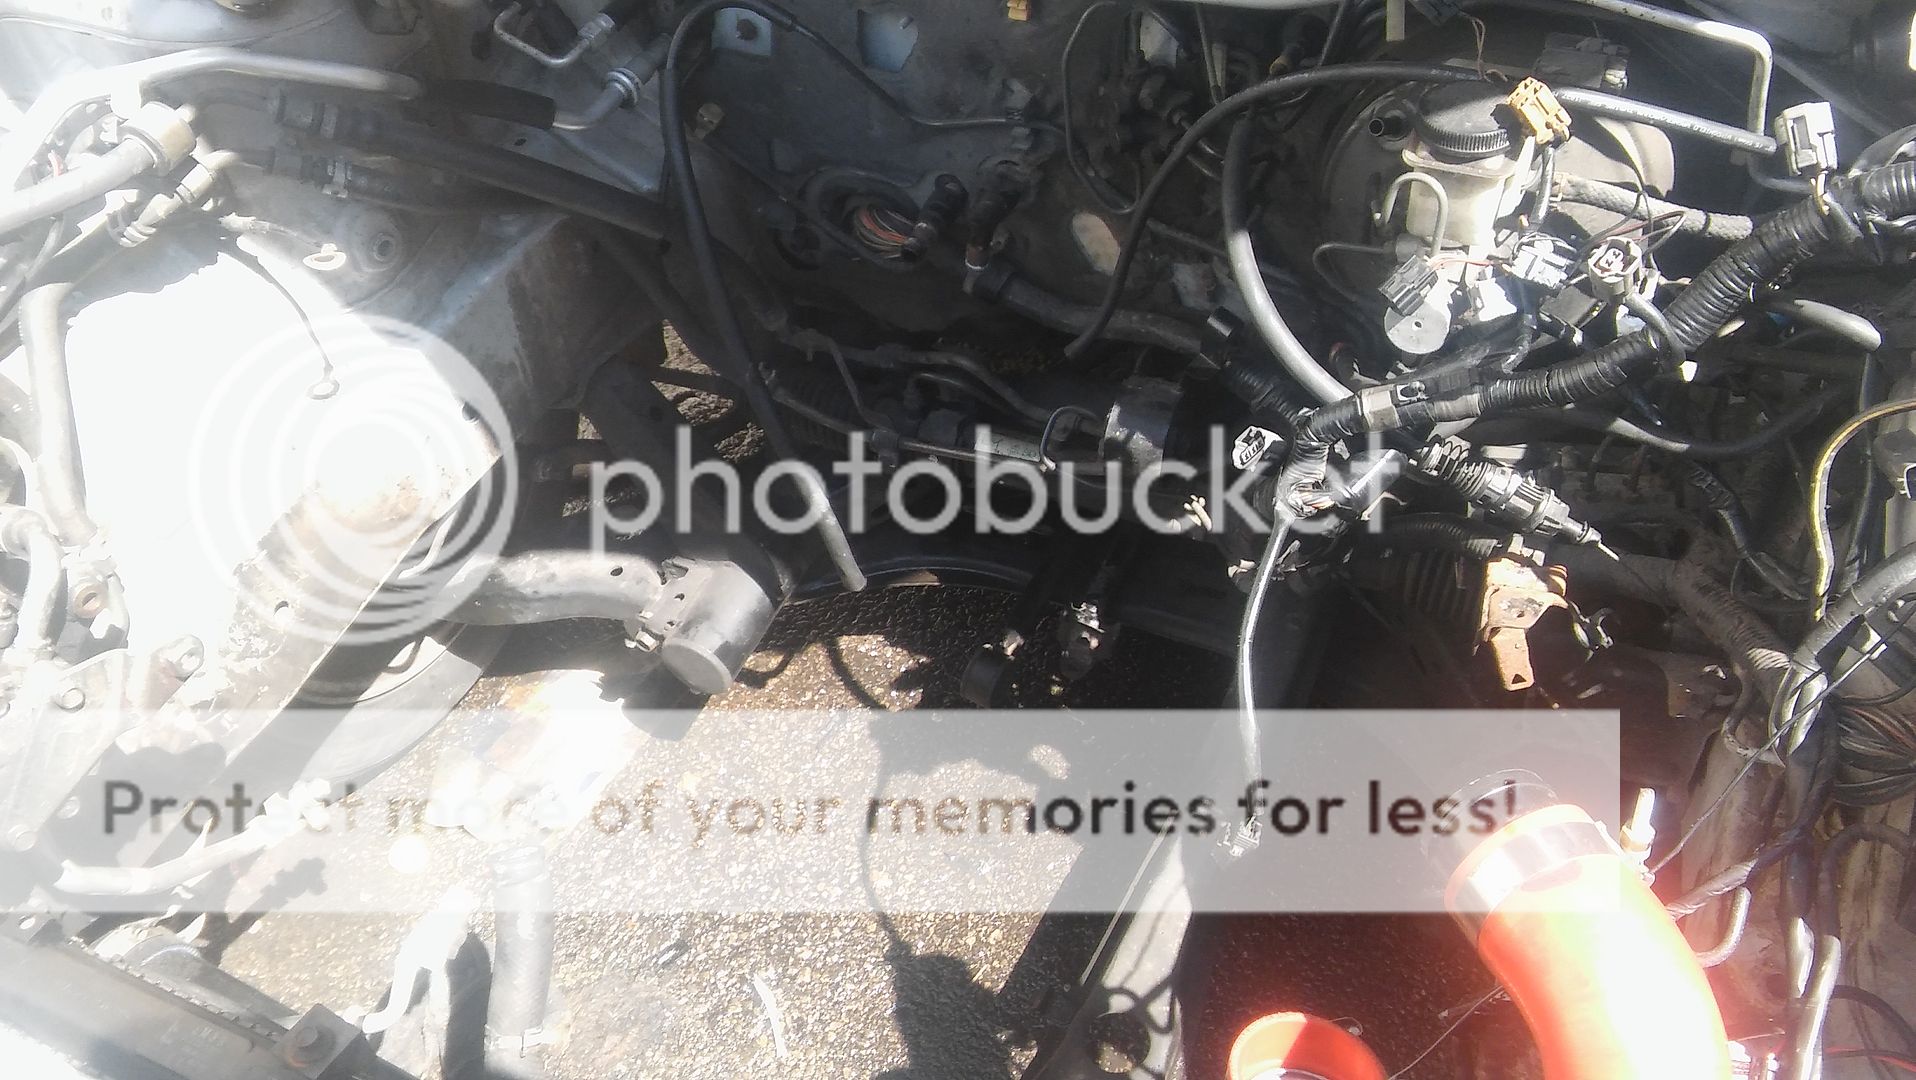
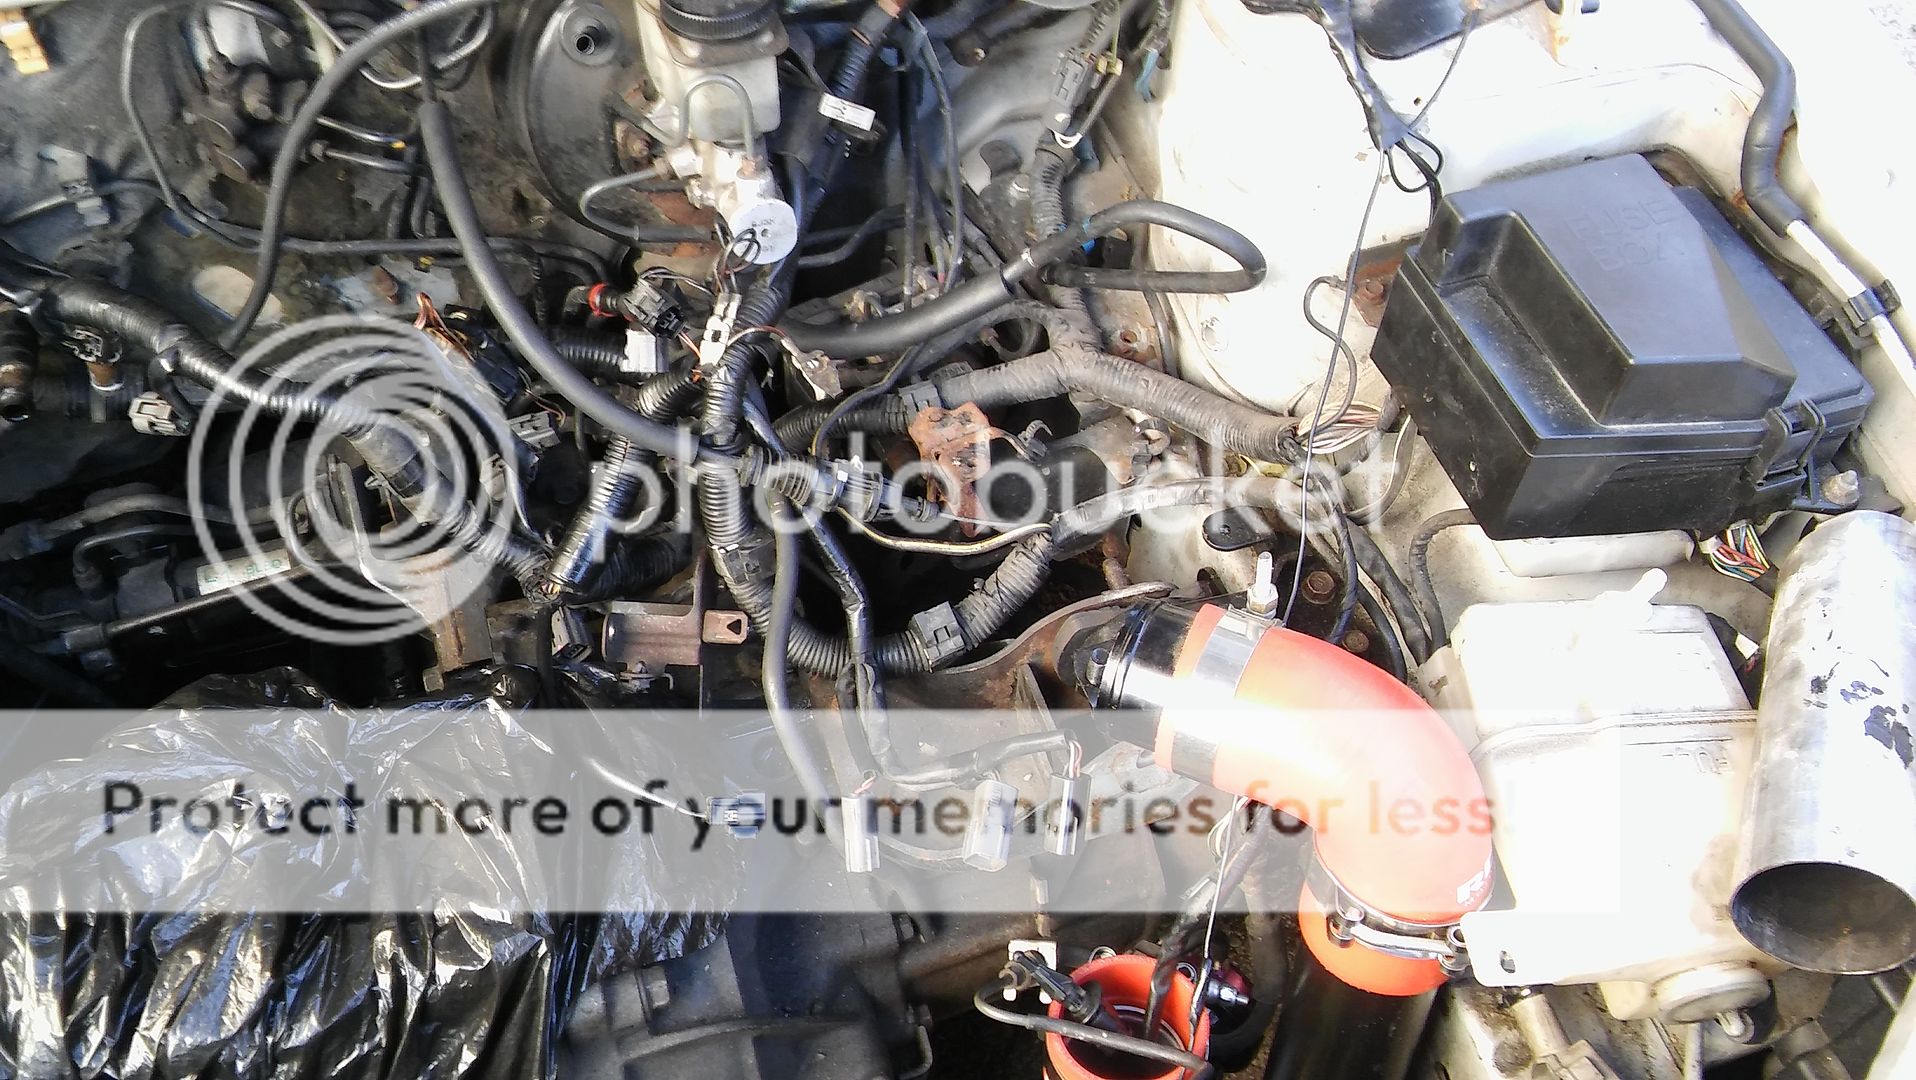
A few things I do like about this kit. It comes with all the fittings you need to do an oil feed and return. It comes with a 4-way female 1/8" tee which also includes a 1/8" cap, 1/8" male to male, and the 1/8" oil feed line. When i was reading the turbo thread, it was said that you might need to drill into the upper oil pan to get the oil feed. I am glad this isn't the case. Another thing I like about this kit is that the prefabbed 90 IC pipes actually fit nicely from the engine bay into the bumper area, and right into the intercooler (you will need to make two 9" straight cuts from the 24" straight IC pipe to connect the IC to 90 degree coupler and to the 90 degree IC pipe. I had to remove the windshield reservoir. The car came with a cold air intake so the airbox was not in the way. There are 2 perfectly cut out holes on both sides of the engine bay to insert the intercooler pipes. I know the bumper will not fit back on unless I cut the foglight housing out. It is cone-shaped and sticks too far out (from the inside of the bumper) and will not clear the IC pipe when you make the 90 degree bend. I was thinking about trying to use 2 45 degree couplers right from the intercooler and another 45 to make the pipes rest as far back from the bumper as possible, so maybe then I can keep the foglights. For some, this might be hard to follow. I will be uploading pics of the install to help others. I haven't found a picture step-by-step DIY for a non-MSP turbo kit. I also found out (didnt know this before) that you can loosen the four 1/2" hex bolts on the exhaust side of the turbo (With the silver ring on it) to spin the oil feed and oil return around. When I first opened the turbo, the 4 bolt flange was pointing upwards, and the oil return line was also pointing upwards. At first I thought I was screwed because the OBX turbo manifold has the turbo flange facing down. But once I found out how to rotate it, it was cake.
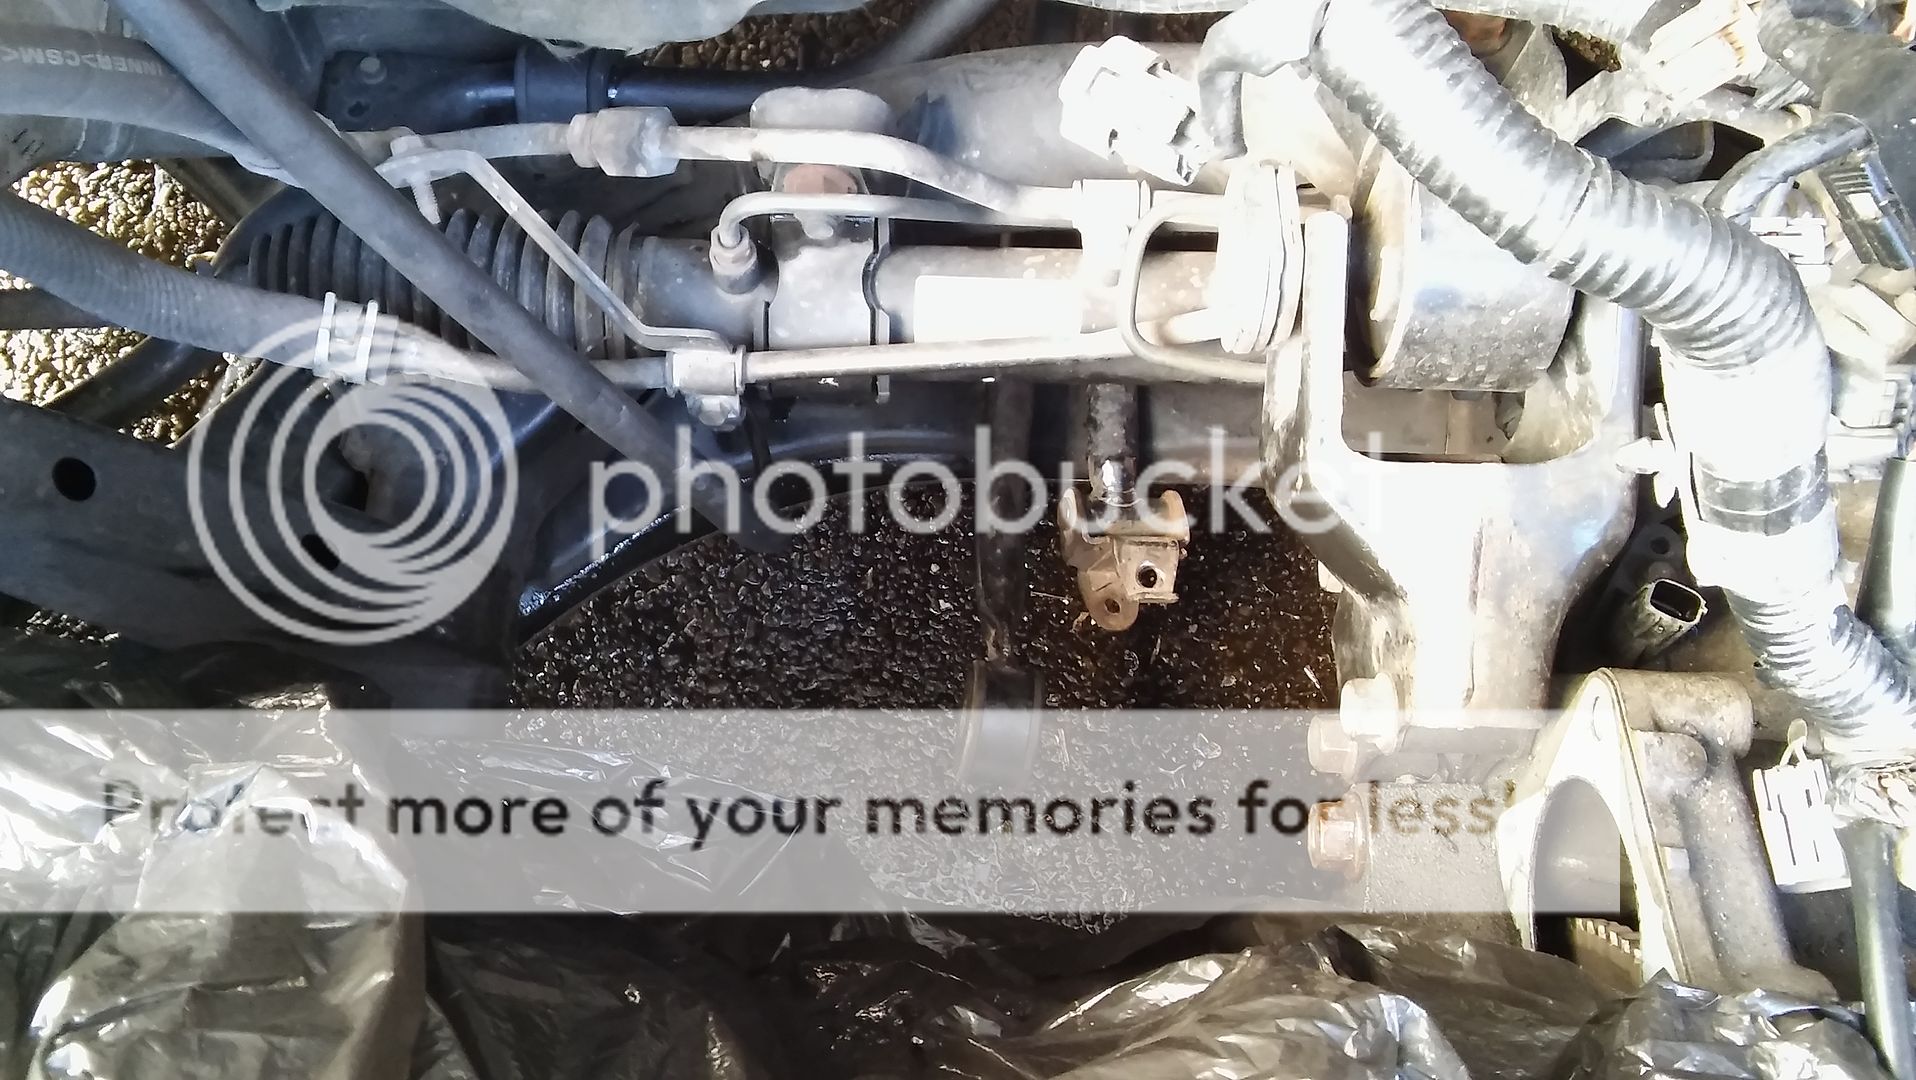
One thing I am not entirely sure of is how to route the vacuum lines Whoever had this car before me deleted the EGR valve, vtcs and vics soldenoid and that big cylinder like thingy that you would have found on the passenger side of the engine bay near with windshield. There are unplugged connectors and there are screws plugging some vacuum ports on the intake manifold. I can take a pic to see if anyone can tell me where to run the boost line and such.
PICS


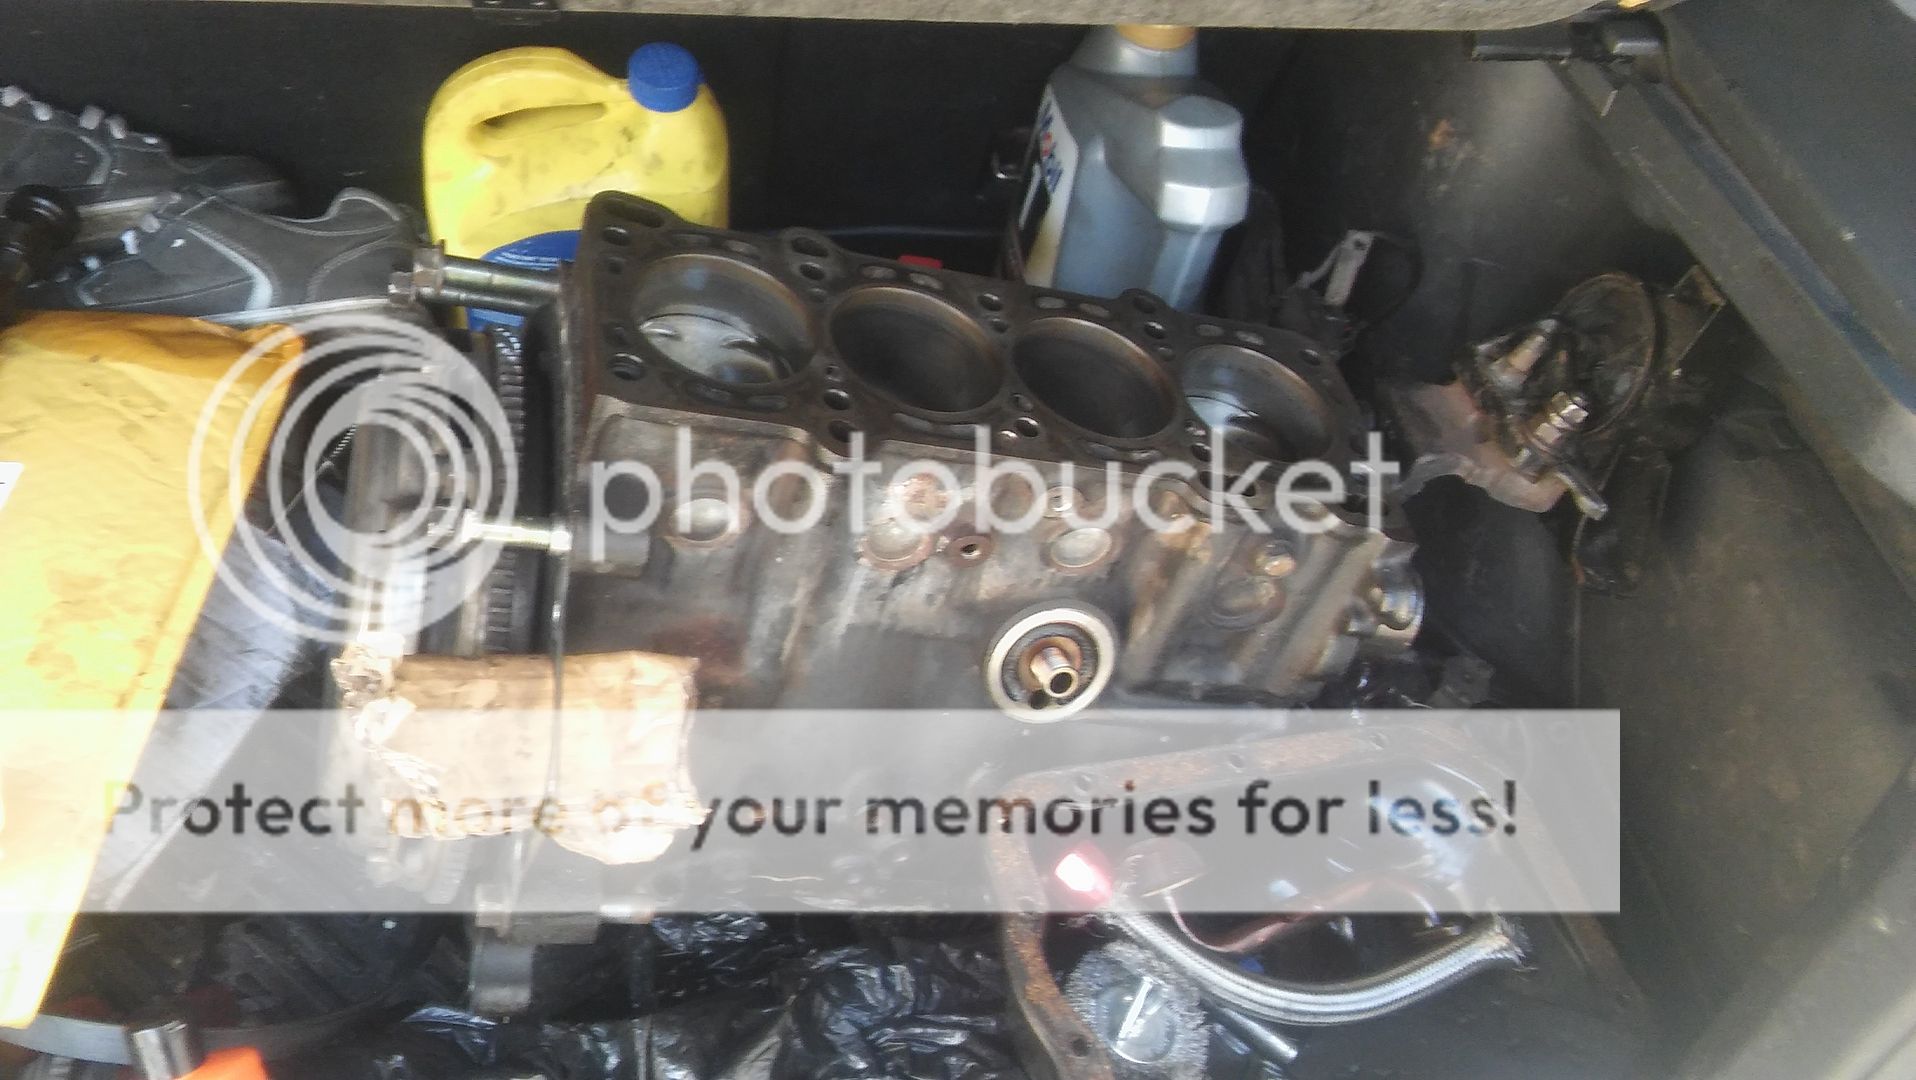
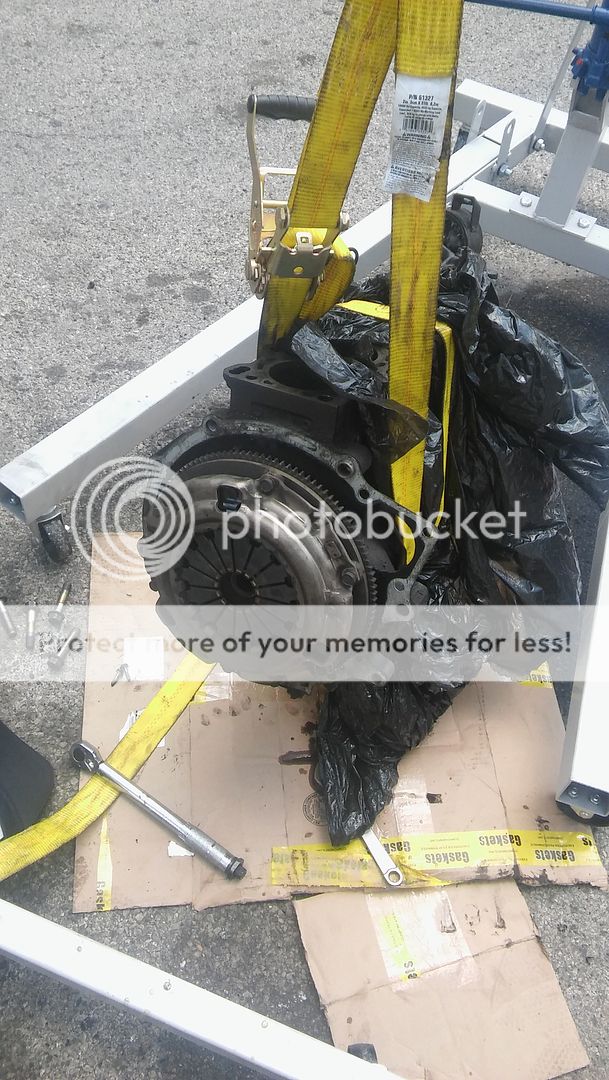
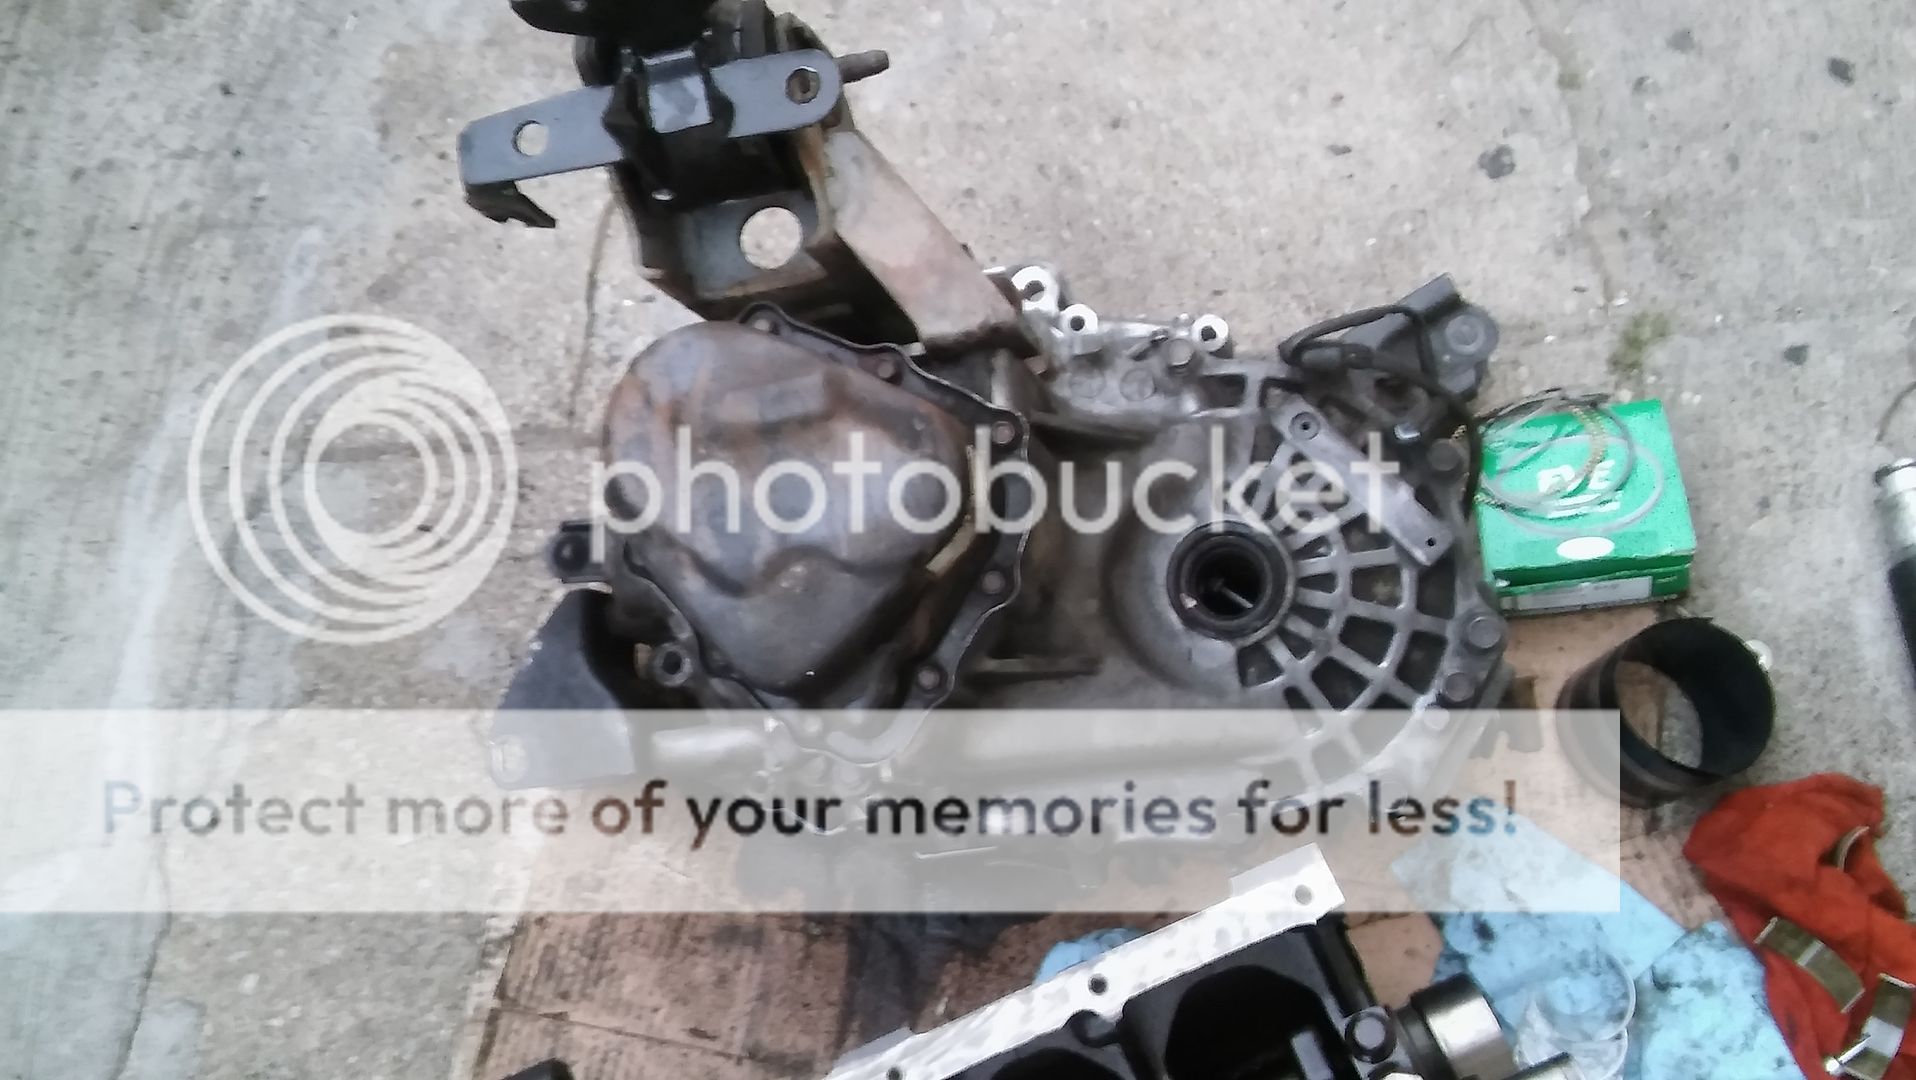
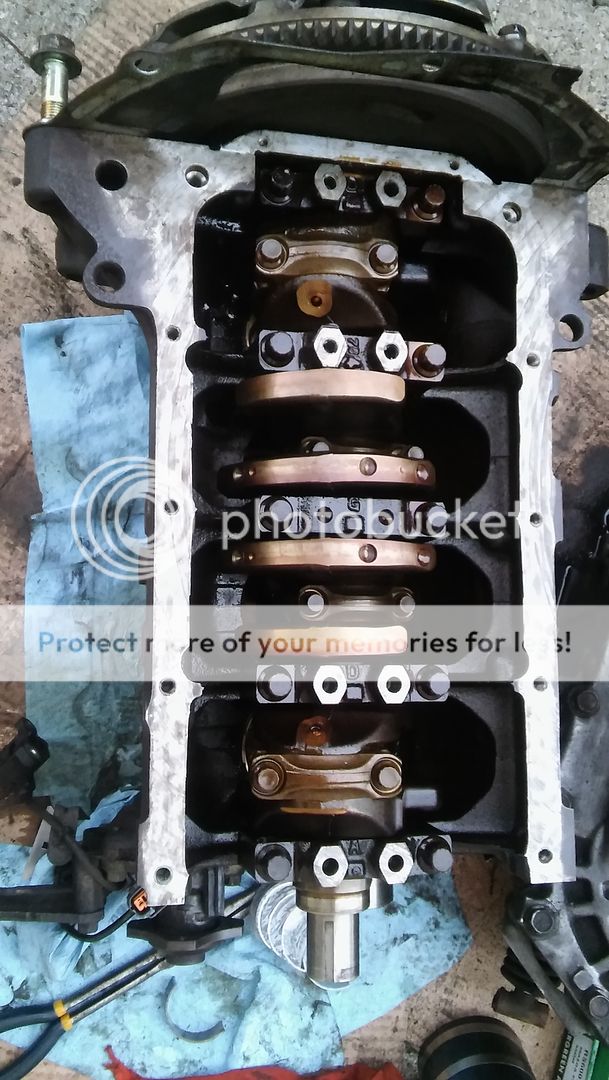
Transmission was about 100lbs or so. I could lift it with one hand. The motor is about 200 lbs I'd say. I was able to carry it out of the trunk of the car and place it on the ground (Struggled quite a bit) and put it back in the trunk. My motor stand wont fit the transmission bolts so I had to work over a piece of cardboard on the sidewalk. I changed 2 sets of piston rings so far and 2 sets of rod bearings. I broke one middle piston ring on my first try (FUUUUU) so now i gotta order a new set.
UPDATE 7/3 - Did all but the 4th cylinder piston ring set and rod bearing set. I've decided not to touch the crank bearings. I don't feel up to the task, as they are harder to get to and I don't wanna remove the clutch or flywheel to do so (properly). Next week the new set of piston rings should be in so I can do the 4th cylinder (Broke a piston ring on my first try). After that, I can go ahead and begin reassembly.
UPDATE 7/14 - Motor is in, everything is hooked up. Transmission has a crack and wont drive. I'm gonna see about buying a used trans to swap in it asap. I relocated the blowoff valve closer to the throttle body. It works and sounds awesome. Almost there.
UPDATE 7/29 - Car is finally running! My diff gear fell out of alignment when I first reassembled the engine, and when I went to drive, the gear blew through the trans housing. With the help of Mazdas247 user socjdqcer (thanks a mil man), I was able to complete this project by him selling me his p5 transmission with a welded diff. It feels great to be back on the road again and I'm making boost after 4k rpm, going all the way to 10psi as I reach redline. The car is untuned, running a hood-exit exhaust. This thing spits fire on the highway and at redline. Gas mileage is piss poor. I traveled about 90 miles city/highway (mostly city) and I'm nearly down to a 1/4 tank. Small oil leak near the valve cover, I probably need to use more rtv near the cam gear areas. I still need to make the exhaust and use the o2 sensors.
Hi all. I've had a 2002 Protege5 since January and I gotta say its a beast! I have a G35x and I would rather be driving the P5 any day. I always come to this site for help and ideas. A while back I wanted to try to do a turbo setup on the P5. I've done a bit of work on the G35 (Welding exhaust, headers, intake, manifold) so I figured I could easily tackle a job like this in a 4 cylinder engine bay. Especially since there's good space in front of the engine. Now I know this goes against everything this forum says; I bought a Ebay turbo kit. I bought this one
https://www.ebay.com (commissions earned)
There are a few things this particular kit does not have:
45 degree couplers
more than 2 90 degree couplers
2" to 2.5" coupler (Turbo outlet is 2" and intercooler pipe is 2.5")
additional clamps for said couplers
fuel pressure regulator
slim fans
oil pressure gauge
air fuel gauge
And other things. I'm gonna top this all off with a MP3 ecu because I'm going for low boost. The engine is nearly stock (2.0l)
A few things I do like about this kit. It comes with all the fittings you need to do an oil feed and return. It comes with a 4-way female 1/8" tee which also includes a 1/8" cap, 1/8" male to male, and the 1/8" oil feed line. When i was reading the turbo thread, it was said that you might need to drill into the upper oil pan to get the oil feed. I am glad this isn't the case. Another thing I like about this kit is that the prefabbed 90 IC pipes actually fit nicely from the engine bay into the bumper area, and right into the intercooler (you will need to make two 9" straight cuts from the 24" straight IC pipe to connect the IC to 90 degree coupler and to the 90 degree IC pipe. I had to remove the windshield reservoir. The car came with a cold air intake so the airbox was not in the way. There are 2 perfectly cut out holes on both sides of the engine bay to insert the intercooler pipes. I know the bumper will not fit back on unless I cut the foglight housing out. It is cone-shaped and sticks too far out (from the inside of the bumper) and will not clear the IC pipe when you make the 90 degree bend. I was thinking about trying to use 2 45 degree couplers right from the intercooler and another 45 to make the pipes rest as far back from the bumper as possible, so maybe then I can keep the foglights. For some, this might be hard to follow. I will be uploading pics of the install to help others. I haven't found a picture step-by-step DIY for a non-MSP turbo kit. I also found out (didnt know this before) that you can loosen the four 1/2" hex bolts on the exhaust side of the turbo (With the silver ring on it) to spin the oil feed and oil return around. When I first opened the turbo, the 4 bolt flange was pointing upwards, and the oil return line was also pointing upwards. At first I thought I was screwed because the OBX turbo manifold has the turbo flange facing down. But once I found out how to rotate it, it was cake.
One thing I am not entirely sure of is how to route the vacuum lines Whoever had this car before me deleted the EGR valve, vtcs and vics soldenoid and that big cylinder like thingy that you would have found on the passenger side of the engine bay near with windshield. There are unplugged connectors and there are screws plugging some vacuum ports on the intake manifold. I can take a pic to see if anyone can tell me where to run the boost line and such.
PICS
Transmission was about 100lbs or so. I could lift it with one hand. The motor is about 200 lbs I'd say. I was able to carry it out of the trunk of the car and place it on the ground (Struggled quite a bit) and put it back in the trunk. My motor stand wont fit the transmission bolts so I had to work over a piece of cardboard on the sidewalk. I changed 2 sets of piston rings so far and 2 sets of rod bearings. I broke one middle piston ring on my first try (FUUUUU) so now i gotta order a new set.
Last edited: