I decided to start a build thread since I'm making a project out of my P5. First, I'll start with where the car is now, and what I've done to it so far.
I bought the car in April of 2012 as I was in need of something better on gas than my truck. I gave $3800 for it, with 127k miles on it. It was in decent shape, but did need a little work. Here's how it looked the day I brought it home:
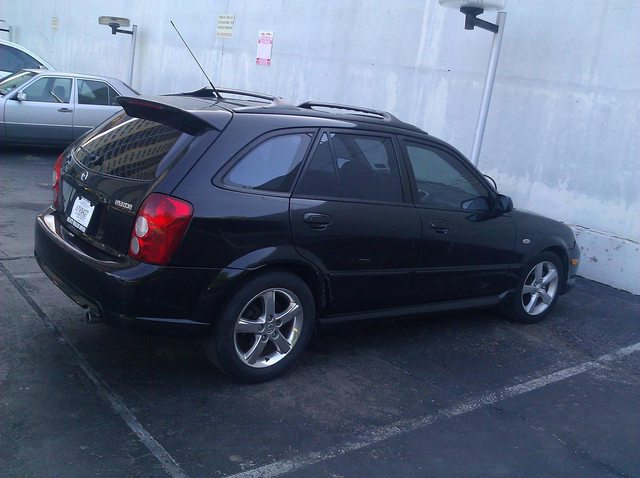
Notice the mismatched wheels, and I think it had 3 different sizes of tires on it. All of the wheels had massive curb rash - whoever had this car before needs to practice parallel parking. The biggest issue was the front left wheel bearing, it was shot and needed replacement. I bought a 12 ton press from Harbor Freight, and replaced it myself in a weekend. It was a huge amount of work, the hardest part is finding a way to support the spindle while you press the bearing out. I also replaced the driver side CV axle while I had it apart.
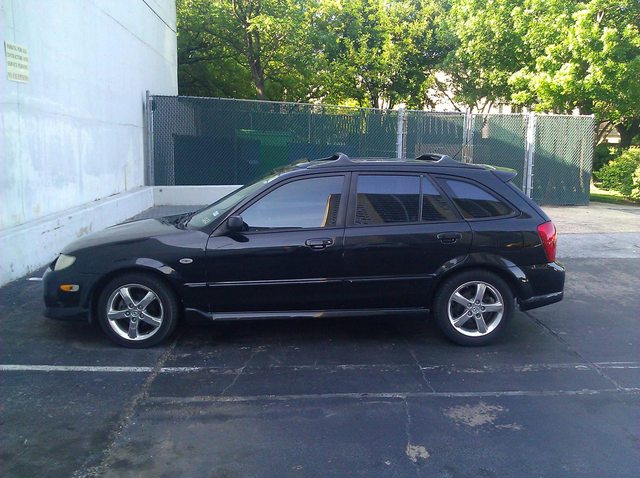
I picked up some 2010 Mazda3 17" wheels, which helped out the look of the car dramatically:

I also did some general improvement stuff, like putting new wiper blades on, air filter, tinting the sunroof, getting an alignment, and replacing the non-functional OEM cd changer with a single CD head unit out of a 626. I found out the hard way that 626's had green back lighting, but at least it worked.
Last year I found a wrecked P5 in a junkyard that had a full original leather interior which was mostly in good shape. The door panels and rear seats were perfect, but the front driver seat had side bolster wear, and the front passenger side had the built-in airbag deployed. I decided to try and fix them, and paid $300 for everything. I have minimal upholstery experience, but I figured this would be good practice. I bought a small walking foot sewing machine (a must-have for leather upholstery), some black leather upholstery, and some black vinyl to practice with first. The first task was to disassemble the front seats, and remove the damaged seat covers. Here's what the passenger side seat back looked like, notice the split seam and deployed airbag, The two outside panels were damaged, but the rest of the cover was fine.
Next, using a seam ripper, I carefully removed the stitches holding the damaged panels, and used them as a pattern for the new leather. I then cut out the new leather panels, and spray glued headliner foam to the backsides of them for padding. Having a foam backing is needed in order for the panel to have no wrinkles or bumps when installed. I removed the airbag modules from both seats, since my car is not equipped with seat airbags, and has no plugs for them. I filled the spaces left by the airbag modules with blocks of seat foam cut to size.
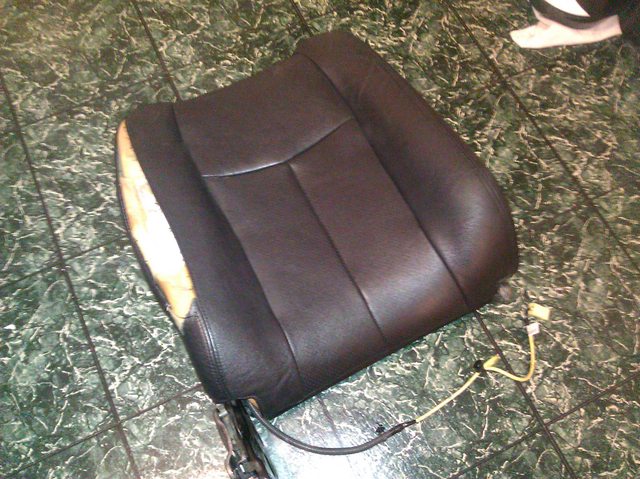
Then it was just a matter of sewing the replacement panels to the old seat covers, and reinstalling. Here's the passenger side seat back after replacing the panels:

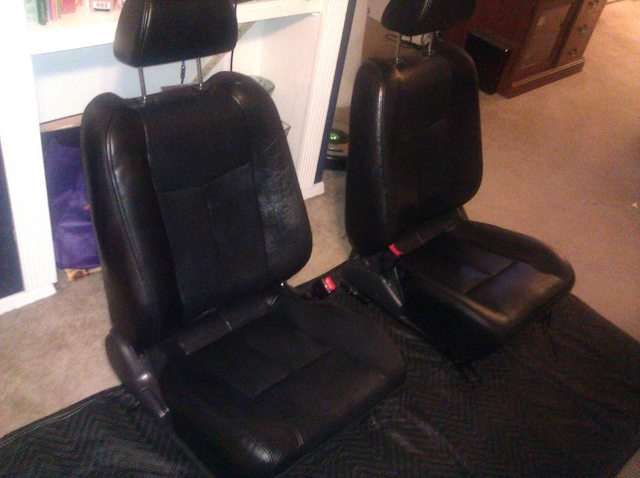
And here are both seats reassembled, and liberally coated with Lexol. Although I used upholstery leather, it is not quite a perfect match to the OE leather. However, it's close enough that you wouldn't notice it unless it was pointed out.

Then it was a simple matter of swapping the seats and door panels into my car. I don't have any pictures of them installed, but I will get some soon.
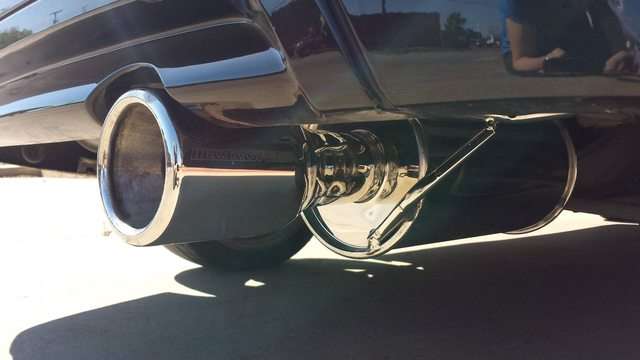
I managed to break my tail pipe loose from the muffler by bottoming out while parking in a field, so I decided to upgrade to the Mazdaspeed axle-back system. I like the looks better, and it's not much louder than stock:
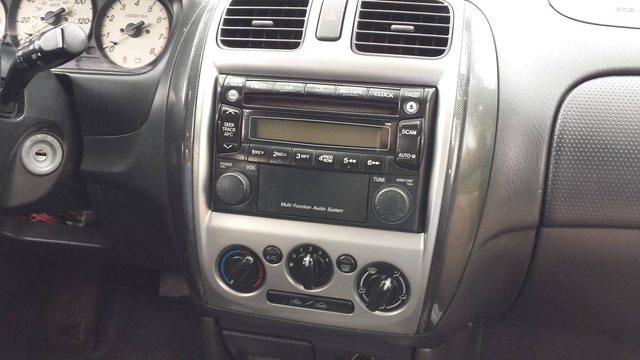
I stumbled across an awesome deal on a replacement 6-CD head unit, only $65 shipped! So I finally replaced my green 626 head unit with the correct one that came in the car originally:
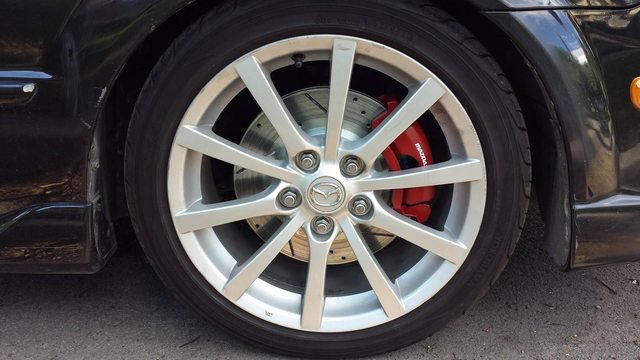
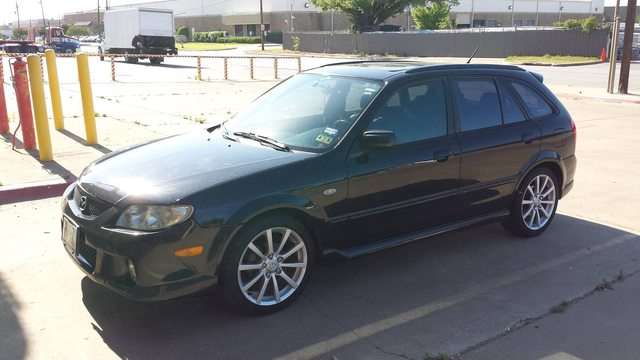
I found a good deal on a set of MX-5 wheels, which were in near perfect shape, and I also like better than the MZ3 wheels. I spent a few hours cleaning them thoroughly while they were off the car, then I had my tires mounted on them, and installed. The tires are Yokohama 205-45ZR17. I may add spacers to get them a little closer out to the fenderwell, but I'm waiting to see how much clearance there is after I get my lowering springs installed. You may have also noticed that I ditched my roof rack. I never used it, and the plastic trim pieces on it were all cracked and falling apart.
My current plans for the car are to replace/upgrade the clunking front and rear suspension, and do some body work. The car has a big dent in the right rear door and quarter, as well as lots of scrapes and scratches in the bumpers. I managed to find another black P5 rear door, but it also has a small dent that needs fixing before I put it on. I'll have to have a shop fix the quarter panel, since I don't have the tools or skill to replace quarters. I'll keep this thread updated as I make progress.
I bought the car in April of 2012 as I was in need of something better on gas than my truck. I gave $3800 for it, with 127k miles on it. It was in decent shape, but did need a little work. Here's how it looked the day I brought it home:
Notice the mismatched wheels, and I think it had 3 different sizes of tires on it. All of the wheels had massive curb rash - whoever had this car before needs to practice parallel parking. The biggest issue was the front left wheel bearing, it was shot and needed replacement. I bought a 12 ton press from Harbor Freight, and replaced it myself in a weekend. It was a huge amount of work, the hardest part is finding a way to support the spindle while you press the bearing out. I also replaced the driver side CV axle while I had it apart.
I picked up some 2010 Mazda3 17" wheels, which helped out the look of the car dramatically:
I also did some general improvement stuff, like putting new wiper blades on, air filter, tinting the sunroof, getting an alignment, and replacing the non-functional OEM cd changer with a single CD head unit out of a 626. I found out the hard way that 626's had green back lighting, but at least it worked.
Last year I found a wrecked P5 in a junkyard that had a full original leather interior which was mostly in good shape. The door panels and rear seats were perfect, but the front driver seat had side bolster wear, and the front passenger side had the built-in airbag deployed. I decided to try and fix them, and paid $300 for everything. I have minimal upholstery experience, but I figured this would be good practice. I bought a small walking foot sewing machine (a must-have for leather upholstery), some black leather upholstery, and some black vinyl to practice with first. The first task was to disassemble the front seats, and remove the damaged seat covers. Here's what the passenger side seat back looked like, notice the split seam and deployed airbag, The two outside panels were damaged, but the rest of the cover was fine.
Next, using a seam ripper, I carefully removed the stitches holding the damaged panels, and used them as a pattern for the new leather. I then cut out the new leather panels, and spray glued headliner foam to the backsides of them for padding. Having a foam backing is needed in order for the panel to have no wrinkles or bumps when installed. I removed the airbag modules from both seats, since my car is not equipped with seat airbags, and has no plugs for them. I filled the spaces left by the airbag modules with blocks of seat foam cut to size.
Then it was just a matter of sewing the replacement panels to the old seat covers, and reinstalling. Here's the passenger side seat back after replacing the panels:
And here are both seats reassembled, and liberally coated with Lexol. Although I used upholstery leather, it is not quite a perfect match to the OE leather. However, it's close enough that you wouldn't notice it unless it was pointed out.
Then it was a simple matter of swapping the seats and door panels into my car. I don't have any pictures of them installed, but I will get some soon.
I managed to break my tail pipe loose from the muffler by bottoming out while parking in a field, so I decided to upgrade to the Mazdaspeed axle-back system. I like the looks better, and it's not much louder than stock:
I stumbled across an awesome deal on a replacement 6-CD head unit, only $65 shipped! So I finally replaced my green 626 head unit with the correct one that came in the car originally:
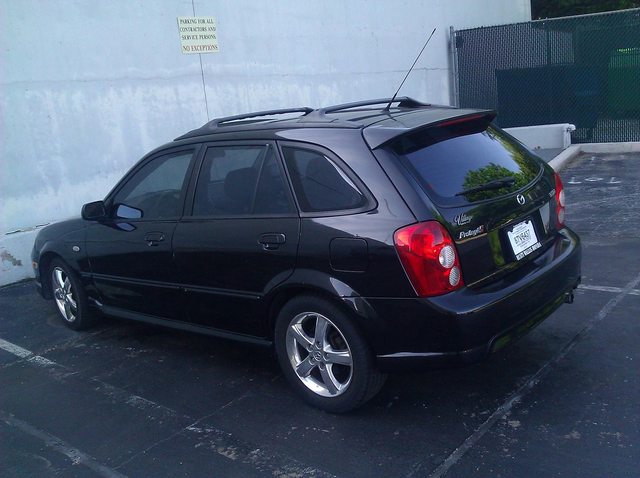
I found a good deal on a set of MX-5 wheels, which were in near perfect shape, and I also like better than the MZ3 wheels. I spent a few hours cleaning them thoroughly while they were off the car, then I had my tires mounted on them, and installed. The tires are Yokohama 205-45ZR17. I may add spacers to get them a little closer out to the fenderwell, but I'm waiting to see how much clearance there is after I get my lowering springs installed. You may have also noticed that I ditched my roof rack. I never used it, and the plastic trim pieces on it were all cracked and falling apart.
My current plans for the car are to replace/upgrade the clunking front and rear suspension, and do some body work. The car has a big dent in the right rear door and quarter, as well as lots of scrapes and scratches in the bumpers. I managed to find another black P5 rear door, but it also has a small dent that needs fixing before I put it on. I'll have to have a shop fix the quarter panel, since I don't have the tools or skill to replace quarters. I'll keep this thread updated as I make progress.
Last edited: