deepfriedsushi
Member
- :
- 95 Miata, 14 CX5 Touring FWD, 18 CX9 GT FWD
Goal:
Placement and wiring of 2 LED strips on the bottom surface of the hatch, 2 LED strips above the “wheel wells” in the cargo area, a mercury switch on the hatch, and the power switch above the cargo cigarette lighter while retaining the functionality of the cigarette lighter.


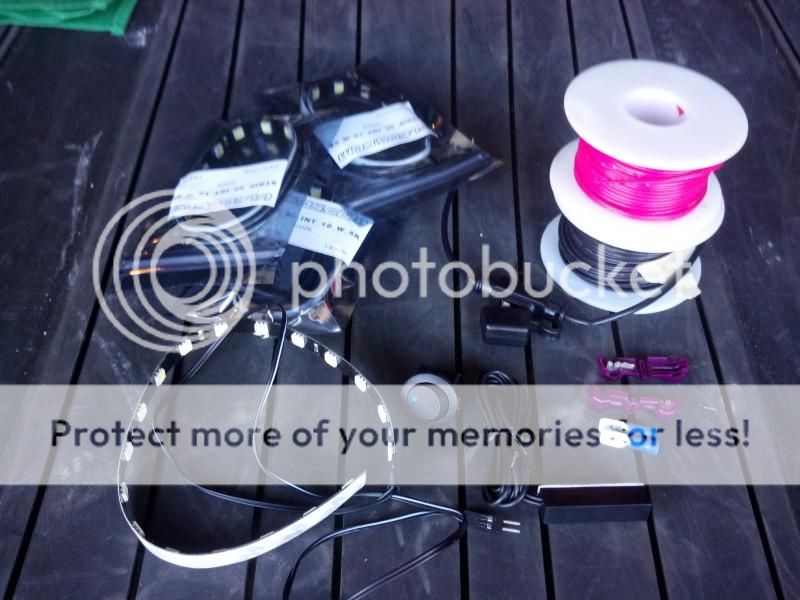
Materials:
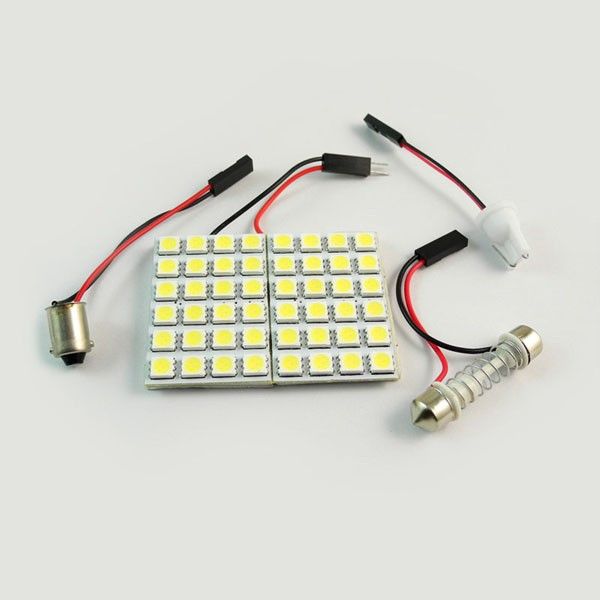
- LEDS: 4 12inch 5k LED strips from VLED. (wires/leads already come attached)
http://www.vleds.com/white-5k-interior-led-strip-lights.html
To be honest, 12” strips are pretty overkill but pretty impressive. It’s VERY bright. I get reactions like “holy crap that’s bright” from people seeing the lights for the first time at night. You can mix it up with 2 12in strips for the cargo area and 2 6” strips for the hatch/overhead lighting. Or just do 6” strips all around.
- Mercury switch: I got one from Parts express on Amazon. Any other ones should work too.
https://www.amazon.com/dp/ (commissions earned)
- Power switch: Any 12V toggle switch should do. This is what I got
https://www.amazon.com/dp/ (commissions earned)
- In line Fuse: I used one that takes mini fuses.
https://www.amazon.com/dp/ (commissions earned)
- Fuse: 3amp mini fuse from the auto parts store
- Wires: 2 reels of red and black 20ga wires.
- Wire taps: 2 wire taps for 16ga wires from the autoparts store
- Male Blade connectors: small box of blade connectors that fit the wire taps from the auto parts store
- Female Blade connectors: small box of blade receivers that fit the back of the power switch and male blade connectors
Tools:
- Plastic crowbar or flat blade to remove interior panels. Flat head screw driver covered with tape works too.
- Pliers to crimp connectors
- razor blade
- electrical tape or painters tape
- coat hanger (something to snake wires with)
- 10mm socket wrench
- Power drill and ” drill bit
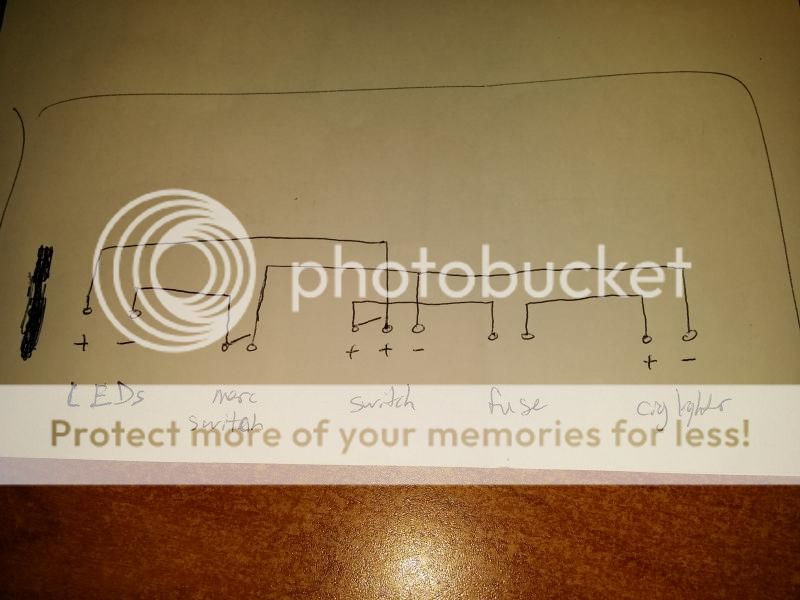
Wiring Diagram:
This is how I wired the system up based on the power switch that I have. Power switches without a built in LED light may not need a power and ground wire. I did not wire the LEDs in a series.
Steps:
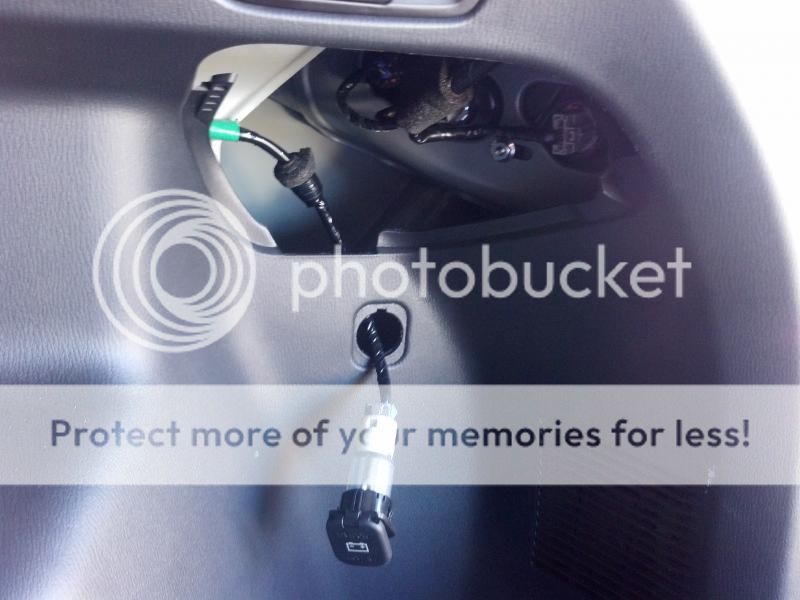
1. Pull “cargo power” fuse from the fuse panel next to the dead pedal the the driver’s foot area. This will keep you from shorting anything when dealing with the cigarette lighter in the back.
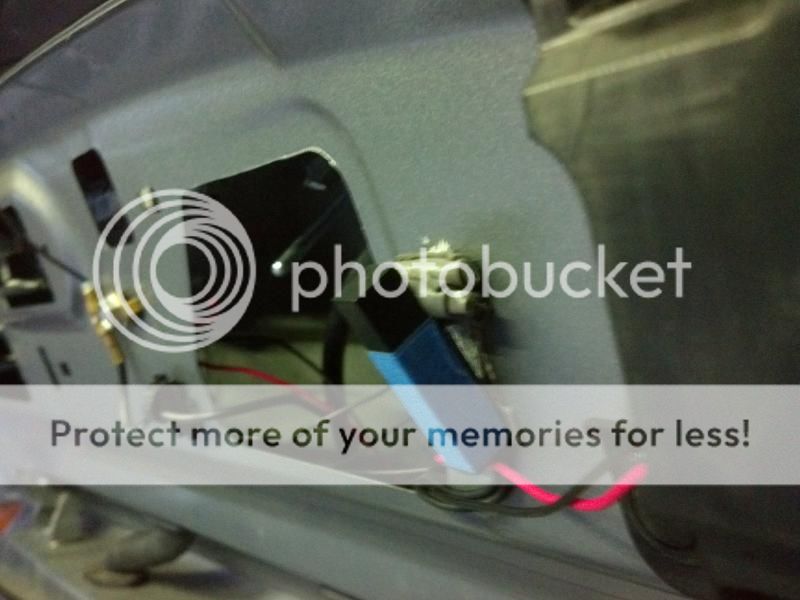
2. Use the plastic crowbar to remove the plastic cover above the cargo cigarette lighter. Reach in and push the cigarette lighter out. Tabs holding it in are on the 3 and 9 o’clock positions. This may take some force, but move it left and right like a joystick while pushing out. Once it’s out, unplug the cigarette lighter from the connector.

3. Use the razor blade and cut away 1-1.5inches of the wrapped electrical tape. Goal is to make room to put the wire taps in for each wire. BE CAREFUL TO NOT CUT INTO THE WIRES! Install wire taps onto each wire. BLACK WIRE IS GROUND. BLUE WIRE IS POWER.

4. Now have access to the power and ground. This would be a good time to test out your components. (plug fuse back in for power) Note: Will update with which wire is ground and which is power.
5. Time to remove interior panels! You may also remove your cargo cover at this point. Start with the top center hatch piece. You can use your plastic crowbar to get started, but once you get your fingers under, some careful pulling will remove the center piece.

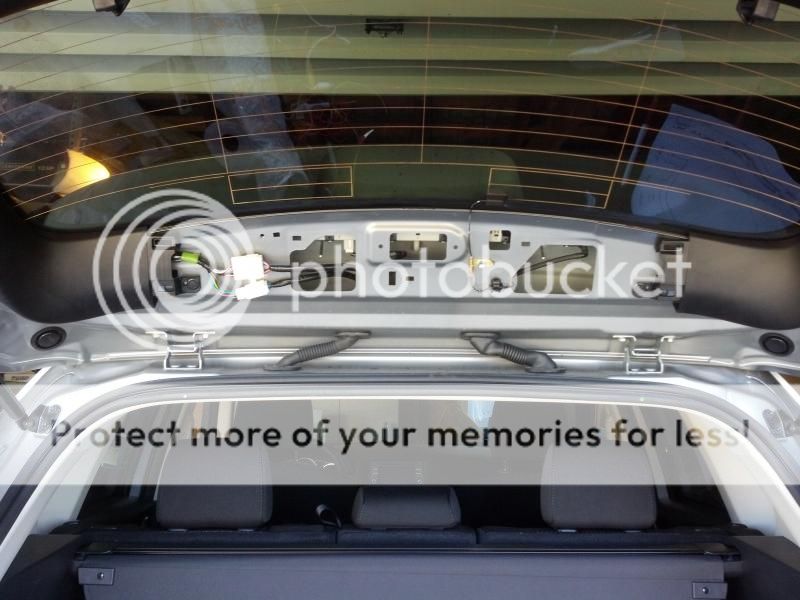
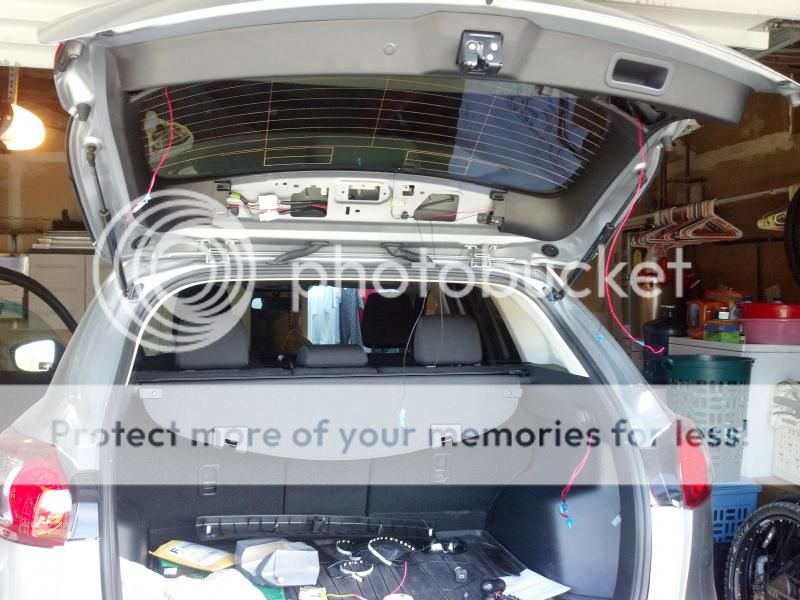
6. Use the crowbar to remove the 2 access panels on the main part of the hatch under the window.

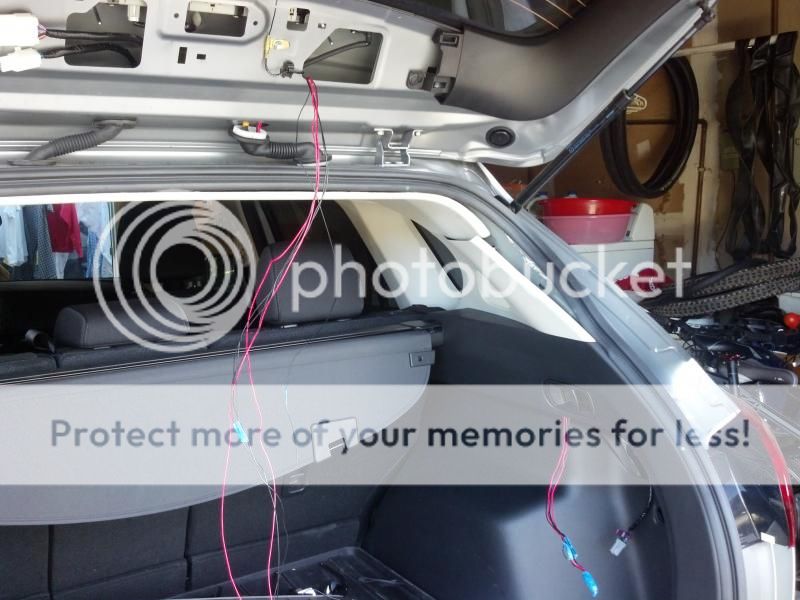
7. Measure and cut the lengths of wire for the LEDs and mercury switch on the hatch. I used red and black wire for each LED strip and 2 black wires for the mercury switch. There should be a total of 6 wires coming from the hatch to go down to the cigarette lighter. Label the wires.
Like using a rope to measure a curvy line, start at the access panels on the hatch, go along the perimeter of the glass, over to the center panel on the hatch, over the right rubber tube connecting the hatch to the top of the body, along the ceiling and down to where the cigarette lighter is. Do the same for the mercury switch, which is mounted in the top center area of the hatch.
8. Remove 3 pins from the top of the ceiling liner to gain access to the ceiling.
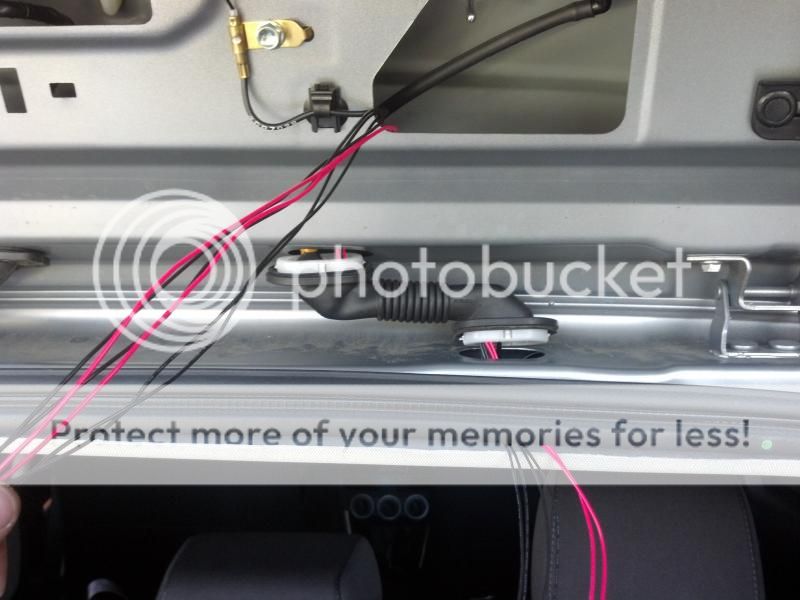
9. Now is the tricky part. Unclip the rubber tube from the hatch to the body. This took quite a bit of prying and force. There are 4 tabs to press in at the 12, 3, 6, and 9 o’clock positions for each end.
10. With some tape and a short piece of a clothes hanger, snake the wires through the rubber tube connecting the hatch to the body. I found that 2 wires at a time worked best.
11. Peel away the rubber trunk seal and use crowbar to pry ceiling liner and C pillar panels and snake wires down to the cigarette lighter.
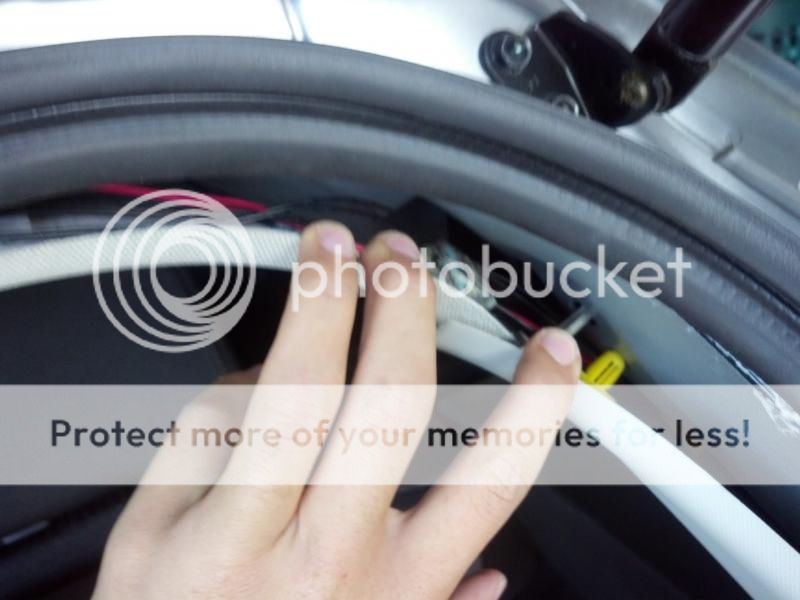
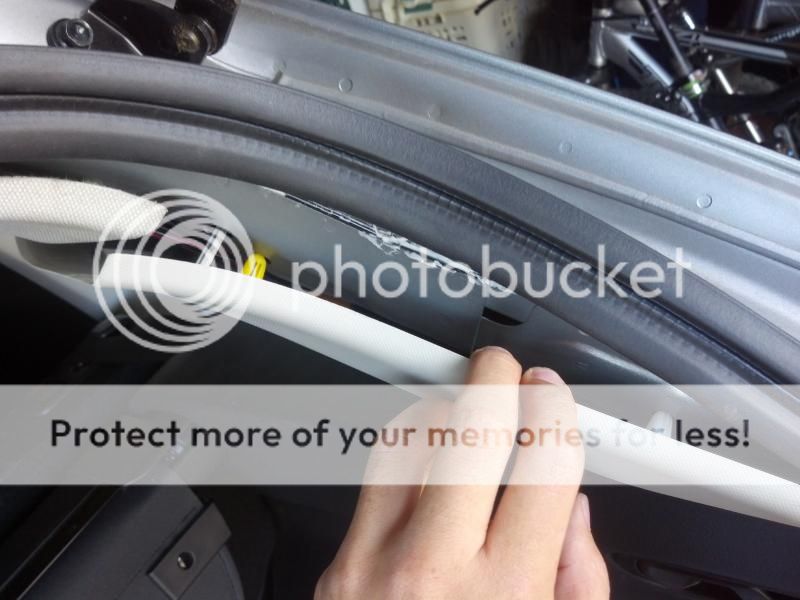
12. Once wires are through, reinstall ceiling liner and pins and snap back the side interior panel and reinstall the rubber seal.
13. Snake corresponding wires through the hatch. You can continue pulling away the hatch’s interior panels enough to bring the wires through to each access panel.
14. Now that the wiring for the hatch is in place, it’s time to place wires for the LED on the other side of the cargo area. Measure and cut red and black wire starting at the cigarette lighter, going down and following the rear edge (rear of the car) of the cargo area and across to the other access panel (to the rear of existing cargo light) on the driver side of the cargo area.
15. Remove the cargo floor and trim piece at the rear of the cargo bay.
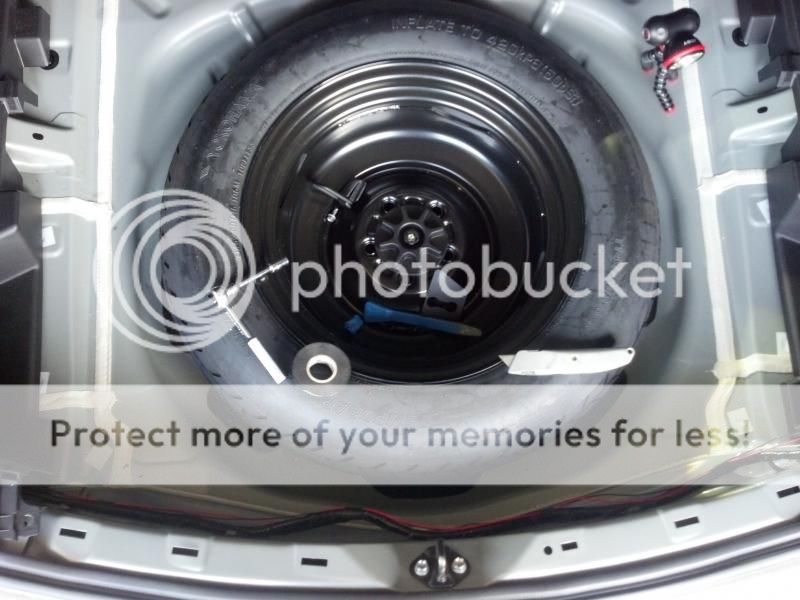
16. Use 10mm socket wrench to remove the rear cargo tie downs. Use crow bar to pry away the rear trim pieces enough to snake red and black wires to each of the opposite access panels. I ran and secured the 2 wires along the existing cable using electrical tape.

17. Reinstall cargo tie downs, rear panel trim and cargo floor. Now all the wires are in place.
18. Install mercury switch using double sided tape. I had to angle the mercury switch because, when installed flat on the surface, moderate braking or going over moderate bumps would trigger the mercury switch and cause the LEDs to flicker. Angling it makes it more difficult to trigger the mercury switch when driving around.
With the seats up, I don’t notice the flickering, but with the seats down at night, it will still flicker on the big bumps and hard braking. I would suggest to turn off the LEDs via the switch when driving with the seats folded down at night, so they don’t flicker.
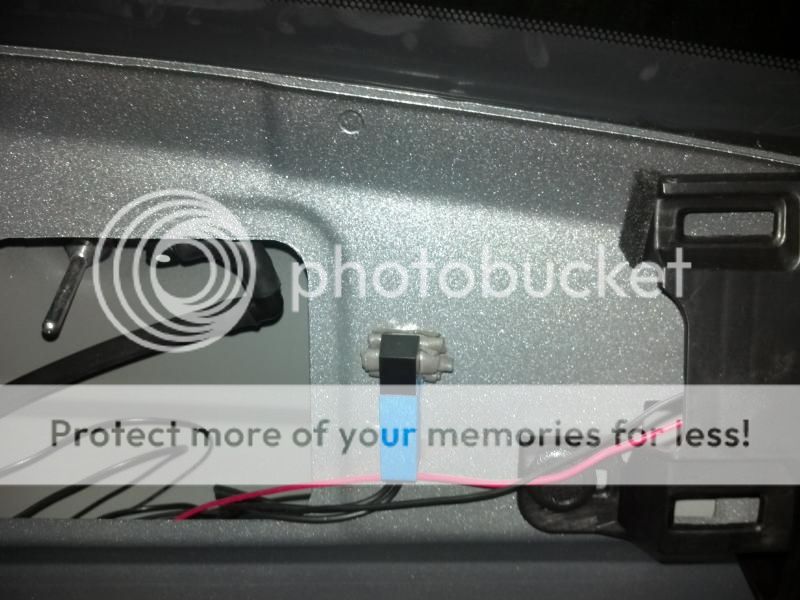
19. Connect the mercury switch to the black wires meant for the mercury switch using the male and female blade connectors..
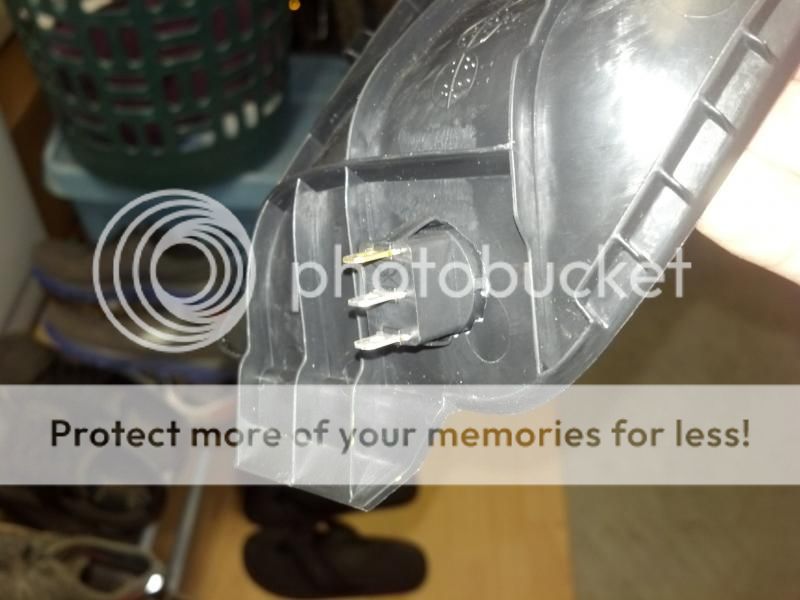
20. Drill ” hole in the passenger side’s access panel cover for power switch. Be mindful of the ribs. Choose flat section of the cover. Place switch in hole.

21. Follow the wiring diagram and wire up all the LEDs using the Male and Female blade connectors to the mini fuse and switch. I was able to use the blade connectors on the blades of the switch too. BLACK WIRE IS GROUND. BLUE WIRE IS POWER.

22. Reinstall fuse to test the lights.
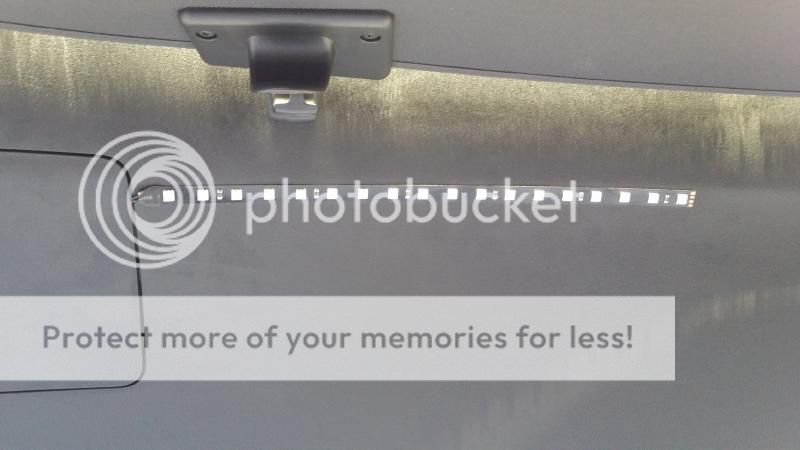
23. Place/stick LED strips in their permanent locations with the end of the strip/start of the wires at the edges of the access panels for a cleaner look. Be sure the clean the surfaces that the LEDs are being stuck to for better adhesion.
24. Place all panels back.


25. Enjoy your newly transformed cargo area!
Hope this helps!
Placement and wiring of 2 LED strips on the bottom surface of the hatch, 2 LED strips above the “wheel wells” in the cargo area, a mercury switch on the hatch, and the power switch above the cargo cigarette lighter while retaining the functionality of the cigarette lighter.
Materials:
- LEDS: 4 12inch 5k LED strips from VLED. (wires/leads already come attached)
http://www.vleds.com/white-5k-interior-led-strip-lights.html
To be honest, 12” strips are pretty overkill but pretty impressive. It’s VERY bright. I get reactions like “holy crap that’s bright” from people seeing the lights for the first time at night. You can mix it up with 2 12in strips for the cargo area and 2 6” strips for the hatch/overhead lighting. Or just do 6” strips all around.
- Mercury switch: I got one from Parts express on Amazon. Any other ones should work too.
https://www.amazon.com/dp/ (commissions earned)
- Power switch: Any 12V toggle switch should do. This is what I got
https://www.amazon.com/dp/ (commissions earned)
- In line Fuse: I used one that takes mini fuses.
https://www.amazon.com/dp/ (commissions earned)
- Fuse: 3amp mini fuse from the auto parts store
- Wires: 2 reels of red and black 20ga wires.
- Wire taps: 2 wire taps for 16ga wires from the autoparts store
- Male Blade connectors: small box of blade connectors that fit the wire taps from the auto parts store
- Female Blade connectors: small box of blade receivers that fit the back of the power switch and male blade connectors
Tools:
- Plastic crowbar or flat blade to remove interior panels. Flat head screw driver covered with tape works too.
- Pliers to crimp connectors
- razor blade
- electrical tape or painters tape
- coat hanger (something to snake wires with)
- 10mm socket wrench
- Power drill and ” drill bit
Wiring Diagram:
This is how I wired the system up based on the power switch that I have. Power switches without a built in LED light may not need a power and ground wire. I did not wire the LEDs in a series.
Steps:
1. Pull “cargo power” fuse from the fuse panel next to the dead pedal the the driver’s foot area. This will keep you from shorting anything when dealing with the cigarette lighter in the back.
2. Use the plastic crowbar to remove the plastic cover above the cargo cigarette lighter. Reach in and push the cigarette lighter out. Tabs holding it in are on the 3 and 9 o’clock positions. This may take some force, but move it left and right like a joystick while pushing out. Once it’s out, unplug the cigarette lighter from the connector.
3. Use the razor blade and cut away 1-1.5inches of the wrapped electrical tape. Goal is to make room to put the wire taps in for each wire. BE CAREFUL TO NOT CUT INTO THE WIRES! Install wire taps onto each wire. BLACK WIRE IS GROUND. BLUE WIRE IS POWER.
4. Now have access to the power and ground. This would be a good time to test out your components. (plug fuse back in for power) Note: Will update with which wire is ground and which is power.
5. Time to remove interior panels! You may also remove your cargo cover at this point. Start with the top center hatch piece. You can use your plastic crowbar to get started, but once you get your fingers under, some careful pulling will remove the center piece.
6. Use the crowbar to remove the 2 access panels on the main part of the hatch under the window.
7. Measure and cut the lengths of wire for the LEDs and mercury switch on the hatch. I used red and black wire for each LED strip and 2 black wires for the mercury switch. There should be a total of 6 wires coming from the hatch to go down to the cigarette lighter. Label the wires.
Like using a rope to measure a curvy line, start at the access panels on the hatch, go along the perimeter of the glass, over to the center panel on the hatch, over the right rubber tube connecting the hatch to the top of the body, along the ceiling and down to where the cigarette lighter is. Do the same for the mercury switch, which is mounted in the top center area of the hatch.
8. Remove 3 pins from the top of the ceiling liner to gain access to the ceiling.
9. Now is the tricky part. Unclip the rubber tube from the hatch to the body. This took quite a bit of prying and force. There are 4 tabs to press in at the 12, 3, 6, and 9 o’clock positions for each end.
10. With some tape and a short piece of a clothes hanger, snake the wires through the rubber tube connecting the hatch to the body. I found that 2 wires at a time worked best.
11. Peel away the rubber trunk seal and use crowbar to pry ceiling liner and C pillar panels and snake wires down to the cigarette lighter.
12. Once wires are through, reinstall ceiling liner and pins and snap back the side interior panel and reinstall the rubber seal.
13. Snake corresponding wires through the hatch. You can continue pulling away the hatch’s interior panels enough to bring the wires through to each access panel.
14. Now that the wiring for the hatch is in place, it’s time to place wires for the LED on the other side of the cargo area. Measure and cut red and black wire starting at the cigarette lighter, going down and following the rear edge (rear of the car) of the cargo area and across to the other access panel (to the rear of existing cargo light) on the driver side of the cargo area.
15. Remove the cargo floor and trim piece at the rear of the cargo bay.
16. Use 10mm socket wrench to remove the rear cargo tie downs. Use crow bar to pry away the rear trim pieces enough to snake red and black wires to each of the opposite access panels. I ran and secured the 2 wires along the existing cable using electrical tape.
17. Reinstall cargo tie downs, rear panel trim and cargo floor. Now all the wires are in place.
18. Install mercury switch using double sided tape. I had to angle the mercury switch because, when installed flat on the surface, moderate braking or going over moderate bumps would trigger the mercury switch and cause the LEDs to flicker. Angling it makes it more difficult to trigger the mercury switch when driving around.
With the seats up, I don’t notice the flickering, but with the seats down at night, it will still flicker on the big bumps and hard braking. I would suggest to turn off the LEDs via the switch when driving with the seats folded down at night, so they don’t flicker.
19. Connect the mercury switch to the black wires meant for the mercury switch using the male and female blade connectors..
20. Drill ” hole in the passenger side’s access panel cover for power switch. Be mindful of the ribs. Choose flat section of the cover. Place switch in hole.
21. Follow the wiring diagram and wire up all the LEDs using the Male and Female blade connectors to the mini fuse and switch. I was able to use the blade connectors on the blades of the switch too. BLACK WIRE IS GROUND. BLUE WIRE IS POWER.
22. Reinstall fuse to test the lights.
23. Place/stick LED strips in their permanent locations with the end of the strip/start of the wires at the edges of the access panels for a cleaner look. Be sure the clean the surfaces that the LEDs are being stuck to for better adhesion.
24. Place all panels back.
25. Enjoy your newly transformed cargo area!
Hope this helps!
Last edited: