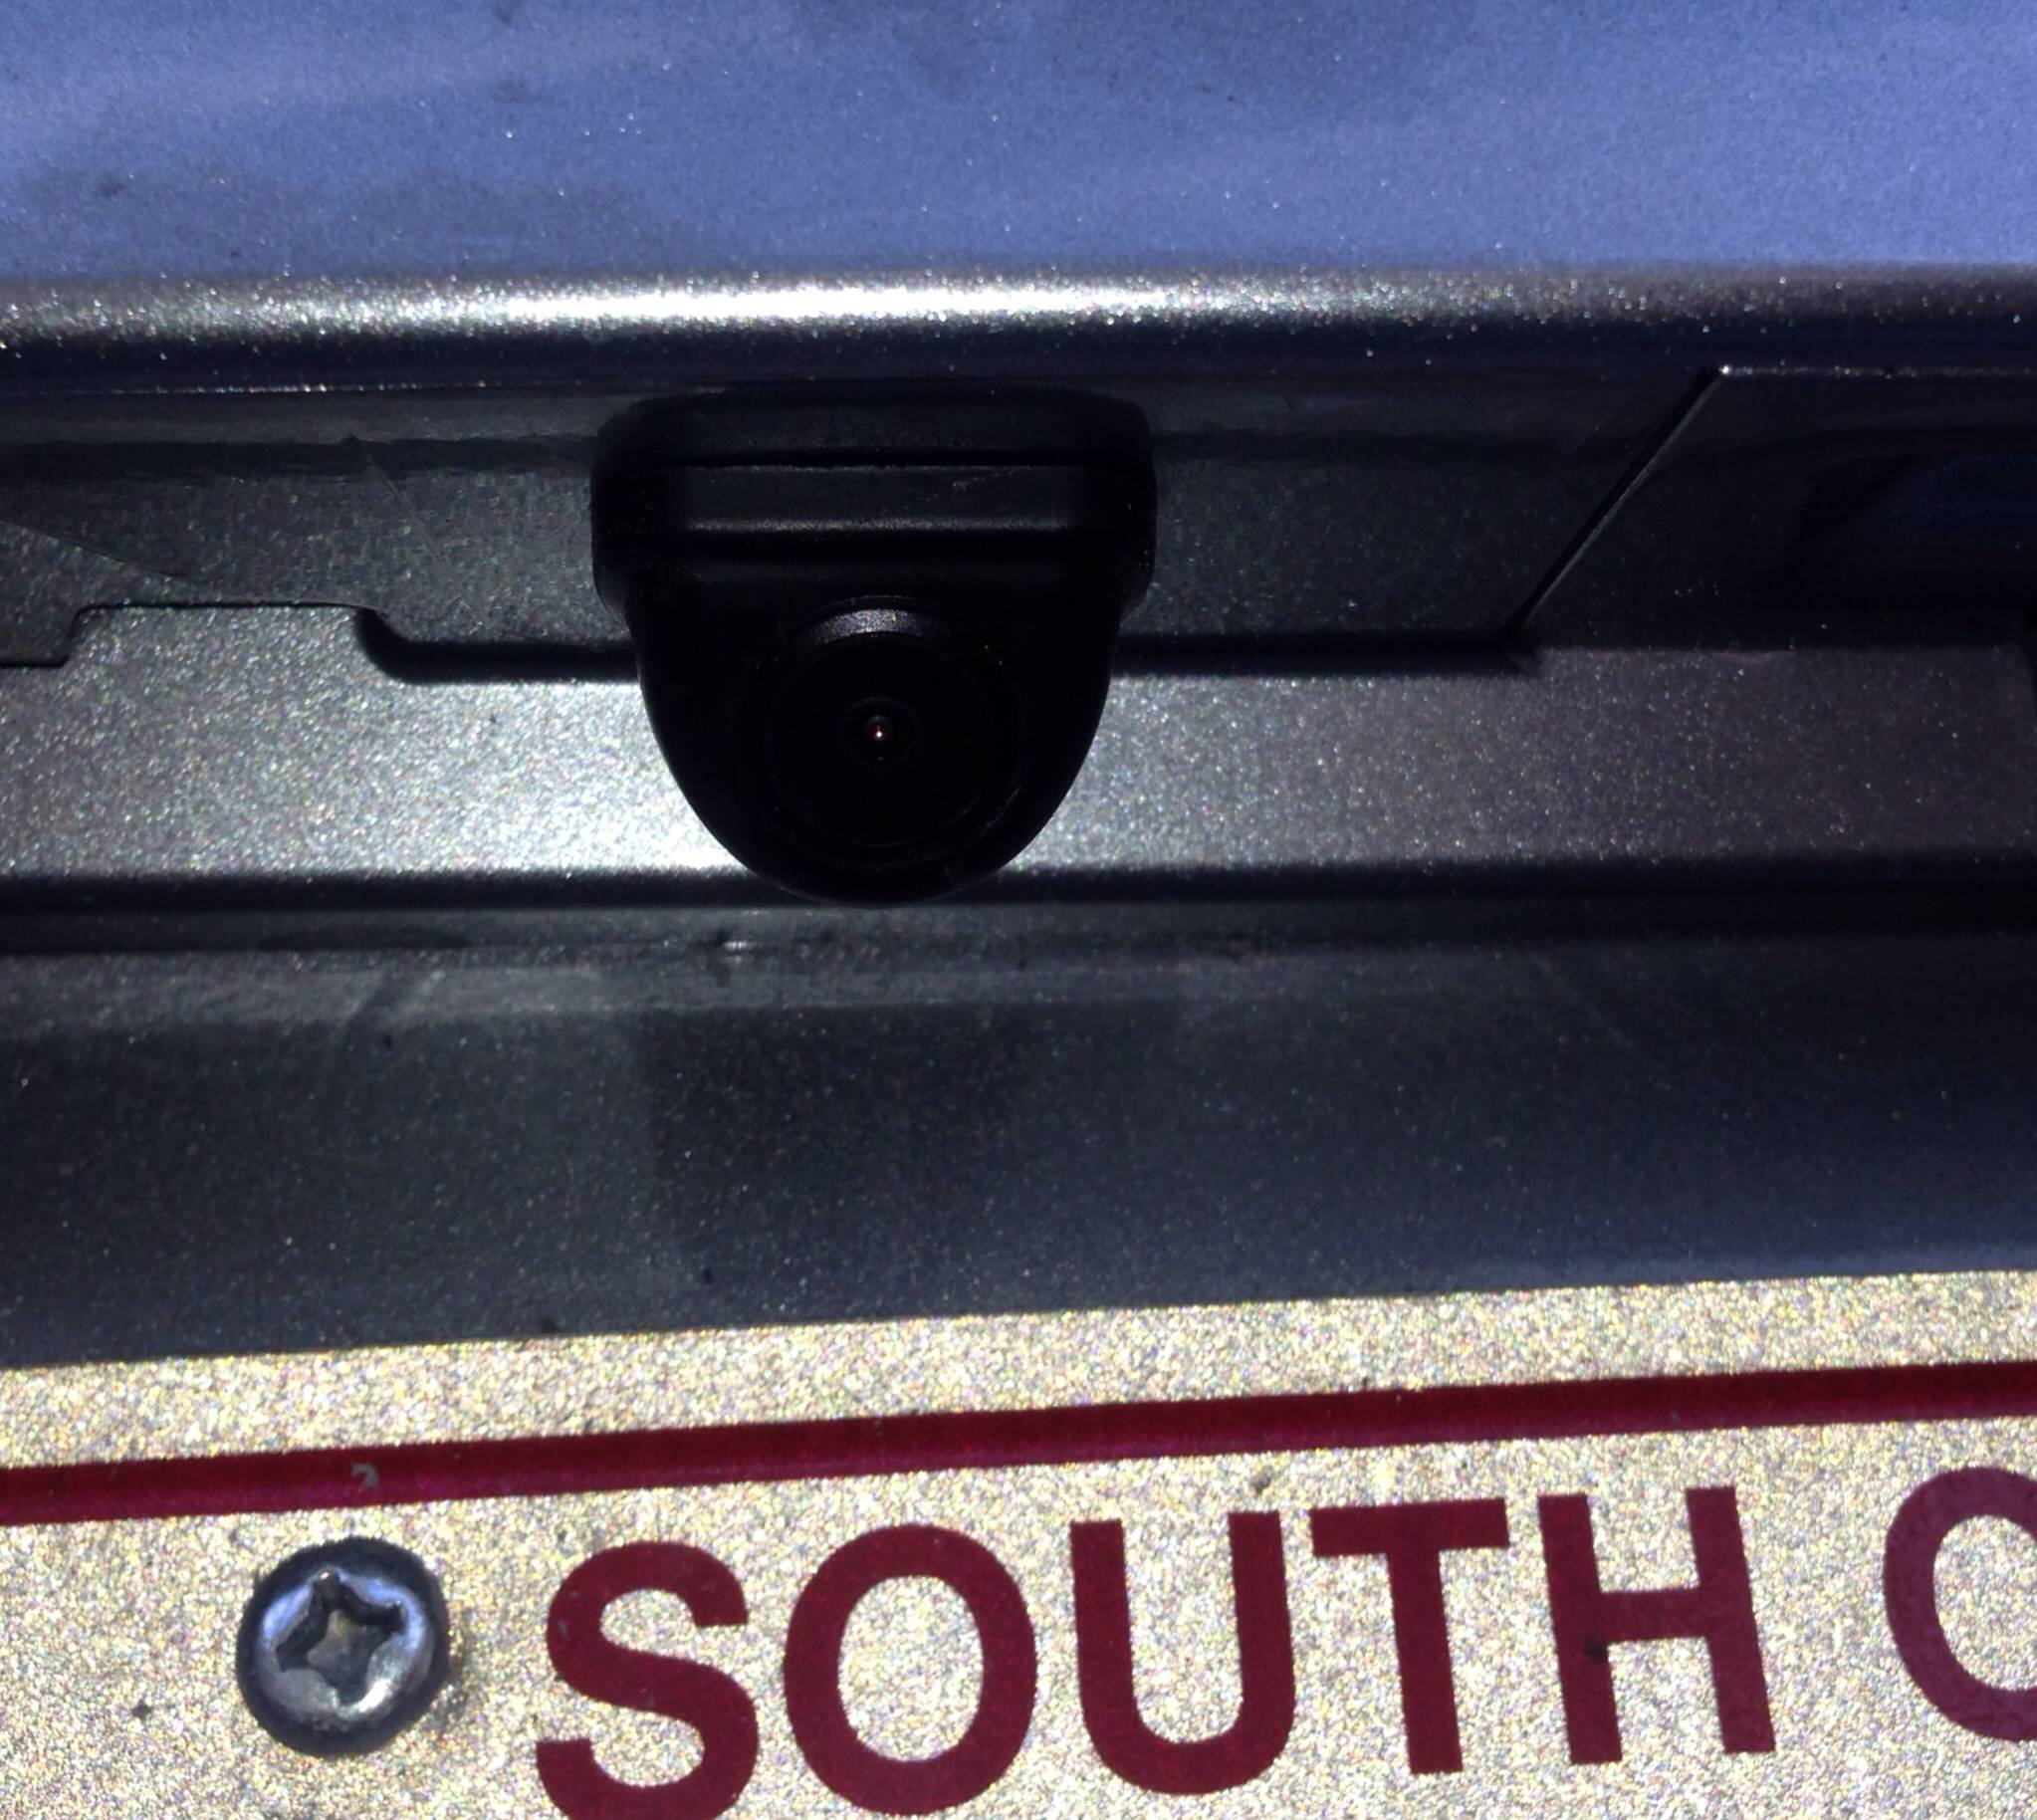
Aftermarket Backup Camera with Mazda OEM Screen

Hi,

Very useful thread, and pleased others are installing this camera. I order mine from the States 3 weeks ago, just waiting for delivery, and by them hopefully someone (TreyP?) will have a nice set of 'how to install' pics to follow!

I've had a look at the tailgate handle position on my car; there's very little gap round the fitting but as Mongo2004 says that would seem to be the place to route the camera cable - anything is better than drilling holes in my 3 week old car! And as for mounting the camera, I guess some sort of adhesive, maybe the double sided pads or 'black (blue) tack'.
 
I drilled the hole in my brand new car and am SO happy I did, the fit is tight, stable, and looks so good. It comes with a hole saw that makes for a perfect fit. And while the thought of attacking my car with a power tool scared the crap out of me, it looks factory.

I bought this kit:
https://www.ebay.com (commissions earned)

The item was shipped a few minutes after I purchased. It took two days to travel 2400 miles - very impressed. And it's really plug0-and-play with no splicing needed at all. I will post up a picture of how and where I mounted the camera. I will say that running the wires to the head unit, at least for me, was a massive PITA. But so far, this is the best accessory I have purchased so far.

Next ... fog lights, which I will probably let the dealer install because I make Tim the Tool Man Taylor look skilled.

http://i.imgur.com/jxAS3wu.jpg
jxAS3wu.jpg
 
Last edited:
dawhoo,

Thanks for the pic. I've just received my camera system (same as yours), and now realise that I will HAVE to drill a hole for the camera, there's really no other good way to mount it.

BTW, did you run the cable to the dash in a similar way to TreyP - see his link above. Looks like the hardest part is getting the cable and plugs through the tailgate rubber boot. OTOH, we don't have to take a power feed from the brake light wire.
 
dawhoo, after you drilled the hole did you apply a clear coat to the opening? I'm worried the hole will rust and/or get a bunch of crap in it so I was thinking I'll just buy some clear coat touch up paint.

Thanks TreyP for the fantastic guide. I'm going to give it a go next week.
 
The place u drilled the hole is plastic so I just let it go with that.

I ran the wires almost 100% per the linked directions. Be careful of the screw by the seatbelt, there's a nut behind it that somehow disappeared into the abyss.
 
You have to drill the plastic in the logo plastic piece and the plate in the round mark just where the original camera cable goes.

img_20130924_144712-jpg.2631


img_20130924_155035-jpg.2634
 
Hi Jay, just wondering if you tried what Kelseyx mentioned

"I was cruising down the freeway today and I took my right thumb and pushed and held in the power button and then I took my right pinky and hit the seek button on the top right corner of the HU. This opens the program screen. I punched in 92 and enter, and it turned on my rear backup camera so I could see a live feed of the cars behind me on the freeway. To get out I just pushed the power button and it reset the stereo as if I just started the car. COOL!!!!"

to see if you could get the Raspberry Pi working like that with the audio active as well if you were in Aux mode before punching in the code?

Thanks!

Received the Backup Cam yesterday and it works!

I pulled apart the dash and tried it out and it works fine with the correct image orientation(ie mirrored image right way up). I routed the cable behind the glove box area and reassembled the dash for now, and will route the cable to the back and install the camera in the liftgate this weekend

A few notes, the link i posted to the item was from ebay.ca, thats where i was logged in and bought from. Seller is in the US and it shipped form California.
For canadian buyers, was pre-charged for taxes on checkout, so no COD when it arrived.

It is a direct plug in, but you will have to do a couple wire splices in the supplied wires. Basically you will have to soldier(or crimp connect) the power and ground wires from the radio adaptor included in the kit to the camera harness. Once you've done that, it plugs directly into the back of the radio, and there is no modification to the factory wiring. Also a note on the included instructions. They are basically useless, just a few lines saying plug in and route wires. It is pretty straight forward though, the hard part will be routing the wires back to the lift gate and drilling a hole in the trim to mount the camera

a couple pics


Jay
 
Is there a good soul out there that could post clearer installation instructions ? This will sell like pancakes....
 
Hi Tibimakai,

I have this camera and it works great. The daytime view is VERY crystal clear. Since there are no inferred LED, and just the back up lights at night, the image is a bit grainy, but EASILY identifiable. I don't know if the camera is CCD or CMOS because the instructions don't say, but from what I read below on the internet I think it is a CMOS. Here is what I read:

In a CCD device, the charge is actually transported across the chip and read at one corner of the array. An analog-to-digital converter turns each pixel's value into a digital value. In most CMOS devices, there are several transistors at each pixel that amplify and move the charge using more traditional wires. The CMOS approach is more flexible because each pixel can be read individually.

CCDs use a special manufacturing process to create the ability to transport charge across the chip without distortion. This process leads to very high-quality sensors in terms of fidelity and light sensitivity. CMOS chips, on the other hand, use traditional manufacturing processes to create the chip -- the same processes used to make most microprocessors. Because of the manufacturing differences, there have been some noticeable differences between CCD and CMOS sensors.
CCD sensors, as mentioned above, create high-quality, low-noise images. CMOS sensors, traditionally, are more susceptible to noise.
Because each pixel on a CMOS sensor has several transistors located next to it, the light sensitivity of a CMOS chip tends to be lower. Many of the photons hitting the chip hit the transistors instead of the photodiode.
CMOS traditionally consumes little power. Implementing a sensor in CMOS yields a low-power sensor.
CCDs use a process that consumes lots of power. CCDs consume as much as 100 times more power than an equivalent CMOS sensor.
CMOS chips can be fabricated on just about any standard silicon production line, so they tend to be extremely inexpensive compared to CCD sensors.
CCD sensors have been mass produced for a longer period of time, so they are more mature. They tend to have higher quality and more pixels.

Based on these differences, you can see that CCDs tend to be used in cameras that focus on high-quality images with lots of pixels and excellent light sensitivity. CMOS sensors traditionally have lower quality, lower resolution and lower sensitivity. CMOS sensors are just now improving to the point where they reach near parity with CCD devices in some applications. CMOS cameras are usually less expensive and have great battery life.


This camera is CCD or CMOS type camera?
 
Thanks for that.
I know that the factory cameras are CCD cameras, and they are much more expensive then CMOS ones, most of the Ebay ones are using CMOS cameras.
I'm just thinking if it's worth spending $130 for a CMOS camera. I will be replacing my radio with a Kenwood nav unit and I think that I will pick up a Kenwood camera instead.
I have installed on my wife's CRV, a cheap CMOS camera that I have picked up from Ebay, in the beginning it was great, but after a couple of years(two-three), the image is very-very cloudy.
 
Hi guys I have a 2013 GS Mazda CX-5 and I will change my heat-unit radio but I want to keep the factory backup camera. Now, I need to know if can buy a adaptor or if you know how I can do to keep my original backup camera whit a aftermarket radio.???
 
Hi guys I have a 2013 GS Mazda CX-5 and I will change my heat-unit radio but I want to keep the factory backup camera. Now, I need to know if can buy a adaptor or if you know how I can do to keep my original backup camera whit a aftermarket radio.???
This would require several things, none of them fun. You need to tap into the very thin factory wires, you need to attach a video cable to those wires (the yellow plug out of the red/yellow/white variety that plug into a home DVD player) and you also need to reduce the 12 volt system down to 6 volts or you will fry the camera. You can solder in resistors yourself, or, I found an adapter, but they are only made and sold in China, so it didn't exactly inspire confidence.
I started attempting all of this with my Kenwood unit, but eventually gave in and just bought an aftermarket camera, and given the alternative, I've been happy with the decision.
 
Do you say that the factory camera runs on 6V?
One of these, should probably work.
https://www.ebay.com (commissions earned)
The camera's plug is RCA?
I will be installing a DNX6990HD. I have installed a DNX570HD in my wife's CRV like three weeks ago. Her cheap Chinese camera, is cloudy after only two years of use.
 
Last edited:
Do you say that the factory camera runs on 6V?
One of these, should probably work.
https://www.ebay.com (commissions earned)
The camera's plug is RCA?
I will be installing a DNX6990HD. I have installed a DNX570HD in my wife's CRV like three weeks ago. Her cheap Chinese camera, is cloudy after only two years of use.
That link is from a seller in Hong Kong, as I said. And yes, the factory camera requires 6 volts.

The camera's plug is NOT RCA from the factory, that is why you would have to spice one in. The aftermarket head unit uses RCA.
 
So is not that easily converted to RCA. I may still try it without the noise suppressor and see how it will work.
 
Back