
I installed these a couple weeks ago on my wife's '08 Mazda5. The van had 123K on it when I did the work, since then she's driven it about 1500 miles. My goal was to reduce the shaking of the rear seats, reduce cupping of the rear tires, and possibly reduce the camber/toe changes in the rear suspension.
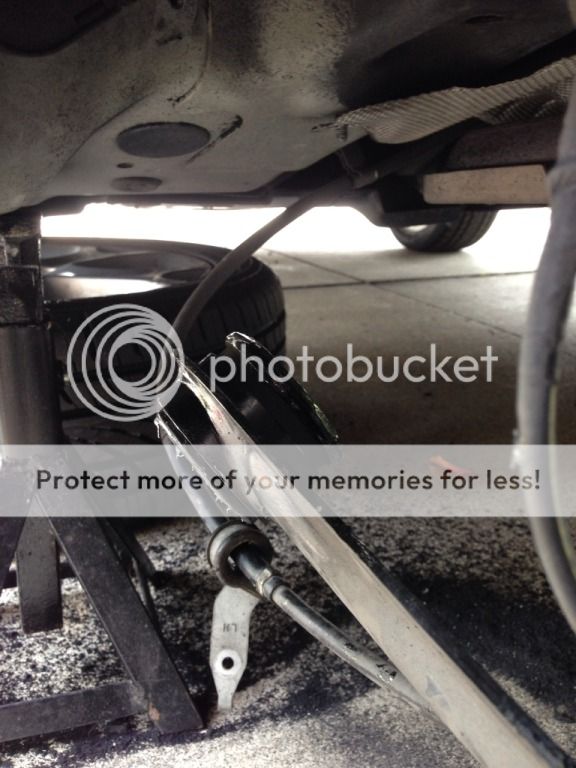
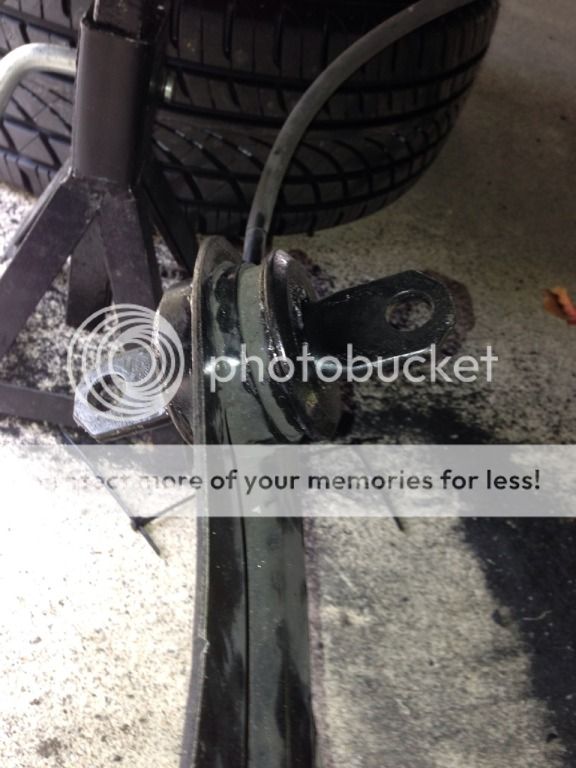
I started off by removing the wheels and the splash guards covering the forward part of the trailing arms. In order to get the rear suspension to drop enough to get the old bushings out you have to disconnect the camber arm and shock. I placed my jack under the rear lower control arm so I could control how much the arm dropped down, I was concerned too much extension would allow the spring to pop out as I've never had this suspension apart before.
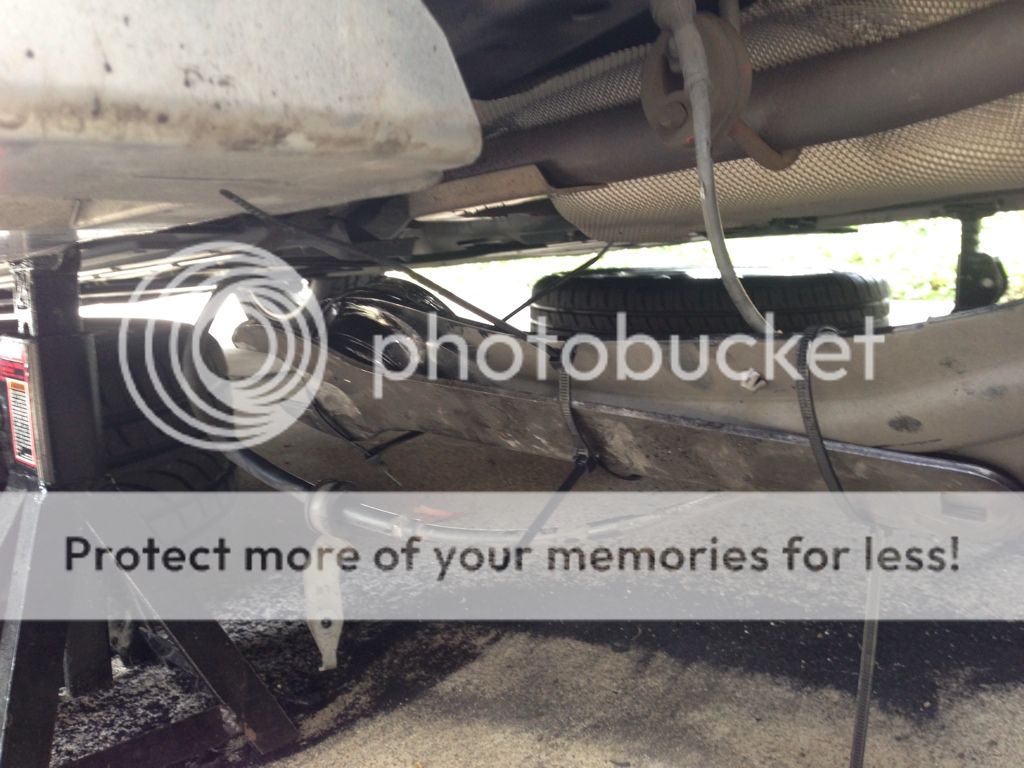
Two bolts hold the trailing arm to the body, with the camber arm and shock disconnected the arm drops down far enough that you can work on the bushing.
Working on the bushing is the part that isn't fun. In the past I've used an oxy-acetylene torch, drill, sawzall, etc, to remove bushings. You aren't removing the metal sleeve that the bushing is vulcanized to so it's a messy job. Given the proximity of the gas tank and my desire to avoid a hospital visit I decided to use a mechanical method to remove the bushing. I started with drilling small holes in the rubber around the perimeter of the bushing and then progressively used larger bits to get the center pin loose. After the pin was out I used a brass cup brush on my plug in drill to grind out the rubber. I used the same tool on the pin to clean it up.
With everything cleaned up I greased up the bushing and pushed it into the trailing arm by hand.
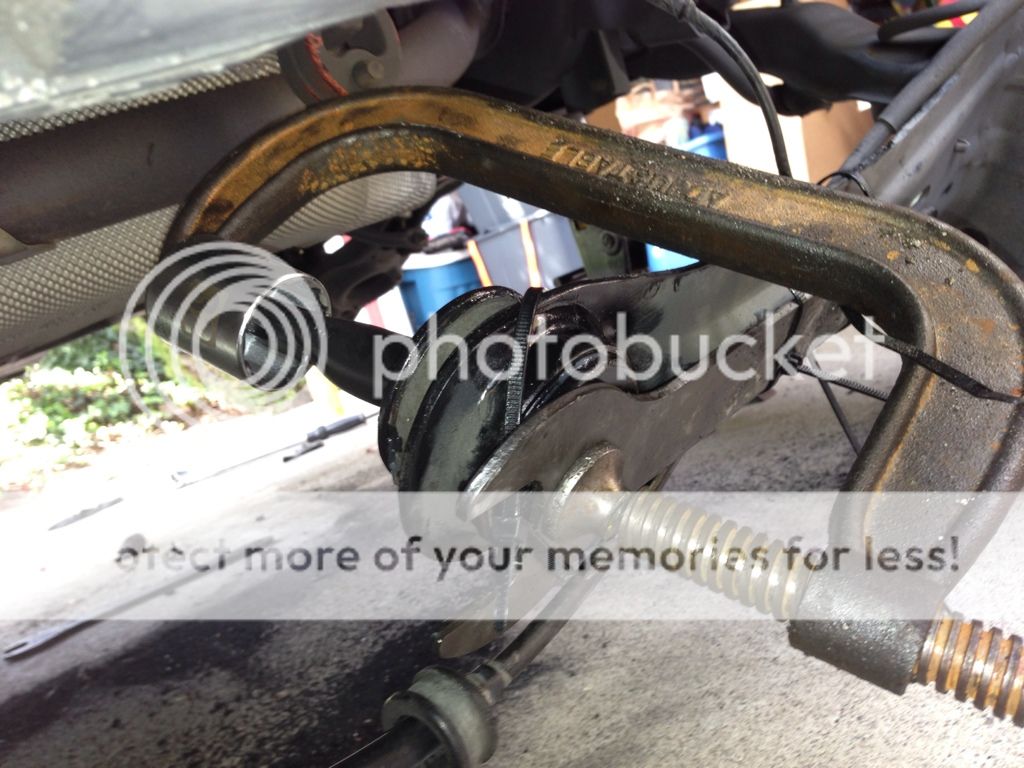
The pin needs to be pressed in somehow and it can only be done after putting the bushing into the arm. I used a C-clamp, a 32mm socket, and a large flat piece of steel.
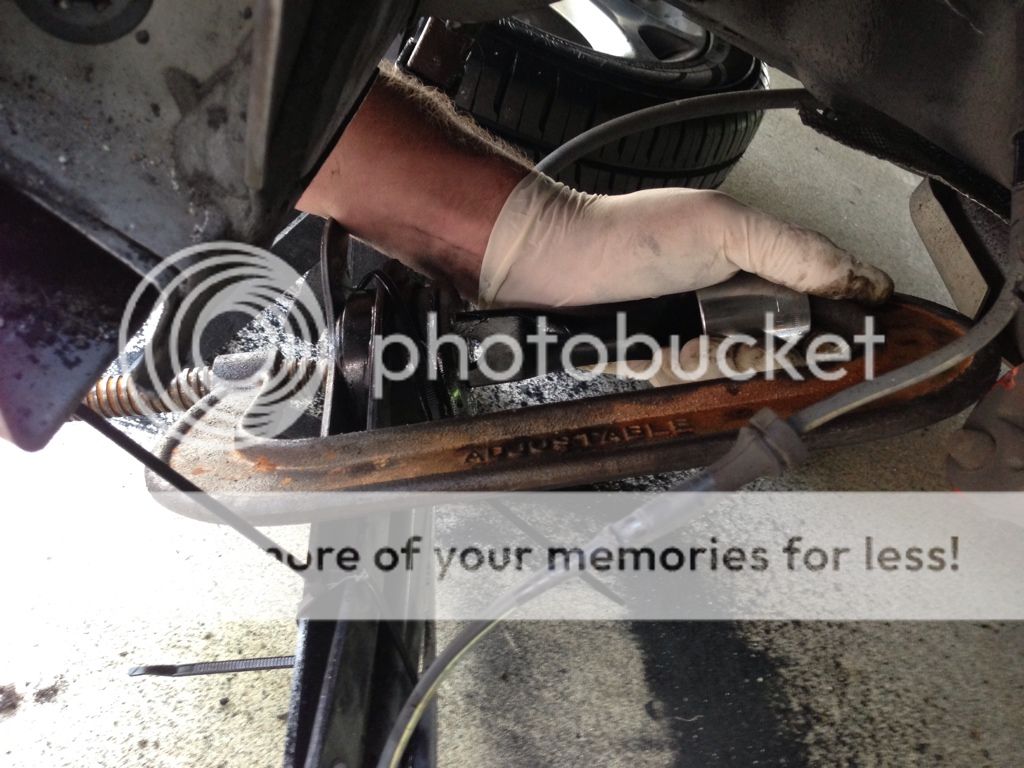
Ideally you'd have a clamp that's bigger than mine and be able to use two sockets but a wood clamp wont be strong enough as it requires a lot of force. With my setup you get to a point where the pin bottoms out on the steel but the pin is far enough in that you can switch that side to a socket to push the rest of the way in.
I had the van aligned right after the install and I'm now at 1.5 degrees negative front and rear, I have no idea what it was before the install but there was more rear camber. The toe set is within spec and interestingly it looks like the rear ride height is a little higher. I'm not sure what stock ride height is but I'll measure the hub to fender for you guys to compare. Knowing now that the rear trailing arm bushings are bonded to the pins I would say lowering the 5 isn't a great idea without replacing them with something like these Energy Suspension bushings. Anything other than the bonded position is applying torque to the bushing.
The van responds better to transitions left and right. The rear shake is nearly eliminated and it feels like the rear shocks are better able to do their job. I waited for some time after the install for two reasons, 1 to give an evaluation of their performance and 2 because this was a lot of work. Hopefully eliminating some of the rear toe change and rear camber will help the tire wear.
I started off by removing the wheels and the splash guards covering the forward part of the trailing arms. In order to get the rear suspension to drop enough to get the old bushings out you have to disconnect the camber arm and shock. I placed my jack under the rear lower control arm so I could control how much the arm dropped down, I was concerned too much extension would allow the spring to pop out as I've never had this suspension apart before.
Two bolts hold the trailing arm to the body, with the camber arm and shock disconnected the arm drops down far enough that you can work on the bushing.
Working on the bushing is the part that isn't fun. In the past I've used an oxy-acetylene torch, drill, sawzall, etc, to remove bushings. You aren't removing the metal sleeve that the bushing is vulcanized to so it's a messy job. Given the proximity of the gas tank and my desire to avoid a hospital visit I decided to use a mechanical method to remove the bushing. I started with drilling small holes in the rubber around the perimeter of the bushing and then progressively used larger bits to get the center pin loose. After the pin was out I used a brass cup brush on my plug in drill to grind out the rubber. I used the same tool on the pin to clean it up.
With everything cleaned up I greased up the bushing and pushed it into the trailing arm by hand.
The pin needs to be pressed in somehow and it can only be done after putting the bushing into the arm. I used a C-clamp, a 32mm socket, and a large flat piece of steel.
Ideally you'd have a clamp that's bigger than mine and be able to use two sockets but a wood clamp wont be strong enough as it requires a lot of force. With my setup you get to a point where the pin bottoms out on the steel but the pin is far enough in that you can switch that side to a socket to push the rest of the way in.
I had the van aligned right after the install and I'm now at 1.5 degrees negative front and rear, I have no idea what it was before the install but there was more rear camber. The toe set is within spec and interestingly it looks like the rear ride height is a little higher. I'm not sure what stock ride height is but I'll measure the hub to fender for you guys to compare. Knowing now that the rear trailing arm bushings are bonded to the pins I would say lowering the 5 isn't a great idea without replacing them with something like these Energy Suspension bushings. Anything other than the bonded position is applying torque to the bushing.
The van responds better to transitions left and right. The rear shake is nearly eliminated and it feels like the rear shocks are better able to do their job. I waited for some time after the install for two reasons, 1 to give an evaluation of their performance and 2 because this was a lot of work. Hopefully eliminating some of the rear toe change and rear camber will help the tire wear.