Yes, you need hog ring pliers and hog rings to do the job. Get yourself some dual actions side cutters to remove the old ones, your hands will thank you for them. There was just one wire harness to remove under frond seats (sport model without pwr seats) Front and back installed the same in terms of difficulty. 850 bones.

You are using an out of date browser. It may not display this or other websites correctly.
You should upgrade or use an alternative browser.
You should upgrade or use an alternative browser.
What have you done to your CX-5 today?
- Thread starter Kayger12
- Start date
RichardCX5
Member
- :
- 2014 CX5 Sport Nav (GT) MT 2.2D 150ps
Hey, this is my first post here - I'm in the over in the UK and just picked up a 2014 CX-5 Sport Nav (Grand Touring) 2.2 Diesel. I've been working on the first couple of accessories today:
I started with the DRLs, which I've been wanting to change to LED to bring the car slightly more up-to-date:
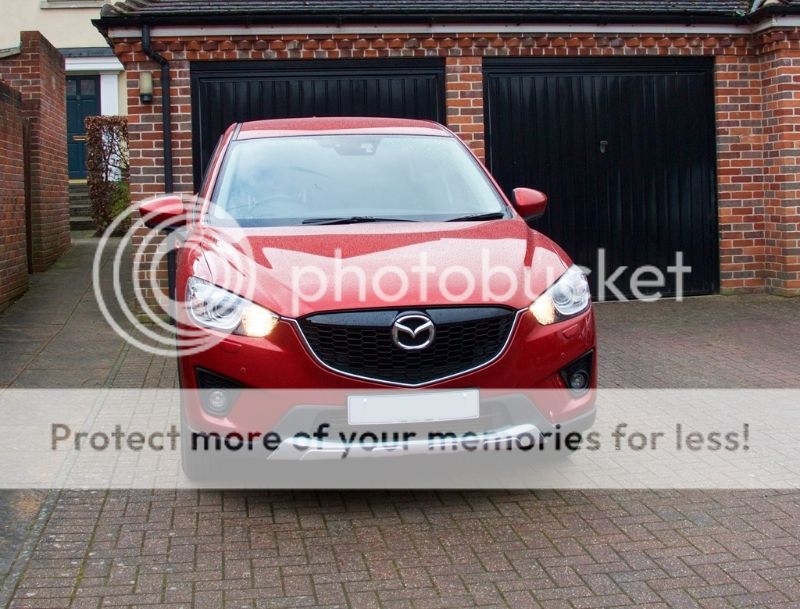
The standard P13W bulbs, not bad looking but I've been itching to change them since buying the car...
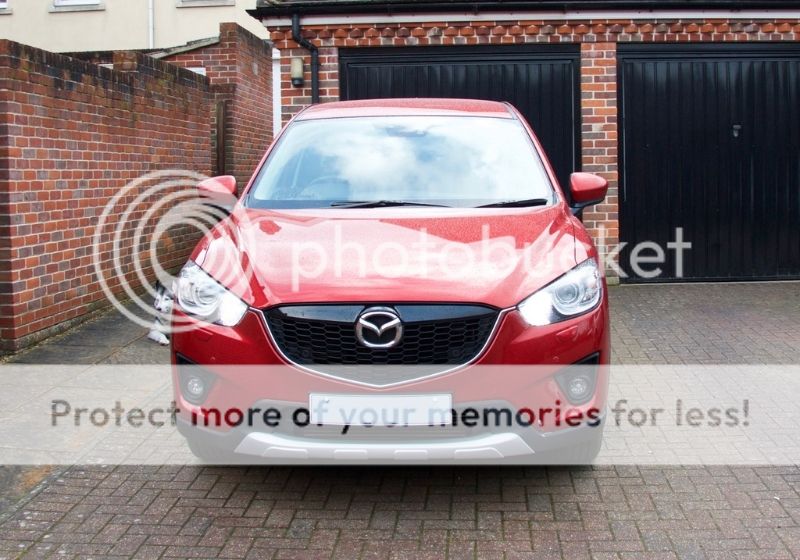
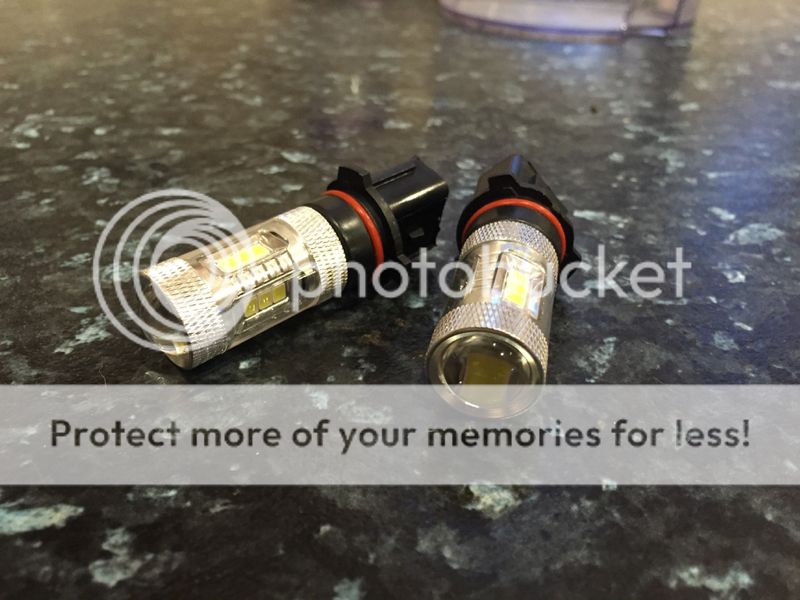
Much better! These were 15 ($22) from eBay and appear to be of good quality - time will tell!
Next up was the boot lighting, which was a big step down from the Audi I came from, which had a pair of bulbs in the roof illuminating the boot nicely. I ordered the official Mazda LED boot light kit.
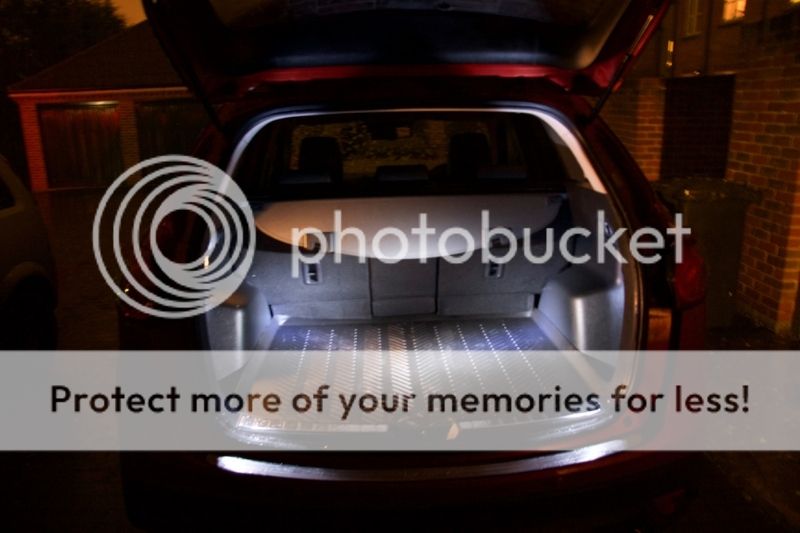
I'll change the original boot bulb to LED in due course, and perhaps add a fuse to the circuit given that I've read various horror stories of fried CCMs!
Looking forward to see what you all think")
I started with the DRLs, which I've been wanting to change to LED to bring the car slightly more up-to-date:
The standard P13W bulbs, not bad looking but I've been itching to change them since buying the car...
Much better! These were 15 ($22) from eBay and appear to be of good quality - time will tell!
Next up was the boot lighting, which was a big step down from the Audi I came from, which had a pair of bulbs in the roof illuminating the boot nicely. I ordered the official Mazda LED boot light kit.
I'll change the original boot bulb to LED in due course, and perhaps add a fuse to the circuit given that I've read various horror stories of fried CCMs!
Looking forward to see what you all think
- :
- 2016 Mazda CX-5 Touring AWD, Moonroof/ Bose and Tech package
Like the boot light thing... where did you get it?
RichardCX5
Member
- :
- 2014 CX5 Sport Nav (GT) MT 2.2D 150ps
Like the boot light thing... where did you get it?
It's an official Mazda accessory which I bought through a Mazda dealer, I'm not sure whether US dealers carry all the same accessories but might be worth checking.
http://www.mazda.co.uk/buying-owning/accessories/mazda-cx-5/2011-11/comfort-utility/C830V1620E/
Plasti-dipped my badges today. First time. Think it turned out pretty good!
Stealthy; suave!
So I ordered these https://www.amazon.com/dp/ (commissions earned) last weekend and they came in on Tuesday. They have a chemical smell to it, so I let them air out in the garage after unwrapping them from the package. I wanted the Mazda ones, but $125 seemed a bit crazy for them, especially when I wanted black ones in the first place. So figured I'd try these out and plasti-dip them since they were fairly cheap and offer a little more protection on the lip which my work boots usually hit. Anyways here are pix of them plasti-dipped.
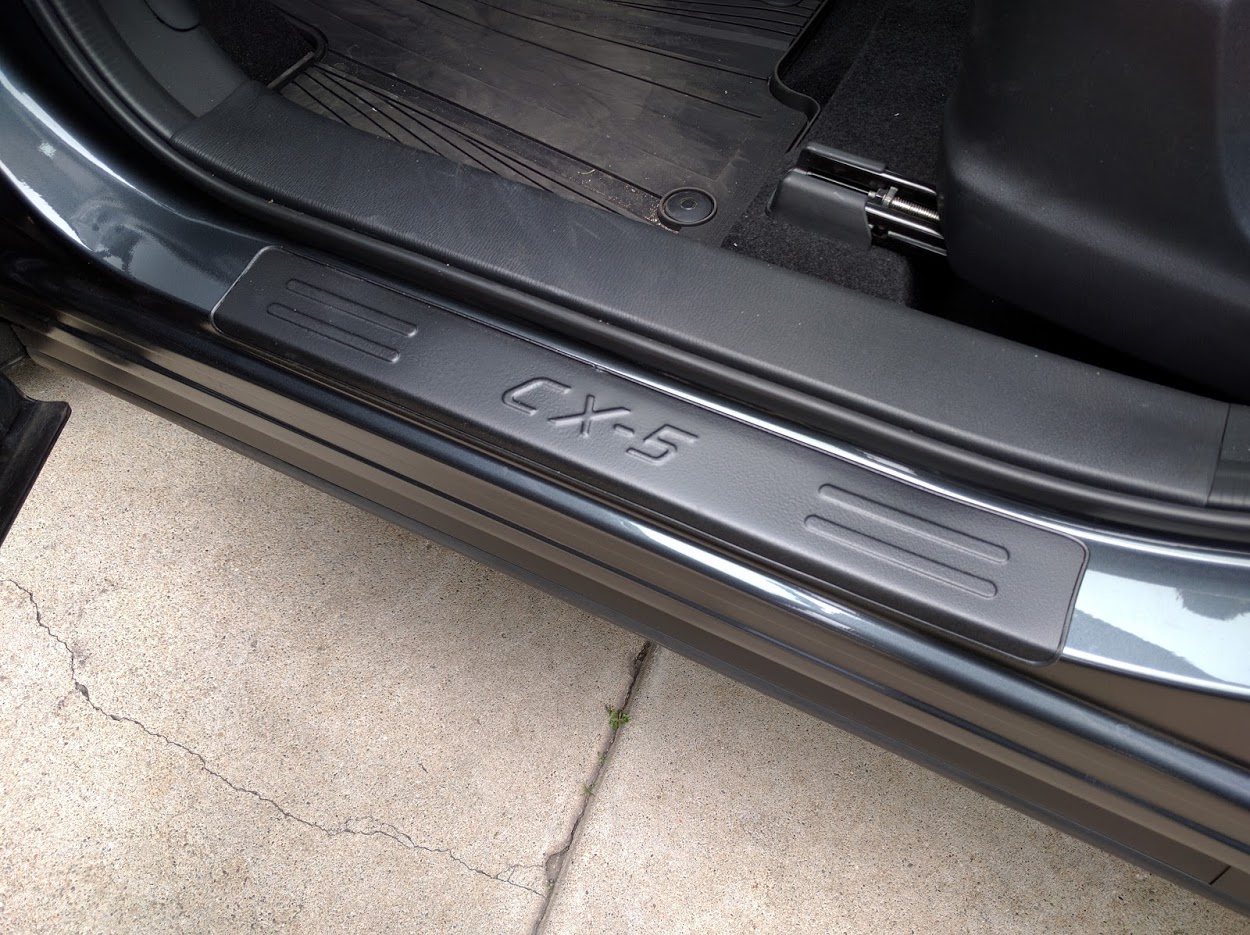
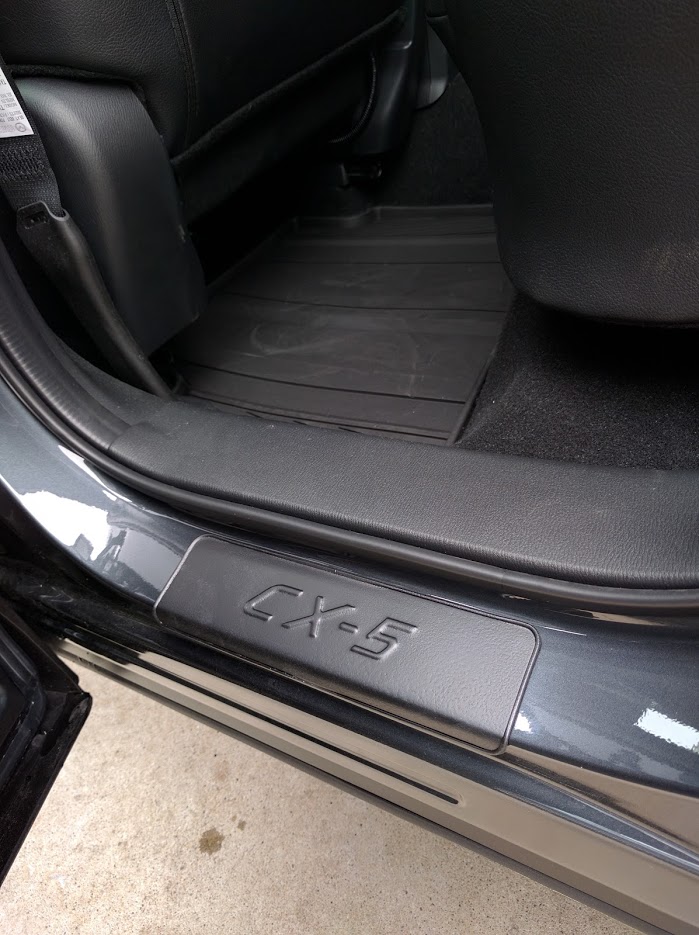
I'm pretty happy with them so far. Hope they hold up well. I'm a little worried about my boots removing the plasti-dip, but still plan on trying to be careful getting in and out. This is kind of just as a fall back.
I'm pretty happy with them so far. Hope they hold up well. I'm a little worried about my boots removing the plasti-dip, but still plan on trying to be careful getting in and out. This is kind of just as a fall back.
Plasti-dipped my badges today. First time. Think it turned out pretty good!
Is there a guide or youtube video that you used that you really liked?
Is there a guide or youtube video that you used that you really liked?
I ended up watching a lot of them and they were all pretty much the same info. So there isn't one specific one to link
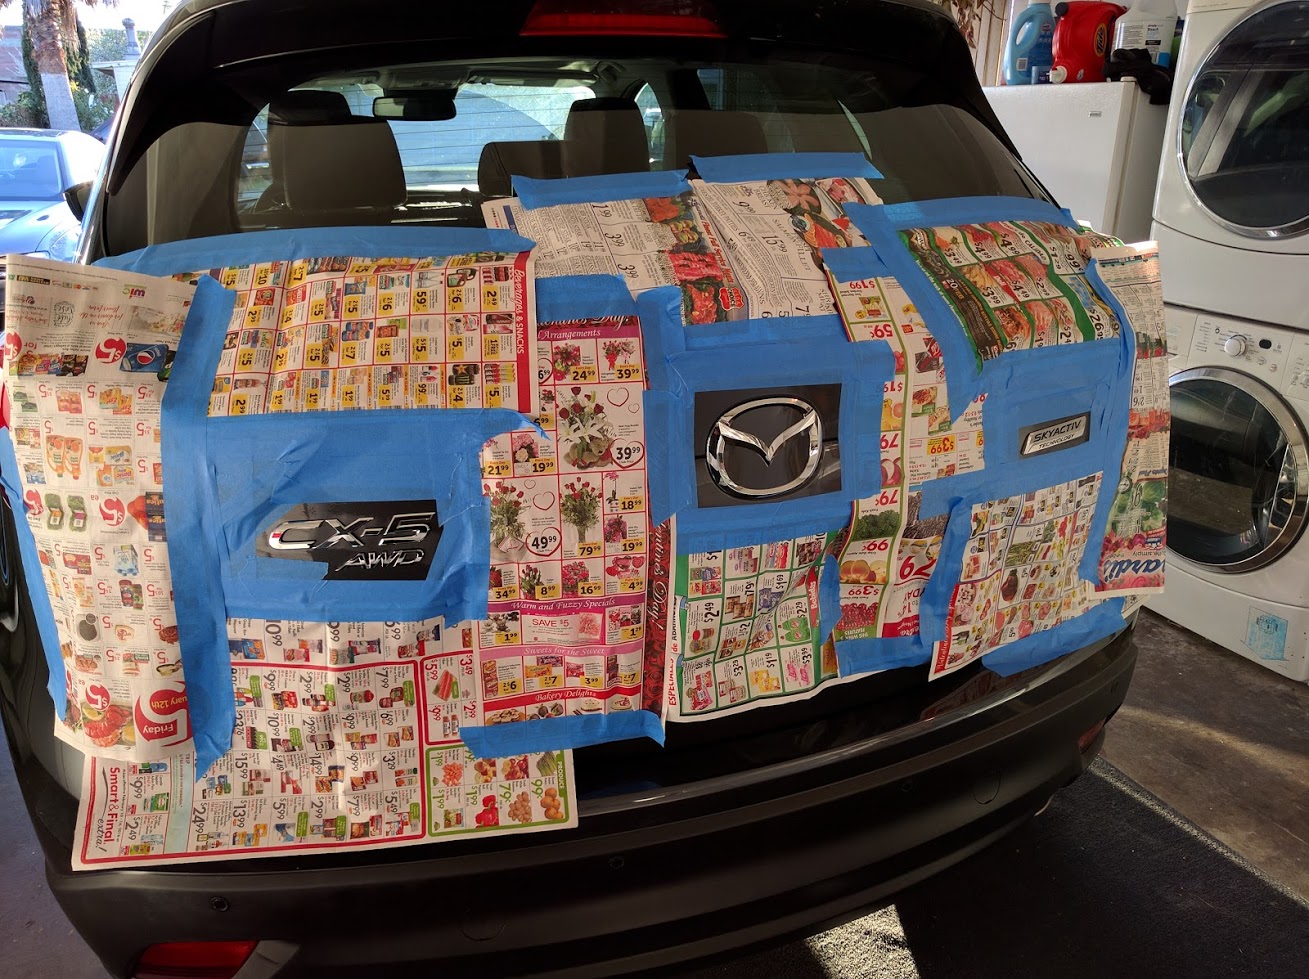
This is how I did it. One thing I'd recommend is covering more of the top of the bumper. Found some spray on it the other day, but cleaned it up within a minute fairly easily. I may take my roof rails off today and do them too.
I ended up watching a lot of them and they were all pretty much the same info. So there isn't one specific one to link
This is how I did it. One thing I'd recommend is covering more of the top of the bumper. Found some spray on it the other day, but cleaned it up within a minute fairly easily. I may take my roof rails off today and do them too.
What do you use to peel iff the excess off yoir car afterwards ?
Do you do more than 1 coat ?
Sent from my iPhone using Tapatalk
What do you use to peel iff the excess off yoir car afterwards ?
Do you do more than 1 coat ?
Sent from my iPhone using Tapatalk
it comes off rather easy. When you peel the tape off, the edges of the plasti-dip start to come off with it. You just keep peeling it until it all comes off the paint. It will remain on the badge itself though. For letters like D or O, you use a toothpick to get the plasti-dip off. Once you get a small part of it lifted up, its easy to take the rest off inside.
I used 6 coats which may be overkill. They suggest 3-4, but hey I bought a whole can and didn't have much plans to use it after (but I was wrong cuz i did the scuff plates and plan to do my roof rails now).
Thinking about this as well but never plastidip either.
How long btw each coat ?
Do u spray the badges from very close ?
Sent from my iPhone using Tapatalk
Thinking about this as well but never plastidip either.
How long btw each coat ?
Do u spray the badges from very close ?
Sent from my iPhone using Tapatalk
The can has instructions. Shake for 1 minute before spraying. Spray 8-10 inches away, let dry for 30 mins per coat. Before I apply the next coat I usually turn the can upsidedown and give it a quick spray to clear the gunk out of it.
Here's one of the videos I watched https://www.youtube.com/watch?v=FV_ULUKno5w
Thanks!!
Really seems easy looking at the video.
Do you know if it causes any issues if you do this outside in the sun during a hot day?
Sent from my iPhone using Tapatalk
Thanks!!
Really seems easy looking at the video.
Do you know if it causes any issues if you do this outside in the sun during a hot day?
Sent from my iPhone using Tapatalk
It's not recommended outside or on a really hot day. I would also be working of dust, dirt, etc being blown onto the wet paint. I've always done mine in the garage. I leave the door cracked to help ventilate too.
- :
- San Antonio, Texas
- :
- '15 CX-5 Miata AWD
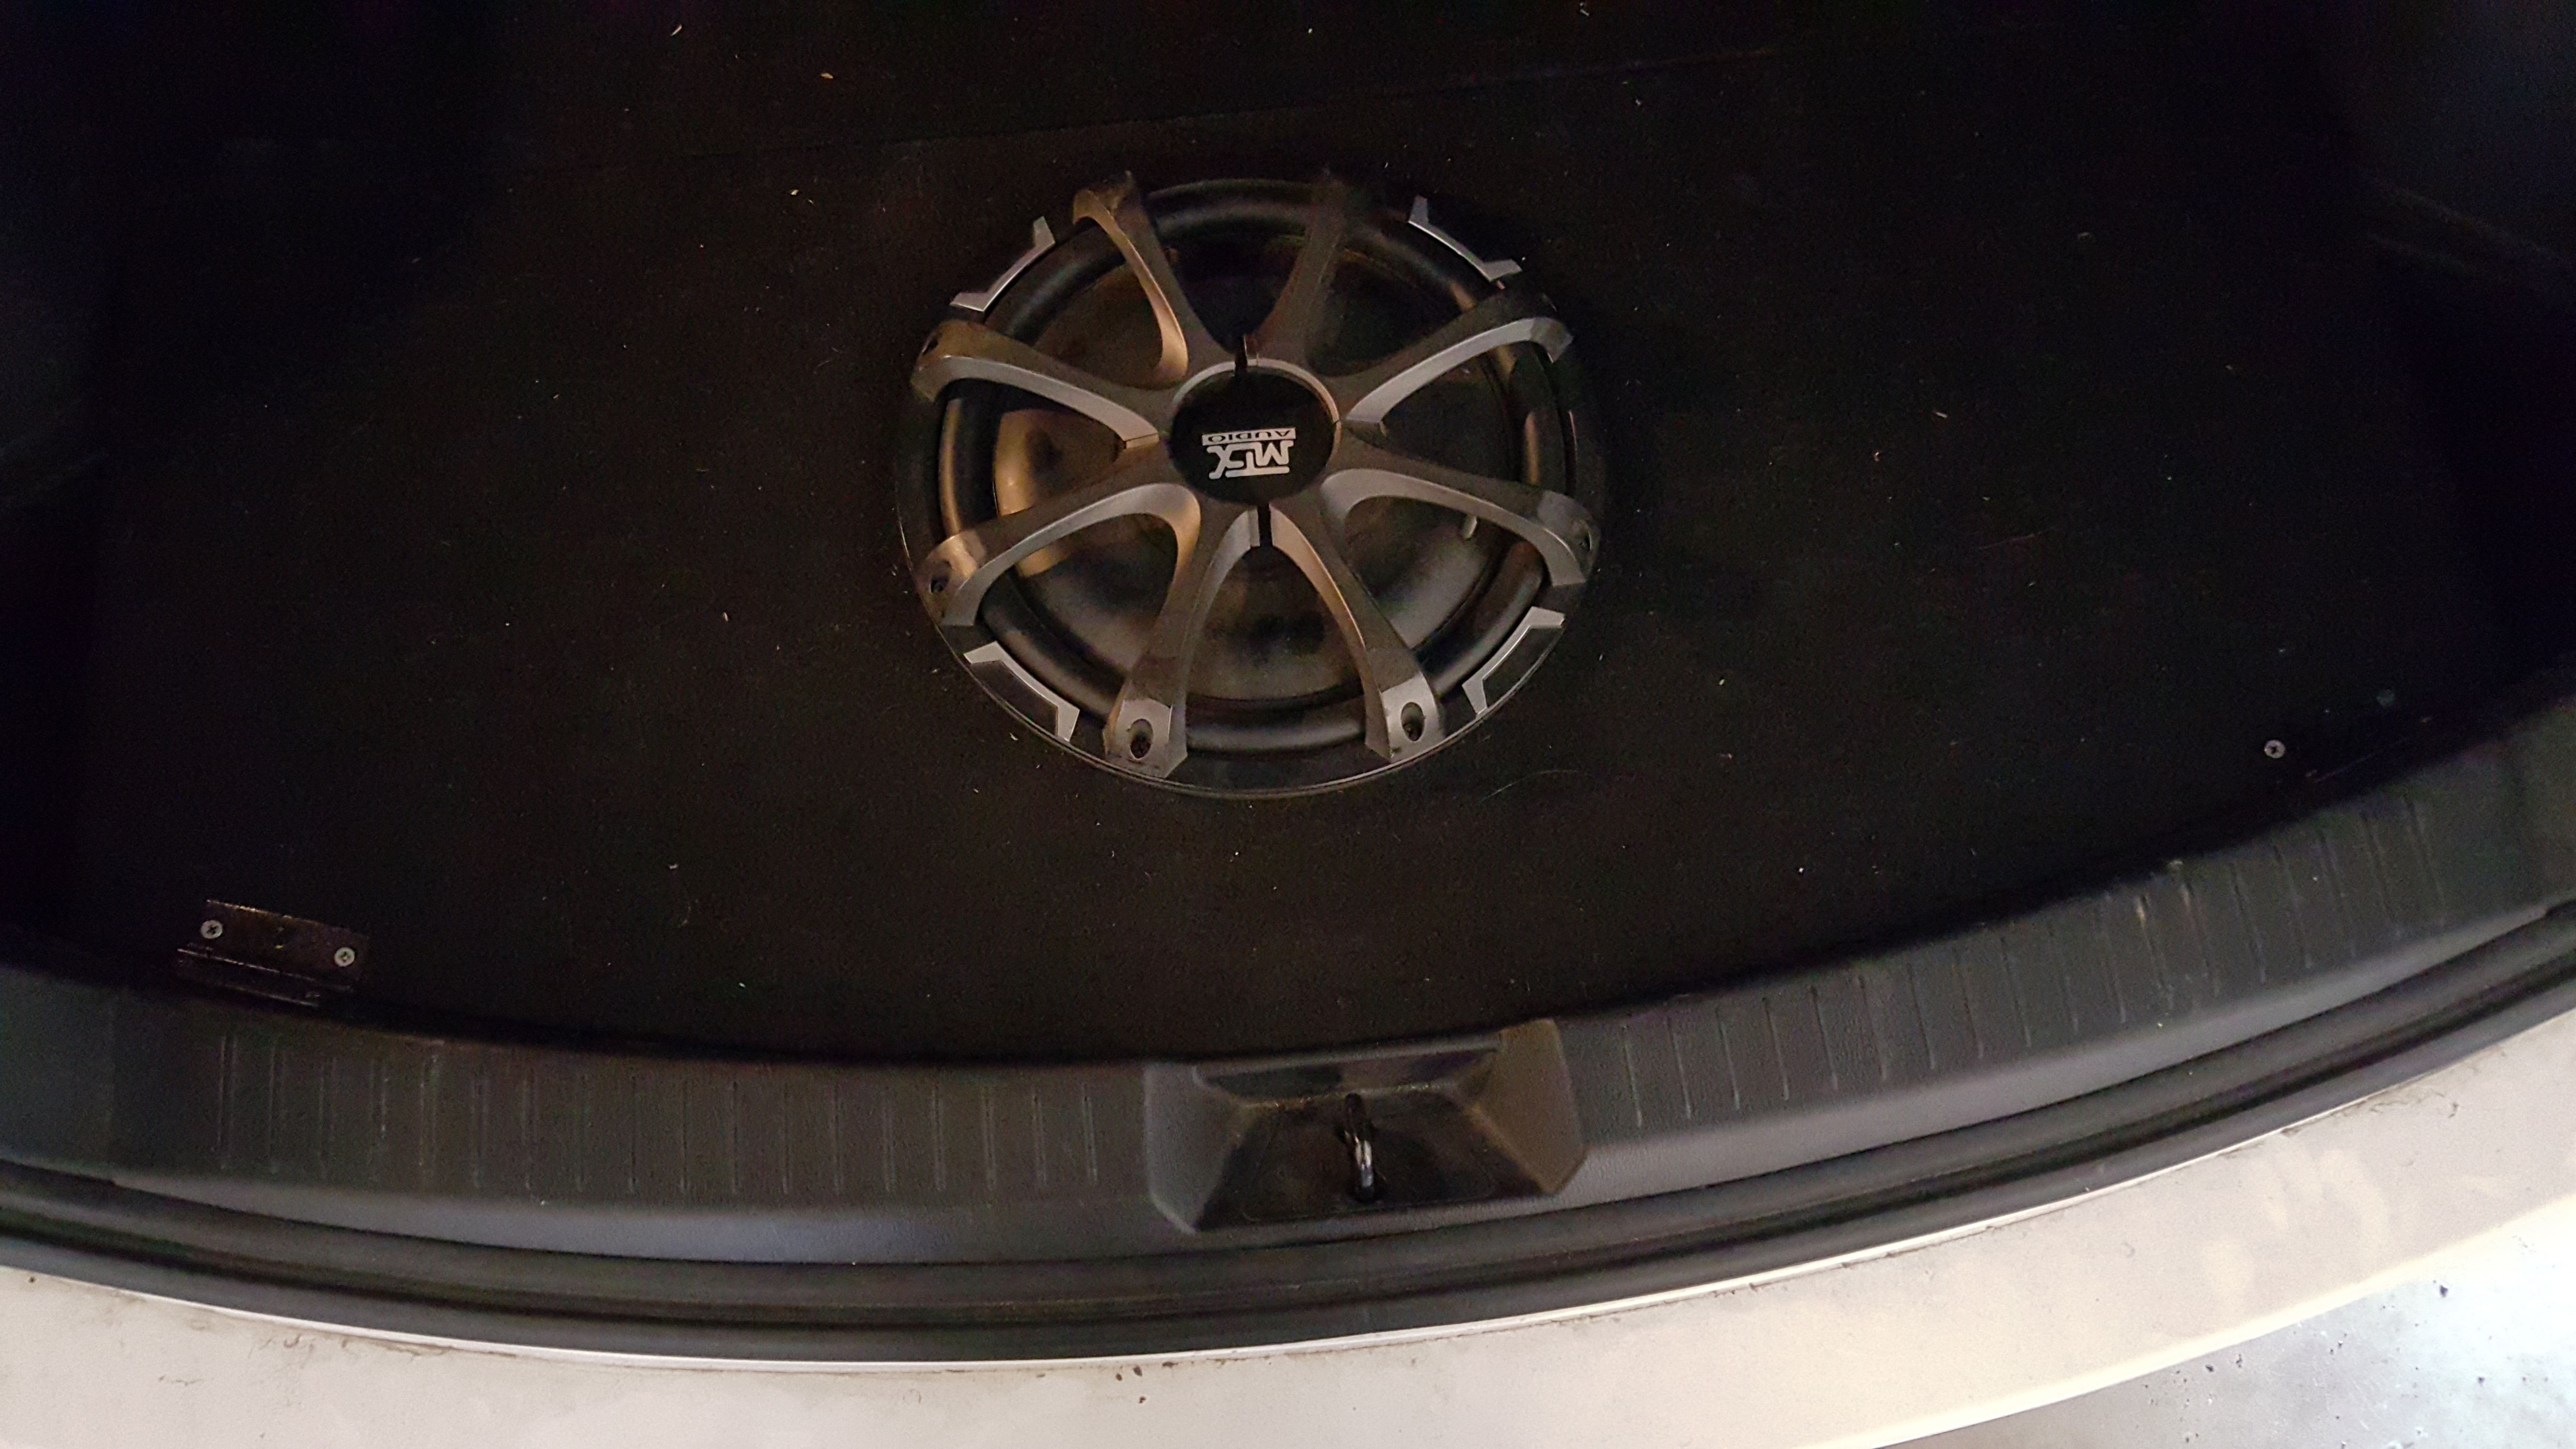
Put a hinge and exhaust strap onto my sub box. Got tired of it moving around, mainly thumping when going over a short speed bump.

Will have to find a garage to do this then when summer comes!
Sent from my iPhone using Tapatalk
I did my Evil M and fog trims outside with no issues.


Similar threads
- Replies
- 35
- Views
- 4K