Wishmaster
Member
- :
- 07 Galaxy Gray AT Mazda5 GT
Hello all,
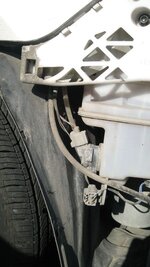
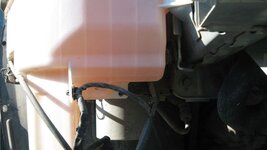
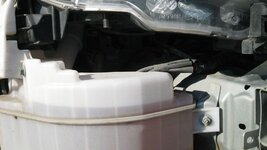
My first post! I just bought an 07 GT, didn't notice it at the time of sale, but the washer fluid reservoir has a hole in it and when I fill it up, it all leaks out! I did ask when I tested the car if the sprayers worked because no fluid was coming out, he told me they did... I think he knew about this and didn't tell me!
Anyway I'm over it, it's my problem now and I want to fix ii. Has anyone replaced theirs and have some tips or directions. Or can someone point me in the direction of a dealer repair how-to or something?
Any help is appreciated!
Cheers,
Ian