Transmission Swap How-To
Alright guys, here’s the how-to. It’s not gonna be so specific that I mention every bolt size etc since I wasn’t paying too much attention, but it’s gonna be as good of a guide as I can make =) As always, taking pictures and labeling everything and placing everything in its own individual bag even if it’s only like one or two bolts is key.
1.) To facilitate the installation, I removed on the interior: center console, rear seat, inner kick panels, outside passenger kick panel, glove box, and the plastic piece under the steering wheel. On the exterior side, I removed the front bumper and hood.
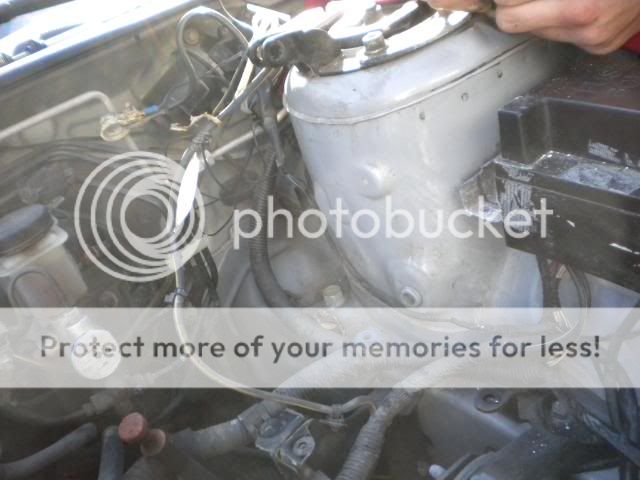
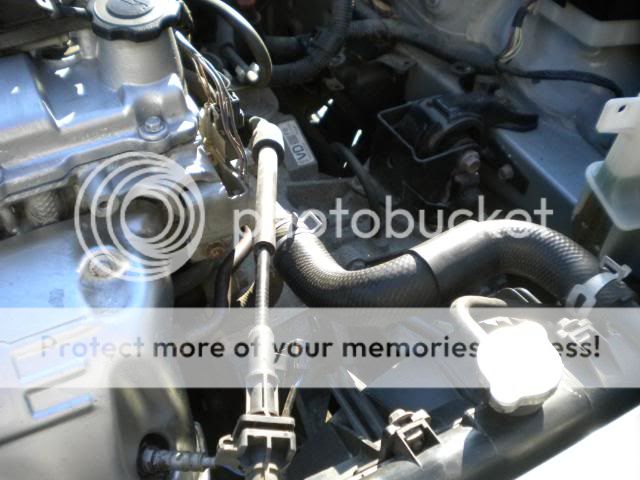
2.) Time to start the actual swap, remove your intake up to the throttle body, remove your battery, the battery holder, and the black bracket that holds up the battery holder. Also remove your strut bar if you have one.
3.) Remove the drain plug on the bottom of the ATX transmission until its empty. Also remove the hoses attached between the radiator and the transmission. We actually capped the two holes in the radiator using one of the ATX hoses. You can also remove the ATX dipstick thing.
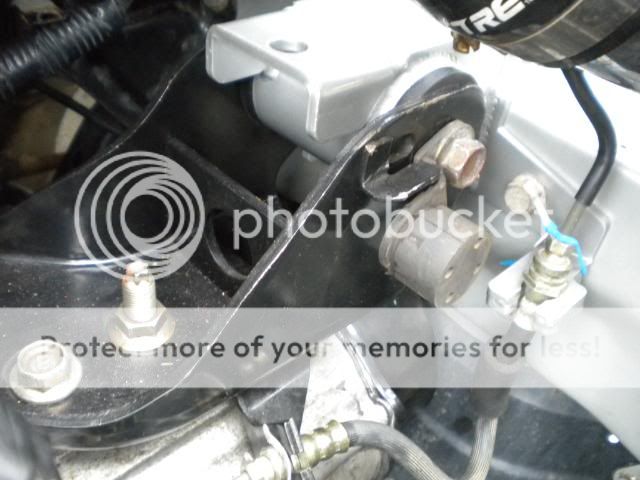
4.) For the starter harness, remove the two grounds on the fuse box as well as the plug inserted in the fuse box. Follow that harness to its other connectors, removing them as you go until you get to the end located at the alternator.
5.) Remove all engine harness wires and place them to the side on the top of the engine.
6.) Remove the selector connector on the front of the ATX transmission.
7.) Remove the bolts to the starter, then using the hole created from the starter being out, remove the four torque converter nuts by spinning the crank bolt.
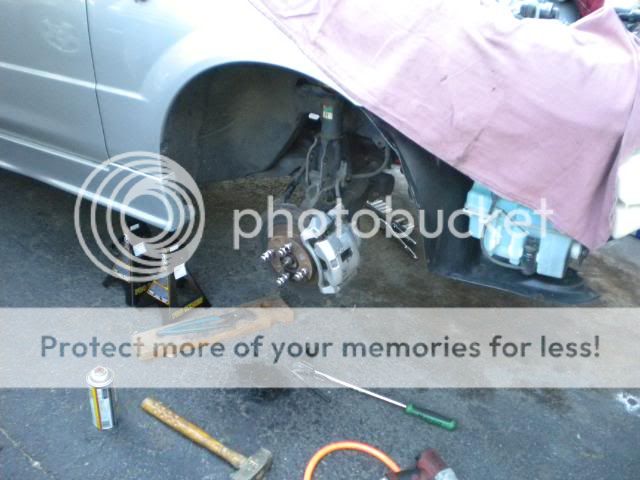
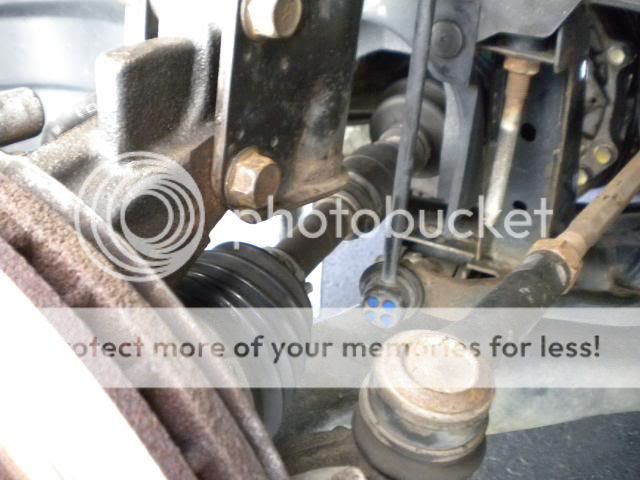
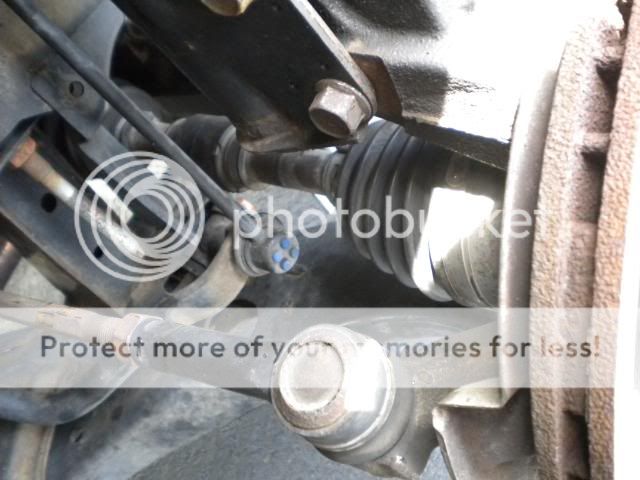
8.) Time for the axles, you can try to take the two nuts and bolts out between the spindle and strut, as well as the bolt for the steering knuckle which should drop the assembly so you can pull the axles out. Unfortunately, mine were seized into the hubs so we removed the rotors and unbolted the calipers. Then we used a pickle fork and ended up breaking the ball joint grease boots in the process. Axle nuts are 32 mm. We had to use a press to get the axles out of the hubs which sucked. But we had to do this with both driver and passenger axle.
9.) Remove the three bolts to the joint shaft and remove it from the transmission.
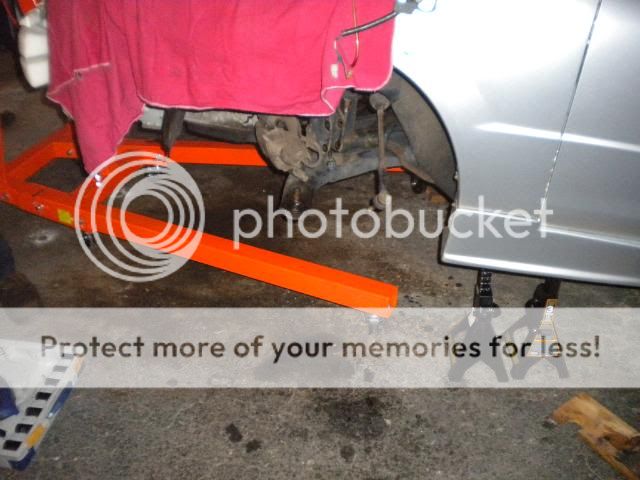
10.) At this point, you should probably have the engine hoisted. Remove the four bolts
to the transverse member.
11.) Remove the two bolts to the bottom of the front motor mount and also remove the three bolts to the engine brace its attached to and set those aside.
12.) Remove the bolts to the transmission motor mount and pull that off.
13.) Remove the three bolts to the rear motor mount bracket.
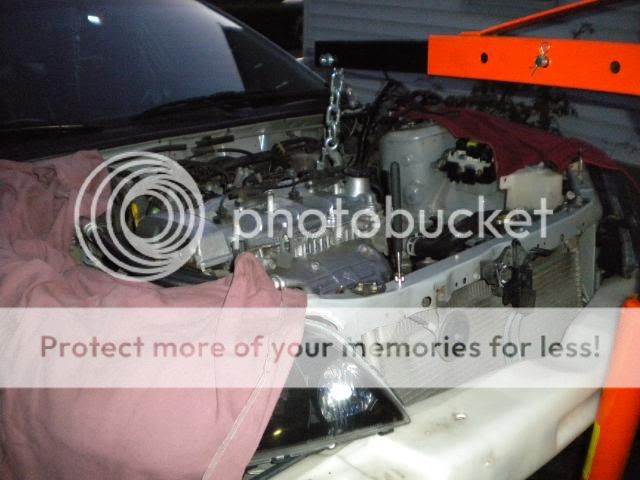
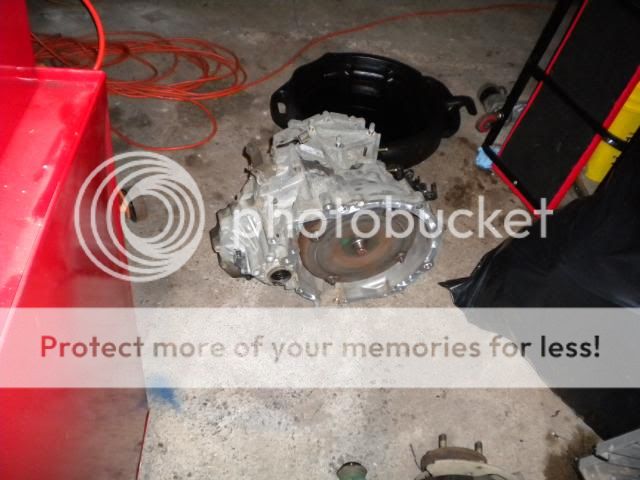
14.) At this point, the only thing holding your transmission on is the bellhousing bolts. So place a jack under your transmission and remove the bolts carefully. The ATX is quite heavy so be careful when taking it out.
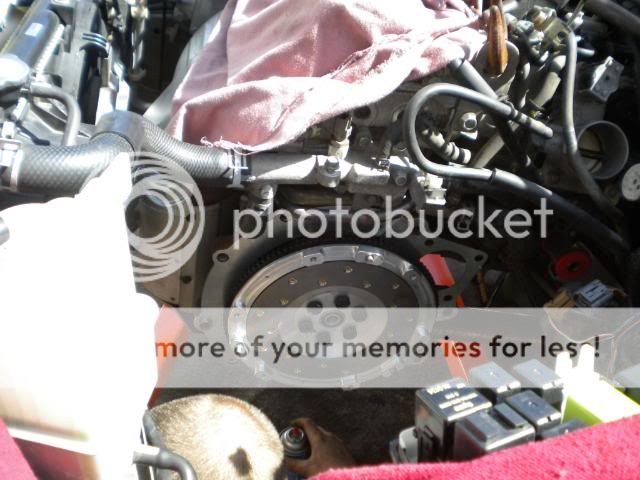
15.) Remove the 6 bolts to the flex plate.
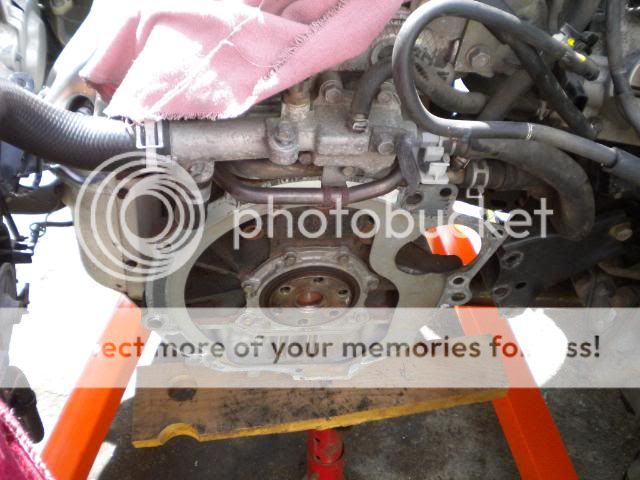
16.) At this time, you should check the oil seal on the motor and if you see the slightest bit of leaking oil, change before you continue. If not, you should be okay.
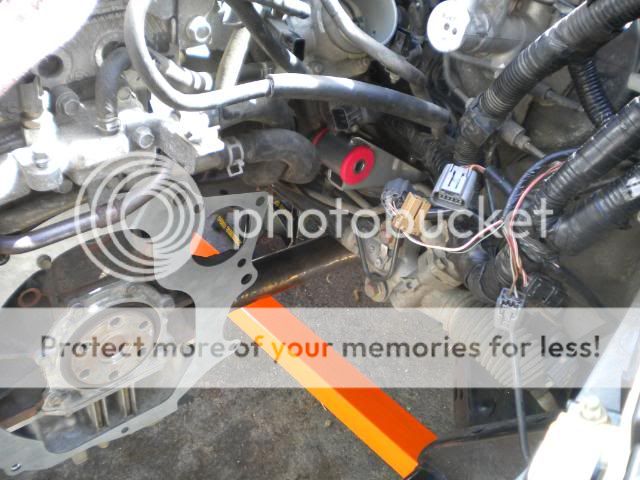
17.) Remove the one bolt holding on the metal plate that was with your ATX transmission and replace with your manual metal plate.
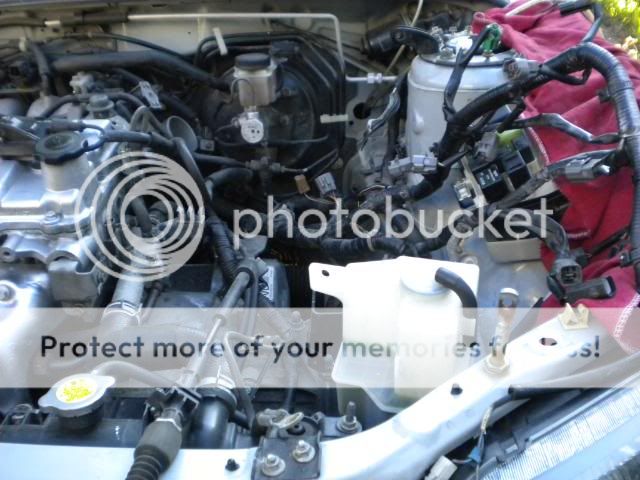
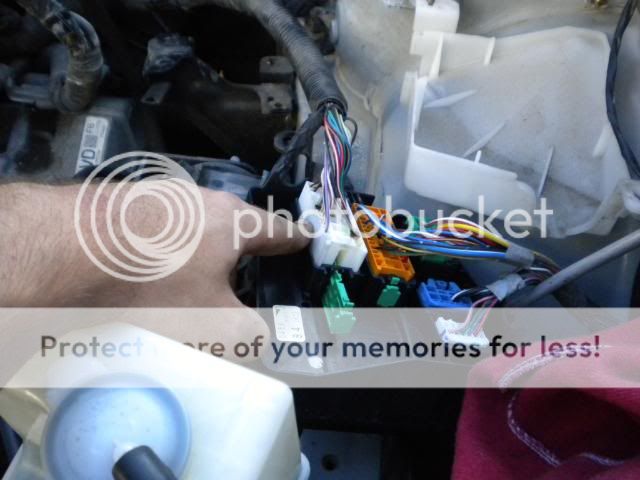
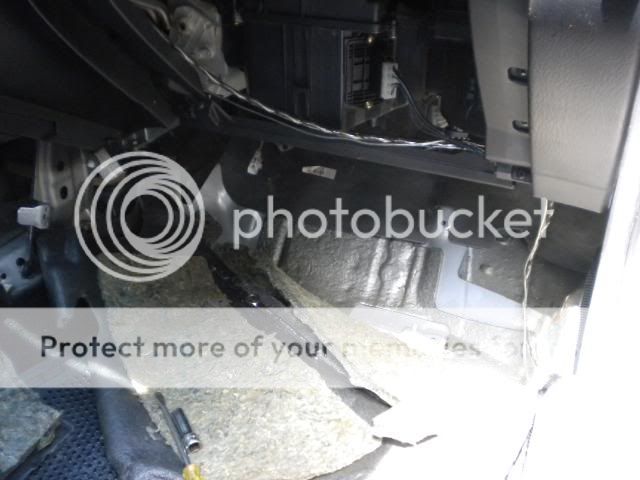
18.) At this point with all your open space, it’s a good time to finish removing the ATX engine harness. Under the glove box is a metal plate attached with four bolts that contains your ECU. Remove the four bolts, than unplug the ATX ECU and set it aside. From the fuel pump, remove the four screws holding the metal plate and unplug the two sensors. The rest of the harness runs through the driver’s side of the center console. Remove the remaining connectors under the dash. At this point, you should be able to pull the cabin connectors through the firewall so set the ATX harness aside.
19.) With the ATX harness gone, start installing the MTX engine harness in the cabin as well as the MTX ECU. It’s best to leave the actual harness in the engine bay unplugged at this time and set it aside.
20.) Remove the four bolts holding the ATX gear selector and unhook the selector cable and interlock cable.
21.) To get the selector cable out of the car, we cut it in the cabin and pulled it out through the engine bay.
22.) We also removed the interlock cable which goes to the brake pedal and the ignition. We also swapped brake pedals at this time.
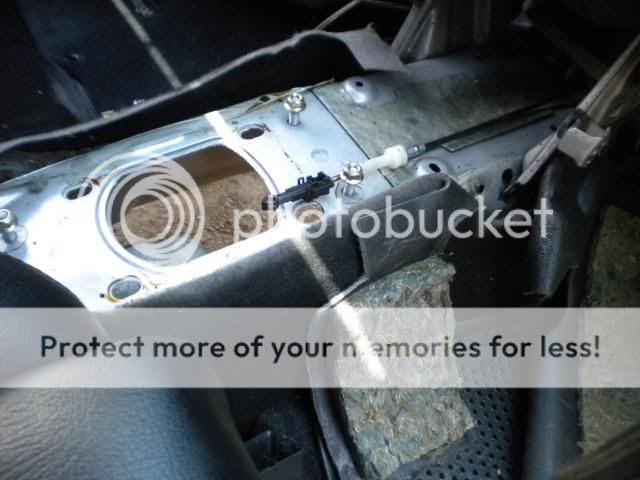
23.) The clutch pedal can be installed in the holes already drilled into the firewall. Have a friend line up the clutch master cylinder with the pedal and its rod actuator. One nut is going to go on clutch master cylinder in the engine bay and a second nut goes on the clutch pedal. Also a nut is attached at the top of the pedal. Finally, there should be two connectors hanging under the dash unused which goes into the two connectors on the clutch pedal.
24.) I swapped to an AWR rear mount so I undid the three nuts on the stock mount and swapped motor mounts. Be sure when attaching the rear motor mount bracket to use the MTX one you bought as it’s not the same as the ATX one. Whoever installs the AWR rear mount without removing the tranny are crazy because that thing is almost completely inaccessible haha…
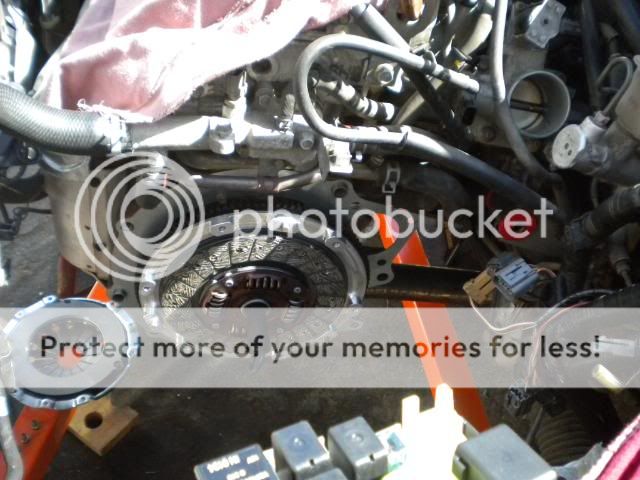
25.) Time for the good stuff. Align the pilot bearing with the flywheel and install the flywheel using the six bolts.
26.) Align the clutch disk with the pilot bearing using the alignment tool.
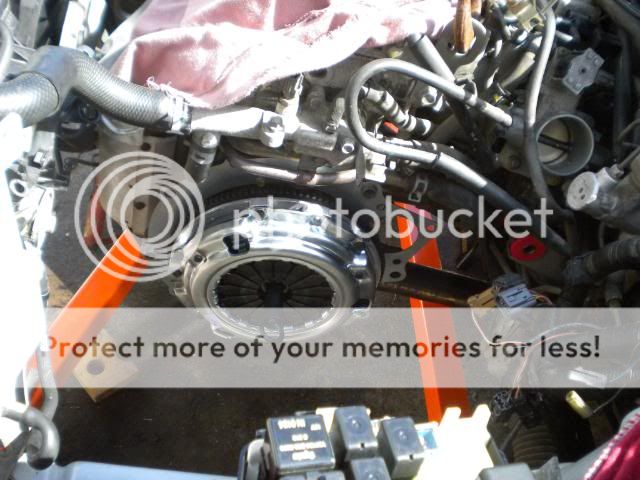
27.) Install the 6 bolts and washers holding the pressure plate to the flywheel.
28.) Time to throw in the MTX! If you haven’t, install the release bearing and clutch release fork, greasing up the moving parts. Do whatever you have to (muscling up the tranny, using a jack, etc) to get the transmission lined up with the motor. Bolt the transmission to the motor. One bolt in the upper oil pan does not transfer over to the MTX.
29.) Attaching the rear, front motor mount and transmission motor mount is pretty much a delicate balance of getting everything to align. With an engine hoist, we had to raise and lower the engine very carefully to have all the motor mounts attach to their brackets but with time you should be able to get them all attached. Be sure to use the transmission mount you purchased as it’s different than the ATX.
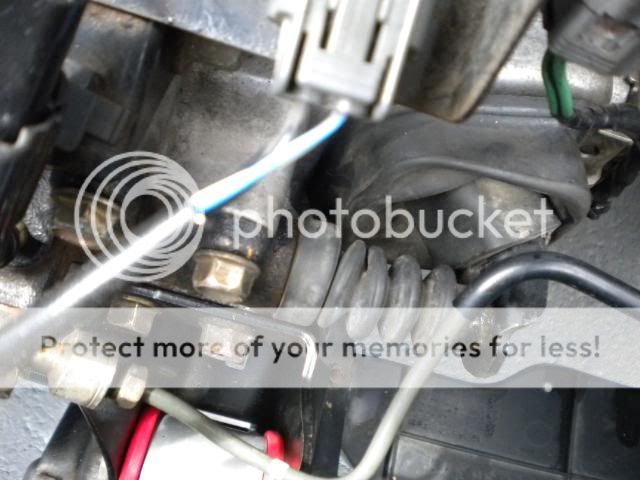
30.) Your transmission should now be safely bolted to the motor and frame. At this time, you should install the starter and the starter harness. Be sure to hit the speed sensor at the back of the transmission.
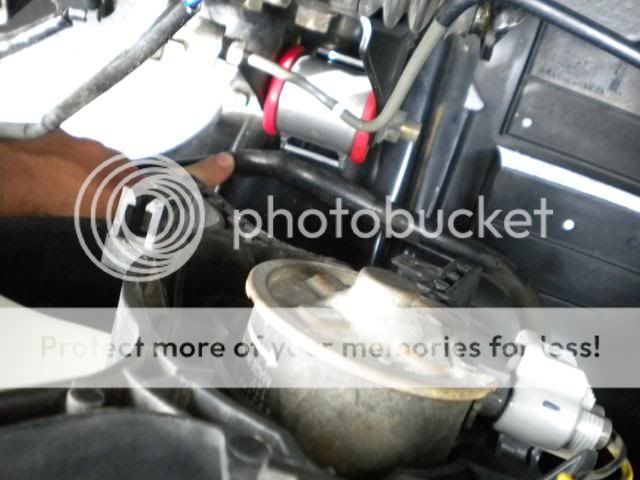
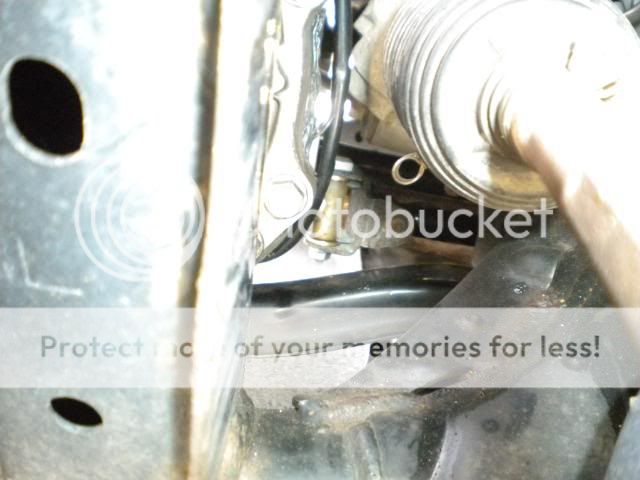
31.) Finish running the clutch lines along the frame and attach the slave cylinder to the transmission with the two bolts.
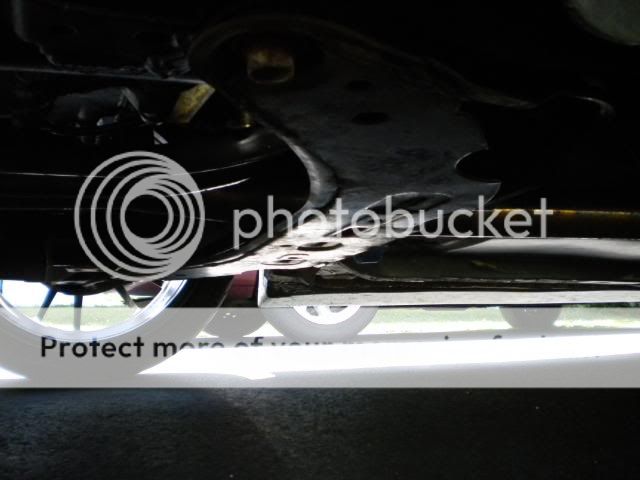
32.) Install the two shift linkage bars to the transmission and the shifter. The holes for the linkage to bolt to are already drilled into the frame.
33.) Install the two engine braces you removed earlier.
34.) Install the joint shaft as well as the driver and passenger axle into the hubs.
35.) You can now lower the car to the ground. One thing you would want to do while there’s open space is to fill the transmission with 3 quarts of transmission fluid.
36.) Another is to attach the hose from the side of the clutch master cylinder to the master cylinder reservoir by removing the cap. Then bleed the clutch lines through the bleeder on the slave cylinder.
37.) Finish installing the engine harness, be sure to get the two connectors on the MTX transmission.
38.) Install all the battery parts (the bracket, holder and battery itself) and finish installing the starter wire harness.
39.) Install your intake.
40.) Start her up =)