Funkytuqe's Mini Build

funkytuqe

Member
:
2003 Protege 5, 06 Mazdaspeed6
Hey Guys, I'm going to be putting a few parts onto my P5 over the next couple of weeks and i wanted to document it somewhere, so what better place than a P5 Forum.

Nothing big is planned, it's all been done before. This is a budget build also, i don't want to spend too much on this car.

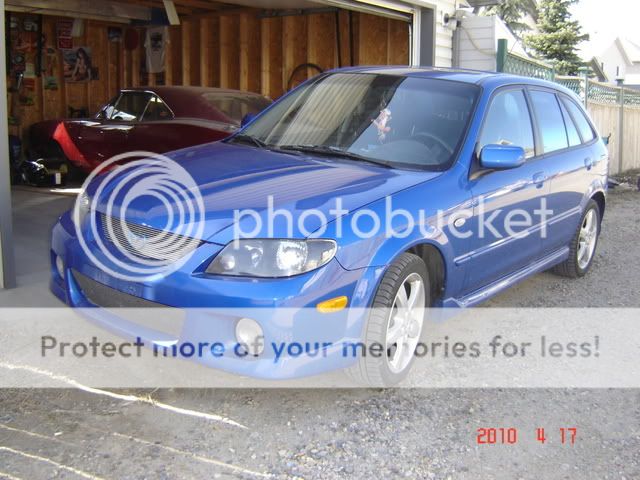
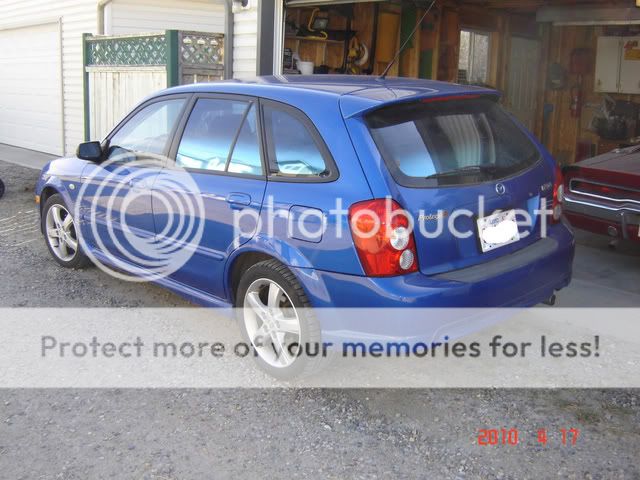
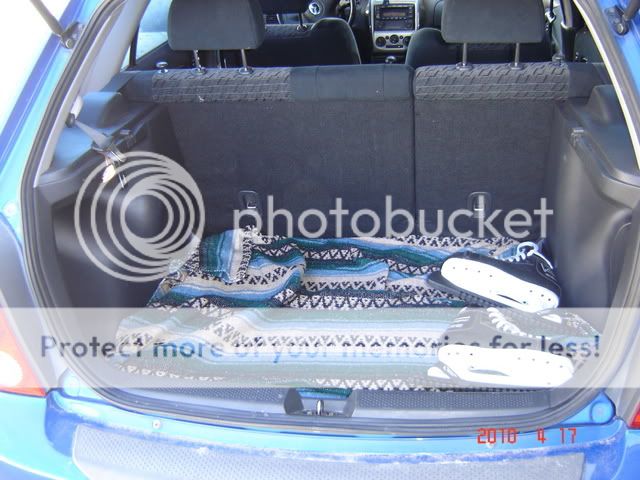
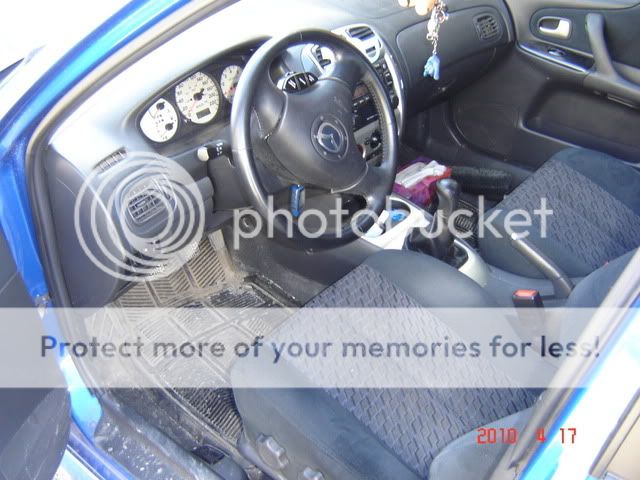
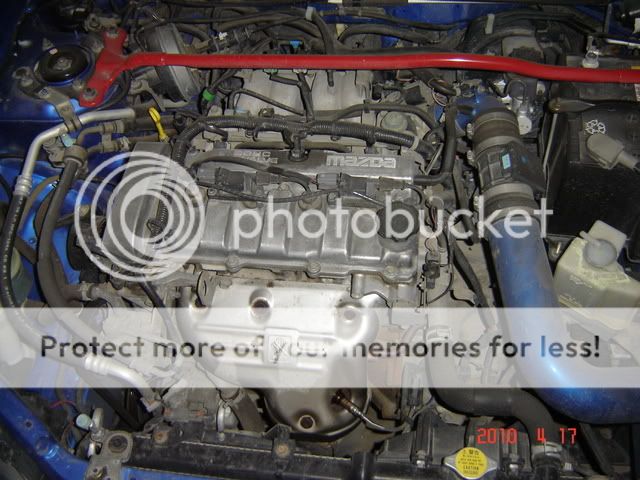
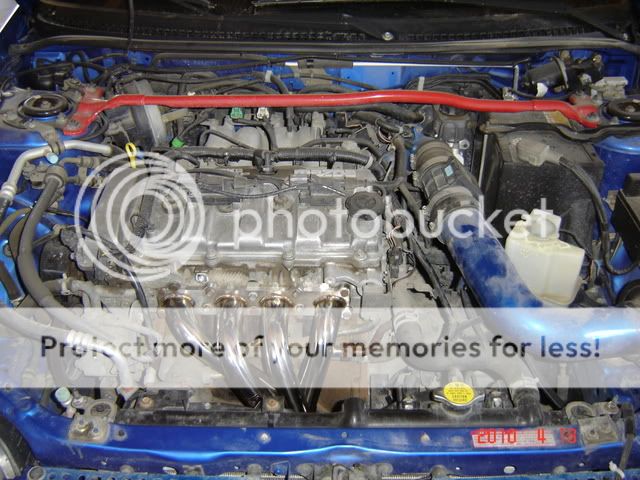
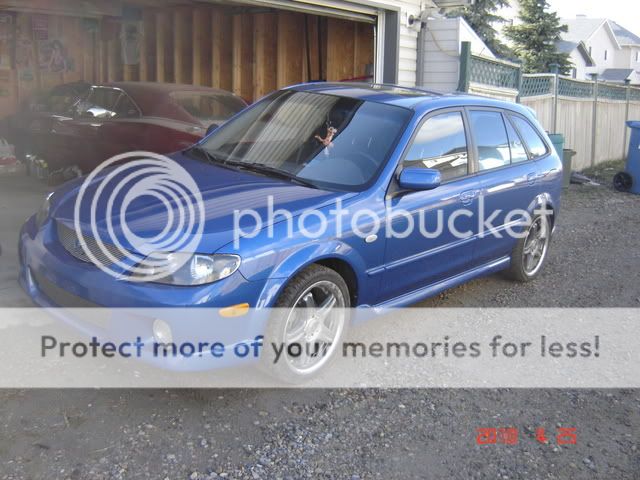
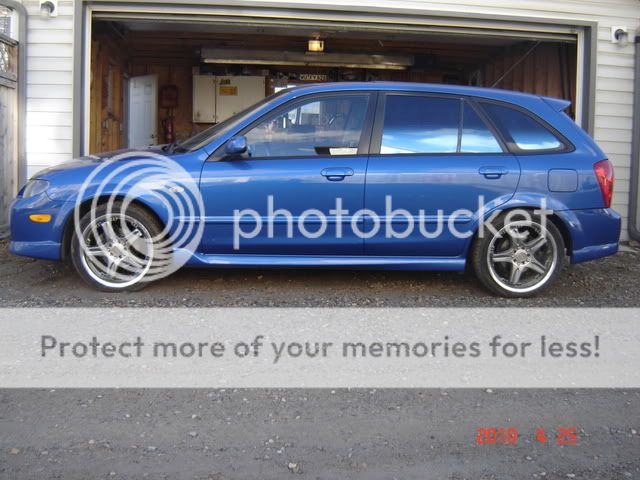
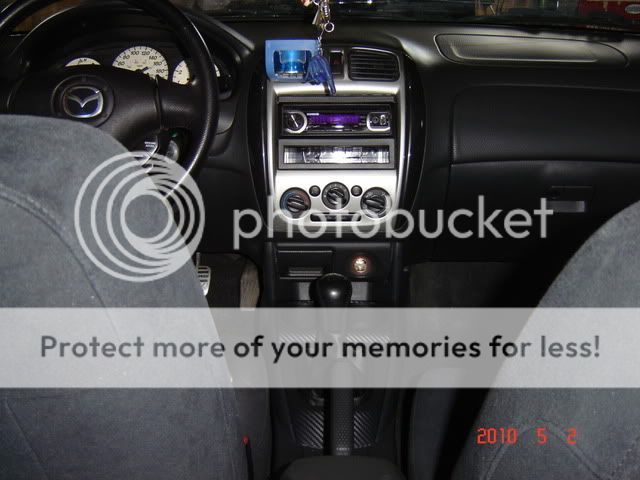
Here are some pics of the car as it sits now. I bought this car brand new in 2003 and it is stock except for an AEM intake, tinted windows, aluminum grills and 17" rims for the summer.


New001.jpg


New002.jpg


New004.jpg


New005.jpg


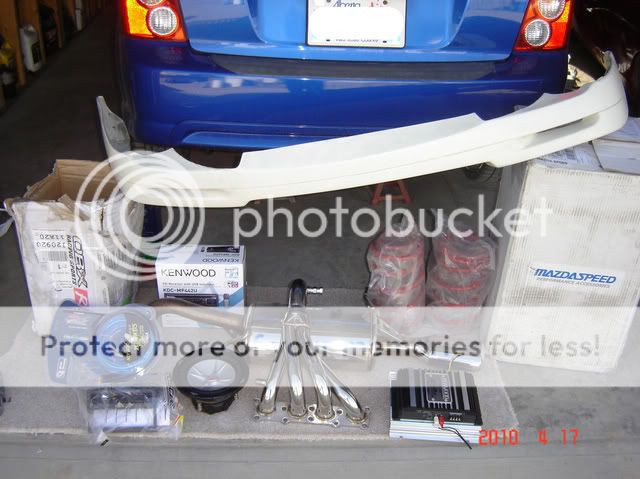
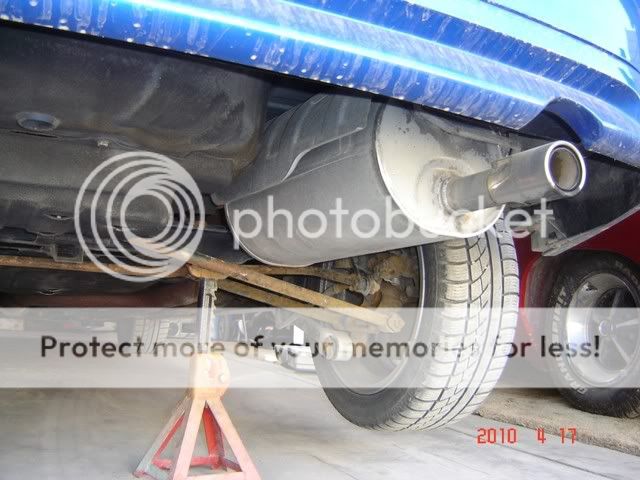
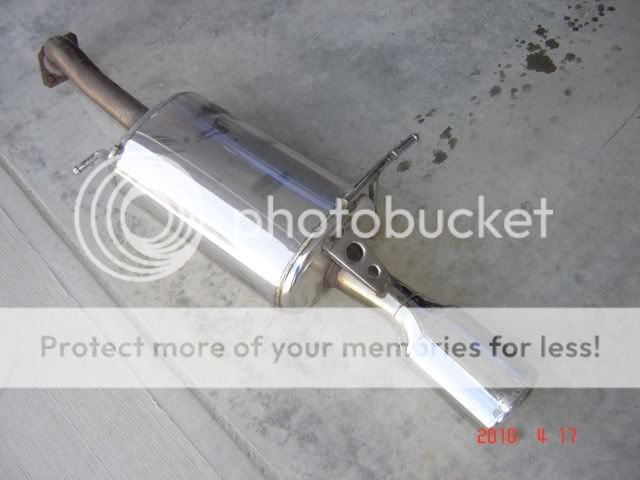
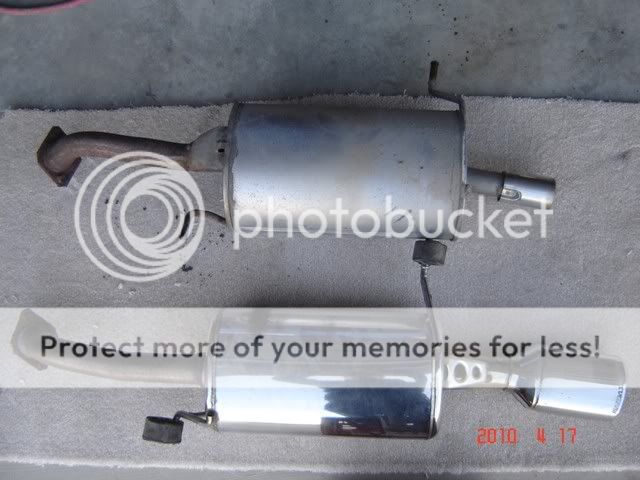
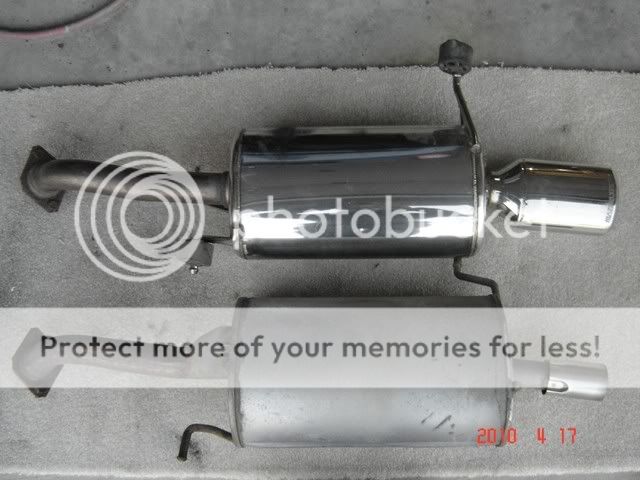
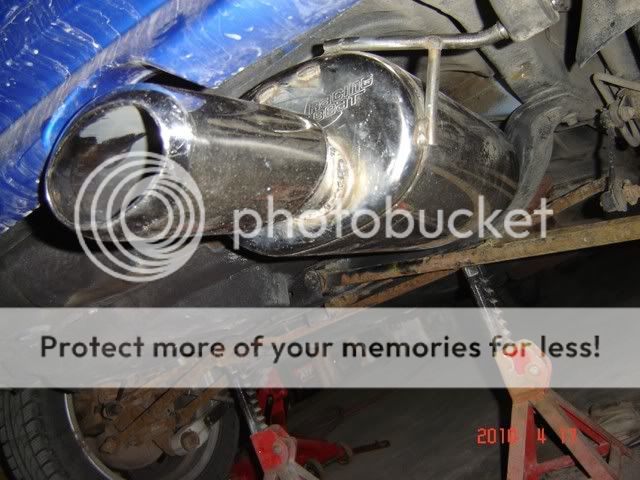
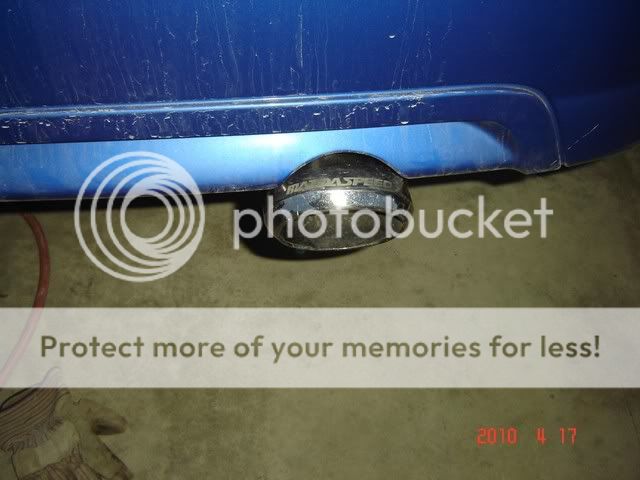
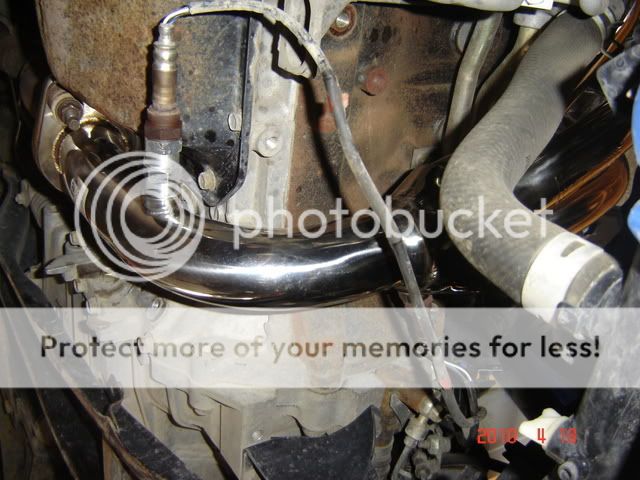
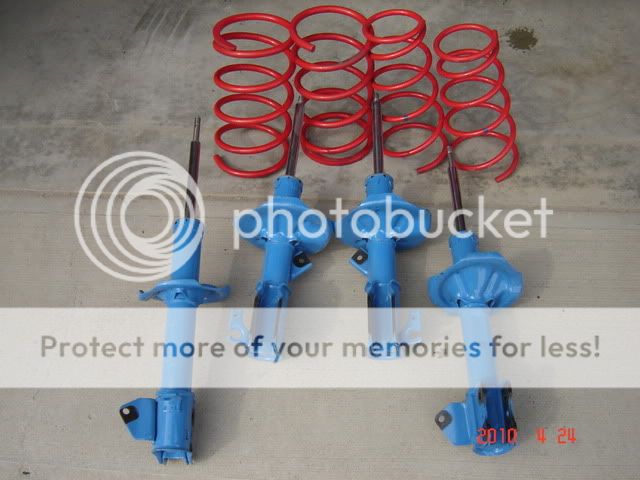
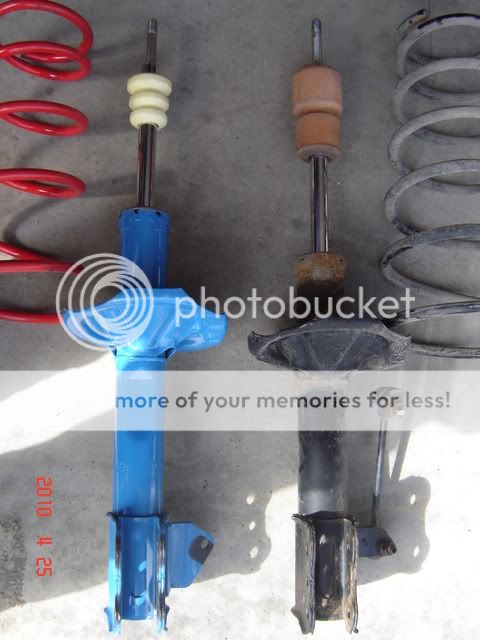
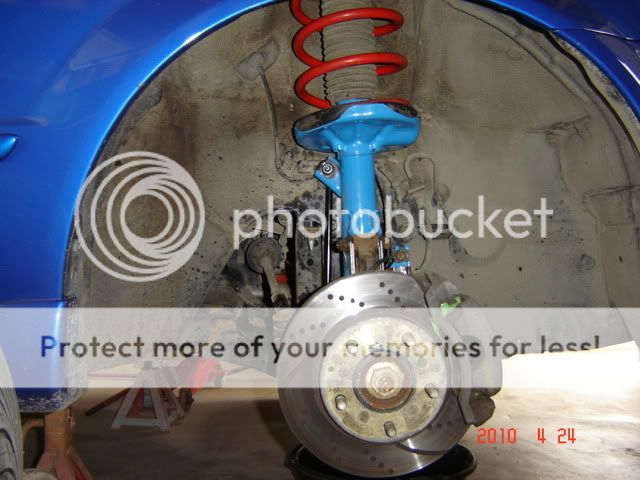
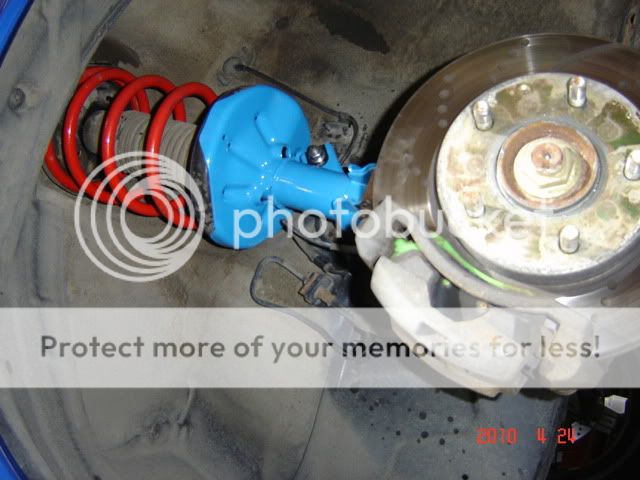
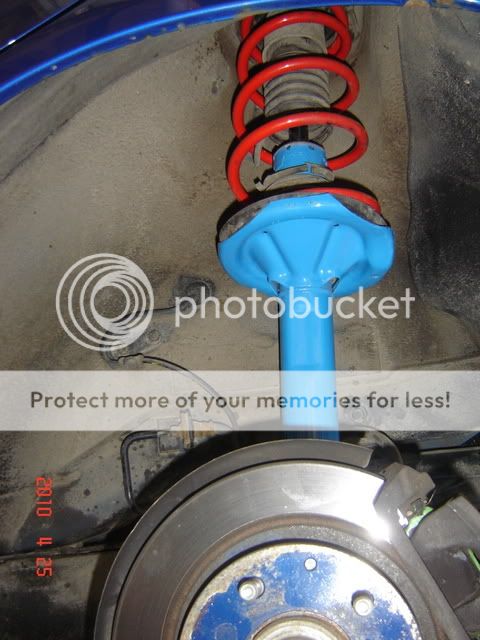
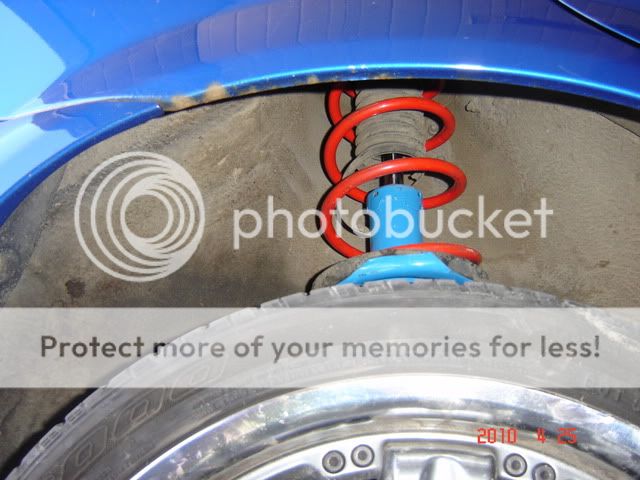
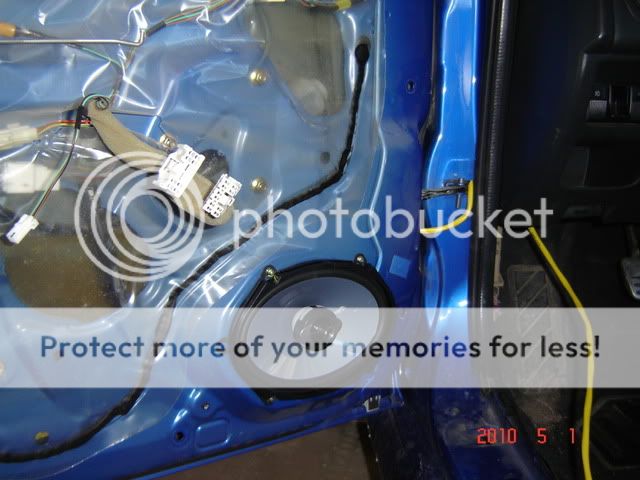
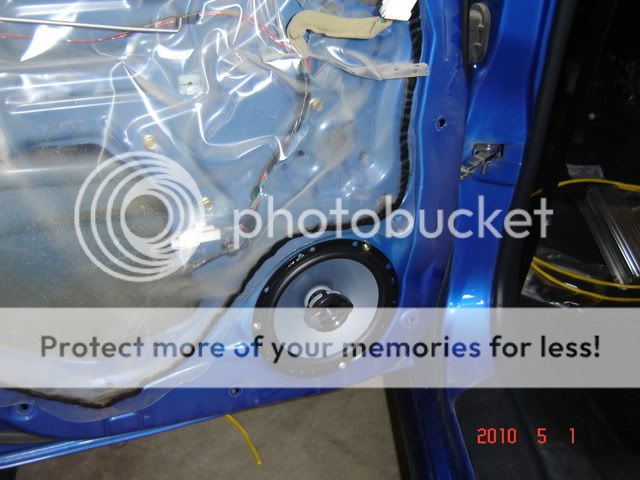
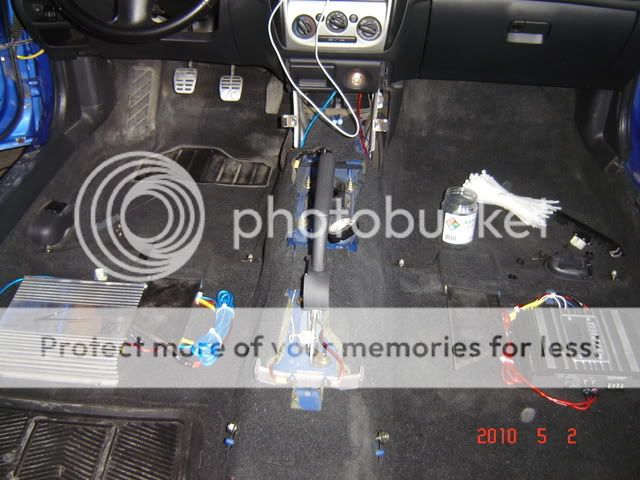
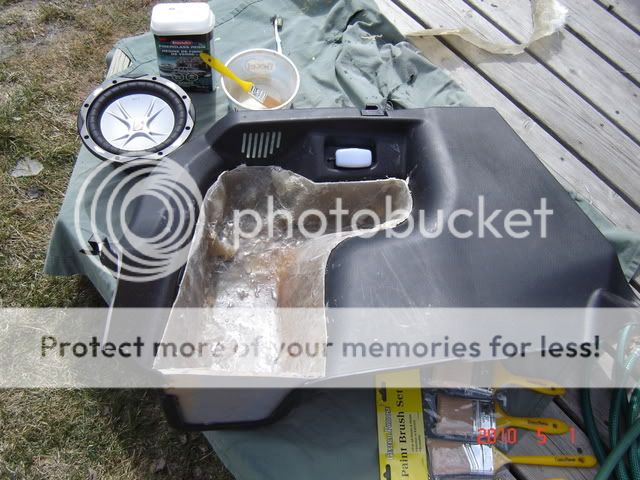
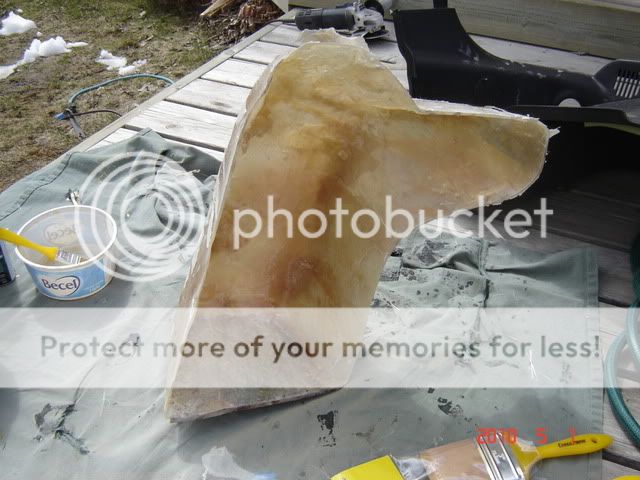
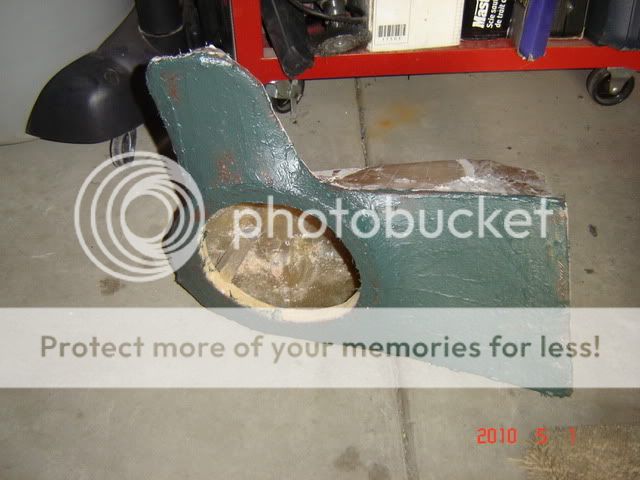
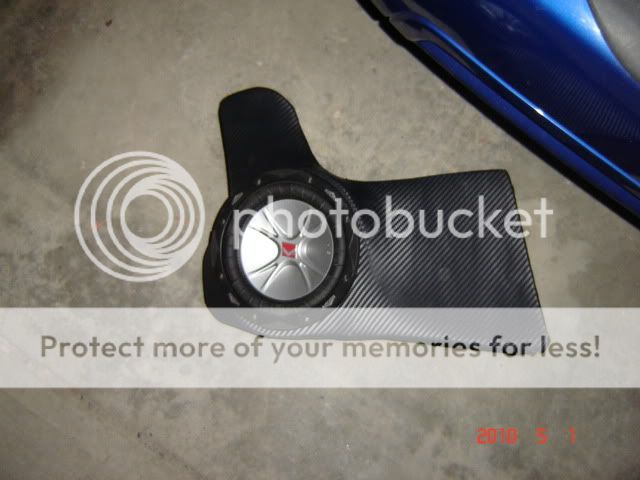
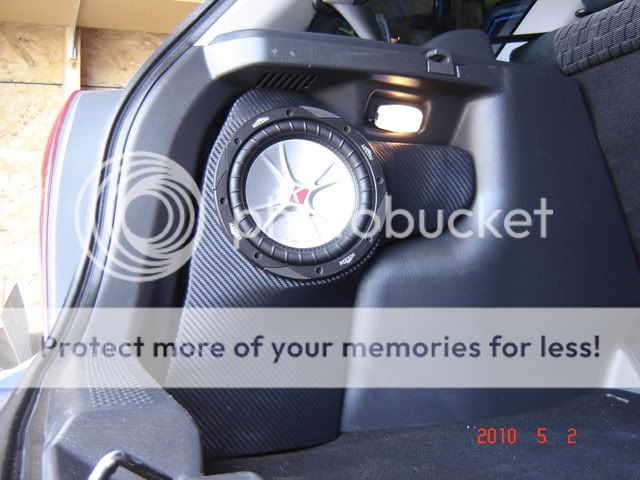
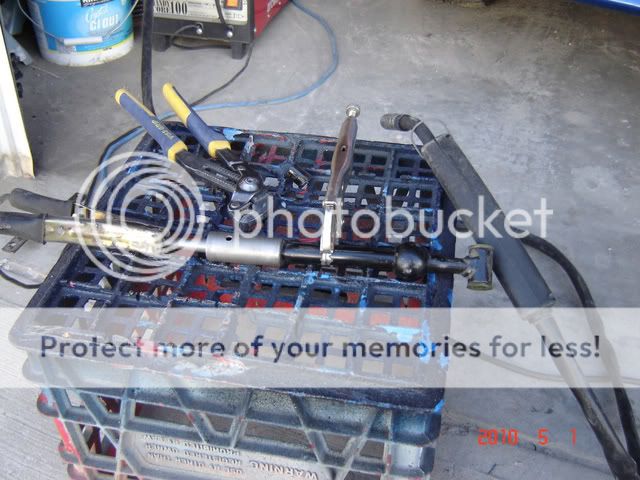
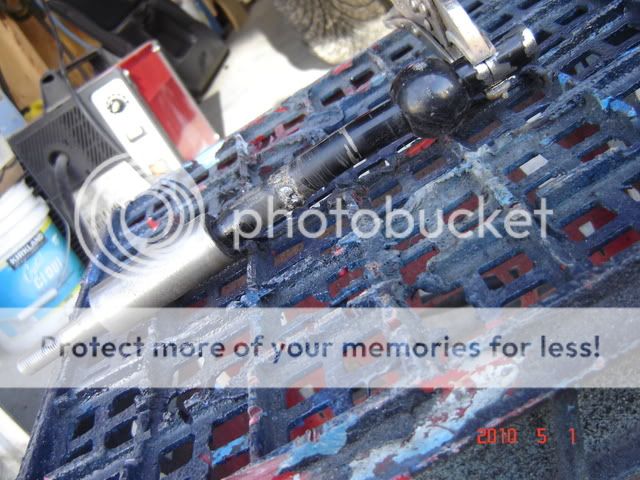
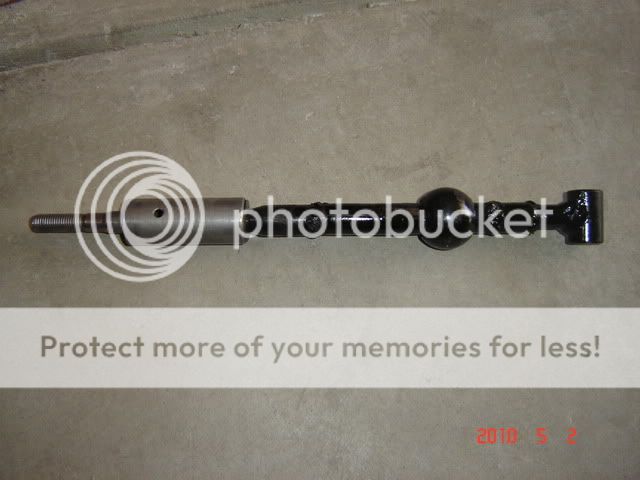
Now the last pic below is of the parts i have collected over the last year or so. The parts i will be installing are: MSP RB axleback, OBX header, MSP Tokiko struts with MSP Springs, DGM Front lip (fiberglass replica), Kenwood head unit, 2 amps, and a 8" MTX sub (plan on doing a stealthy fiberglass box in the side of the rear hatch area.

New007-1.jpg


I will update with pics of progress and vids where it seems useful.
 
nice parts, new front grill should be on the list too though, that aluminum thing looks funky lol

and are you sure that a fiberglass rep of the DG lip? looks like its bending a little and last i checked fiberglass was pretty rigid stuff
 
Yah, it's fiberglass. It's a supper cheap constructed one, the fibergalss is thin and flimsy, i got it used off of a member for FREE. Probably a cheapo e-bay one.

I like the grille, my taste not everyone likes it i know. Here in alberta the plastic OEM ones kept getting smashed up from all the rocks and ice chunks on the roads here in the winter, so i went out and got one that wont break! I may get it powder coated though, body color possibly...
 
Just a heads up, due to the different perches between the MSP and the P5 the MSP springs will leave you with a bit of a droop in the rear.
 
OK the MSP axle back is in and sounds great!

Original Axle back:
DSC05576.jpg


MSP Axle back:
DSC05577.jpg


Side by side old/new. MSP one is 4" loner out to the tip.
DSC05584.jpg


After some cutting and welding (the fun part). Pretty much cut out the whole section between muffler and Tip, you have to be careful to keep the angle going out to the tip.
DSC05586.jpg


And installed on the car, looks great!
DSC05588.jpg

DSC05587.jpg


Here is a vid of how it sounds.
http://s940.photobucket.com/albums/ad246/funkytuqe/Exhaust/?action=view&current=RBaxleback.flv
 
Header is in, sounds great, i was worried that the header would make the exhaust too loud but there was not much of an increase in volume so i am supper happy and the car feels great.

First, my dirty engine bay:
EngineBay1.jpg


Now with the new OBX installed:
Header2.jpg


Under car, Non-fouler installed. The flange did touch the oil pan so i had to do some pounding to gain some clearance:
Header3.jpg


No vid yet, but i'll post one maybe after work tomorrow.
 
Last edited:
Nice mod action. I actually like the grill too. The body colored evil M makes it cool....and different from what most others have................................Now, how bout a bunch of pics of what you're blocking with the P5 sittin back there in the garage?
 
Yah the evil M/grille combo looks great in person.

Haha, i thought that car might come up. 1970 dodge charger 500. 383ci magnum w 727 torqueflight. My future project when time and funds allow.
 
Looks nice dude, I did a stealh box build back in the fall with an 8" sub as well. I love it! For some reason I get some interferance thru the wires and my sub kinda moves witht eh RPMs, changed grounding points like 5 times and ran the cables in different locations to no avail but it sounds good and the bass hit pretty hard for a little 8". If you do the box right you won't have to block the light that's back there. Let me know what you do to mount that b**** in place.
 
Looks nice dude, I did a stealh box build back in the fall with an 8" sub as well. I love it! For some reason I get some interferance thru the wires and my sub kinda moves witht eh RPMs, changed grounding points like 5 times and ran the cables in different locations to no avail but it sounds good and the bass hit pretty hard for a little 8". If you do the box right you won't have to block the light that's back there. Let me know what you do to mount that b**** in place.

Thanks for the info, i have sent you a PM about your box.
 
Because people have complained that it (Mazdaspeed axle-back) is loud, i DO NOT want a loud exhaust that drones on the highway. I drive on the highway everyday to/from work. The Racing beat one is perfect for my needs/wants, plus the price was right and fit my budget. If i did not have the capacity to modify the part myself then no i probably would not have bought it, but since i can weld then hey why not? It was a pretty easy job in the end and i am satisfied with the results.
 
MSP Spings and Struts are IN!!!!!
A huge thanks to Jamesk for the great deal on new MSP Tokiko's, and Matt22 for the MSP springs.
Suspension002.jpg


Comparison between P5 and MSP rear Stuts, the MSP tokiko strut perch sits higher than the P5 strut, this is why people get the "sag" in the back when MSP springs are installed on the P5 struts. Getting real MSP struts lets the car sit properly.
Suspension007.jpg


Fronts IN:
Suspension003.jpg

Suspension006.jpg


Rears in:
DSC05604.jpg

DSC05605.jpg


Couple of pics with her sitting on the summer 17's. Nicer stance with the MSP suspension, like the look, not to aggressive.
DSC05606.jpg

Suspension008.jpg


Pretty happy with it. I have not been able to really test it out though because i ordered the wrong End links for the rear so there are no rear end links installed at the moment so she handles like a boat.
 
Installed my stereo on the weekend. Here are the install pictures.

Interior pulled apart, looks like disaster.
Stereo012.jpg

Stereo013.jpg


Front speakers are in (JL 5x7's)
Stereo014.jpg


Rear speakers are in (JL 6.5")
Stereo015.jpg


Amps installed, one under each front seat.
Stereo027.jpg


I decided to go with the stealth sub box in the hatch, i basically followed this HOW TO: http://www.mazdas247.com/forum/showthread.php?t=123669109
My first time doing a fiberglass mold like this. here are some of the progress pictures and the final result.

Mold done and trimmed down to size:
Stereo010.jpg

Stereo011.jpg


Then the sub ring was made and mounted using 3 sticks of wood and a hot glue gun. Then stretched fleece over the entire ring and mold then used hot glue to secure it. Covered all the fleece with fiberglass resin, and another layer on top with resin and fiberglass mat. Then a layer of fiberglass bondo (green stuff) to smooth it out.
Stereo016.jpg


Sanded it all to a somewhat smooth finish (far from perfect) and covered using that 3m Vinyl Carbon fiber wrap.
Stereo020.jpg


Re-installed side panel in hatch and mounted sub box using Velcro. Took some corners going mock 10 and it seems to stay in there. It looks and sounds great!
Stereo028.jpg


Here is a pic of the installed kenwood head unit. Dash and interior all nice and clean.
Stereo030.jpg


A huge thanks to my brother Graham who helped me with the install and handled all the wiring while i was making the sub box.

First impressions, well it sounds great. I am more than happy with the results, i was not expecting much since i did not spend much $$$ on this system. I can't believe how much that little 8" kicker sub will pound out the low frequencies.
 
Last edited:
Since i had the interior apart for the stereo install, i decided to cut/weld up my own short shifter.

First i removed the shifter from the car. I cut out a 2" section above the pivot ball and below the boot stop then welded it back together. This will give a shorter look to the shifter and will sit nice in the boot.
SS017.jpg


Then i cut below the pivot ball before the shift rod mount. I took the 2" section of rod i had cut out above and shortened it to 0.75". I then welded that in between the pivot ball and rod mount. This is the part that will shorten your throw to give a true short shifter.
SS018.jpg


Lastly, welded back on the shift rod mount and gave it all a coat of paint to hopefully help with rust. Finished!!
SS022.jpg


Covered the console piece with 3M vinyl carbon fiber wrap to give it a nice look (the paint on this piece was all scratched up).
SS021.jpg


All put back together, looks rad if you ask me!!
SS032.jpg


Thanks to my buddy Sean who helped me with the carbon wrap, we were both virgins at it but he seemed to have the soft hands to get the job done.

The shifter works awesome! nice short throw, feels nice and firm now, not a lot of slop like it was stock. I highly recommend this to anyone who can weld, the job can be done in about an hour or so.
 
Last edited:
Back