
UKtheGREAT
Member
- :
- 2003.5 MSP
This is just a neat idea I came up with and thought I'd share it with the community. I'd like some feedback, whether negative or positive, and perhaps some more ideas. Currently, as you can see, the project isn't finished, but you can get a general idea as to how it will look.
I've toyed with the idea of making it out of carbon fiber rather than Fiberglass, but to tell you the truth, I like the silver. Anyways, here are the pictures. PS- This will be made for an HKS Type-0 Turbo timer.
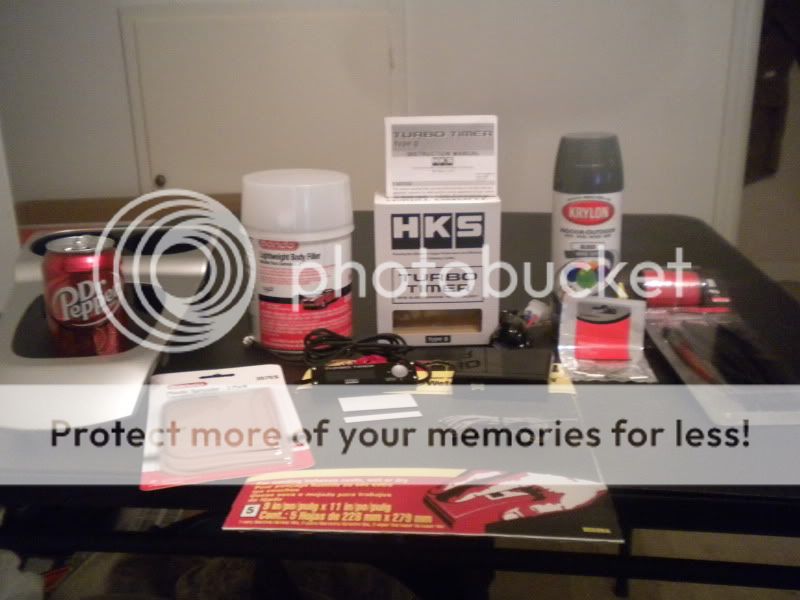
Materials and prior to any work:
After sanding:
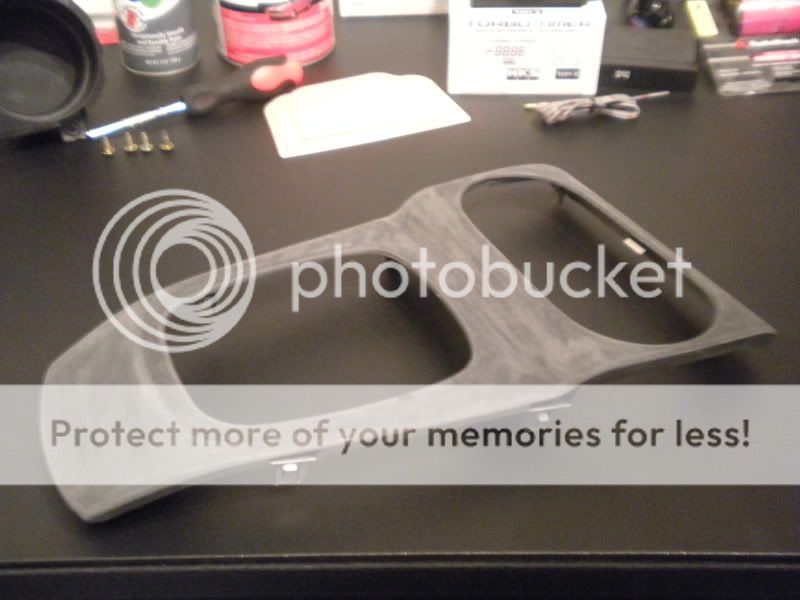
Another shot post-sanding:

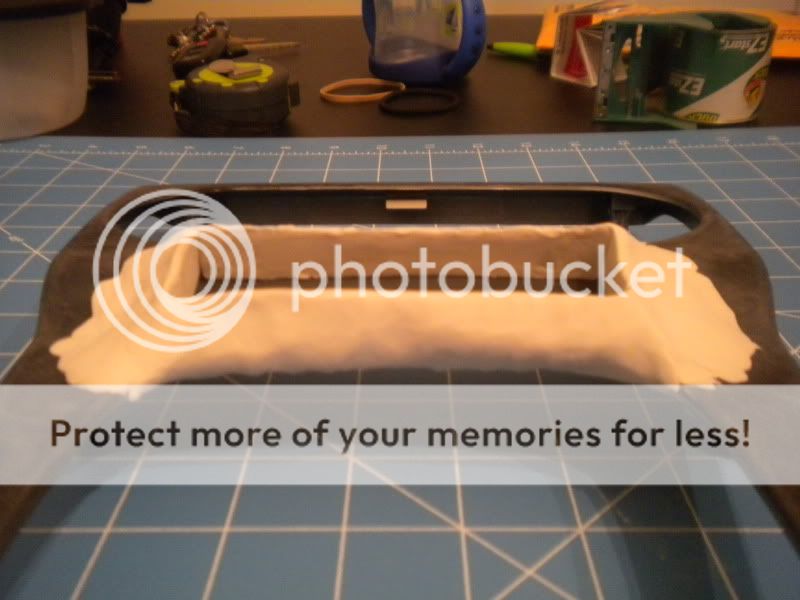
Mocked up housing:

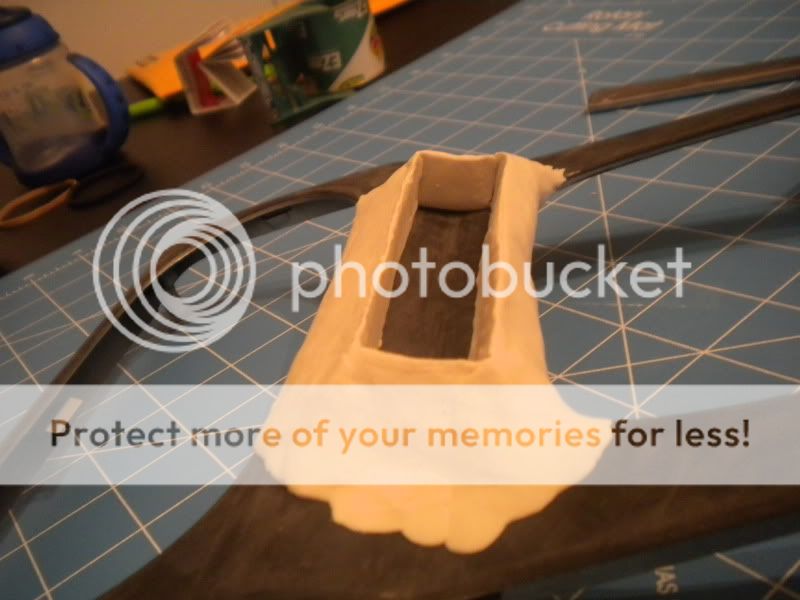
Another mock-up:
Another:
I think it'll turn out pretty cool. The mock-up isn't perfect, but it's getting there. This is after around 15 minutes since being done with the sanding process. Give me your thoughts!
I've toyed with the idea of making it out of carbon fiber rather than Fiberglass, but to tell you the truth, I like the silver. Anyways, here are the pictures. PS- This will be made for an HKS Type-0 Turbo timer.
Materials and prior to any work:
After sanding:
Another shot post-sanding:
Mocked up housing:
Another mock-up:
Another:
I think it'll turn out pretty cool. The mock-up isn't perfect, but it's getting there. This is after around 15 minutes since being done with the sanding process. Give me your thoughts!
")