
In case you feel the need to do some rear suspension work, it is NOT as hard as some people may make it out to be.
Here is the story. Last week I heard some clunking from the rear end when I would come to a stop right before I took the clutch out. I thought the rear diff mount was cracked, I had launched it hard a few times on my WOT Box, I figured it was time. No problem, I have had the Stiff Diff sitting on the shelf since october when my buddy thought he broke his but just lost the bolts out of the stock front diff mount. So I bought it off of him.
Now here is what I did. I know most of you do it in the car, but I wanted to do a rear sway bar and H&R springs while I was at it. I crawled underneath and noticed there wasnt much holding in the rear subframe assembly, and said screw it, lets take it out!
2 Hours, I REPEAT, 2 hours in the driveway BY MYSELF with hand tools and it was on the ground. I took 10 minutes rolling around to see what needed to be done, made a plan, and started the clock.
Away we go!!!! The fine print- First up, be safe, I am not responsible for your actions. You get killed doing this, its your fault and yours alone. The following is a recollection of my experience, yours may be different.
PRELIMINARY STUFF
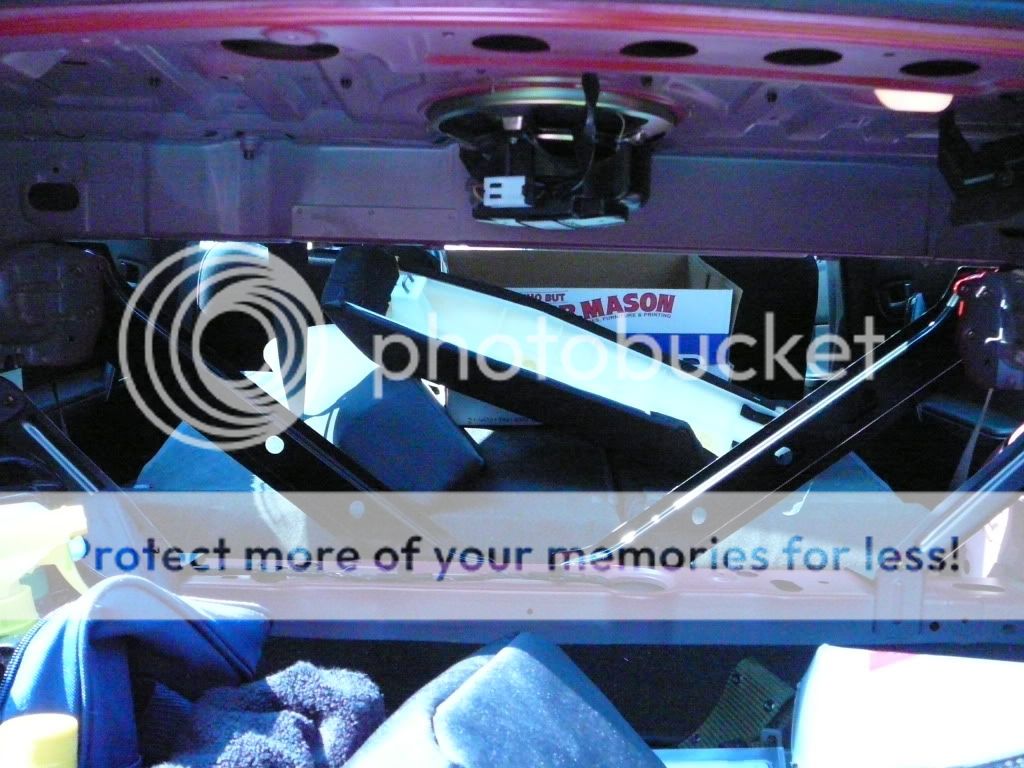
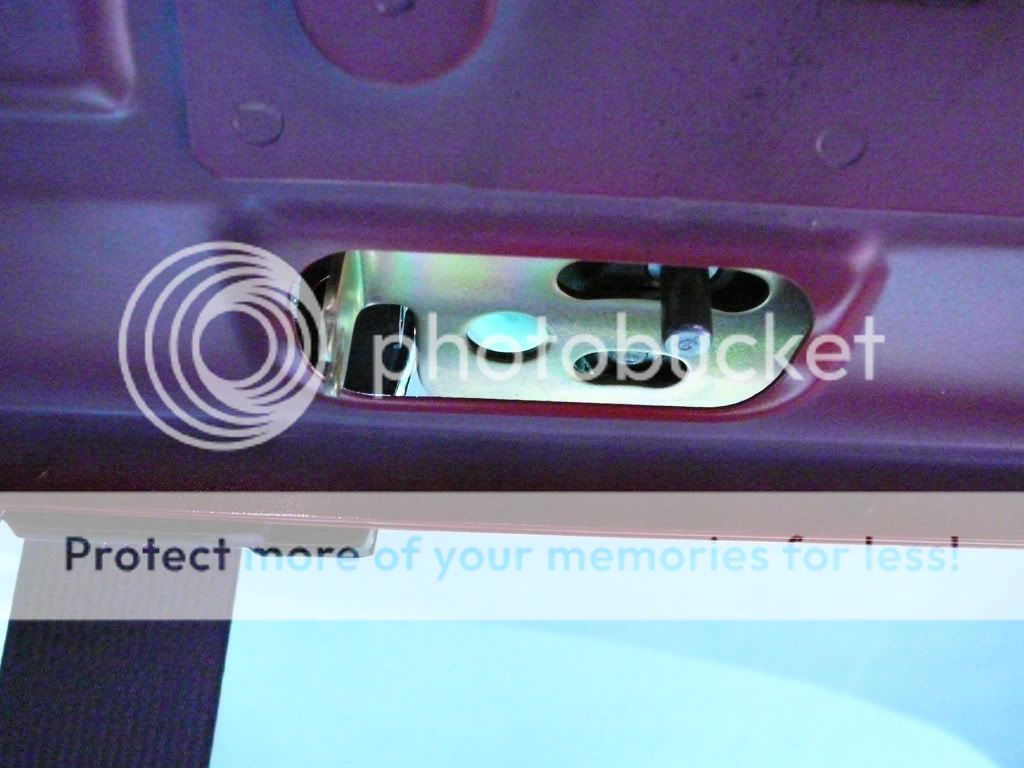
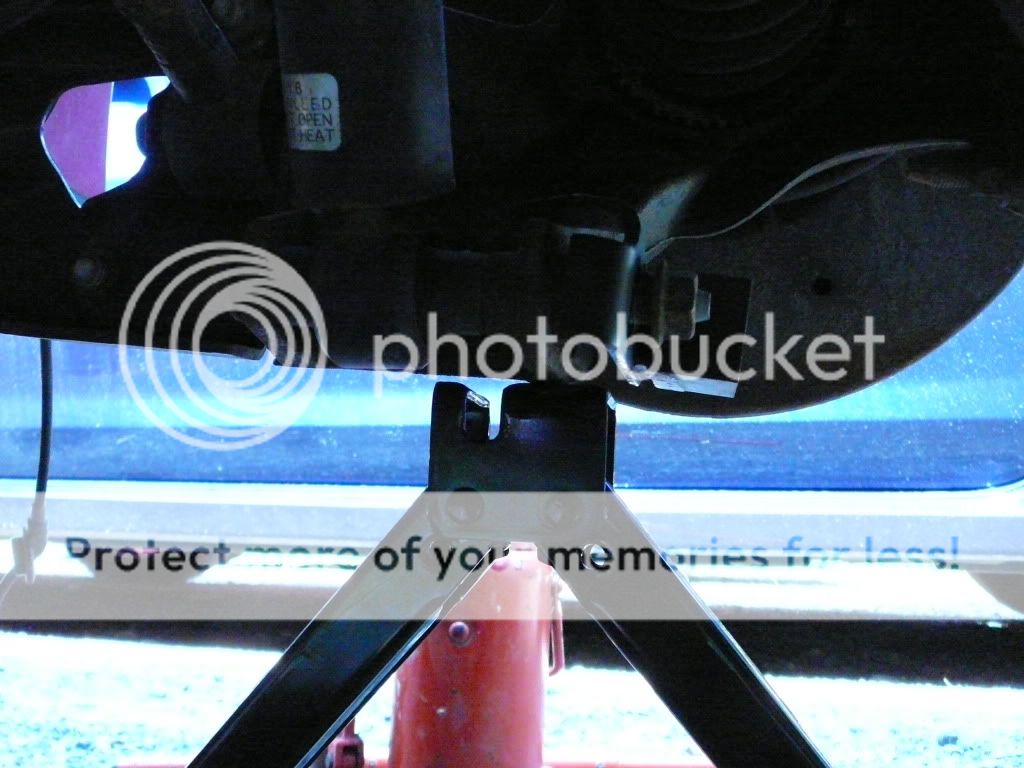
Jack up the car all the way around, and use jackstands on firm ground so the car will not move once in the air. Remove the 5 plastic clips that hold in the inside front trunk wall. Pull the center of the clip out a bit then remove the entire clip. Once the forward trunk wall is out, locate the seat releases, you will see the bracket and a metal pin sticking down. slide the pin over and the rear seats will pop released.
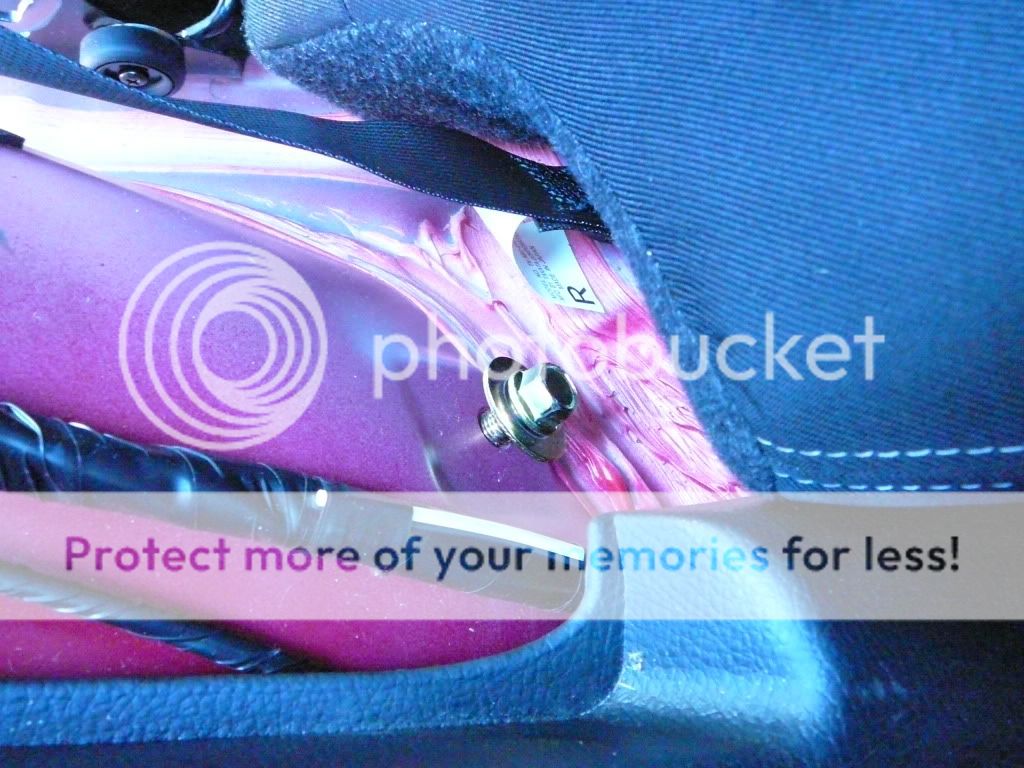
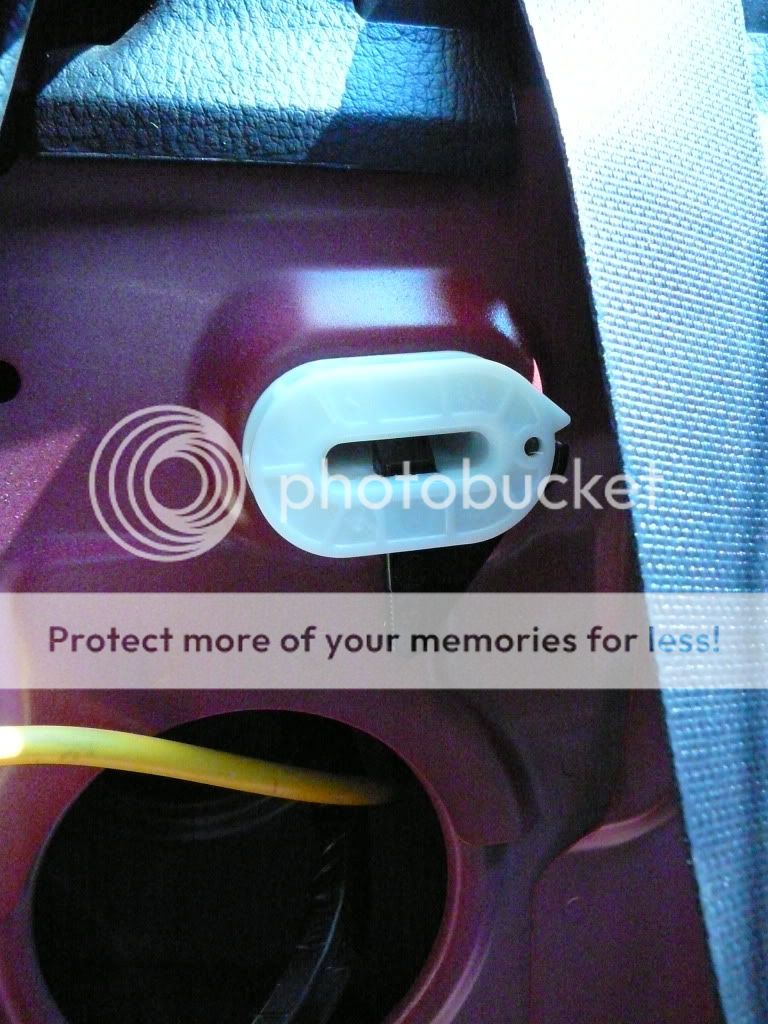
Next, go inside and remove the side seat cushions. Remove the bolt at the bottom (14mm socket) and DO NOT PRY on it. You need to look behind the cushion at the top and see a black triangle. Push it aside and the side cushion is released. Now look down below where the bolt was, right next to the plastic trim you will see a small white plug, this is the ABS wheel speed sensor harness. Unplug it and feed it outside the car.


Remove the wheels. Locate where the sensor is bolted to a bracket just forward of the suspension. Remove the bolt (10mm socket) and coil up the harness, Zip tie it if you want and leave it close to the wheel assembly.
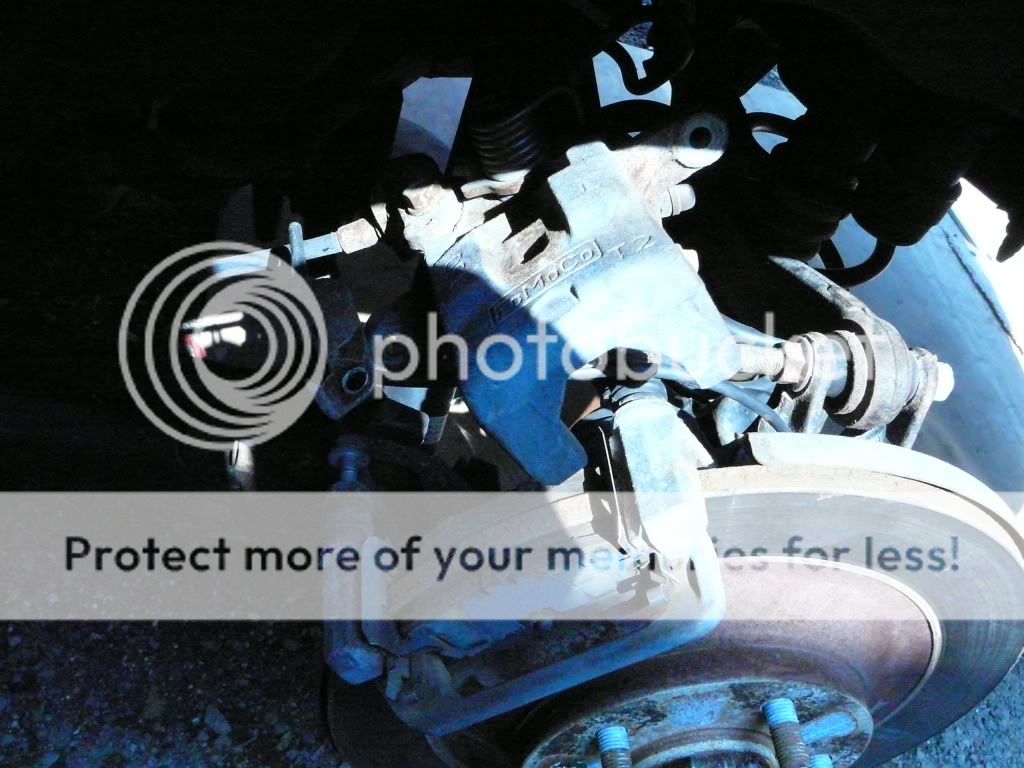
Remove the bolts for the caliper (14mm socket IIRC) and secure the caliper up out of the way. DO NOT hang it by the brake line. Use a bungee cord or the like to secure it up out of the way. Remove the emergency brake cable tiedowns, (10mm socket) there are two that run along the trailing arm. Get the brake cable free like the ABS harness, so that it is only attached to the caliper and then runs untouched to the body of the car.
REPEAT for the other side. Elapsed time should be about 30 minutes.
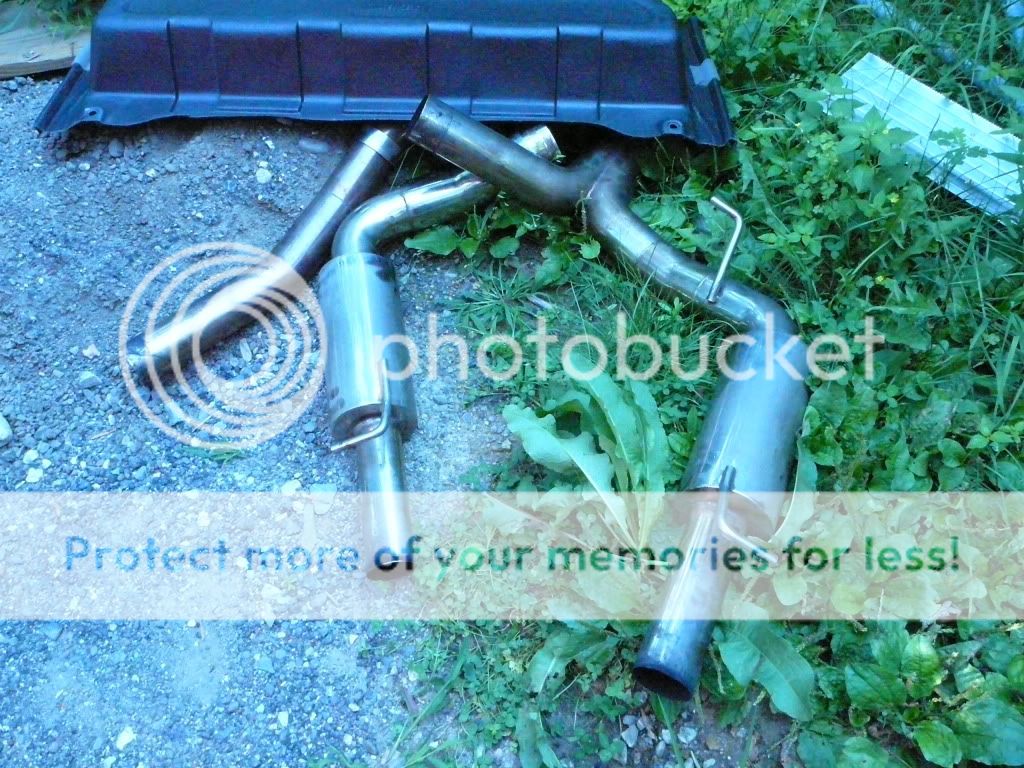
Now, crawl underneath and remove your exhaust from infront of the diff all the way back. I have the GHL catback on my car, so It comes apart easily and in 3 manageable pieces. This could add a half hour to your time if you do not know how it comes apart, just be careful not to break your rear exhaust trim pieces!!!
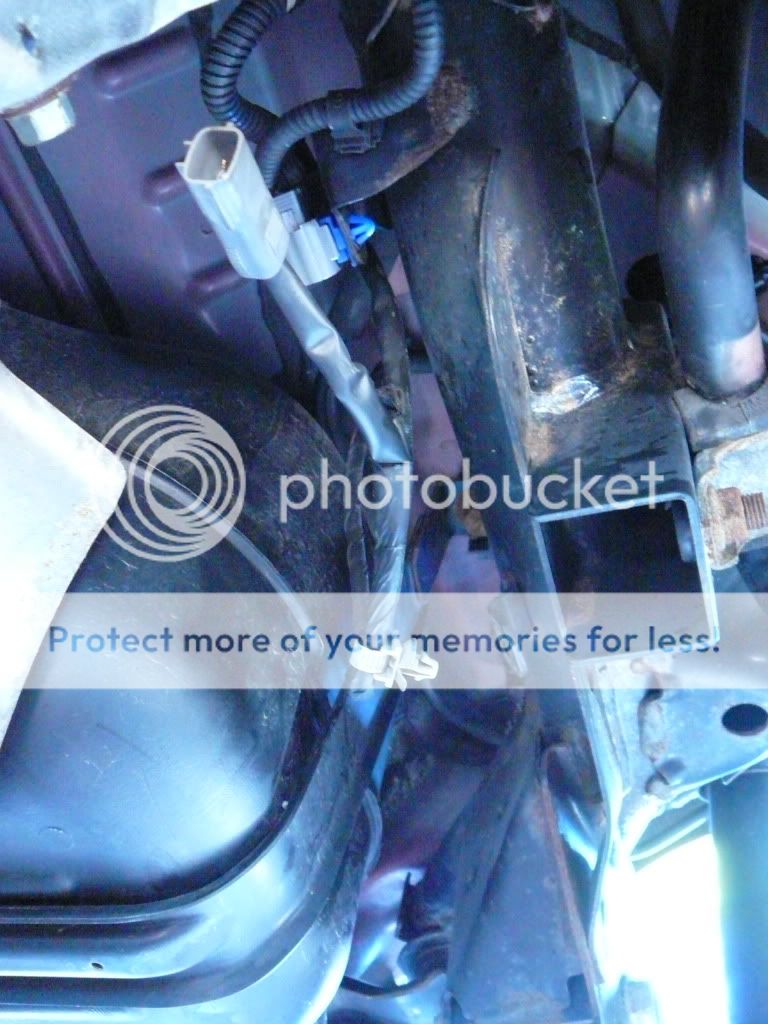
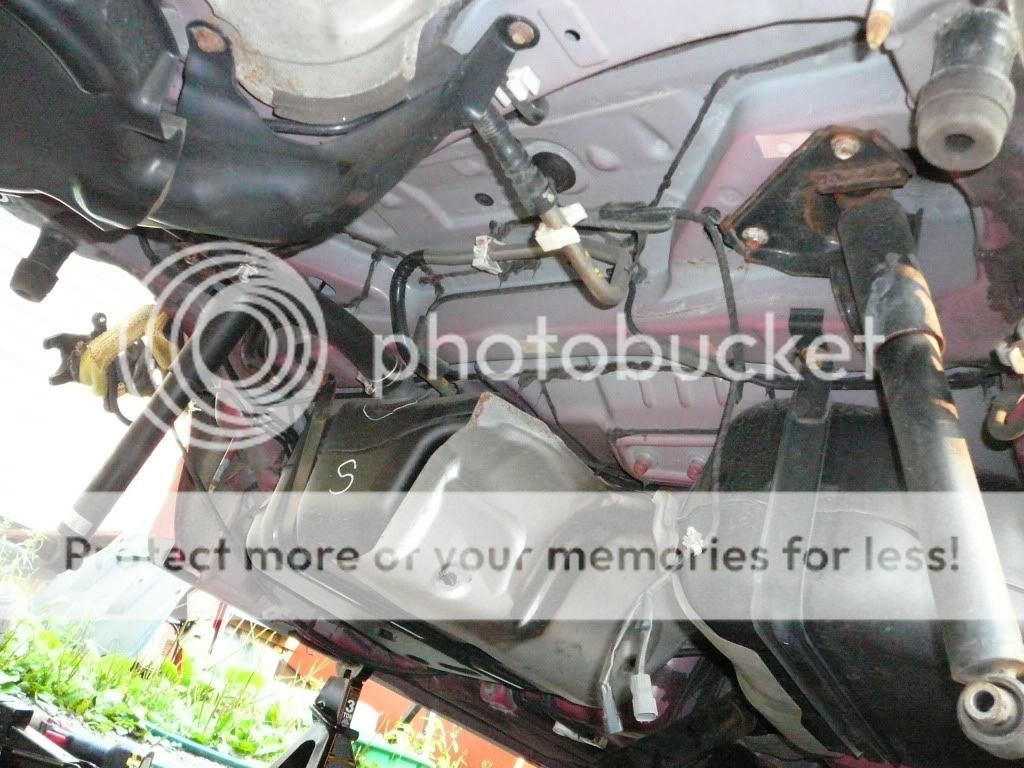
Look on the passenger side of the diff clutch housing, you will see two plugs, disconnect them and remove the wire tiedown as well. I stuffed the harness behind the metal fuel tank shield to keep it out of the way.
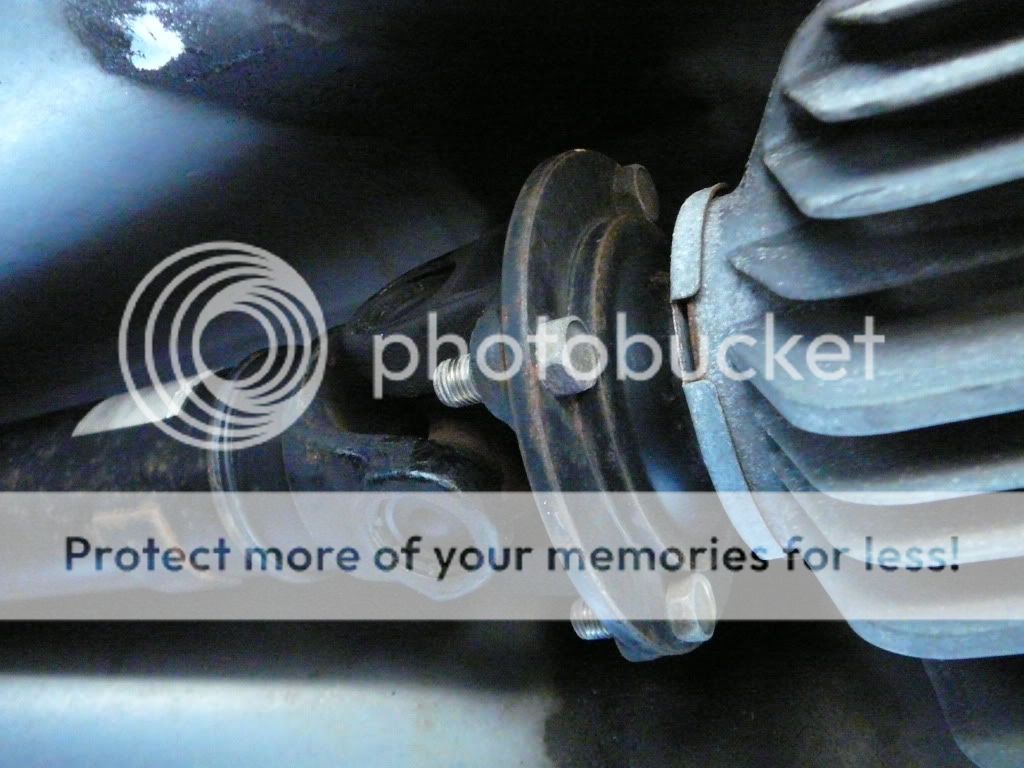
With all 4 tires off the ground, (car in neutral gear) you should be able to spin the driveshaft. Index it (make a mark on the yoke and the input shaft of the rear end) so it goes back together in the right place. Remove the 4 nuts from the yoke (14mm wrench) and remove the bolts. the yoke plate should hold the bolt heads from spinning while you loosen the nuts.
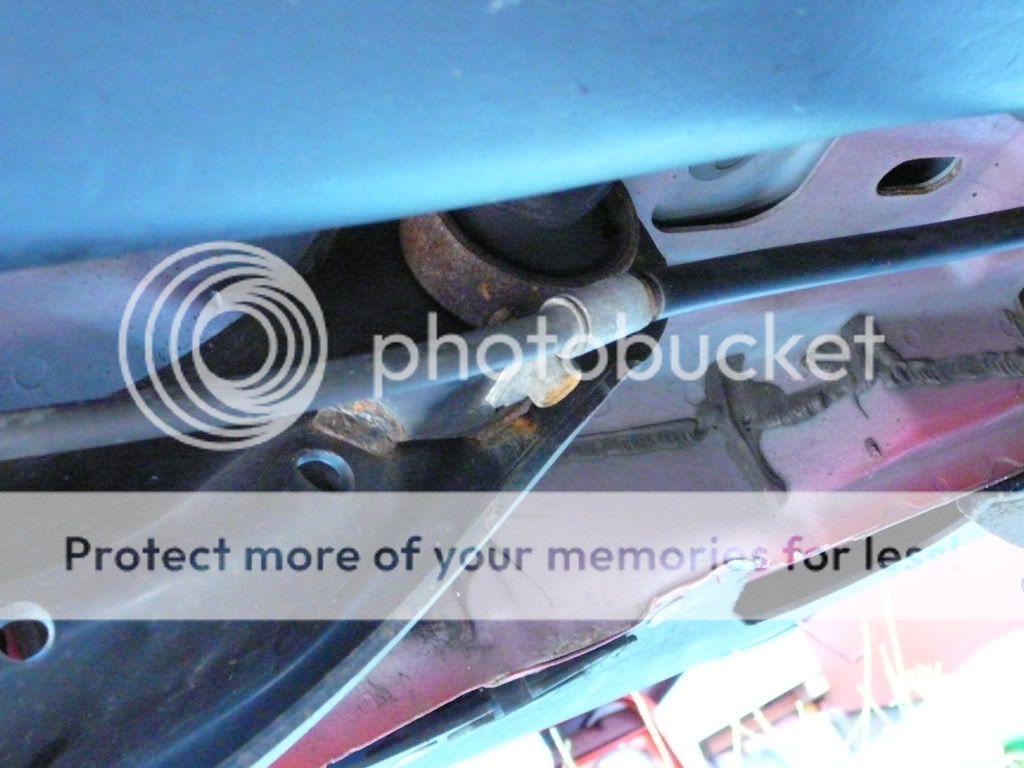
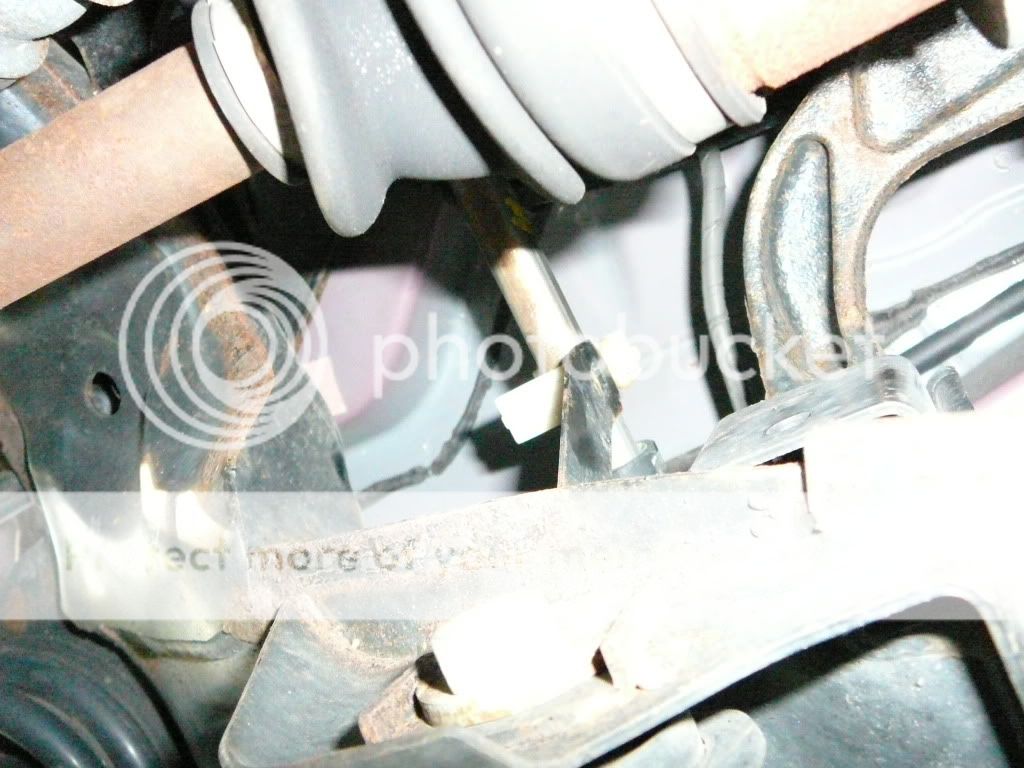
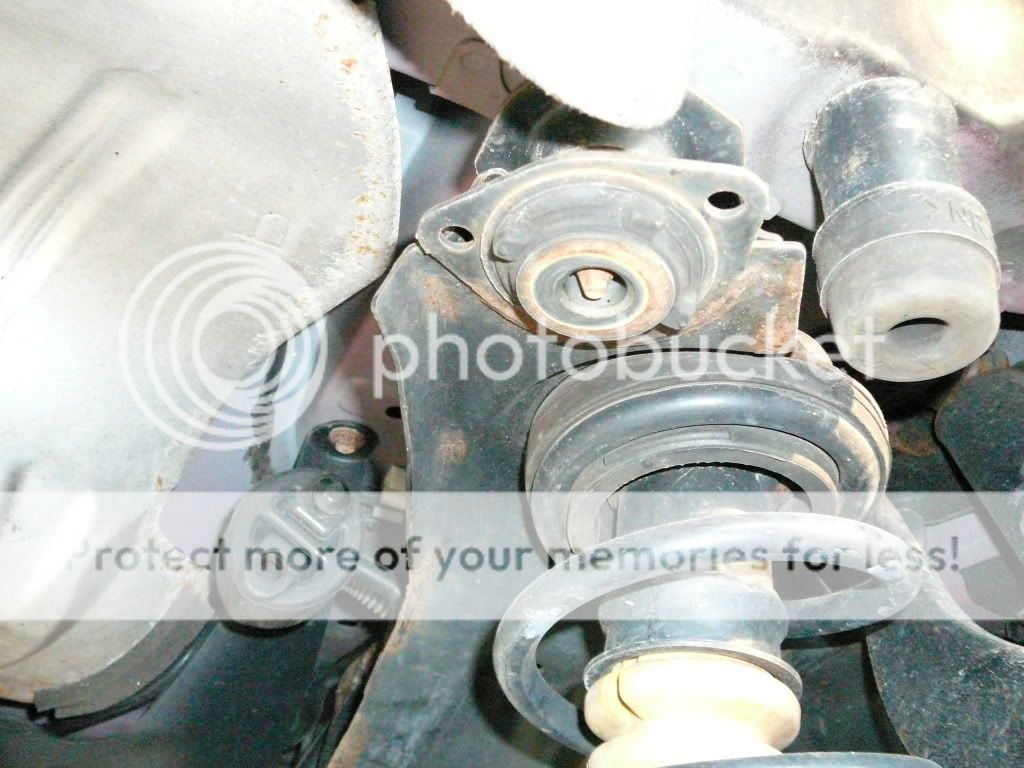
Next remove the two lower shock bolts (17mm wrench on one end and 17mm socket on the other) while puttting slight upward pressure on the A-arm (NOT the shock) and remove the long bolt.
REPEAT for the other side.
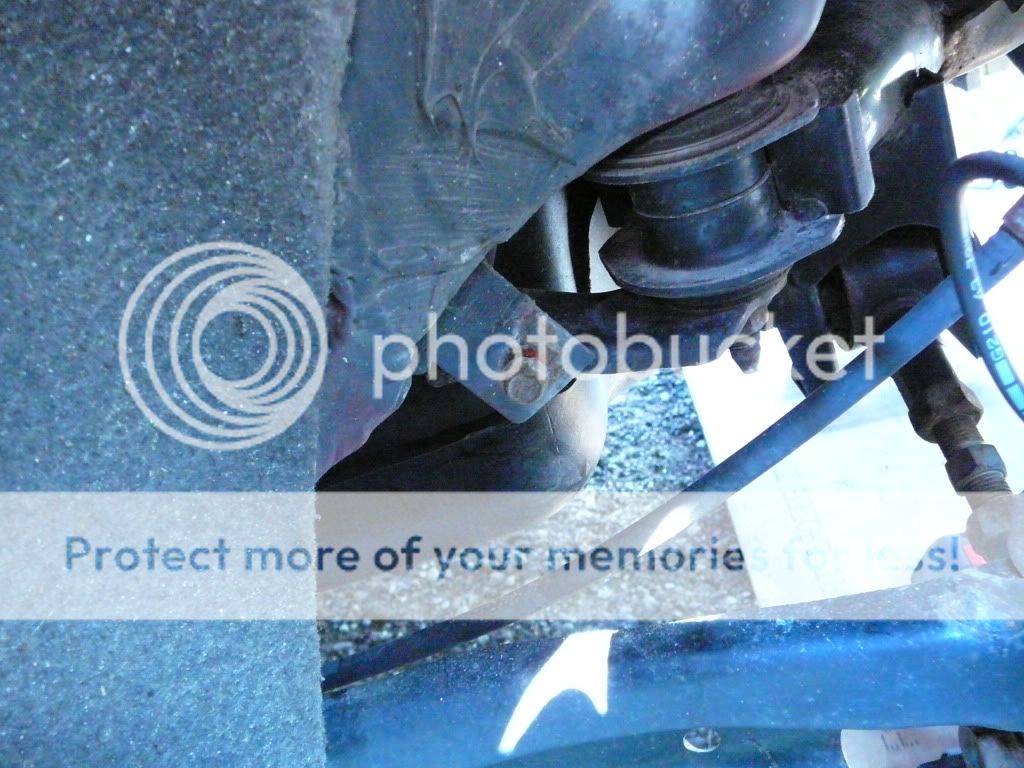
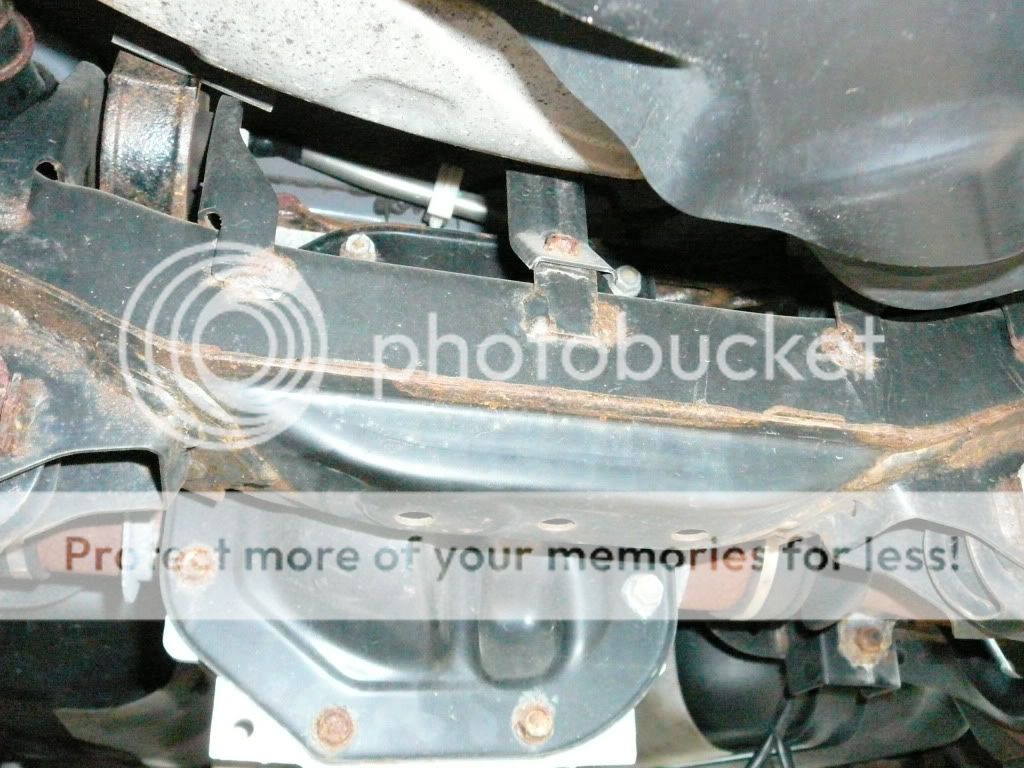
Now look behind the rear diff on the subframe, dead center. you will see a 10mm bolt, remove it as this supports the EVAP plumbing. on the same side as the rear diff harness, you will see a large white plastic clip holding a black plastic line, this is EVAP as well, remove the white clip from the metal bracket.
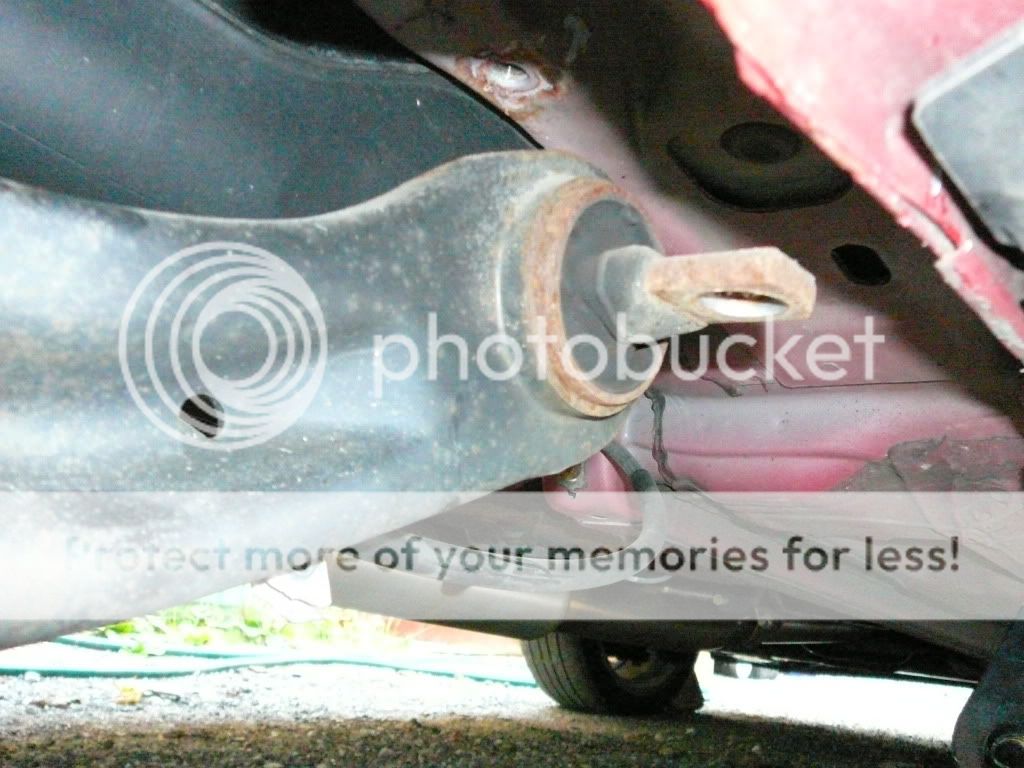
Remove the 2 trailing arm bolts (14mm socket) and the 2 bolts (12mm) from the first main subframe bolt. Repeat for the other side.
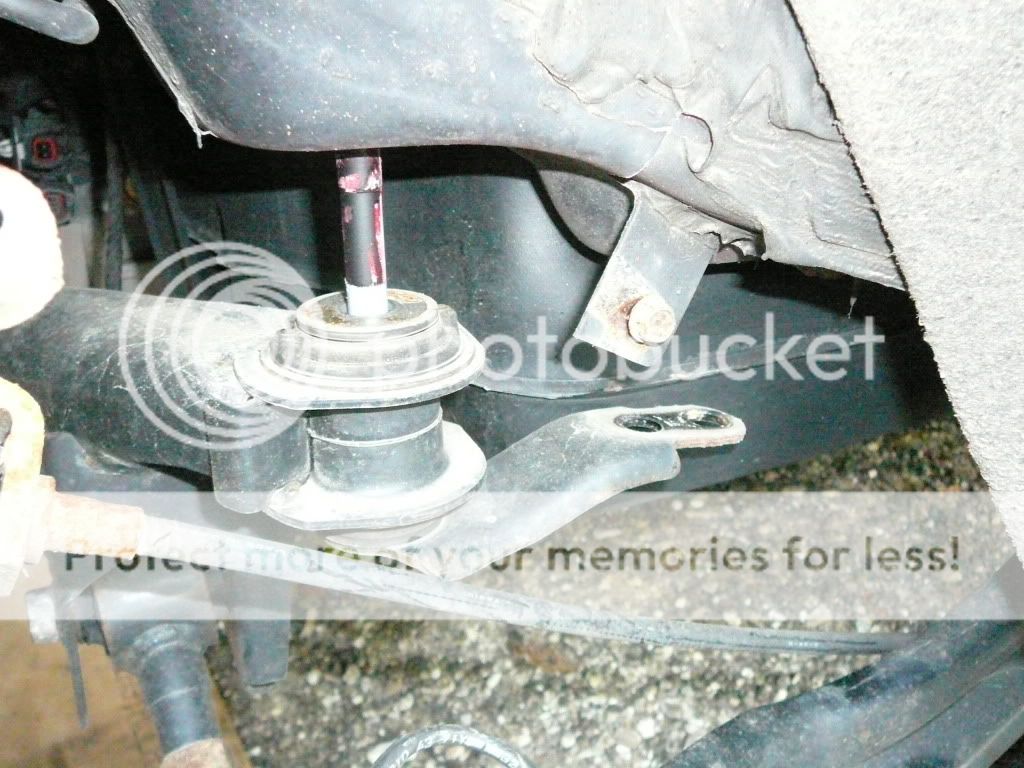
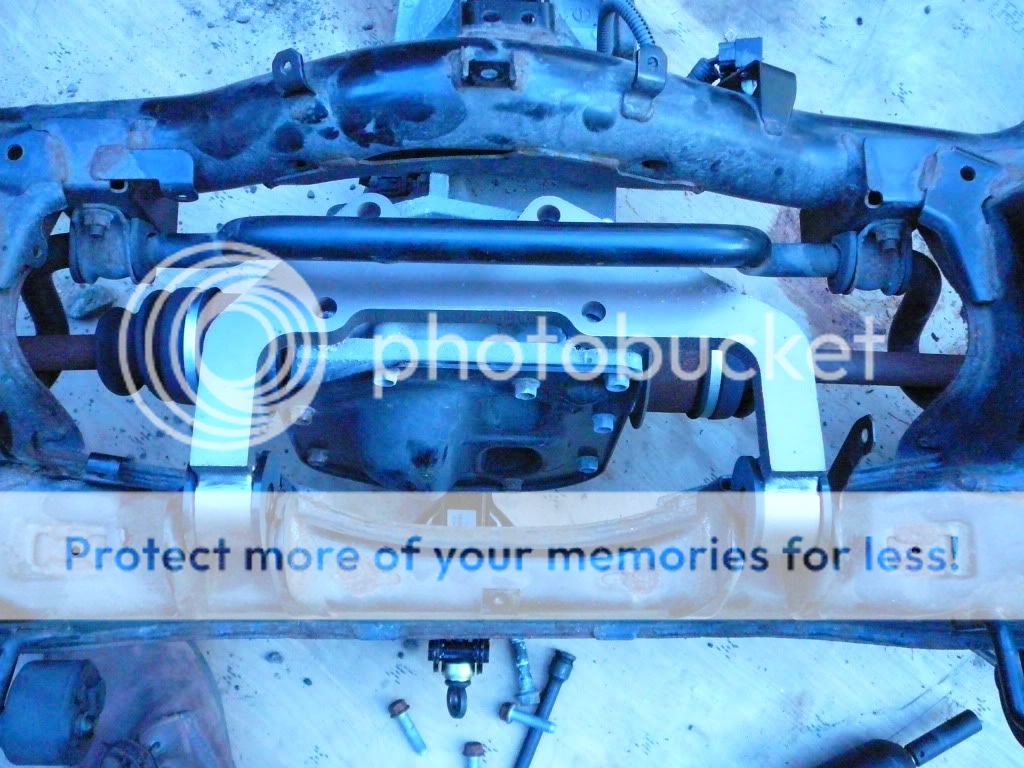
This is it, get at least one jack, best to have two, under the subframe and bring them close to it. Now remove the 4 total (2 each side) 17mm nuts that hold the whole thing in place.
Once out, bring the assembly down about 2 inches. Right smack on top of the assembly is another white clip with an EVAP line, remove it before your drop it too far!!
Thats it! drop it down, slide it out. Be sure to drop both sides evenly so it doesnt bind on the main studs that hold the assembly in.

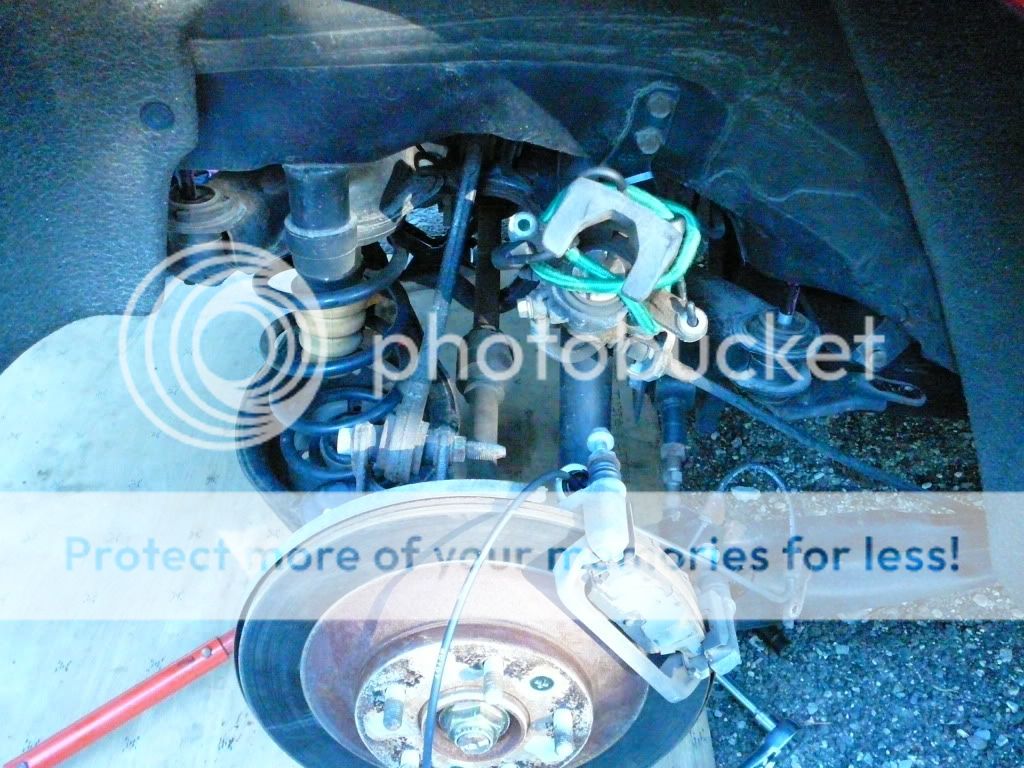
Now you can change springs, sway bar, and both diff mounts right there on the ground!!
I believe if you are good enough at working on a car, this whole thing shouldnt take more than 3-3.5 hours NOT including removing and installing your new parts. If you are doing the stiff diff only, it shouldnt take more than 3.5 hours to do the whole thing. I removed this in 2 hours in the driveway on my back. If you have a lift, it should be all the easier. Add a transmission floor jack to the mix, and this could be one quick process.
I really wish I had the money to do coilovers right now, that shock could come out in 5 minutes with the way I have this done.......
Anyway, I'm planning the TurbineTech front diff mount, SU stiff diff, Whiteline sway bar, and H&R springs while I am in here.
Hope you got some useful info out of this, feedback is appreciated. And yes, the whole assembly is heavy, but manageable.
Here is the story. Last week I heard some clunking from the rear end when I would come to a stop right before I took the clutch out. I thought the rear diff mount was cracked, I had launched it hard a few times on my WOT Box, I figured it was time. No problem, I have had the Stiff Diff sitting on the shelf since october when my buddy thought he broke his but just lost the bolts out of the stock front diff mount. So I bought it off of him.
Now here is what I did. I know most of you do it in the car, but I wanted to do a rear sway bar and H&R springs while I was at it. I crawled underneath and noticed there wasnt much holding in the rear subframe assembly, and said screw it, lets take it out!
2 Hours, I REPEAT, 2 hours in the driveway BY MYSELF with hand tools and it was on the ground. I took 10 minutes rolling around to see what needed to be done, made a plan, and started the clock.
Away we go!!!! The fine print- First up, be safe, I am not responsible for your actions. You get killed doing this, its your fault and yours alone. The following is a recollection of my experience, yours may be different.
PRELIMINARY STUFF
Jack up the car all the way around, and use jackstands on firm ground so the car will not move once in the air. Remove the 5 plastic clips that hold in the inside front trunk wall. Pull the center of the clip out a bit then remove the entire clip. Once the forward trunk wall is out, locate the seat releases, you will see the bracket and a metal pin sticking down. slide the pin over and the rear seats will pop released.
Next, go inside and remove the side seat cushions. Remove the bolt at the bottom (14mm socket) and DO NOT PRY on it. You need to look behind the cushion at the top and see a black triangle. Push it aside and the side cushion is released. Now look down below where the bolt was, right next to the plastic trim you will see a small white plug, this is the ABS wheel speed sensor harness. Unplug it and feed it outside the car.
Remove the wheels. Locate where the sensor is bolted to a bracket just forward of the suspension. Remove the bolt (10mm socket) and coil up the harness, Zip tie it if you want and leave it close to the wheel assembly.
Remove the bolts for the caliper (14mm socket IIRC) and secure the caliper up out of the way. DO NOT hang it by the brake line. Use a bungee cord or the like to secure it up out of the way. Remove the emergency brake cable tiedowns, (10mm socket) there are two that run along the trailing arm. Get the brake cable free like the ABS harness, so that it is only attached to the caliper and then runs untouched to the body of the car.
REPEAT for the other side. Elapsed time should be about 30 minutes.
Now, crawl underneath and remove your exhaust from infront of the diff all the way back. I have the GHL catback on my car, so It comes apart easily and in 3 manageable pieces. This could add a half hour to your time if you do not know how it comes apart, just be careful not to break your rear exhaust trim pieces!!!
Look on the passenger side of the diff clutch housing, you will see two plugs, disconnect them and remove the wire tiedown as well. I stuffed the harness behind the metal fuel tank shield to keep it out of the way.
With all 4 tires off the ground, (car in neutral gear) you should be able to spin the driveshaft. Index it (make a mark on the yoke and the input shaft of the rear end) so it goes back together in the right place. Remove the 4 nuts from the yoke (14mm wrench) and remove the bolts. the yoke plate should hold the bolt heads from spinning while you loosen the nuts.
Next remove the two lower shock bolts (17mm wrench on one end and 17mm socket on the other) while puttting slight upward pressure on the A-arm (NOT the shock) and remove the long bolt.
REPEAT for the other side.
Now look behind the rear diff on the subframe, dead center. you will see a 10mm bolt, remove it as this supports the EVAP plumbing. on the same side as the rear diff harness, you will see a large white plastic clip holding a black plastic line, this is EVAP as well, remove the white clip from the metal bracket.
Remove the 2 trailing arm bolts (14mm socket) and the 2 bolts (12mm) from the first main subframe bolt. Repeat for the other side.
This is it, get at least one jack, best to have two, under the subframe and bring them close to it. Now remove the 4 total (2 each side) 17mm nuts that hold the whole thing in place.
Once out, bring the assembly down about 2 inches. Right smack on top of the assembly is another white clip with an EVAP line, remove it before your drop it too far!!
Thats it! drop it down, slide it out. Be sure to drop both sides evenly so it doesnt bind on the main studs that hold the assembly in.
Now you can change springs, sway bar, and both diff mounts right there on the ground!!
I believe if you are good enough at working on a car, this whole thing shouldnt take more than 3-3.5 hours NOT including removing and installing your new parts. If you are doing the stiff diff only, it shouldnt take more than 3.5 hours to do the whole thing. I removed this in 2 hours in the driveway on my back. If you have a lift, it should be all the easier. Add a transmission floor jack to the mix, and this could be one quick process.
I really wish I had the money to do coilovers right now, that shock could come out in 5 minutes with the way I have this done.......
Anyway, I'm planning the TurbineTech front diff mount, SU stiff diff, Whiteline sway bar, and H&R springs while I am in here.
Hope you got some useful info out of this, feedback is appreciated. And yes, the whole assembly is heavy, but manageable.
