What have you done to your Miata today?

Drove 630.3 miles round trip (through five states) to attend Miata Day at the Larz Anderson Auto Museum in Brookline, MA. Met Mark and a few new people but wish I would have introduced myself to more people. Guess I will just have to go again next year. [emoji6]

Hit some t-storms on the way in and the way home but weather for the show was hot and sunny.

Damn Mike, hope those new resistors work for you.
ed879e7861cb07b072437d70f91a49ce.jpg
2e082328e17b6b0ea7c3dc7505214663.jpg
 
That looked like fun.

Since I am now headed for MATG, this morning I got my Recaros out of storage and swapped them out. Dropped one of the washers I had modified to use as a spacer for the belt receiver, a diligent search couldn't find it. Made another one and got that all together.

While the driver's seat was out I pulled the brake and clutch pedal switches that tie into the cruise control system. Since I have changed everything else with no change I figured might as well. The one on the brake pedal has two switches, one for the brake light actuation and the other for the cruise. Both of those tested good. The clutch switch was intermittent while I was measuring it. Sometimes I would get continuity/break, other times it would stay in continuity. Going to get one of those ordered to see if I can finally fix that problem.
 
talked to a dealer today about taking it to get in inspected for a potential sell to the dealer... havent driven it at all this year and im genuinely tired of all the bullsh*t buyers keep bringing.... :(
 
That sucks. I have been reluctant to list the wife's RX-8 on many sites for that very reason.

Replaced the 'charger belt this morning. You may recall I noticed some fraying of the edge from when it was walking off one rib. Figured better safe than sorry considering my upcoming trip.
 
That sucks. I have been reluctant to list the wife's RX-8 on many sites for that very reason.

i mean i had one guy, we verbally agreed to a deal, he like the car, i told him it has a small oil leak, showed him the rag i had sitting under the car all winter, and explained to him it was full when i put it away for the winter, and it has not moved since, i mean i even pushed it out of the garage with him watching. and then he bailed cause the oil was low on the dipstick, even after knowing all that... i cancelled personal plans that weekend to meet with this guy and he wasted my time... and since then is been about 5 similar scenarios where someone bails for a reason that i clearly stated before they ever came to look at the car.
 
Ok, so picked up the clutch switch on Saturday and installed it yesterday. Due to rain wasn't able to get out for a test until today. Results of that to come.

So the switch I am talking about is the one on the clutch pedal that is closest to the driver. Mazda number here:

43556383921_b1669bdc5e_b.jpg


Here is what it looks like:

28669023637_e9f975f803_b.jpg


And here is where it goes:

43556382291_4ab5b3823f_b.jpg


Note the lock nut on it is what allows you to set the height of your clutch pedal. Getting access to this is much easier if you have the seat removed and also remove the plate below the steering column. A set of thin wrenches make this job easier, as so:

42651097395_7e2c271708_b.jpg


You can see the thinness compared to a normal wrench:

41748190630_2537b26e77_b.jpg


So on to the test. Unfortunately this did not solve my issue so the cruise still doesn't work. On to the next possibility.

Finally in case anyone has forgotten what the Recaros look like installed, here they are:

43556379741_fda6c2b966_b.jpg
 
Since I am supposed to be getting some help with my tune at MATG, I decided I would go ahead and calibrate the O2 sensor. Got that done, then since I was already under there figured I might as well finally install the RB front sway blocks I bought a long time ago. Found out the bolts were wrong so measured the length I would need and paid a visit to Ace. Got what I thought were the correct bolts (M8 X 1.25) based on the stock bolt and some nuts to lock the blocks down. Unfortunately the bolts were jamming when I tried putting them through the factory sway bushings blocks. Going to have to go to a local hardware store, they usually have a wider selection of fasteners to see if I can find what is correct.
 
Make sure that your RB sway isn't bound up as well. It'll work better (ie: correctly), and...honestly, you can skip the blocks if it isn't. The arms should swing down from horizontal under gravity, fairly slowly (ie: shouldn't just drop, but also shouldn't need your hand to push the arms down).

The bushings from RB are oversized, and cause the bind, that breaks the mounts. You can either shave down the flat side of the bushing with a belt sander, or shim the brackets with washers.
 
I remember you talking about that before. I'm running an MSM front sway, just thought the blocks would be a good upgrade (I got them cheap).

Forgot earlier but also while I was underneath the car I touched up the slight damage to the rear diffuser done on my wife's friend's driveway. Here is how it looked before:

41831875470_a3a6550316_b.jpg


43638983291_eb1d20bf8d_b.jpg


The impact only hit the two fins on the driver's side. I just sanded things down and gave them two coats of the paint. They ain't perfect but you won't see it if you don't crawl under the car.
 
Today's mission was to install the RB front sway bar bushing blocks, and troubleshoot the cruise control some more. I looked at the cruise first. Figured I'd take a look at the vacuum hoses to make sure I had no issues. As it turned out I did have an issue, and a big one. I am an imbecile. PSA, a vacuum motor (what the cruise actuator is) works a lot better when it is connect to a vacuum source. Way back when I was getting frustrated with this I removed the connection to the actuator so I didn't have any leak issues. Had to make a run to Ace for a tee (I am also running this line to the boost gauge), then made the actuator connection. Just got back from a test drive, and I have cruise control again! Note the problem was down to that clutch switch I replaced. I haven't heard of anyone else having this problem, it is usually the pad on the clutch pedal missing but it makes sense. How many times is that switch cycled during a normal drive?

While I was at Ace I looked at M8 X 1.25 bolts again. Ended up buying some that were 50mm in length. After the vacuum hose connection (but before the test drive) I hoisted her into the air and pulled the engine belly tray. Removed one of the bolts from a sway bar bushing bracket and checked it against the tap I bought the day before. It matched up so I knew I had the correct size. I then proceeded to check the tap against the new bolts. Again they were fine. Next was looking at the longer bolts I had bought previously. What I found REALLY pissed me off. Three of the bolts were the correct size/thread pitch, the other one was M8 X 1.0. Some fidiot had put it back into the wrong package. What is ironic is I had just had a conversation with an employee at the very store a few days ago about how people can't put s*** back in the right place. I had checked the bolts against each other but totally missed that one was off.

With that mystery solved I proceeded. Removed all the stock bushing bolts and chased the threads with the tap. I then ran one of the longer (60mm) bolts in to check for clearance. It was bottoming out so I decided to remove a little length. Here's a tip, if you are cutting a bolt down put a nut on first prior to removing material. Once you get the length you want file the end of the threads to put a bevel on them (I used a thread file I have) and then remove the nut. It will clean up the threads for you so you will be able to get the bolt started. I cut them down to about 55mm. Then I put everything together. I found the blocks I have weren't drilled correctly so it was tough getting them on both bolts. After some trial and error I ended up starting the bolt enough to get the locknut on and have about 5mm of thread showing, then putting the block in place. After that what worked best was to run the bolt all the way up while backing off the locknut slightly so as not to jam it up. If you do it correctly you will end up with the bolt tight and the block close to where it needs to be so you minimize the amount you have to tighten the locknuts (and trust me, you want to do this because of the tight quarters you are working in). I was thinking about putting some blue LocTite on the threads for the locknuts but couldn't really get in there. Since I was short one longer bolt I ended up using one of the new 50mm bolts in the front position on the driver's side. Thanks to interference with the lower radiator support on that side that is what I needed to do anyway. Even then it was tight, if you look at the four o'clock position from the bolt head in this picture you can see the shiny spot where the bolt head rubbed on the bracket while being tightened (couldn't get the camera to focus on that spot):

43630600902_75e4b7a8c3_b.jpg


Here is how they look, notice how they match the color of my front sway:

28788209807_8e8a8a1816_b.jpg


When you tighten up the locknuts be sure to go back and forth, front to rear and retighten the nuts. I had to do this many times on each side to be sure they were all tight enough. This may have had something to do with how mine didn't want to slide easily over the bolts, but it's good practice in any case.
 
Here's a tip, if you are cutting a bolt down put a nut on first prior to removing material. Once you get the length you want file the end of the threads to put a bevel on them (I used a thread file I have) and then remove the nut. It will clean up the threads for you so you will be able to get the bolt started.

I like to thread a die down the bolt before cutting it. With a normal nut, you risk boogering up the threads on that burr at the end (even after cleaning it up) since the nut and bolt are typically the same hardness. A die will cut straight through it.
 
I like to thread a die down the bolt before cutting it. With a normal nut, you risk boogering up the threads on that burr at the end (even after cleaning it up) since the nut and bolt are typically the same hardness. A die will cut straight through it.

I agree with you on that, but not having a die on hand the nut worked fine for me. Remember I also used a thread file too. I have a few years of doing it this way.

Washed her before a trip to Cars & Coffee. Tested all modes of the cruise control successfully. Going to be a relaxing trip to MATG.

I also found that the hose for my lumbar air bladder had gotten trapped on the seat hinge and cut. Pulled it off the pump, cut it back and put it back on. Lumbar is working again.
 
Since I have my cruise control problem fixed, I decided to reinstall the steering column switches that don't have the lettering worn off. Pulled the steering wheel to get at those. While I was at it also decided to try one of the 3.3 ohm resistors I had bought for the airbag light. Kept it simple on that this time, folded the wire on each end of the resistor twice and applied some solder. Cut a piece of heat shrink to protect from grounding and installed that (note: it's a PITA since the wire doesn't have anything supporting it. Needlenose pliers came in handy). Put the switches in place and assembled everything. I'll give it a proper test the next time I take her out.

Touched up a couple of small paint chips that have been bothering me. One on the front mascot, the others in the gas lid bowl. Tomorrow planning on doing a clay bar and waxing.
 
First thing this morning, washed, clay barred, washed again and dried her. Will be waxing a little later once she's completely dry (and I attend to my honey-do list).

When I pulled her into the garage the airbag light did not flash at all. I'm going to reserve judgment on this being the final fix, but I am hopeful. If so then I will transfer the connectors over from the GS resistor to one of mine so it will stay in place better.
 
I almost put the transmission back in yesterday, then remembered 2 fairly important things.

1. We noticed a leak in the coolant plug on the back of the head while pulling the broken trans out, and it's infinitely easier to replace without the trans there, so I ran by Jim Ellis Mazda and grabbed a new one. Friggin proverbial $2 part that'll let all the damn coolant out of the engine. I don't know why they used that fitting with a cap over it instead of just plugging it, but whatever.


2. When pulling the transmission, there are a couple of brackets that protrude into the trans tunnel that...well...I don't need anymore, and interfered with pulling the trans out through the bottom. One of the nice things about being in one of the builder-classes is that I can do this


That 2nd pic doesn't show much, sadly, but you can see 1 in the tunnel near the 90 degree bend of the fuel lines, and 1 near that gromment (already cut off) a little higher up, just left of center on the pic.

I cleaned those up w/ the flap disk after cutting them then hit them w/ a coat of paint. Gonna slap another coat over them today just to make sure they don't rust.
 
Lots of things are more accessible with the trans out. Good thing you noticed that leak.

I was doing some reading on M.net today and found that the crease in my soft top above each window was because I had installed the tension cables incorrectly. While I was waiting for her to dry for the waxing I figured I would take care of that. It's fairly simple to fix, you just pull the top back off the front bow also removing the front weatherseals and channels. Here is how it looks when it's wrong:

42841521375_5f07b9f07e_b.jpg


And here is how it looks when it is correct:

43029892514_09de2773bf_b.jpg


Note this was taken on the opposite side from the incorrect installation (so you aren't seeing things. Well maybe you are, but not in relation to this). I used 3/16" dia pop rivets with a grab of 3/16 to 1/4".

This is an easy mistake to make with aftermarket cables as they are different than the factory ones, and as you can see from the initial picture the tab fits very nicely in the recess in that configuration. The proof is in the pudding though, here is how it looked when the cables were wrong (note the crease above the window):

13544739364_f790c846d5_b.jpg


Here is how it looks with the cables correct:

43029891244_798cab030b_b.jpg


I expect it to smooth out over time. It is interesting that the top is now easier to latch despite the cables having more tension on them.

I went ahead and cut the connectors off the GS airbag resistor and soldered them onto one of my 3.3 ohm resistors. That was installed then.

Wax is on the car and I also put another coat of the RaggTop protectant on. If I don't polish the wax off tonight it will get done in the morning.
 
Last edited:
Buffed the wax off this morning. Still have some more to do today but nearly ready for MATG.

43044345994_789e73cea4_b.jpg


43044344304_90f76087a6_b.jpg
 
Drove home from MATG. Had a lot of fun despite all the rainfall. Car is incredibly dirty even after I washed it several times while there (was staying in a cabin with a gravel/dirt [or mud more like] drive).
 
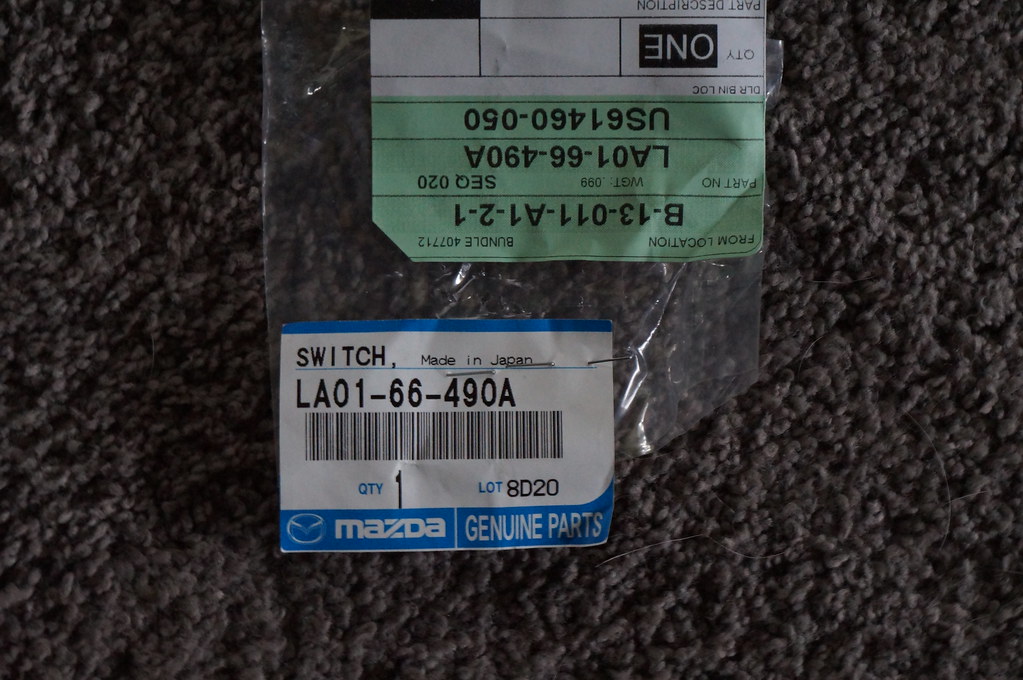
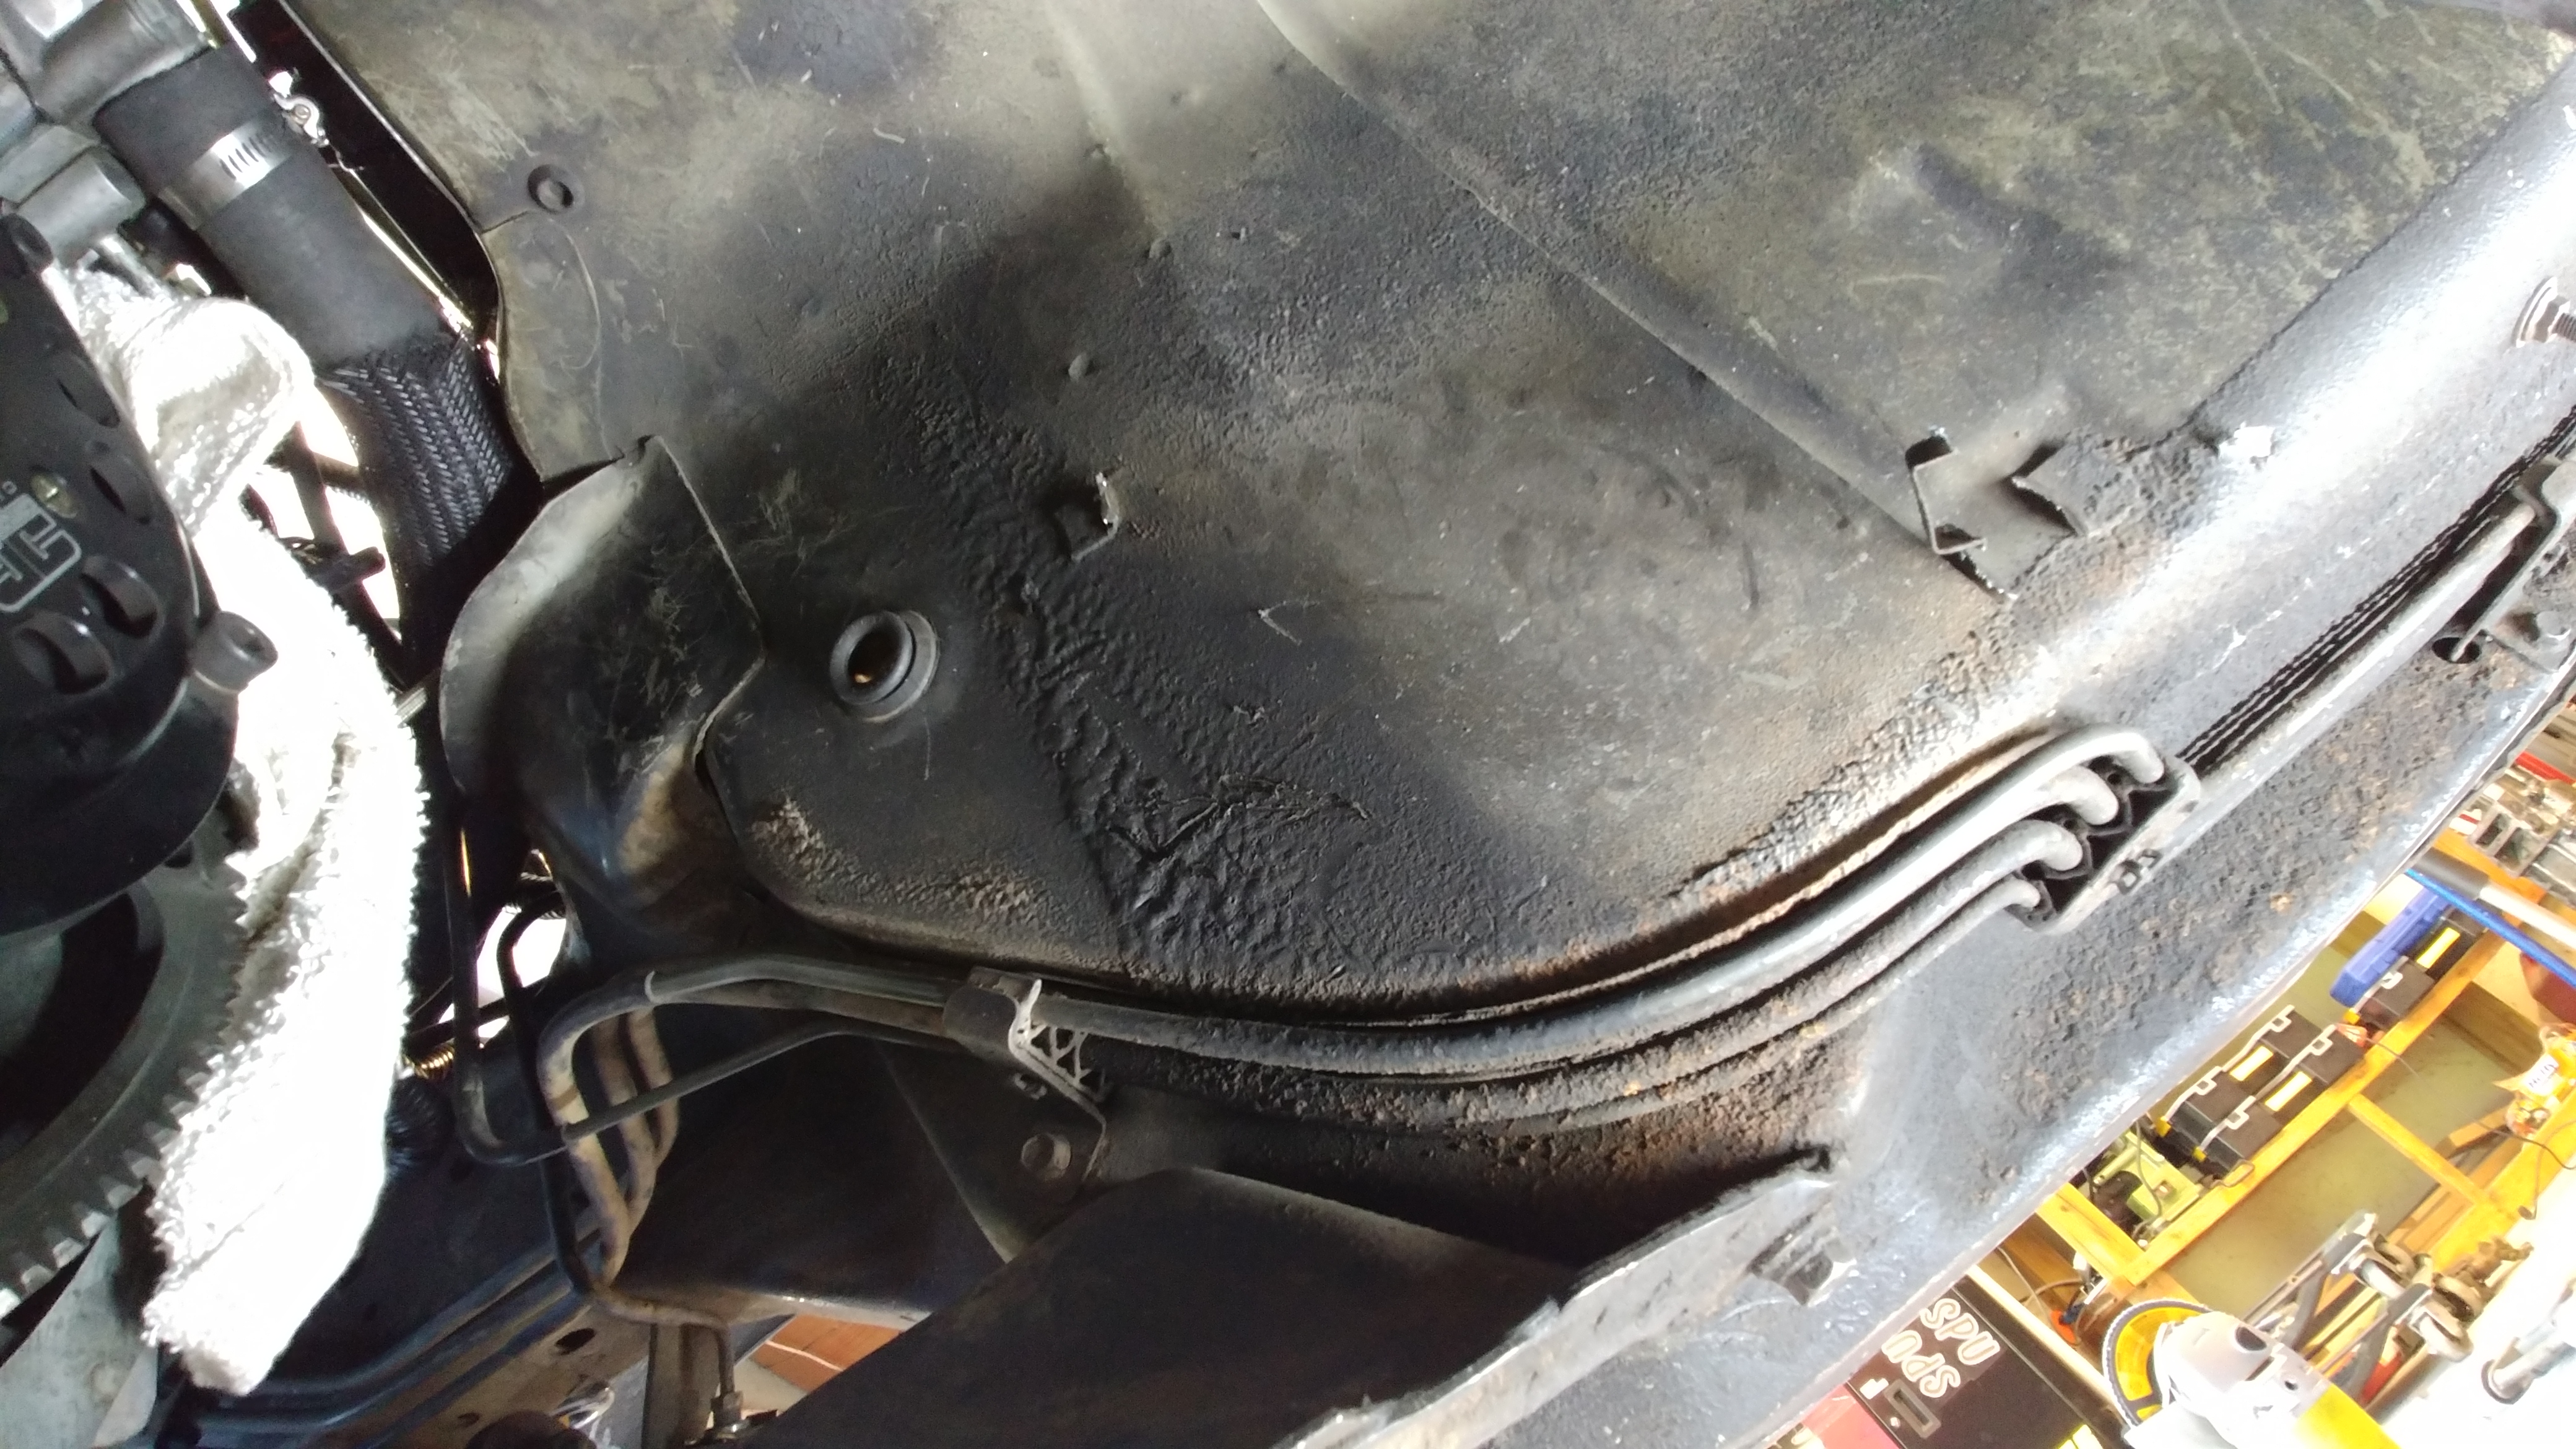
Last week I started to put the trans back in but as I jacked it up into position I remembered that I'd taken a small shower when we PULLED the bad transmission out because in so doing we had cracked the little coolant nipple cap on the back of the head. Since that would have been an immediate failure upon firing the engine up, and about a thousand times easier to do with the transmission out, I hit up one of the local Mazda dealership and picked up a new one.


The spare transmission fought us for an age. We spent 2 hours trying to get the input shaft to seat on the clutch splines and it just wouldn't go. It's been so long since I've had a drivetrain issue that I'd forgotten that the splines on the twin-disk Competition Clutch are on the tight side. Damn near a press fit...and have been a pain in the ass every other time I've worked on it. Legitimately, it was easier to just pull the engine and work on the engine and trans together outside of the car.

So we did.

And then spent another slightly less uncomfortable hour and a half trying to get them mated up outside the car.


Twin disk clutches are a pain in the ass regardless, but this one is WAY on the tight side.

A couple days later, we got back together and threw the now-mated engine and trans back into the car.
Remember when I said pulling the engine was easier? It was 2 hours from turning the first wrench to do up the rest of the bellhousing bolts, to first starting up the car. Another 30 minutes and the exhaust, intake, prop shaft, trans fluid, shifter, coolant bled, etc. With the exception of that damn clutch, I LOVE LOVE LOVE how easy this car is to work on.
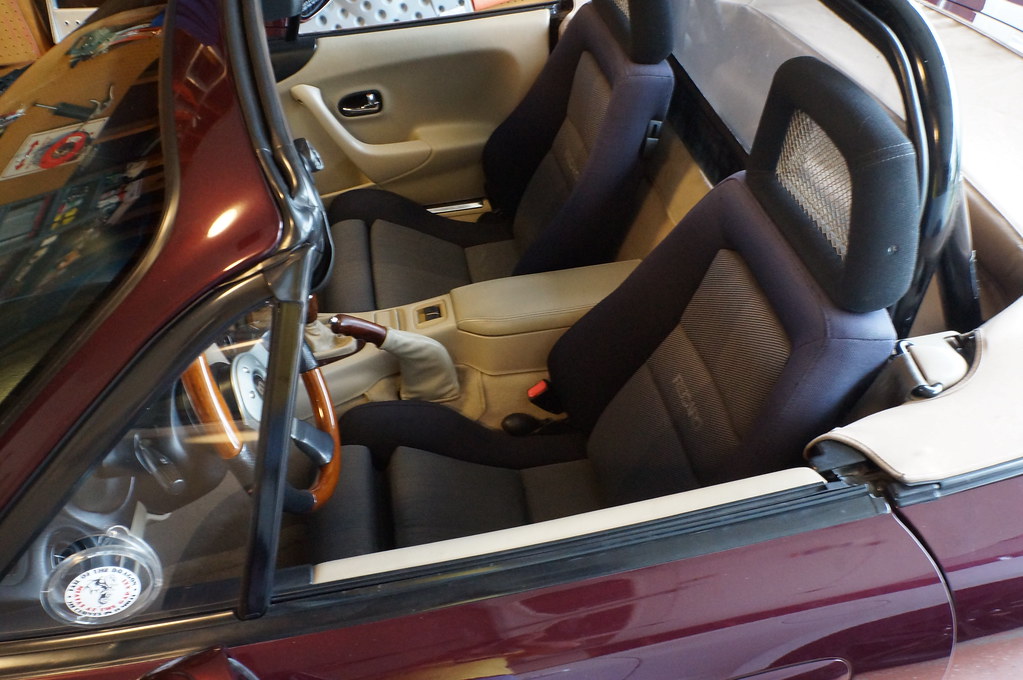
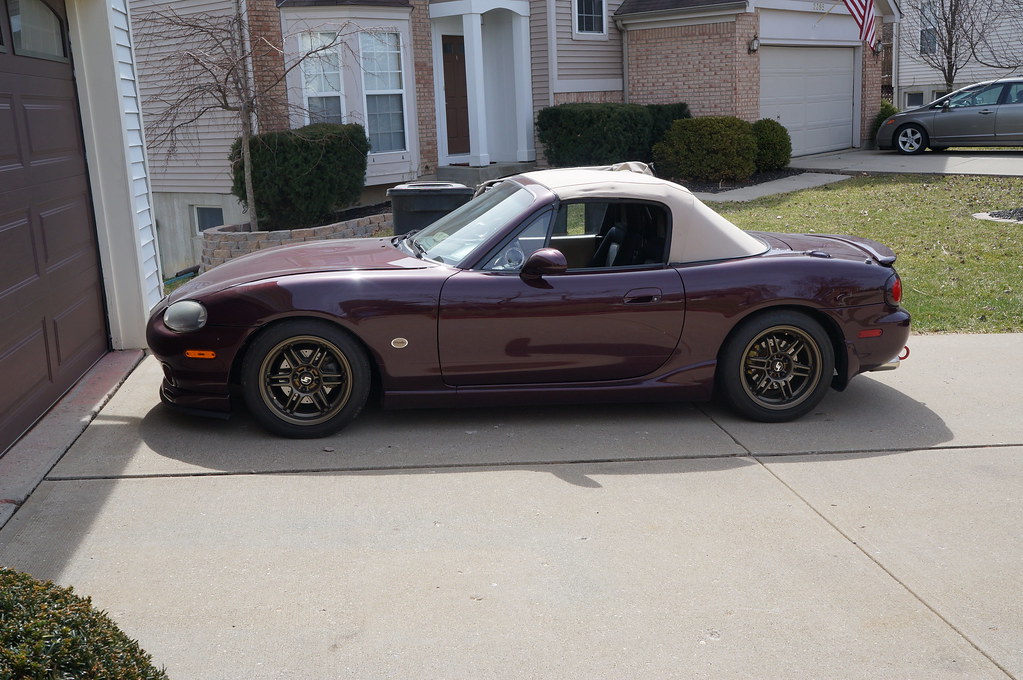
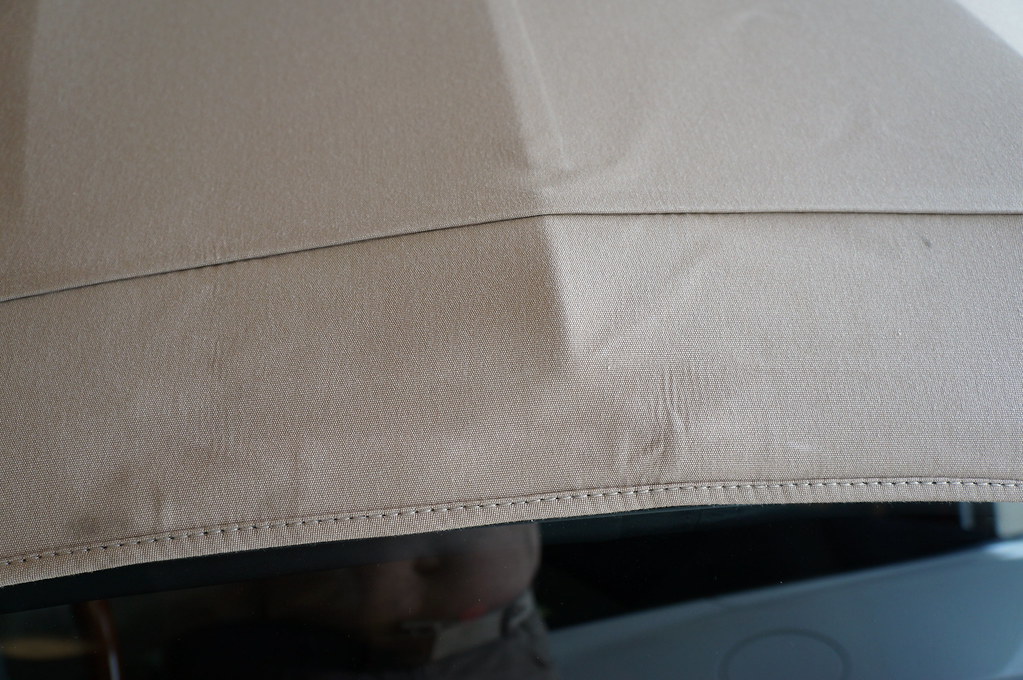
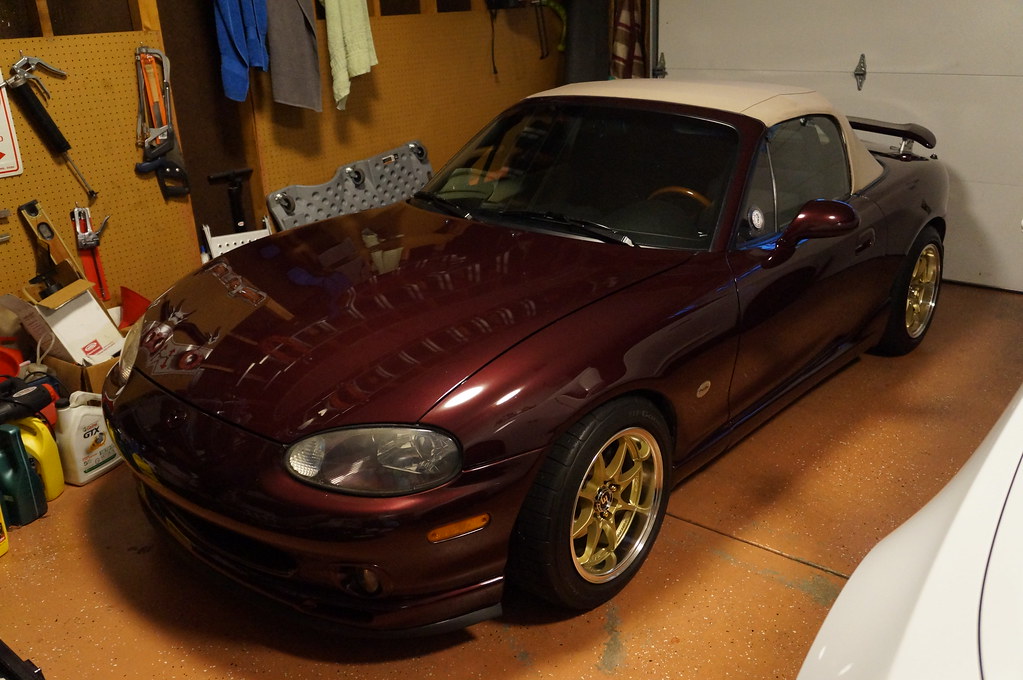
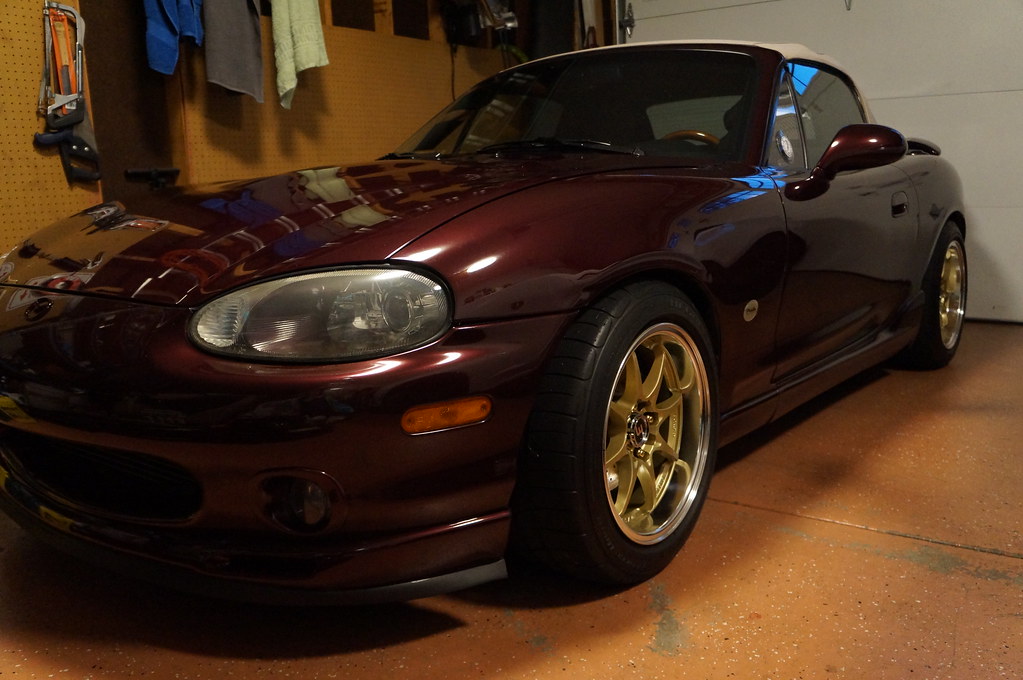
All back together.


That afternoon, I took a couple hours to dig into the transmission and a) see how they go together (and realize I'm not cut out for working on them LOL), and b) see what actually broke.
What I found was the counter-shaft (the one offset from the input and output shafts) was *TWISTED* so that the wheels that should move fore and aft on those splines couldn't, jamming it in gear, and locking us out of the 5th / reverse gate all together once we got it unjammed (by yanking on the shifter real hard in grid (rlaugh) ).


Those splines (on the left) should be straight.

Because it wasn't a gear wheel, or a shift fork or syncro, something relatively straight-forward to replace, the transmission has been relegated to the scrap pile. Before I tossed it out, however, it was recommended to me that an actual input shaft makes a FAR more accurate clutch alignment tool than the plastic ones every clutch kit ever comes with, so I cut the last foot or so of the input shaft off to keep as a useful tool.

 
Back