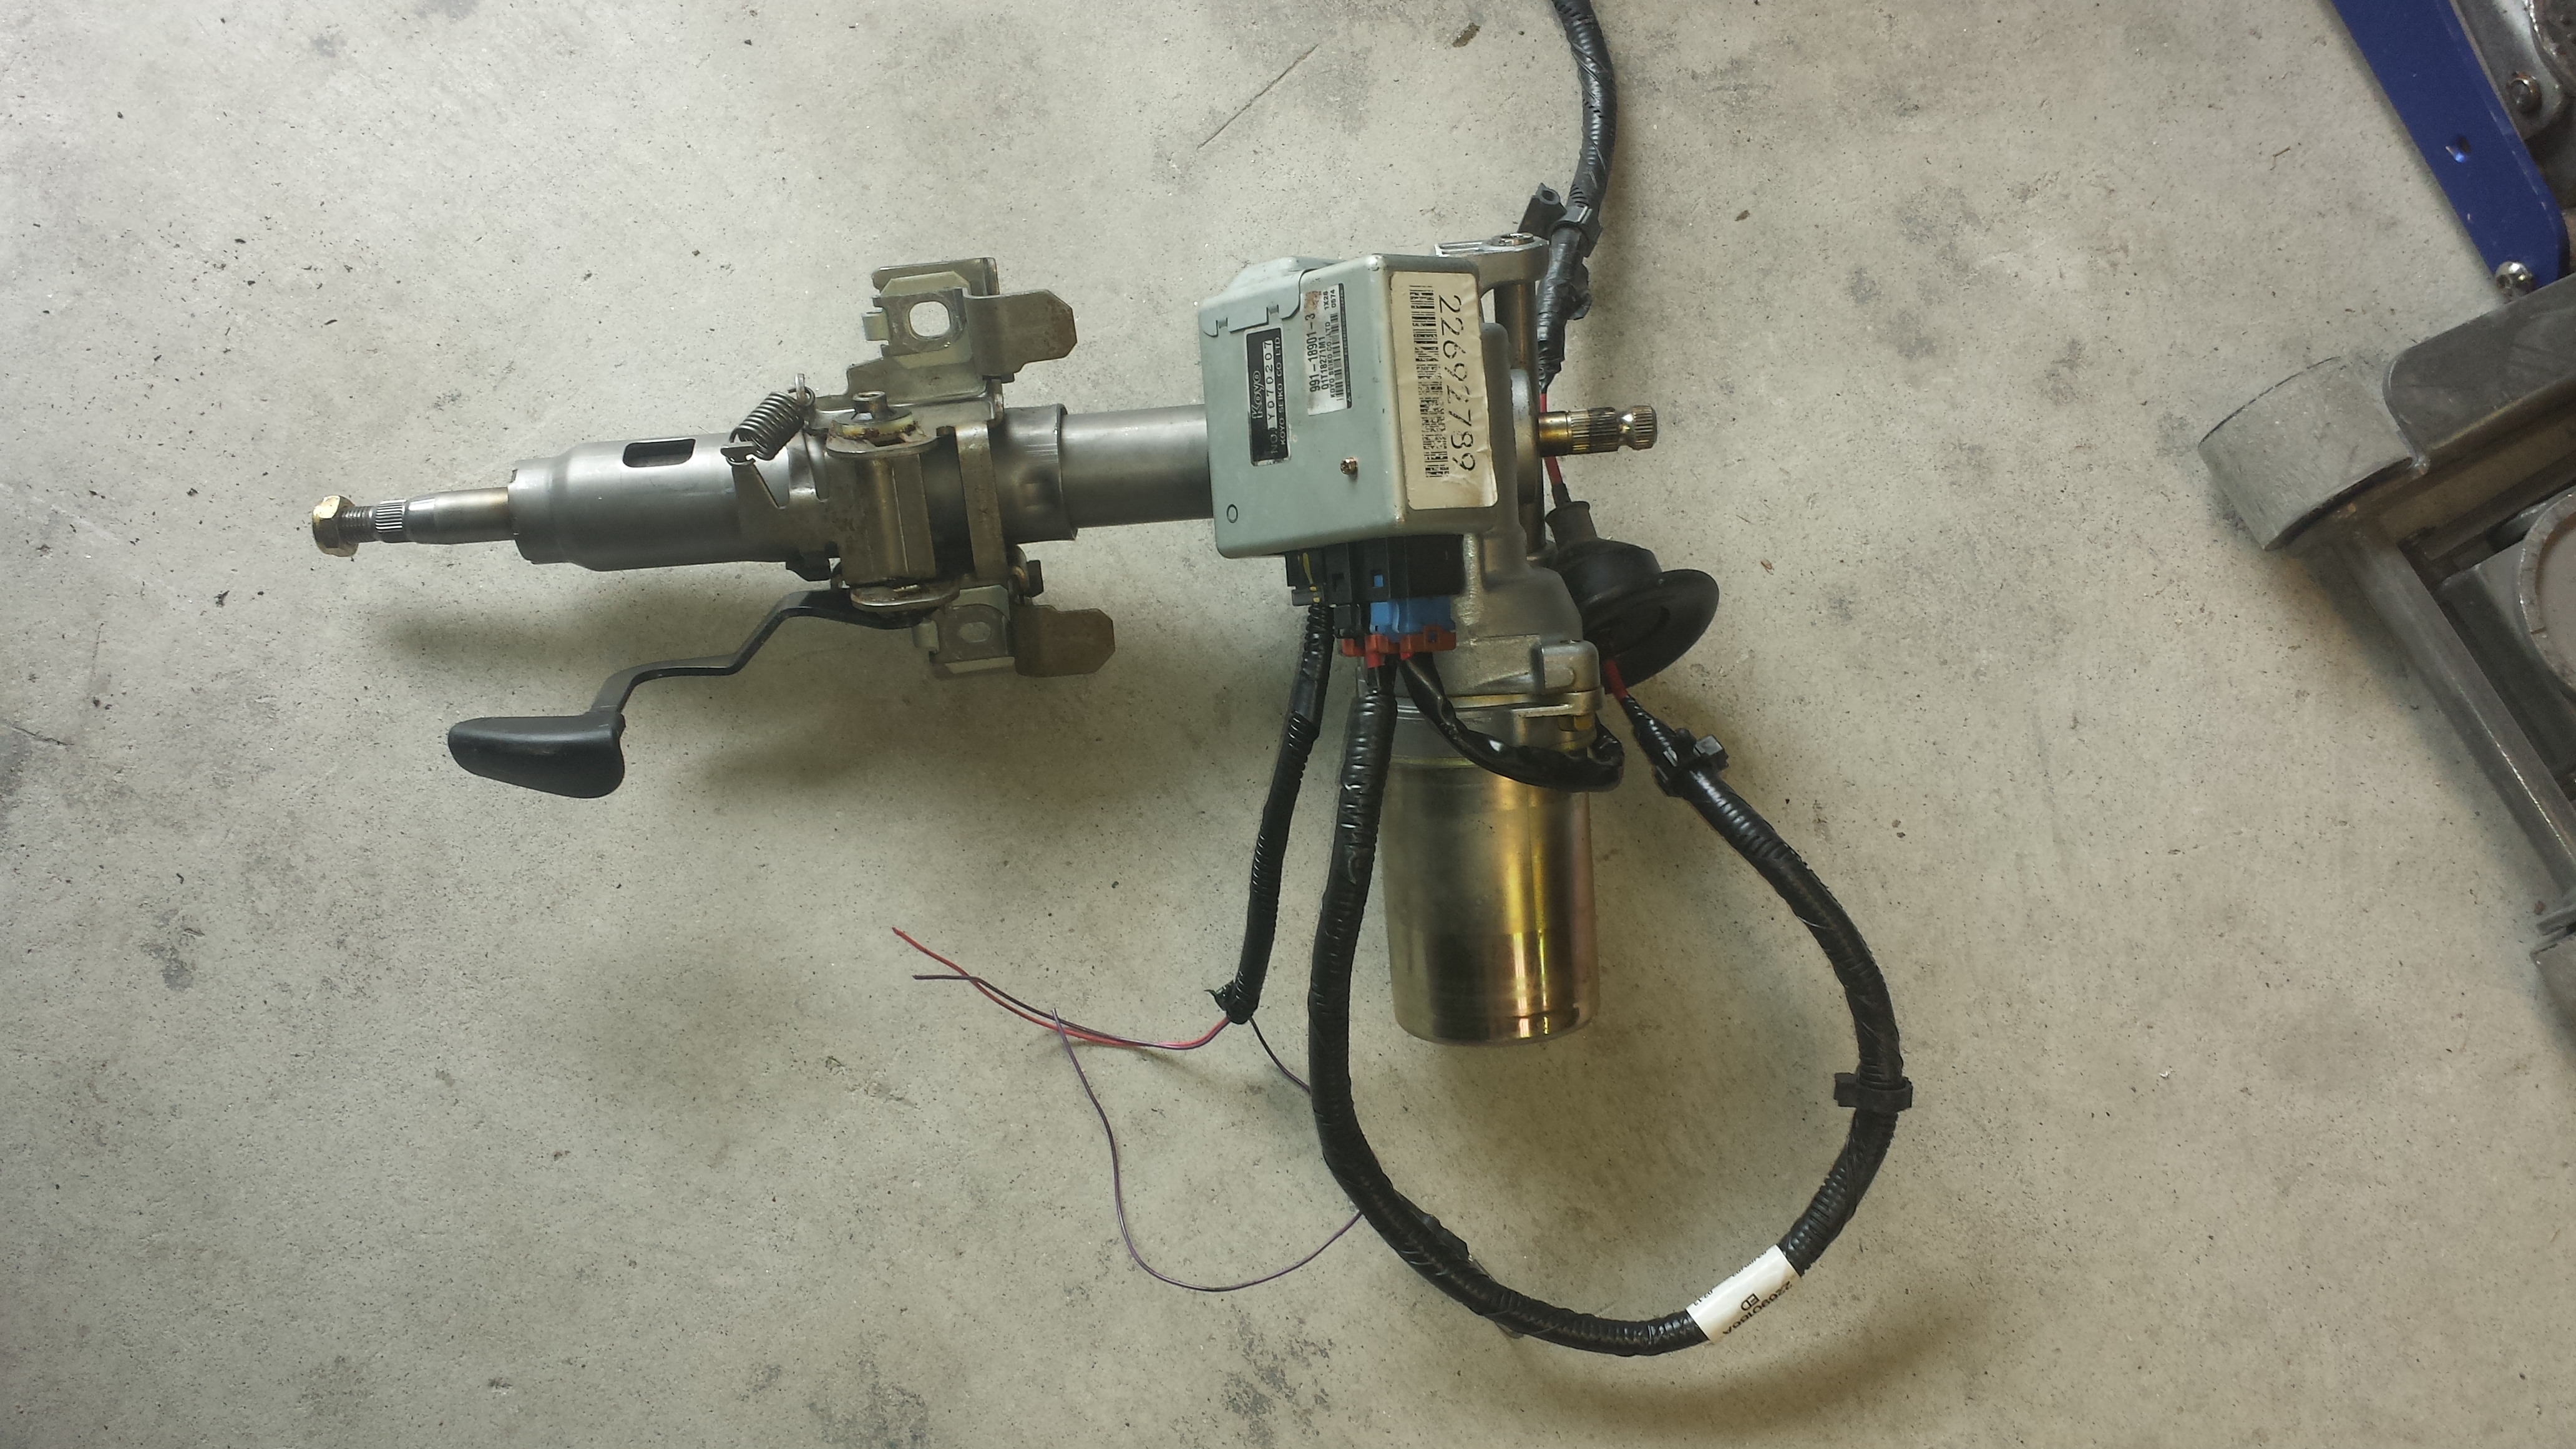
Depends on the system. The S2000, NC and RX-8 all have electric *racks*. This commonly used GM system is, obviously, on the column.
I picked up another stock steering column to cannibalize, and spent a little while in the shop taking measurements between the 2 racks. It looks like adapting the 2 will be fairly straight forward. I'll need to fab up lower mounts (I can cannibalize the stock ones for that) at the firewall, and upper mounts so that it'll bolt up in a stock-ish location. The steering wheel splines are the same as the Miatas so I can bolt my steering wheel quick disconnect right up.
The GM column is about 3 1/4" shorter than the Miatas. And after disassembling my 2nd Miata column, I found out that the lower half of the column is a very common 3/4" shaft size. The company that makes the controller box also sells spline adapters, including an adapter that will bolt to the GM column output shaft, and is a slip fit for a 3/4" shaft, so I'll be able to chop the bottom off the Miata shaft, pop it in that coupler and weld it so that it extends the column 3 3/4". So I'll be able to make a bolt-on adapter that will be able to swap between columns if the EPS column ever craps out for some reason. Just run to a junk yard, grab another and bolt it in.
I'm stoked