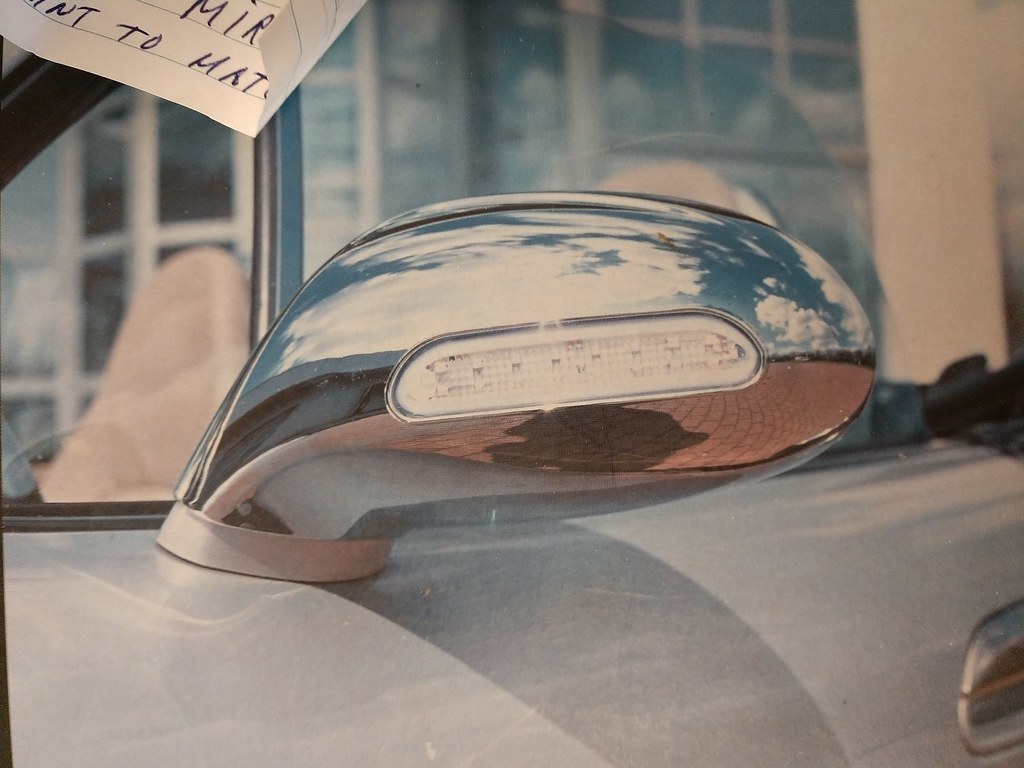
I've been getting mirrors and parts for my marker project. After waiting on resellers I finally heard back from one. Then, I also got a message from someone who had swapped out their mirrors offering his old ones (much cheaper). Only thing was there was no glass. After some research I determined I would still be cheaper than another source so pulled the trigger. Ordered new glass from the dealer, ordered some paint from Automotive Touchup and waited for it all to arrive.
Finally got everything earlier this week. Opened the mirror box to find when they were Plastidipped the interior wasn't covered so that crap was everywhere.
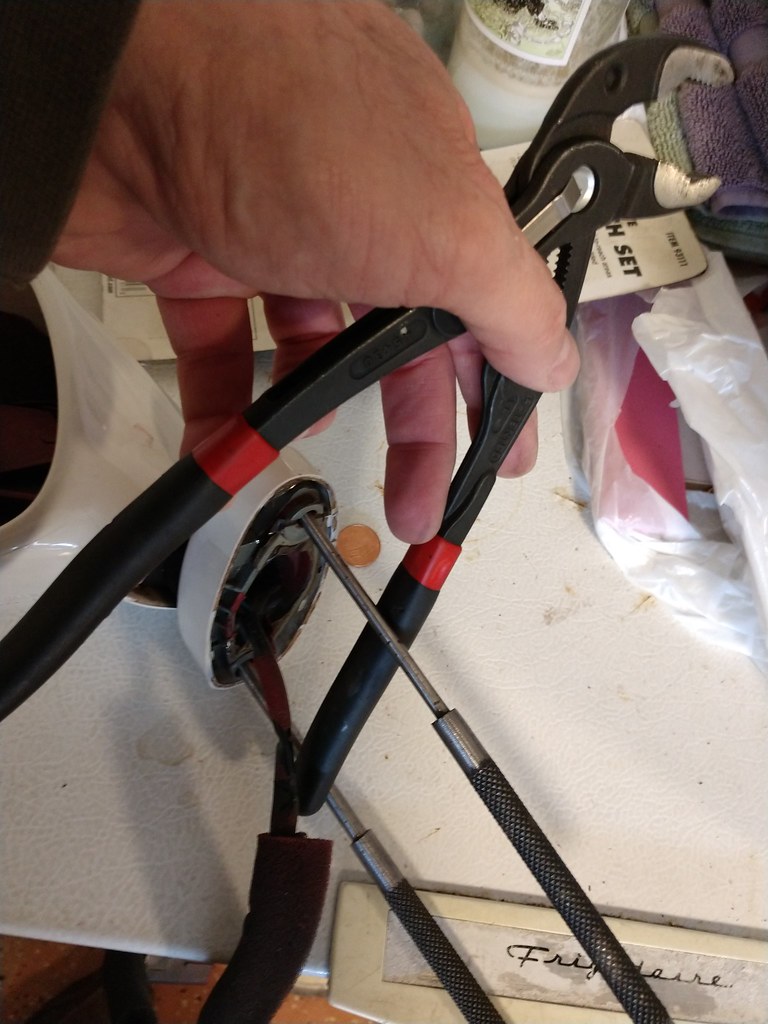
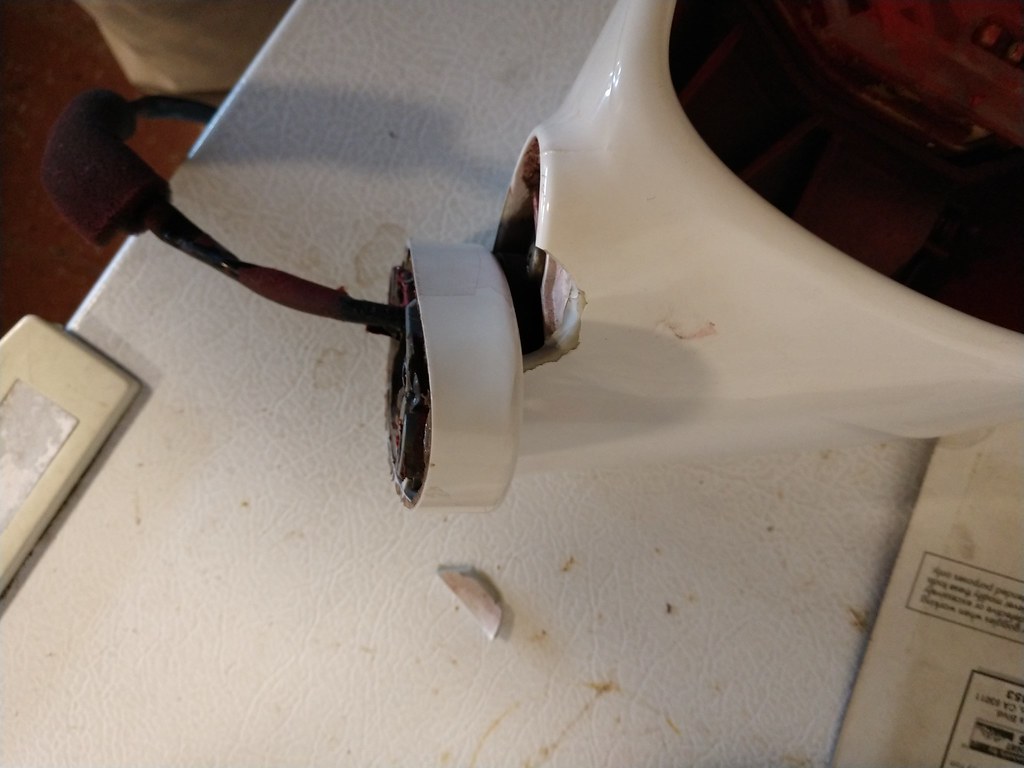
I wanted to try and remove the motor fixture from the interior. This required moving the mirror housing on the base to access the screws. I was not able to physically move the two pieces with just hand power (they are tough to do on the car, off it nearly impossible). I don't have any spanner wrenches so made one up with a couple of pin punches and plier handles:
That worked well, however I needed to move the base in the opposite direction so I could remove the other screw. Didn't pay enough attention, one of the punches moved too far into the base and this happened:
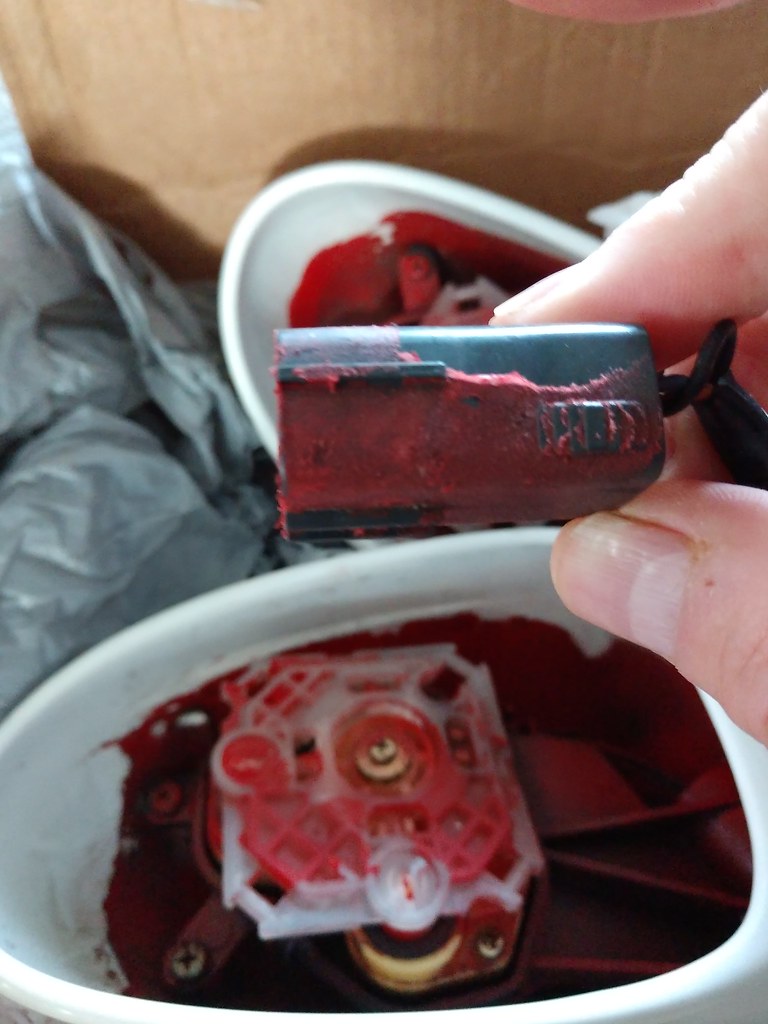
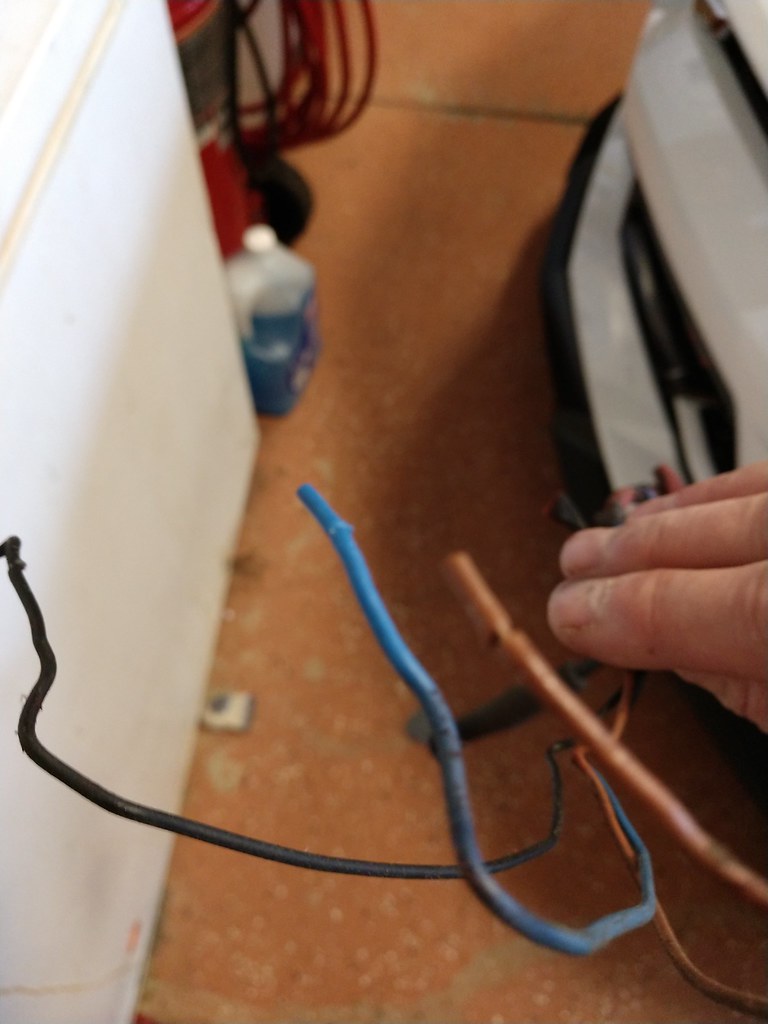
Disappointing. After doing that I figured out I wouldn't be able to remove the interior bits in one piece due to how there is a pivot connecting the base and housing. I don't see any sort of circlip so I'm guessing it's a press fit. I did remove the motor and found something interesting about how the wires are connected. You would expect some sort of connector, but no:
In case you don't know what you are looking at, Mazda used a vamp clamp arrangement.
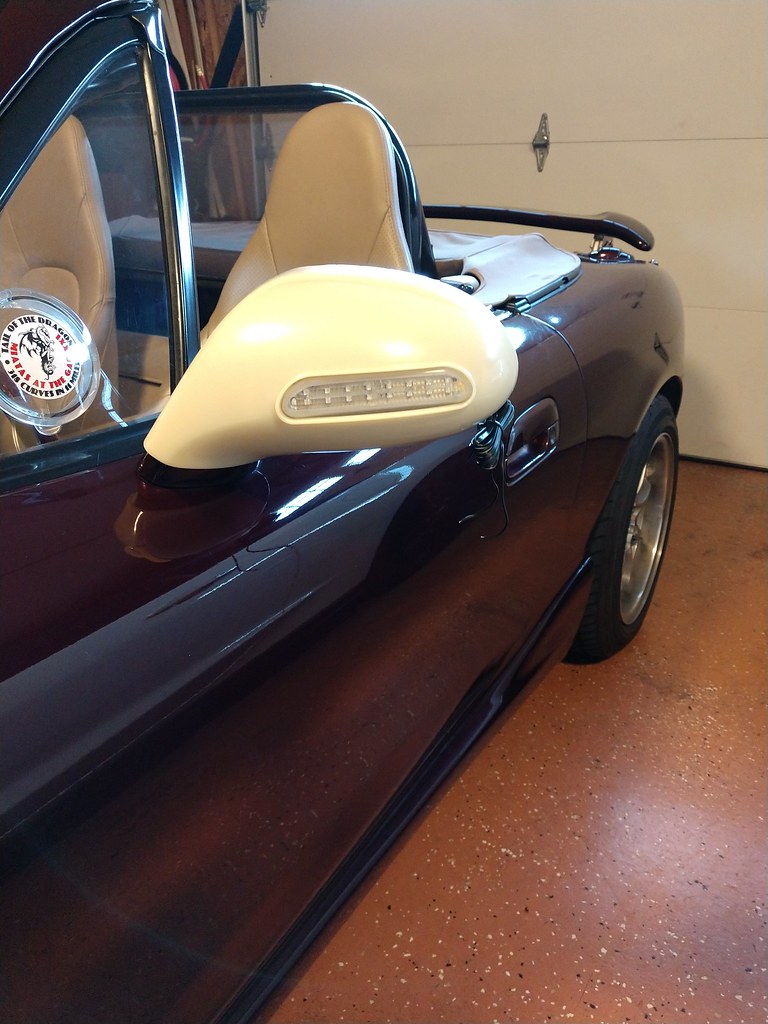
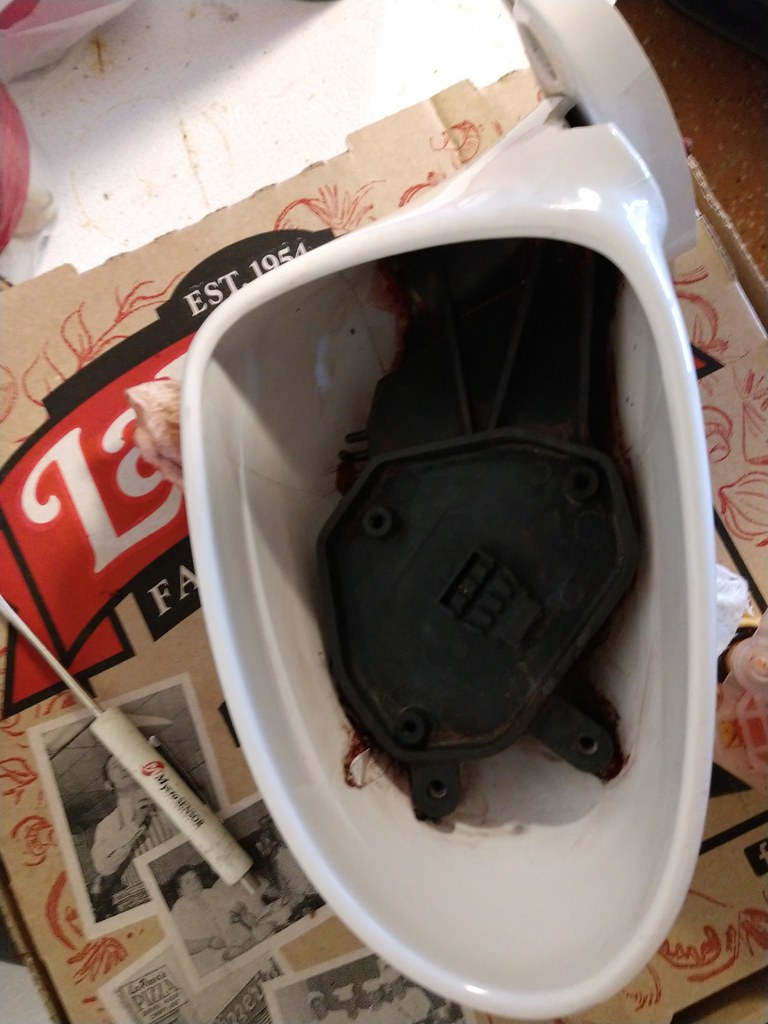
Next up was cleaning as much of the Plastidip from the interior as I could. Peeled what I could then used BrakeKleen for the rest, like I did on the wife's car's wheels. End result:
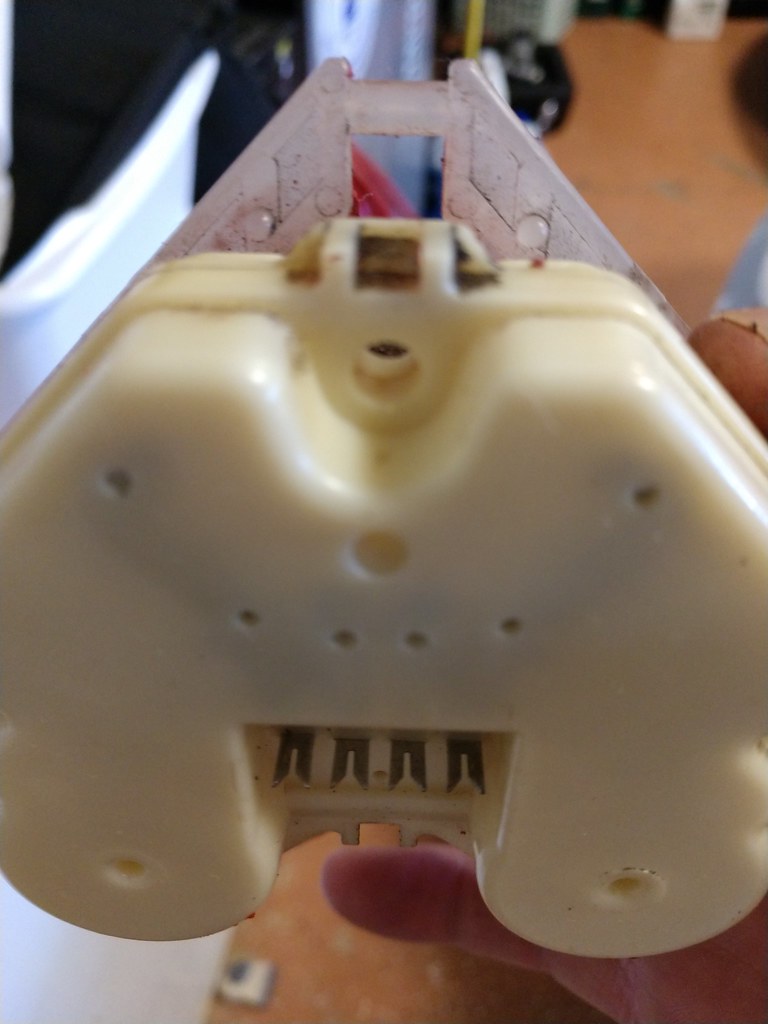
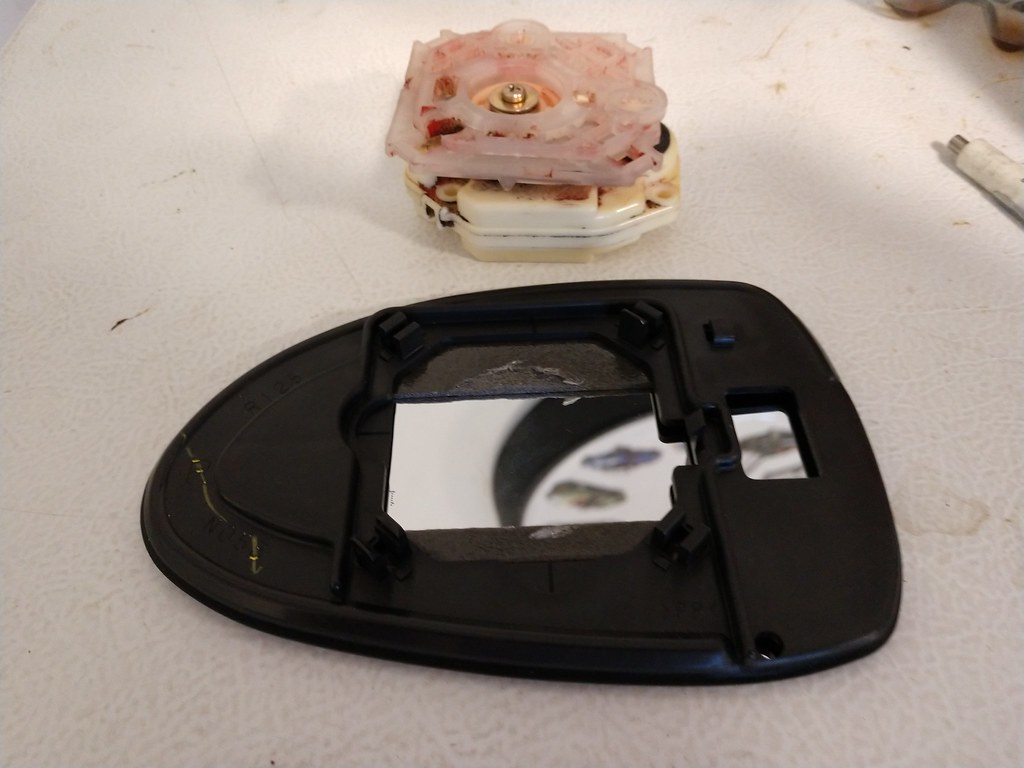
Here is a shot of the back of the mirror and the motor showing the four attachment clips that keep it together:
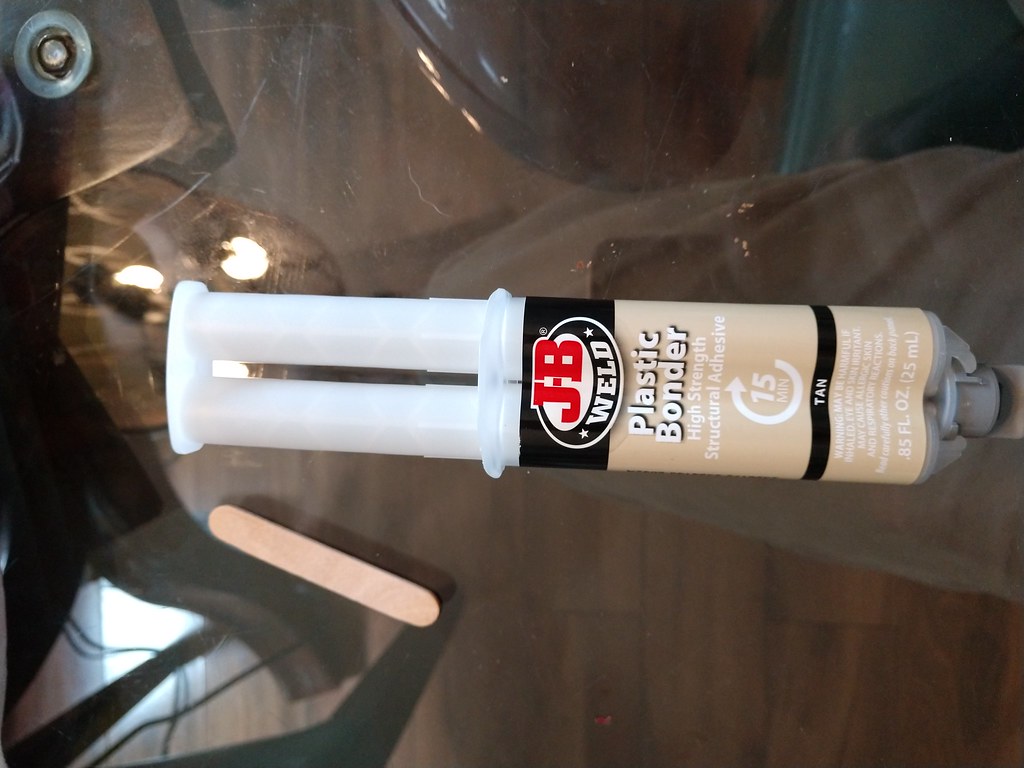
Finally, what I used to glue the broken piece back in:
Once that sets I'll fill in the cracks and prep everything for paint. I'm going to do these one at a time so I don't have too many parts floating around to get confused.

")