Project: White Lightning

Maxx Mazda

Resident Asshole
Contributor
:
Completely Stock P5
The truck is named sarcastically of course. There is nothing "lightning"
about a 2.2L S-10...

First off, I'll present the truck:

img2056jp.jpg


img2108ru.jpg


img2057yr.jpg


img2114z.jpg


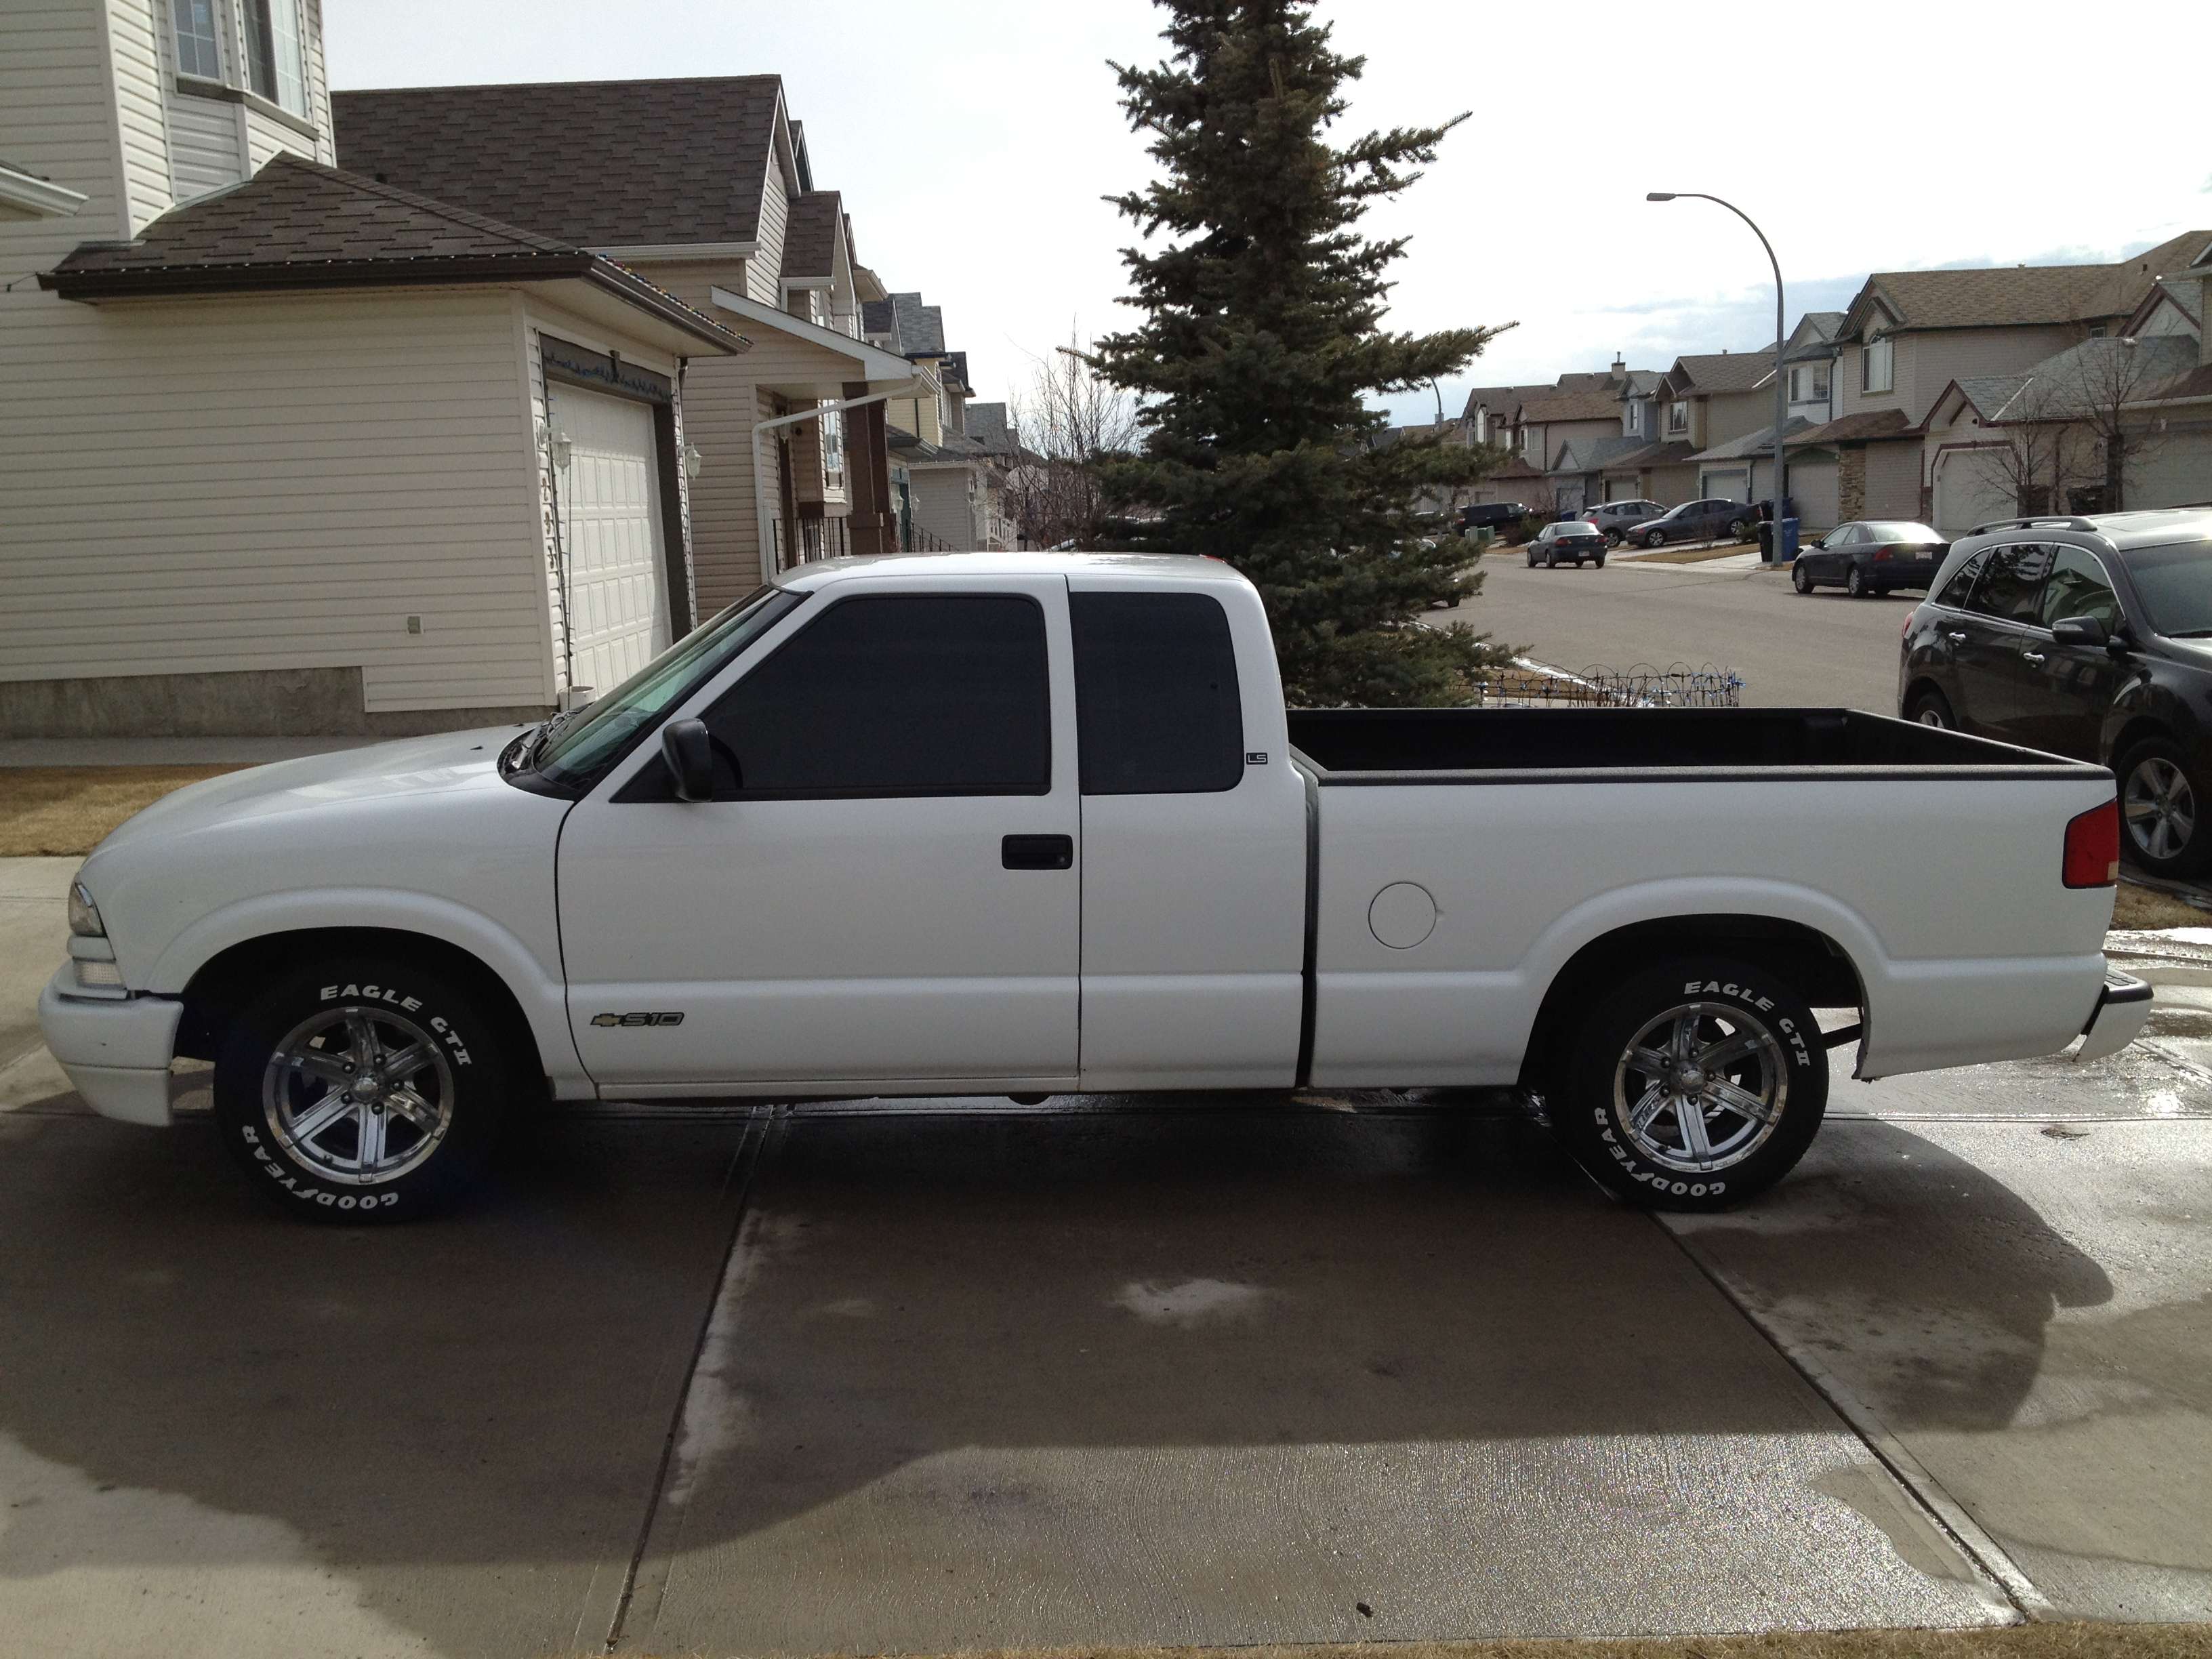
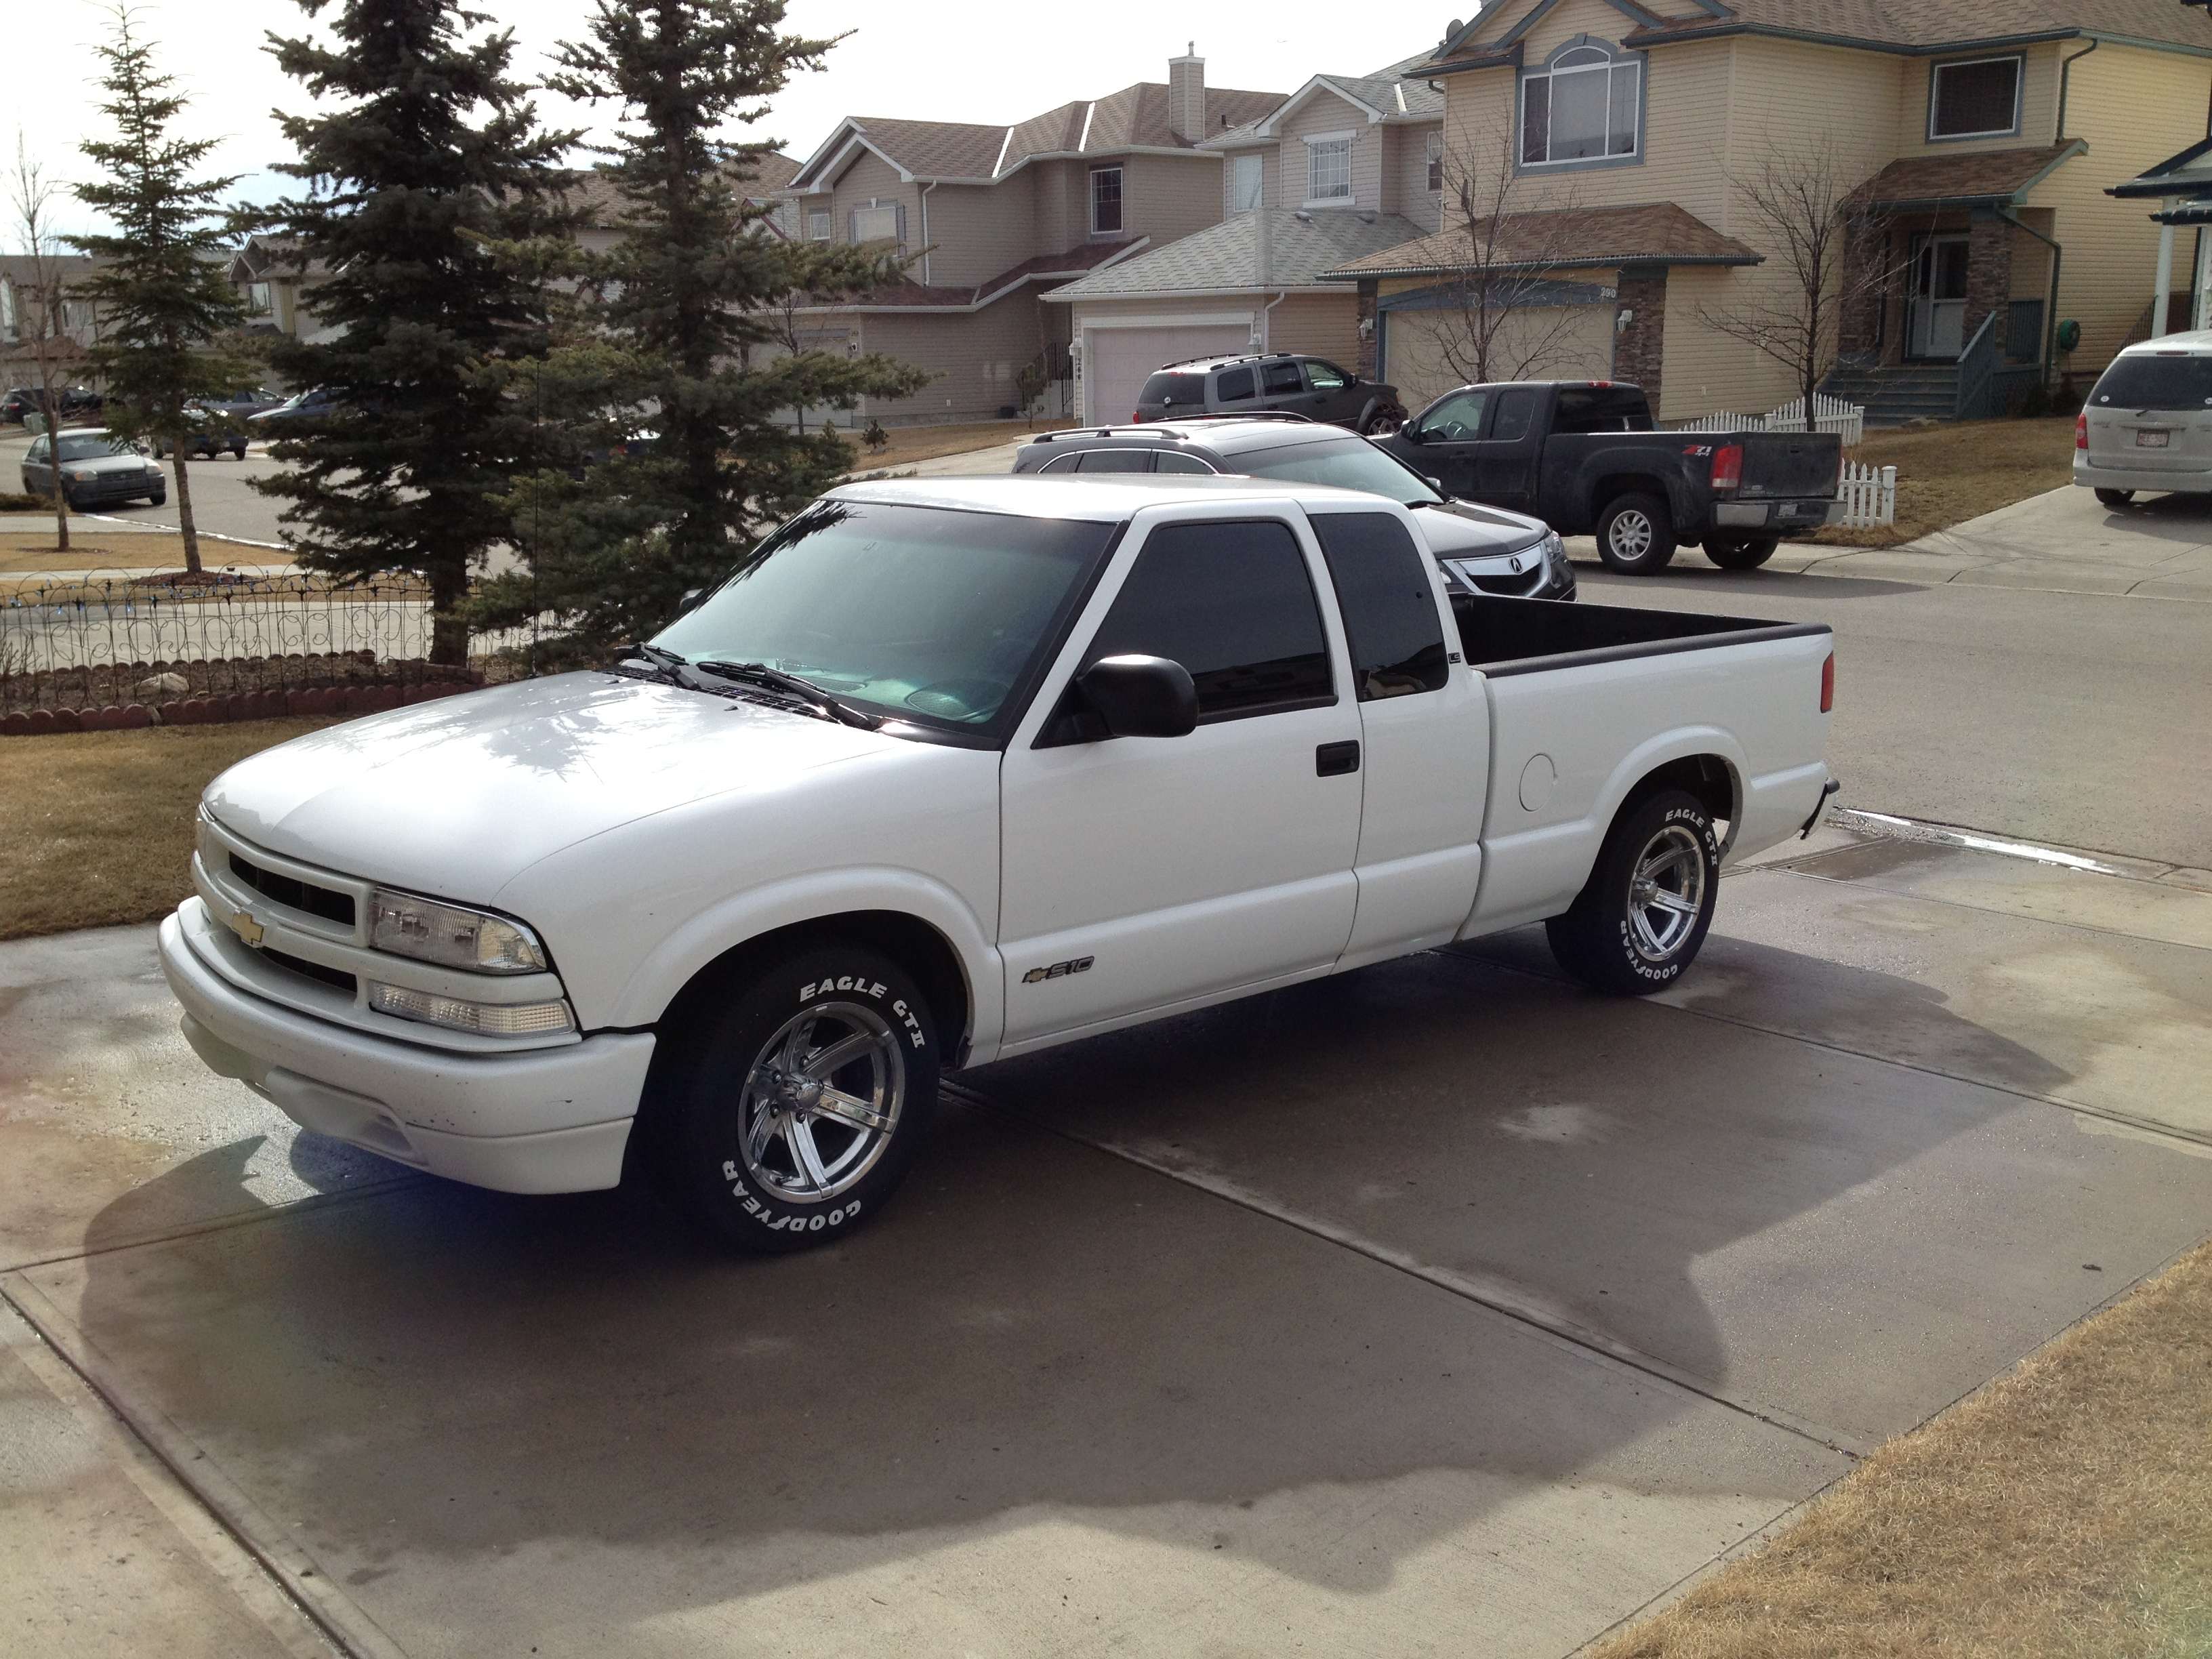
It's lightly modded, CAI, Beltech 2" drop spindles, 1" drop leafs, rims,
tint, system, clear corners, etc. My favorite mod has to be the white lettered
tires. I get more compliments on that than anything else.I

digress... This truck is my winter beater. Yes, some may
say it's a nice truck but I have a Mazda that I drive in the summer, and this
truck serves as my daily driver, and also hauls my dirtbikes to and from the
track.

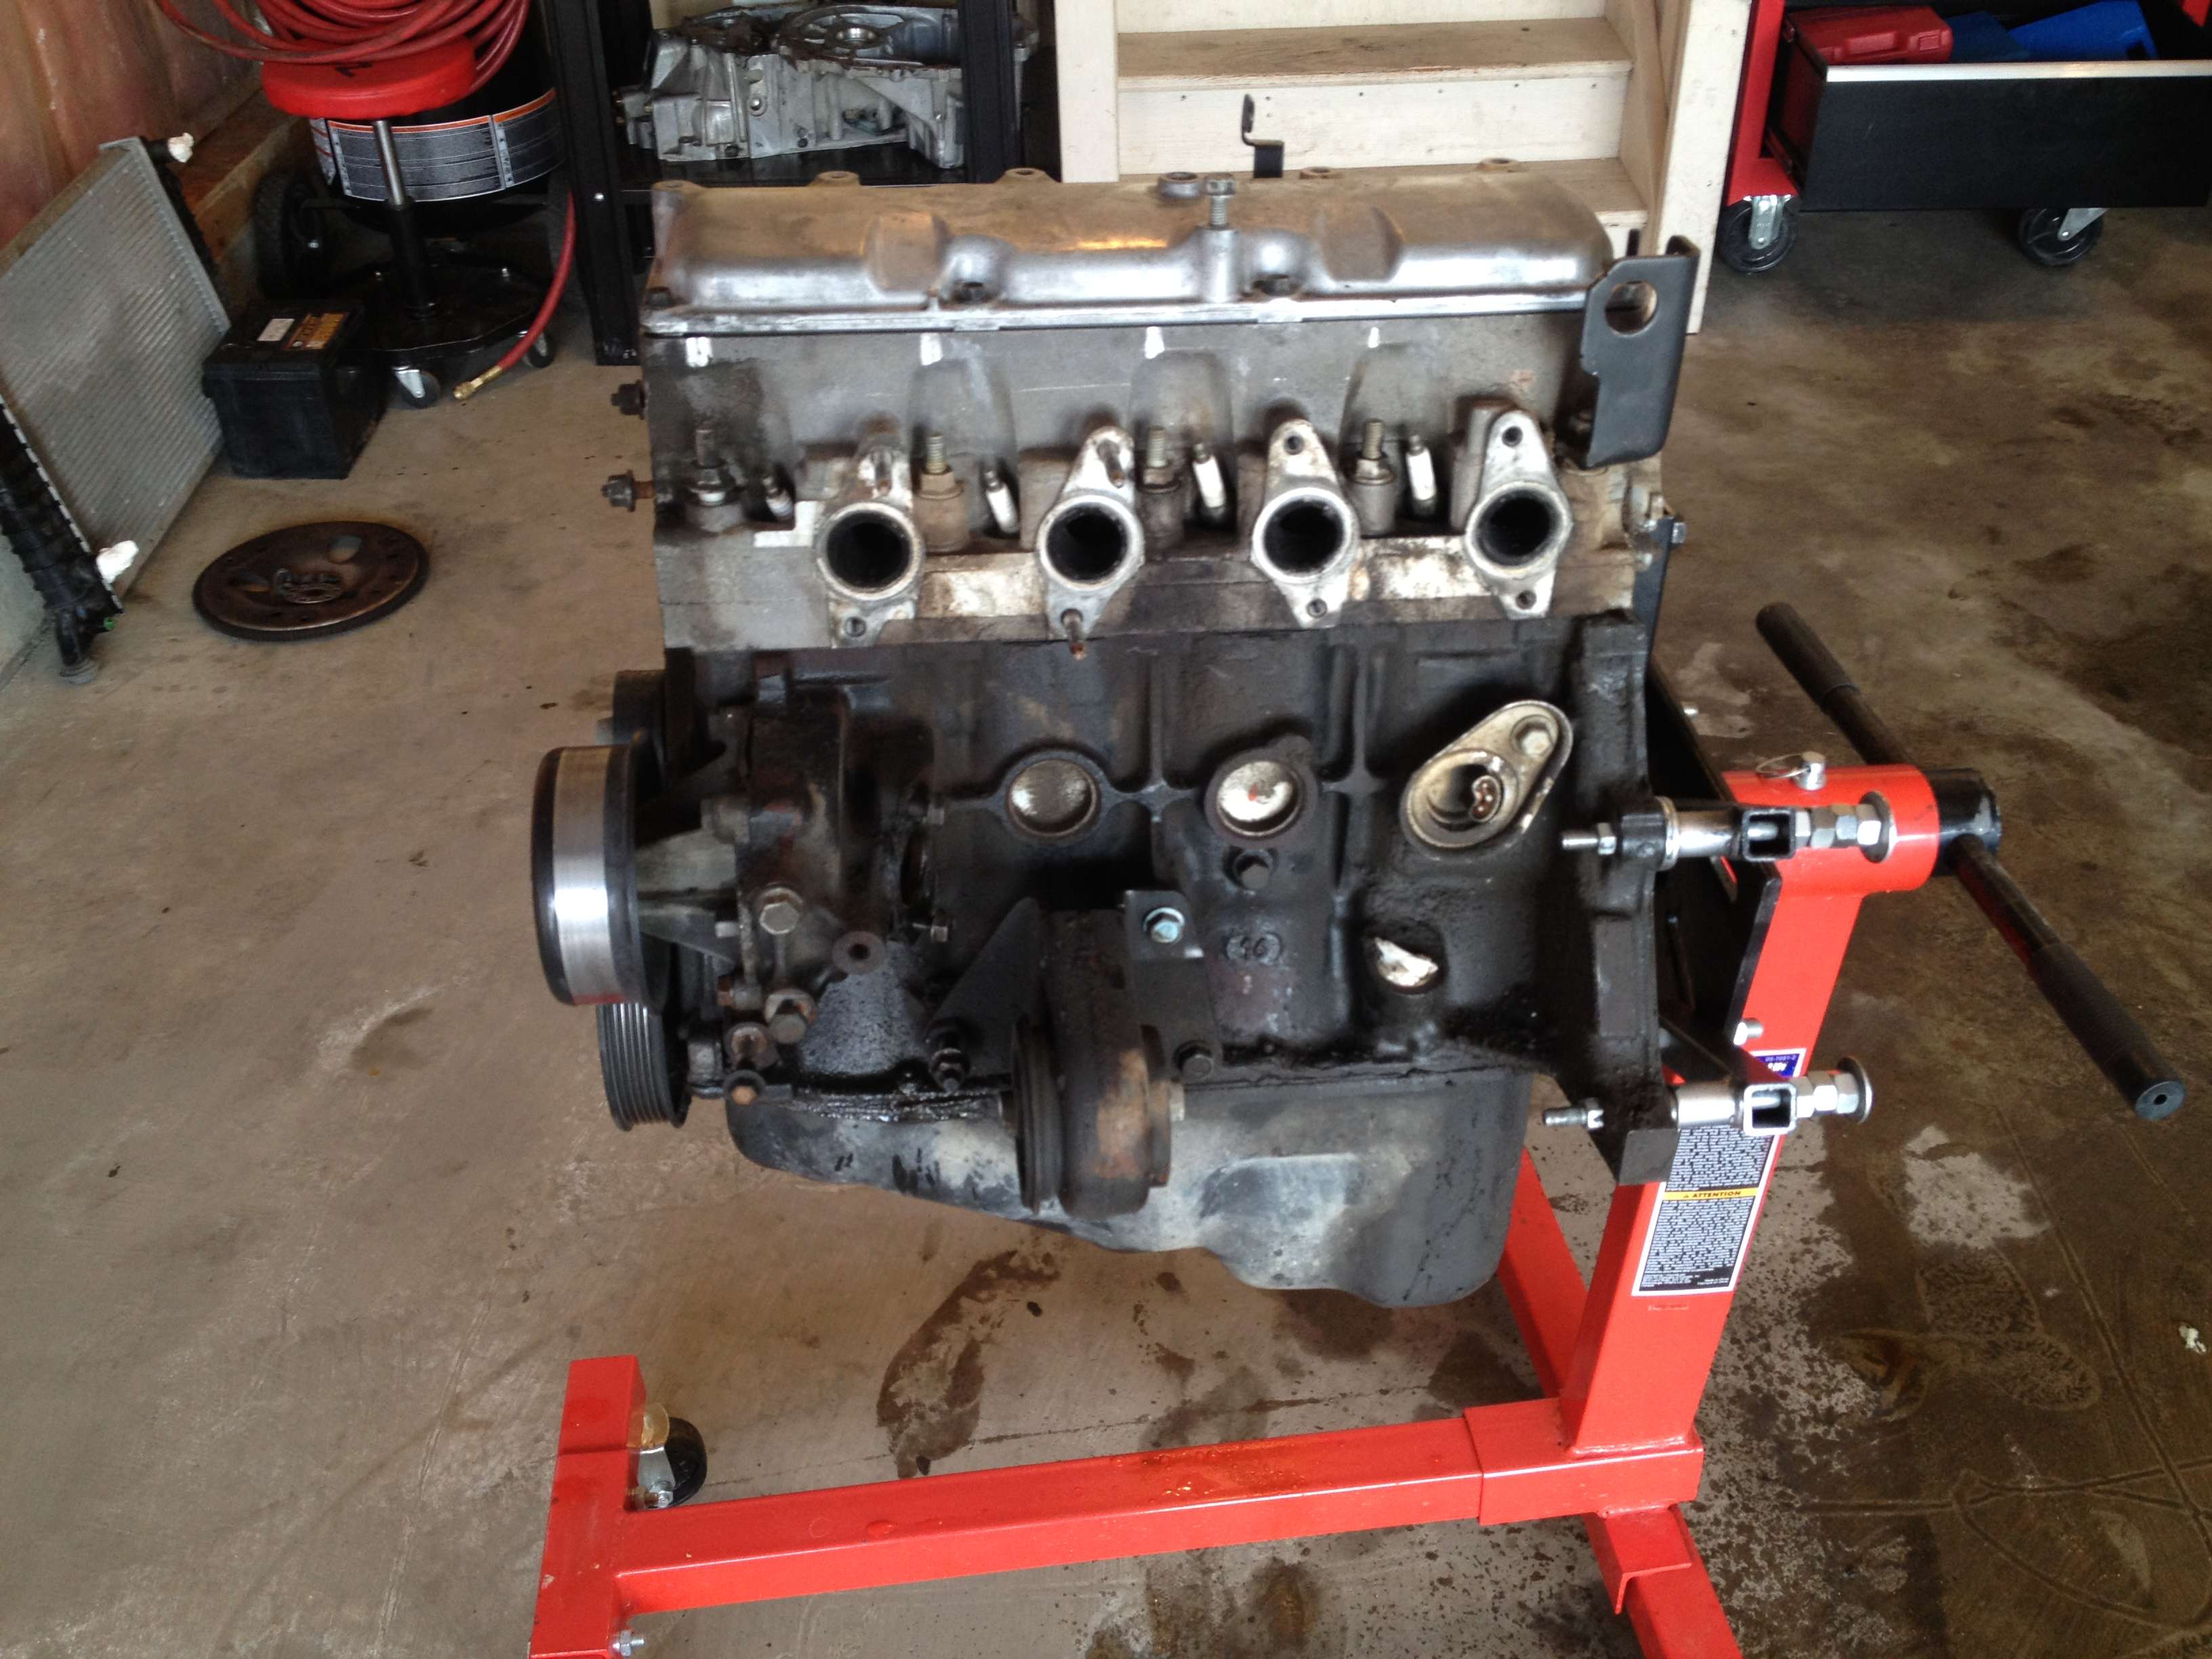
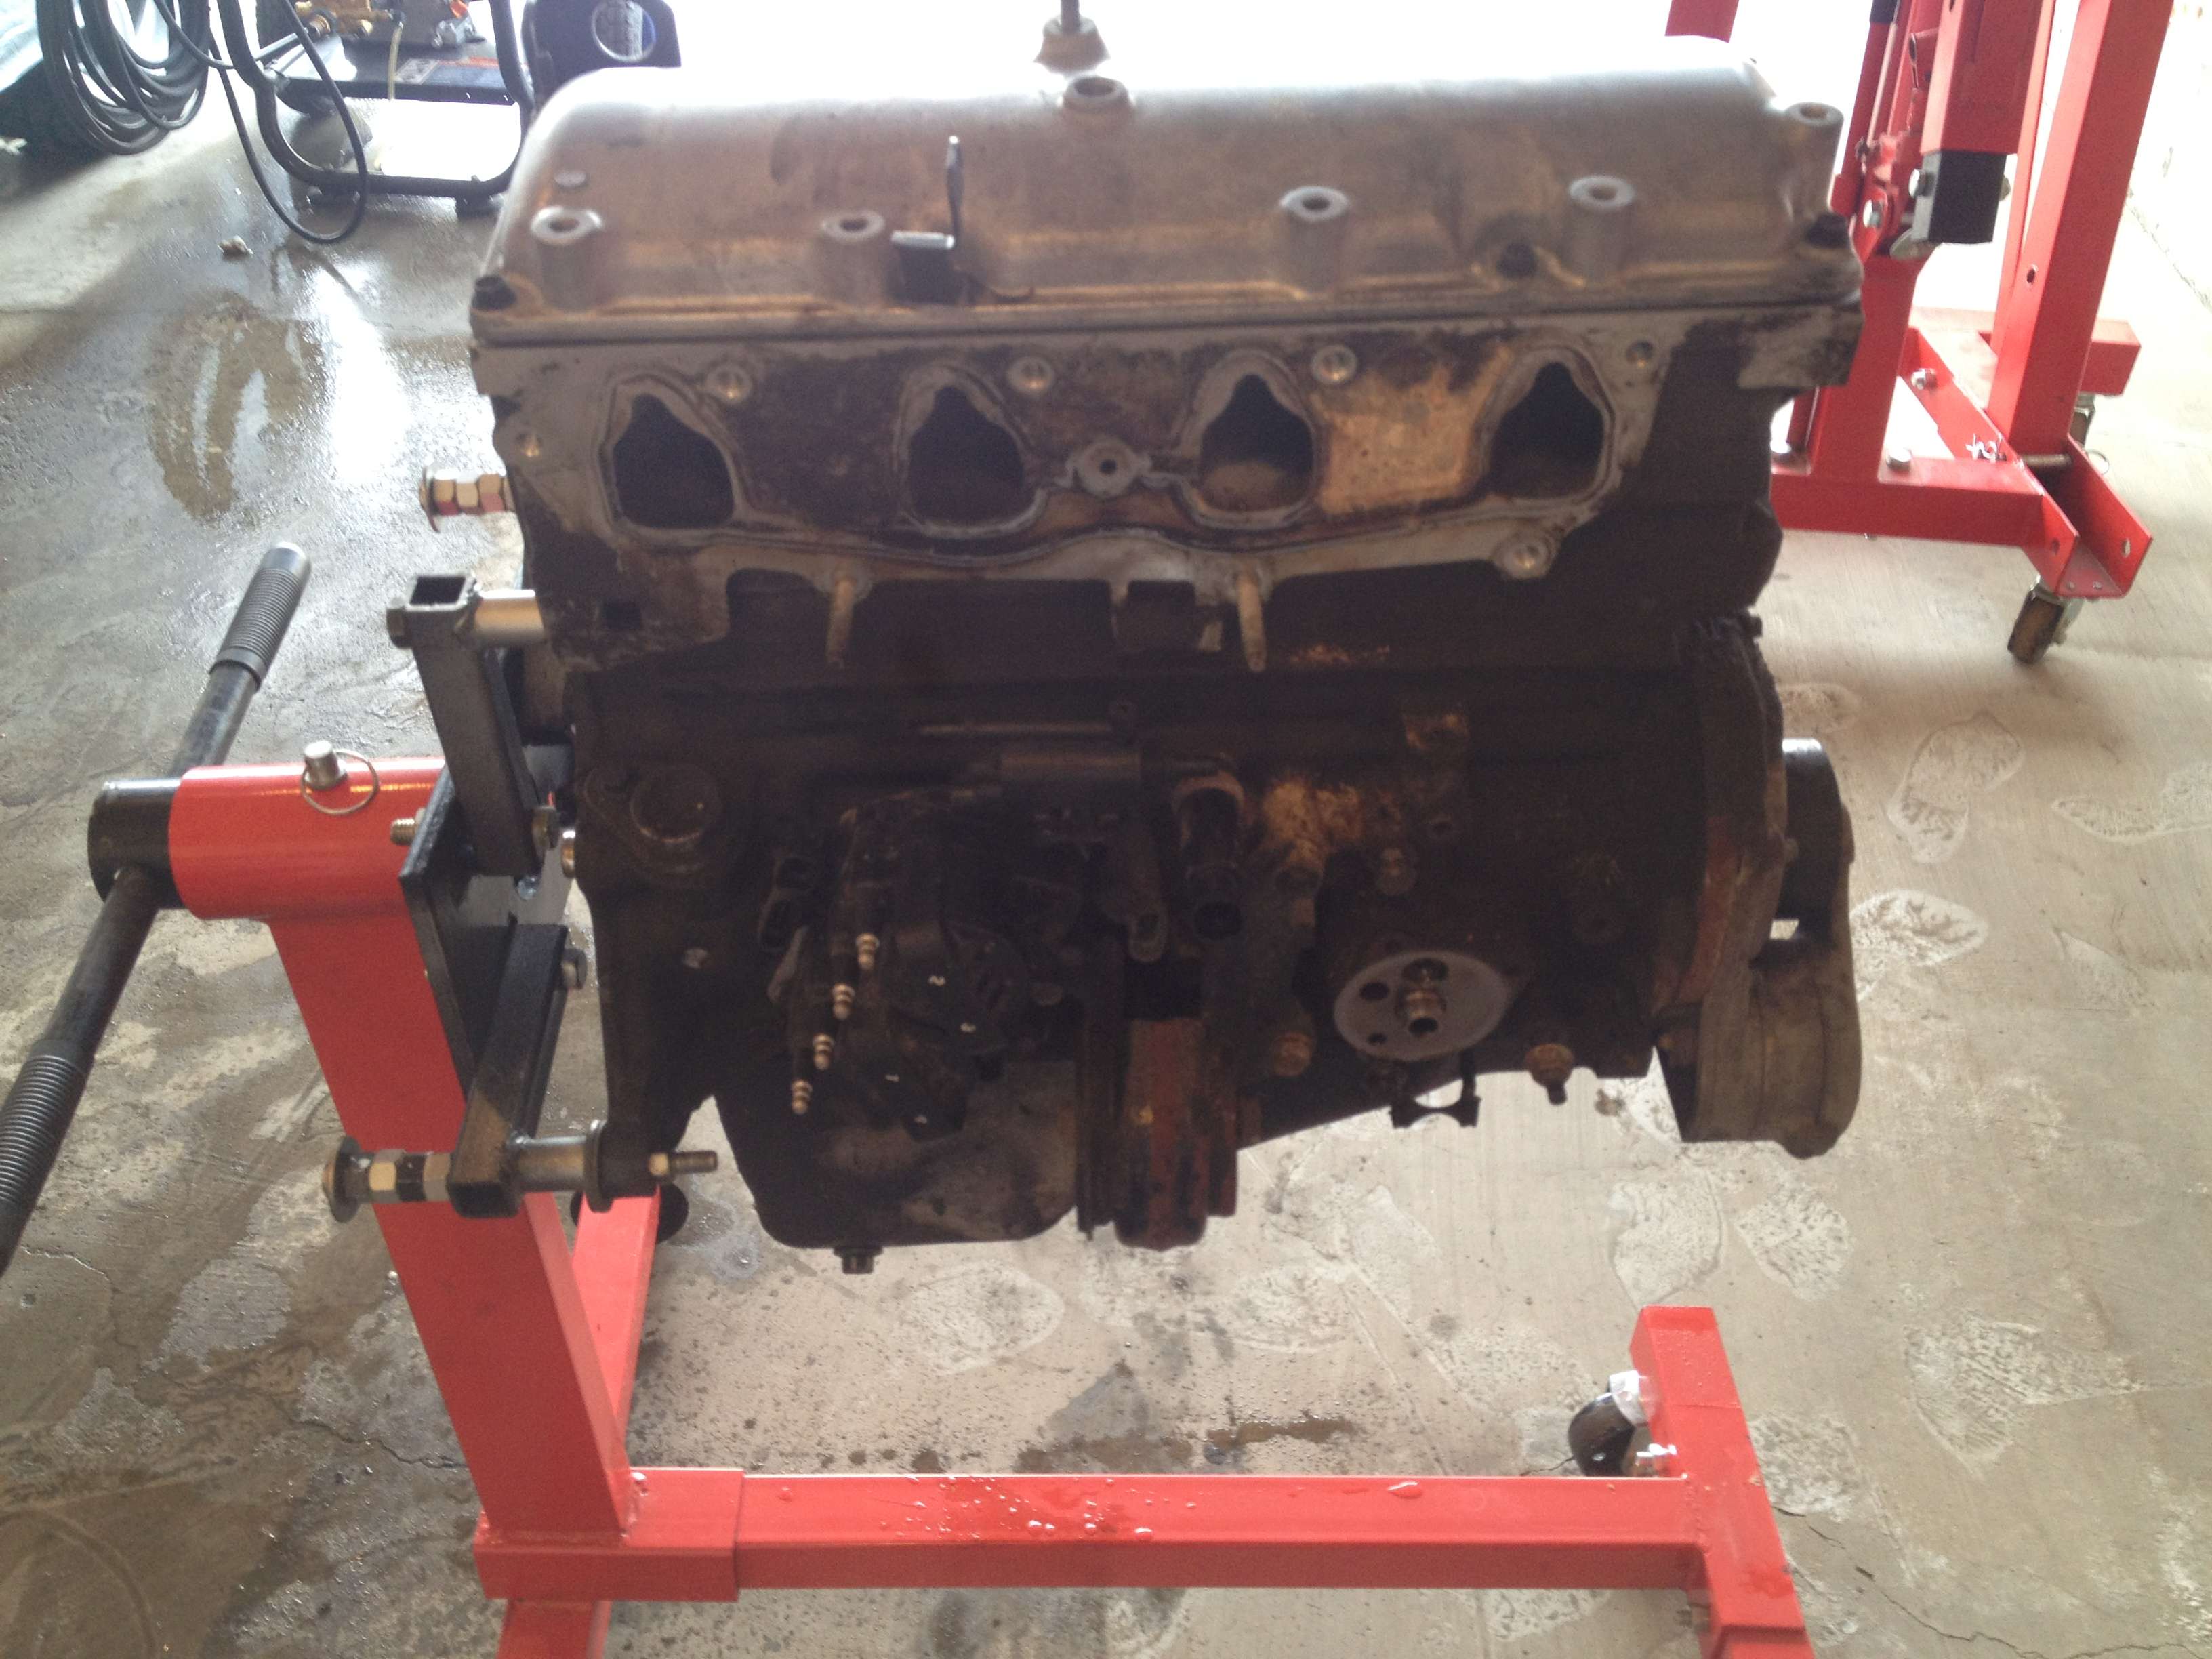
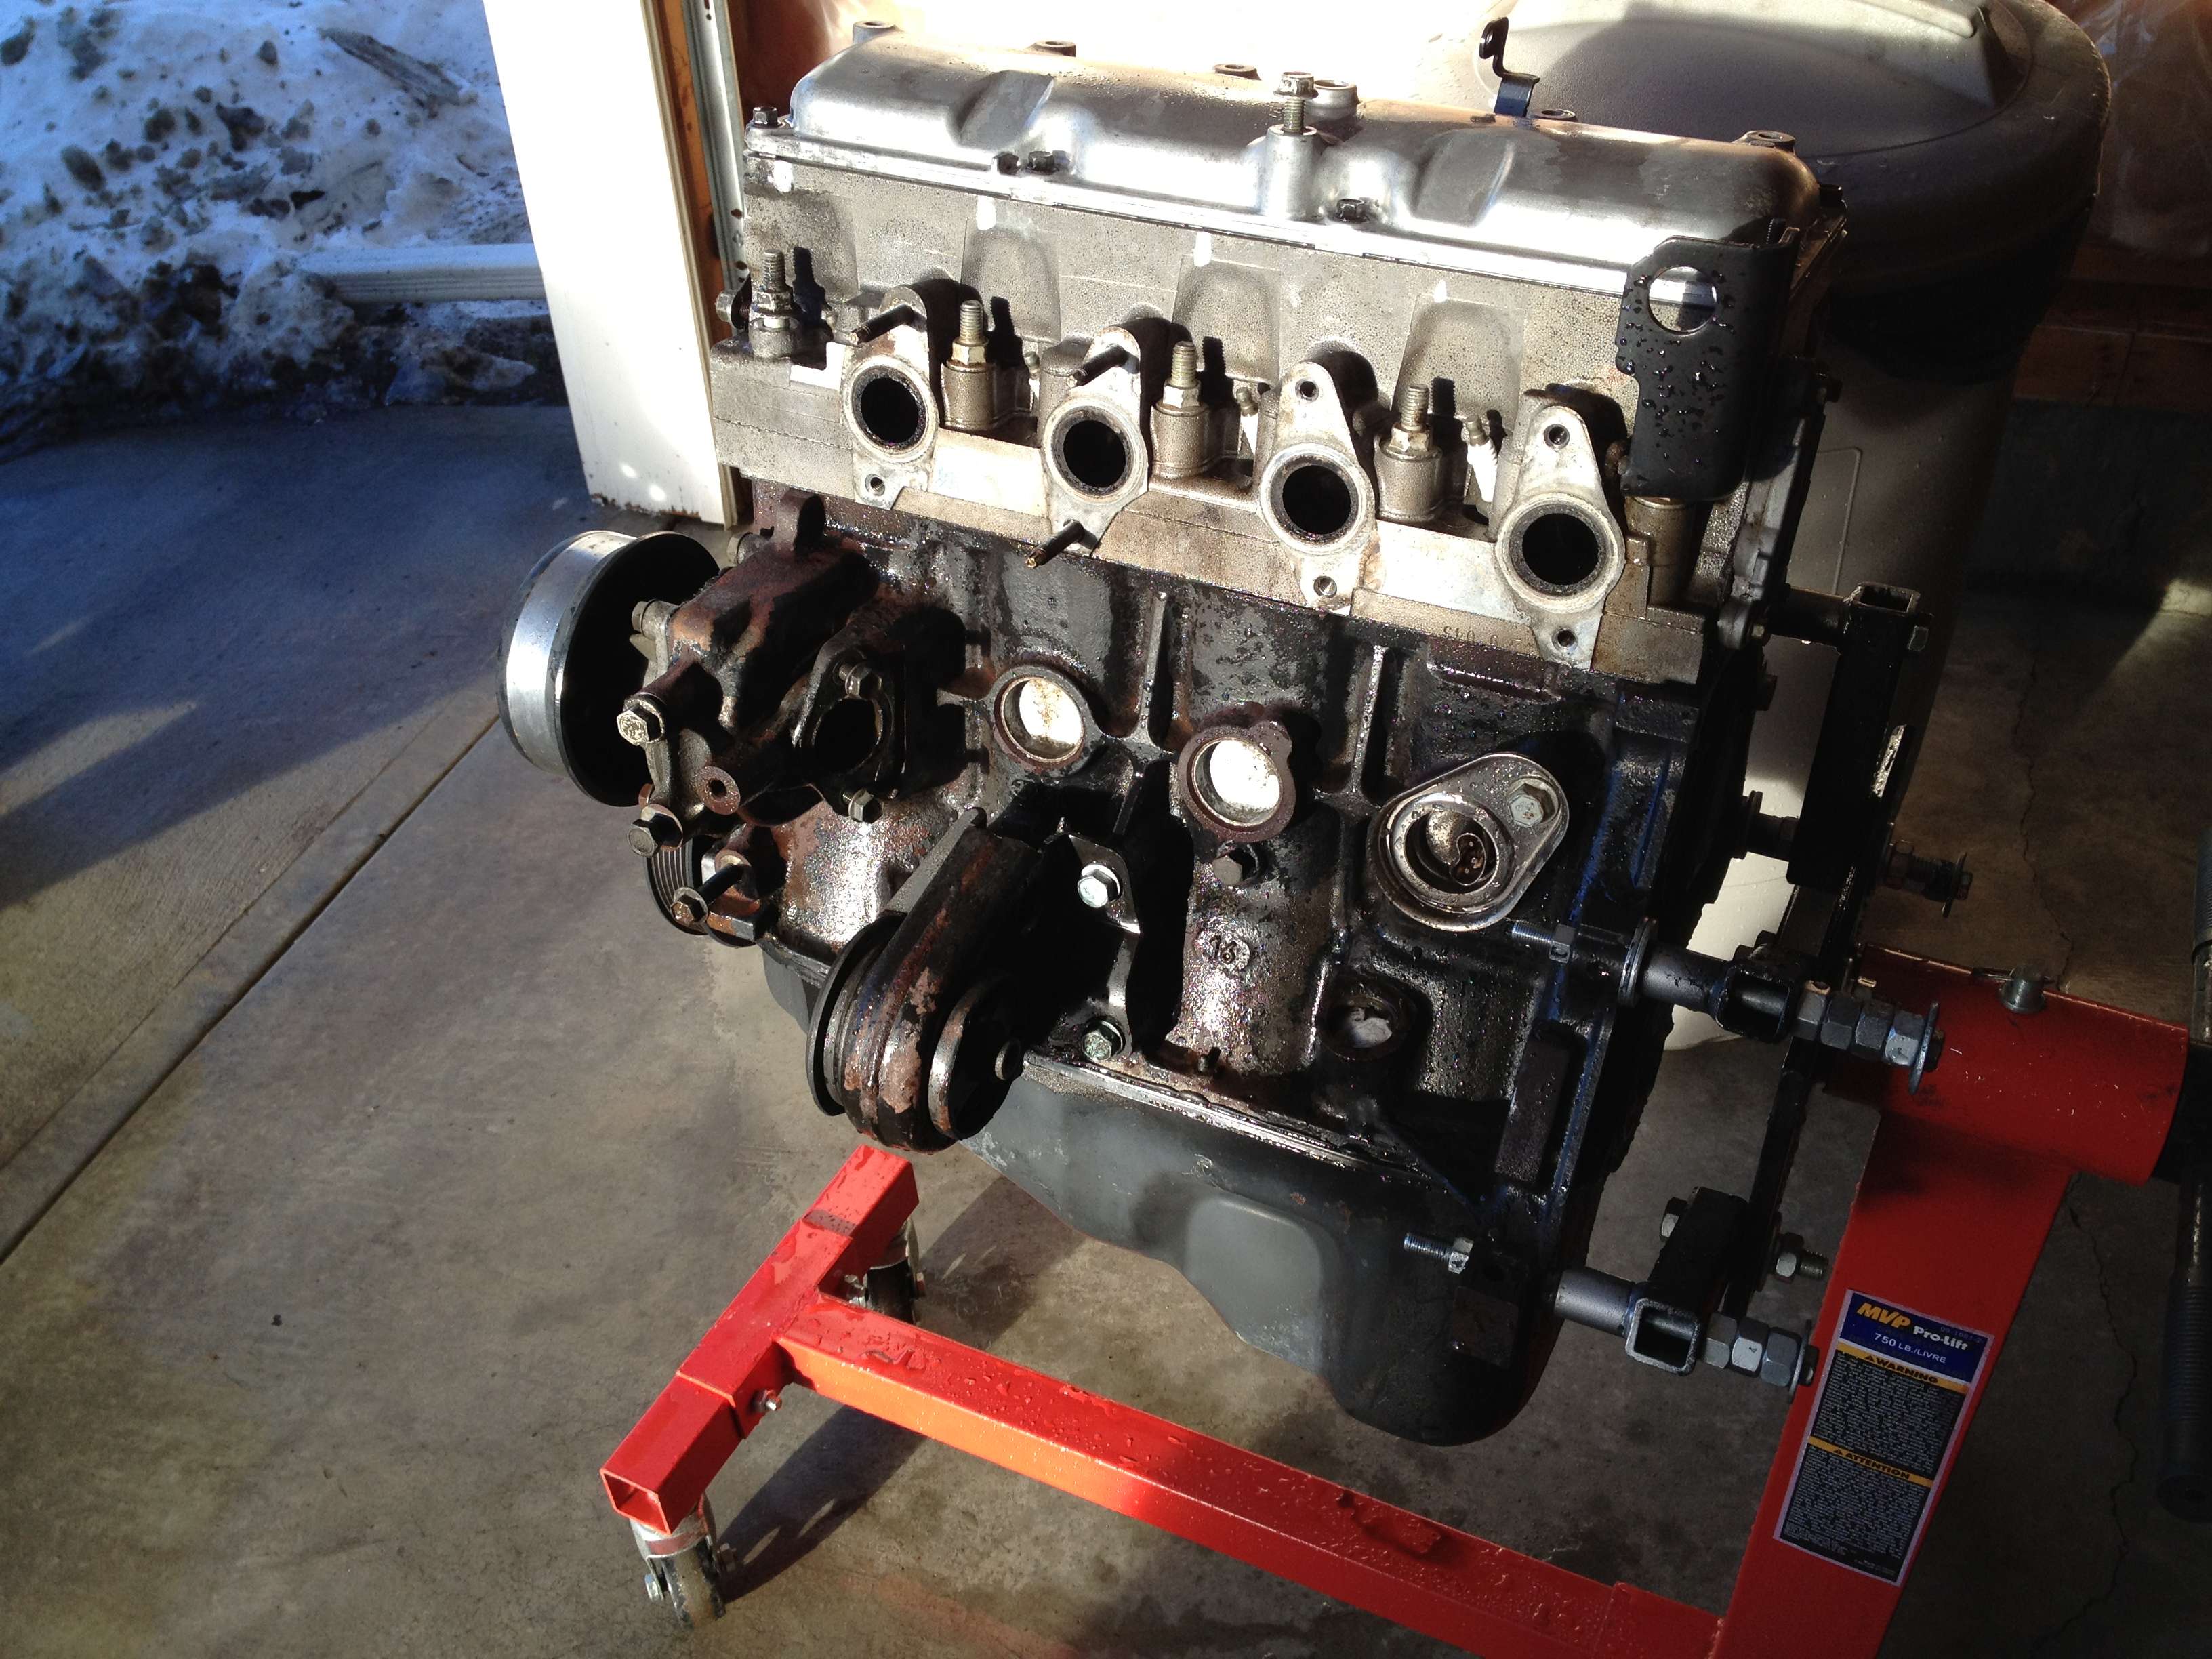
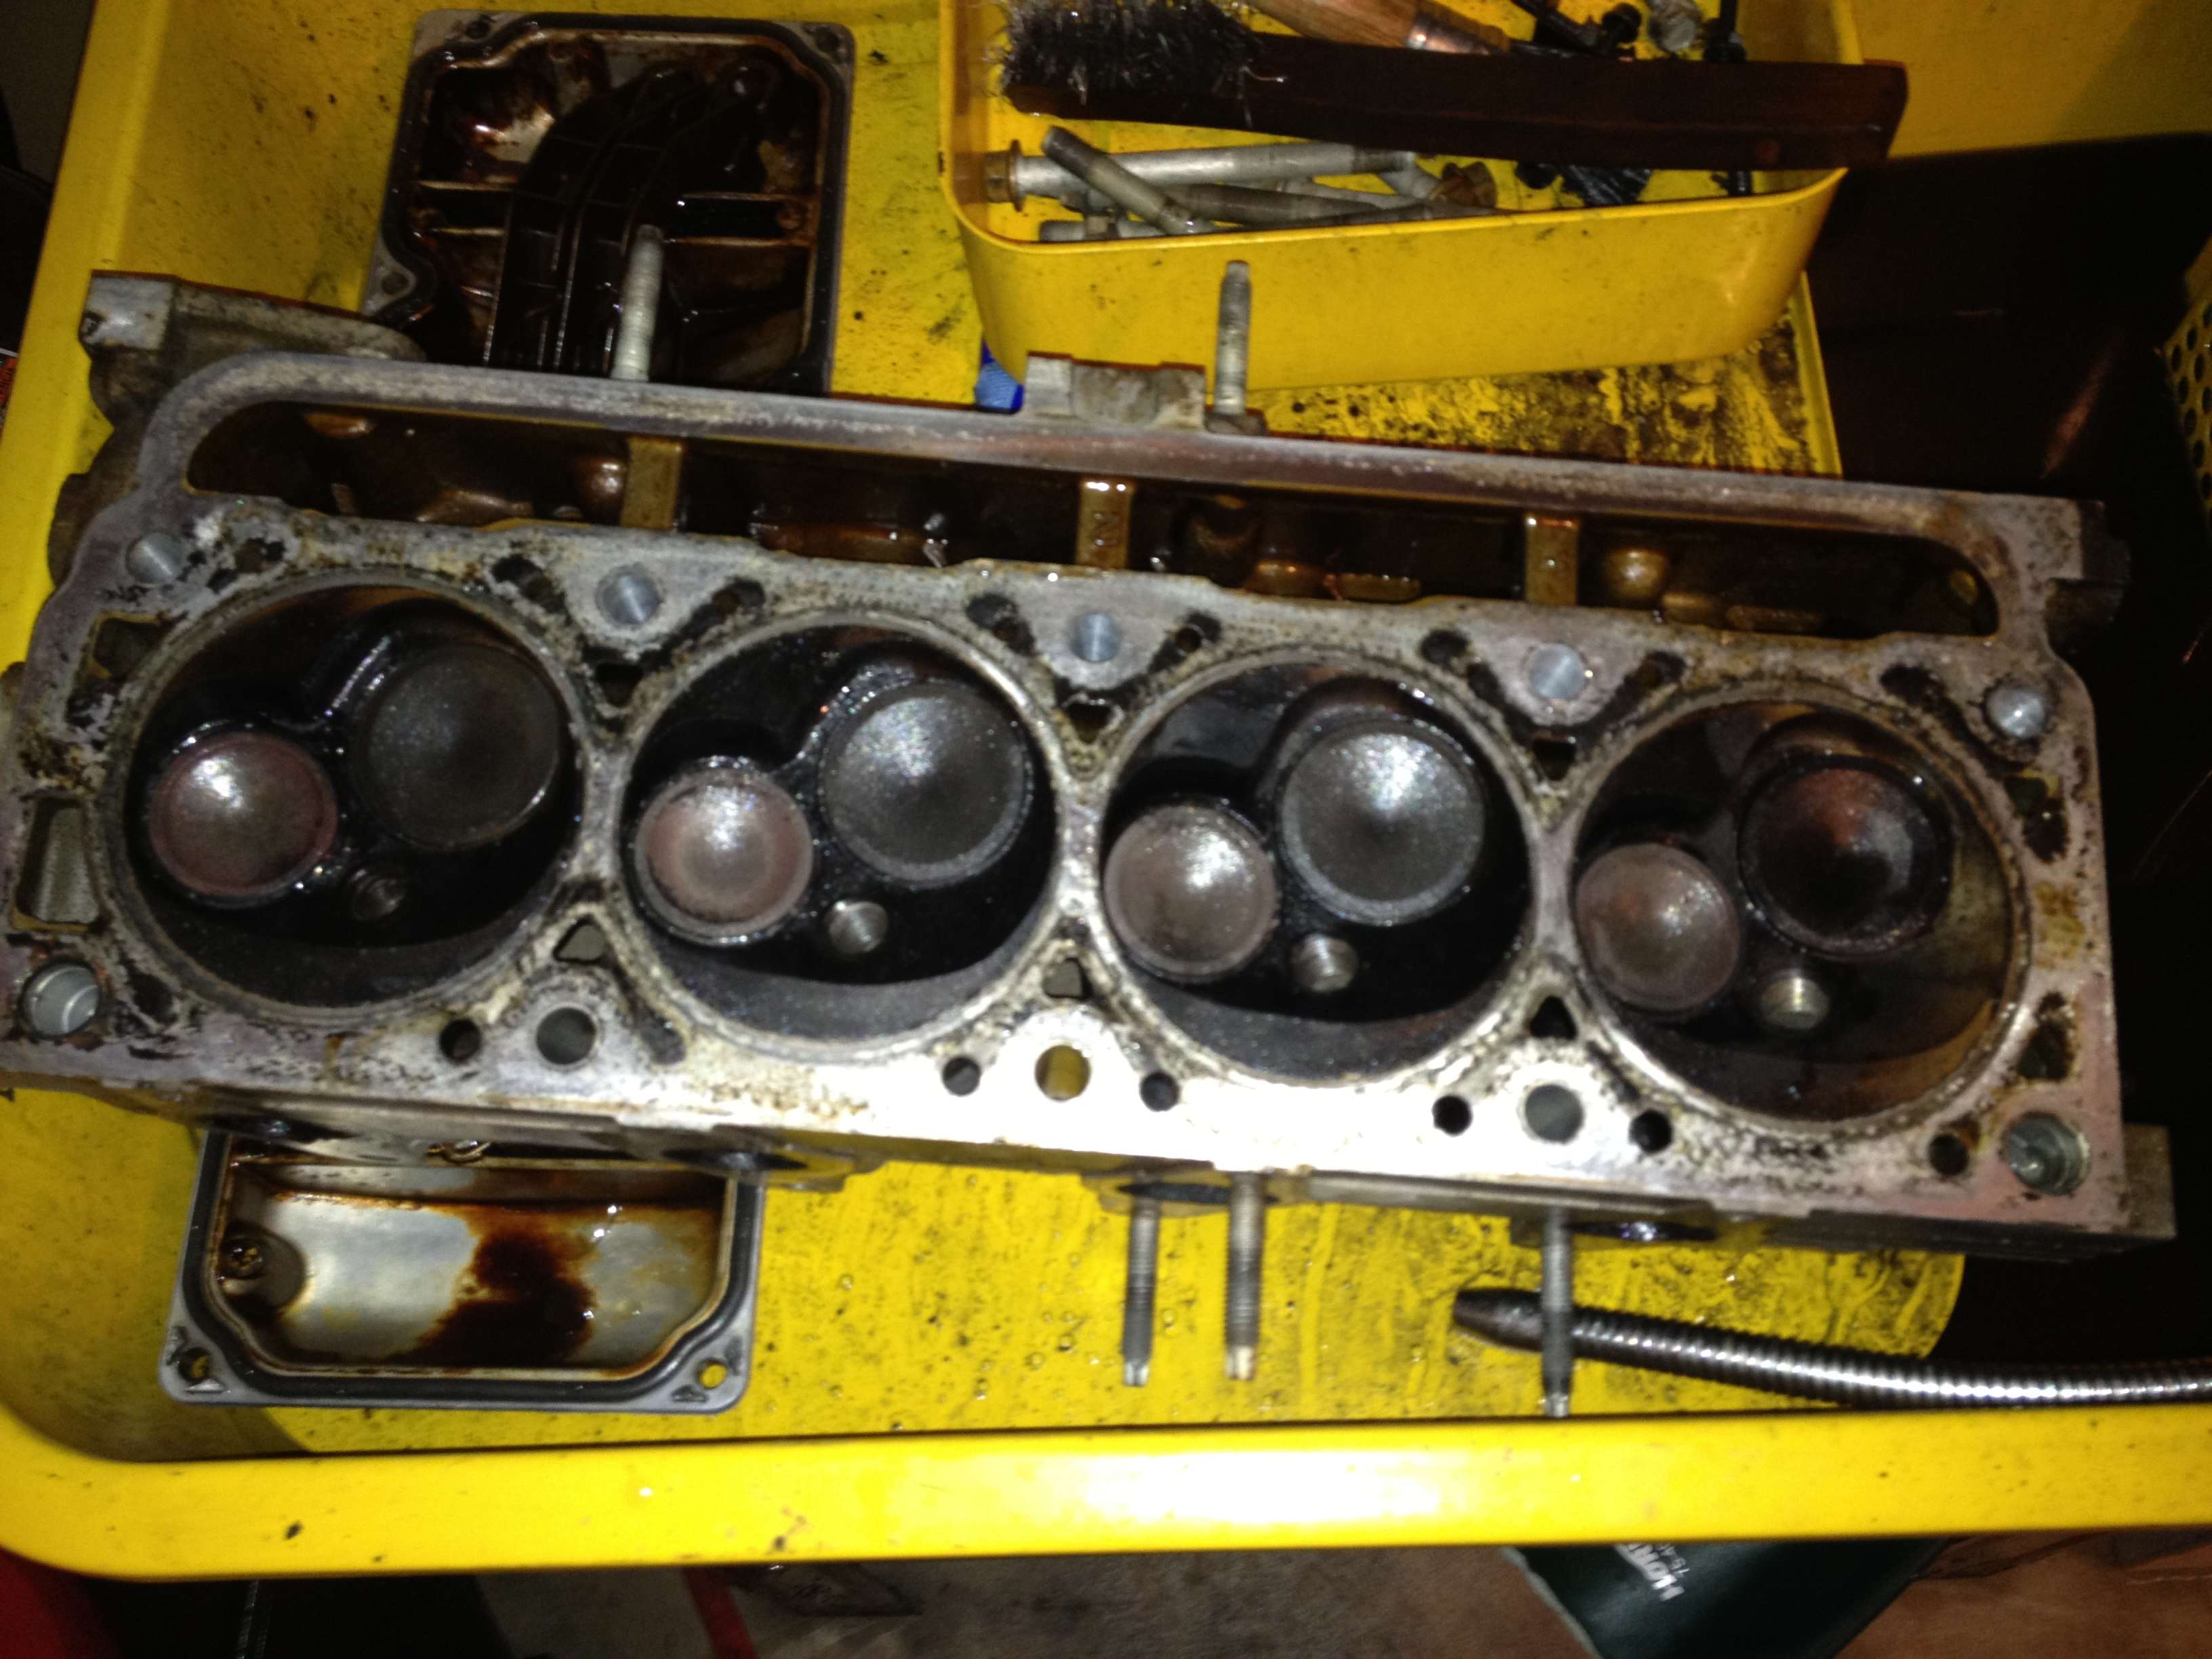
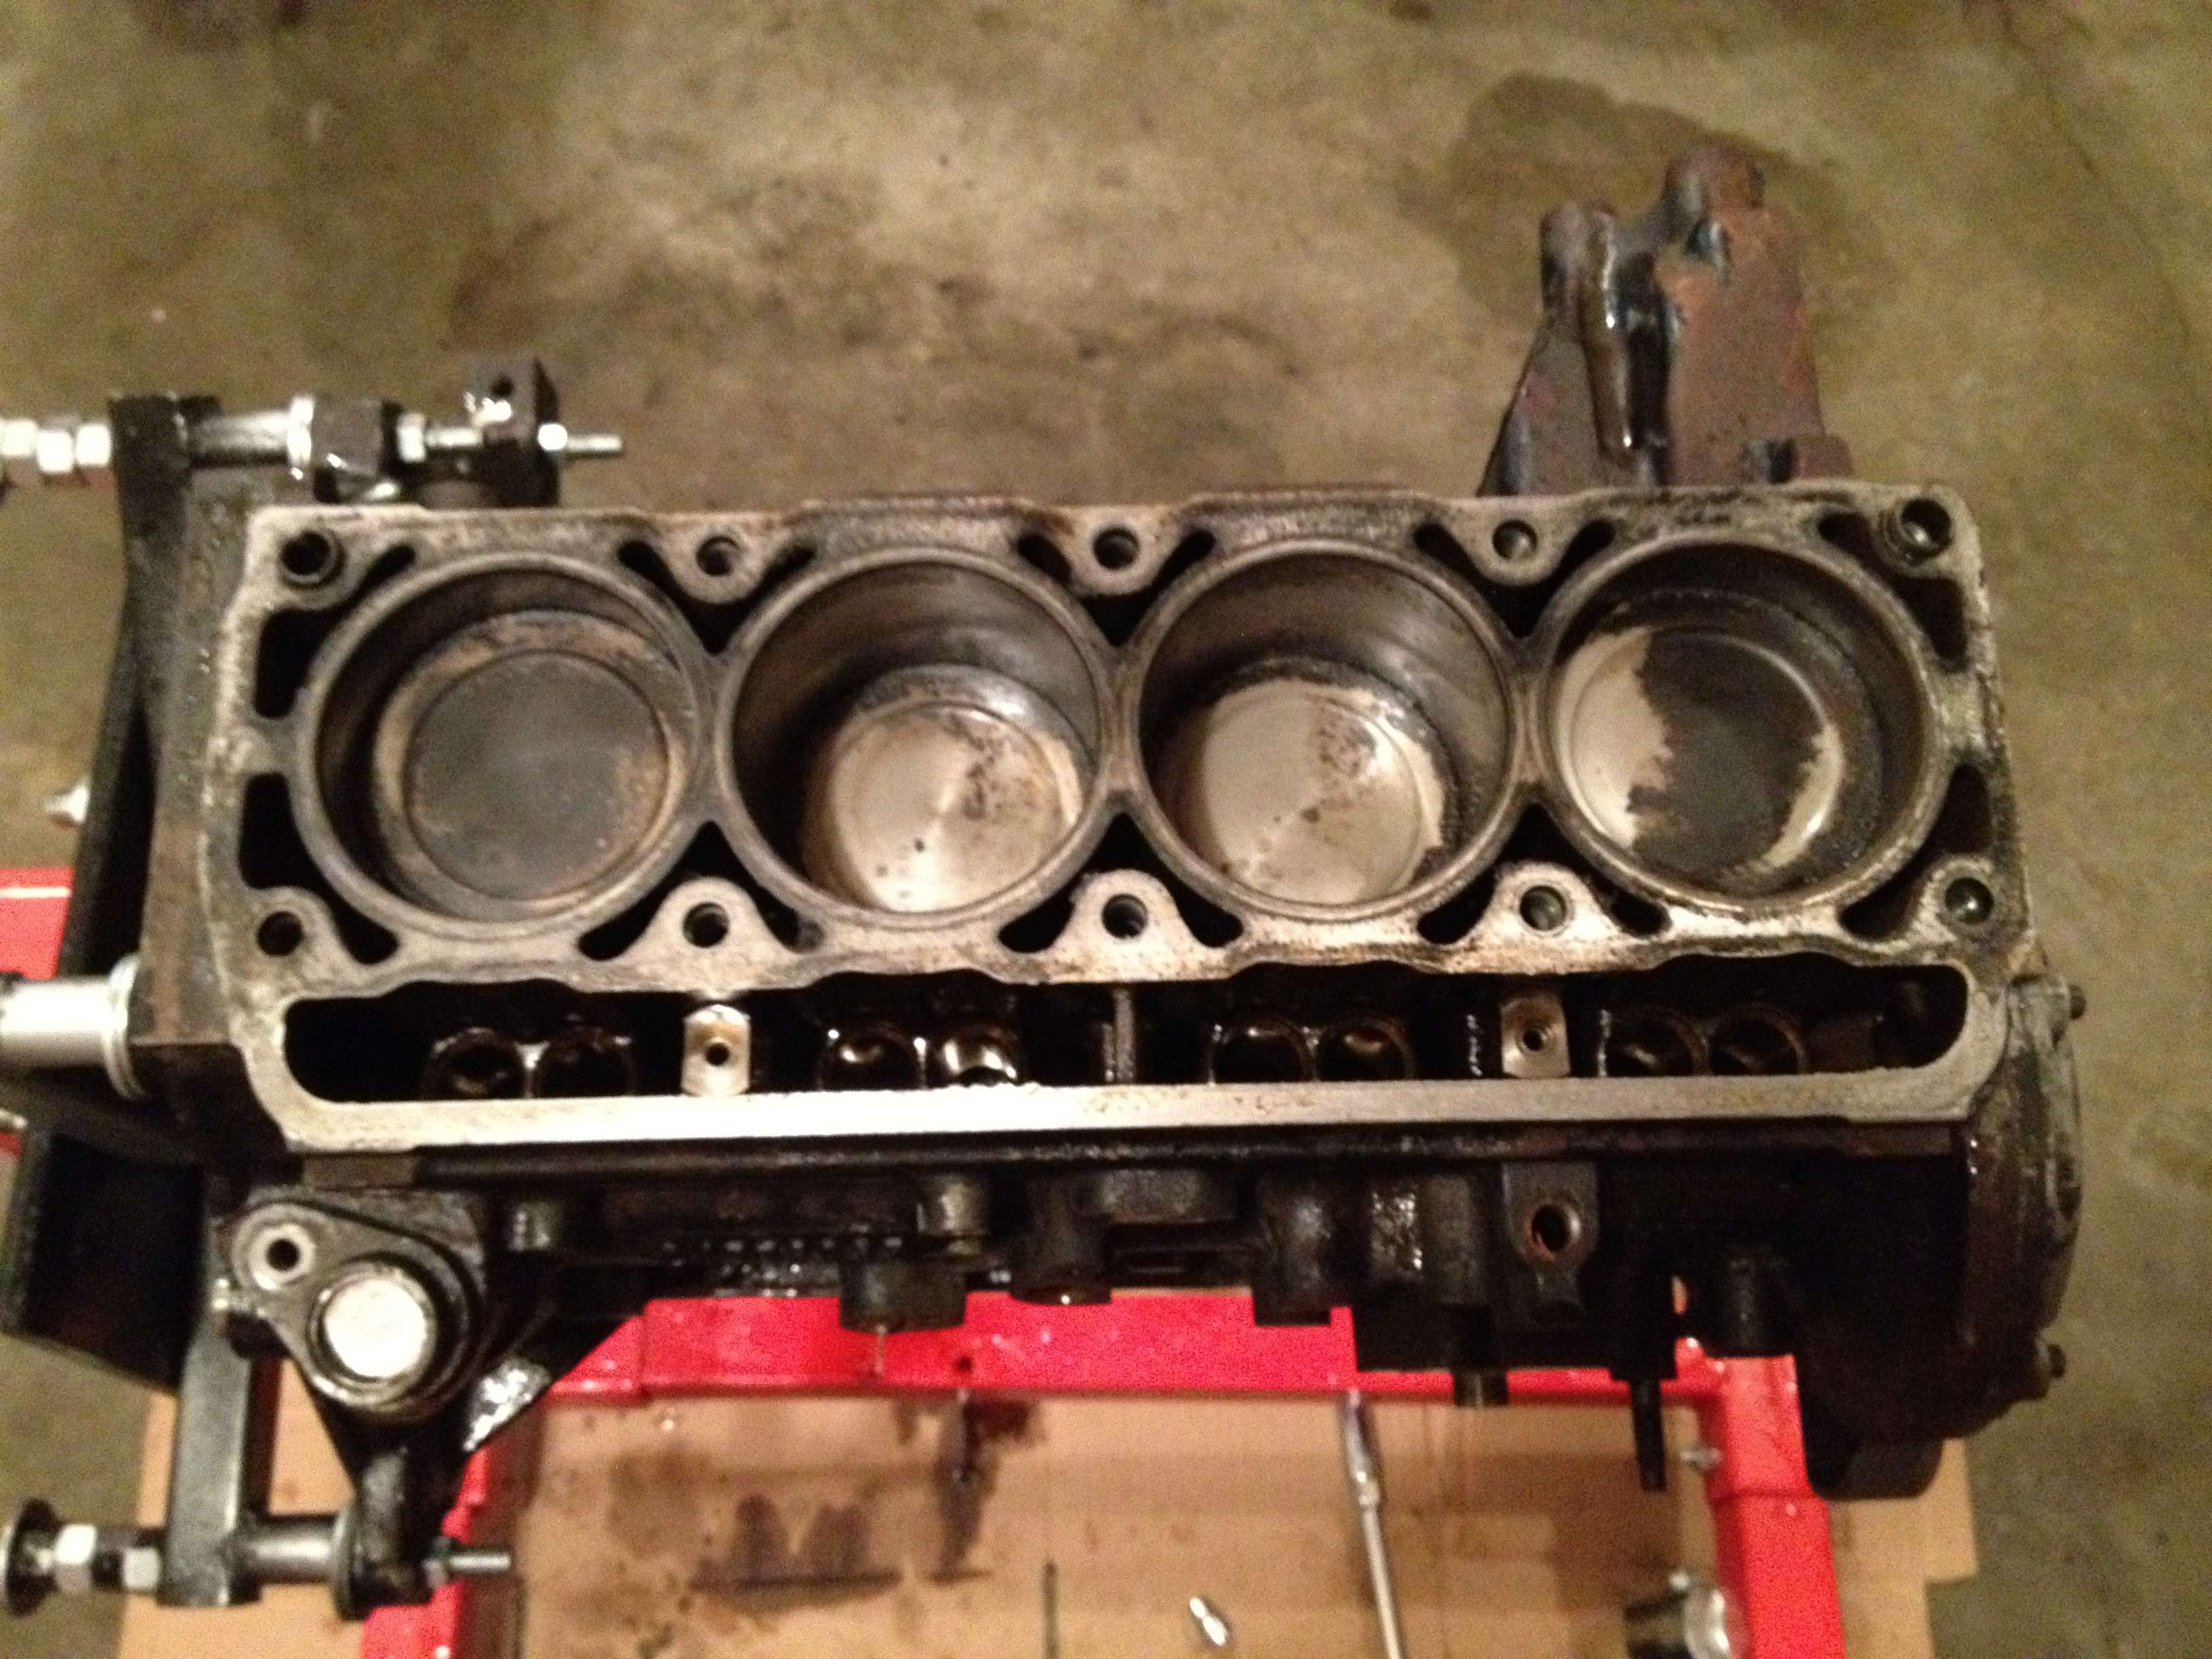
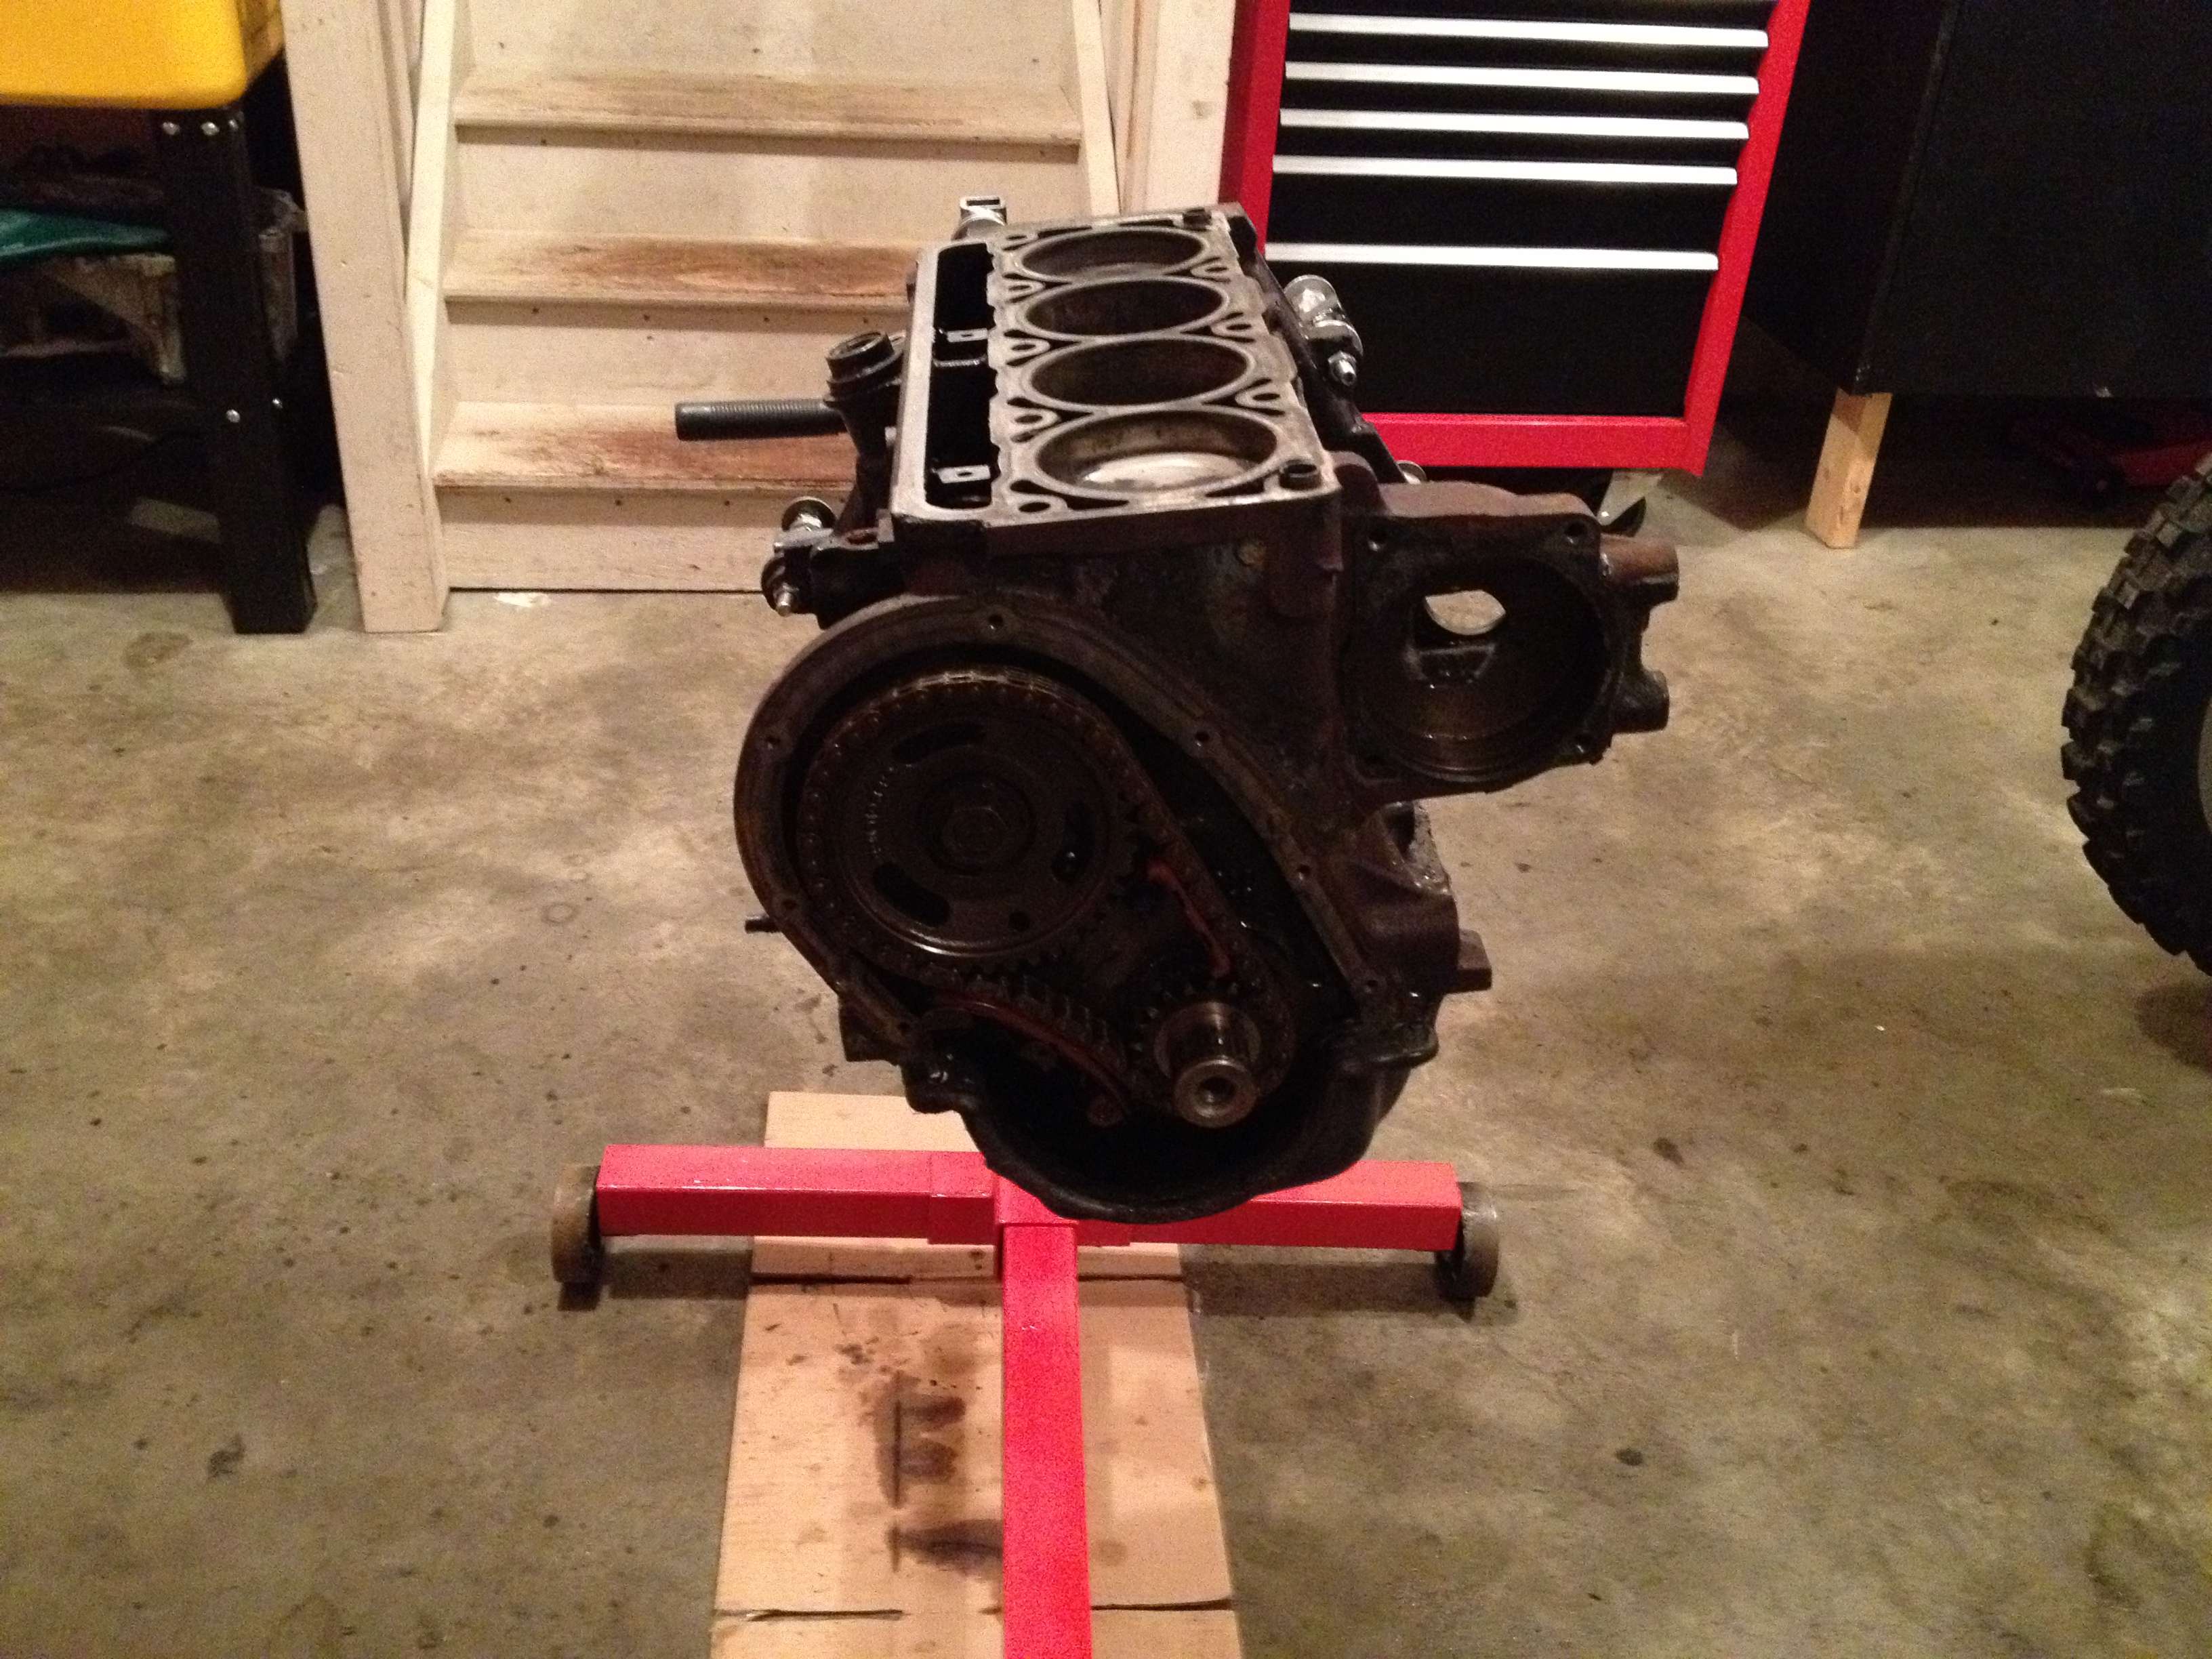
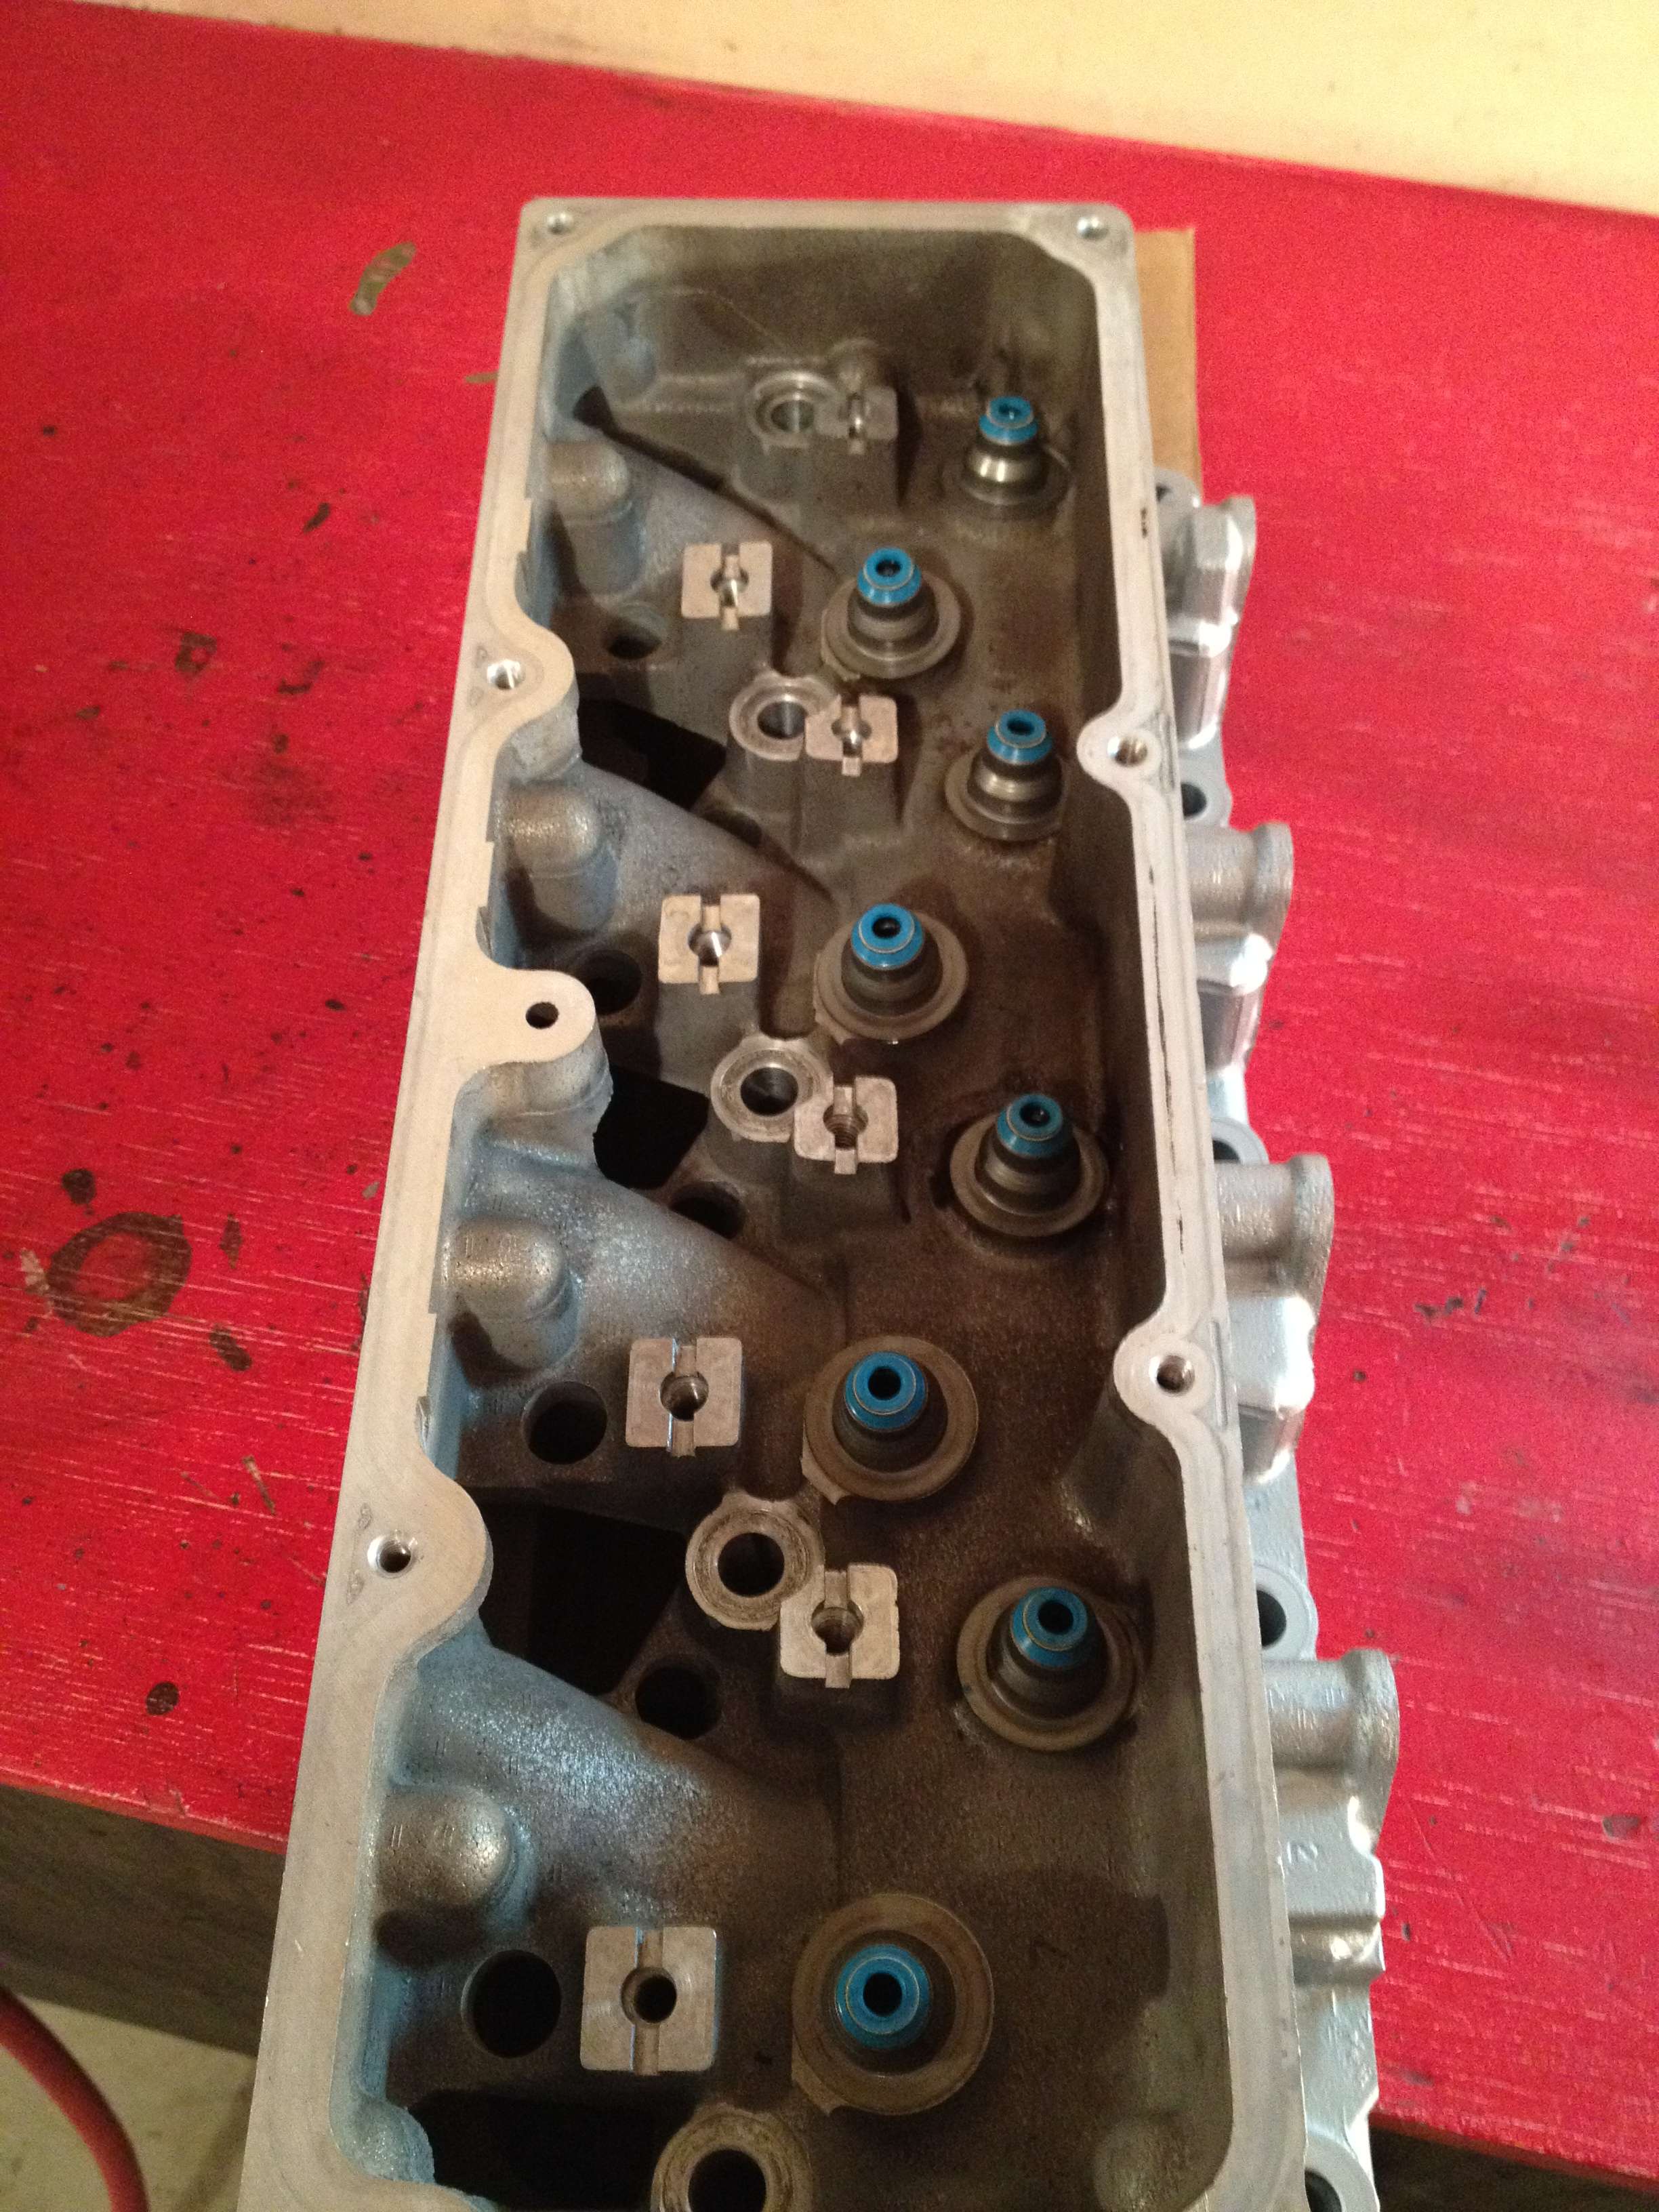
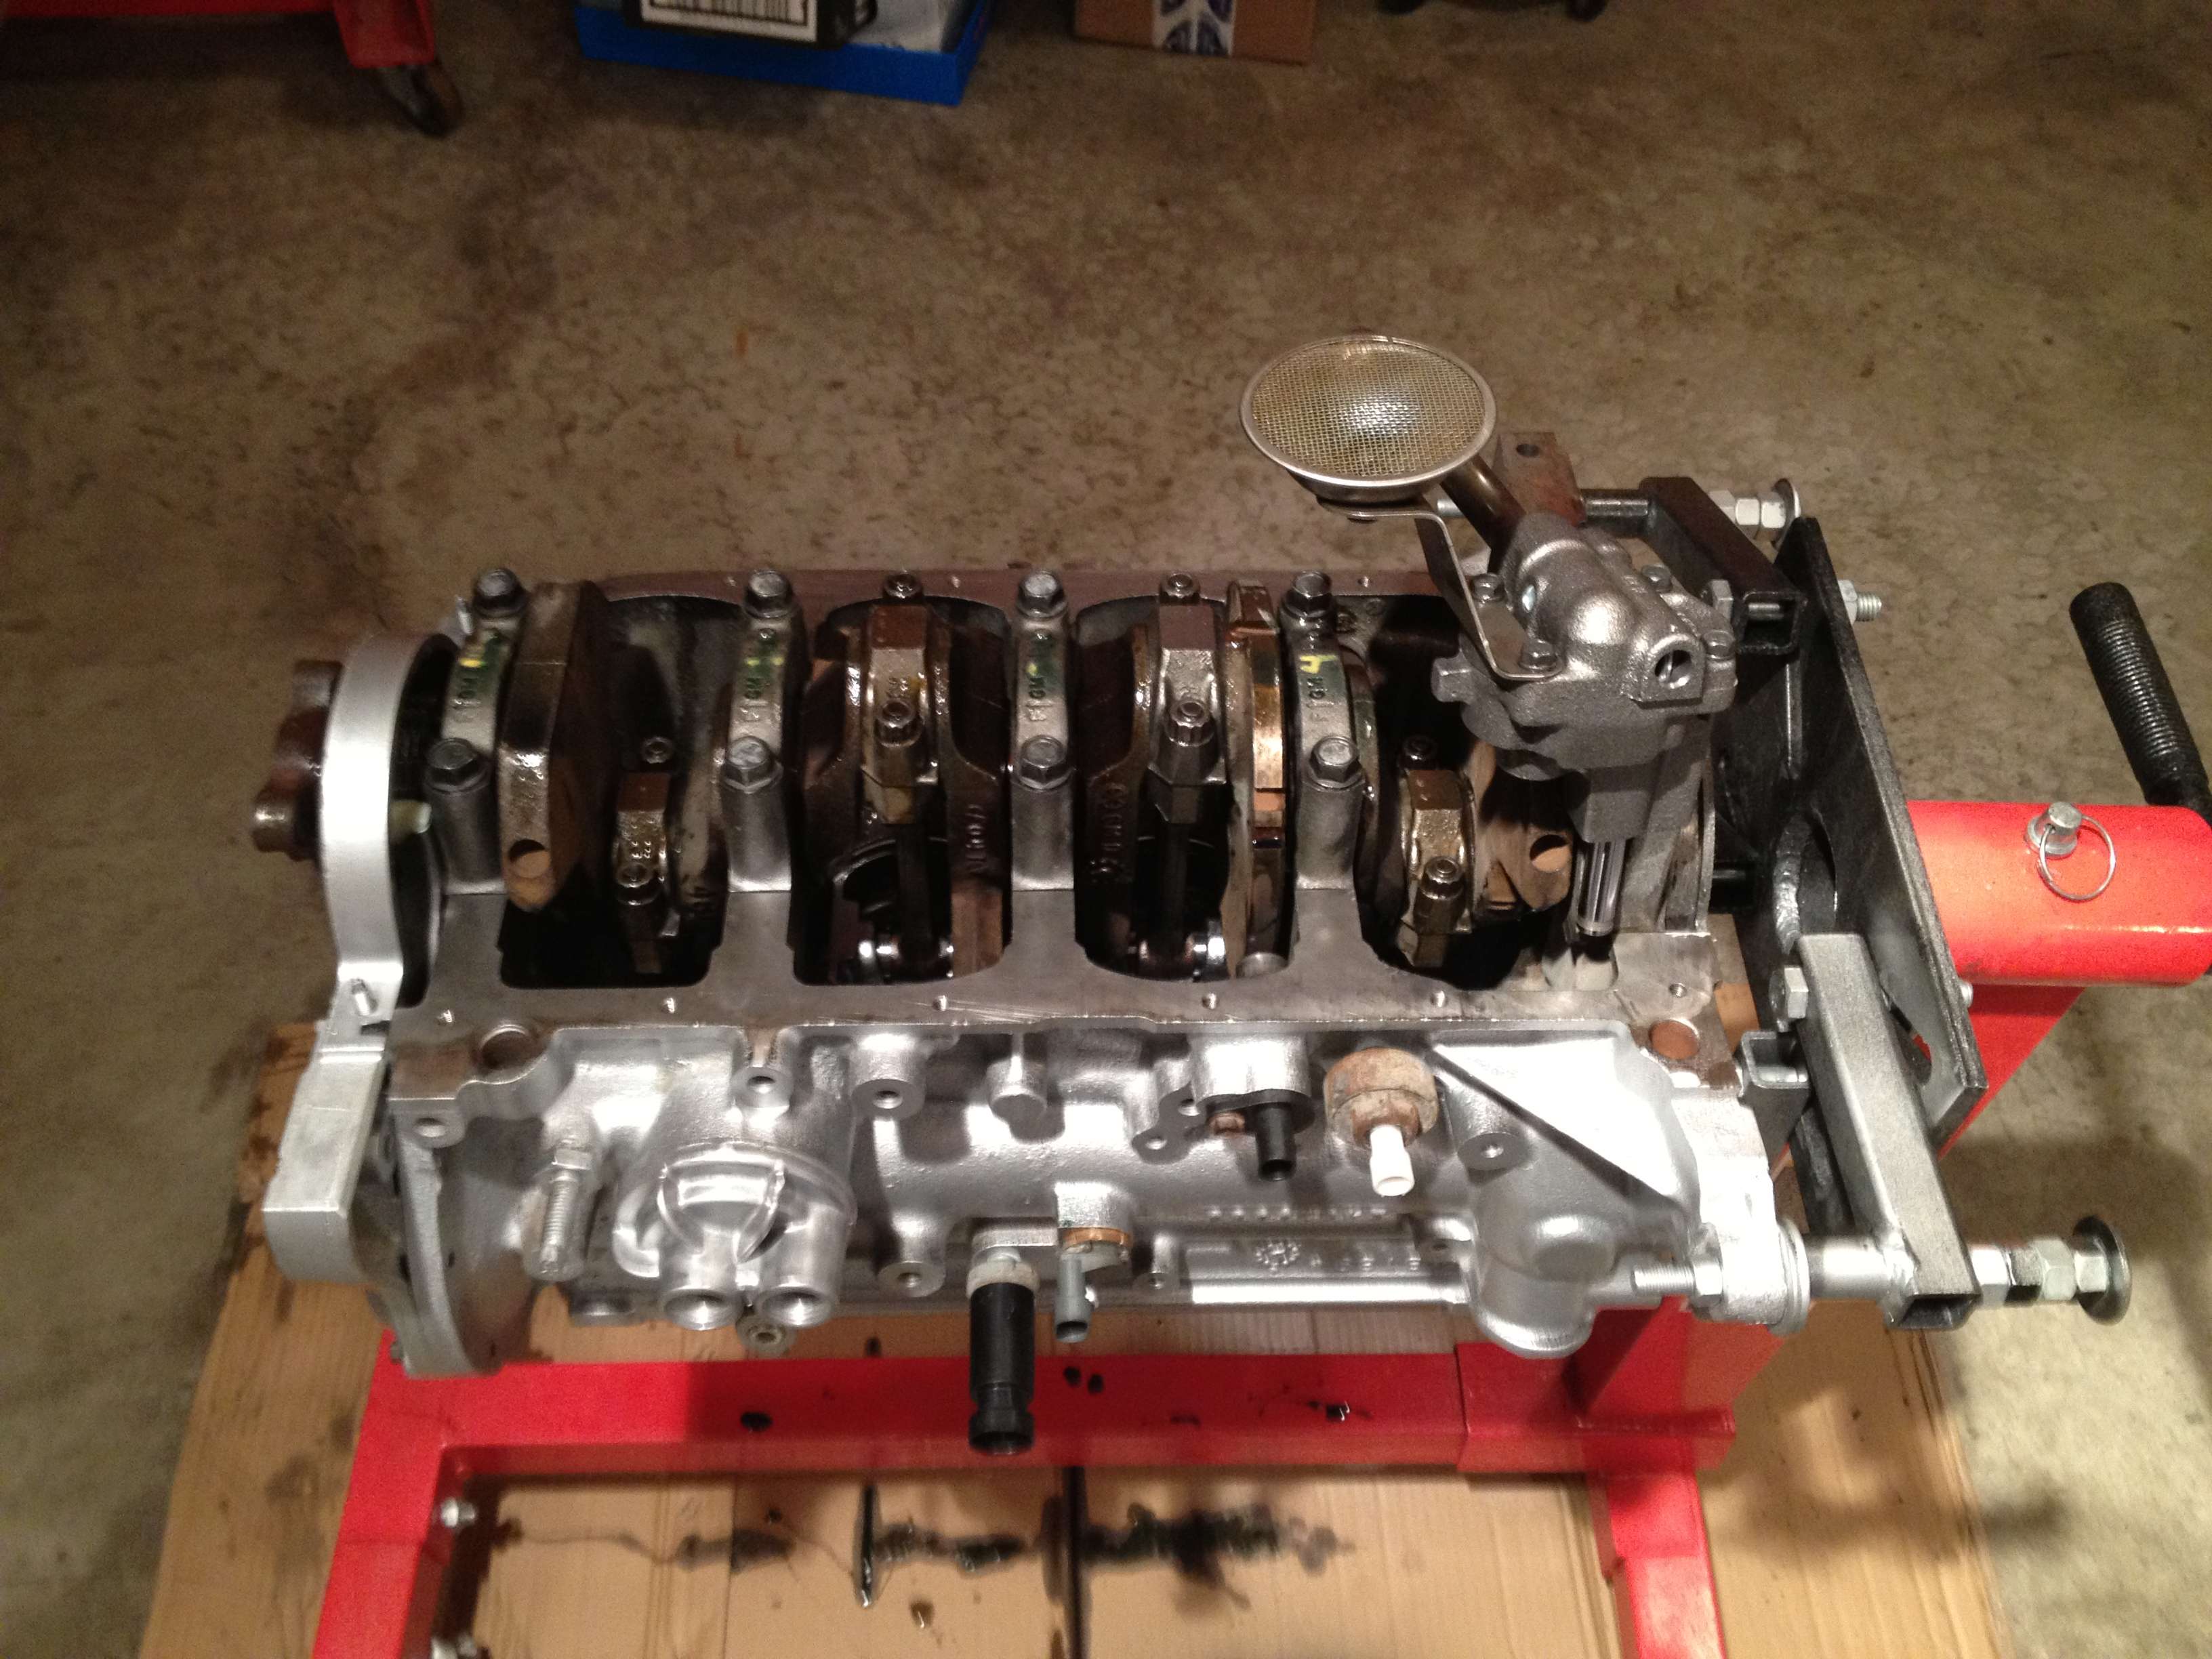
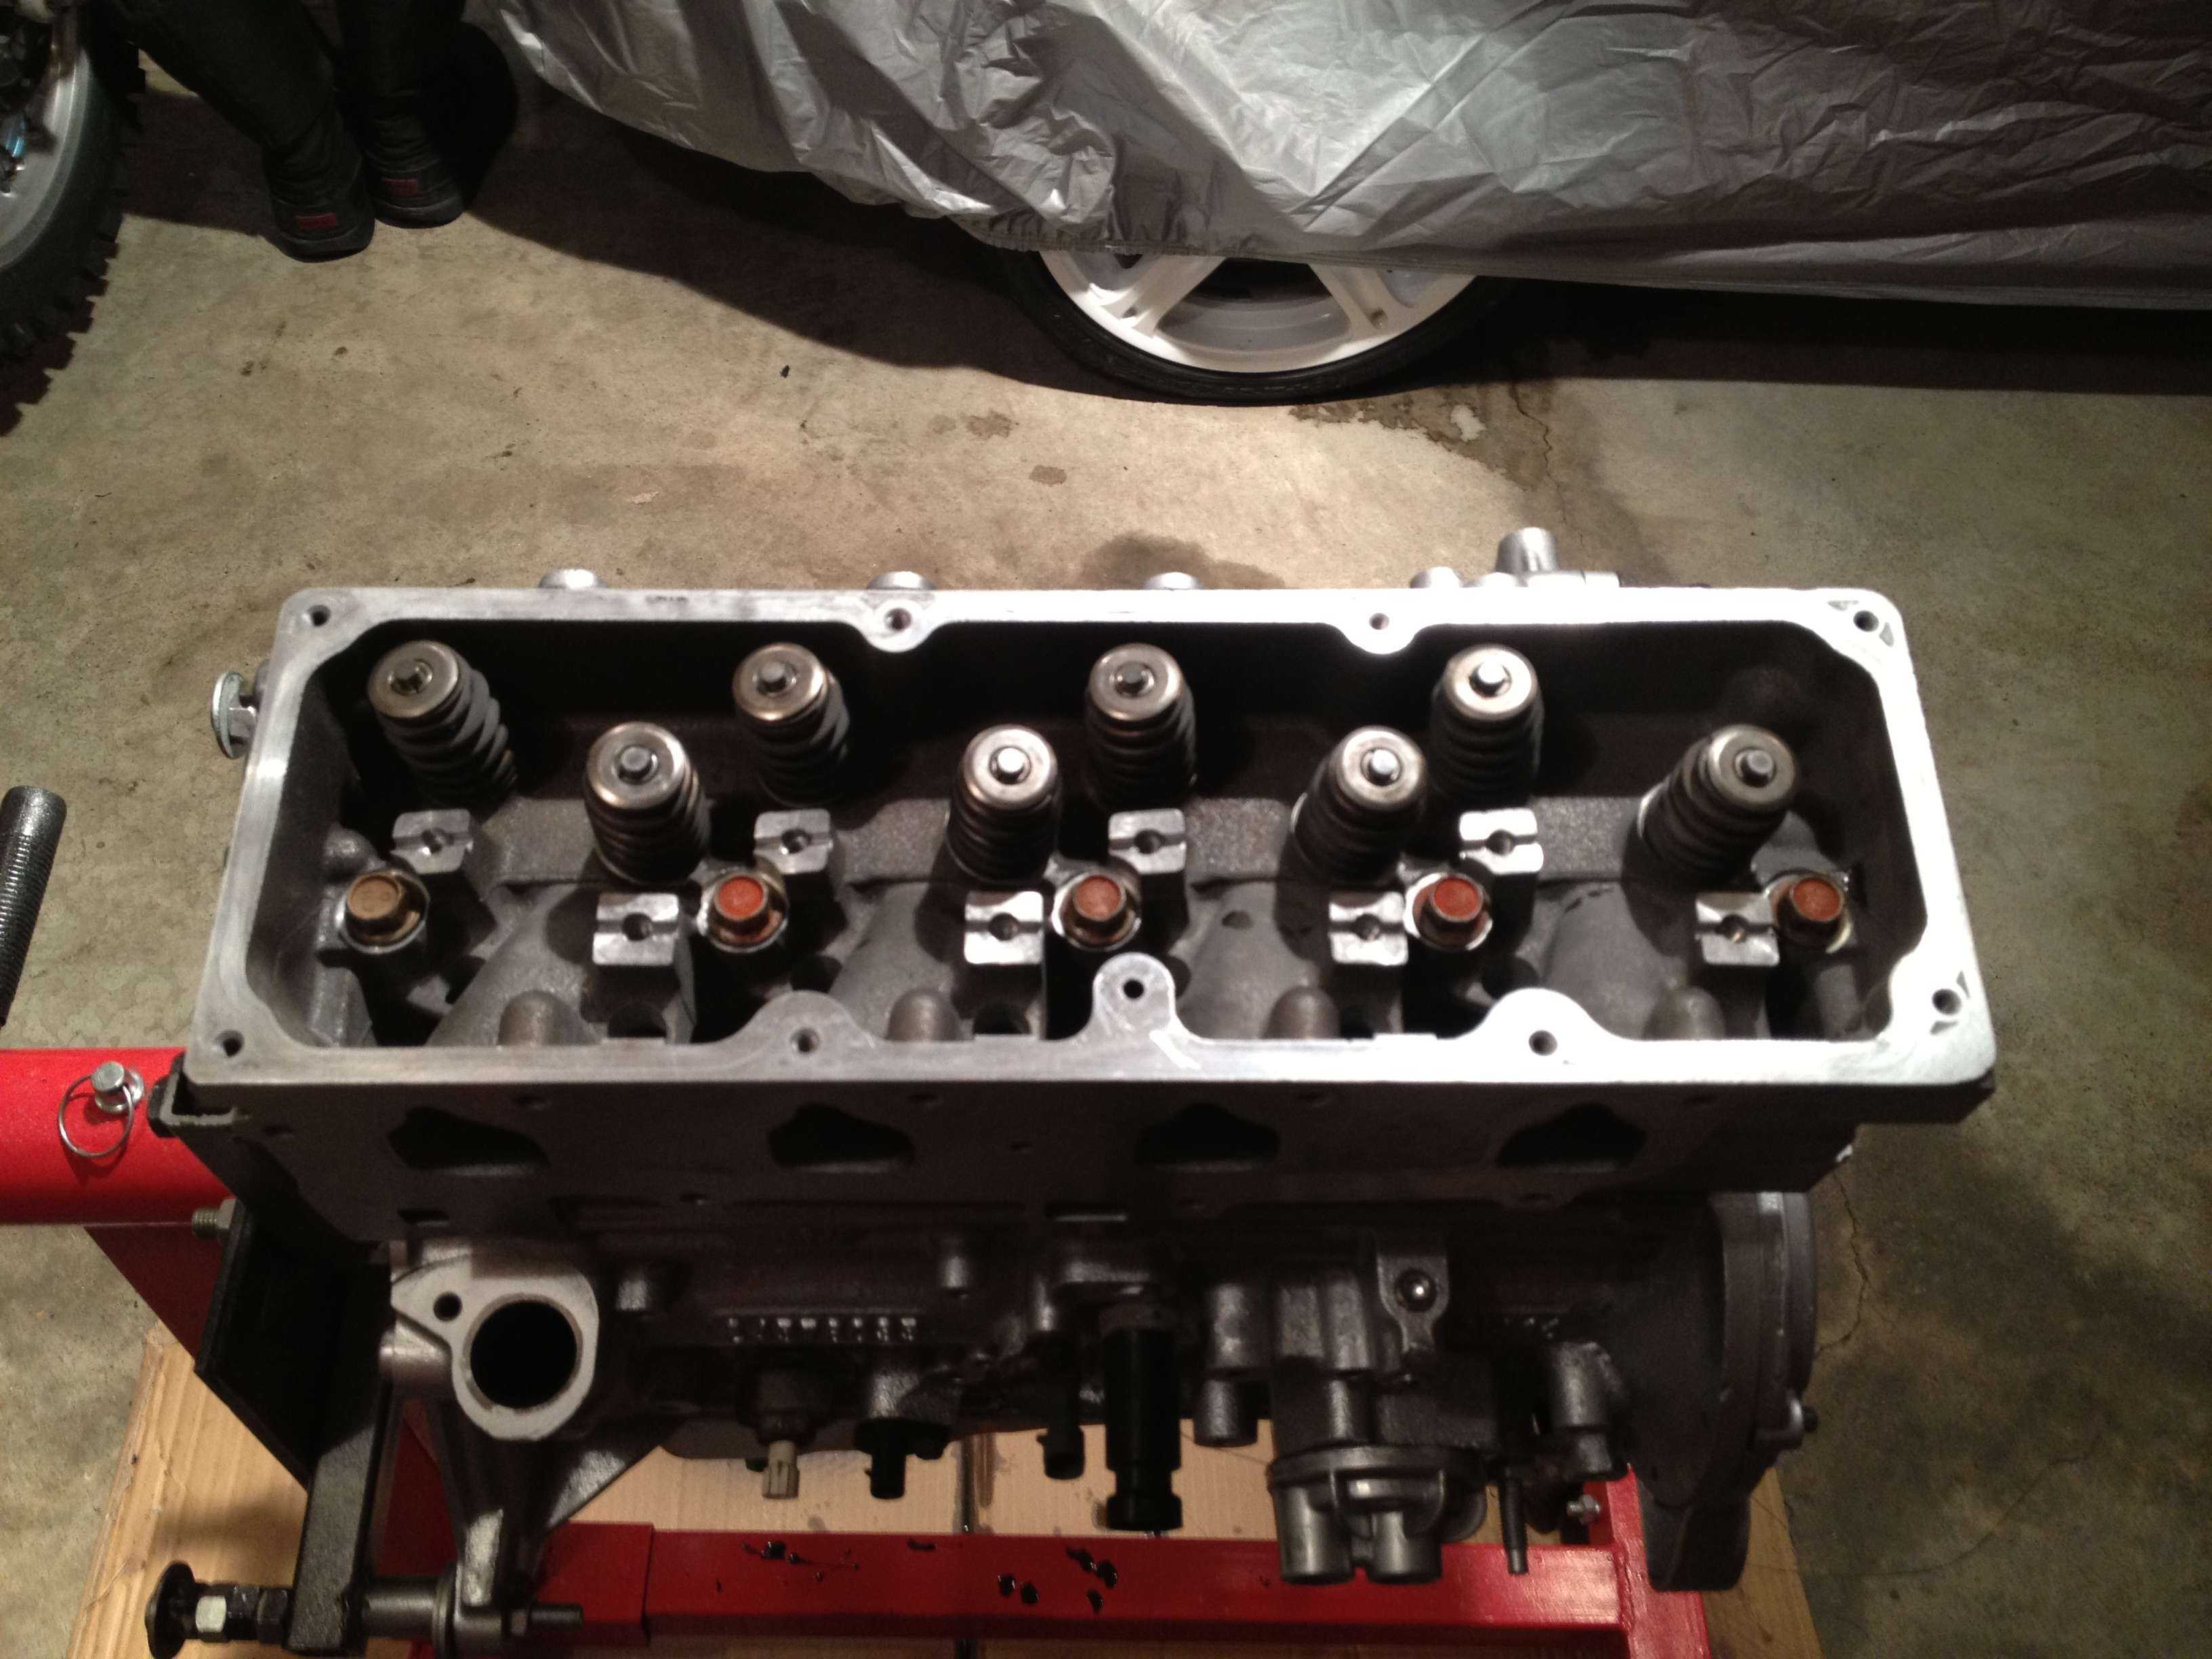
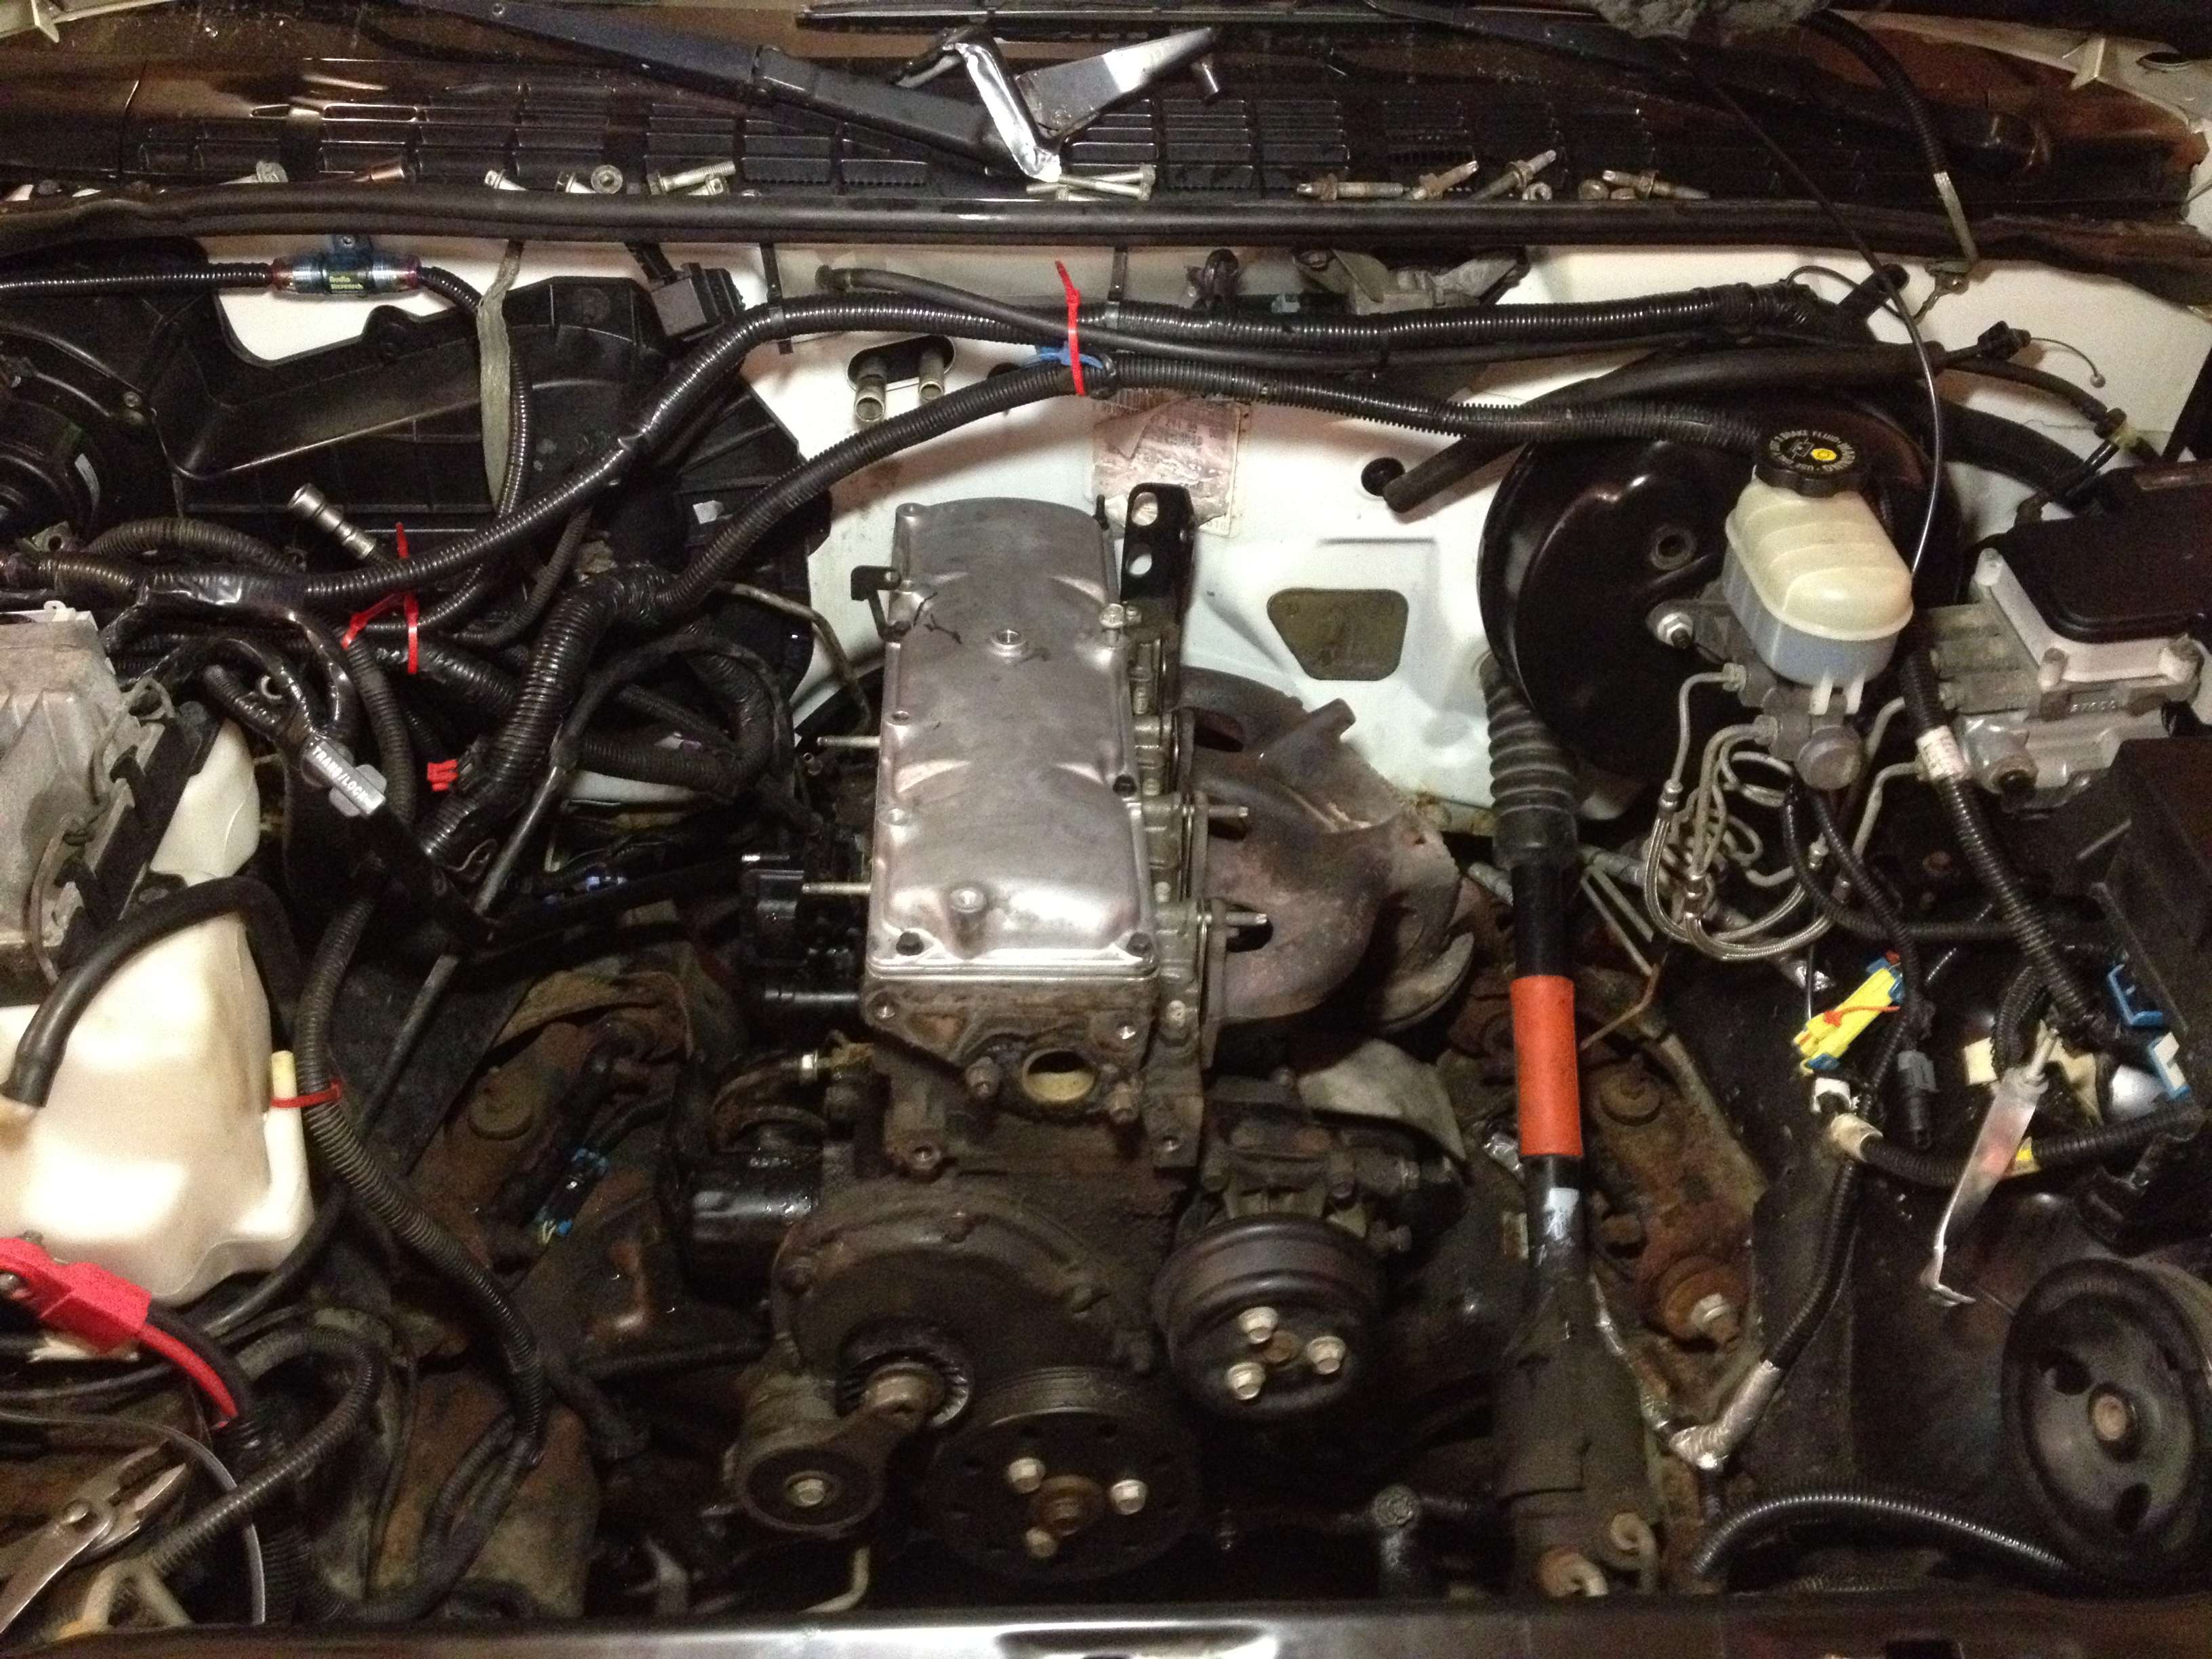
Anyways, blew the head gasket, so I thought I'd rebuild the entire engine.
The truck has about 190,000Km on it right now, I've rebuilt most all of my
vehicles, might as well do the S-10 too. An LSx swap was tempting, but with my
Mazda putting out close to 400HP, I just need a reliable daily, so I'll be
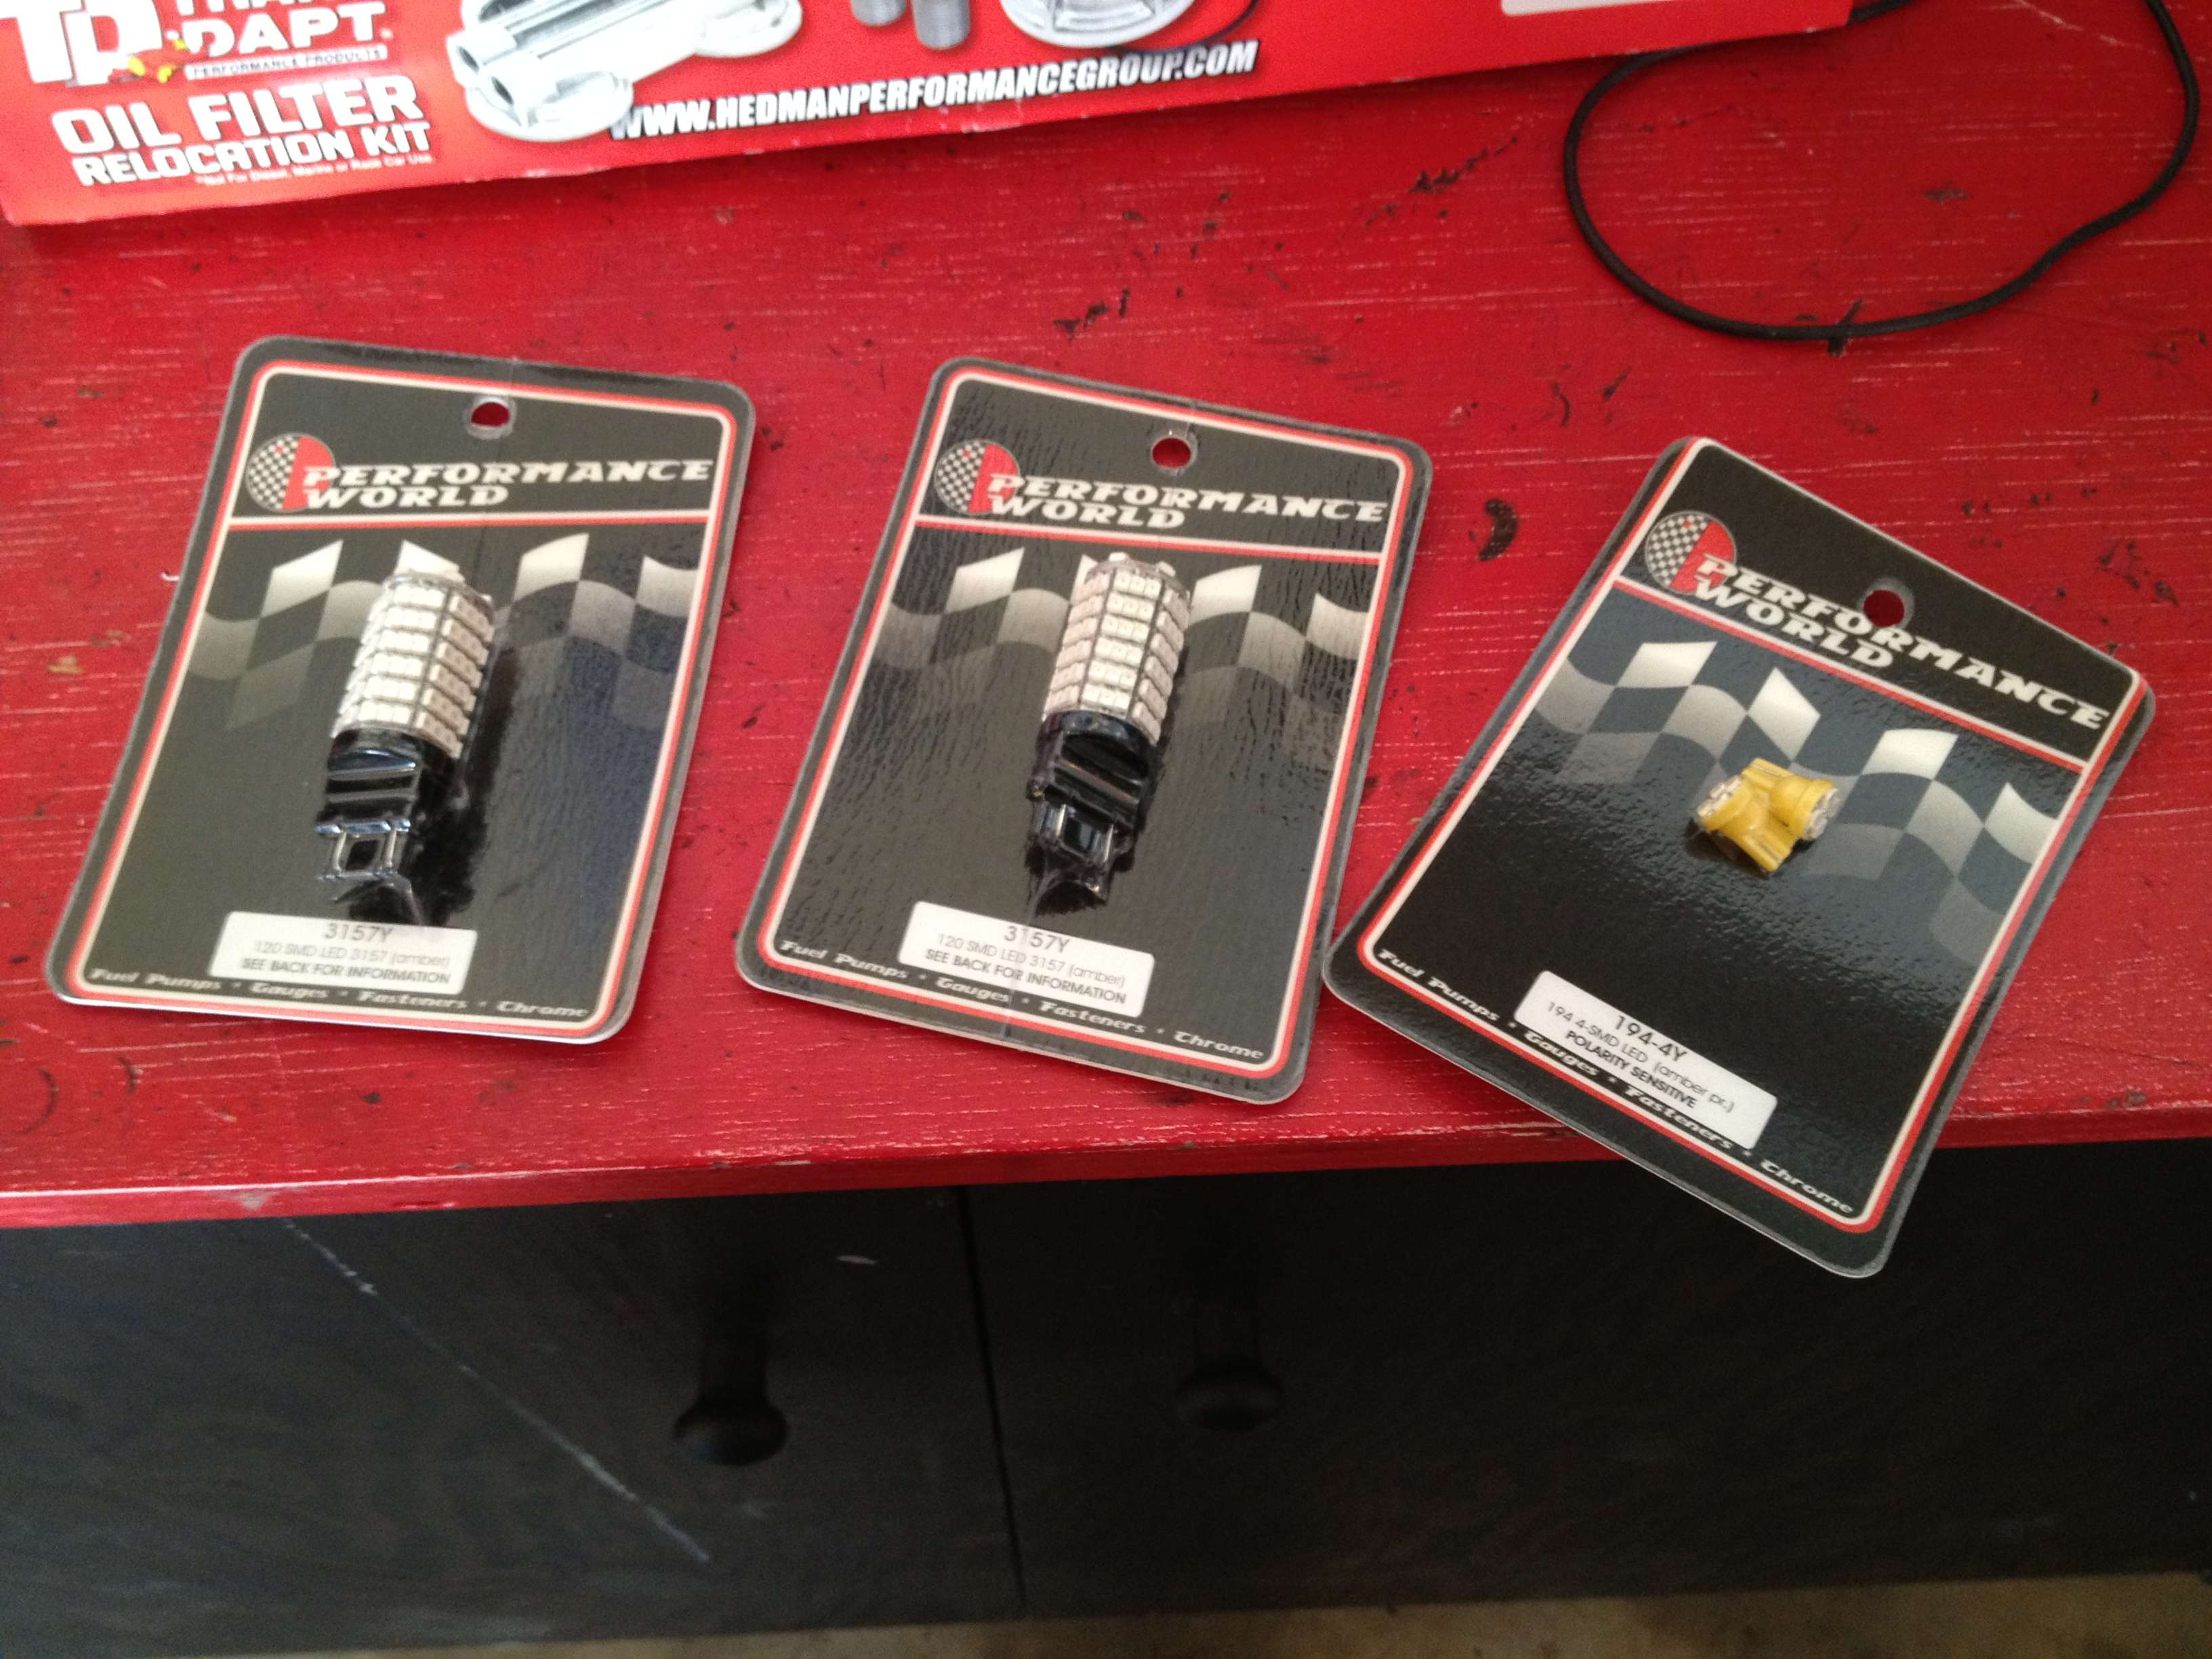
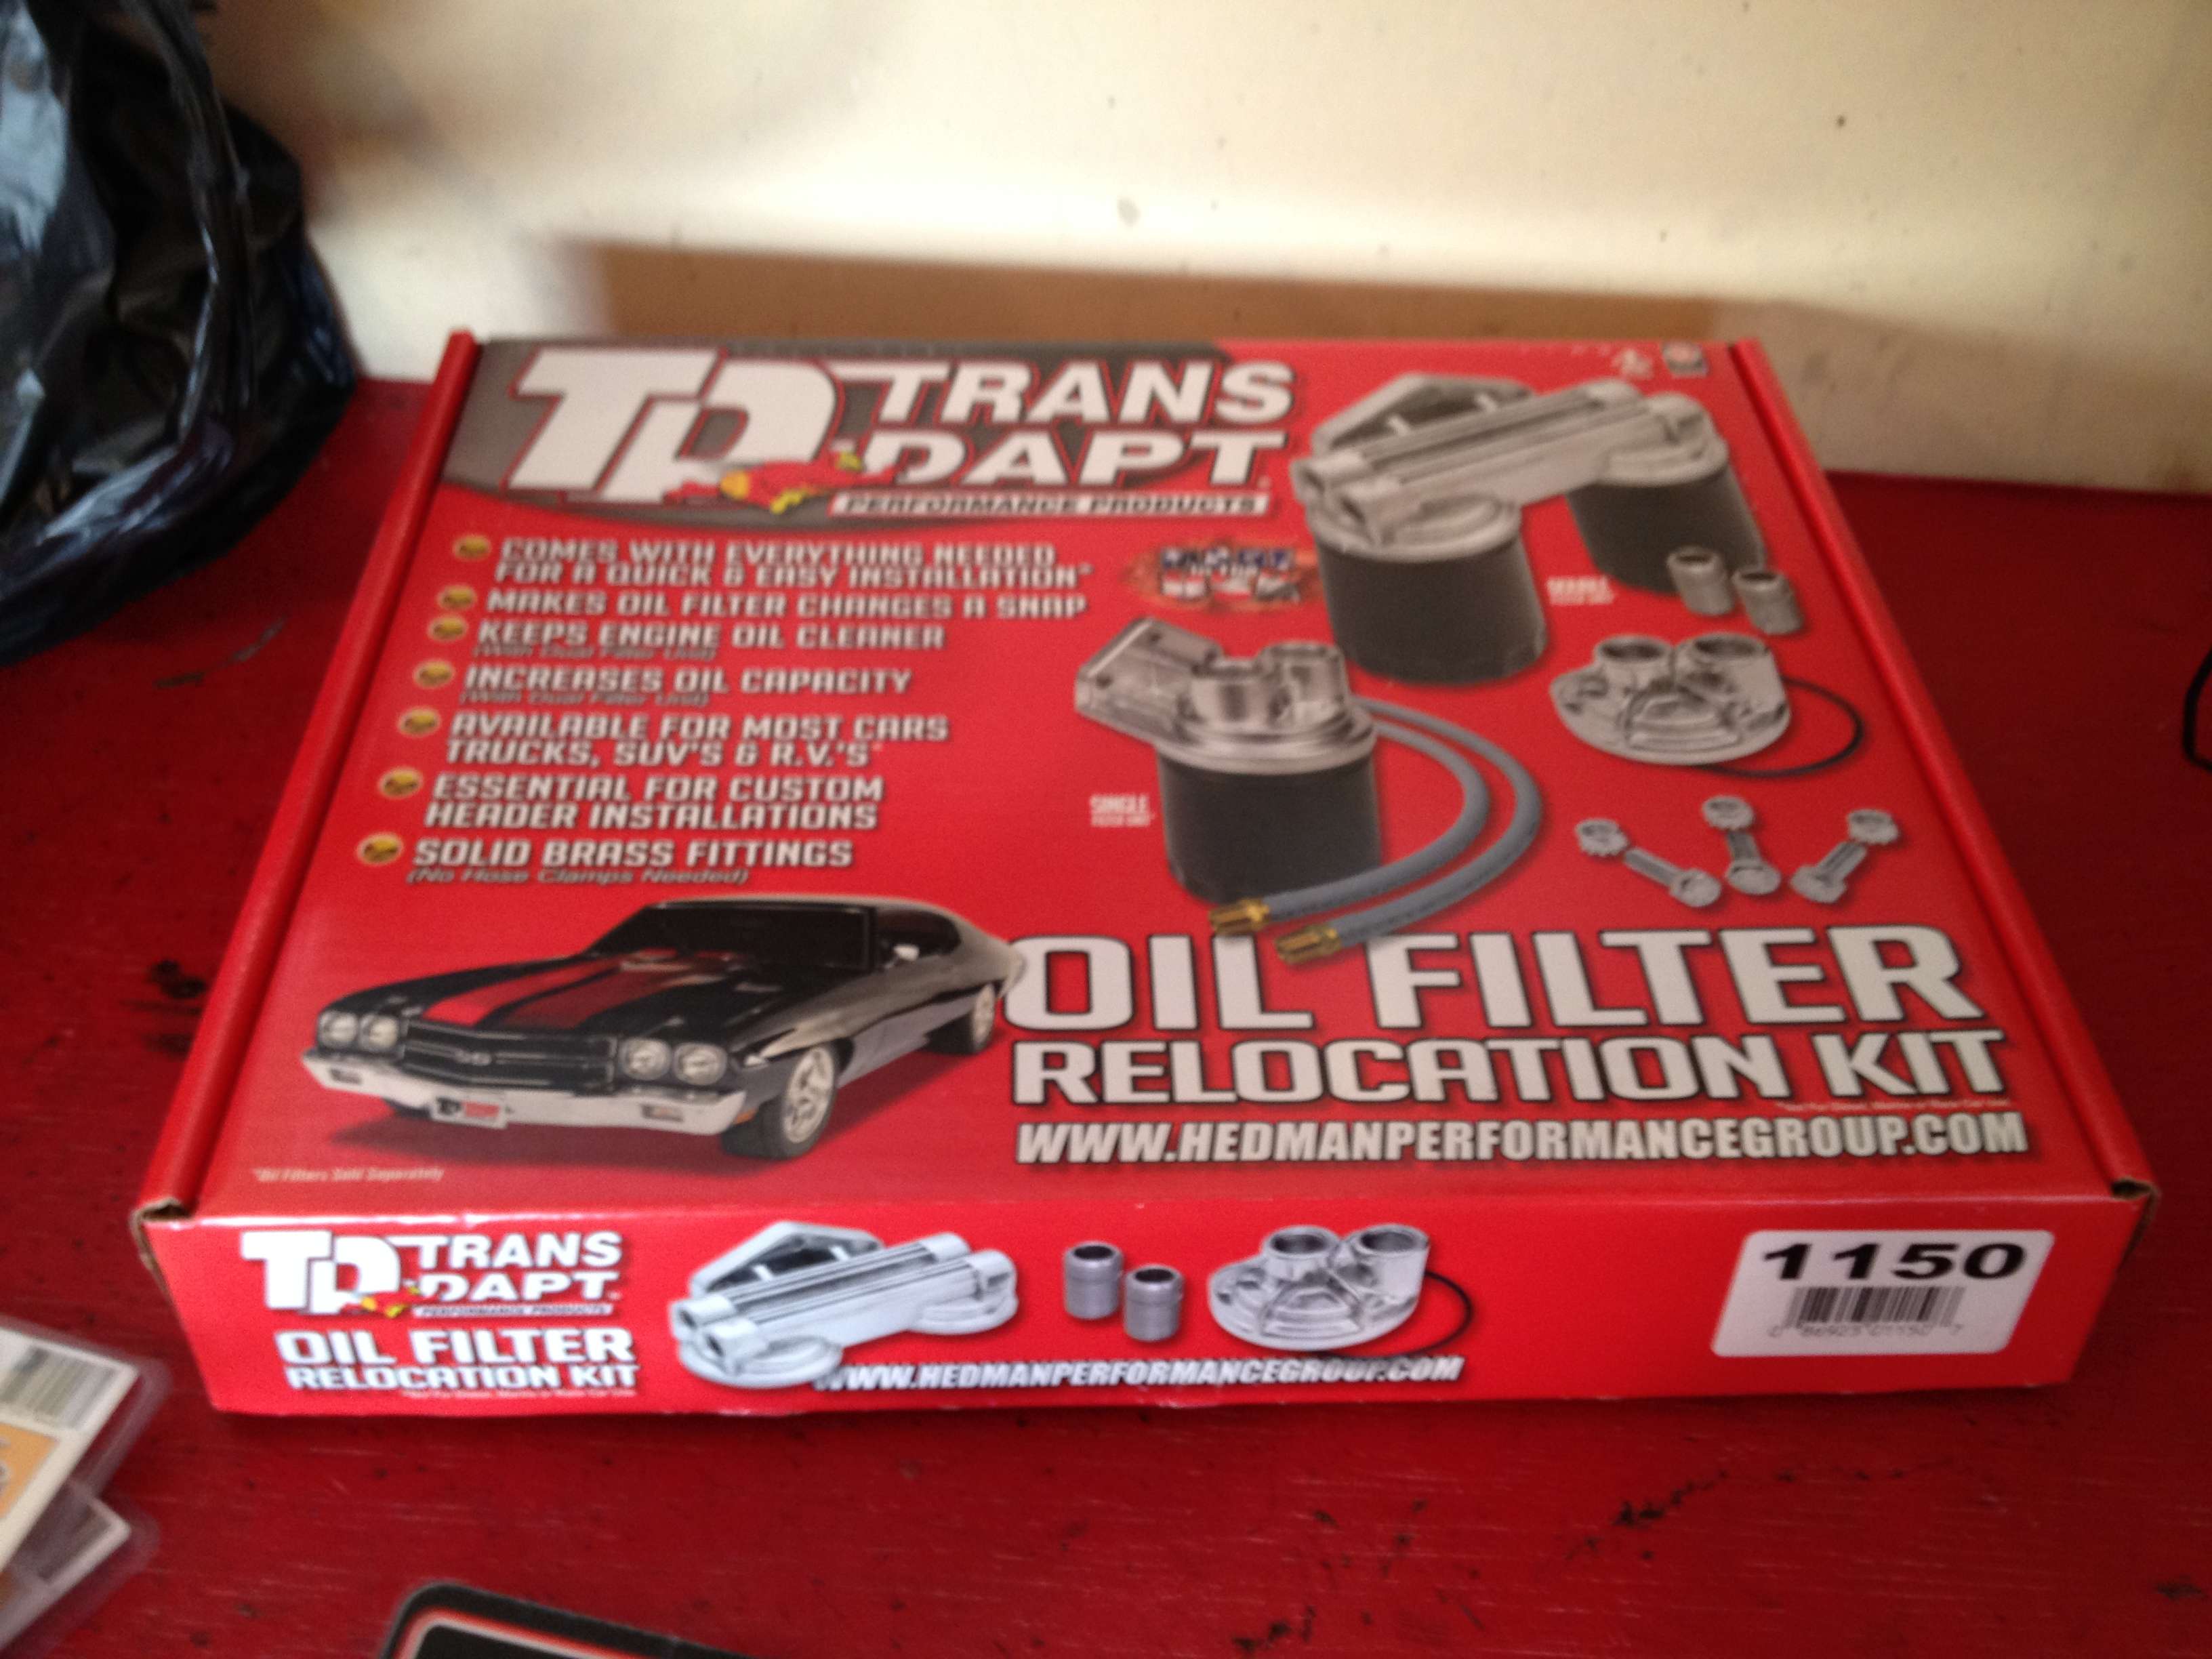
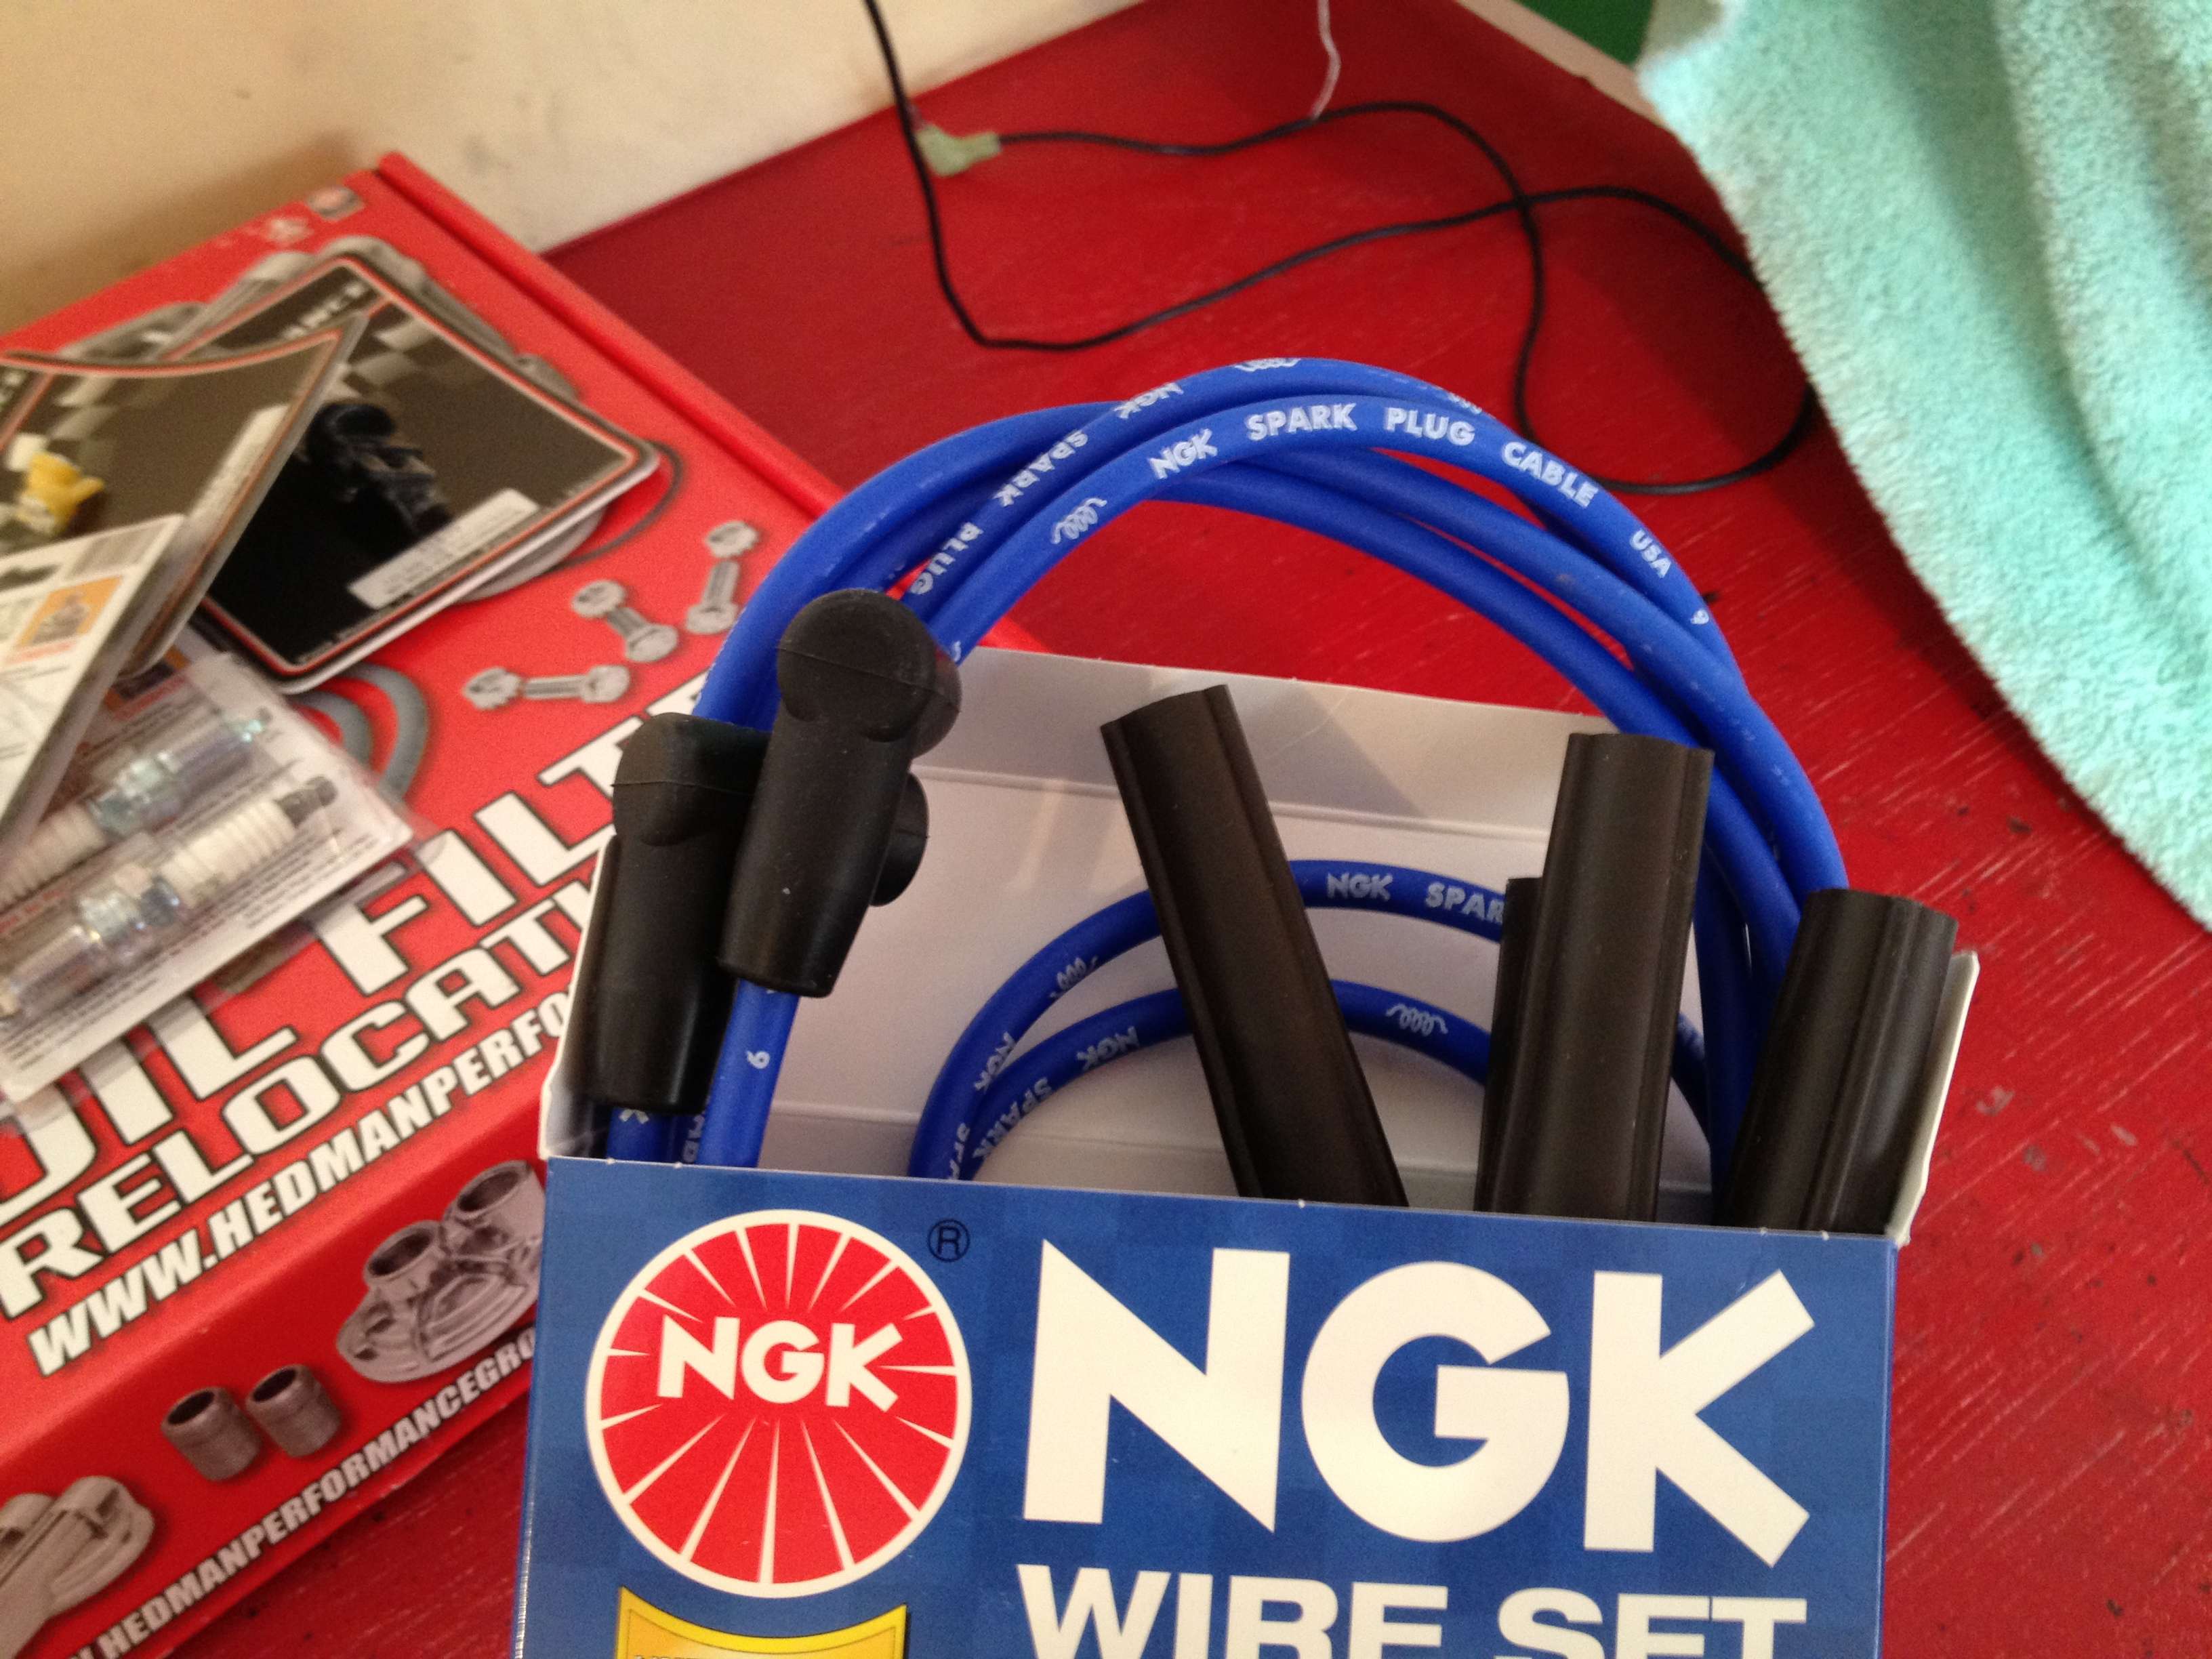
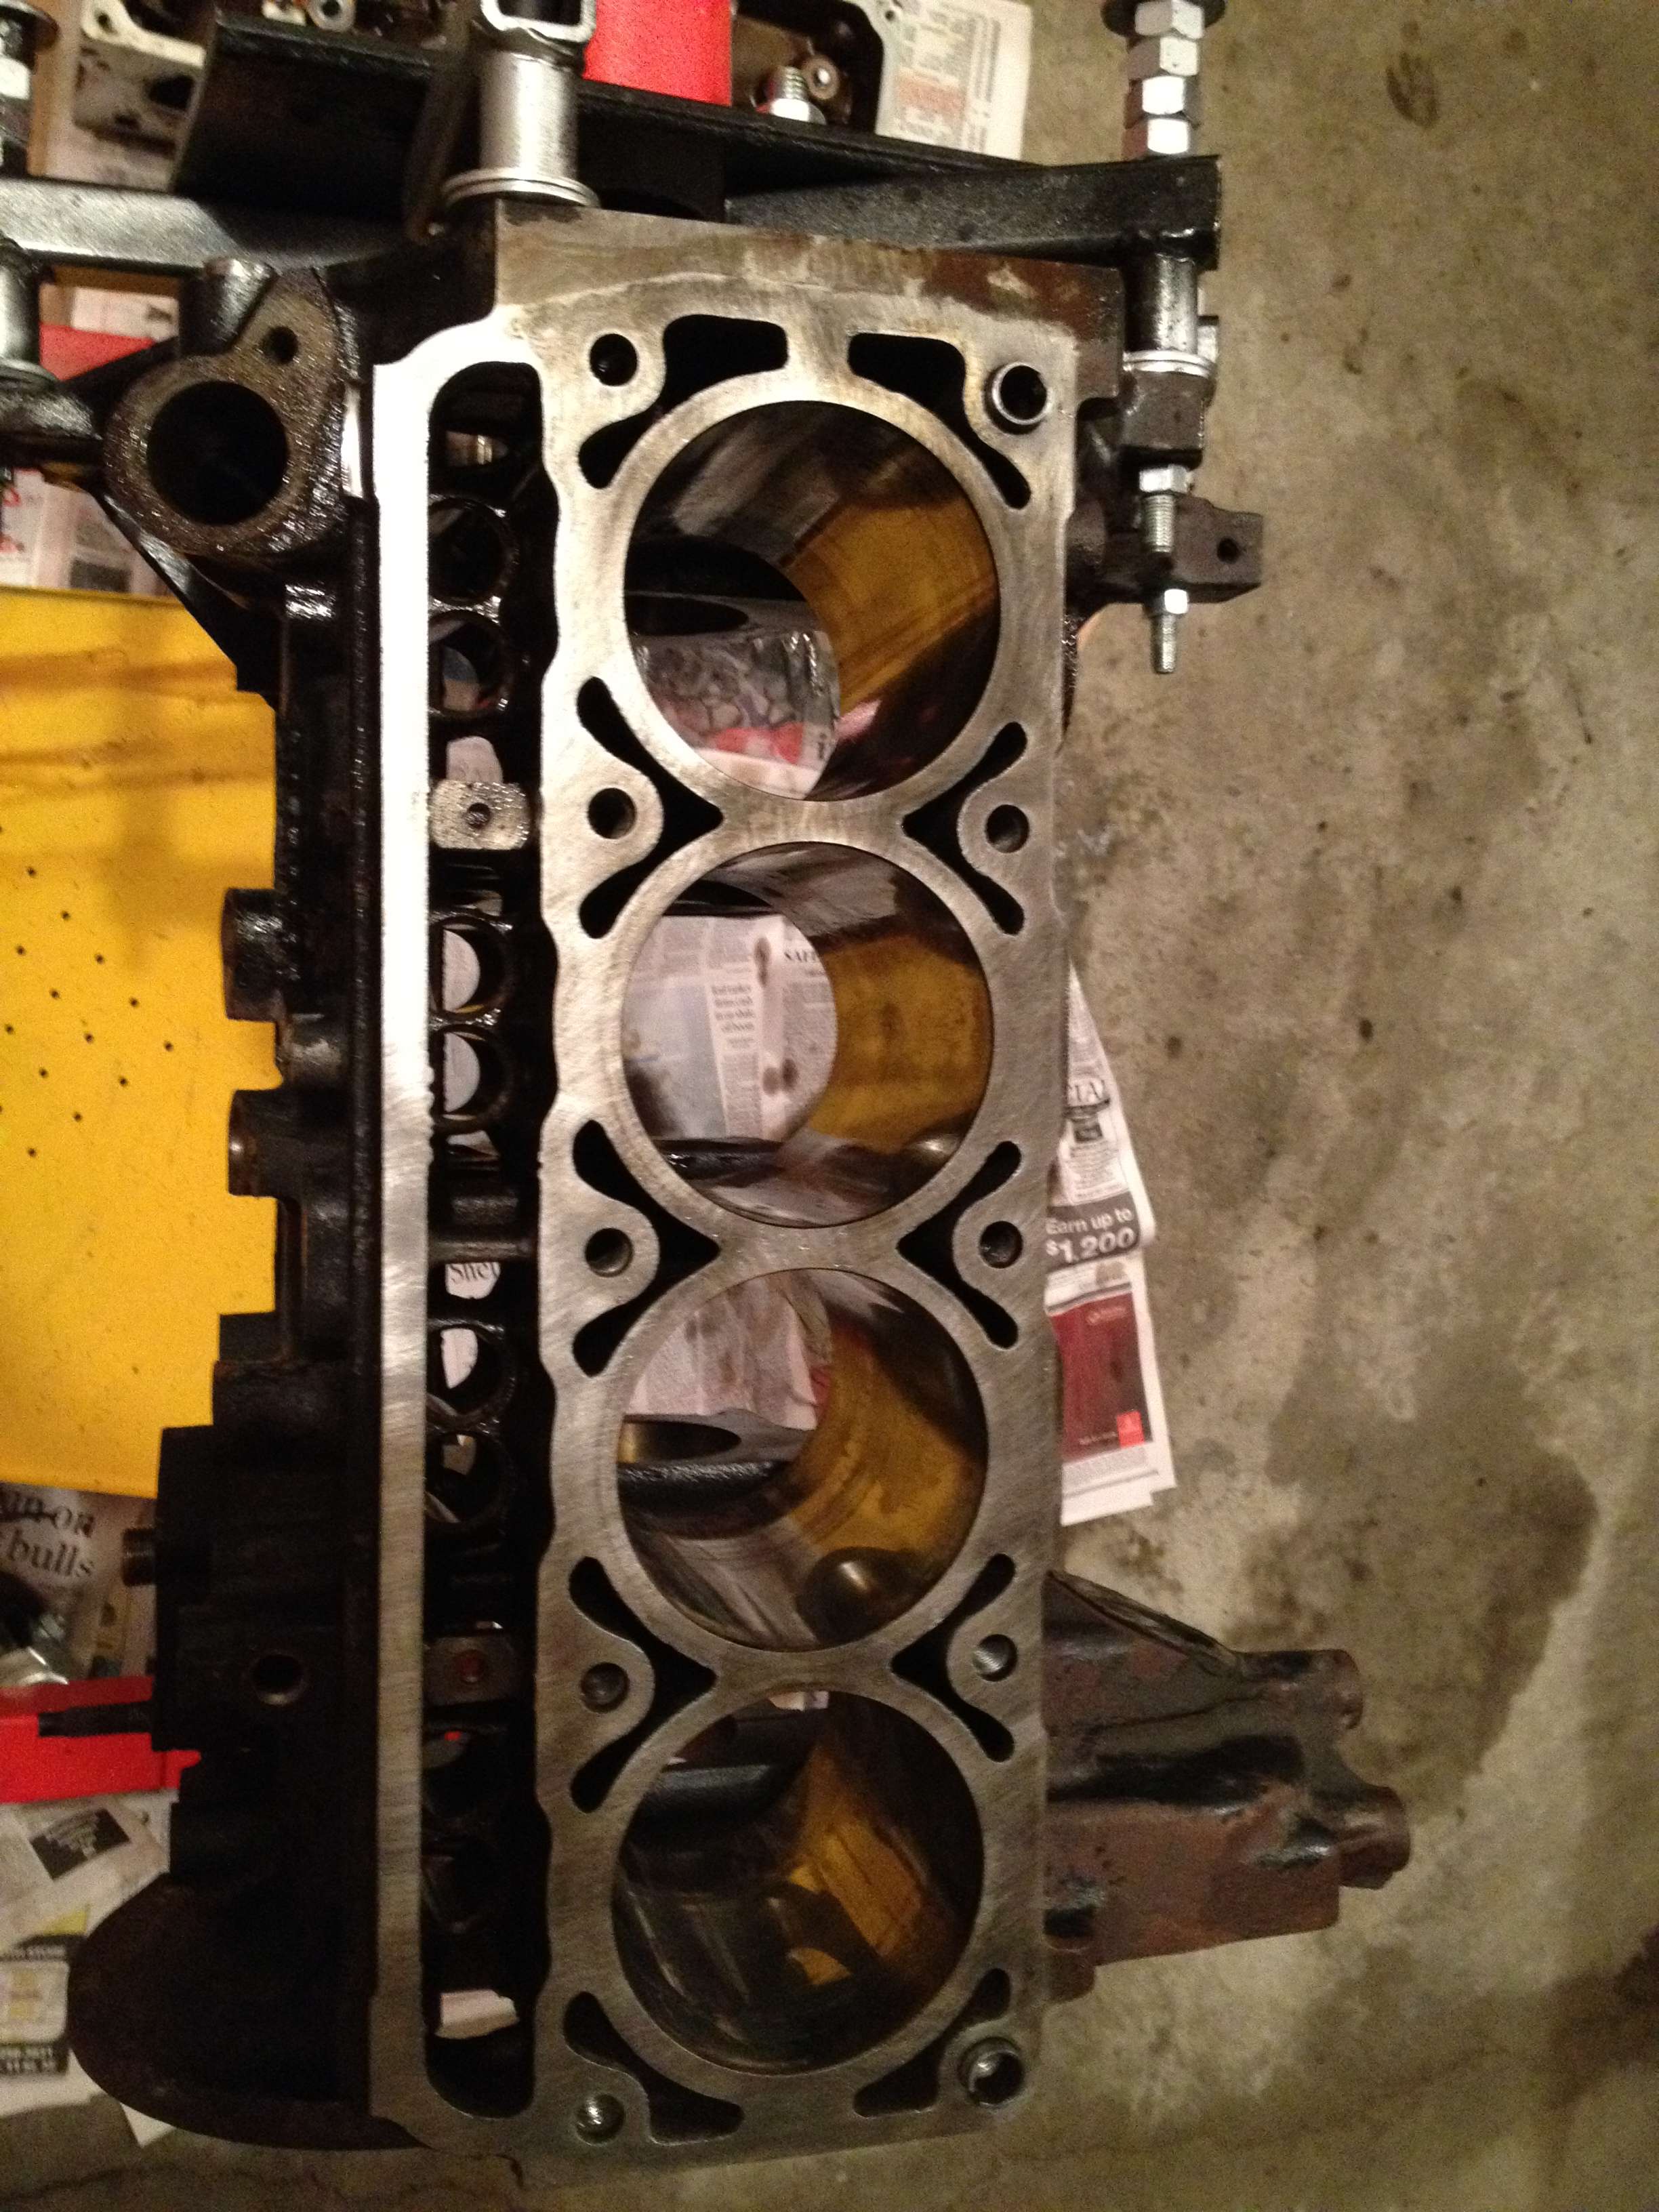
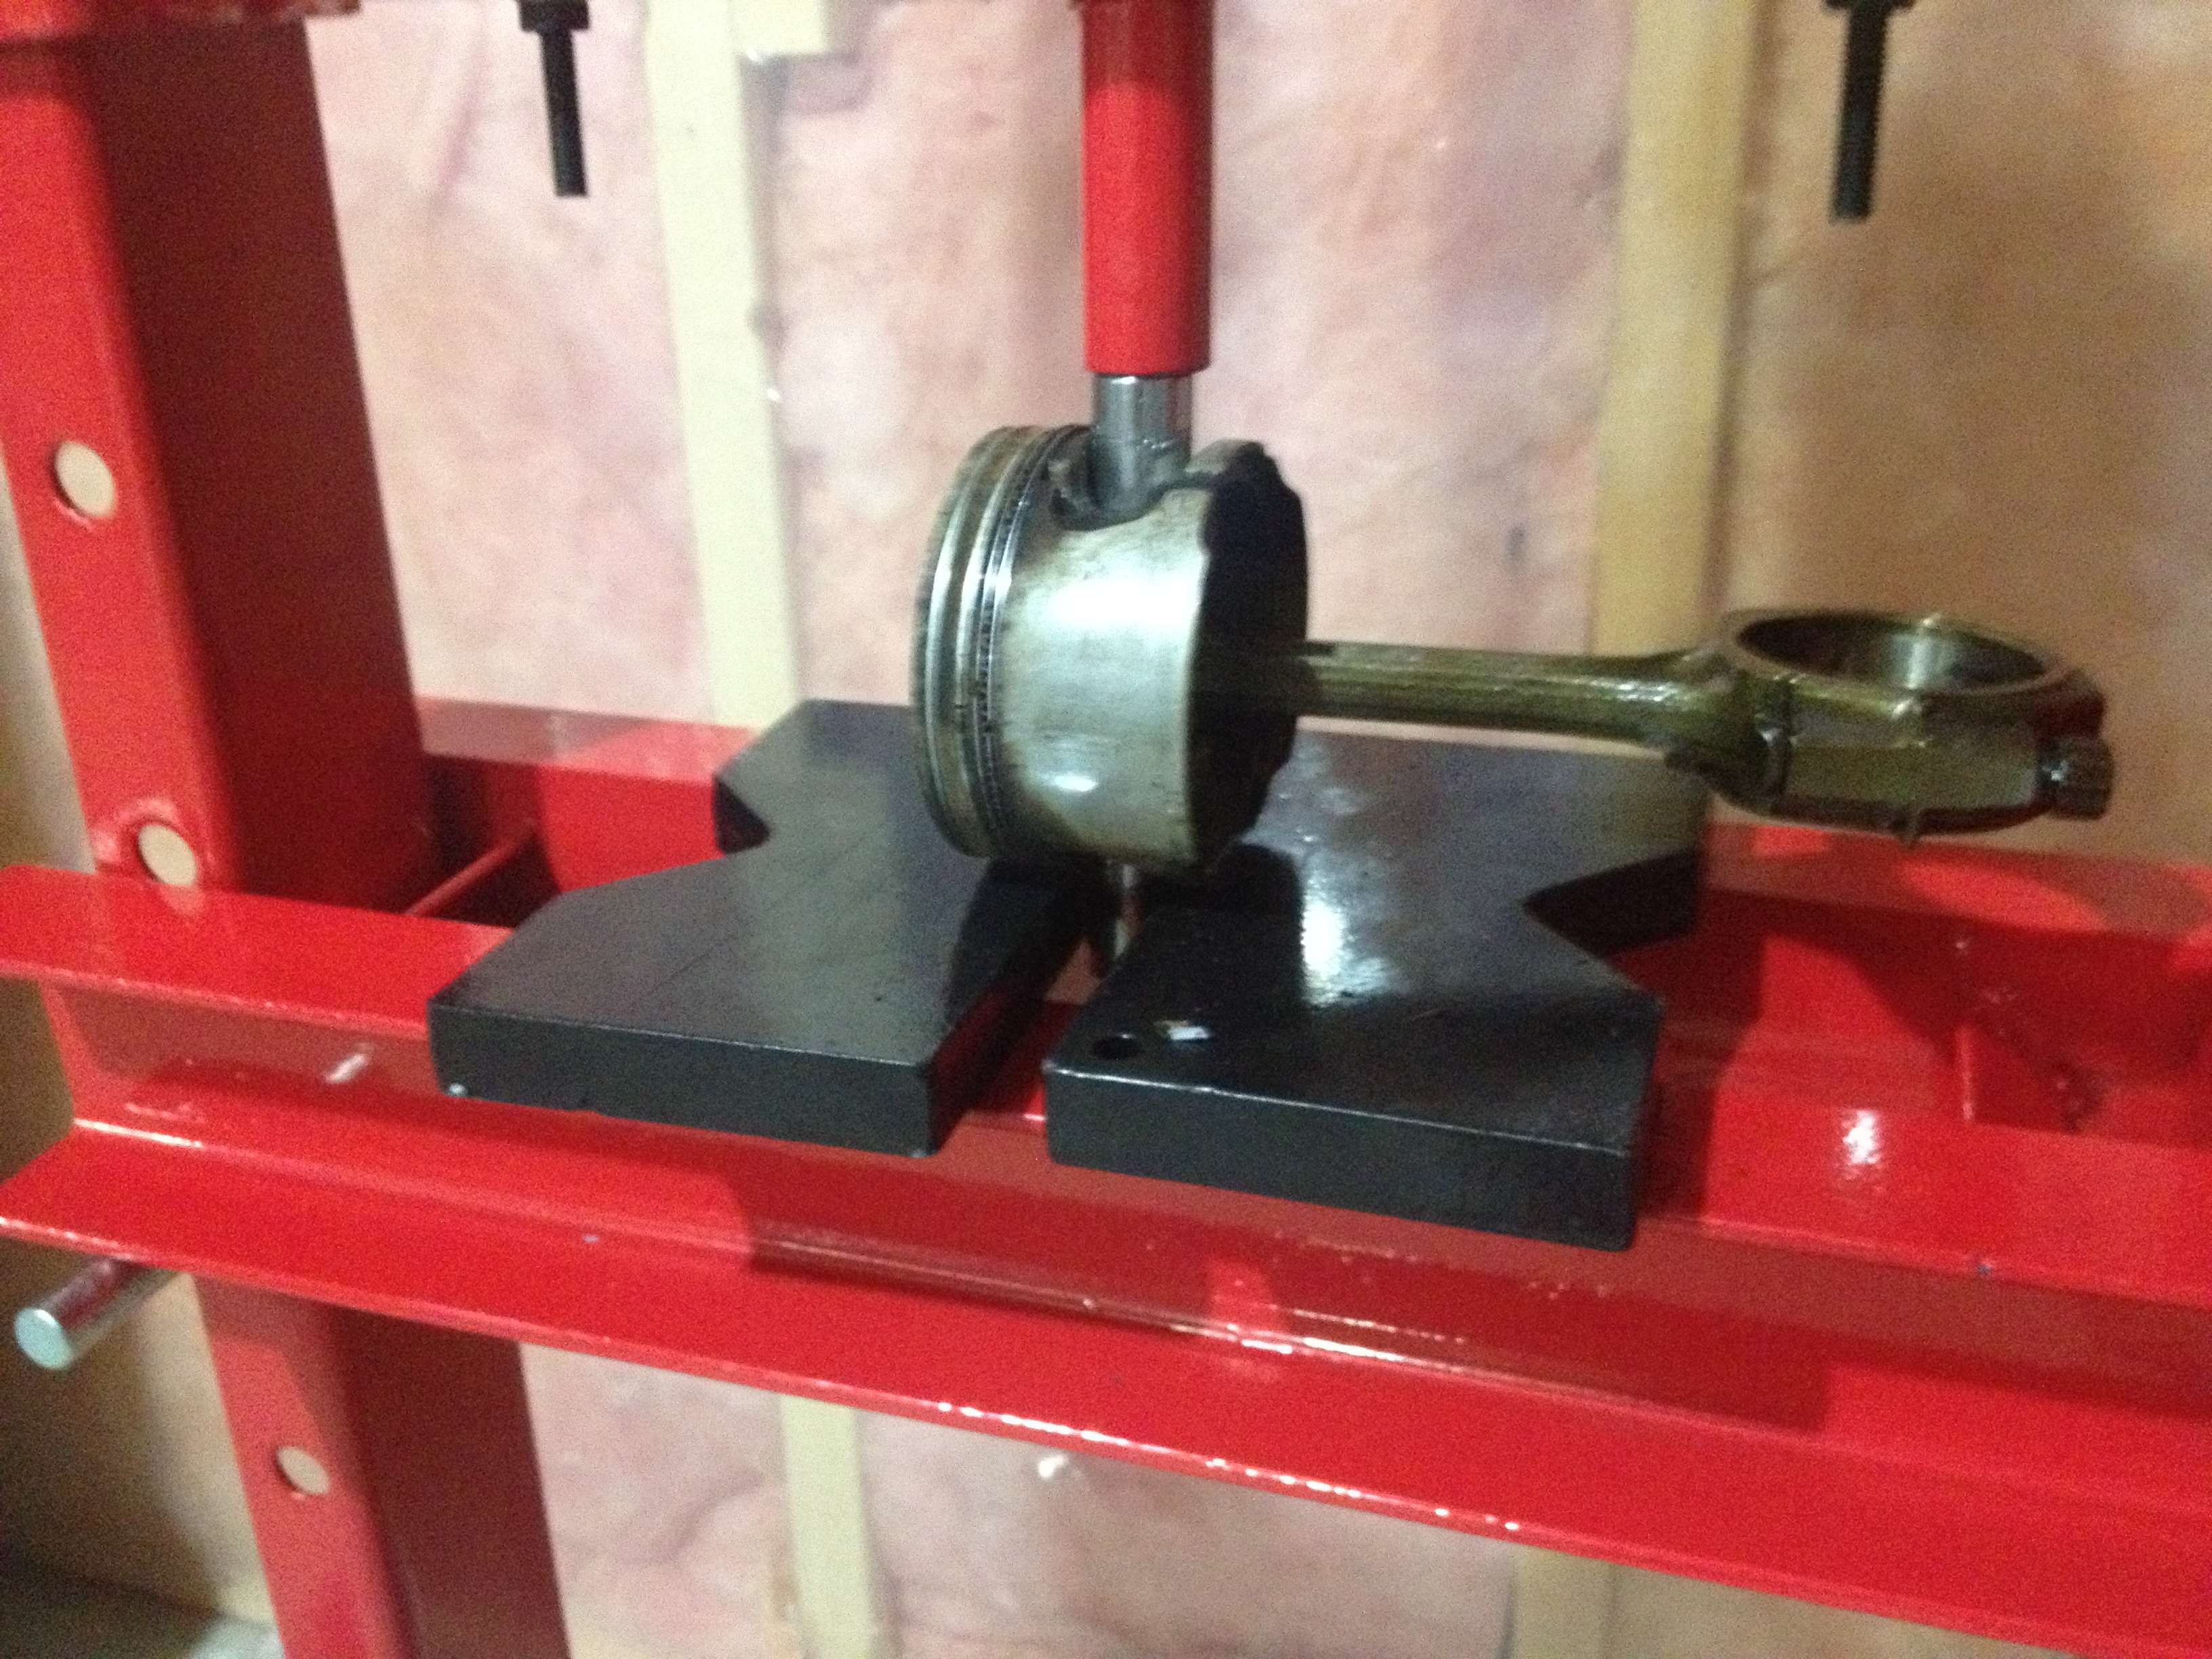
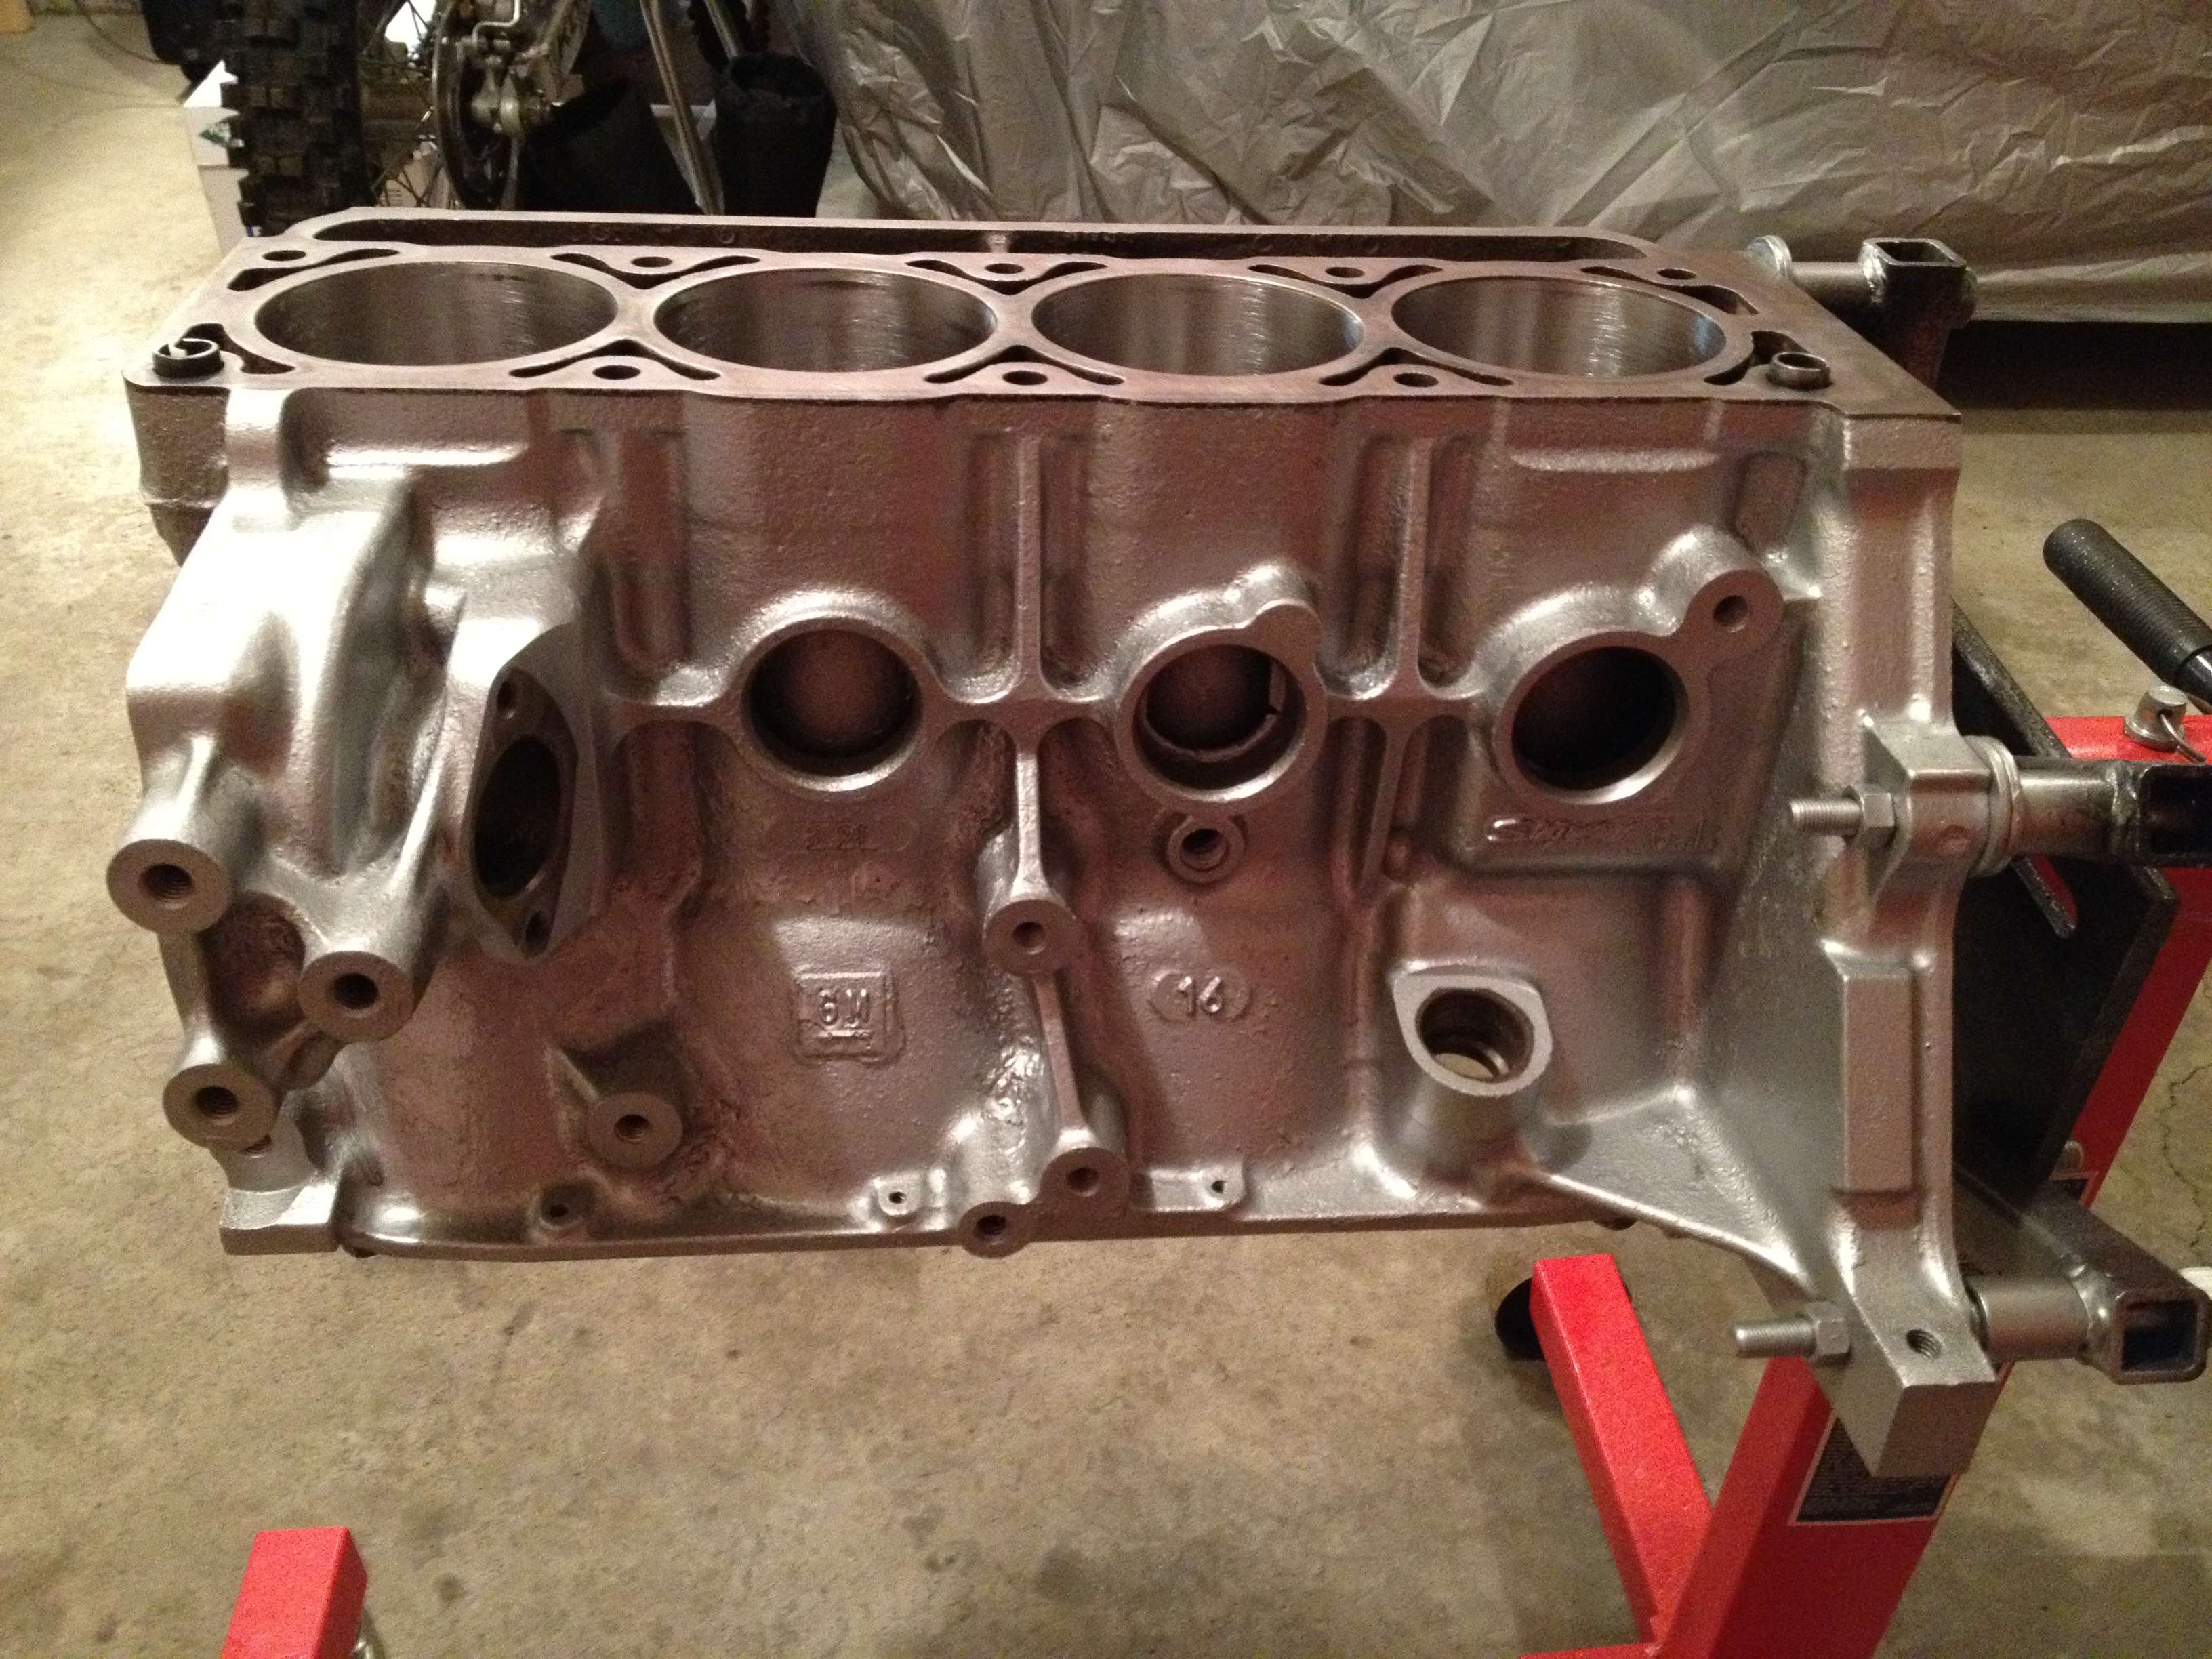
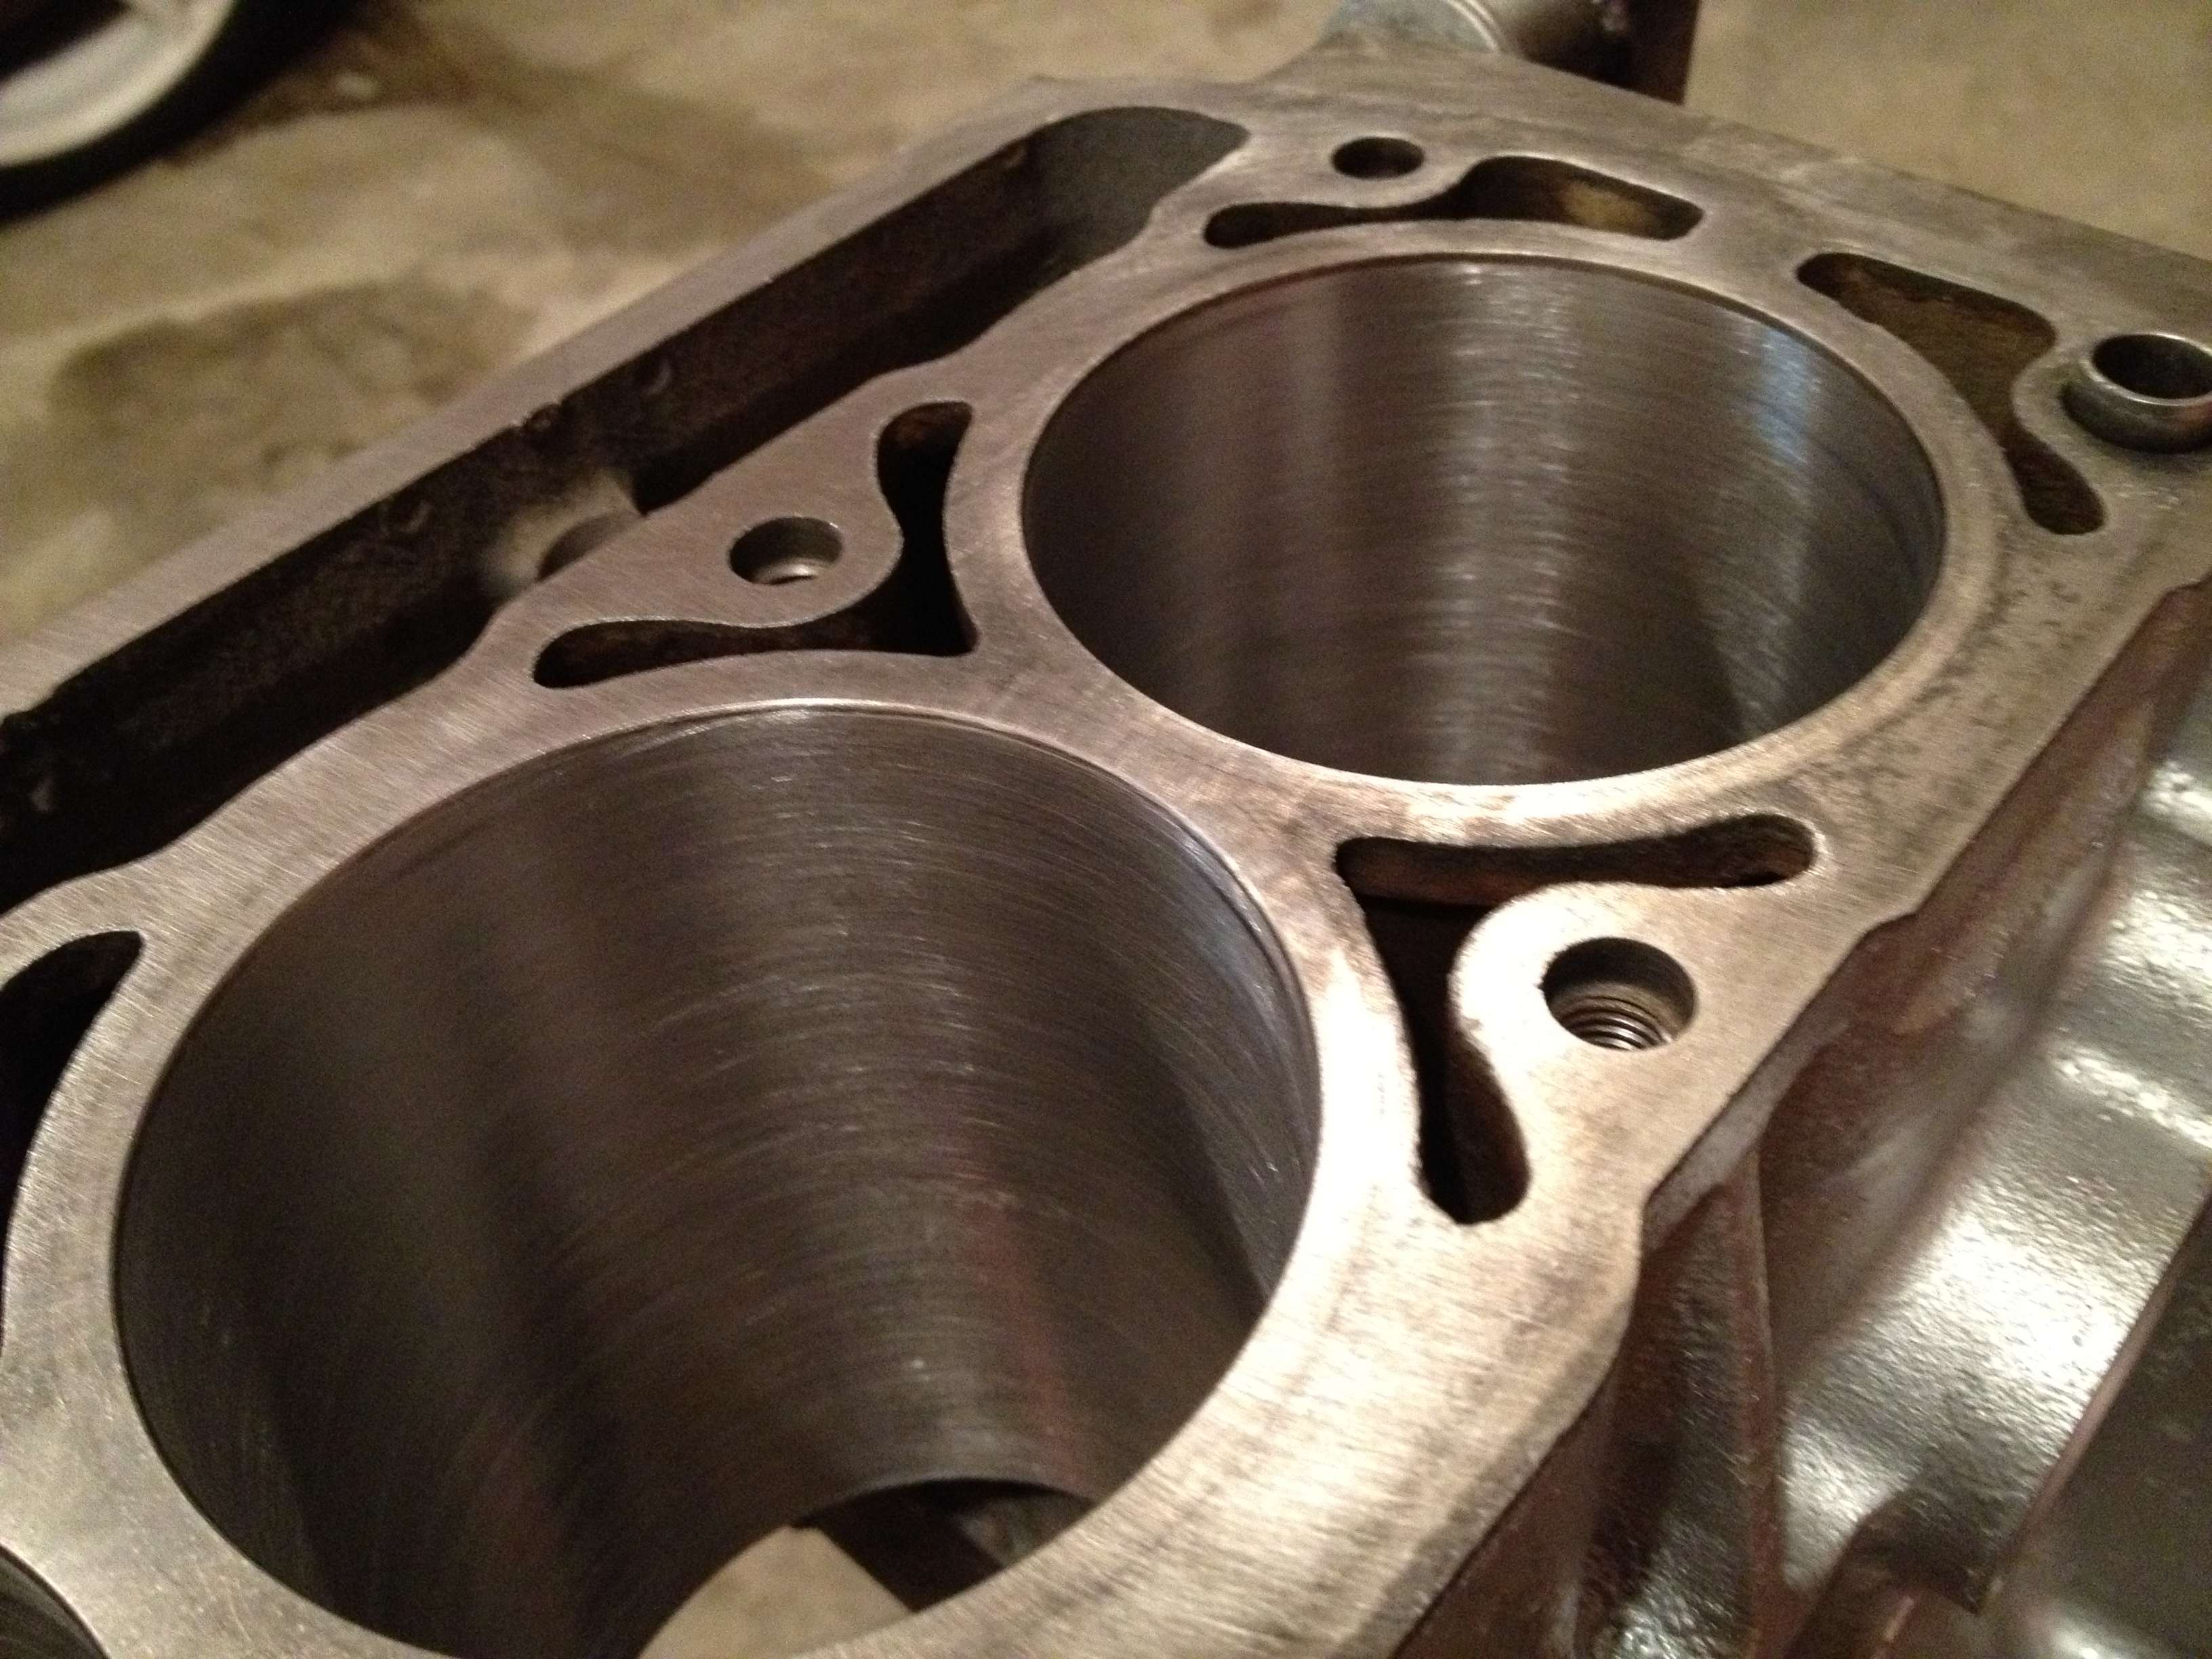
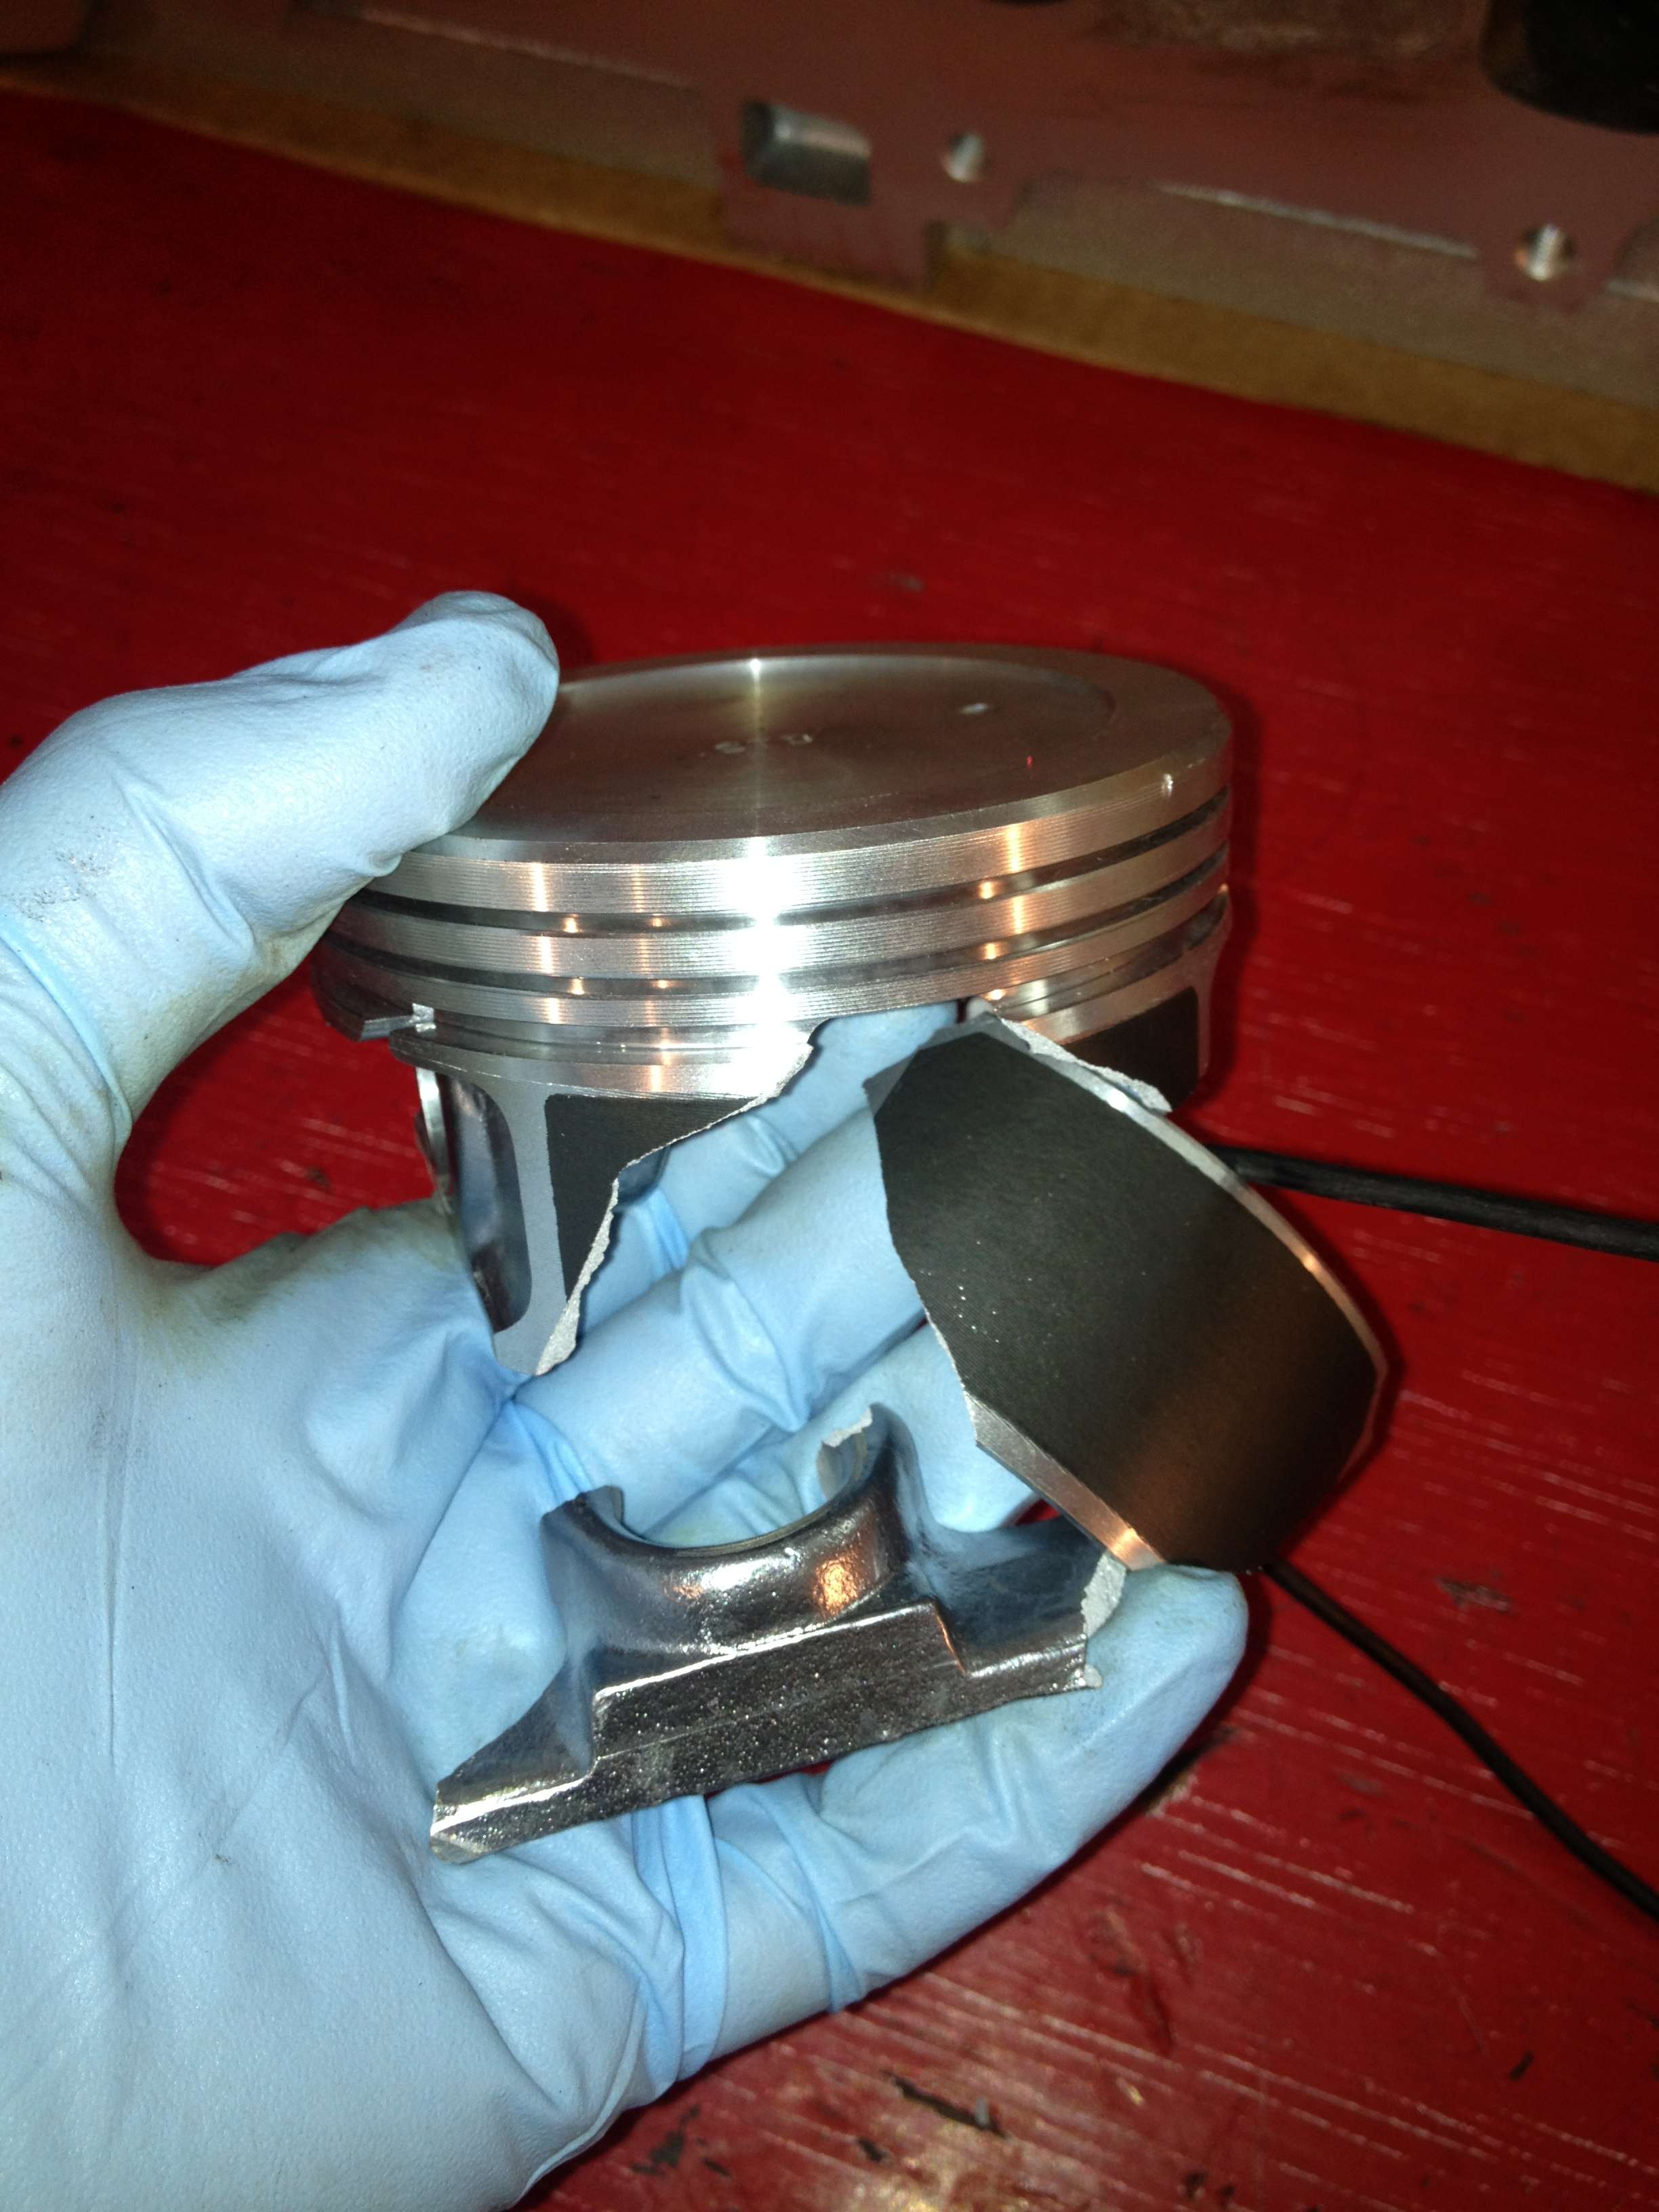
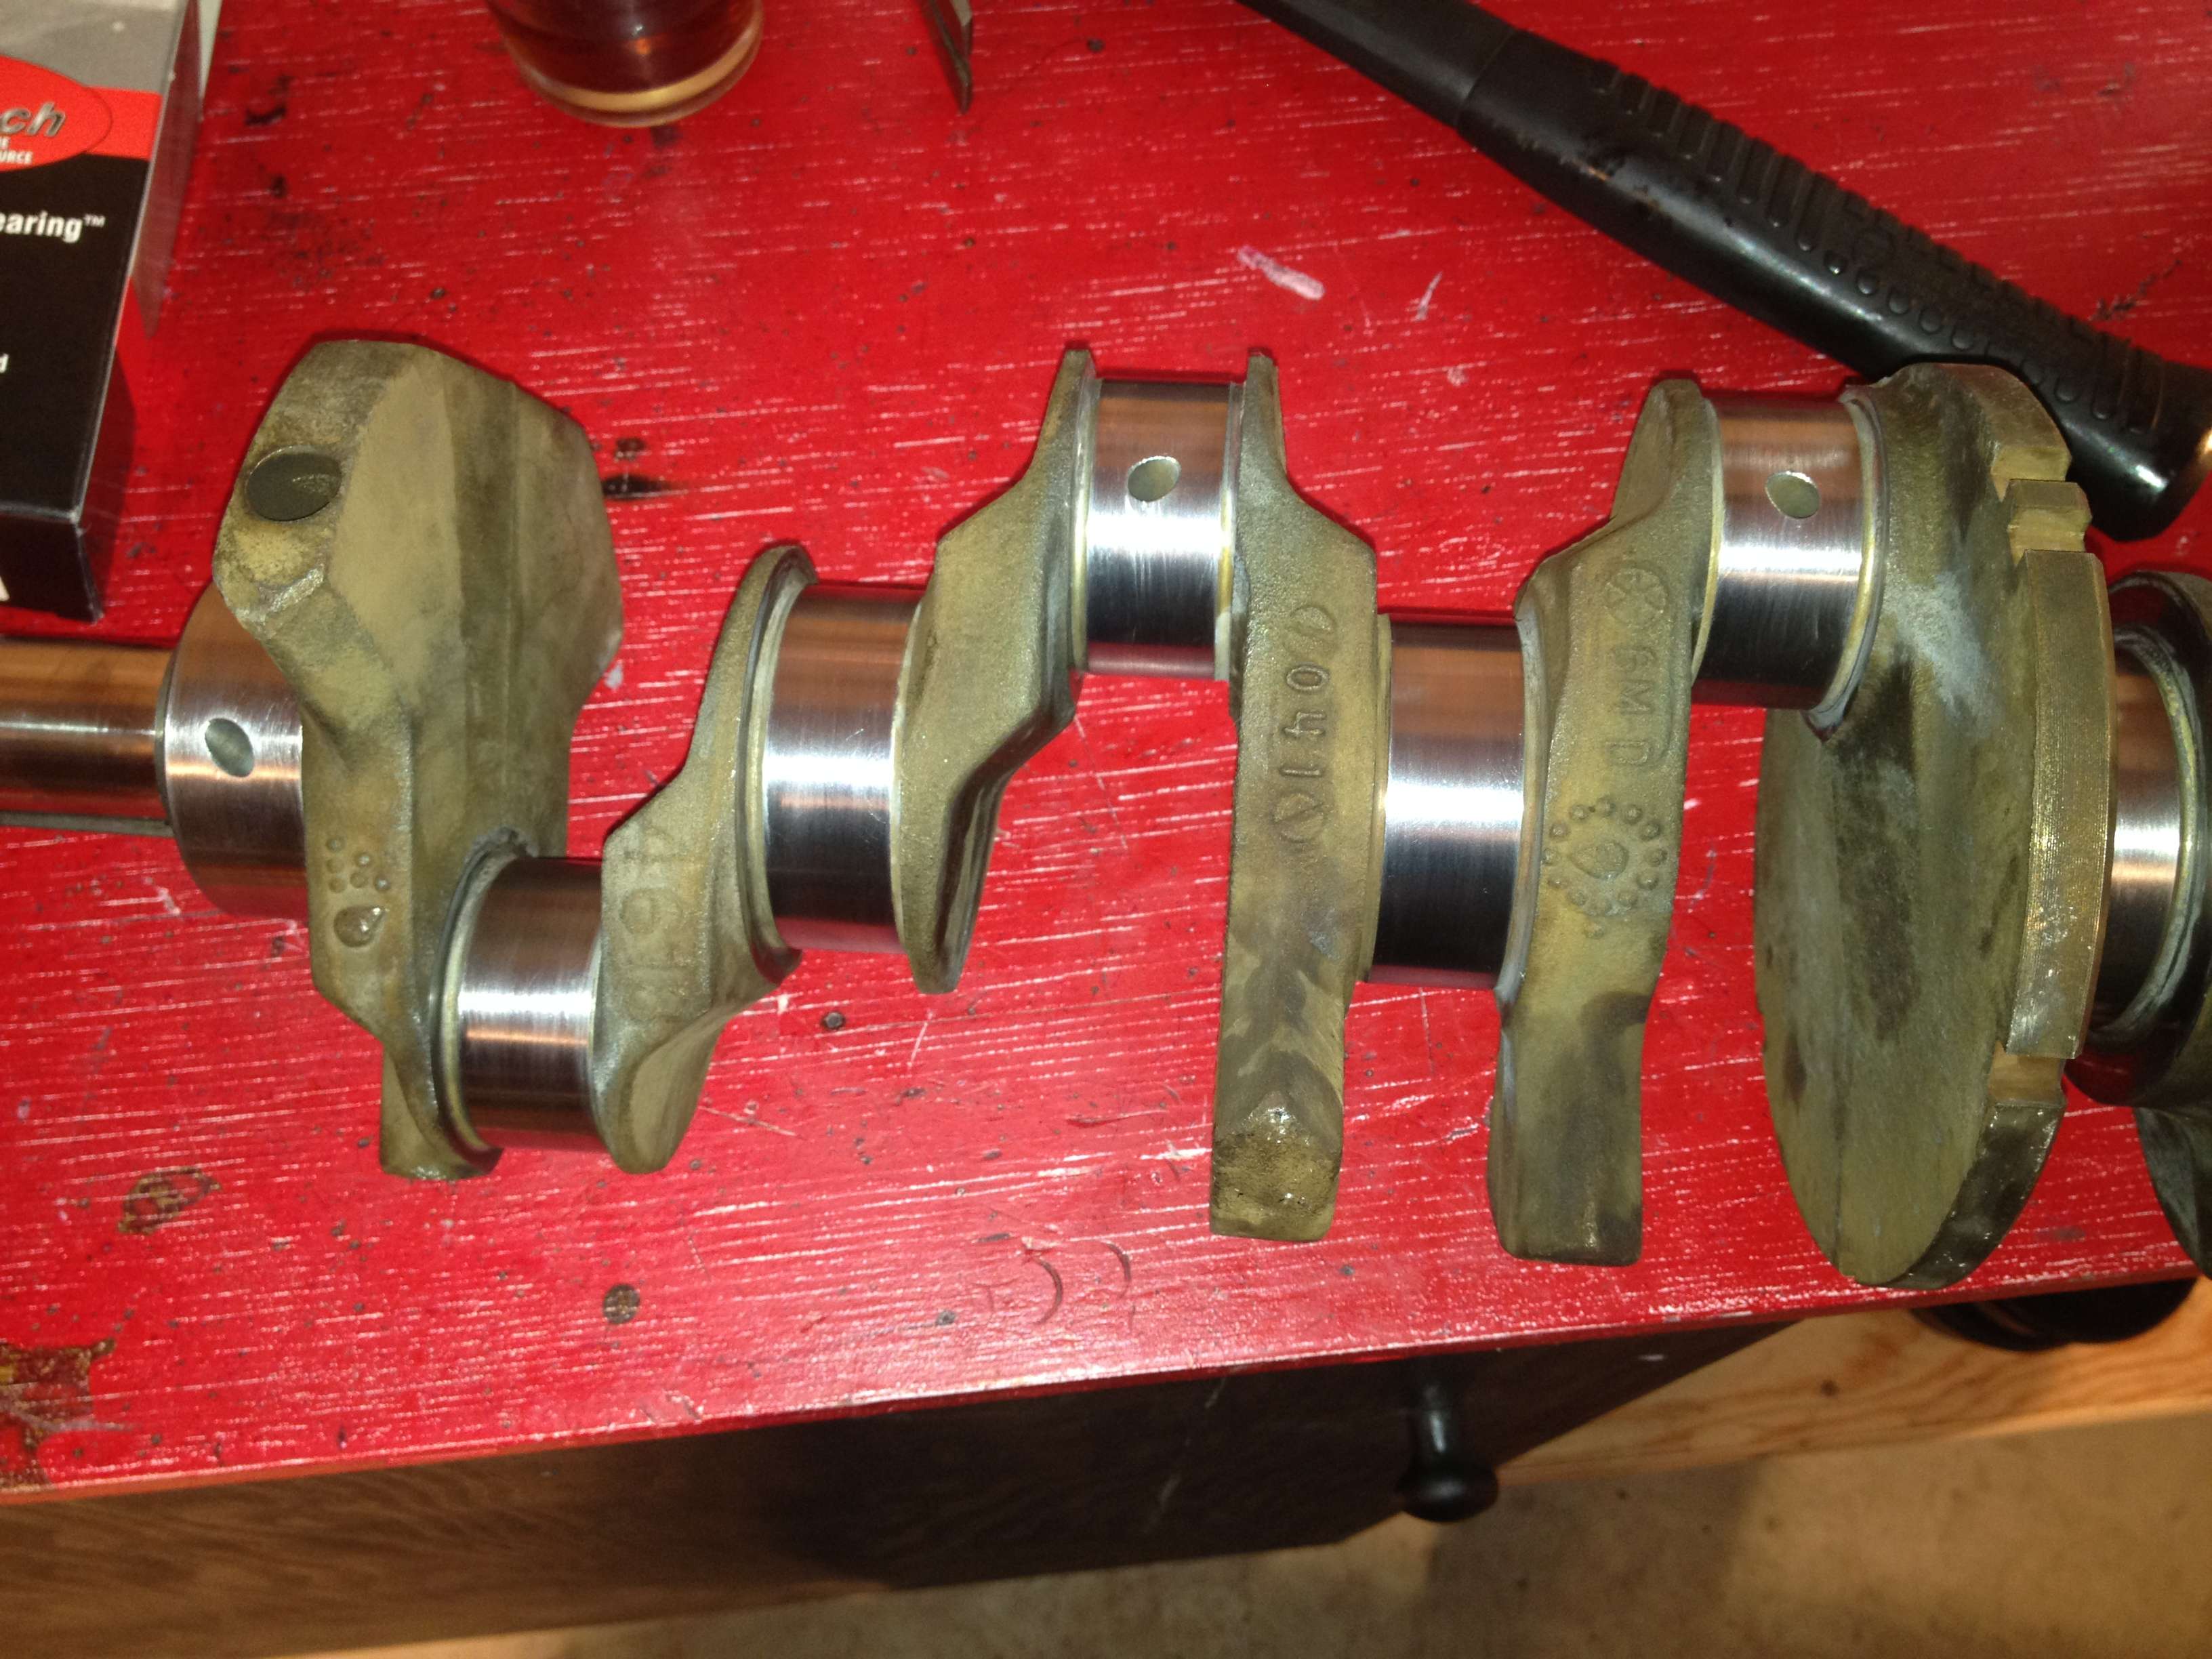
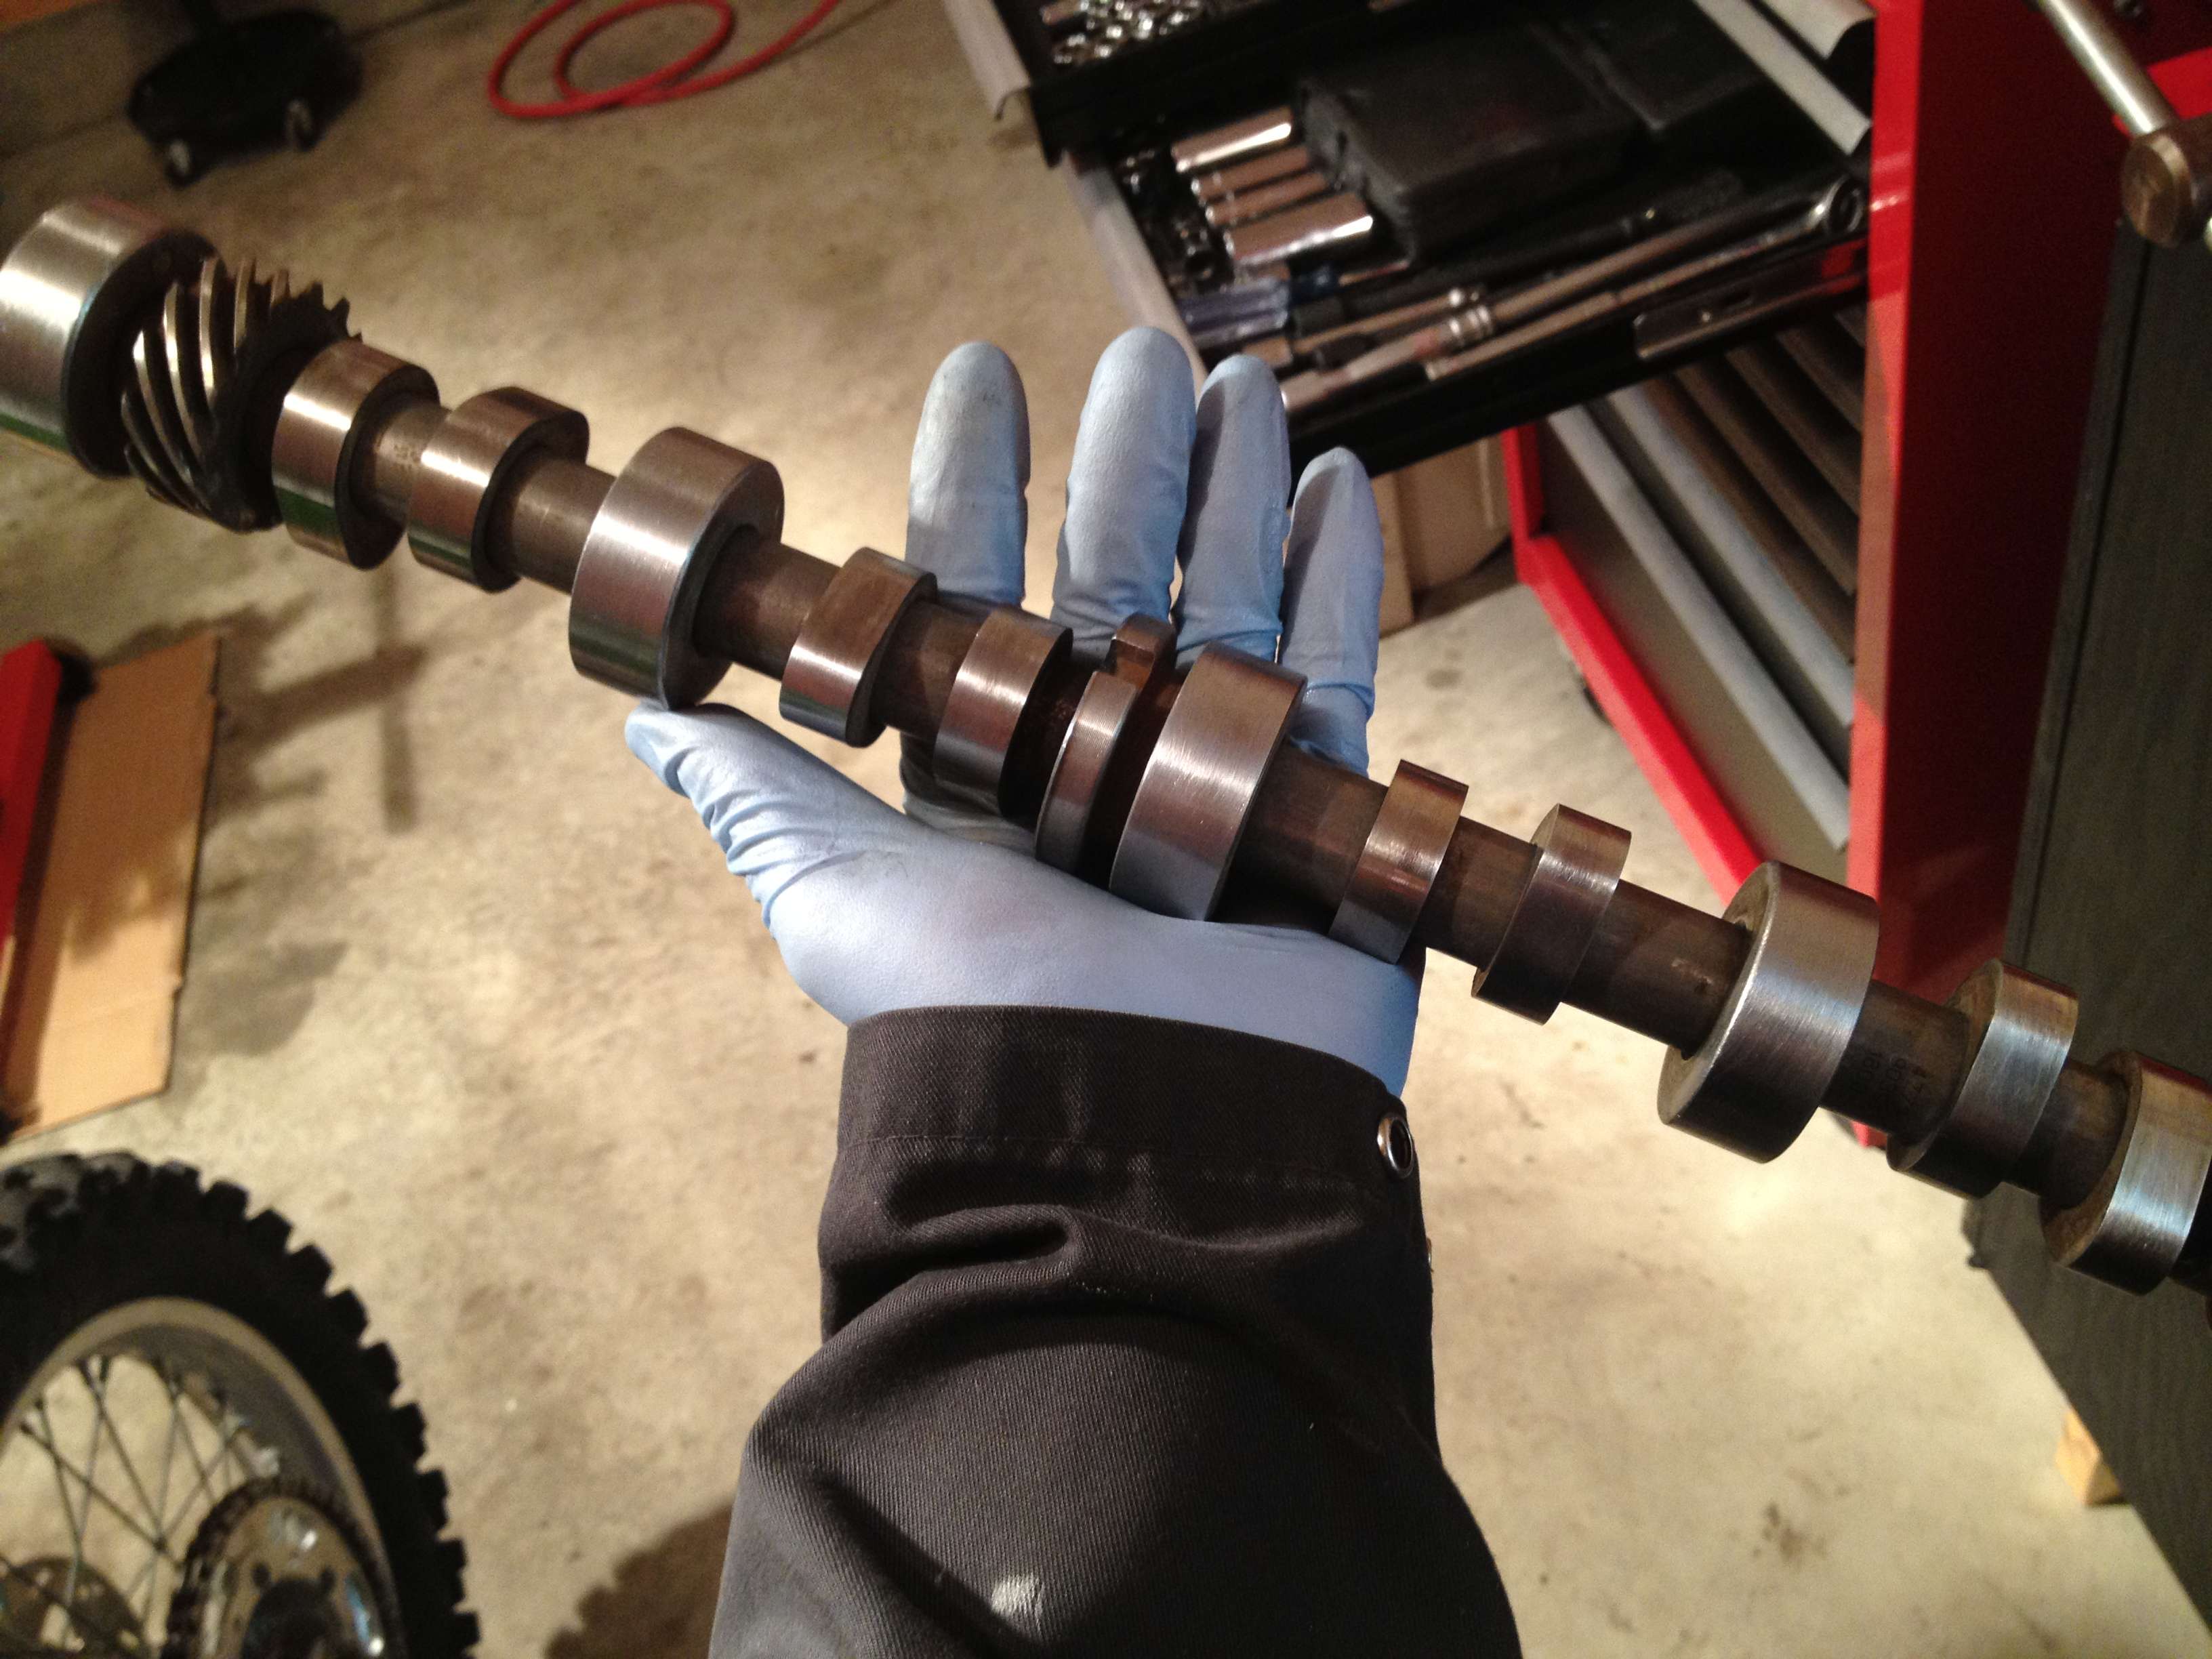
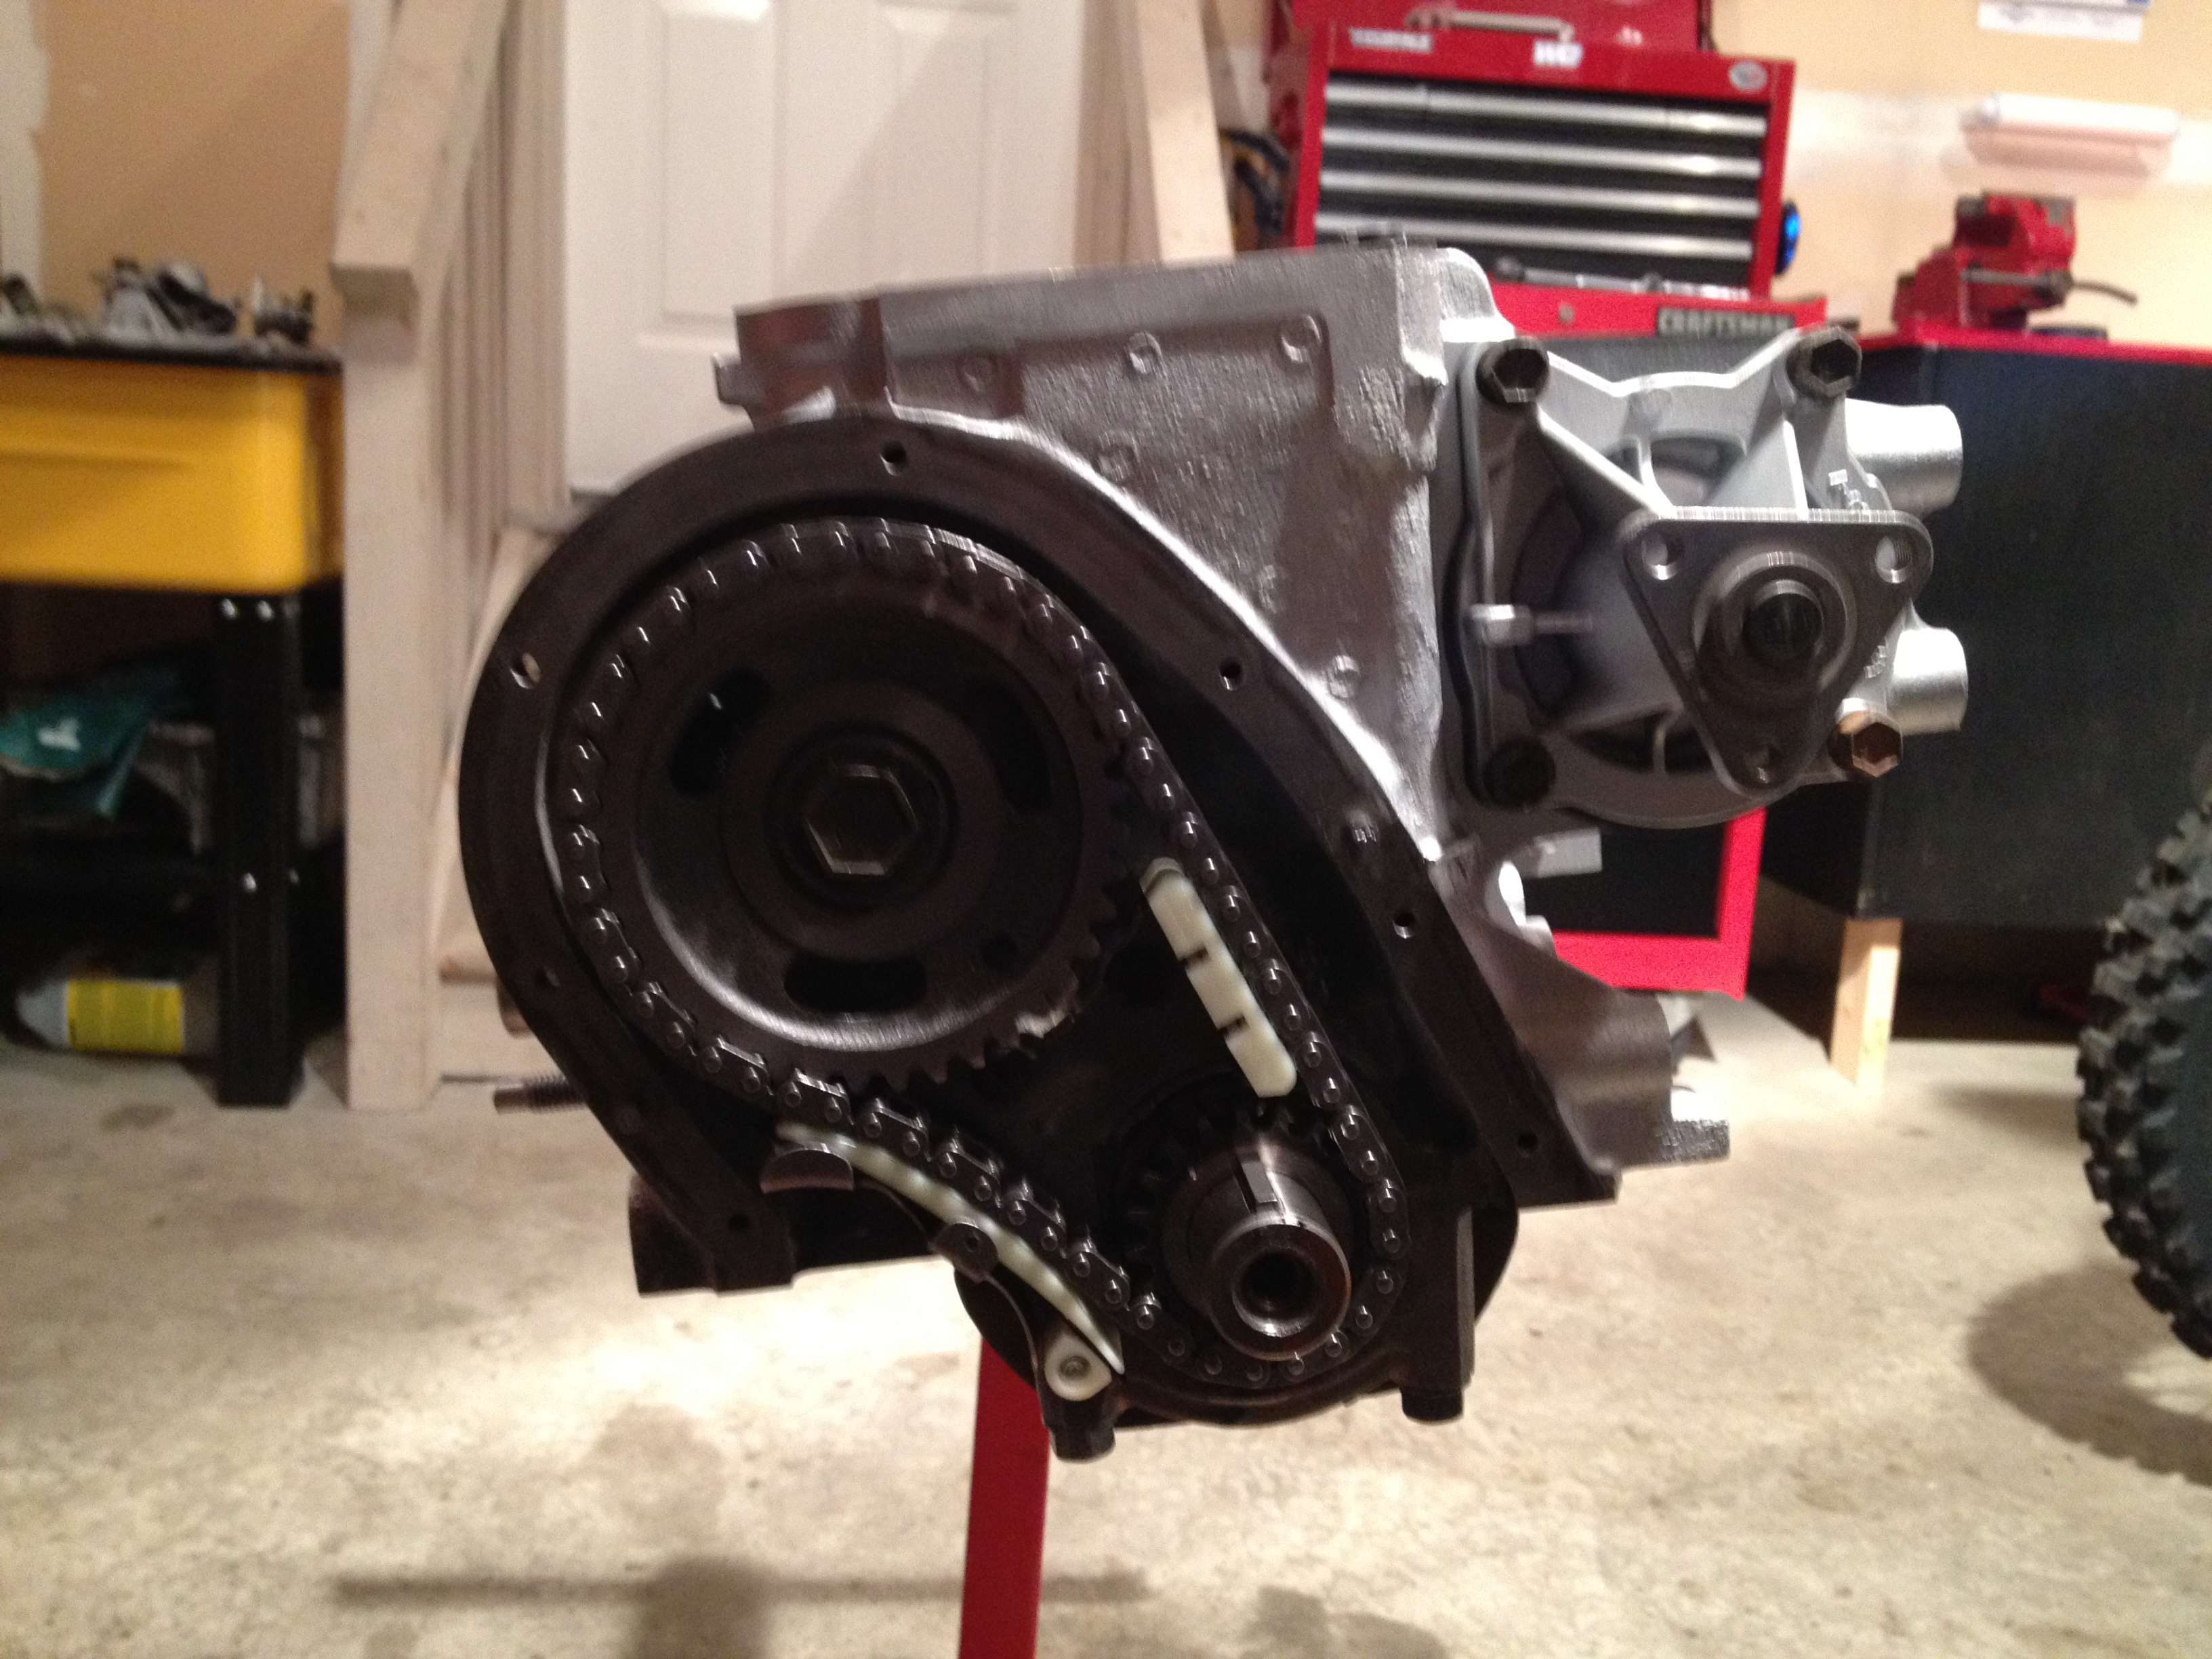
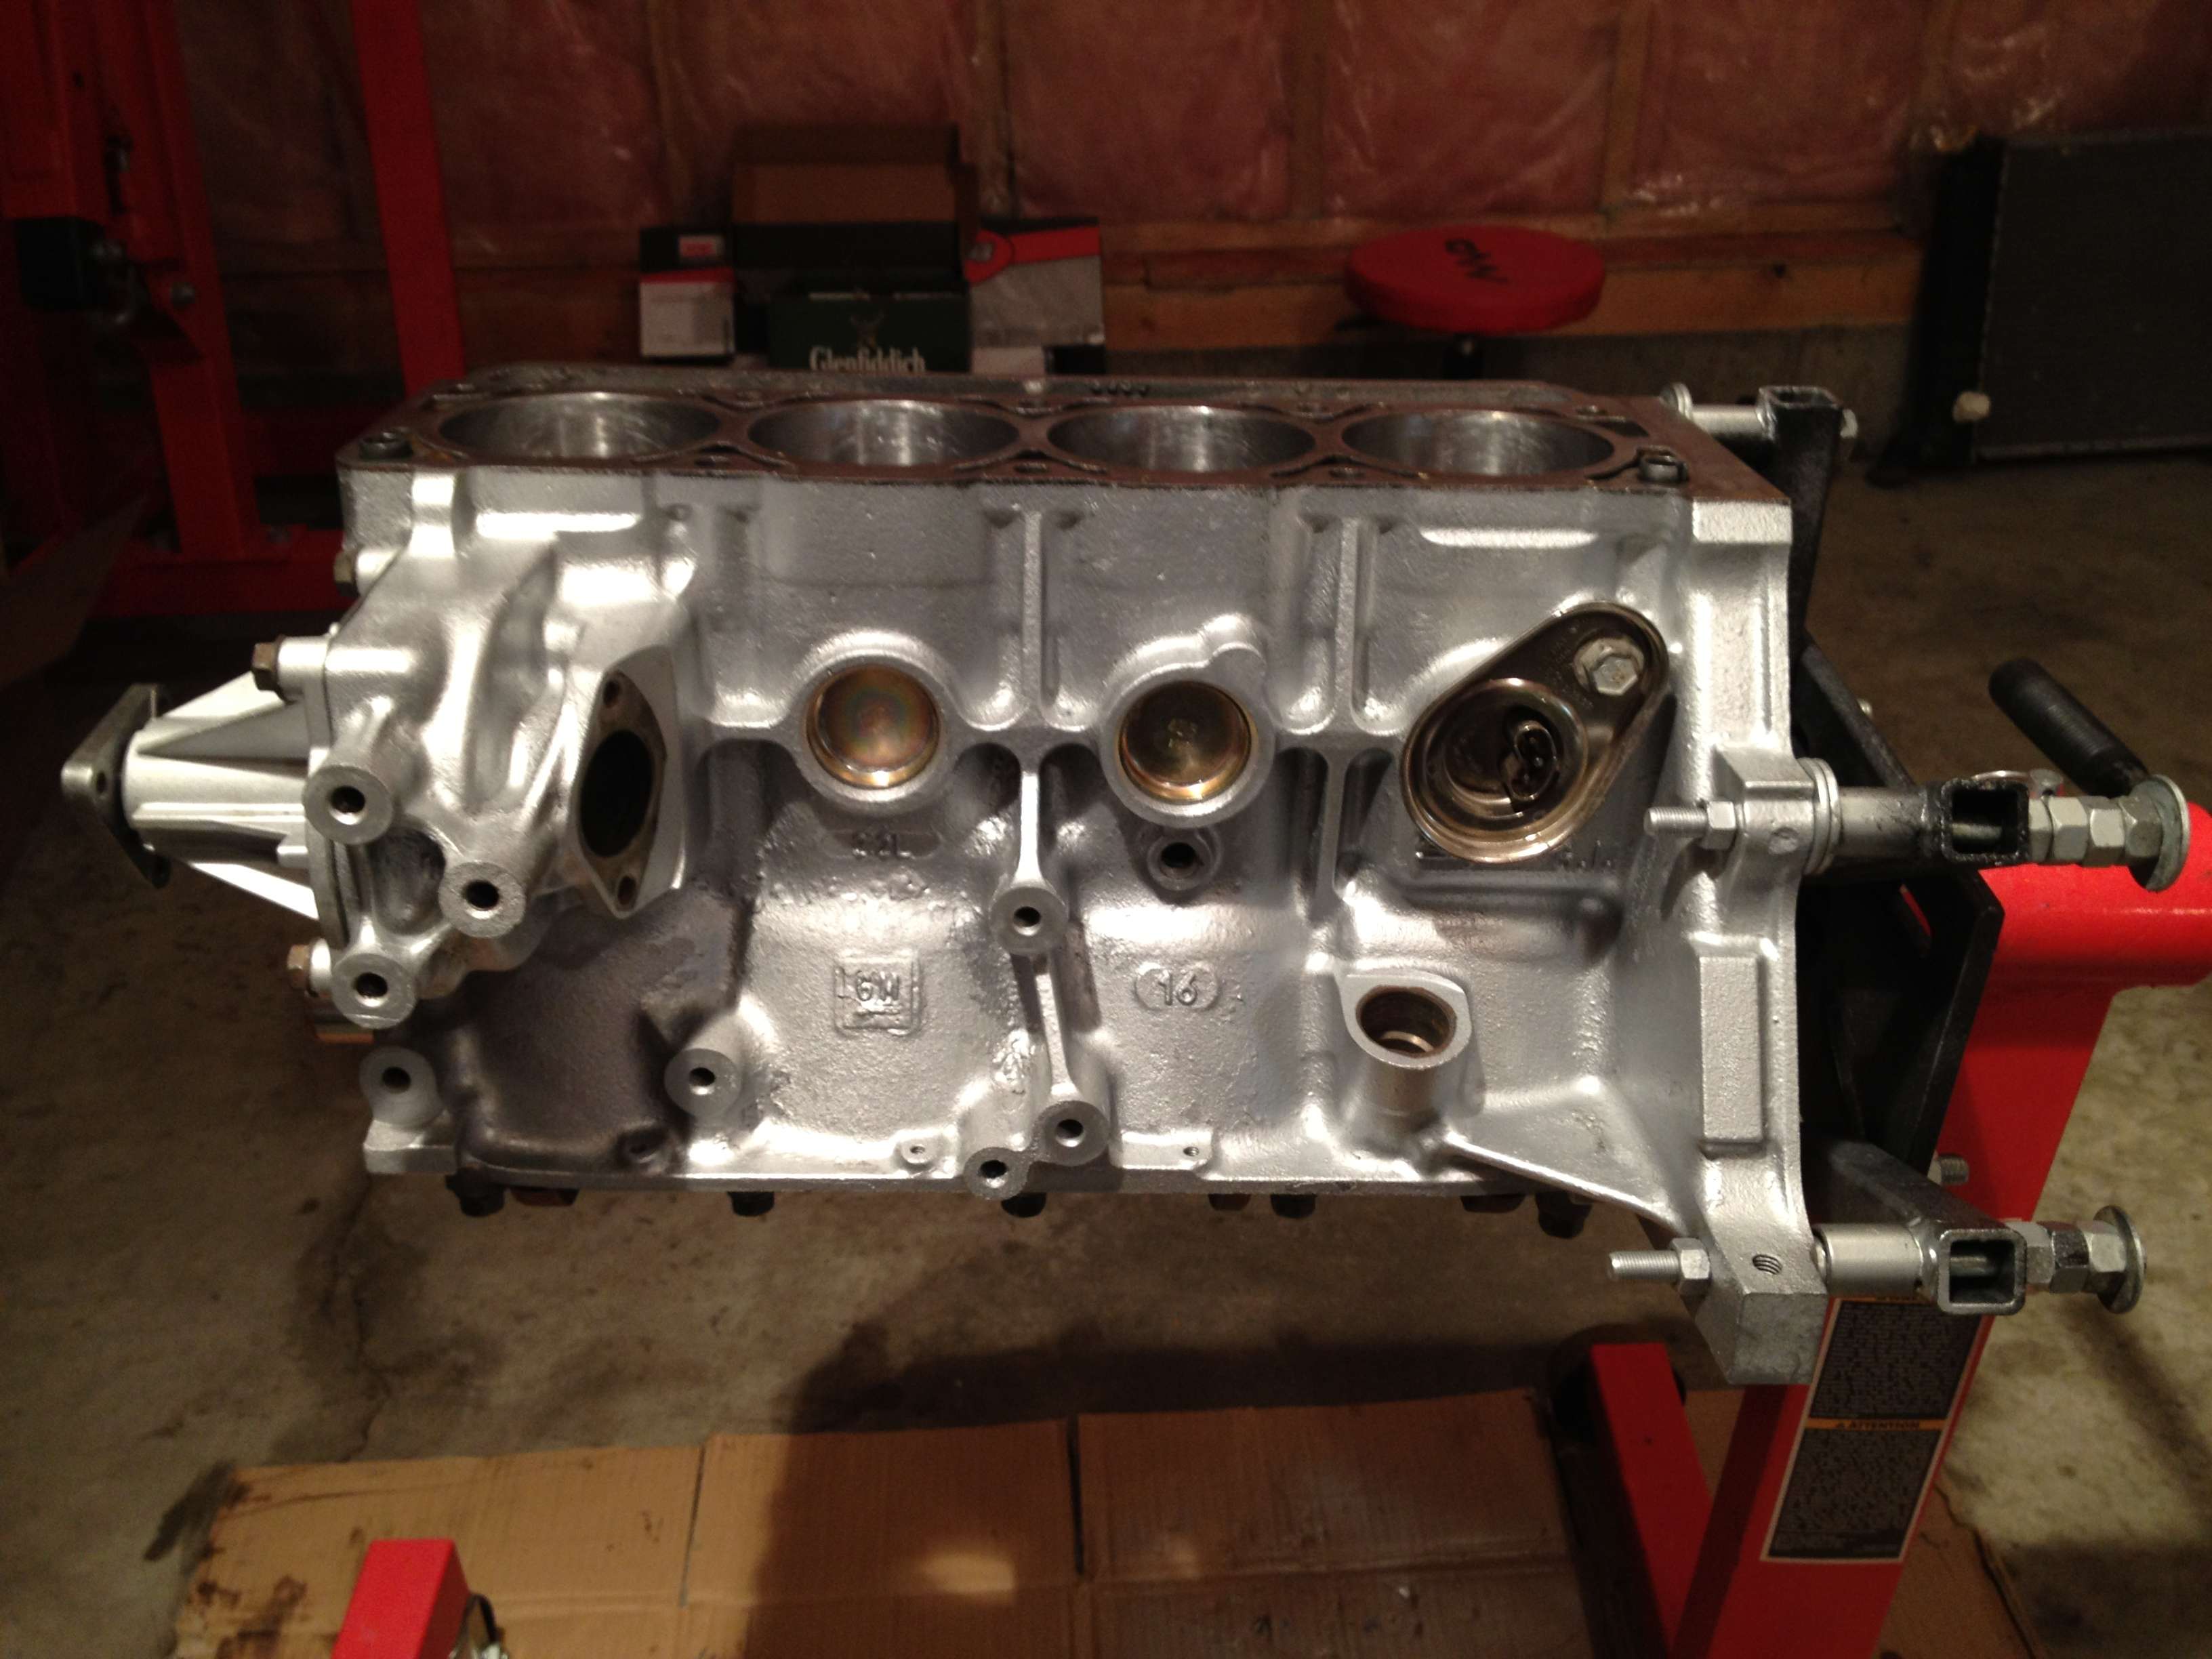
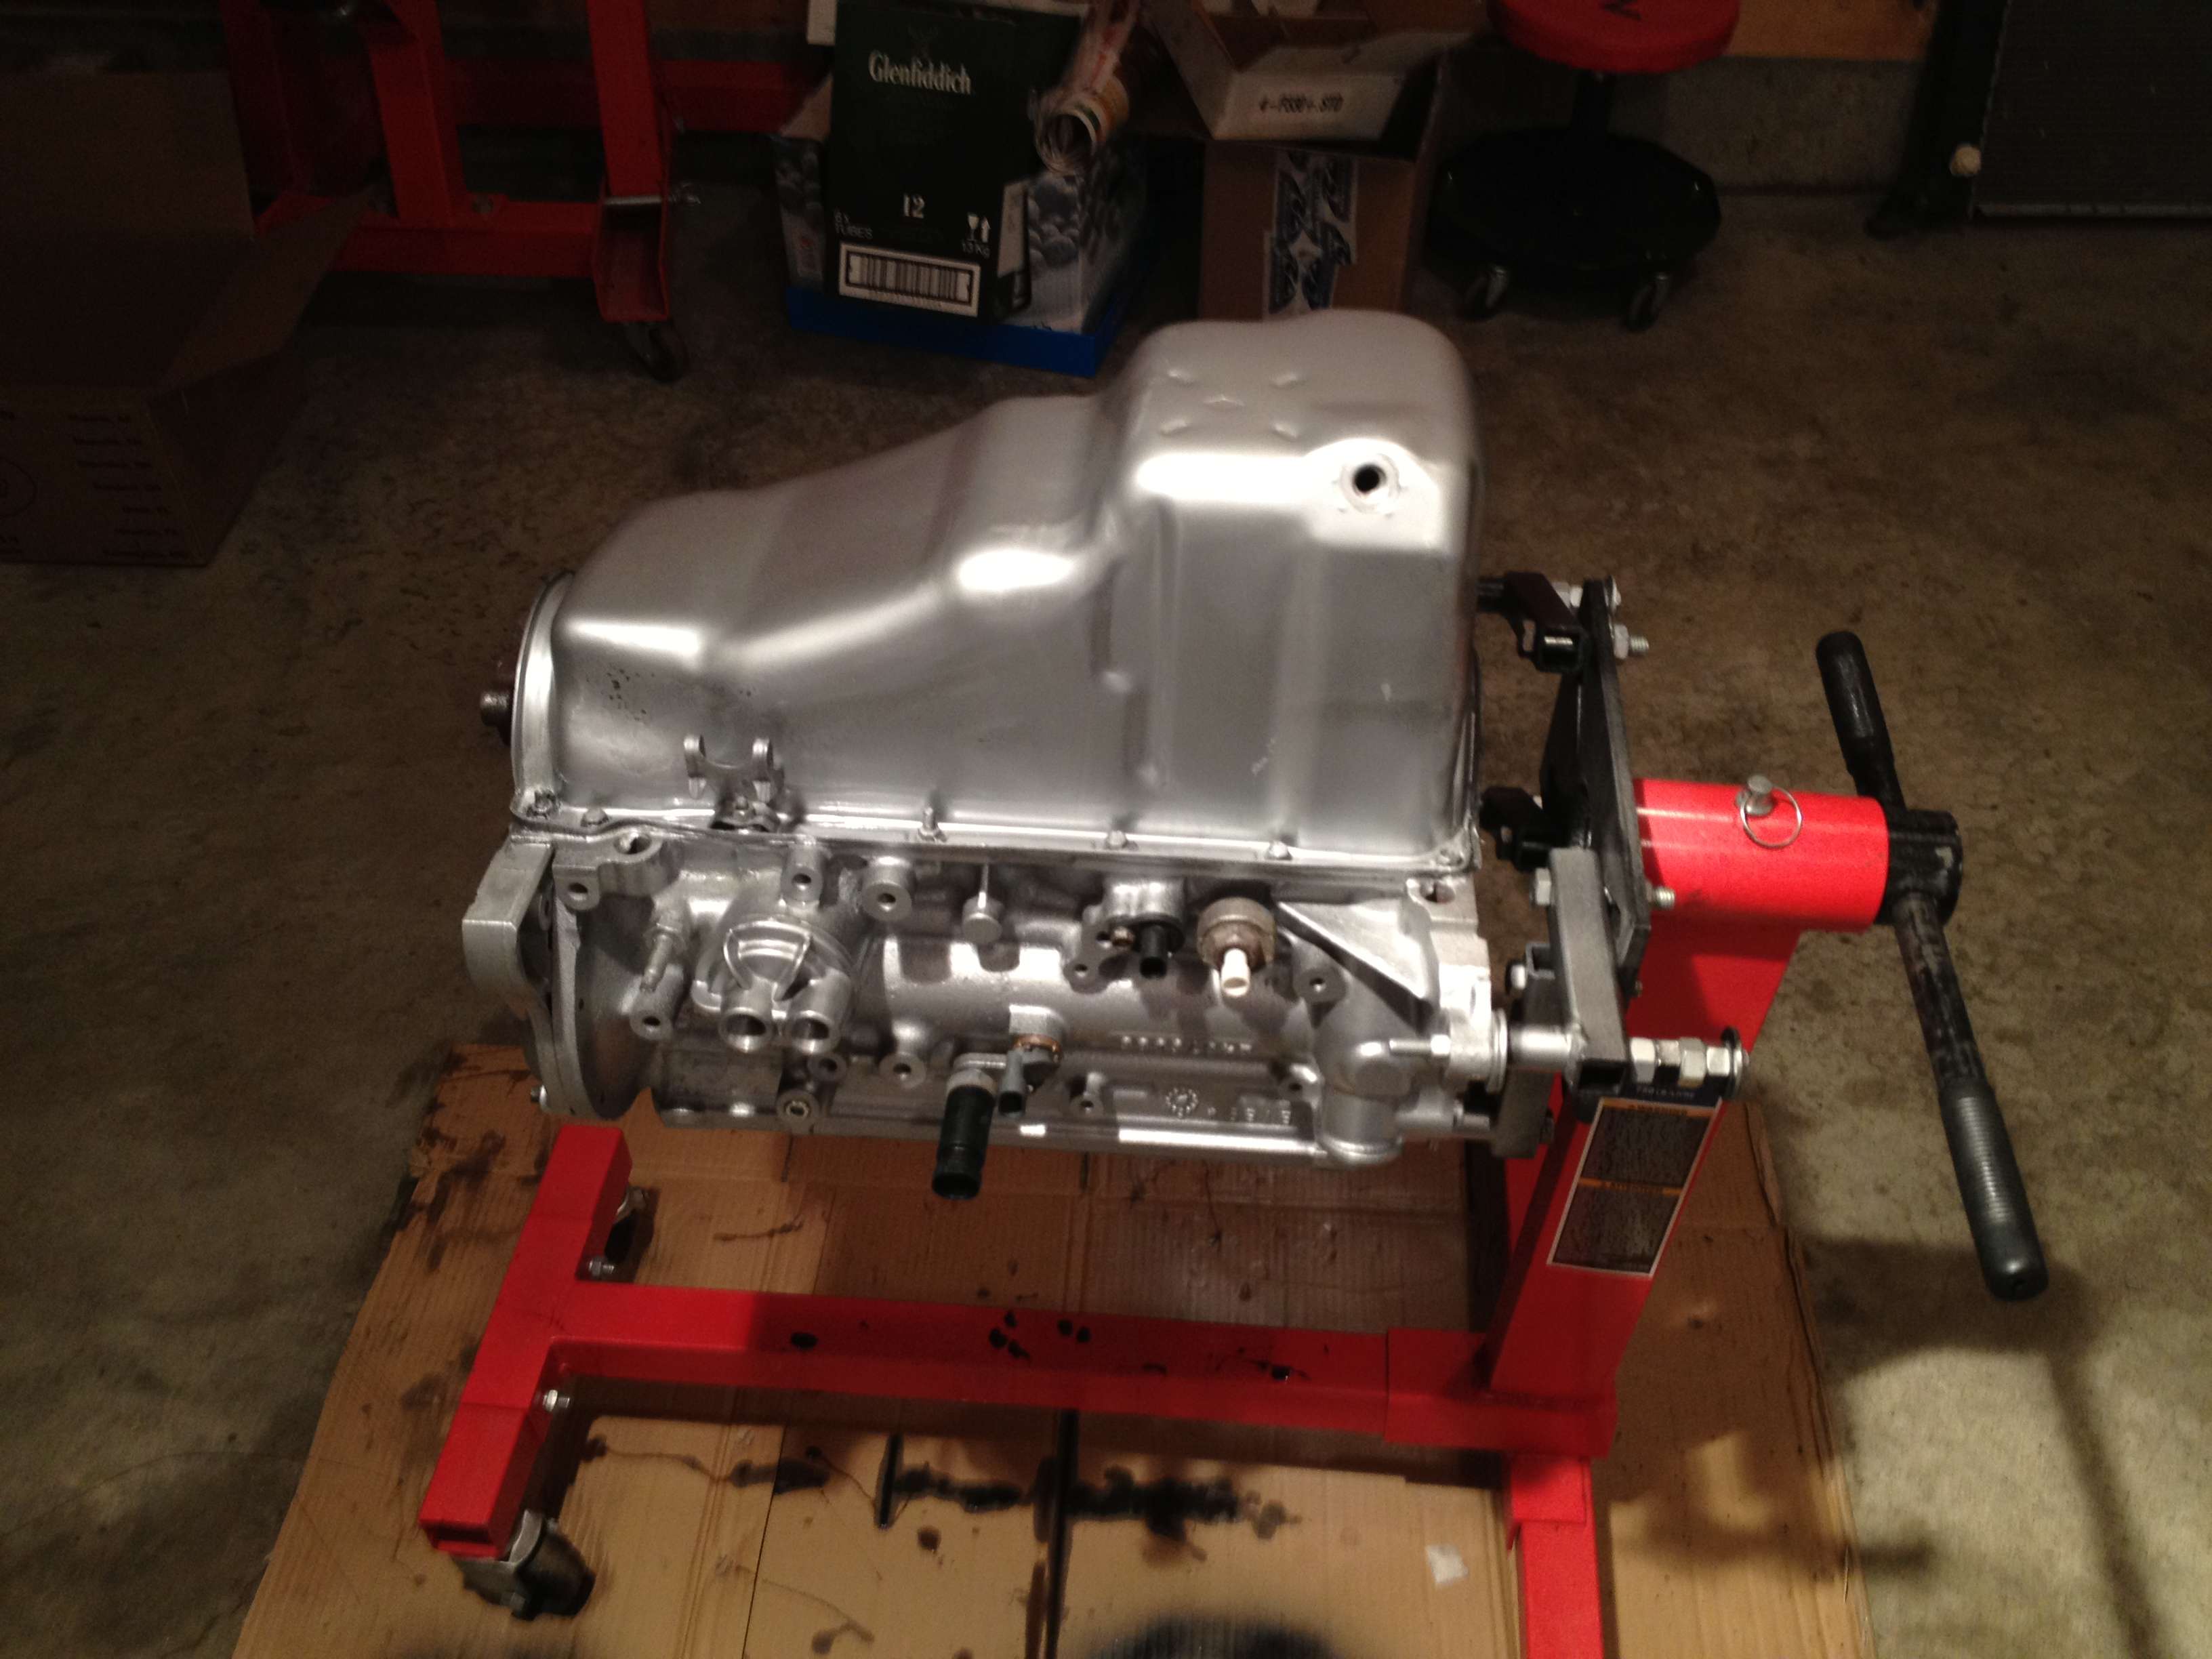
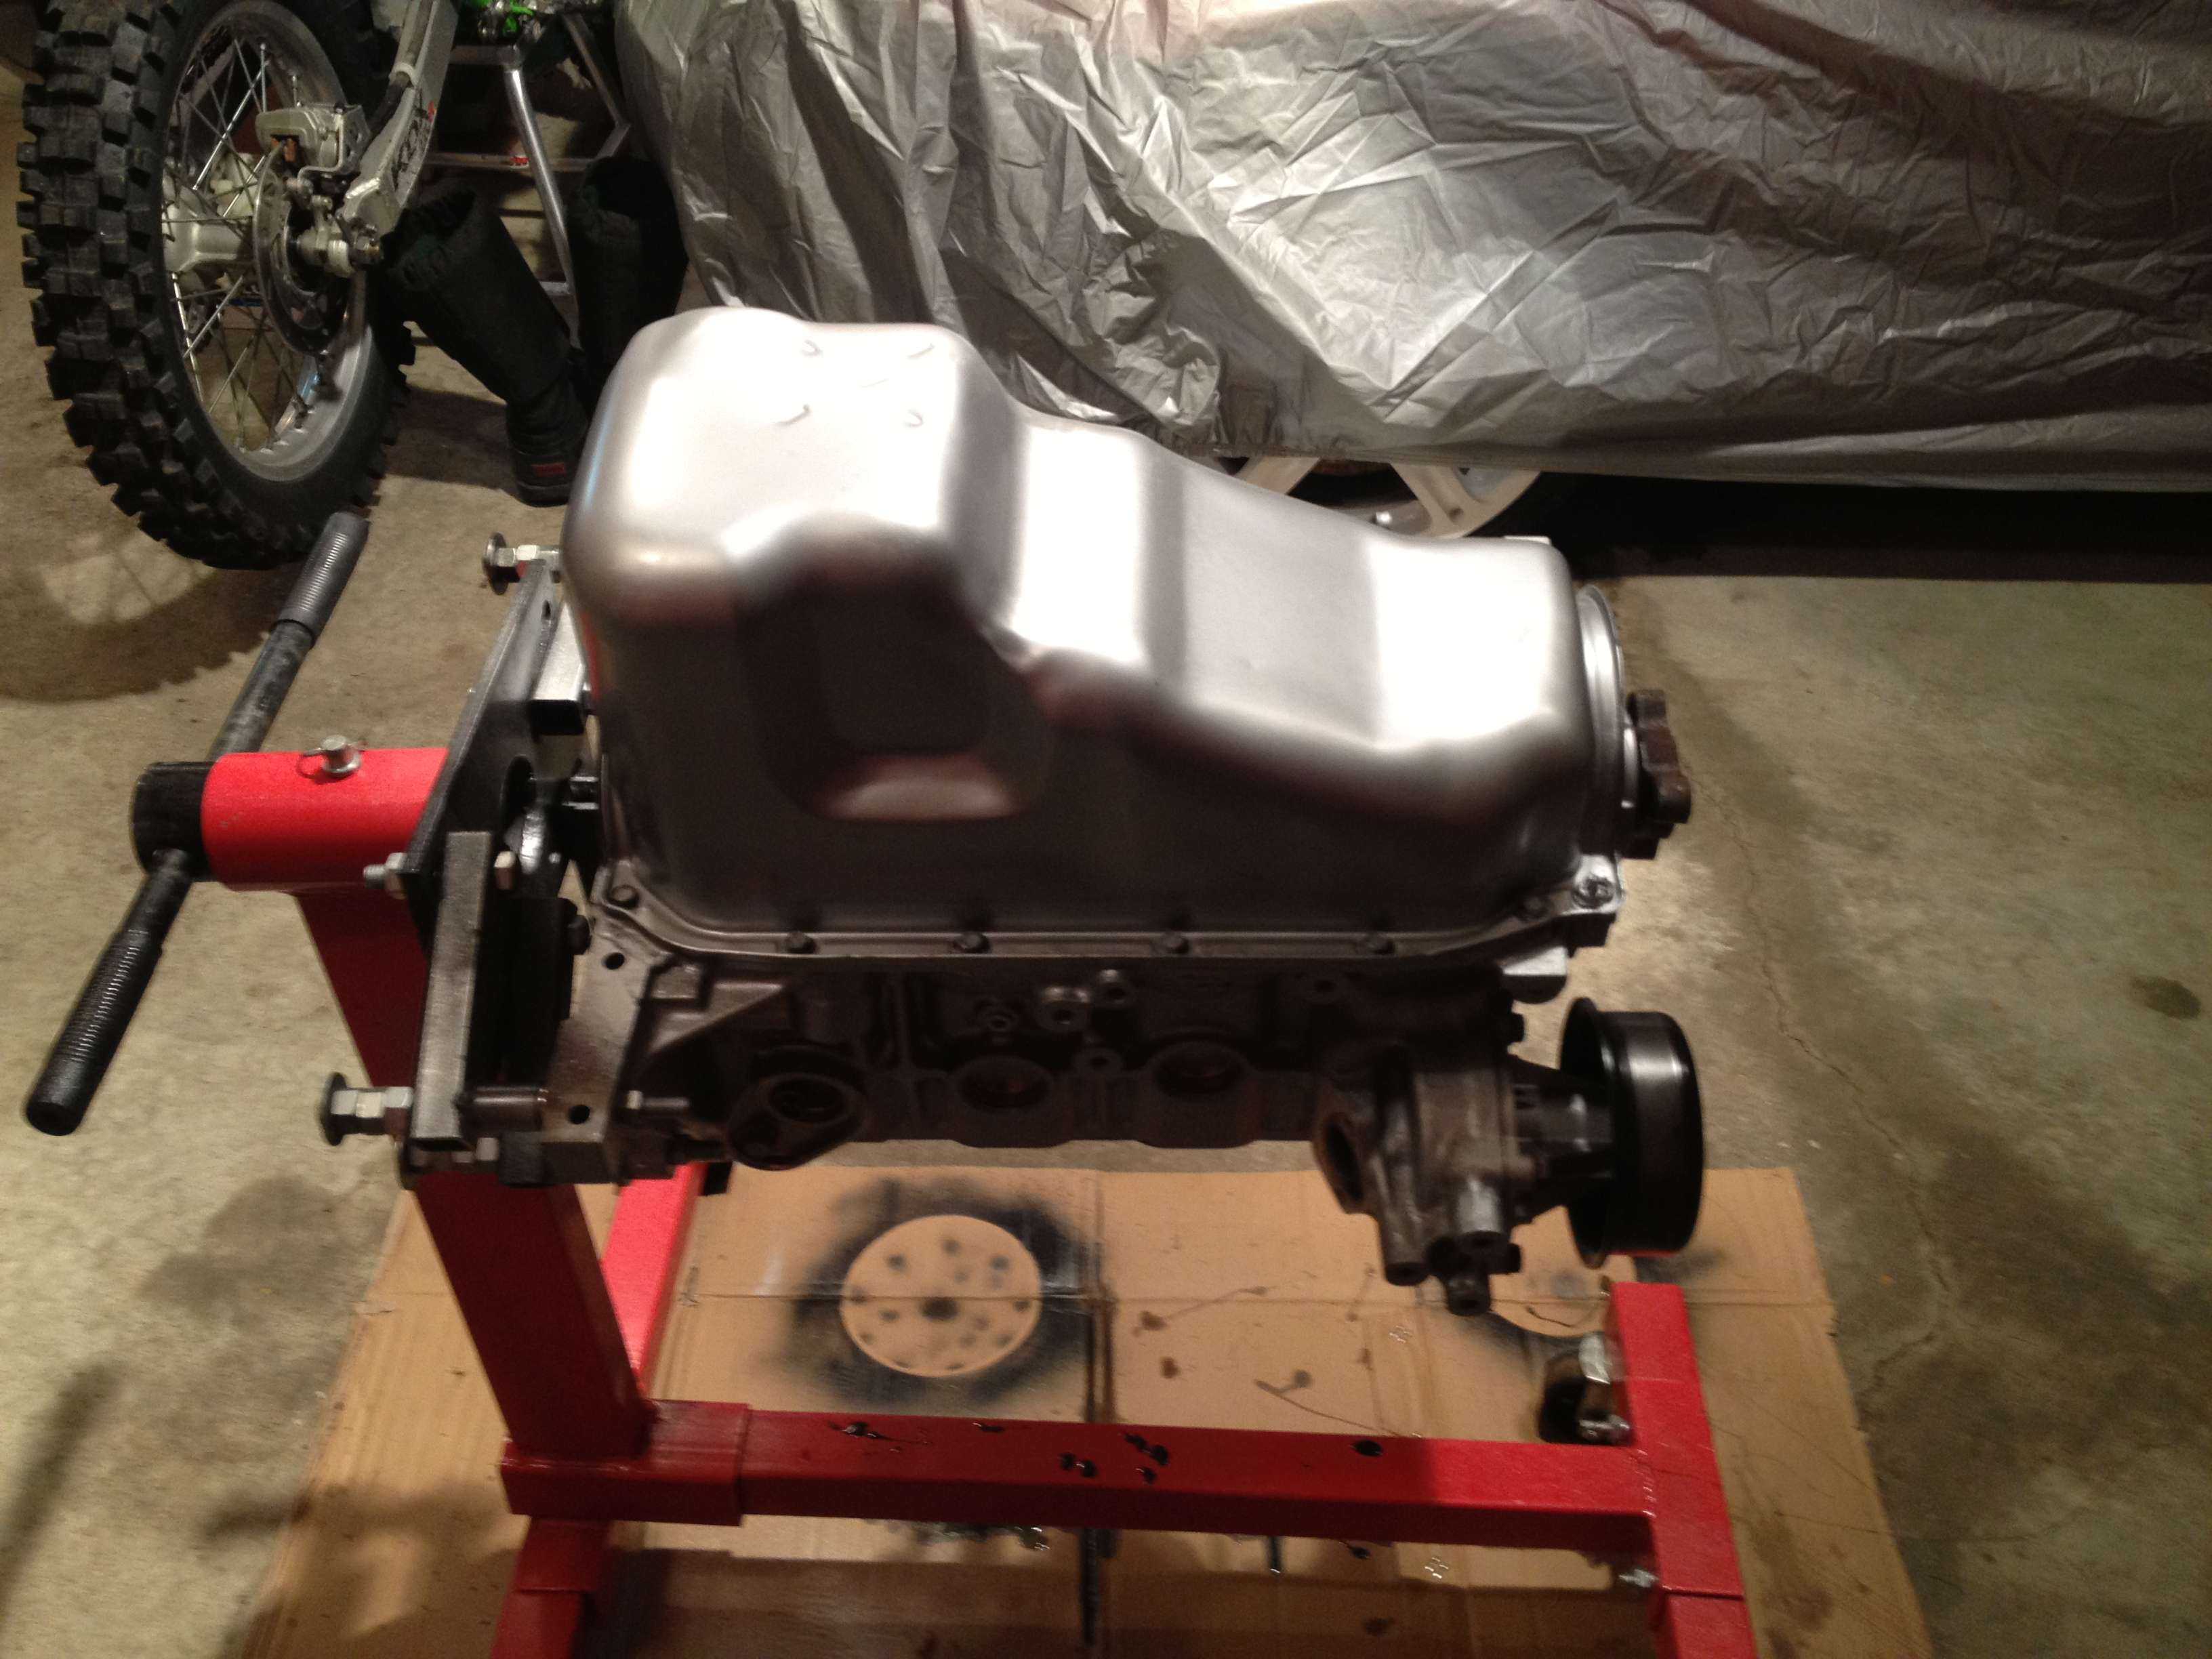
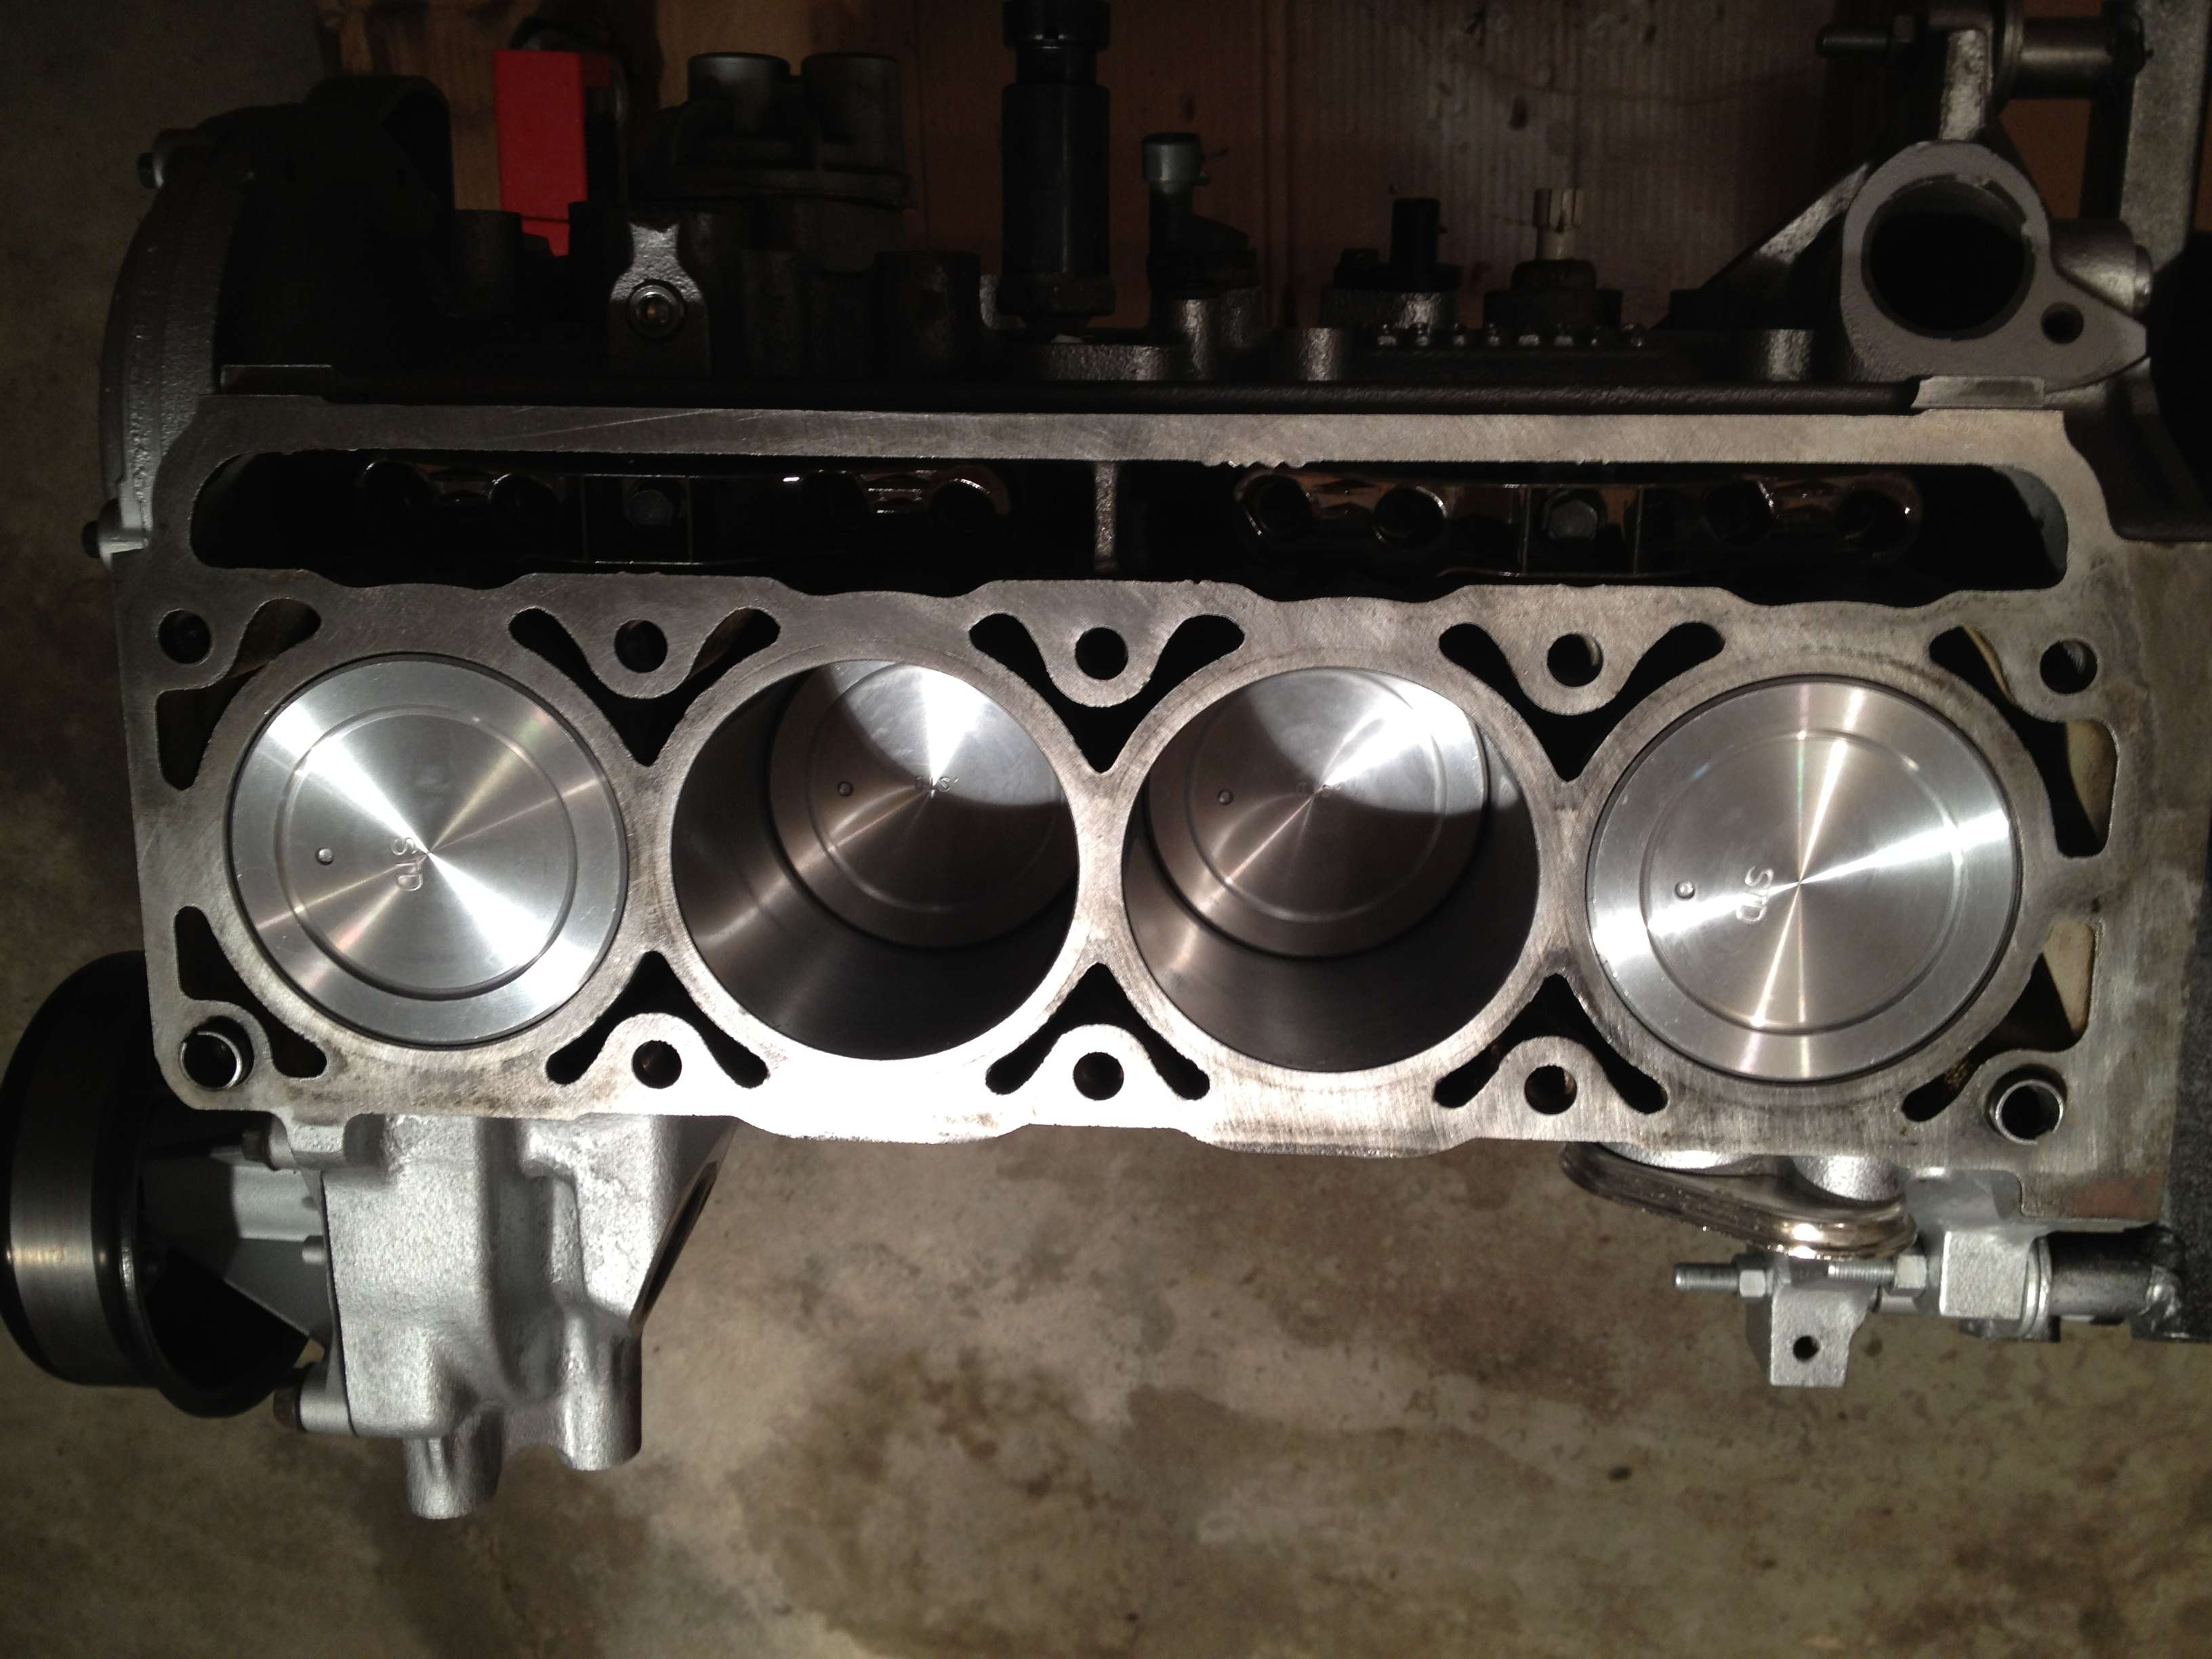
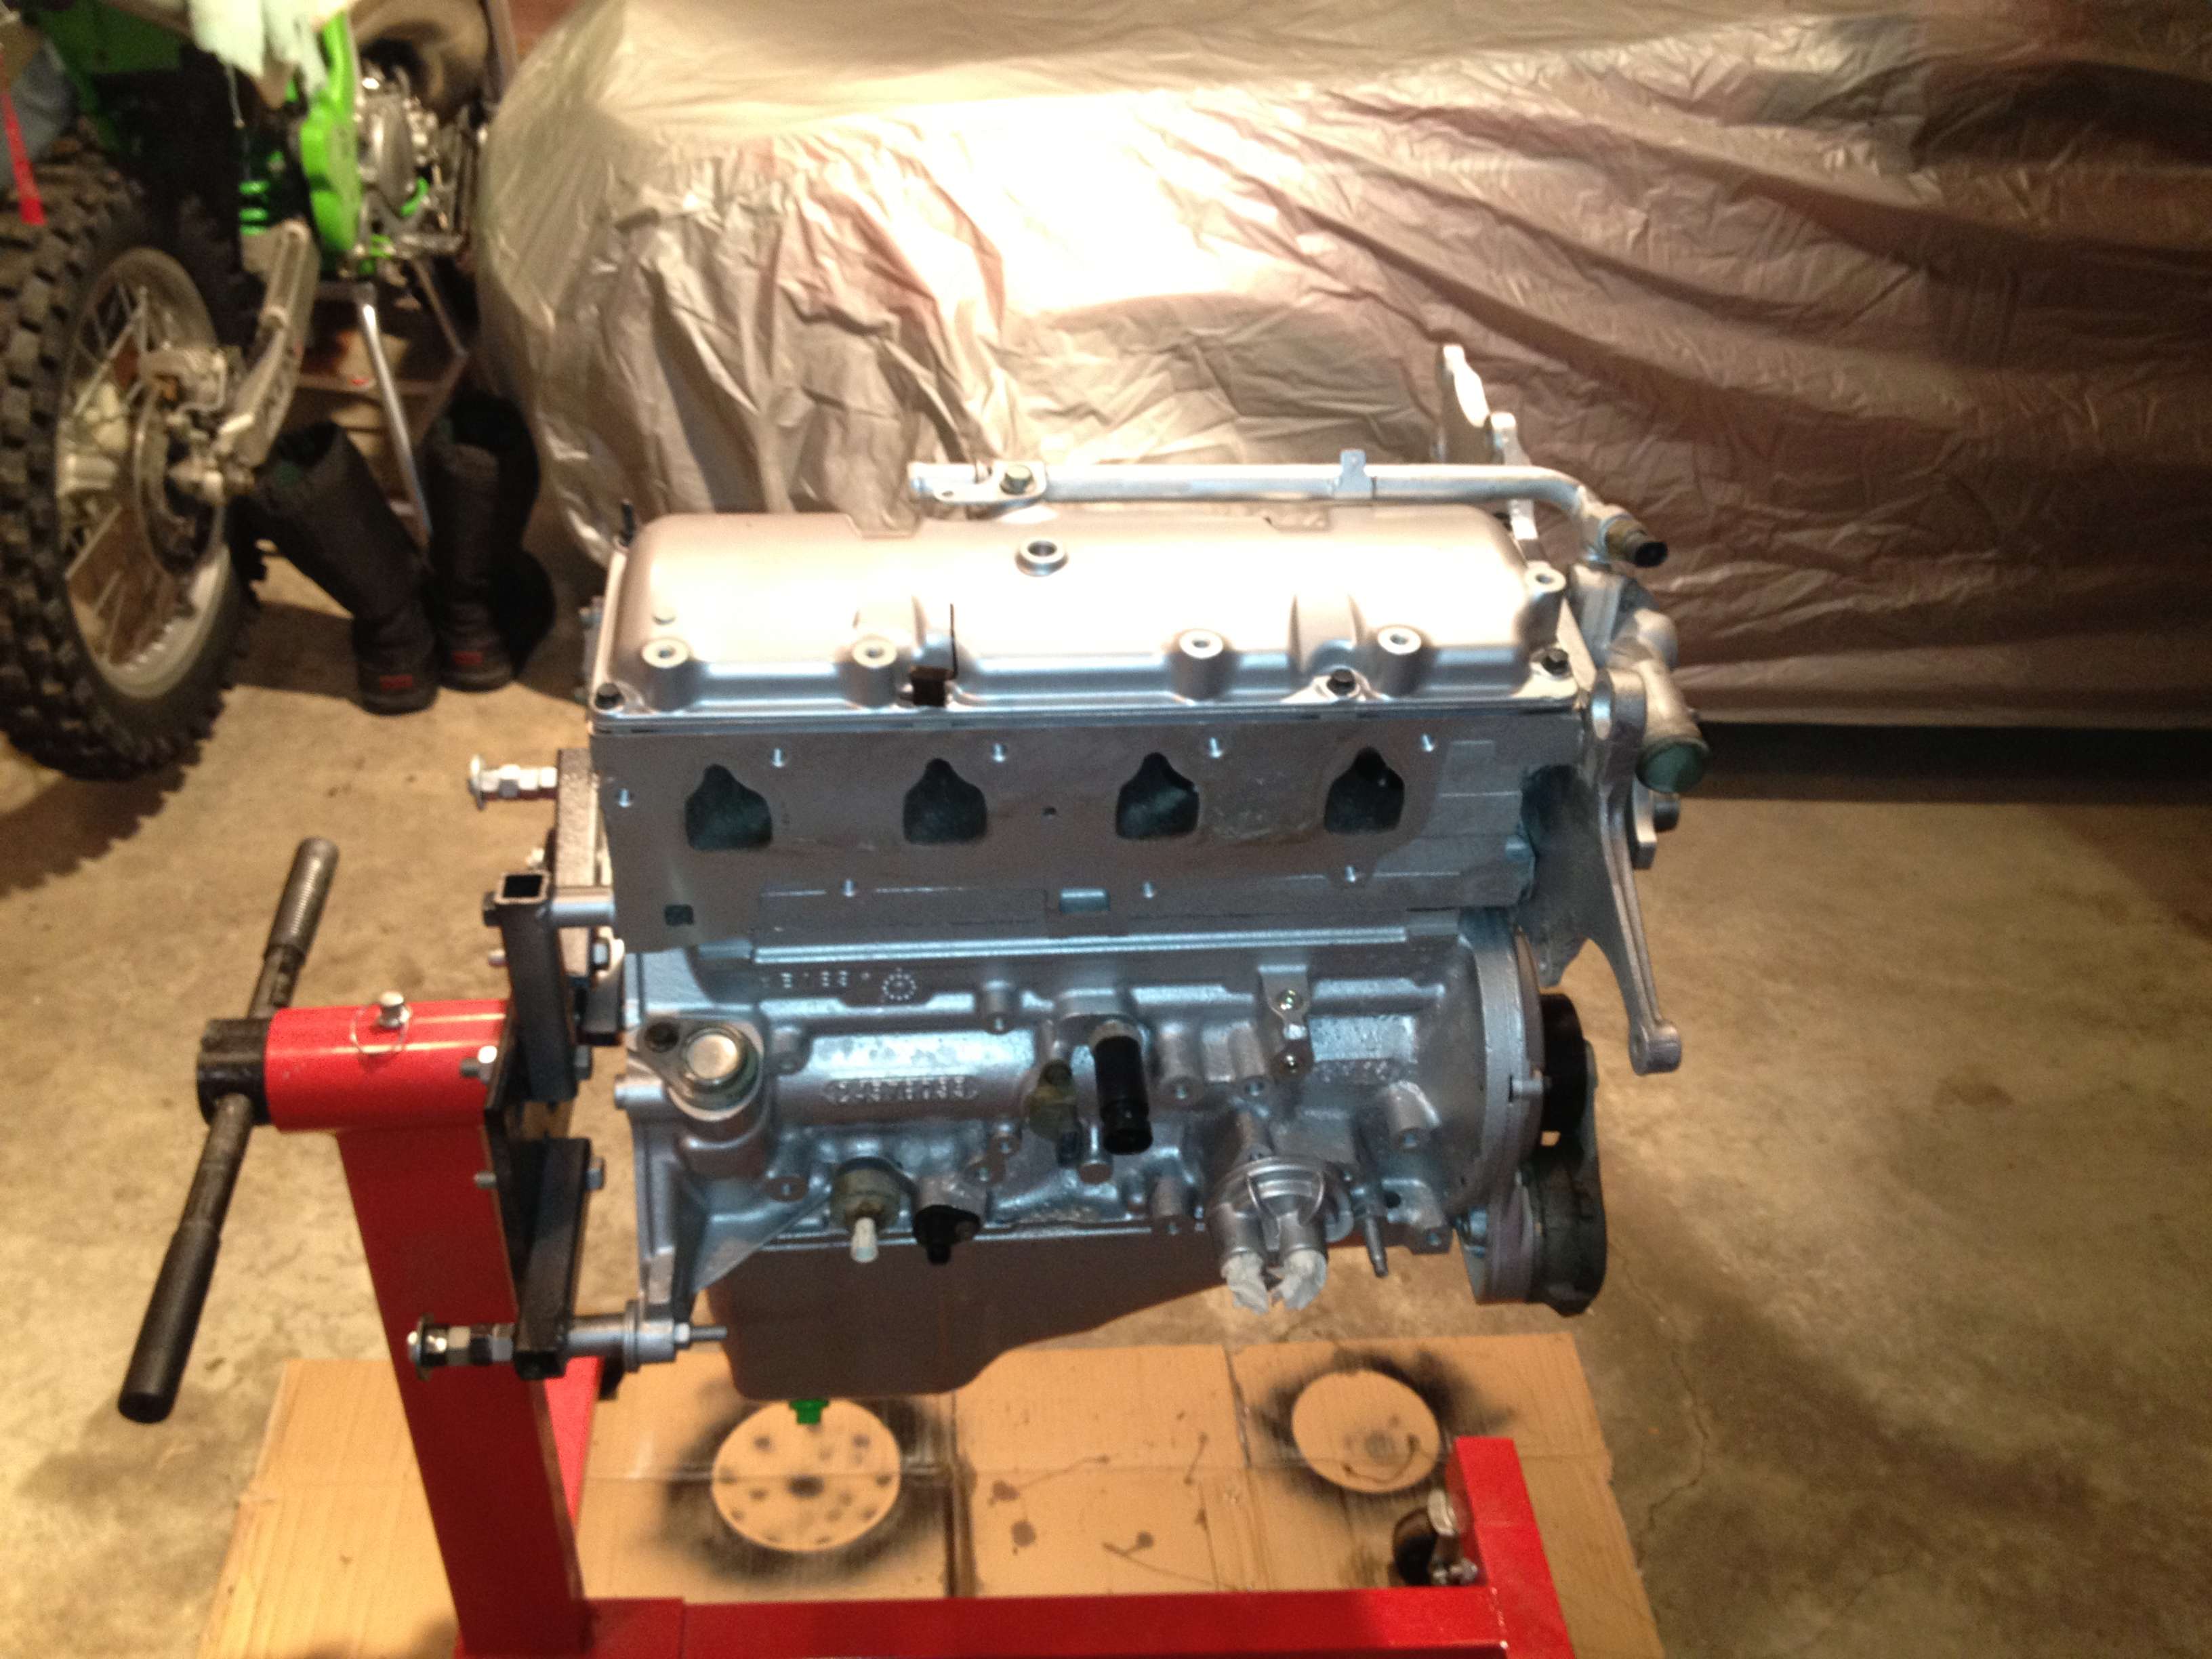
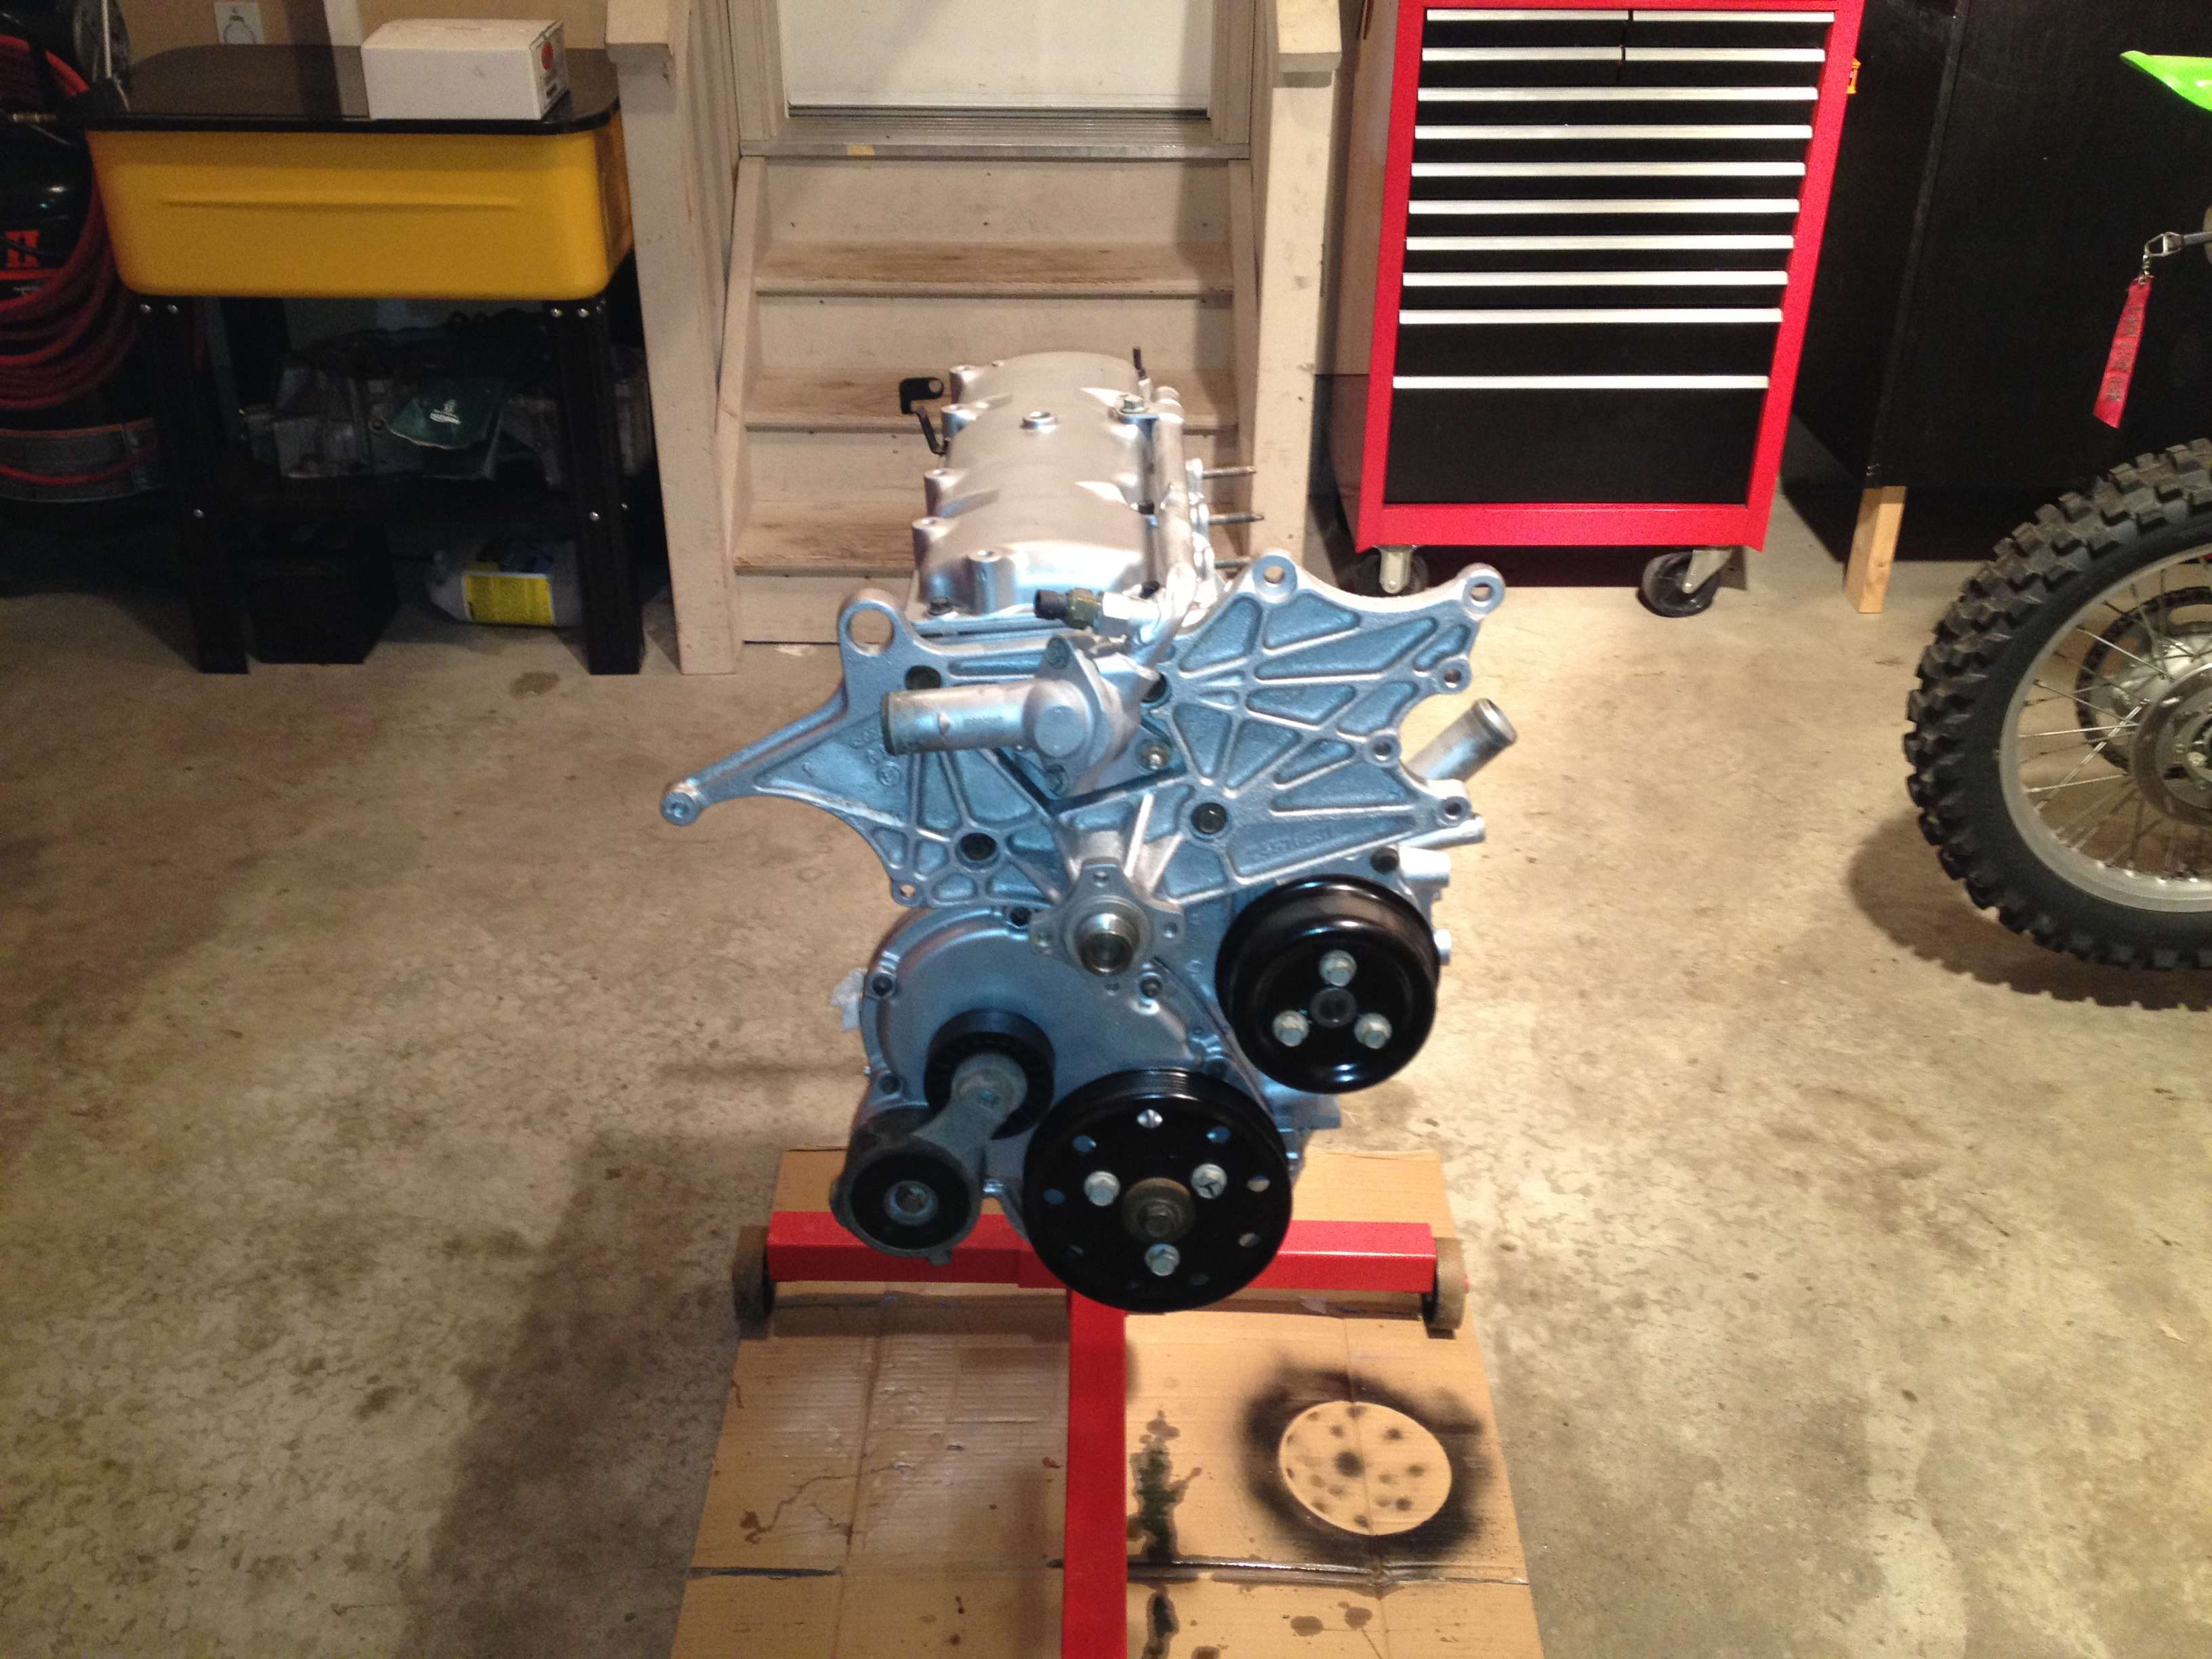
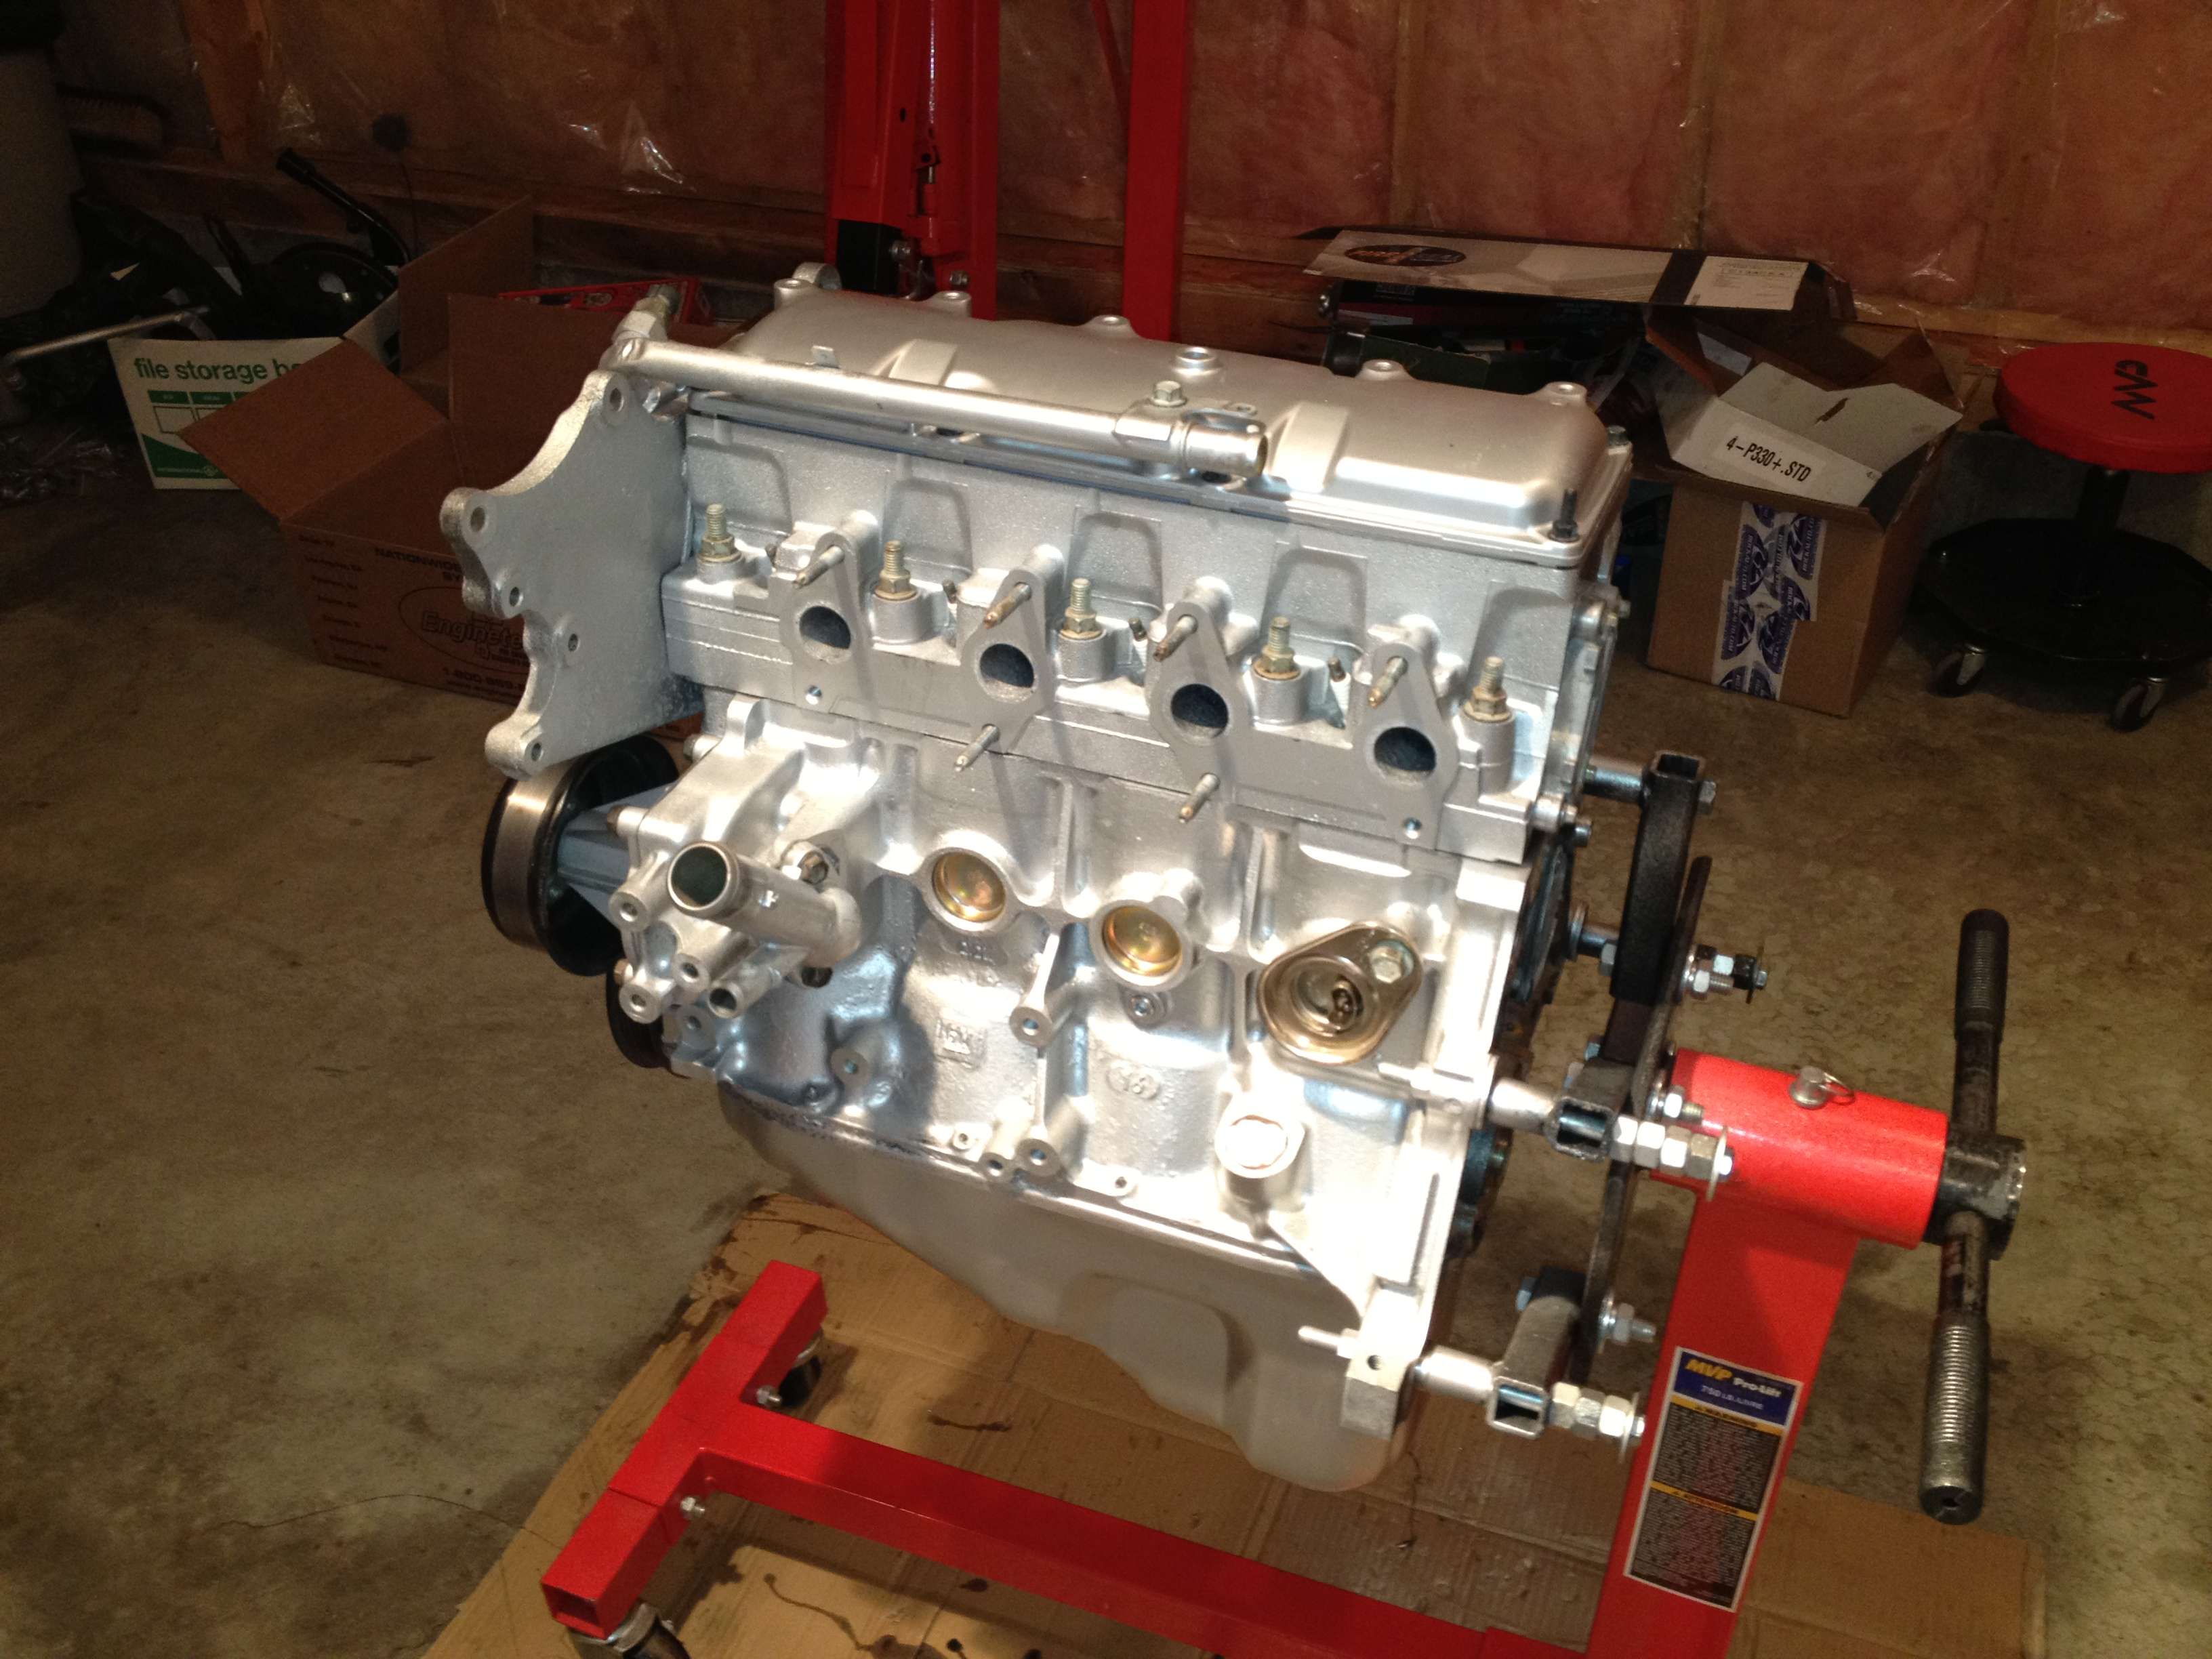
rebuilding the 2.2L, and this will serve as my "rebuild journal". Plans are to
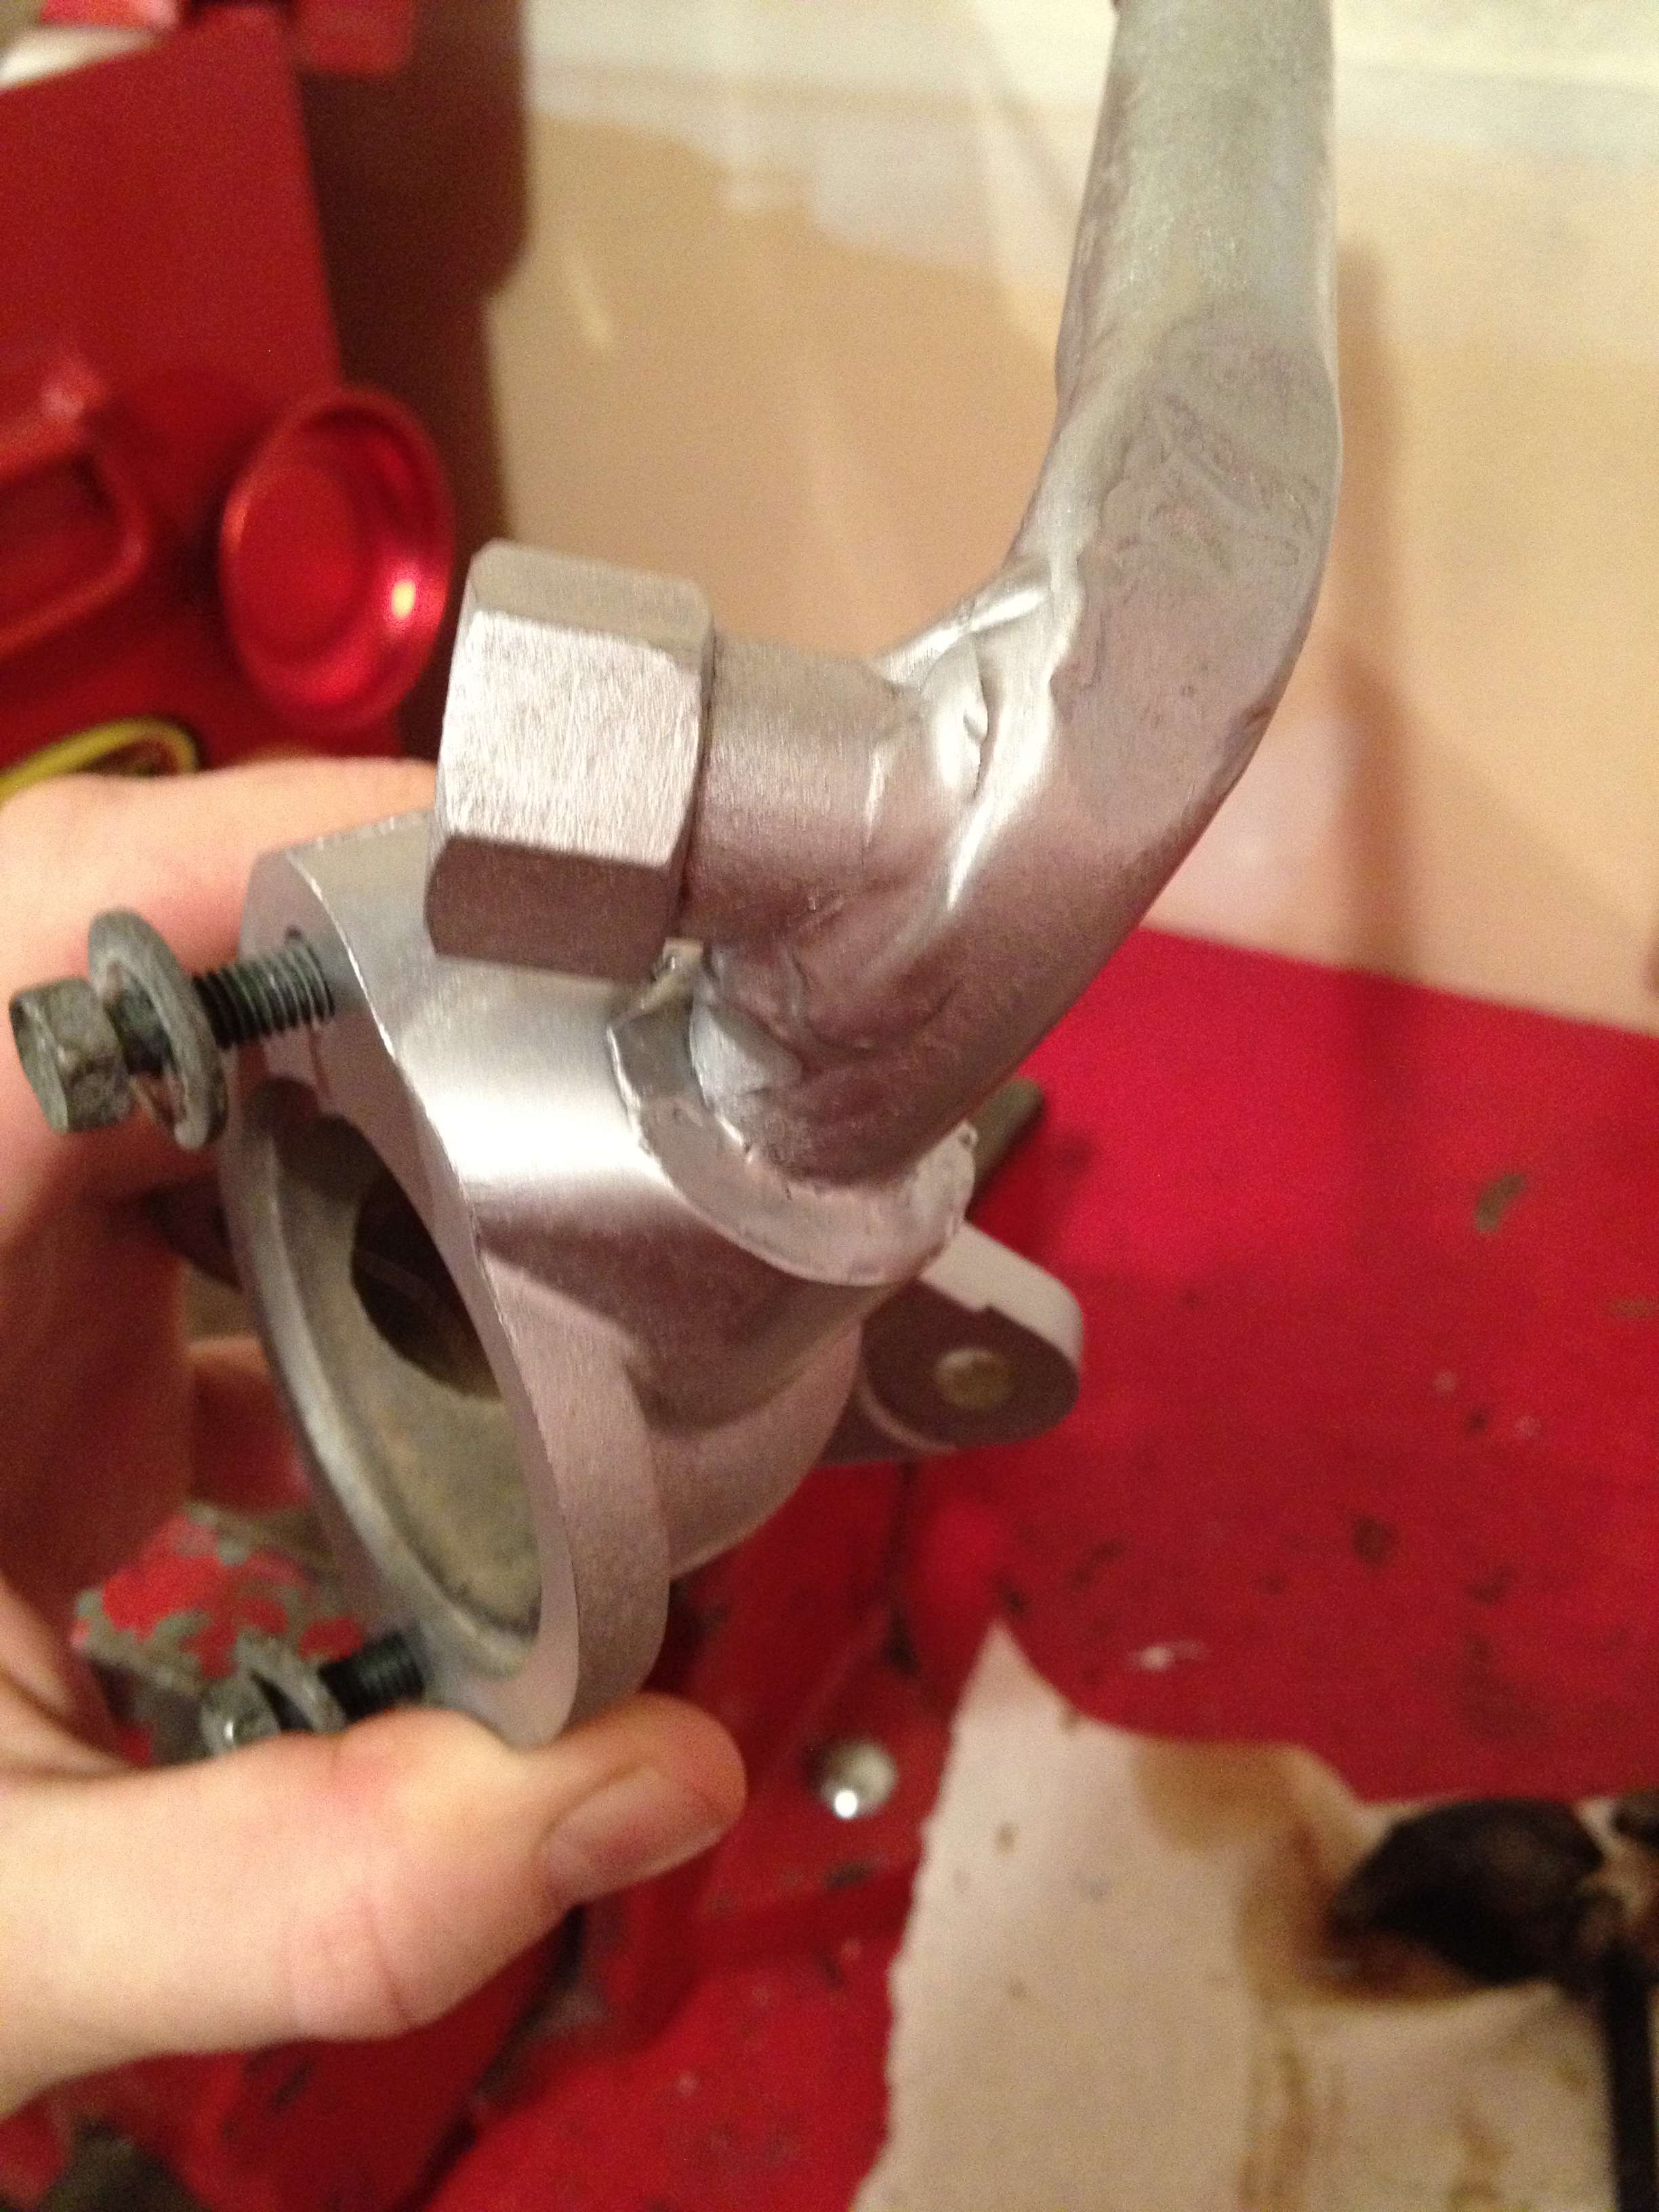
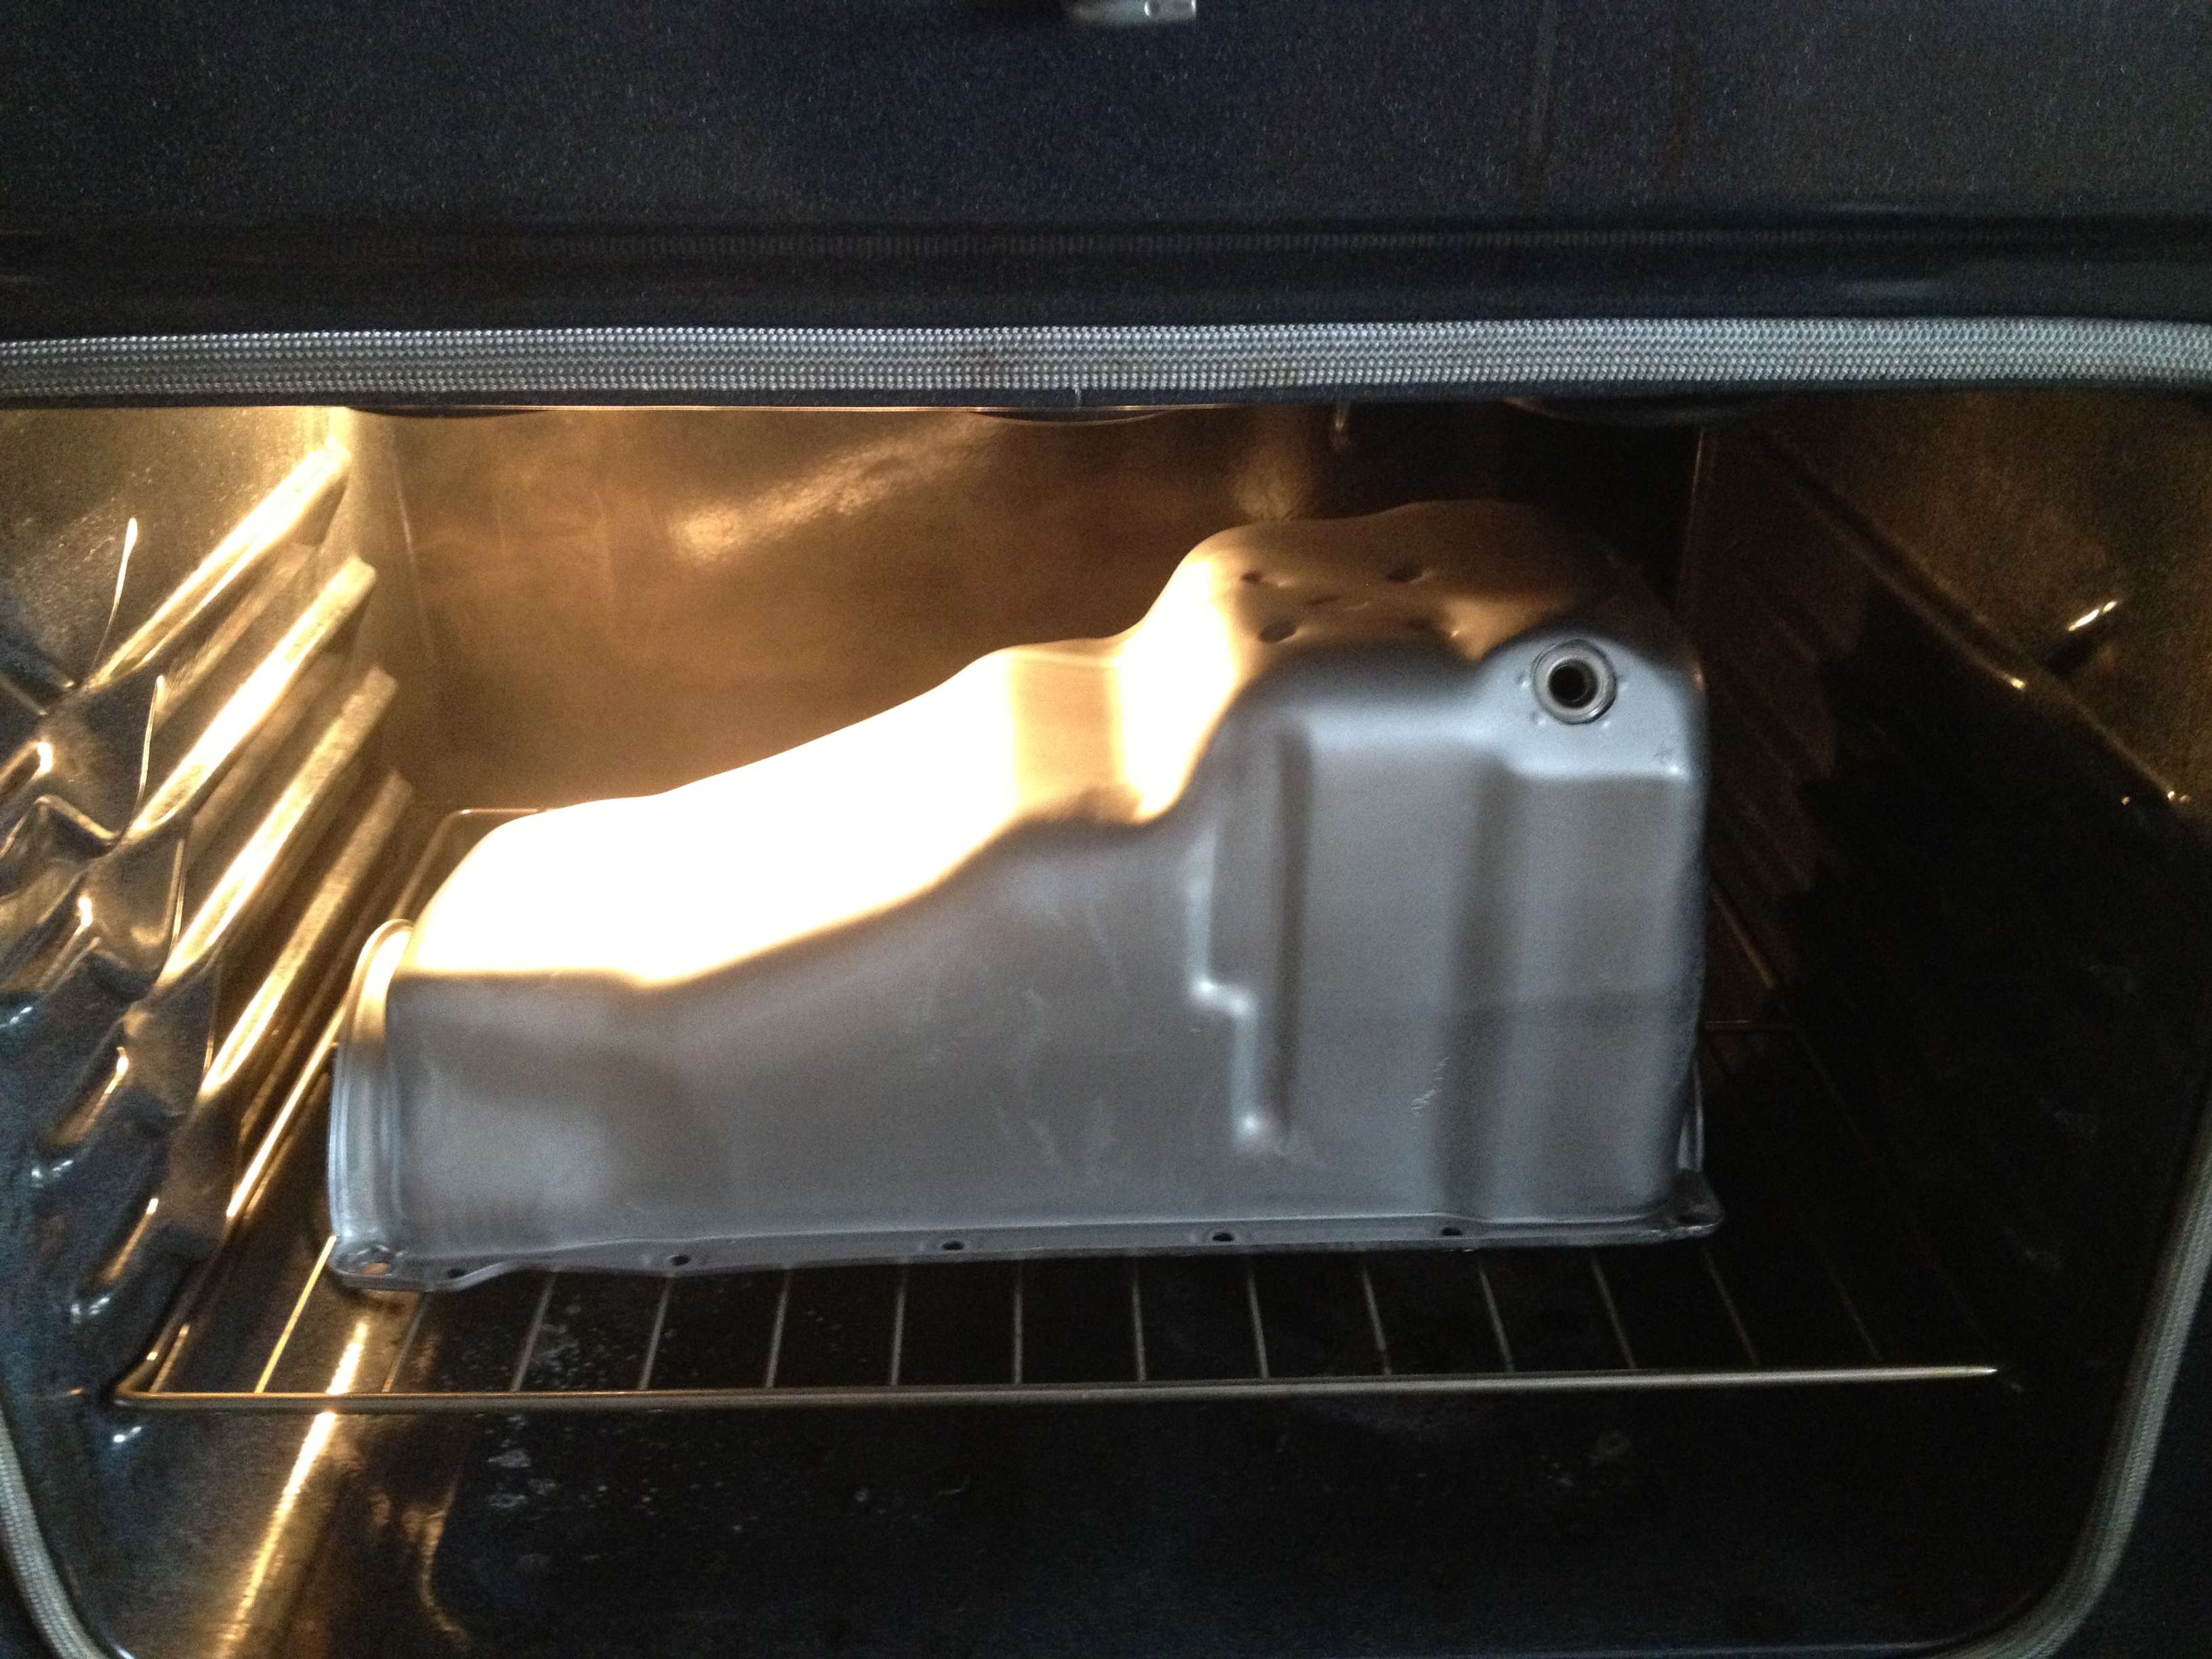
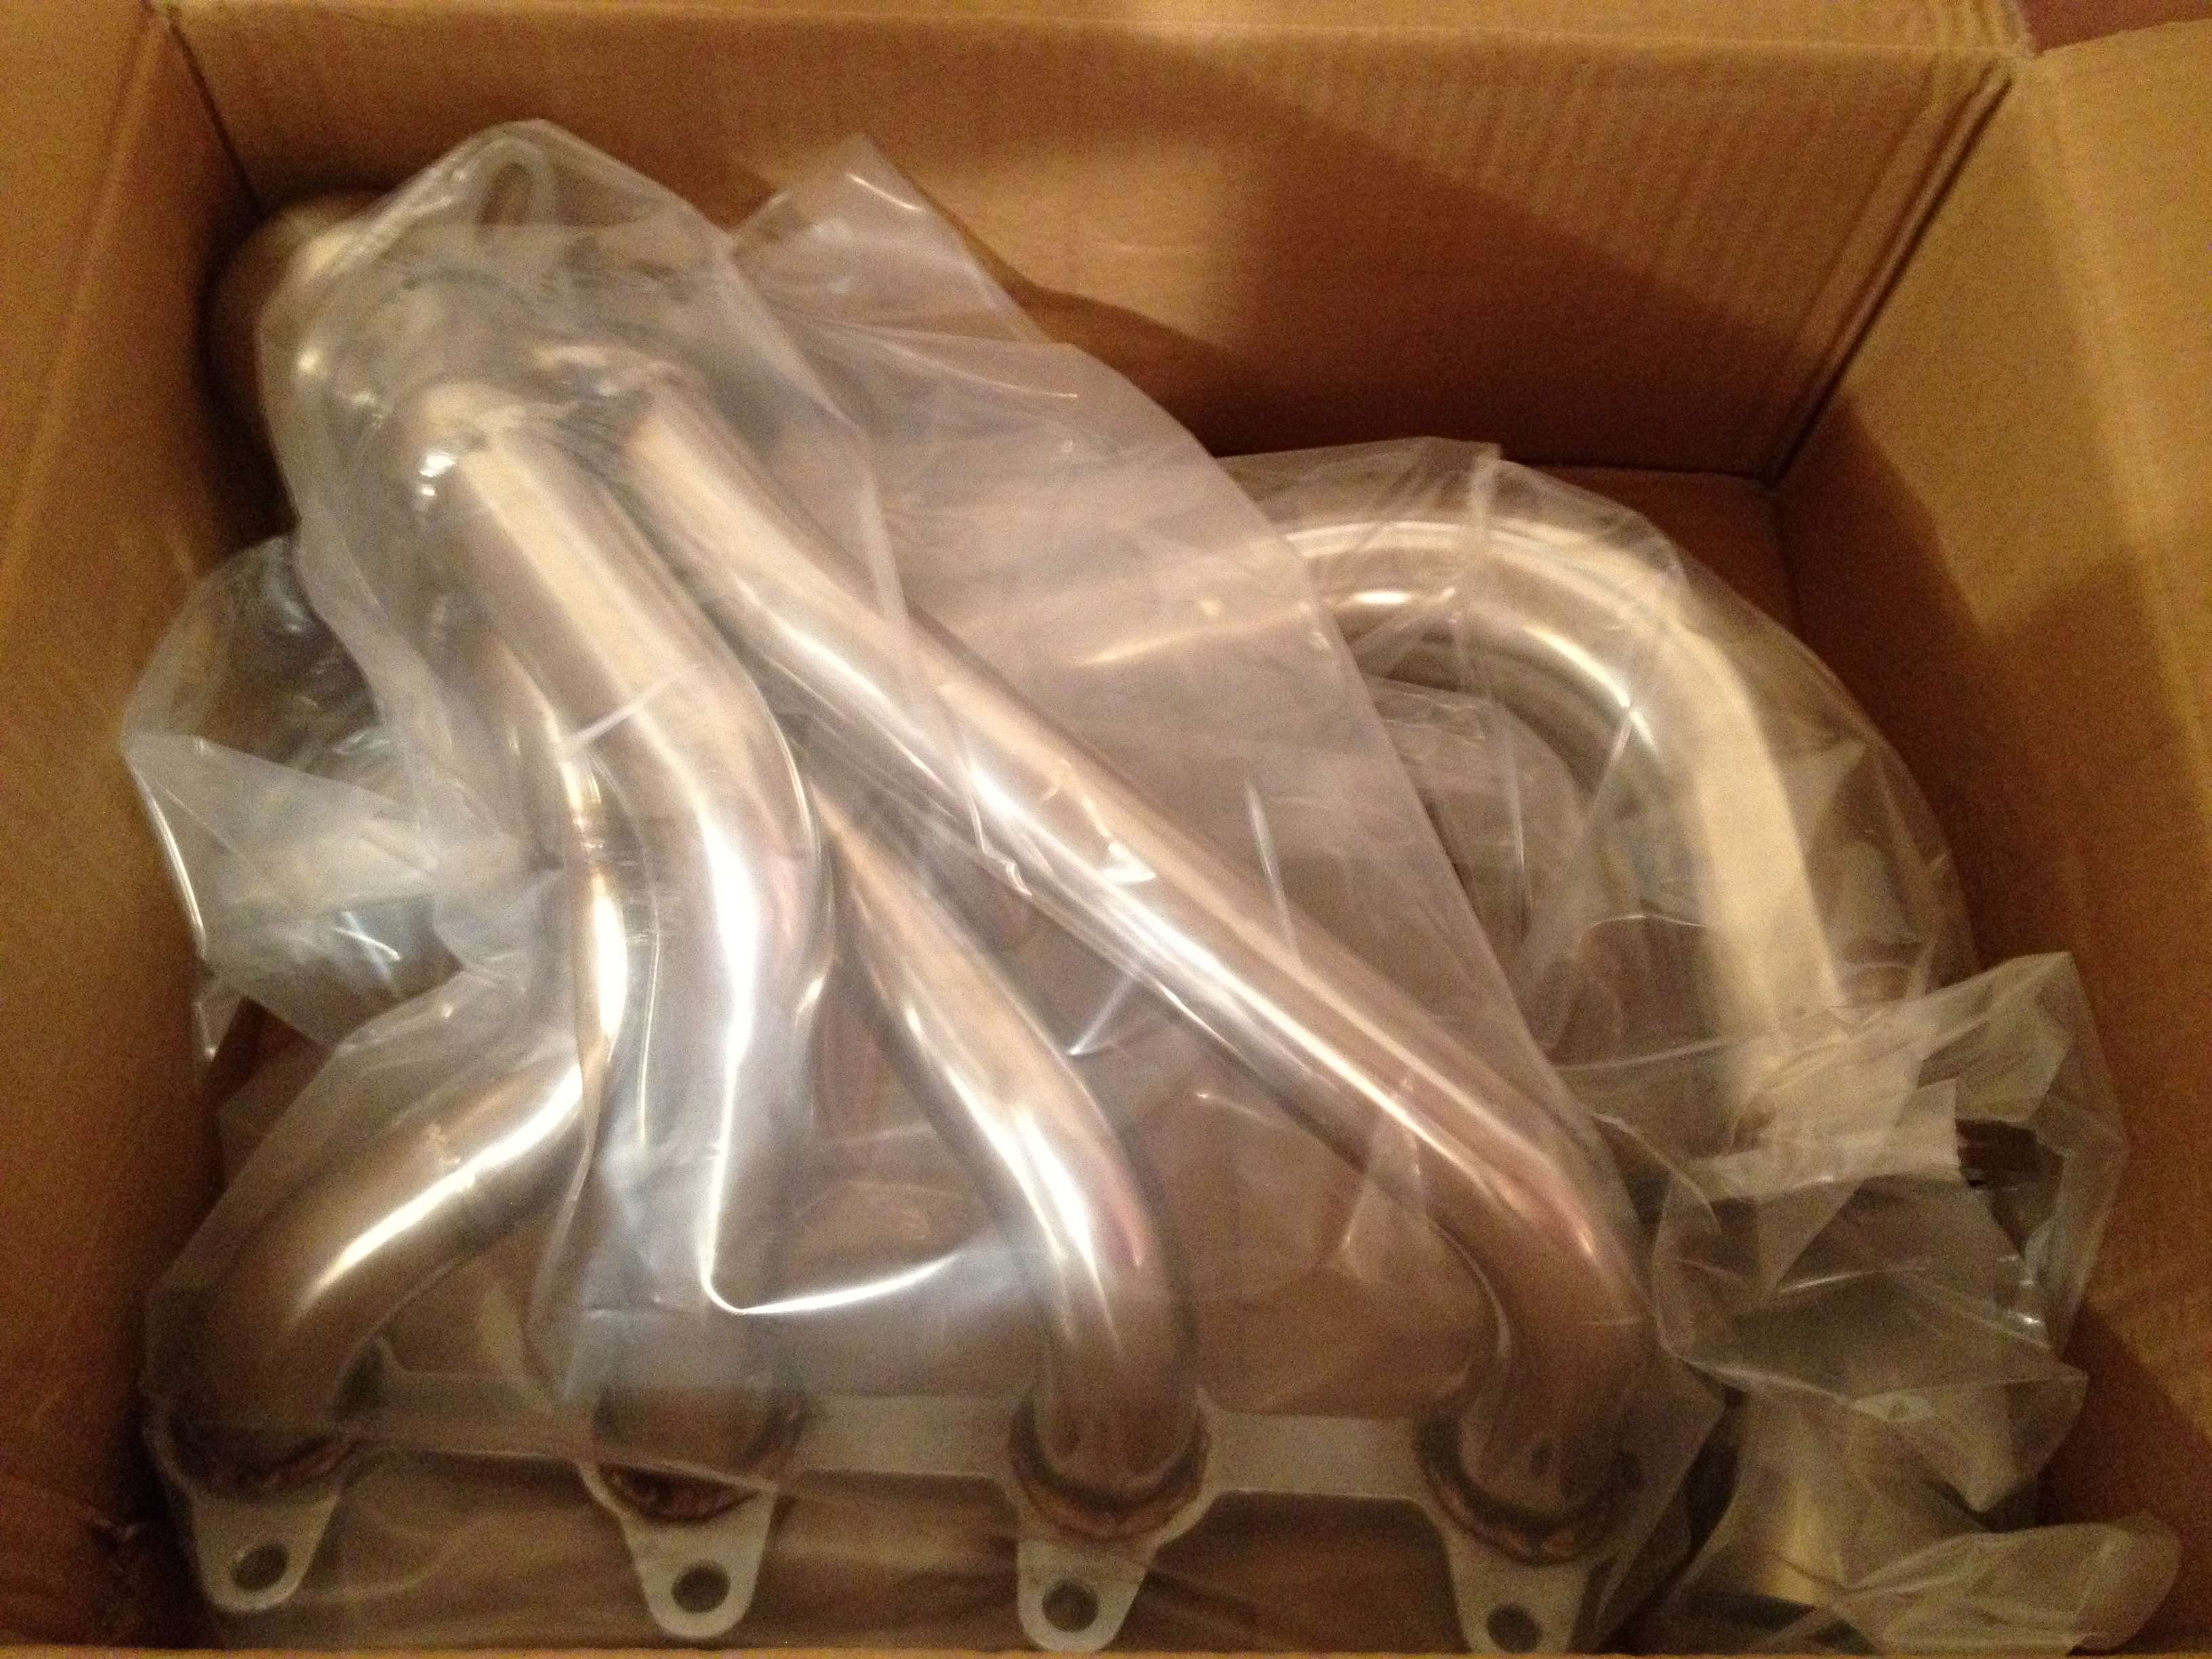
replace pistons, all bearings and gaskets, oil pump, water pump, header, etc. A
general "freshen up" and replace of all the s*** that's been bugging me with
this truck since I bought it about a year ago.

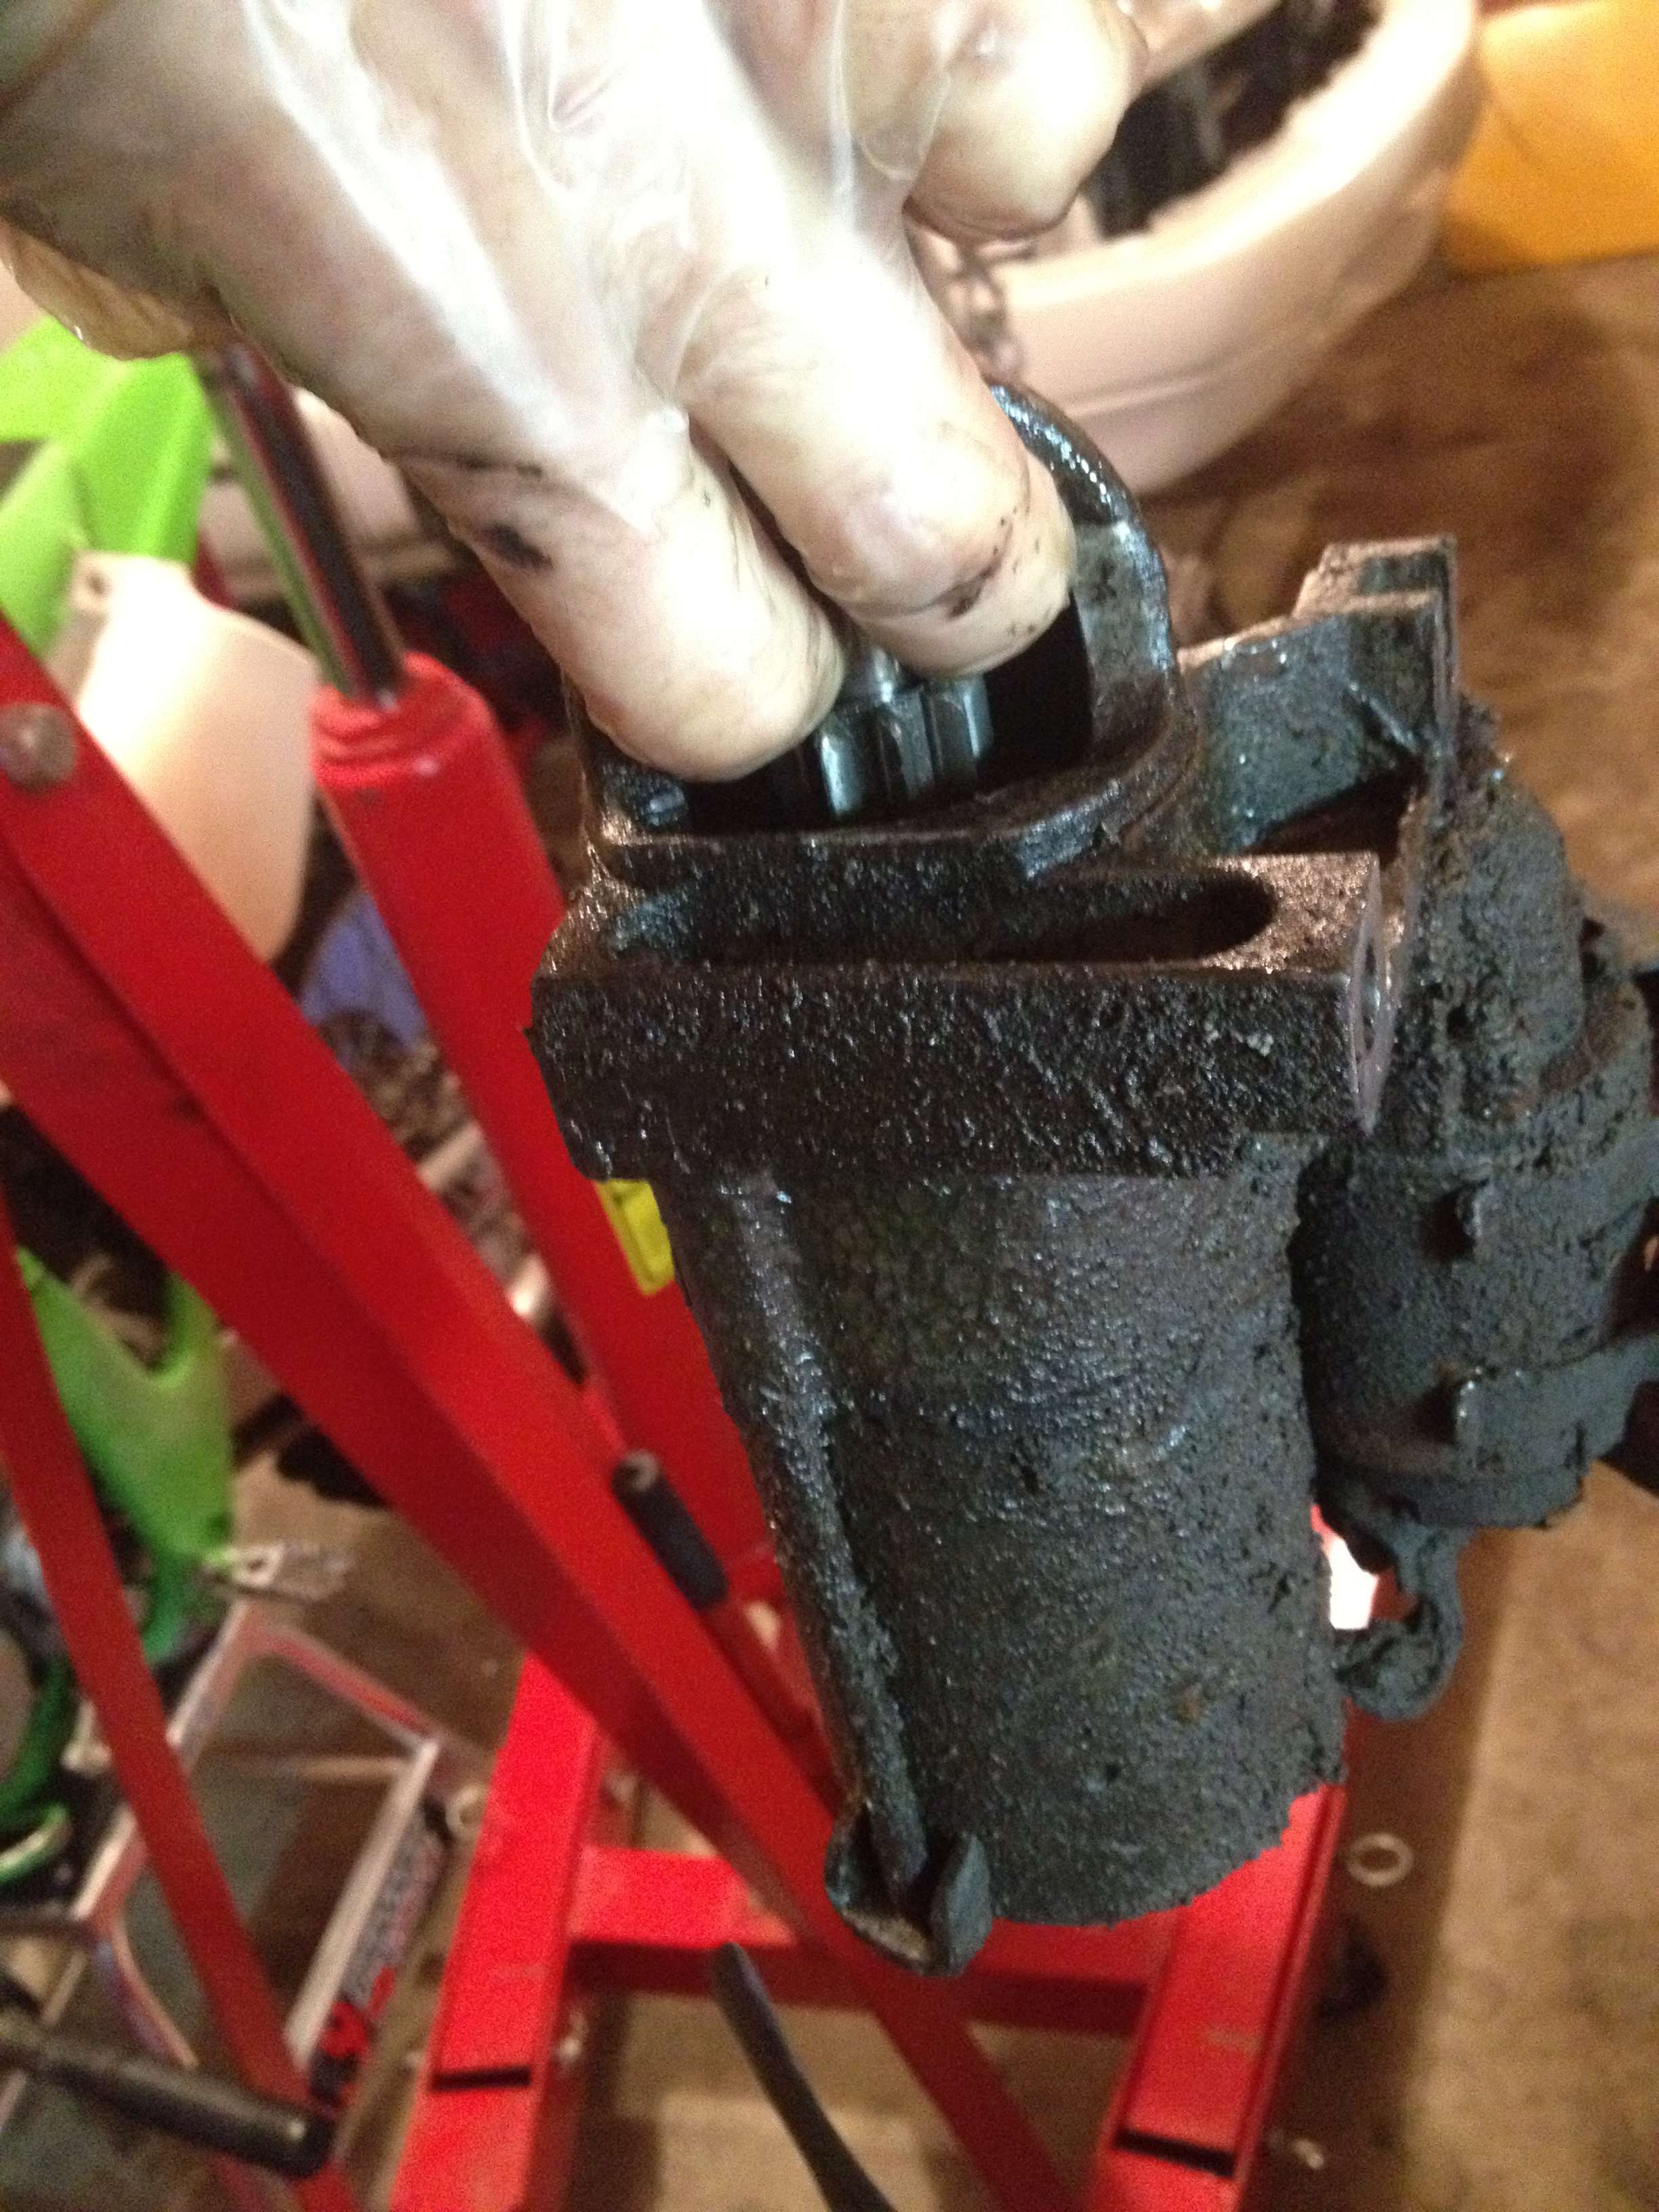
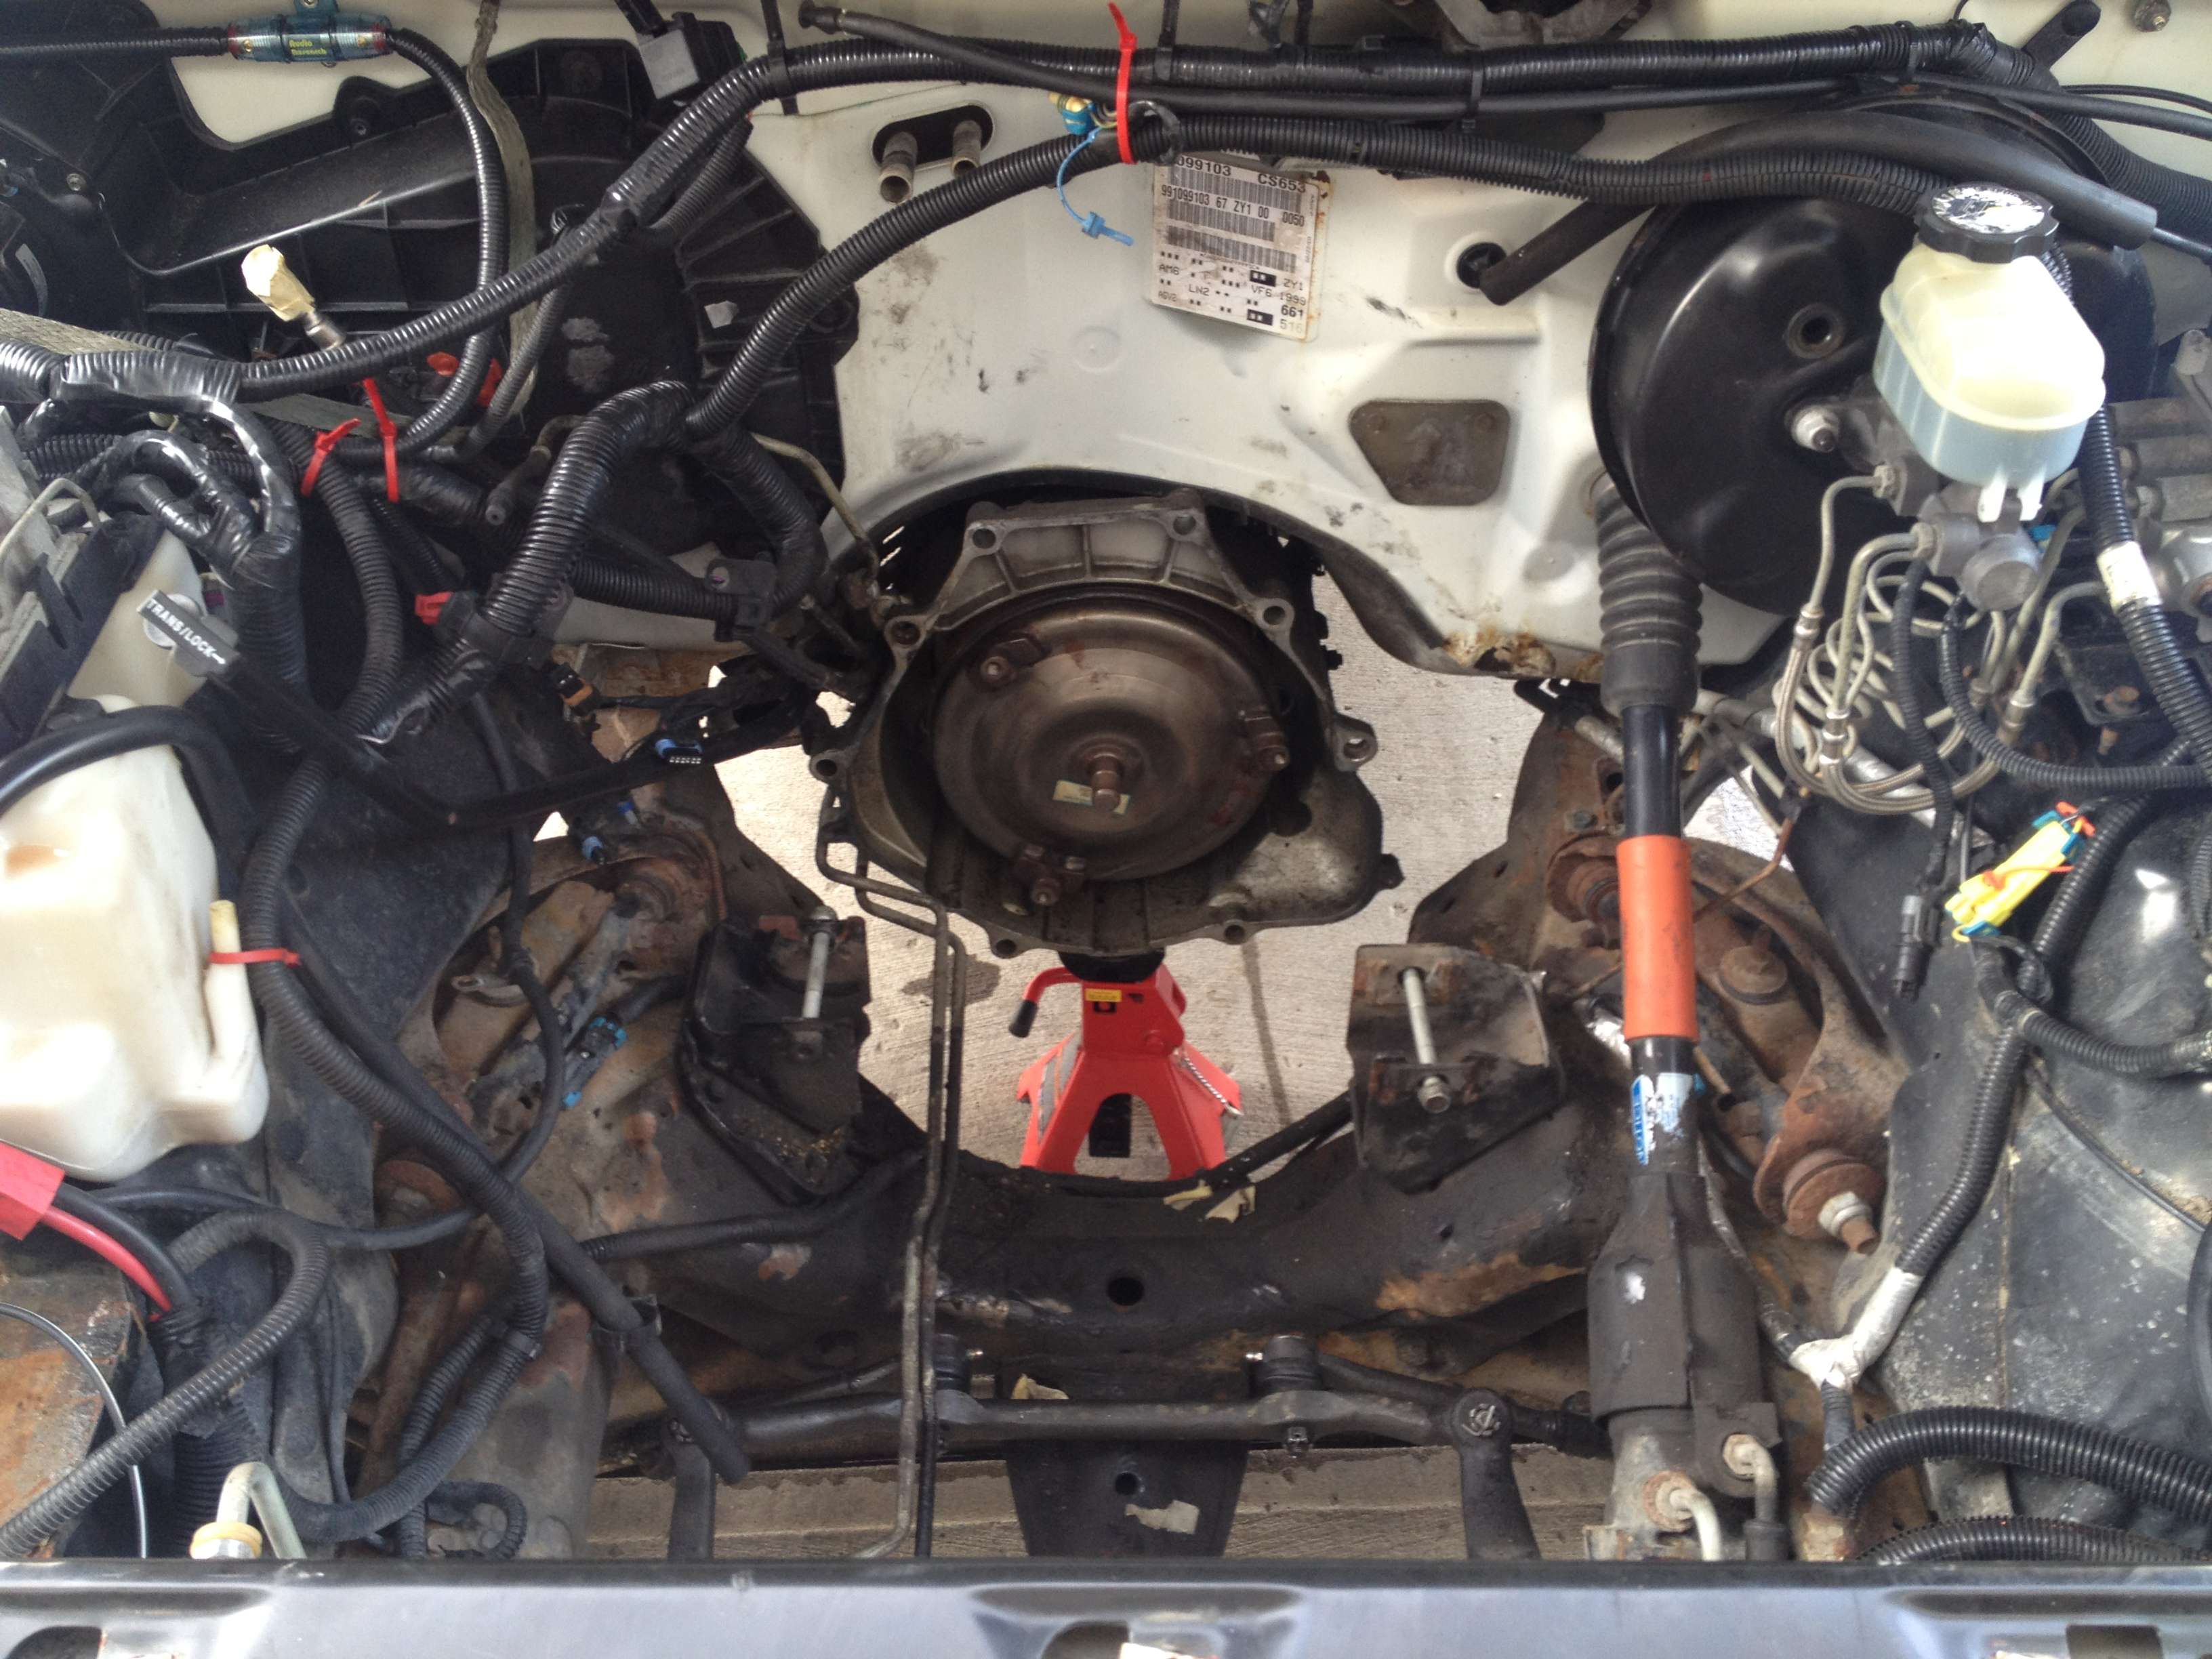
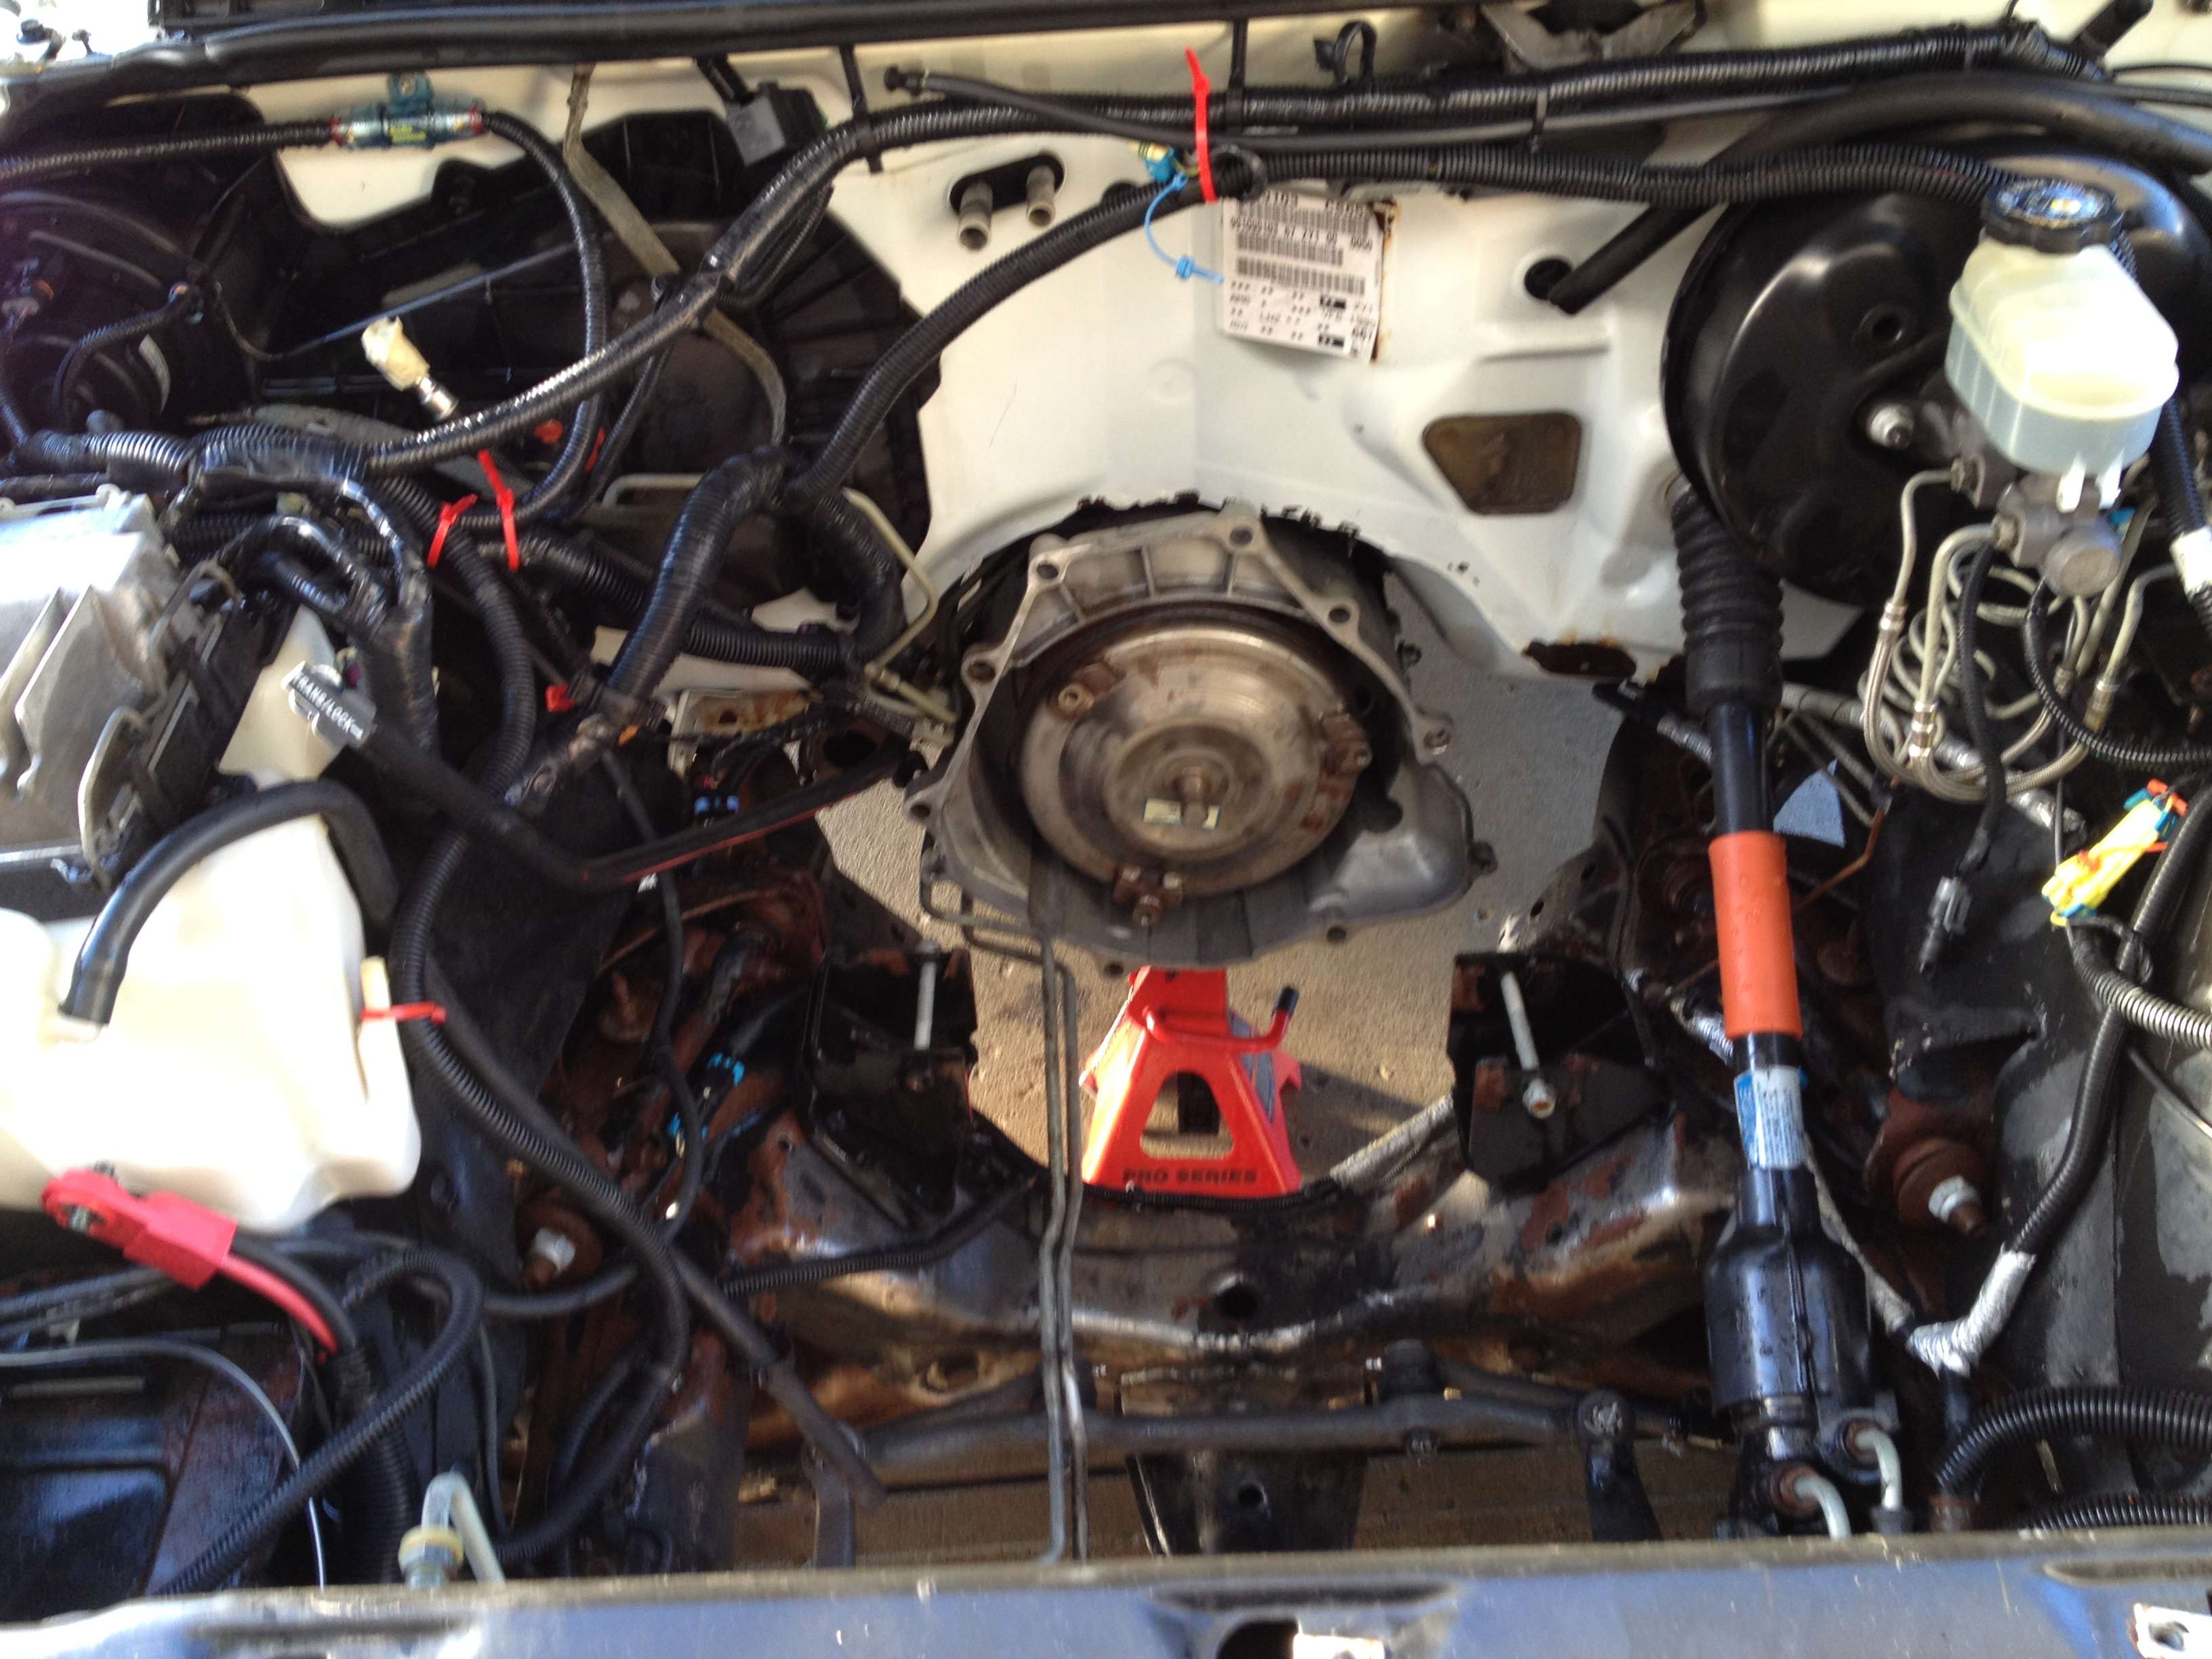
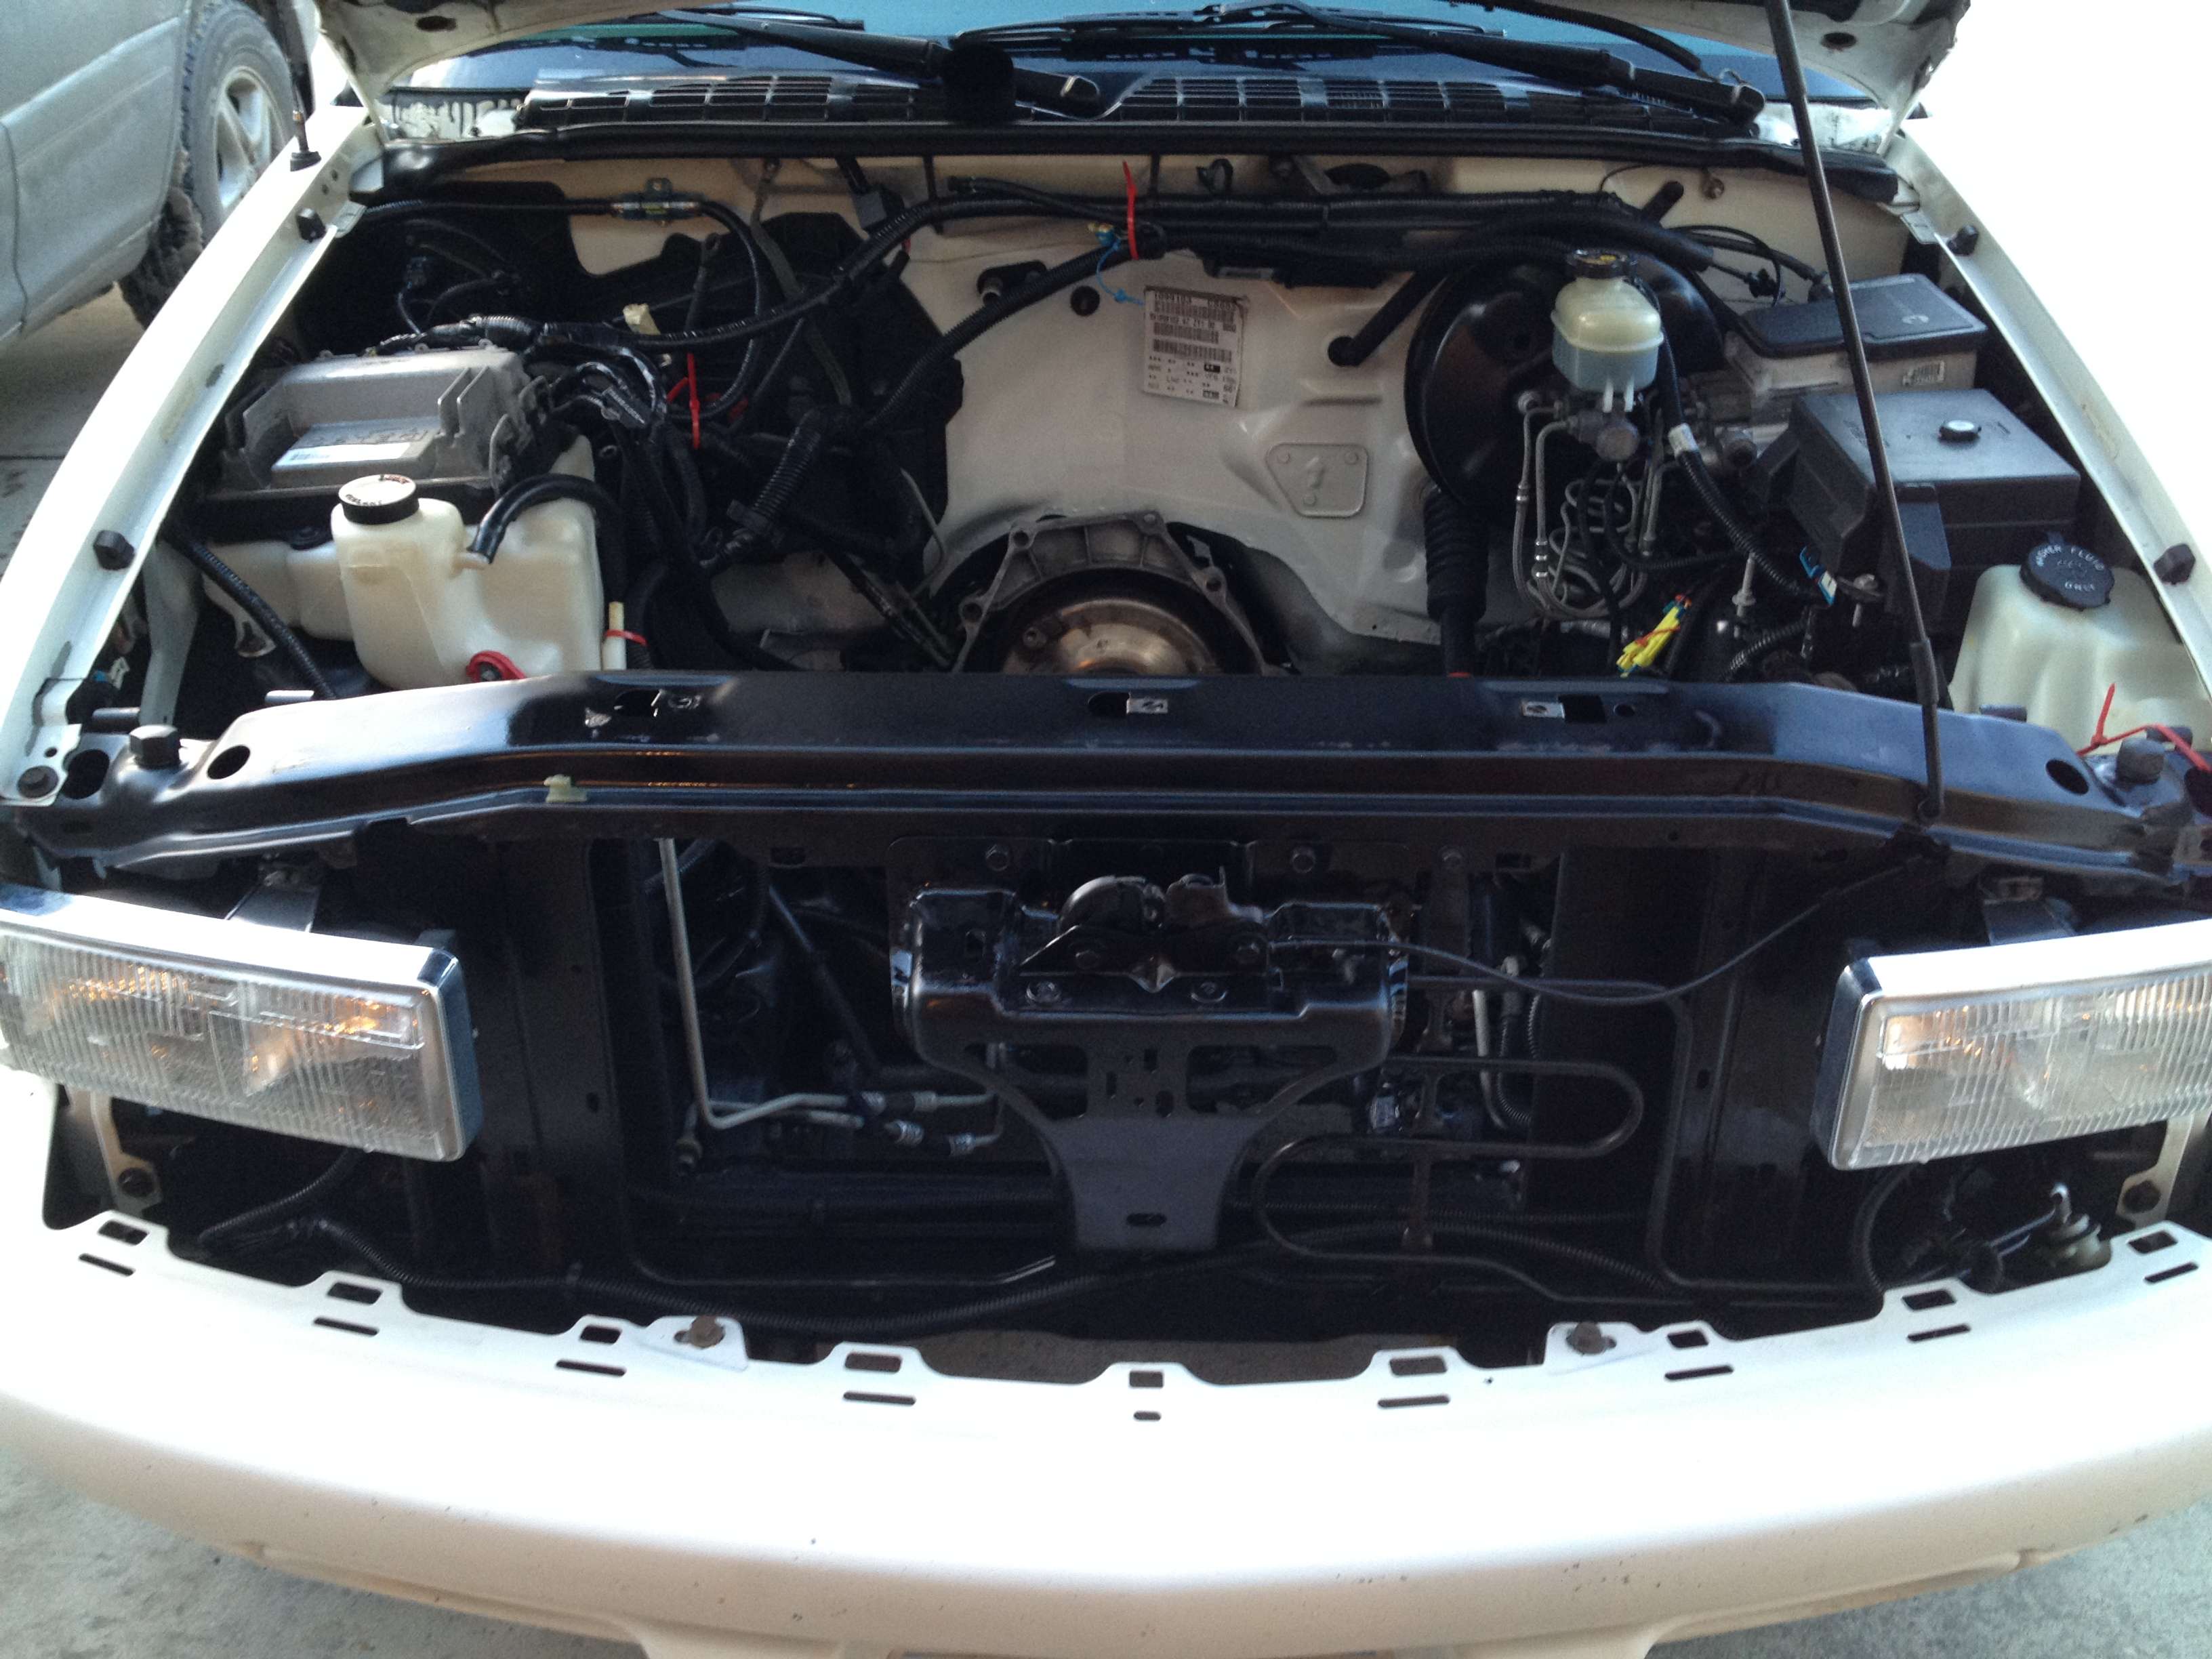
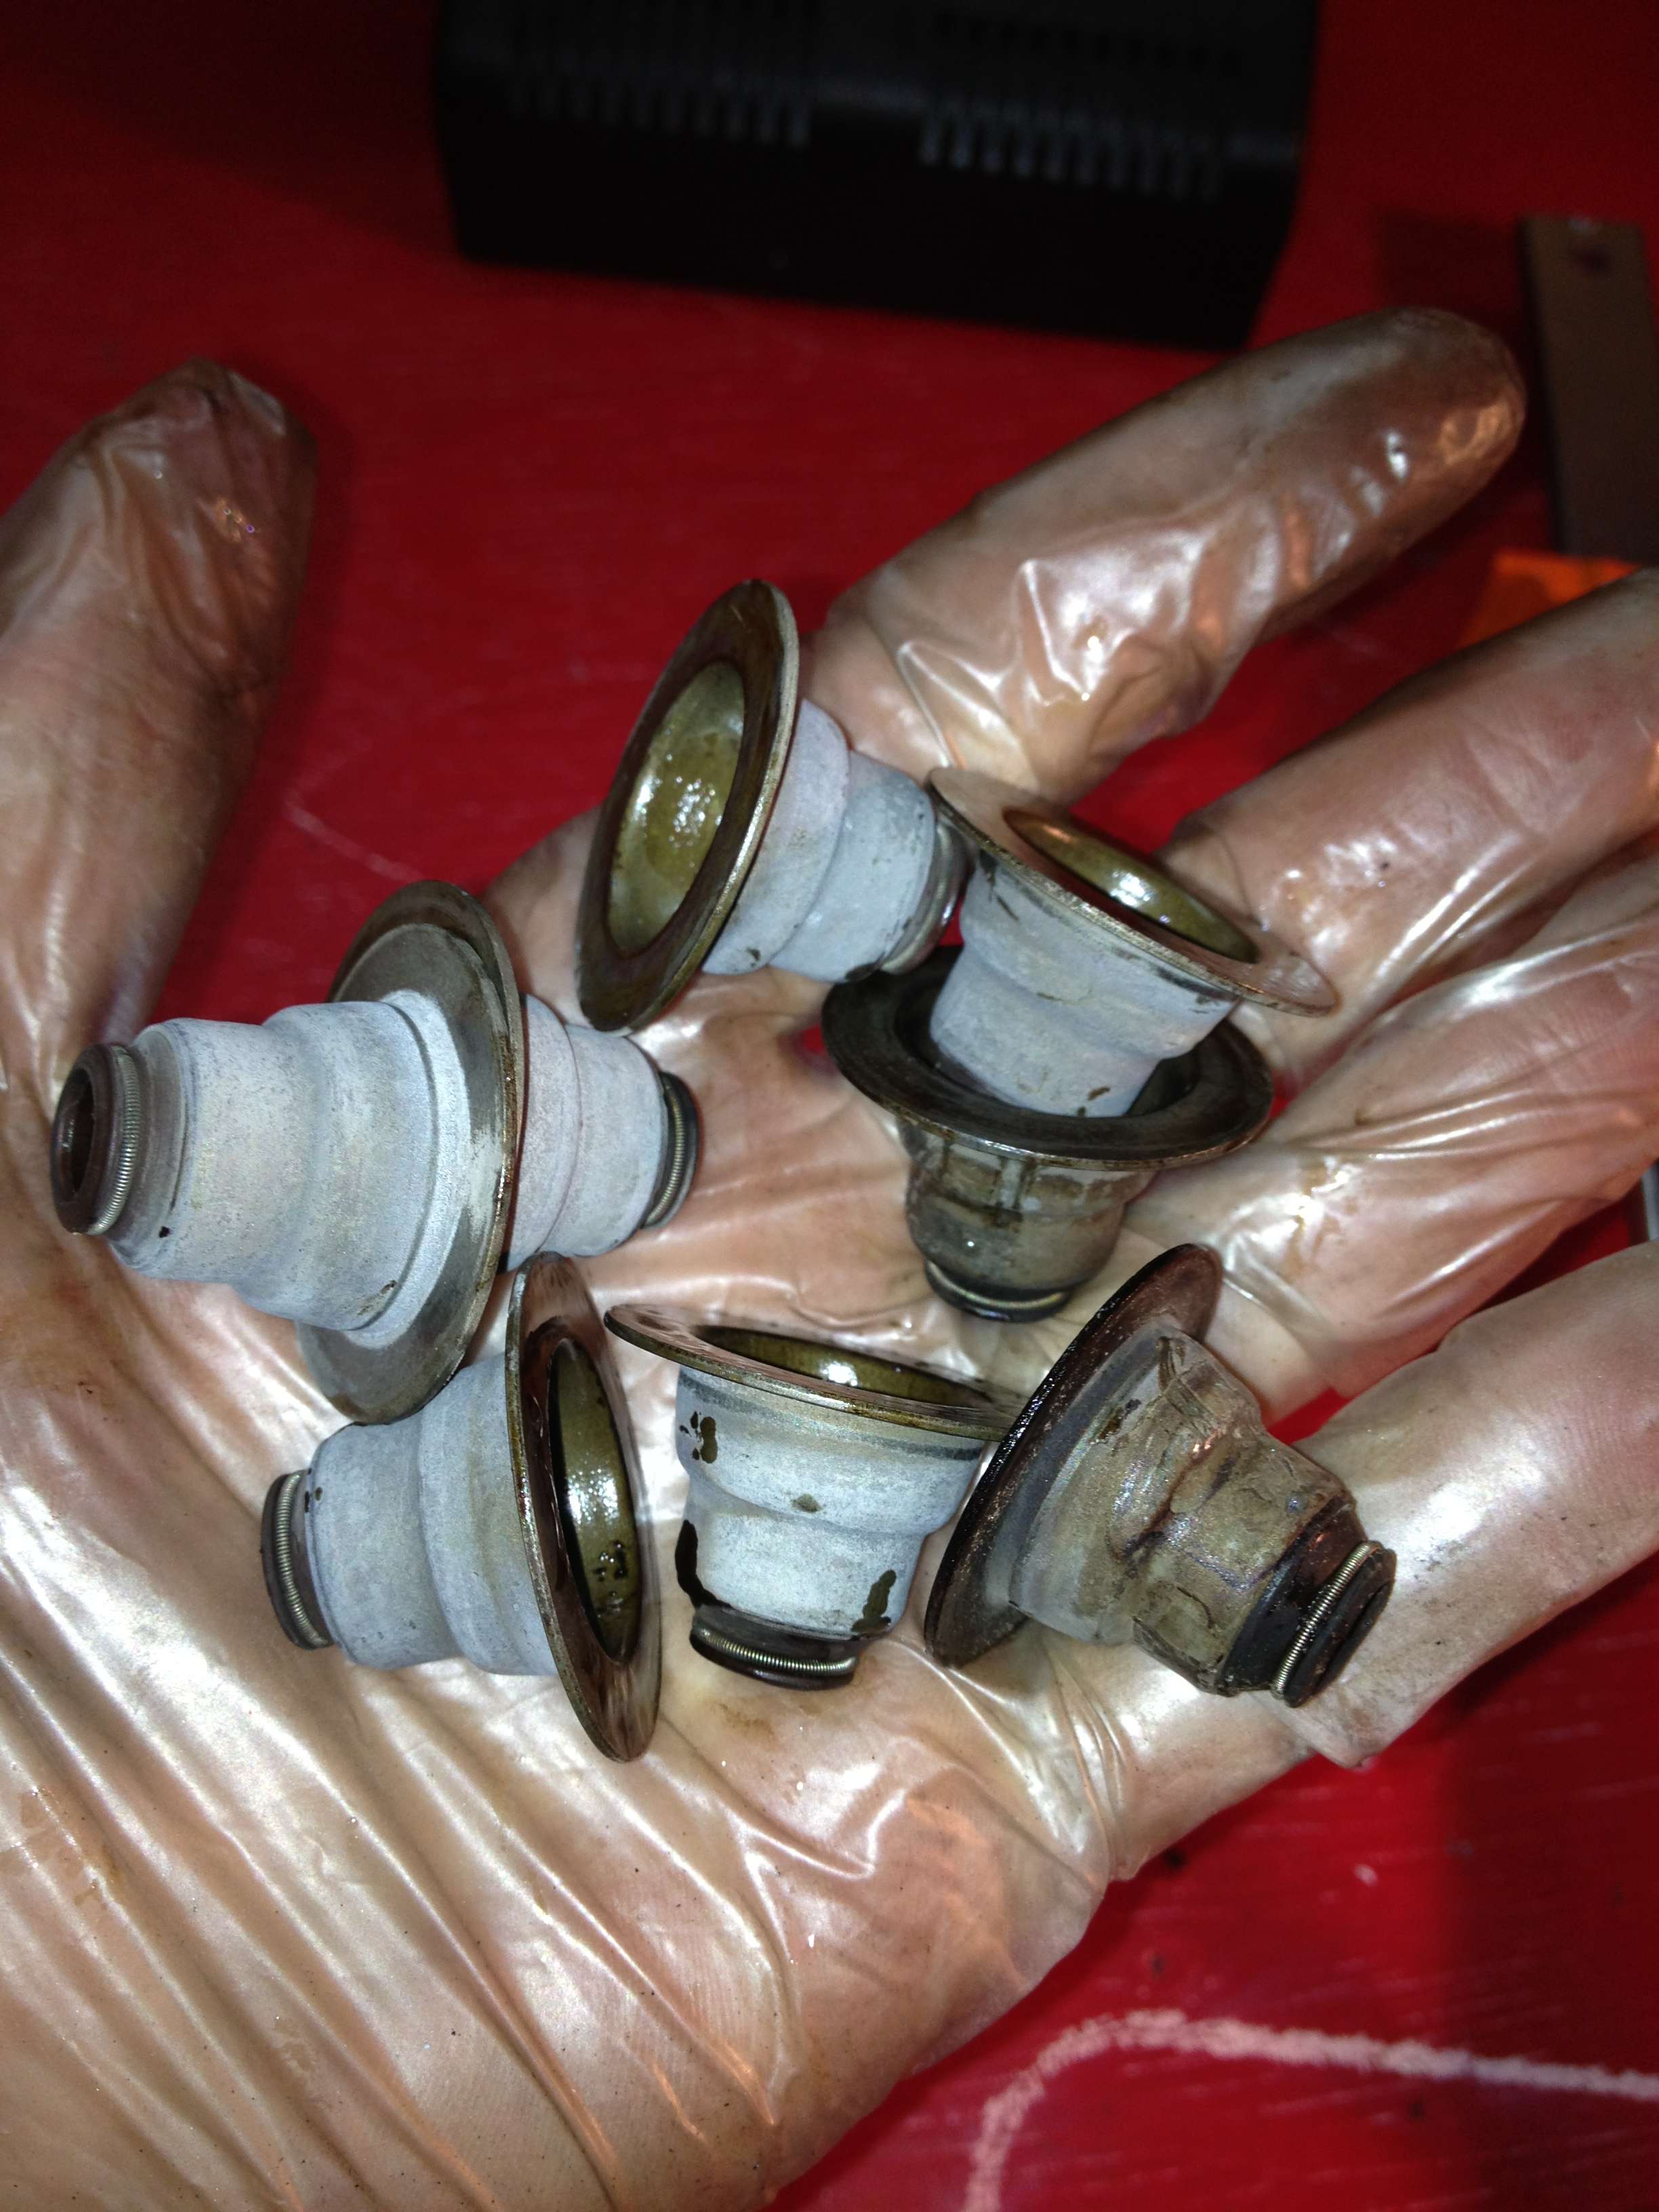
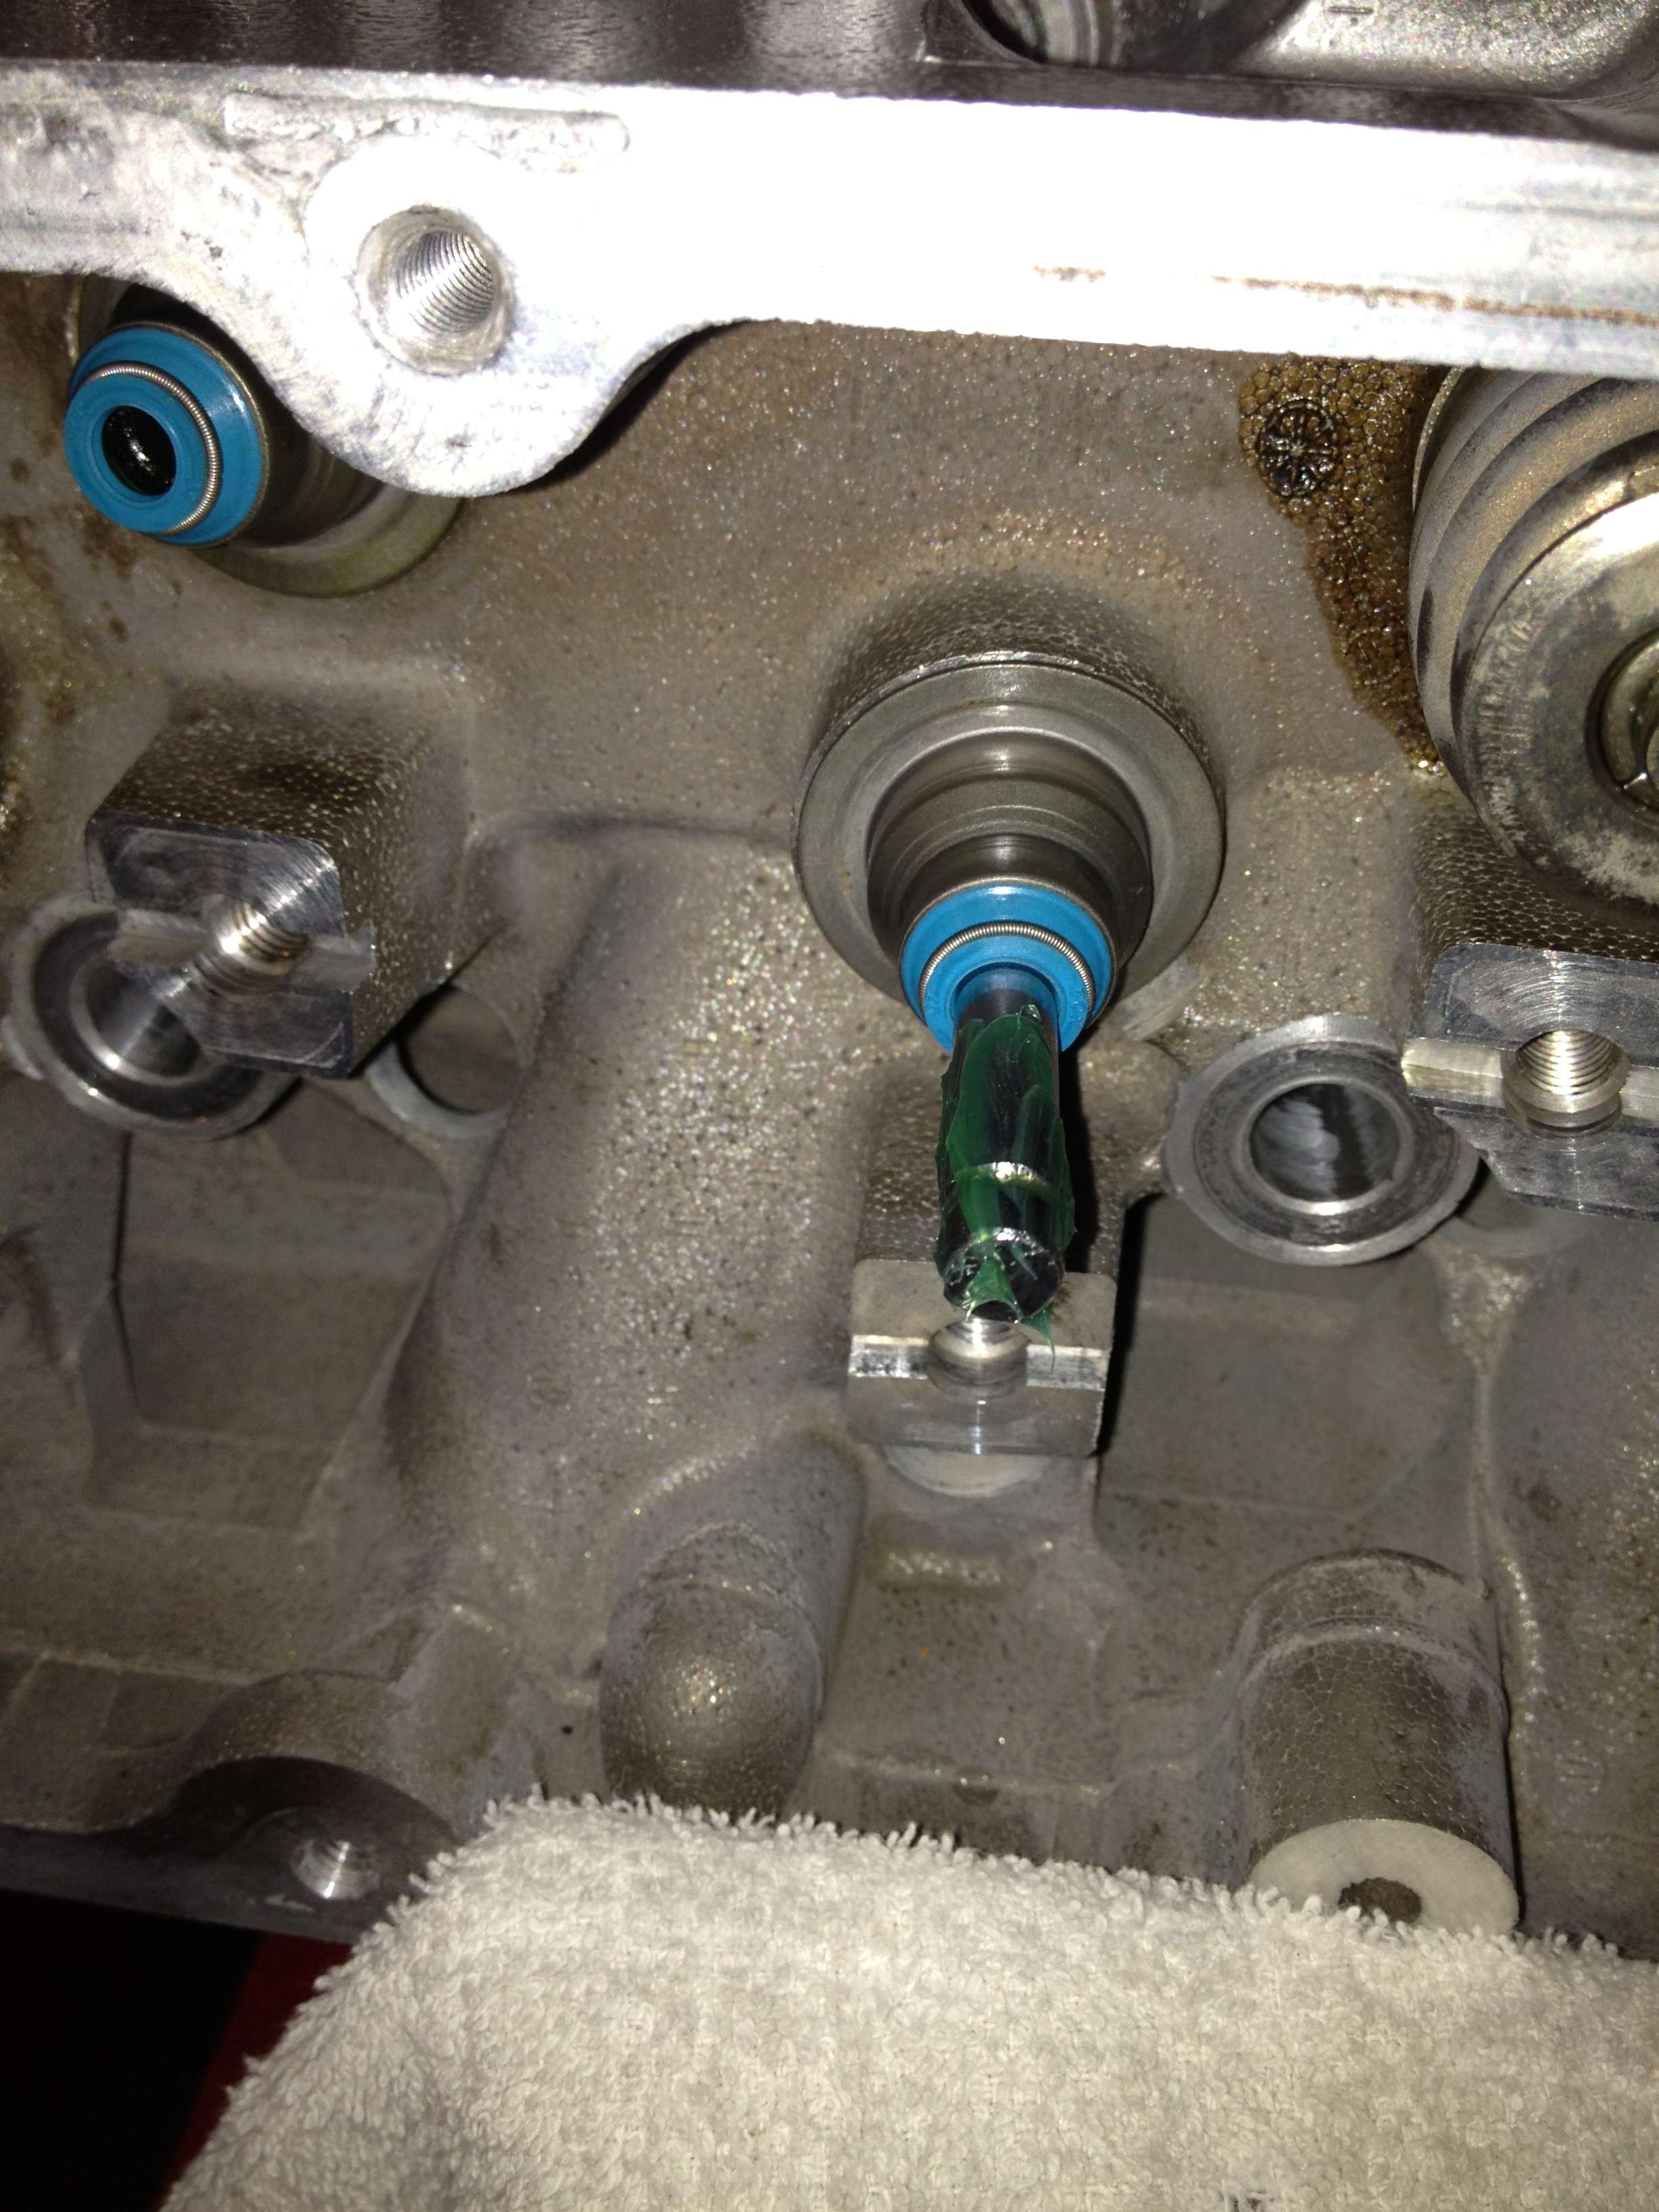
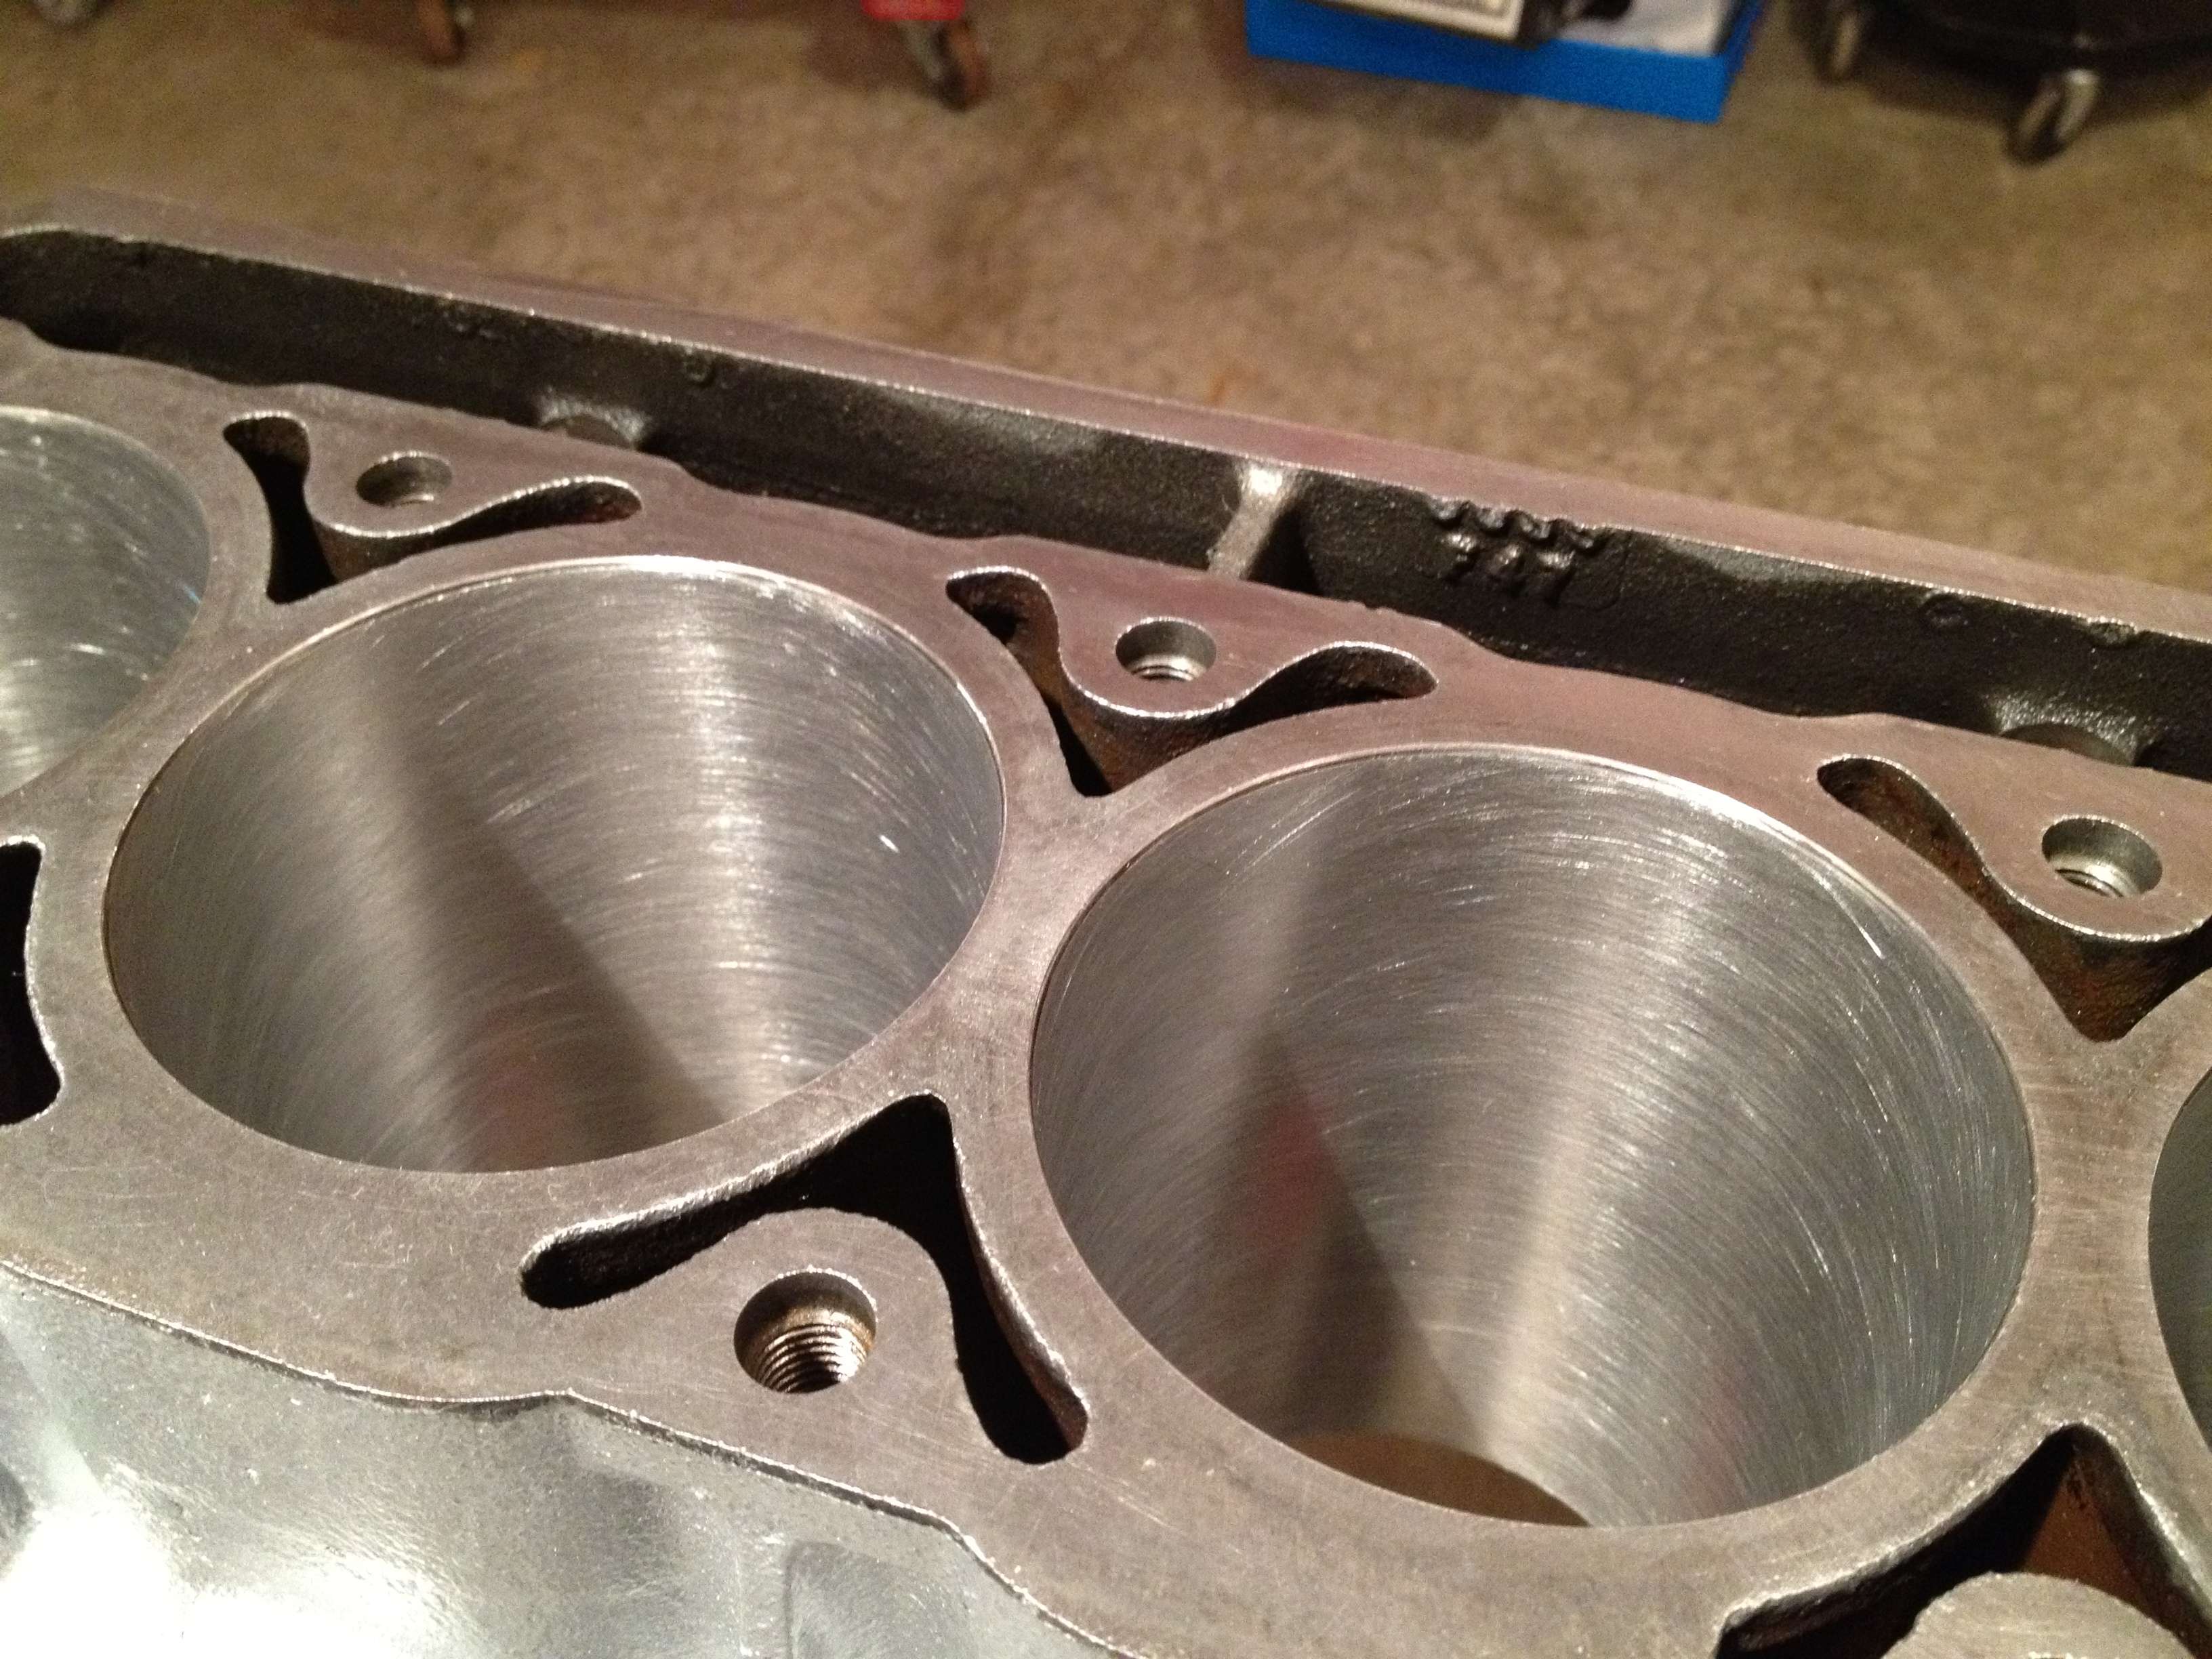
And so it begins. The truck wouldnt run under its own power, so I had a few
neighbors help get it in the garage, and the teardown began. This is where I got
to today. Isn't it disgusting?

img3156pj.jpg
 
Got this disgusting turd out of the truck. The rear pain has been leaking for
a LONG time. Pretty much all the parts below the oil pan looked like this:

img3158be.jpg


Each and every nut, bolt, and part went into the varsol tank to get that s***
off. Some stuff got a fresh coat of paint. Here is a little bit:

img3162dx.jpg


Look at the oil all over everything:

img3169m.jpg


Gross disgusting engine:

img3170sa.jpg


img3171gq.jpg


Some new parts. Picked up some LED front blinkers/parking lights:

img3172gf.jpg


The oil filter on the tutu engine is in the most retarded spot, and even
though GM put a nice little "spout" there to catch the oil, it doesnt work. A
relocation kit from TransDapt will cure this.

img3173pp.jpg


NGK plug wires:

img3174zf.jpg


New water pump and fuel filter:

img3175vp.jpg
 
It just went up to a hair above 0*C today, so out came the pressure washer, and I did the garage, along with the engine bay, and the engine. The engine bay will get a spray bomb touch up once it's dry, and the engine of course was just getting most of the sludge off so I can tear it down.

img3178dk.jpg


Got probably 90% of the gunk off the engine with 3200psi of gas powered goodness!

img3180hk.jpg
 
Head off and in the Varsol tank:

img3182s.jpg


Gave the pistons a quick wipe down, we can see that 2 and 3 had the blown head gasket and were burning coolant. The pistons have been "steam cleaned" so to speak.

img3184v.jpg


Rocker arms, pushrods, and lifters all removed and layed out in order.

img3185cf.jpg


Timing cover off. Ran out of time, the lady had supper ready so had to call it a night. Tomorrow should have the engine completely apart.

img3186lh.jpg


I'll probably send the head to my friends at Precise Engine Rebuilders for them to do their recondition on it and throw some new valve seals in if I don't just do it myself. I'll do the block myself since it's only getting a hone and fresh bearings.
 
Did a bit more work today on getting the engine apart, nothing special.

Took a rattle can to the engine bay and made it look new again. Also the area behind the grille:

img3189rj.jpg


img3190b.jpg
 
Sorry its been awhile since an update, work has been progressing steadily but I've just neglected the thread.

Block stripped down:

img3201j.jpg


Used my 12 ton press to press the wrist pins out:

img3203ge.jpg


The water neck is just pressed into the thermostat housing. A bad move by GM. This leaks all the time. So I used aluminum brazing rod and brazed the two pieces together. Might not look like much, but it is strong and air tight.

img3204c.jpg


img3205n.jpg


Painted up:

img3207q.jpg


Painted other misc. engine pieces. All parts were painted with Dupli-Color engine enamel and then baked for an hour. Paint cures rock hard.

img3206w.jpg


img3212q.jpg


My new header arrived:

img3214c.jpg
 
My friends at Precise engine rebuilders did the block and head for me. The block was hot tanked, and had the cam bearings installed. I honed the cylinders myself.

The clean block:

img3234xx.jpg


They milled the head flat for me, I had to change the valve seals so out came the spring compressor, and the old junk seals were toast:

img3238n.jpg


New seals installed:

img3240g.jpg


A tip: when installing the valves again, put grease on the shaft to help hold the keepers in place:

img3244l.jpg


img3242s.jpg


Completed head:

img3246c.jpg


I honed the cylinders, then took the block outside and cleaned it thuroughly with simple green and water. After an extremely thurough rinse, the block was blown dry with compressed air, then masked and painted:

img3247m.jpg


img3248cg.jpg


My hone job on the cylinders:

img3249cf.jpg
 
Re-honed the cylinders to get a better cross hatch. It's hard to see on
camera, but it's a legit 45* pattern. After honing, the block was again
thuroughly cleaned with soap and water. The cylinders and cam bearings were
wiped clean with mineral spirits, and the block was blown dry with compressed
air.

img3252o.jpg


img3253p.jpg


Gapped the rings. Spec is 0.020"-0.010" so I went on the tighter side, and
settled on 0.013".

img3255s.jpg


Next up, I went to press the wristpins into the pistons. I froze the
wristpins overnight and heated the conn rods with a MAPP torch as reccomended.
Needless to say, even with that and a 12 ton press, I shat the bed bigtime.

img3256wm.jpg


I don't think I've ever been so mad... Oh well, what can you do? I've ordered
a new set, hope they get here by Friday.

Had the crank polished:

img3257y.jpg


New main bearings installed, and the crank was plastigauged. Took the caps
off again, and when all clearances were confirmed, the crank went for a final
clean, then it was dropped into place with lots of assembly lube.

img3258u.jpg


Cam was polished also. It was lubed liberally and installed into the
block.

img3261b.jpg


New timing gears, chain, and tensioner installed. Engine was timed, all bolts
torqued.

img3263q.jpg


Because I couldn't install the pistons, I decided to bolt on whatever else I
could. Oil filter adapter plate, CMP and CKP sensors, freeze plugs, block
heater, etc.

img3264f.jpg


img3265f.jpg


Installed a new water pump, and installed the timing cover with a new gasket.
(All gaskets are new.) Pressed on the crank pulley adapter as well, and thats
where it sits tonight.

img3266b.jpg
 
Still waiting on pistons, so tied up a few loose ends today. Changed the fuel filter, and fixed the transmission cooler lines.

The stock lines are known to leak at the flexible connector. Mine were. I decided that rather than replace the lines (none available for weeks here) or add my own -6AN softline, I would eliminate the softline all together. There is enough tubing to reach the radiator when the softline is eliminated if you do some creative bending.

Used a tubing cutter and cut the leaky s**** out of there:

img3268f.jpg


Used a pipe flaring tool and flared it, and put some compression fittings to use:

img3267z.jpg


img3270n.jpg
 
Last edited:
Got lots done today. The engine is complete. Pressed the wristpins into the connecting rods.

img3279ejn.jpg


With lots of assembly lube, the pistons were installed, along with a new oil pump and of course all new bearings.

img3282ku.jpg


Used plenty of Permatex "Right Stuff" black, along with new gaspets where required and installed the oil pan.

img3283s.jpg


img3284ei.jpg


Top view showing pistons installed, lifters and lifter guides installed as well.

img3285rl.jpg


A new head gasket was installed:

img3287ab.jpg


The head was installed, and torqued in three steps.

img3289pm.jpg


Pushrods and rocker arms lubed and installed.

img3291f.jpg


With a new valve cover gasket in place, I could get to work bolting up all the accessories.

img3292az.jpg


img3294l.jpg


img3295zc.jpg


That's all for now, should have it into the truck tomorrow and hopefully running on Thursday!
 

Latest posts

Back