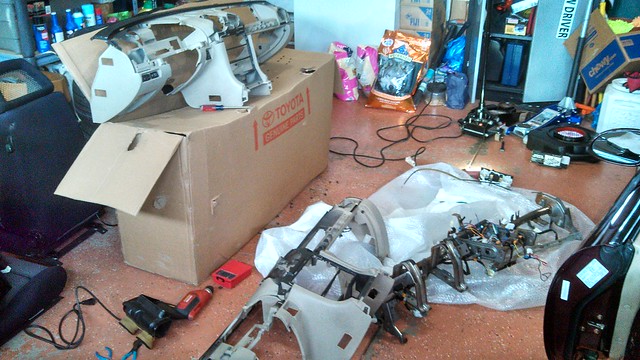
If the video blew your mind then hang on, because I have a lot (for me) of pictures.
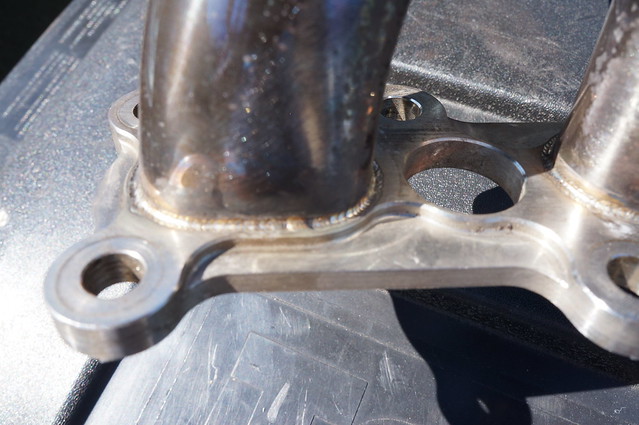
Decided to get started swapping out headers, the day was nice without getting too humid so it's all done. I took a few pictures of the MS header showing the nice welds (excuse the out of focus, I took them in bright sunlight so apparently the camera didn't quite focus in well).
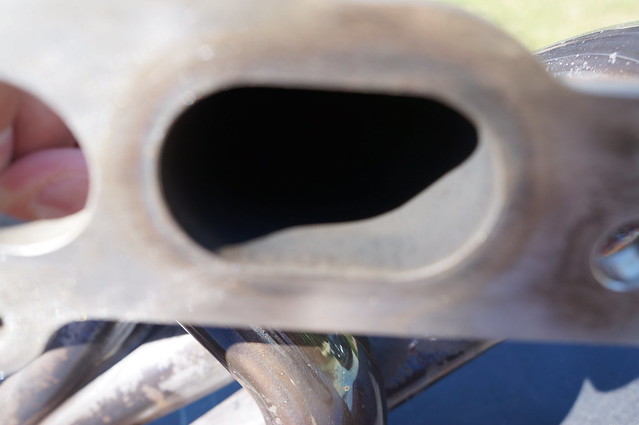
Inside runner:
Outside runner:
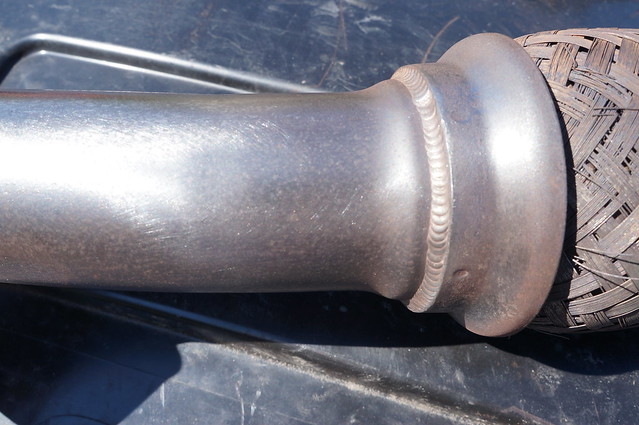
Flex joint weld:
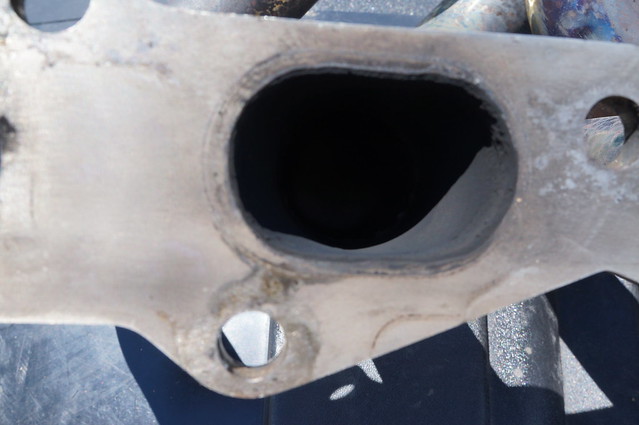
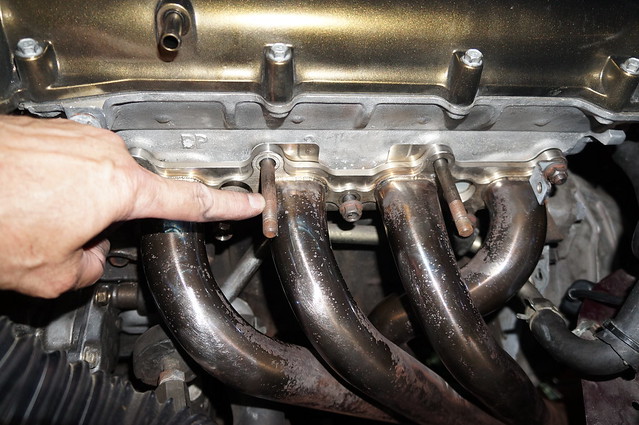
Once I had the Cobalt off I took the same shots (well not of the flex joint since it doesn't have one).
Inside runner:
Outside runner:
https://c1.staticflickr.com/8/7400/27866450392_a4143ce6dc_z.jpg
You can see the welds are a little finer on the MS. It doesn't really show in the inside runner pictures, but the MS seems to be smoother there.
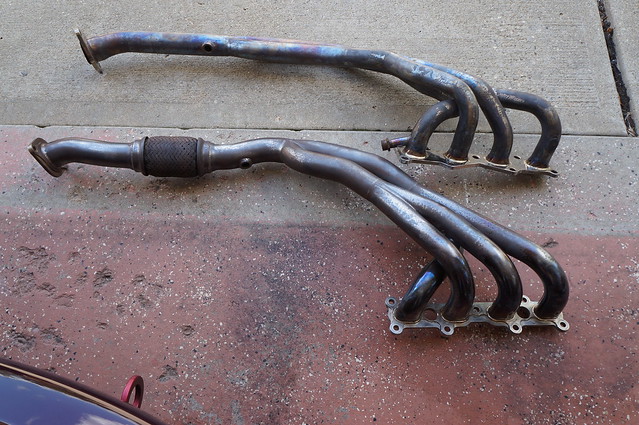
Here are some side by side shots for comparison:
[img]https://c1.staticflickr.com/8/7342/27866418952_6341fd9602_z.jpg
As you can see the section on the MS where it goes down to two pipes is shorter than the Cobalt uses. That proves the Cobalt isn't a copy of the MS (in case anyone wondered).
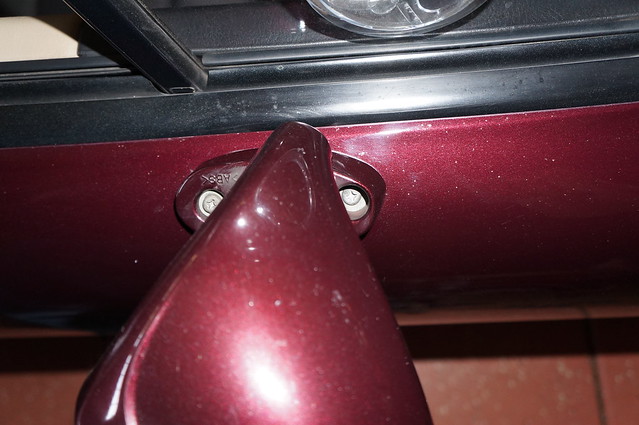
I didn't document the removal/installation of everything because it's all been done before. One thing of note, if you have a supercharger the three front upper studs are replaced with extended studs as that is where the mounting bracket for the 'charger is attached. If you want to save yourself a lot of aggravation remove those three studs. The header slips right out when you do.
I also removed the subframe braces I have (factory and 949) to allow for ease of header manipulation. I removed the dipstick tube for the same reason.
While I had the O2 sensor for the wideband out I calibrated it. Once I had that all done I went out to do some tuning. First startup gave me a nice pop out of the exhaust. Unfortunately once I got done with tuning I was getting a stutter under boost. I think I may have to be more aggressive with the throttle while tuning in order to get more boost showing so the fuel is correct.
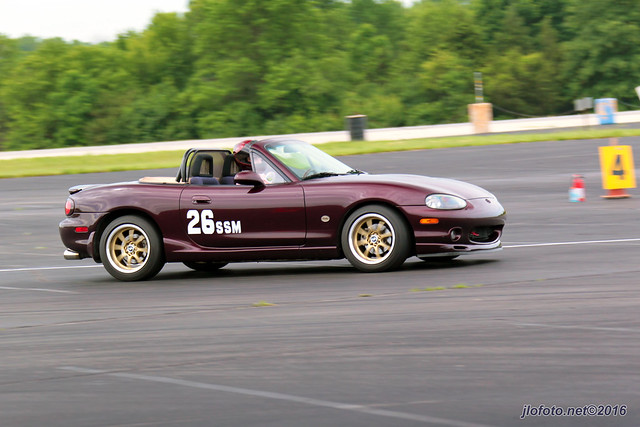
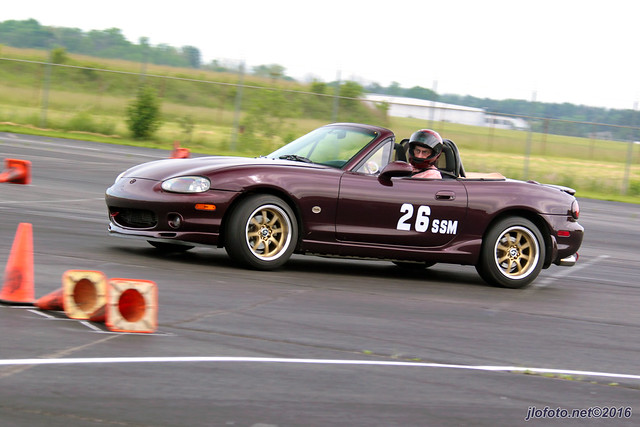
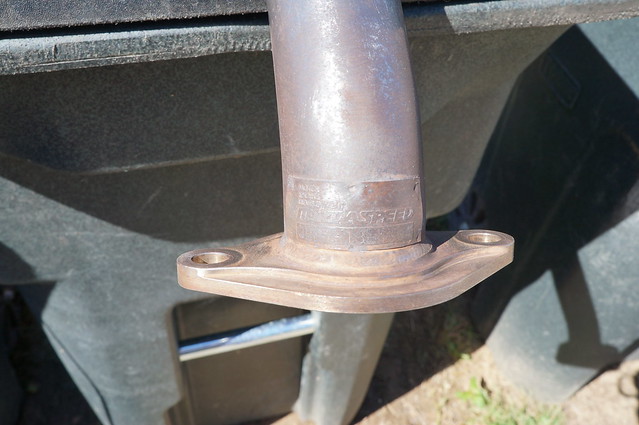
And just in case there is any doubt, here is the money shot:
Good for at least 5 hp.