howlin4you
Member
- :
- 2014 Mazda CX-5 Touring AWD
Another member asked me how I installed my trailer light plug and after typing it up and sending him a PM it was suggested that I post this in the how-to section. Hopefully this can help someone out.
First, I installed one of these and ran it through a pre-existing hole in the body under the spare tire:
https://www.amazon.com/dp/ (commissions earned)
Then at the end of that I attached one of these:
https://www.amazon.com/dp/ (commissions earned)
I mounted it to the car with this (there are two metal brackets on the forward side of the rear bumper that provide support, they are attached to the bumper with those black plastic rivet things. I removed one rivet thing and ran a bolt through the Hopkins mounting bracket, the bumper, and the metal support bracket. For the second hole in the mounting bracket I drilled a hole in the bumper and ran a bolt through with a large washer and a nut):
https://www.amazon.com/dp/ (commissions earned)
The reason for the 12" extension was that the end of the Curt vehicle adapter did not sit nicely in the Hopkins mounting bracket. To solve that I added in the extension so the Hopkins plug was in the Hopkins bracket (it fits nice and snug since they were obviously designed for each other).
I wanted a dust cover for it too and there is provisions in the Hopkins mounting bracket for a simple one but I wanted something a little different, so I bought a Hopkins version of one of these (I bought it local and couldn't find the exact thing on Amazon but it's basically this):
https://www.amazon.com/dp/ (commissions earned)
The tester I have has a lanyard on it (just like the one pictured on Amazon) that works perfectly with the Hopkins plug and Hopkins mounting bracket. Basically I plug it in as a dust plug and when not in use it just dangles out of the way.
Here are some pictures (it's winter in Wisconsin, the car is a little dirty) -
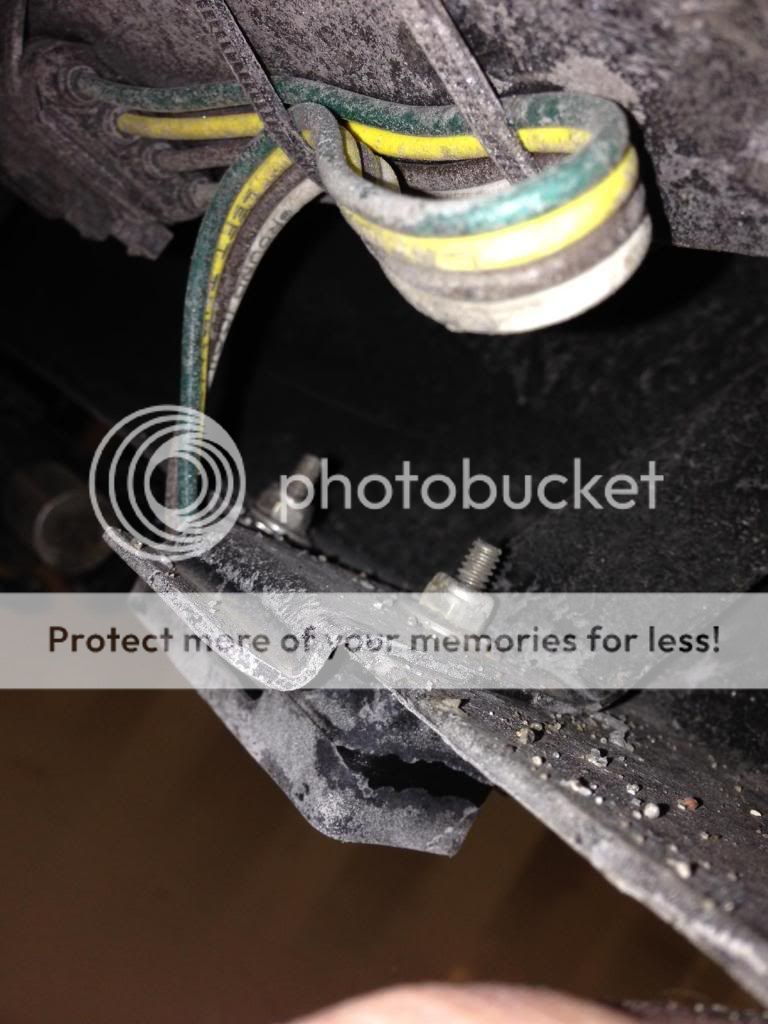
This is the hardware holding the mounting bracket on. When it is run through the existing bumper support bracket it is very solid and secure.
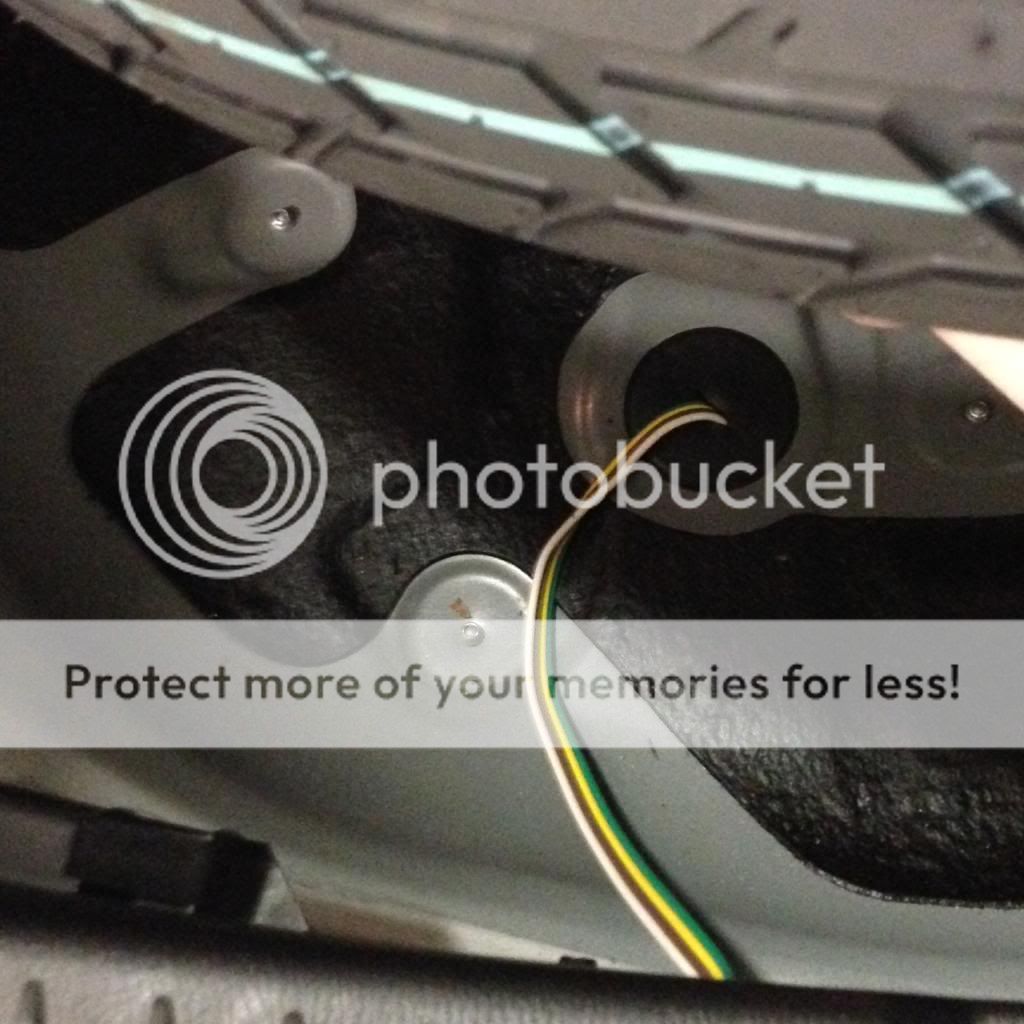
This is the pre-existing hole and grommet under the spare tire. Just remove the grommet, slit it halfway with a razor blade, run the wire through, and re-install.
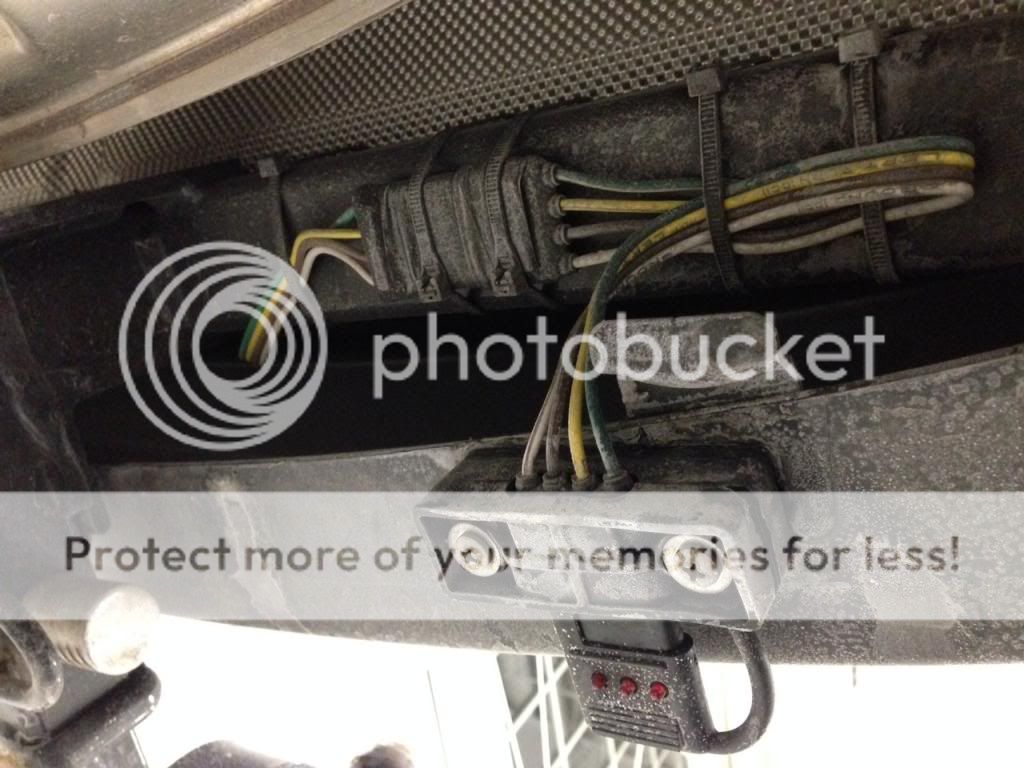
This picture shows the Hopkins extension connected and tie wrapped to the hitch.
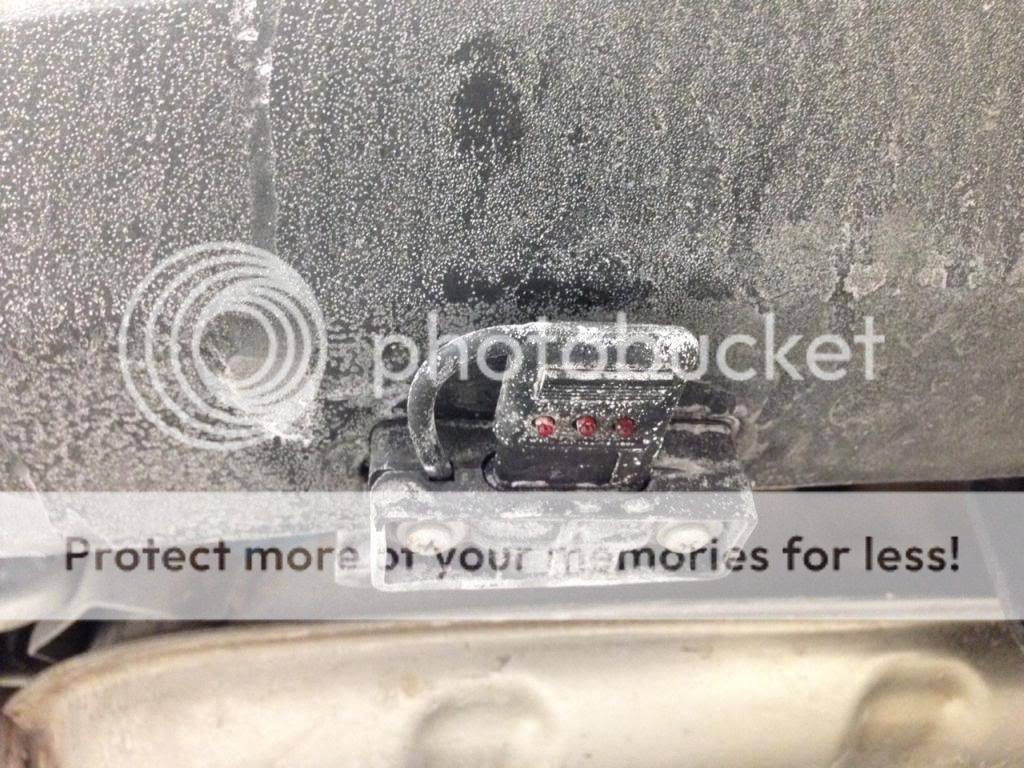
The light tester/dust cover installed from below/behind.
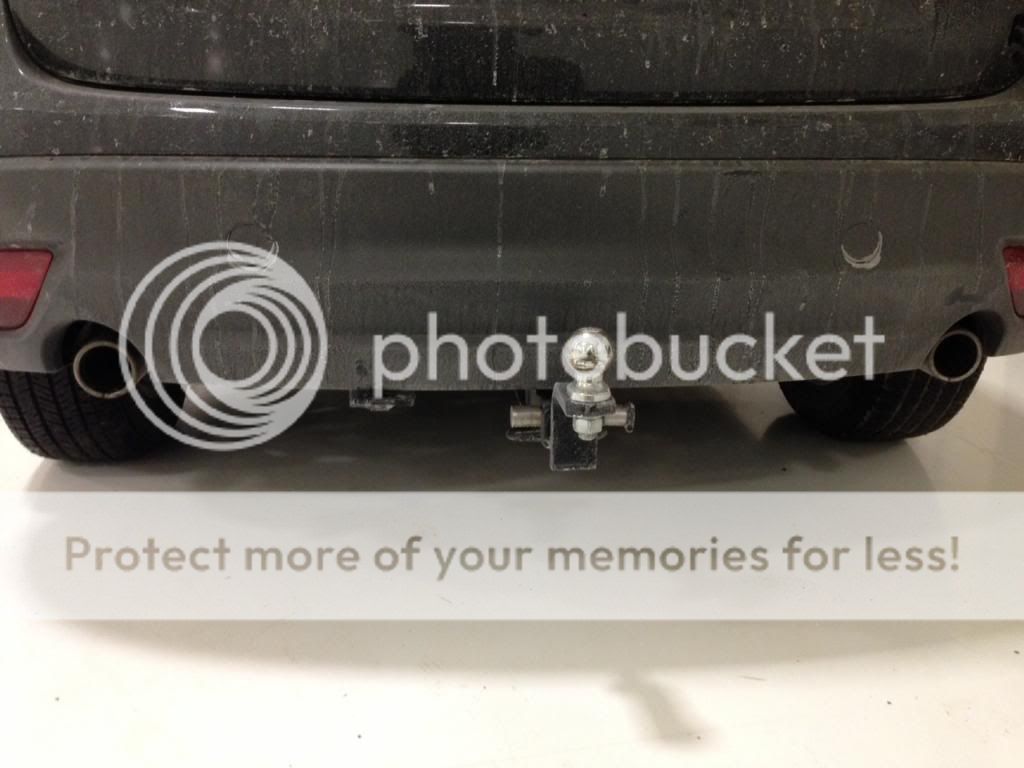
Overview.
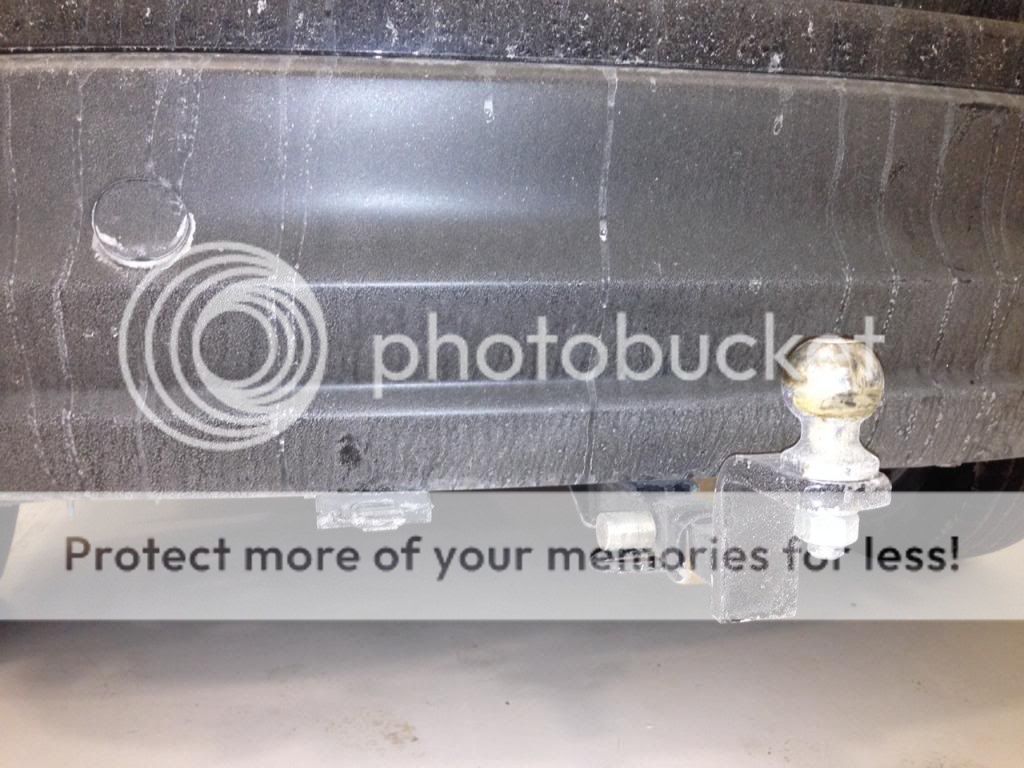
Up closer.
I hope I explained it well enough for anyone that needs it. Feel free to ask me any questions you may have.
-Ryan
First, I installed one of these and ran it through a pre-existing hole in the body under the spare tire:
https://www.amazon.com/dp/ (commissions earned)
Then at the end of that I attached one of these:
https://www.amazon.com/dp/ (commissions earned)
I mounted it to the car with this (there are two metal brackets on the forward side of the rear bumper that provide support, they are attached to the bumper with those black plastic rivet things. I removed one rivet thing and ran a bolt through the Hopkins mounting bracket, the bumper, and the metal support bracket. For the second hole in the mounting bracket I drilled a hole in the bumper and ran a bolt through with a large washer and a nut):
https://www.amazon.com/dp/ (commissions earned)
The reason for the 12" extension was that the end of the Curt vehicle adapter did not sit nicely in the Hopkins mounting bracket. To solve that I added in the extension so the Hopkins plug was in the Hopkins bracket (it fits nice and snug since they were obviously designed for each other).
I wanted a dust cover for it too and there is provisions in the Hopkins mounting bracket for a simple one but I wanted something a little different, so I bought a Hopkins version of one of these (I bought it local and couldn't find the exact thing on Amazon but it's basically this):
https://www.amazon.com/dp/ (commissions earned)
The tester I have has a lanyard on it (just like the one pictured on Amazon) that works perfectly with the Hopkins plug and Hopkins mounting bracket. Basically I plug it in as a dust plug and when not in use it just dangles out of the way.
Here are some pictures (it's winter in Wisconsin, the car is a little dirty) -
This is the hardware holding the mounting bracket on. When it is run through the existing bumper support bracket it is very solid and secure.
This is the pre-existing hole and grommet under the spare tire. Just remove the grommet, slit it halfway with a razor blade, run the wire through, and re-install.
This picture shows the Hopkins extension connected and tie wrapped to the hitch.
The light tester/dust cover installed from below/behind.
Overview.
Up closer.
I hope I explained it well enough for anyone that needs it. Feel free to ask me any questions you may have.
-Ryan

")