
This thread is based on my experiences installing the 3 engine mounts, and allows you to install your mounts with the greatest amount of ease possible. Please reference the pictures for jack placement, this is crucial in lining up the bolts correctly
Motor Mounts Installation Instructions
Tools
Setup
**Jacking up car is only needed for rear mount- other mounts will require car to be level on the ground-under tray removed.
**If lowered, you may need to be on 4 jack stands to achieve a level car with access to the engine with your jack
Rear Engine Mount Removal
Rear Engine Mount Installation
**Lifting the engine up or down to align the 2 bolts WILL be required. Slightly lift engine up and down, pushing it if needed to align the bolts.
**Do not try to force any bolt in using force, as this may damage threads.
Transmission Mount Removal
**Removing the Fuse box is NOT required, but may help if you have large tools-3 10mm bolts/nut
See Jamie's instructions for more info on removing the fuse box. Please note my jack point is different, which makes my install guide easier: Link
Transmission Mount Installation
**Note** Lifting the engine up or down to align threads WILL be required. Do not try to force ANY bolt in, as this may damage your threads
**Note** Check torque on bolts during your next oil change, and tighten if necessary
Impressions at 10 miles:
With the mounts in street urethane, it added close to no vibrations into the cabin. The transmission is more audible, meaning you can now hear the gears spin-up, but this has gotten much quieter since driving just 10 miles. From past experiences, I expect the mounts to become very quiet, and I will update the thread with further input once the mounts are settled-in.
Shifting is amazing, I have never been able to shift into gear at WOT like this-there is now no chance of missing a gear, it is very crisp and clean. Additionally, the car is much more connected and crisp all-around, it feels like it is ready to take a beating anytime, anywhere.
Motor Mounts Installation Instructions
Tools
- Breaker bar
- Deep well and regular socket sets, with 6" and 12" extensions (always use regular to torque, if possible)
- Rubber mallet or hammer
- Pry bar
- Ratcheting angled wrenches
- 2 jack stands, and wheel chocks or wood
- Torque wrench (capable of at least 100ft/lbs)
- Floor Jack (low profile ideal)
Setup
- Place wheel chocks or a solid piece of wood behind each of the rear tires, put car into gear, and pull e-brake up.
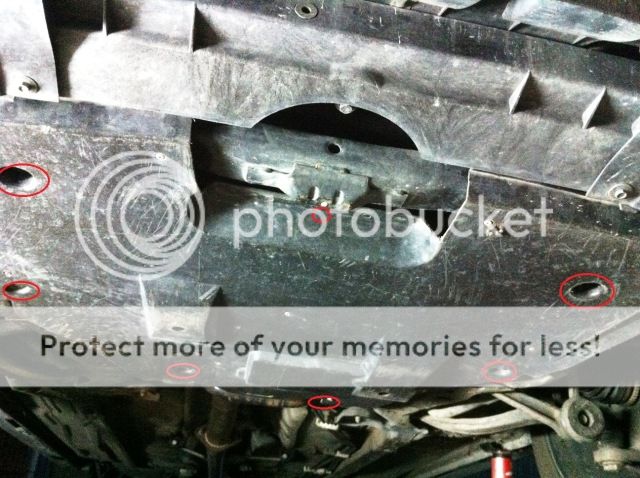
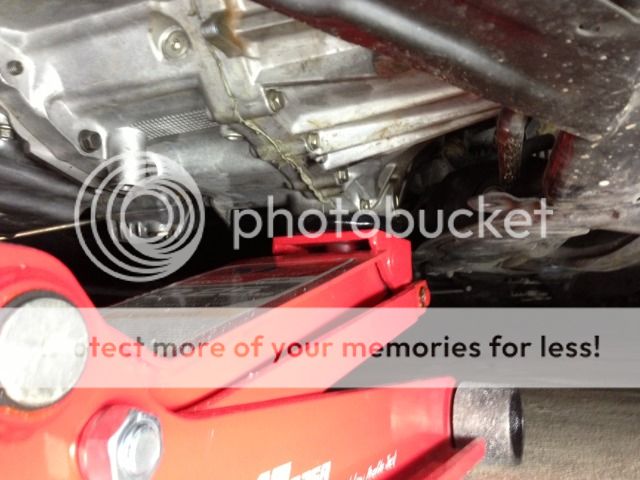
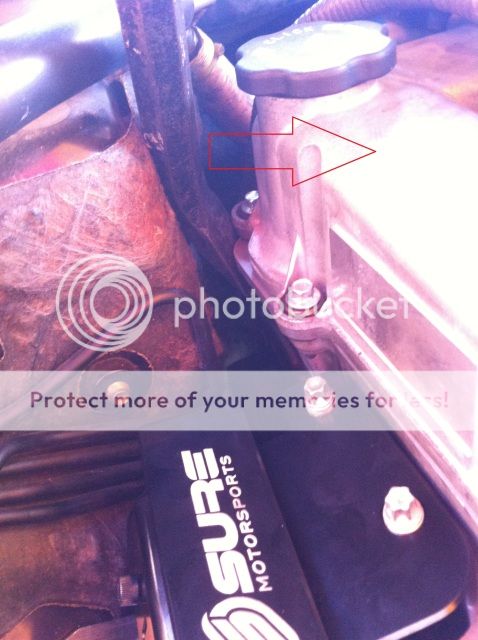
- Jack up ONLY the front of the car using the front jack point-see the pictures below for the jack point (this allows engine to lean backwards, greatly aiding in the rear mount install)


- Place one jack stand on both the driver and passenger side, in between the two metal bulges marked with red lines in the picture below. Once both jacks are in place, gently lower the floor jack, leaving the car on the two jack stands


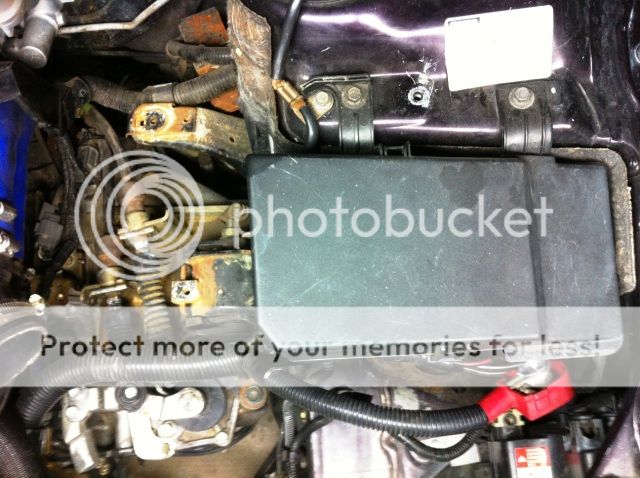
- Disconnect the negative and positive battery terminals using a 10mm deep well socket or open ended wrench (negative first)

- Remove the battery tie down bracket using a 10mm socket (2 bolts)
- Remove the battery
- Remove the battery tray using a 10mm socket (2 bolts)
- Remove the under tray of engine using a 10mm socket (7 bolts)
- Support engine using a padded jack, or with a piece of wood in between the motor and jack, to avoid damage. Then, lift engine 1 inch to relieve pressure from engine mounts (see picture for jack placement)

**Jacking up car is only needed for rear mount- other mounts will require car to be level on the ground-under tray removed.
**If lowered, you may need to be on 4 jack stands to achieve a level car with access to the engine with your jack
Rear Engine Mount Removal
- At this point, you should be on 2 jack stands, with the engine supported using the floor jack (see the above picture for jack placement)
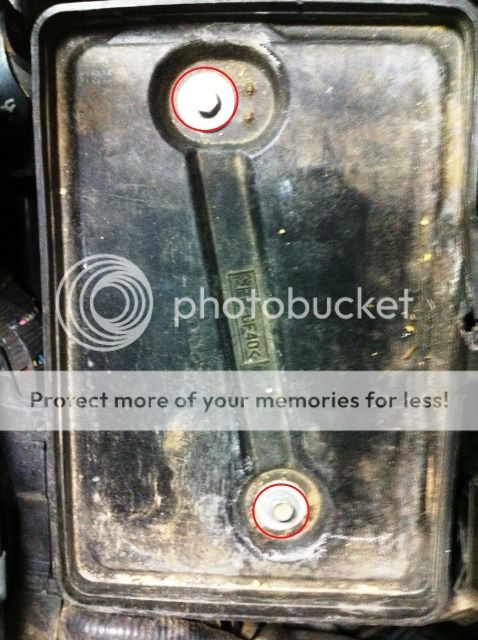
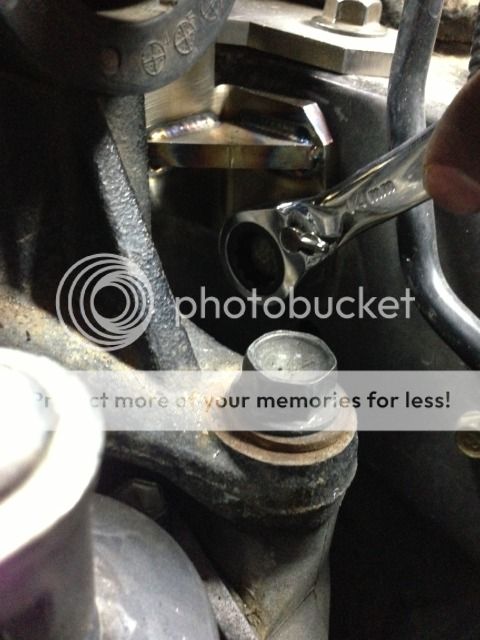
- Remove the lower bolt from the triangle bracket using a regular 17mm socket (breaker bar may be needed)
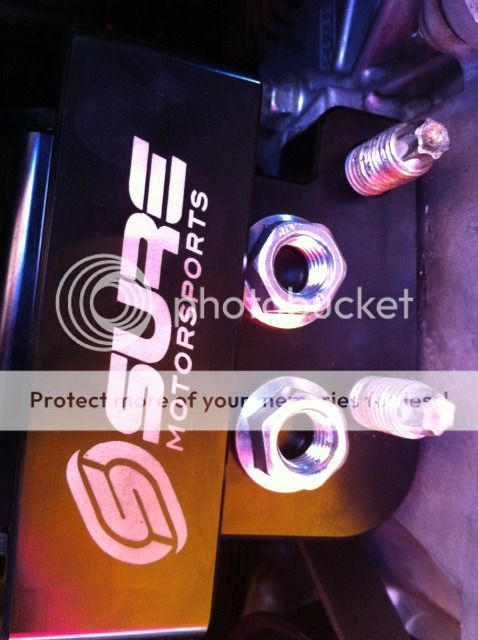
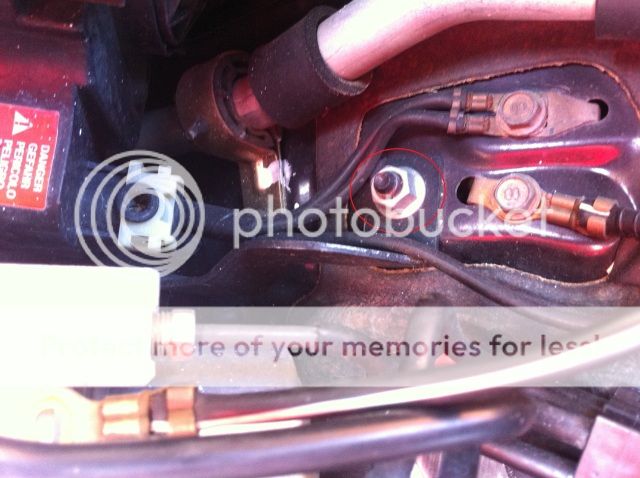
- Remove the rearward engine mount bolt using a regular 17mm socket
- Remove the engine mount, some wiggling and pulling may be required (use a crow bar or rubber mallet if stubborn)
Rear Engine Mount Installation
- To allow for easier install, use plyers or a crow bar to slightly bend back the two tabs on the engine mount bracket to allow for easier installation
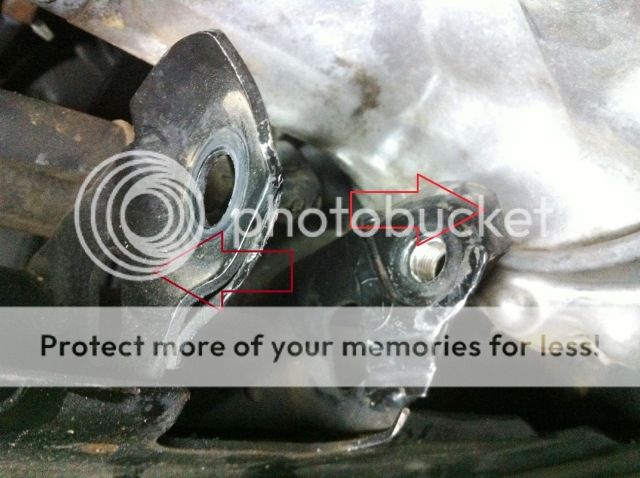
- Hand-thread the rear bolt through the mount, leaving the mount hanging downwards
- Hand-thread the front bolt of the mount into position
- Tighten the lower triangle bolt to 85 ft/lbs using a regular socket
- Tighten the rear engine mount bolt to 85 ft/lbs using a regular socket

- Slowly lower the engine, support car at front jack point, then remove the 2 jack stands (Install under tray if not installing other mounts)
**Lifting the engine up or down to align the 2 bolts WILL be required. Slightly lift engine up and down, pushing it if needed to align the bolts.
**Do not try to force any bolt in using force, as this may damage threads.
Transmission Mount Removal
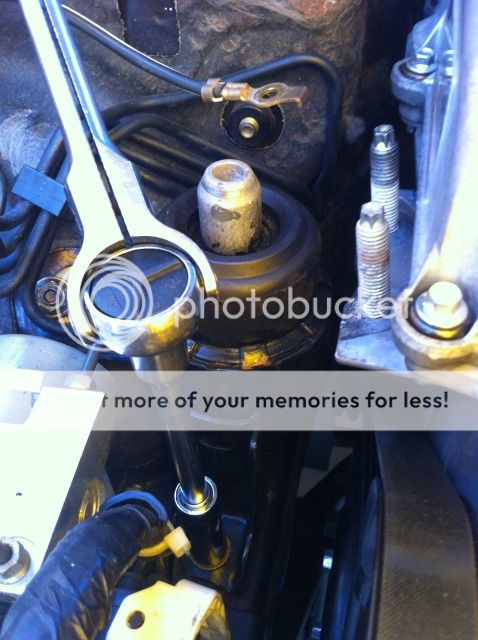
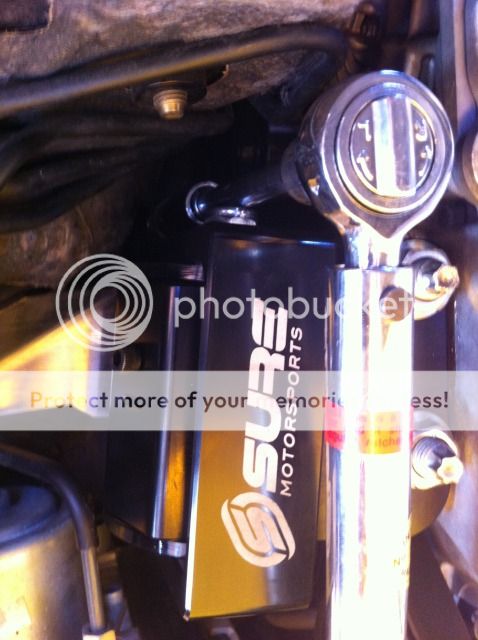
- Support engine using a padded jack, or with a piece of wood in between the motor and jack, to avoid damage. Then lift engine 1 inch to relieve pressure from engine mounts (see picture for jack placement)
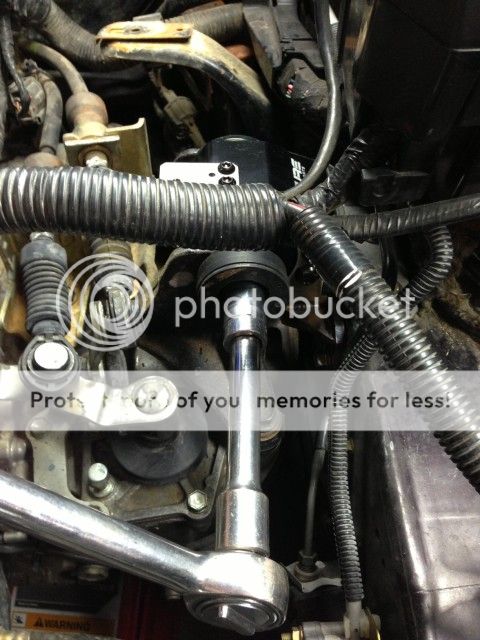
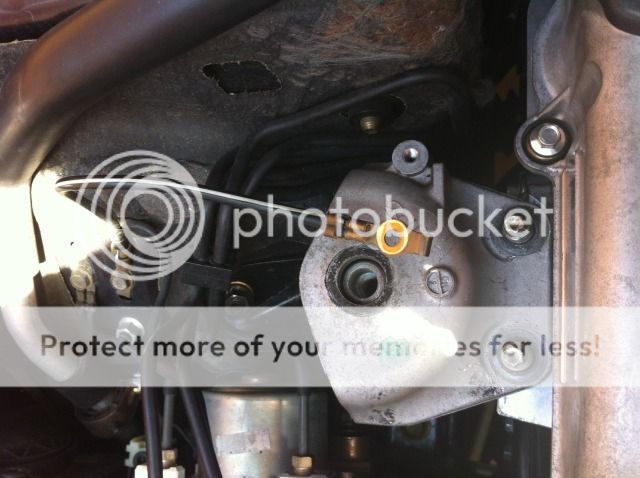
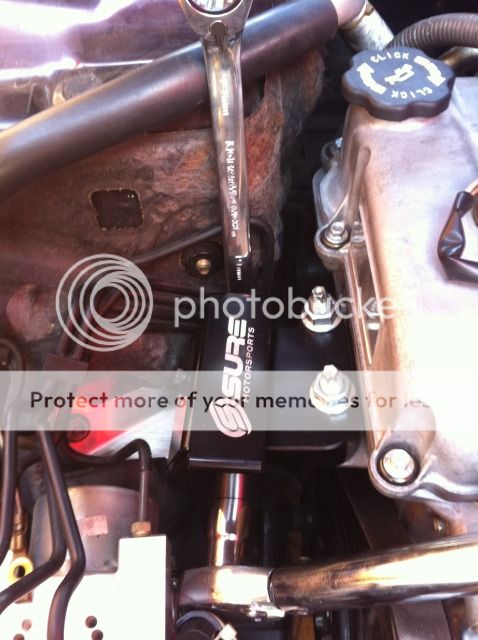
- Slightly loosen, but do not remove the 17mm bolt/nut running through the OEM mount using a regular socket with 6" extension (2 turns of the bolt)
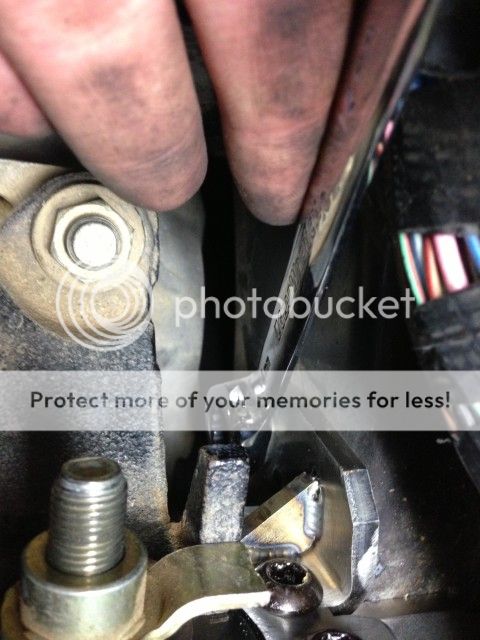
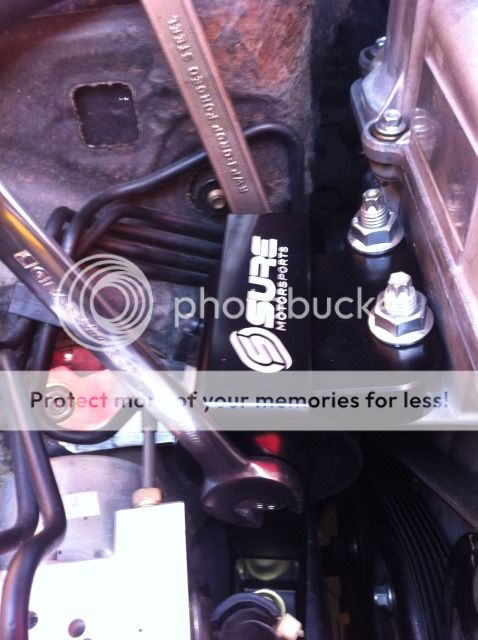
- Loosen the 4 14mm bolts 2 located on the top and side of the mount using a ratcheting angled wrench (use a hammer to tap the wrench to help break bolts loose if needed)
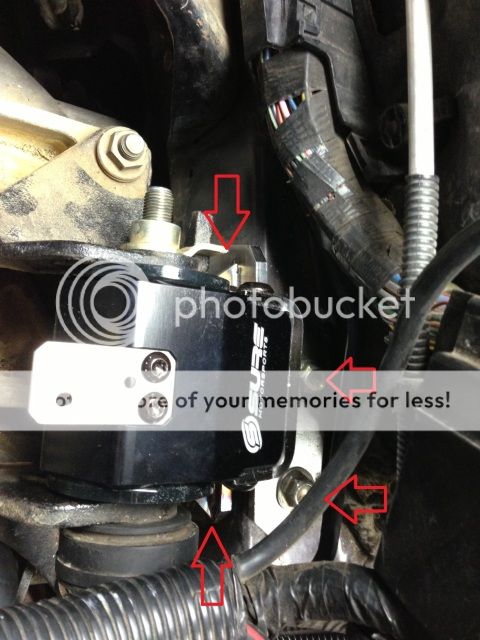
Driver Side Rear
Driver Side Front
Top Bolts


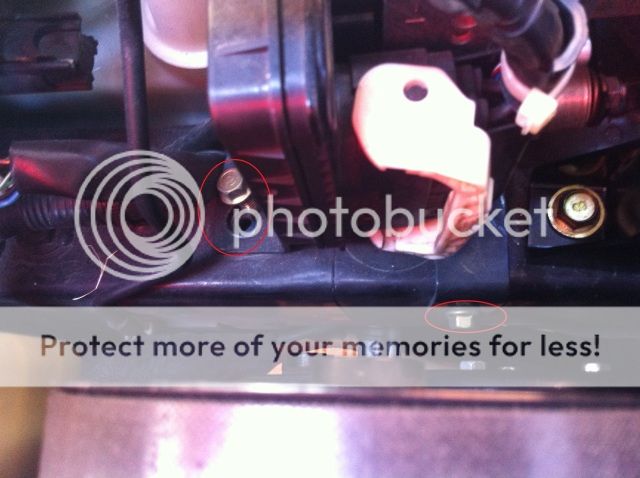
- Remove the previously loosened 17mm bolt running through the OEM mount (slightly lifting or lowering the engine to line up the bolt for extraction WILL be required, do NOT force it through)
- Remove the 4 previously loosened 14mm bolts using the angled ratcheting wrench
- Remove the mount
**Removing the Fuse box is NOT required, but may help if you have large tools-3 10mm bolts/nut
See Jamie's instructions for more info on removing the fuse box. Please note my jack point is different, which makes my install guide easier: Link
Transmission Mount Installation
- Lift/lower engine as needed to align the 4 14mm bolts/align mount into place
- Hand tighten the 4 14 mm bolts
- Hand tighten the 17mm bolt running through the mount (lifting or lowering the mount to line up the bolt WILL be required, do not force it through)
- Tighten the 2 top bolts as much as possible with the ratcheting wrench (55ft/lbs is OEM spec)
- Tighten the two side bolts as much as possible with the ratcheting wrench (55ft/lbs is OEM spec)
- Lastly, tighten the main bolt running through the mount to 85 ft/lbs using a regular 17mm socket with 6" extension
- Slowly lower the engine/remove floor jack
- Install battery tray and battery tie down, gently torquing the 3 bolts to 10 ft/lb's, and 6 ft/lb's on the battery rod nut
- Install battery terminals, first the positive, then the negative
**Note** Lifting the engine up or down to align threads WILL be required. Do not try to force ANY bolt in, as this may damage your threads
**Note** Check torque on bolts during your next oil change, and tighten if necessary
Impressions at 10 miles:
With the mounts in street urethane, it added close to no vibrations into the cabin. The transmission is more audible, meaning you can now hear the gears spin-up, but this has gotten much quieter since driving just 10 miles. From past experiences, I expect the mounts to become very quiet, and I will update the thread with further input once the mounts are settled-in.
Shifting is amazing, I have never been able to shift into gear at WOT like this-there is now no chance of missing a gear, it is very crisp and clean. Additionally, the car is much more connected and crisp all-around, it feels like it is ready to take a beating anytime, anywhere.
Last edited:


")