- :
- Completely Stock P5
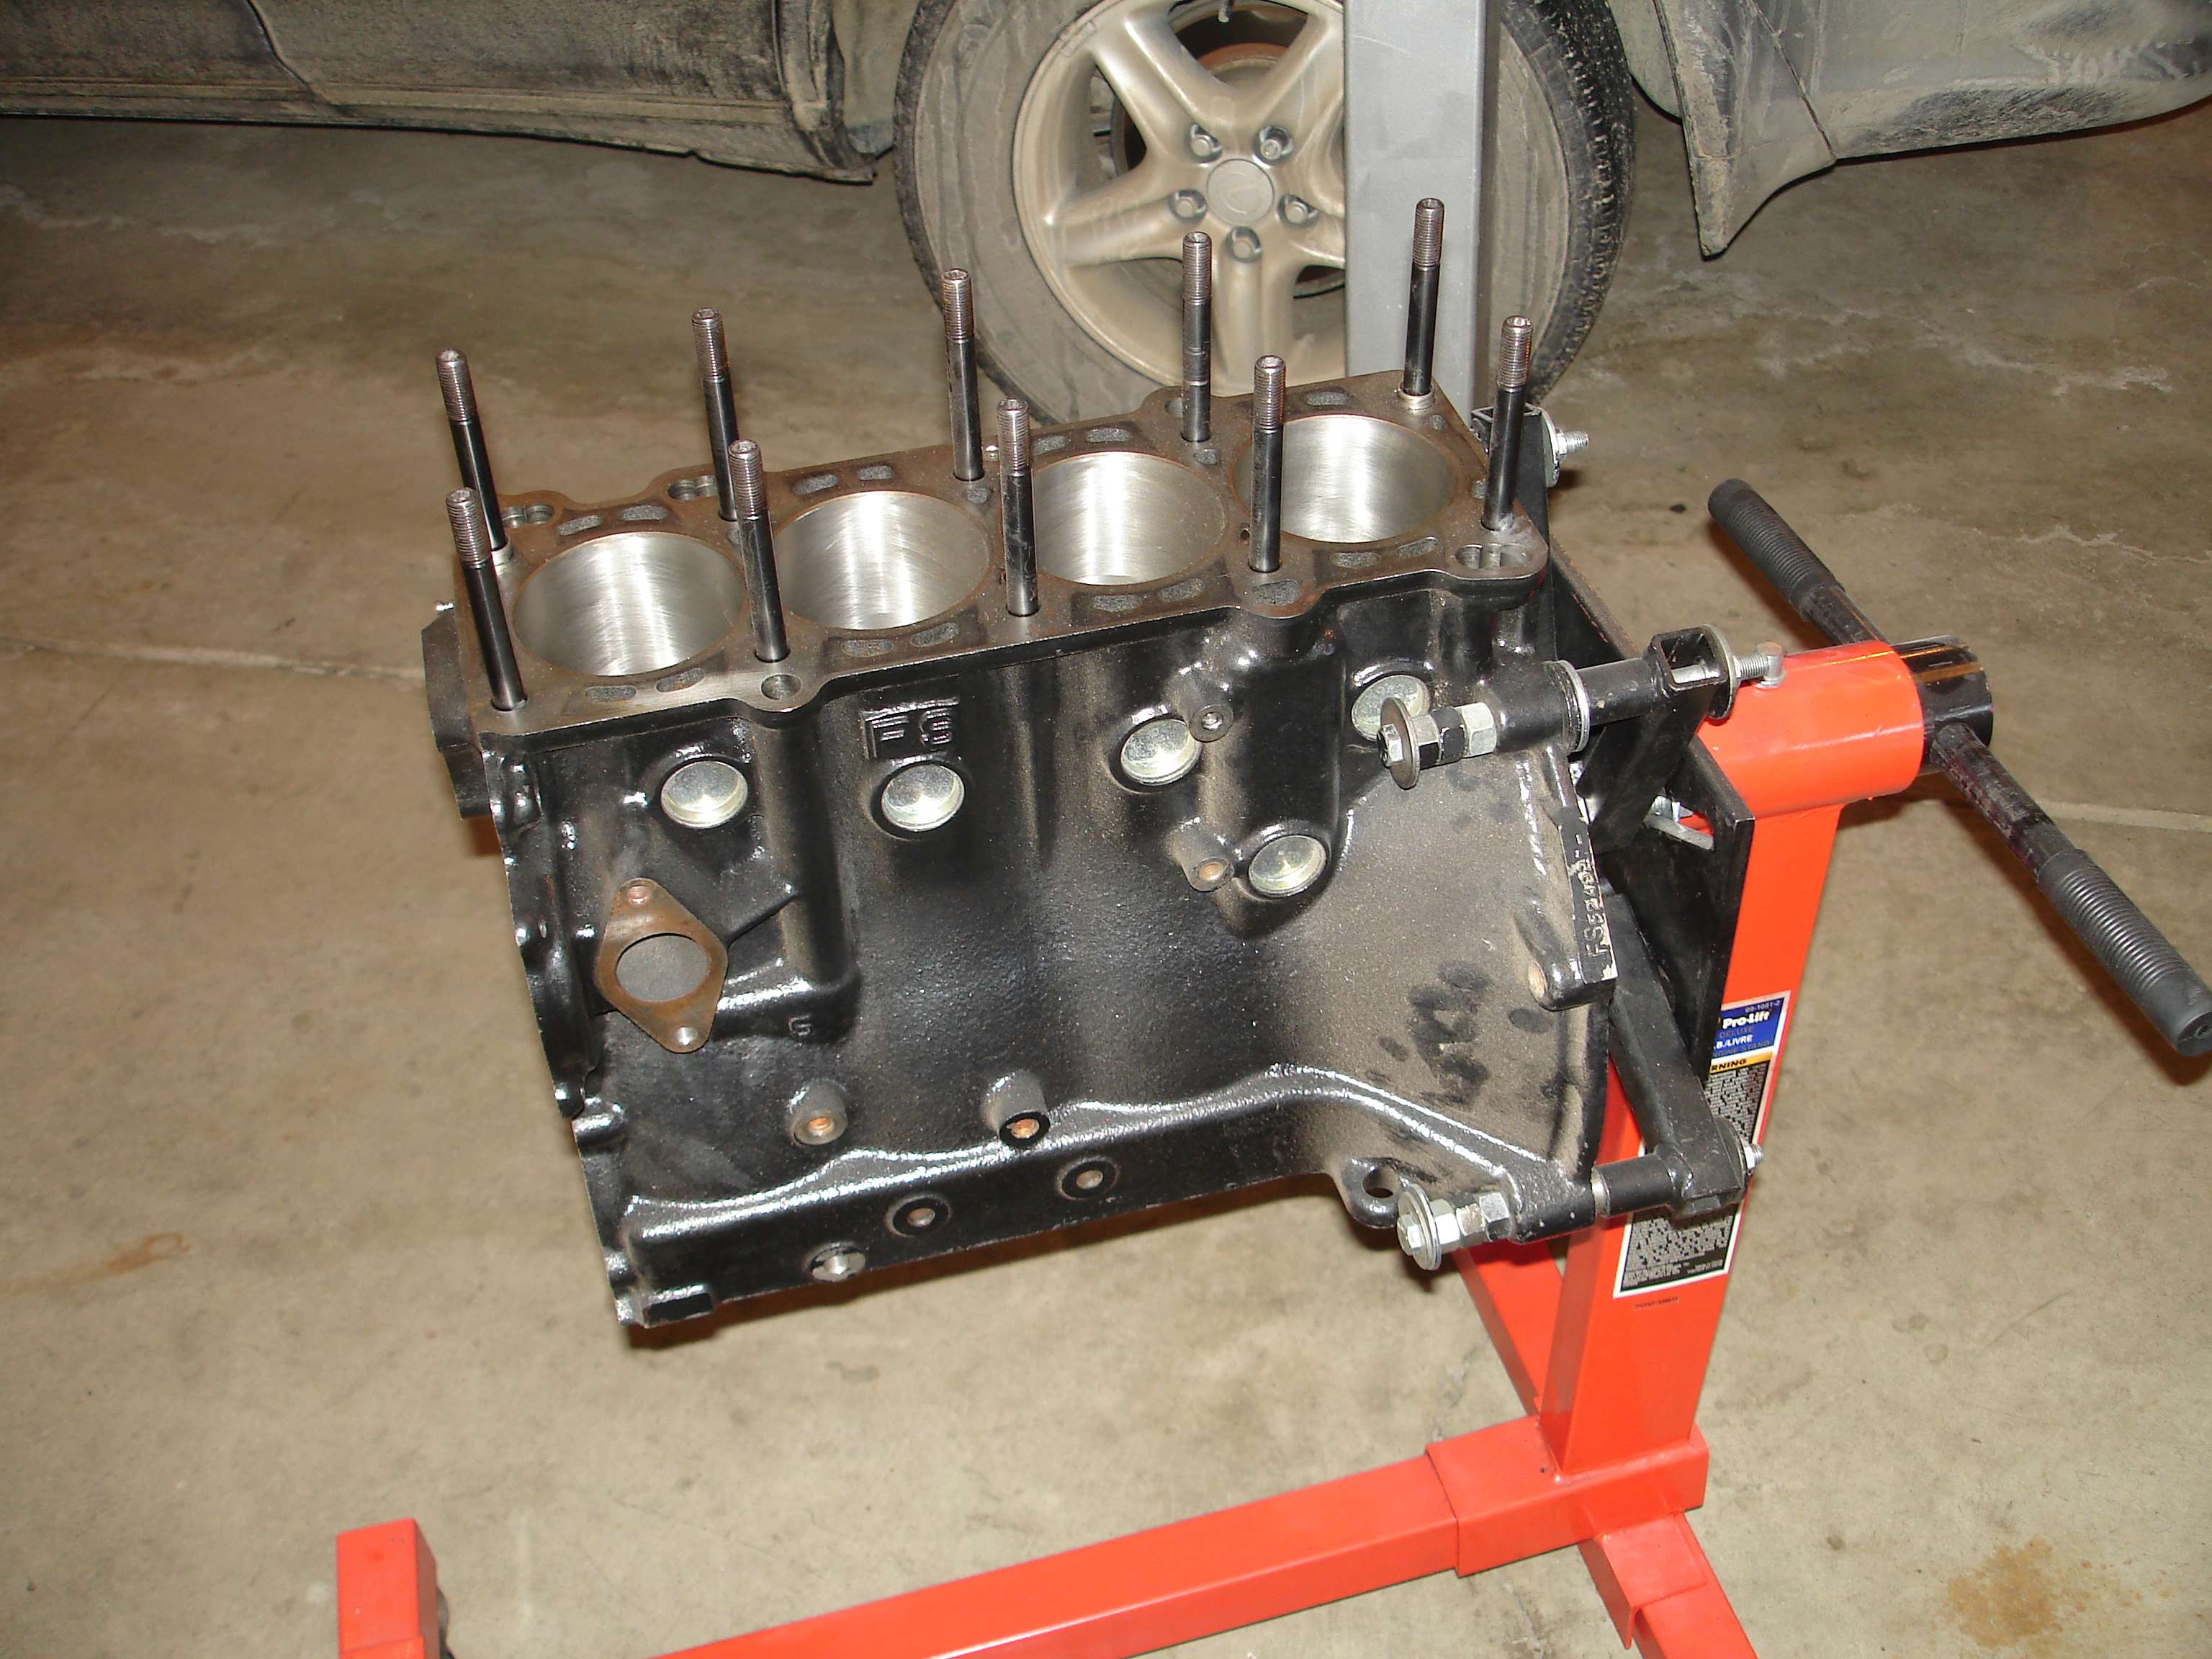
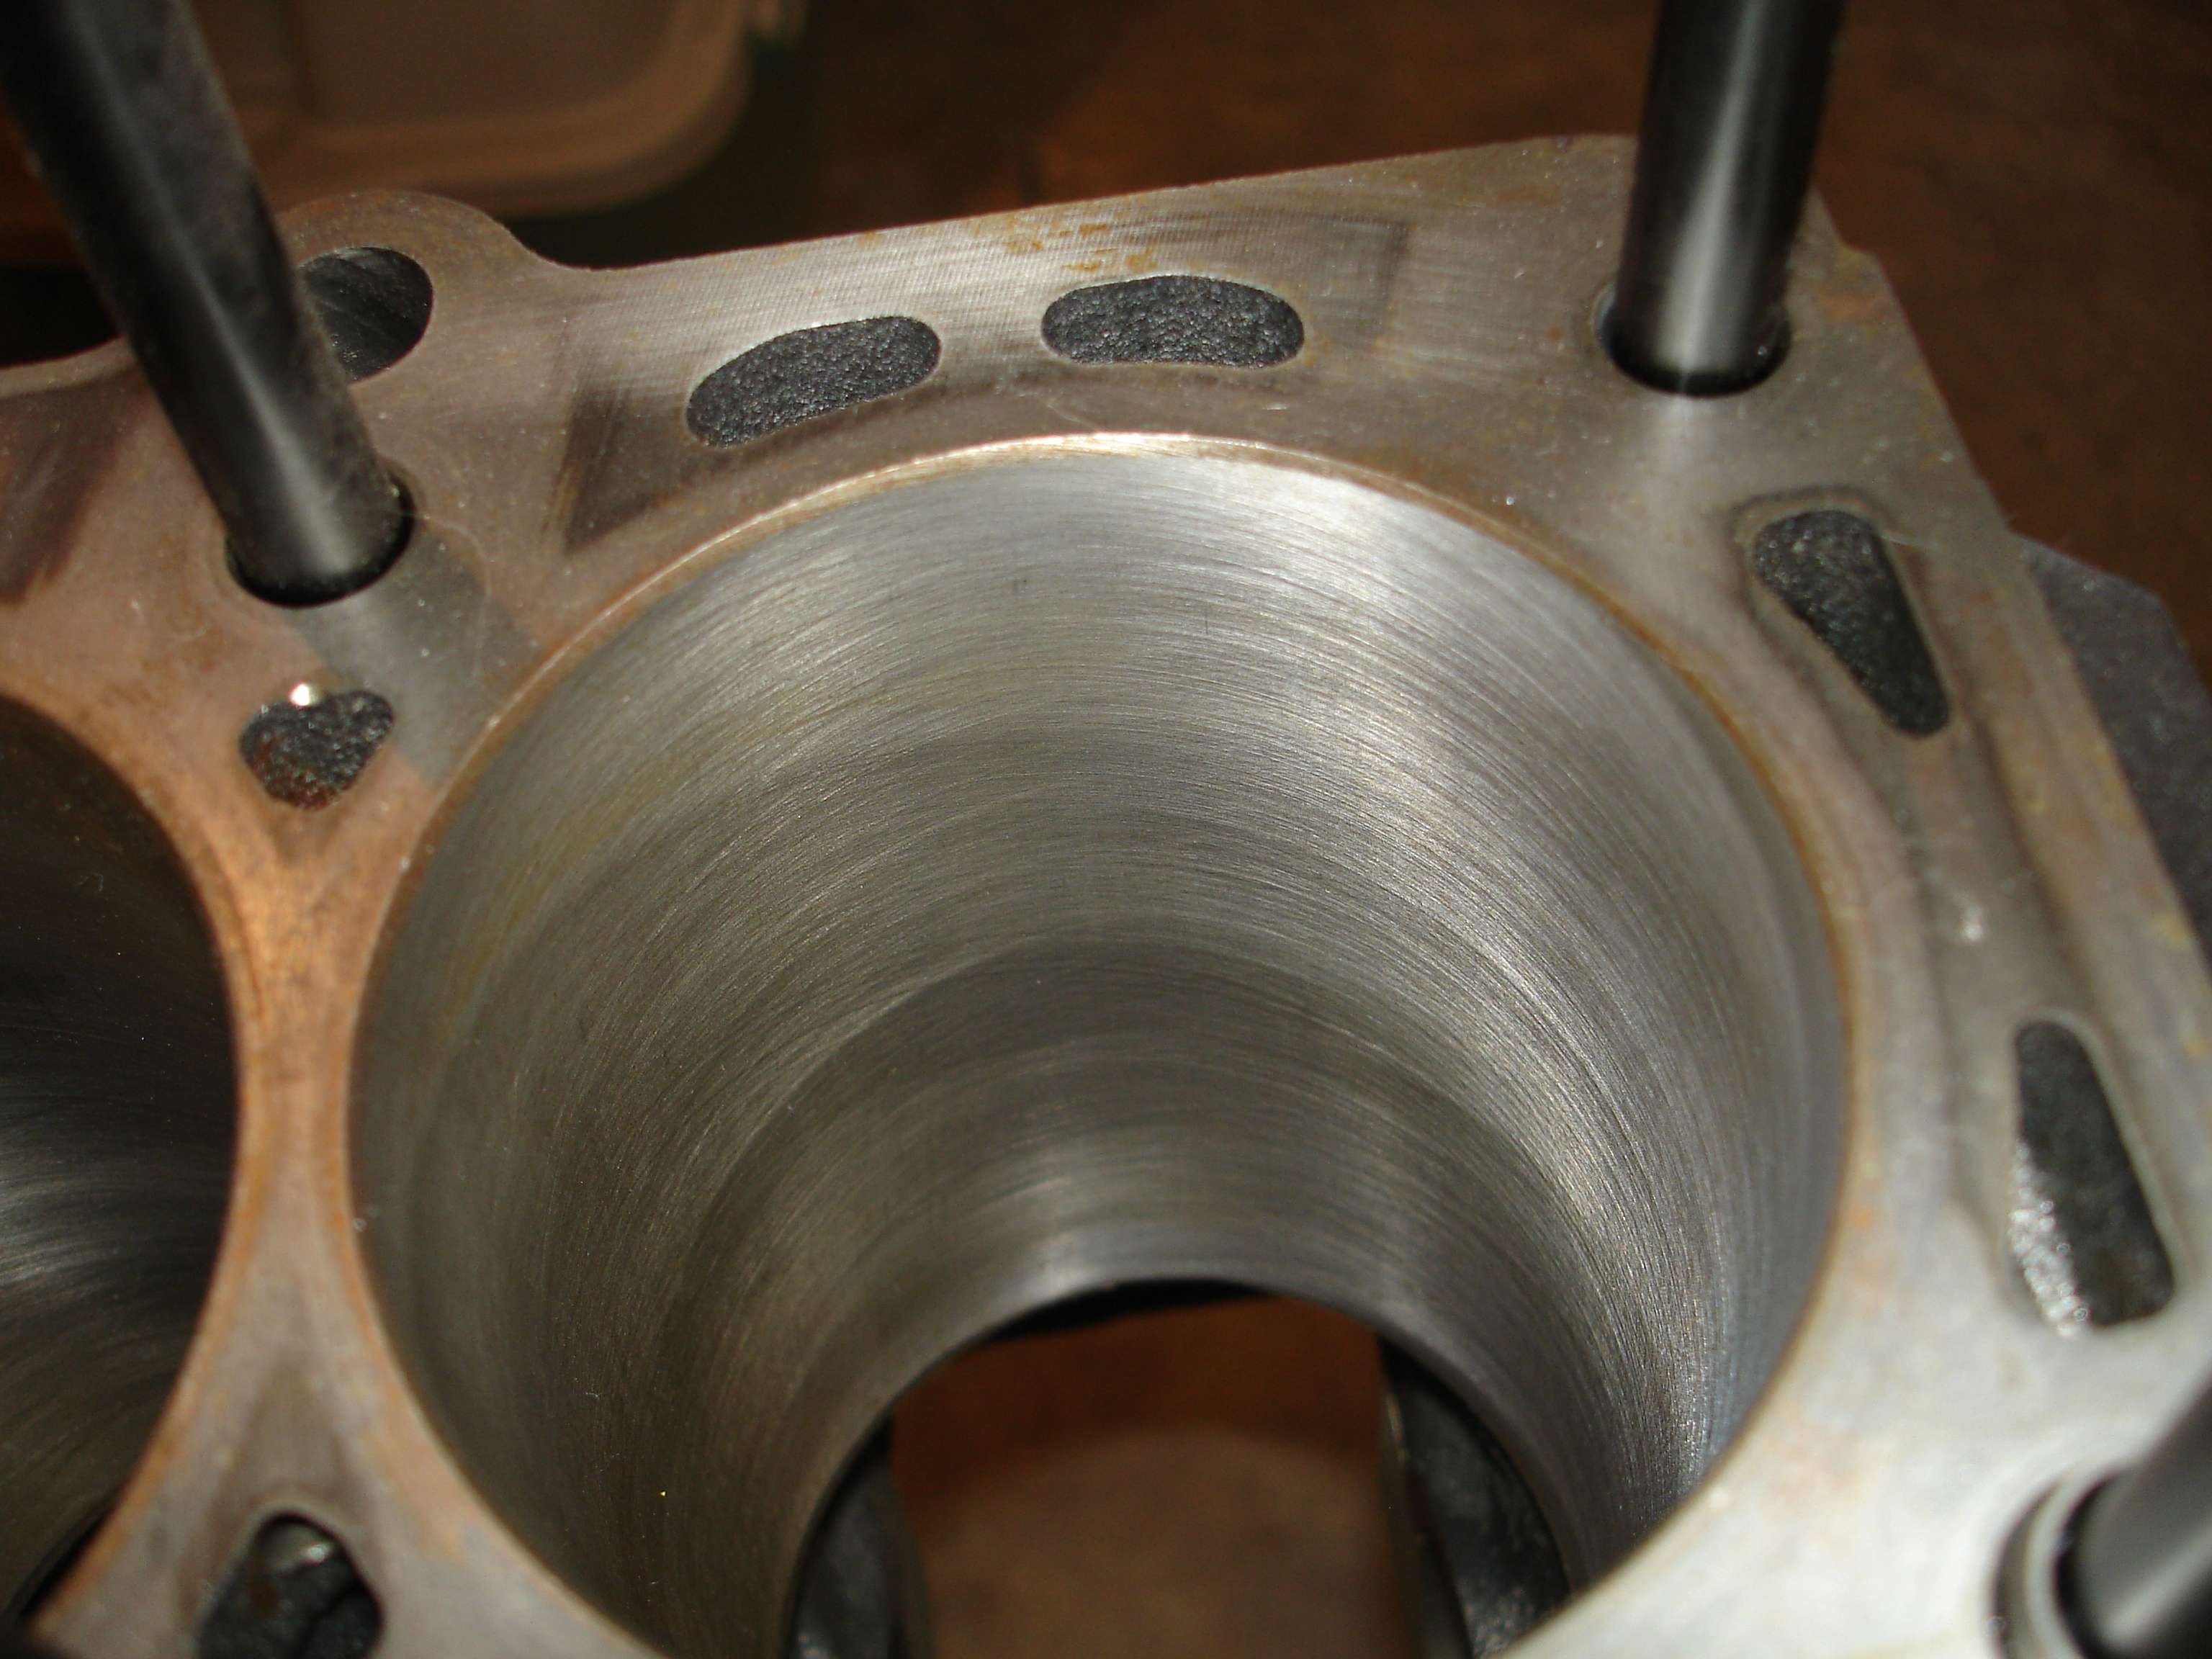
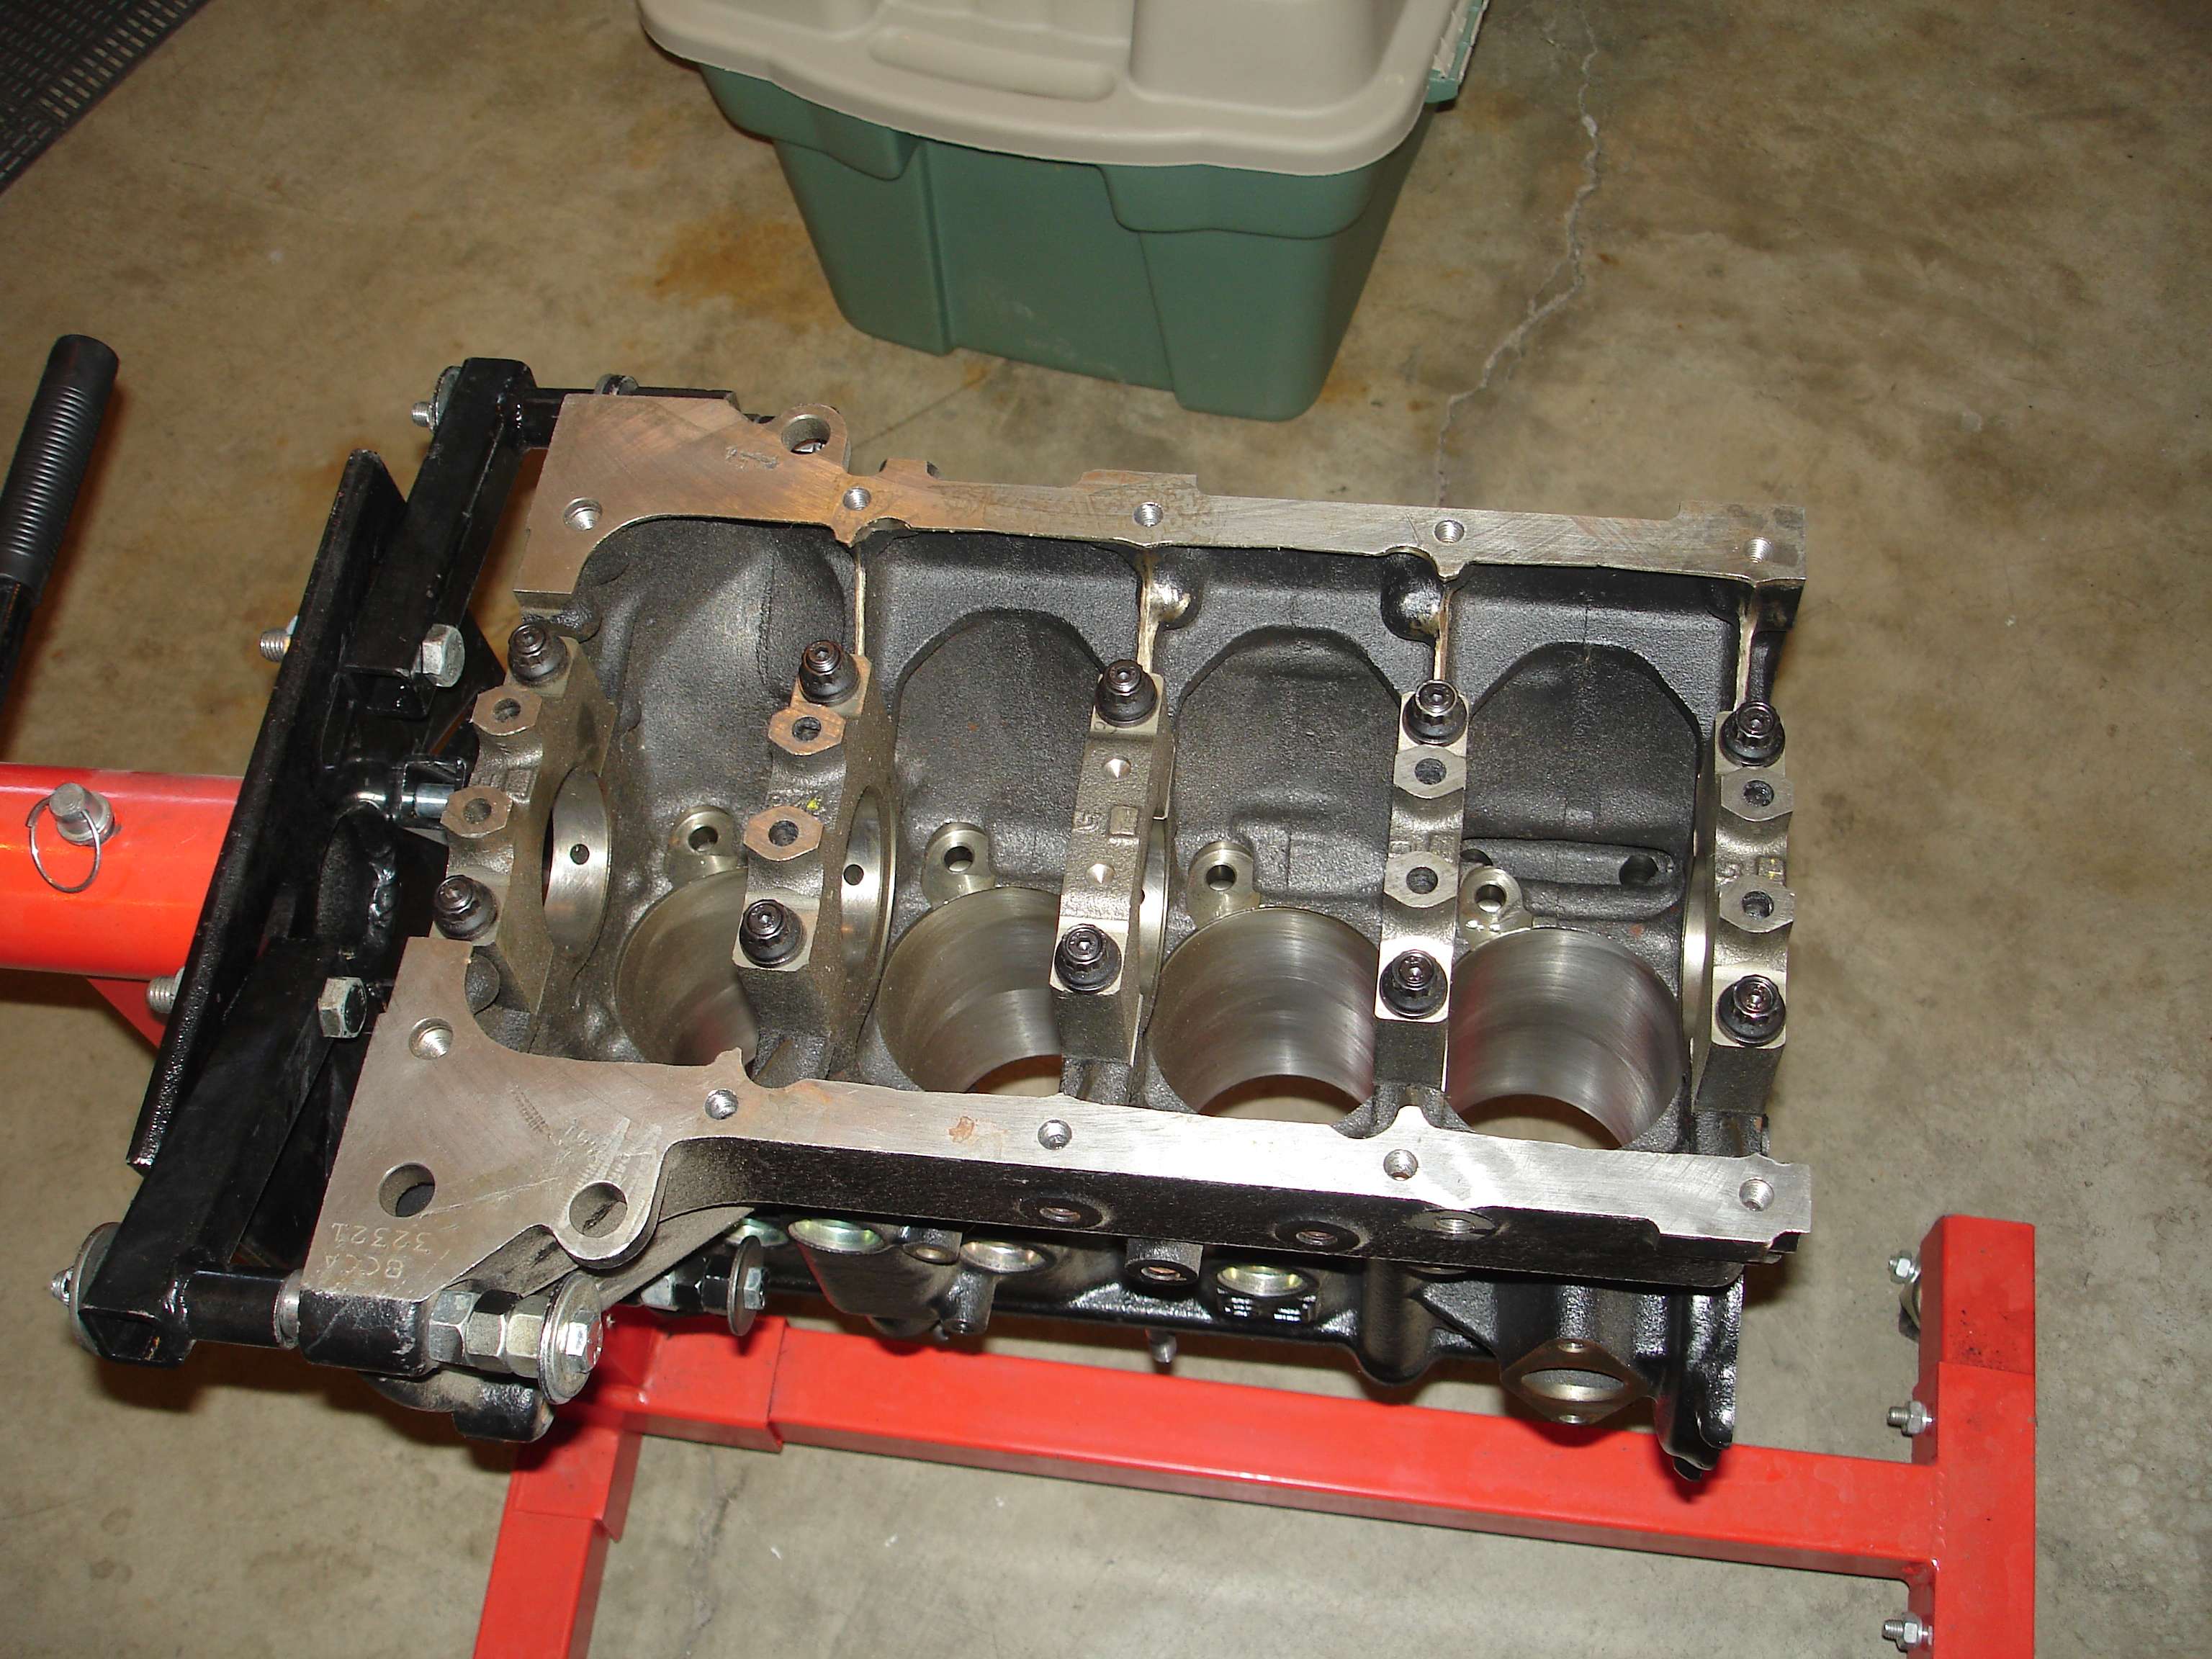
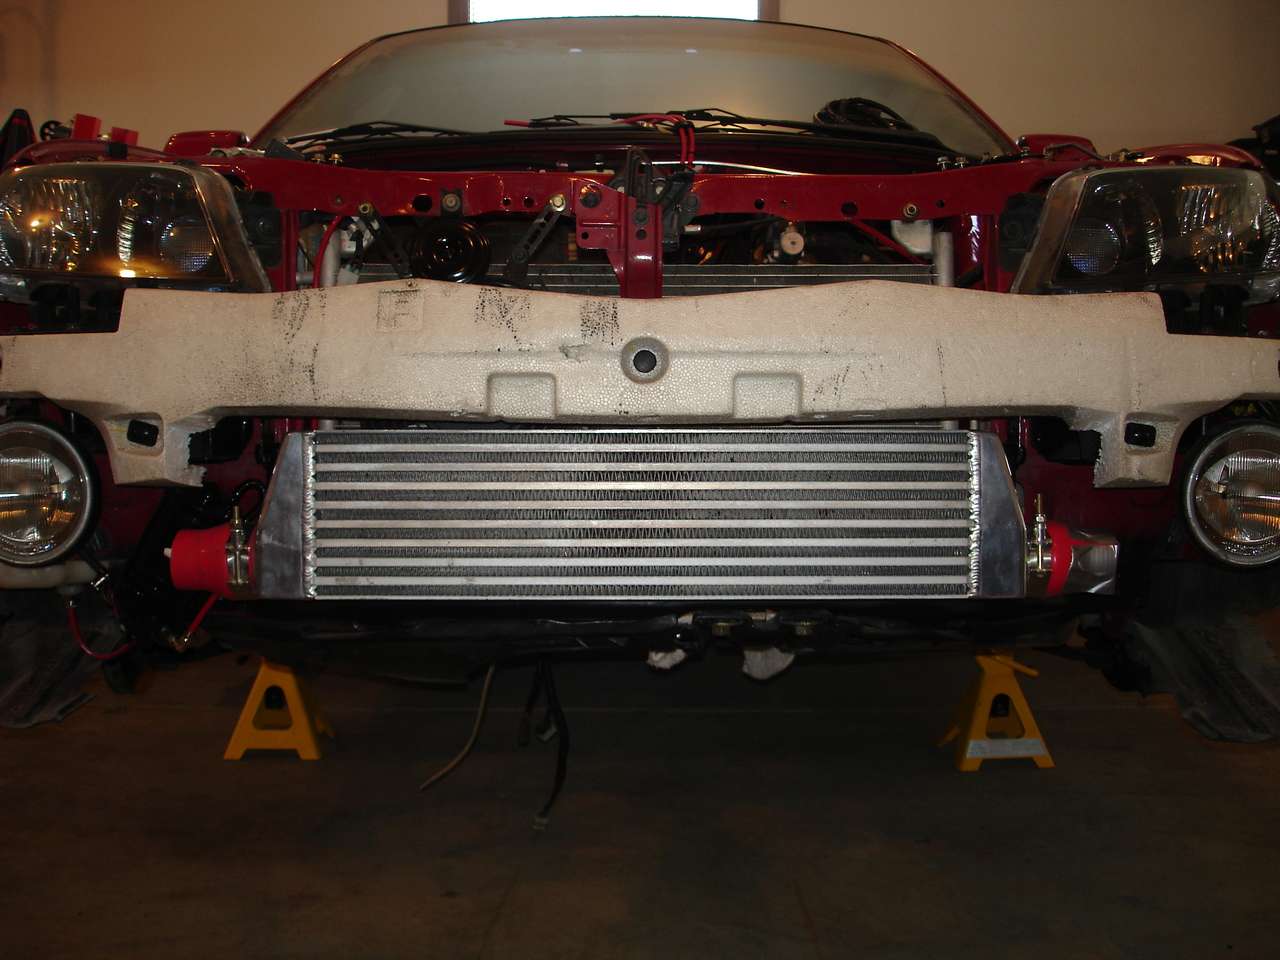
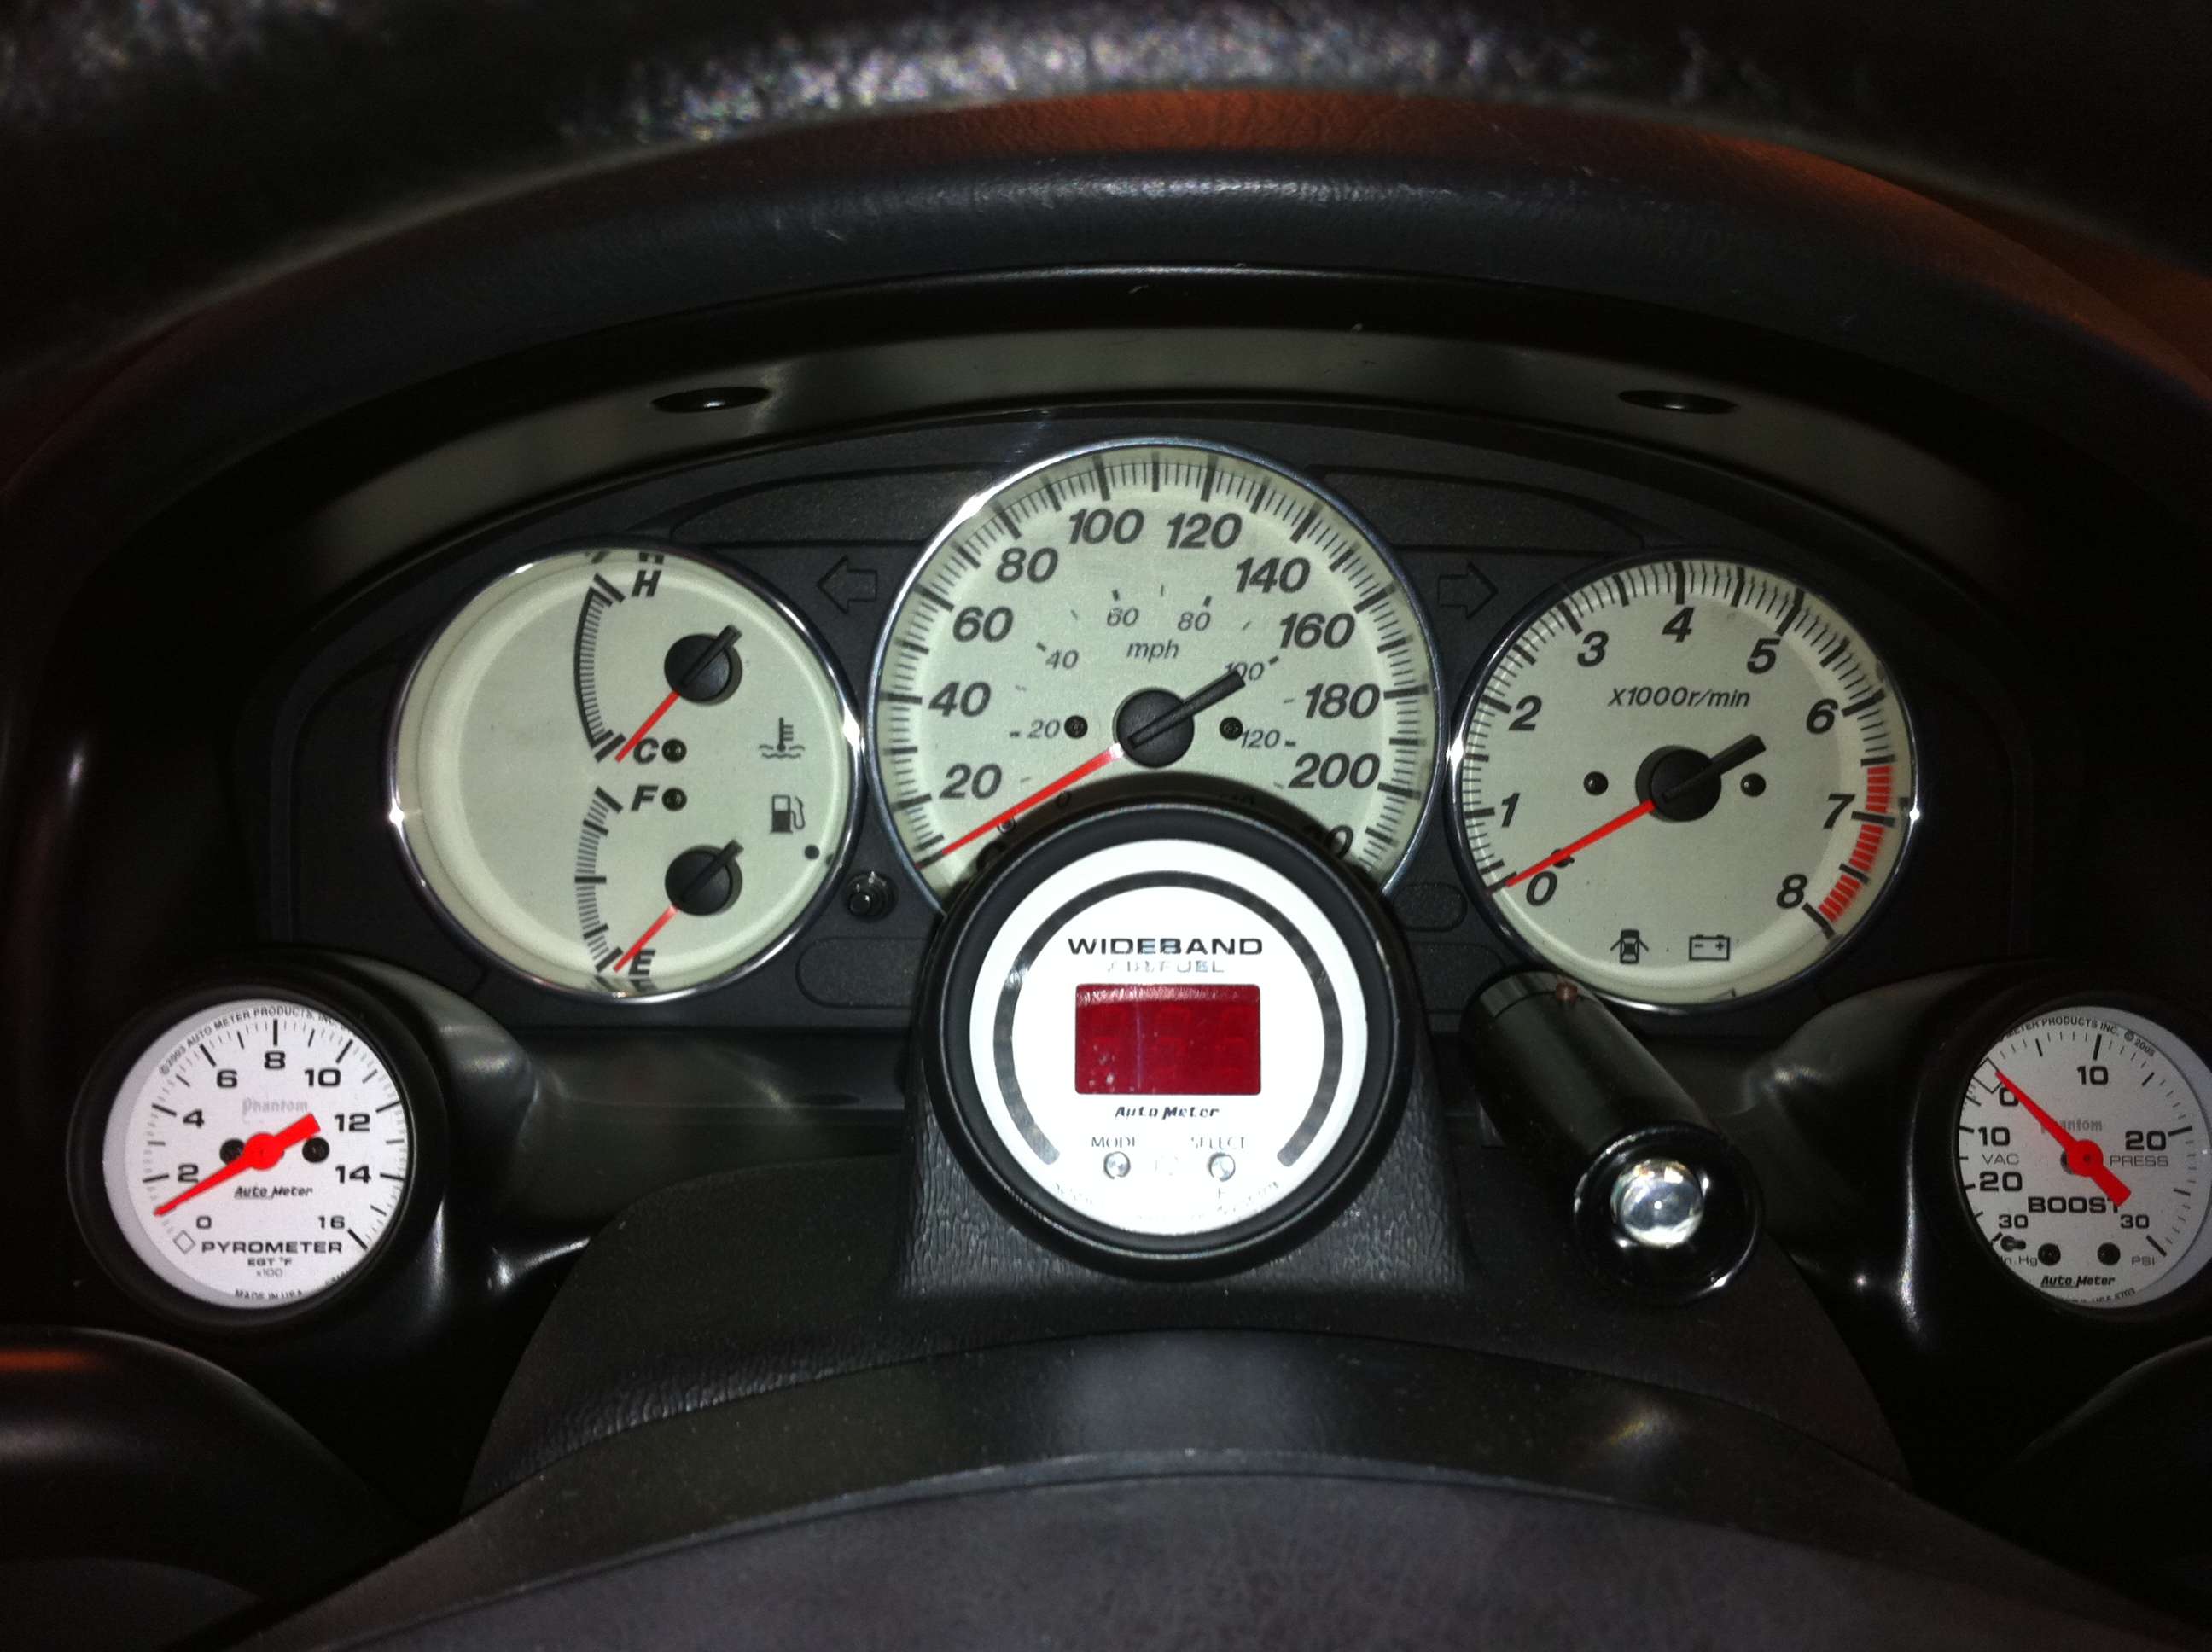
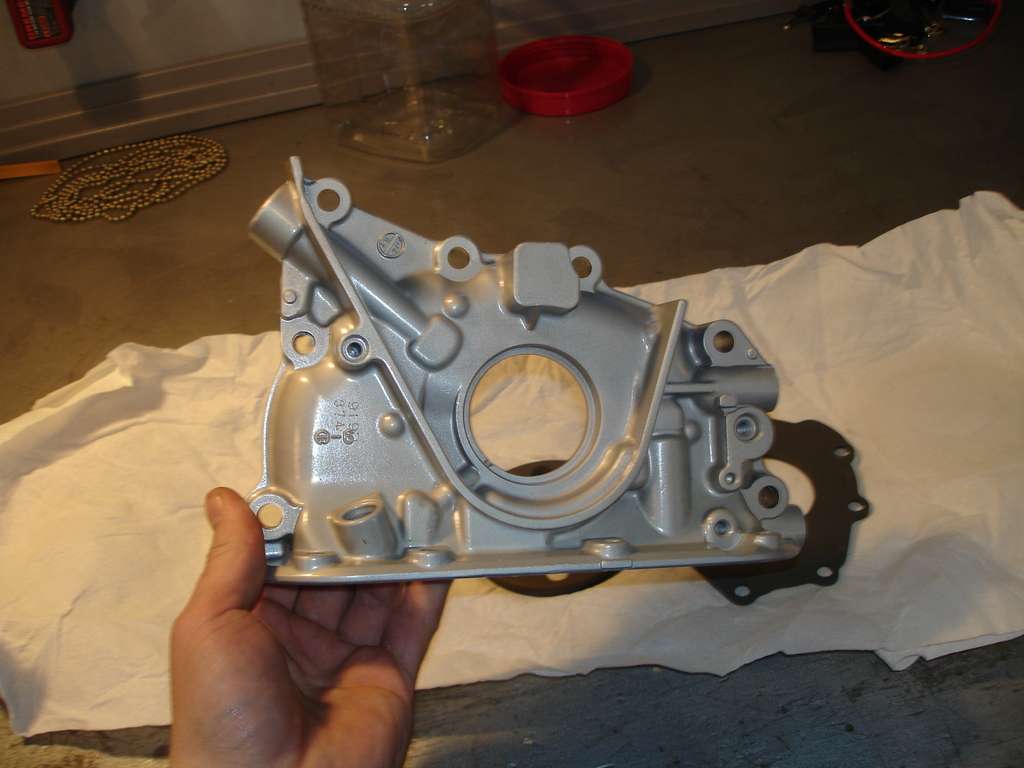
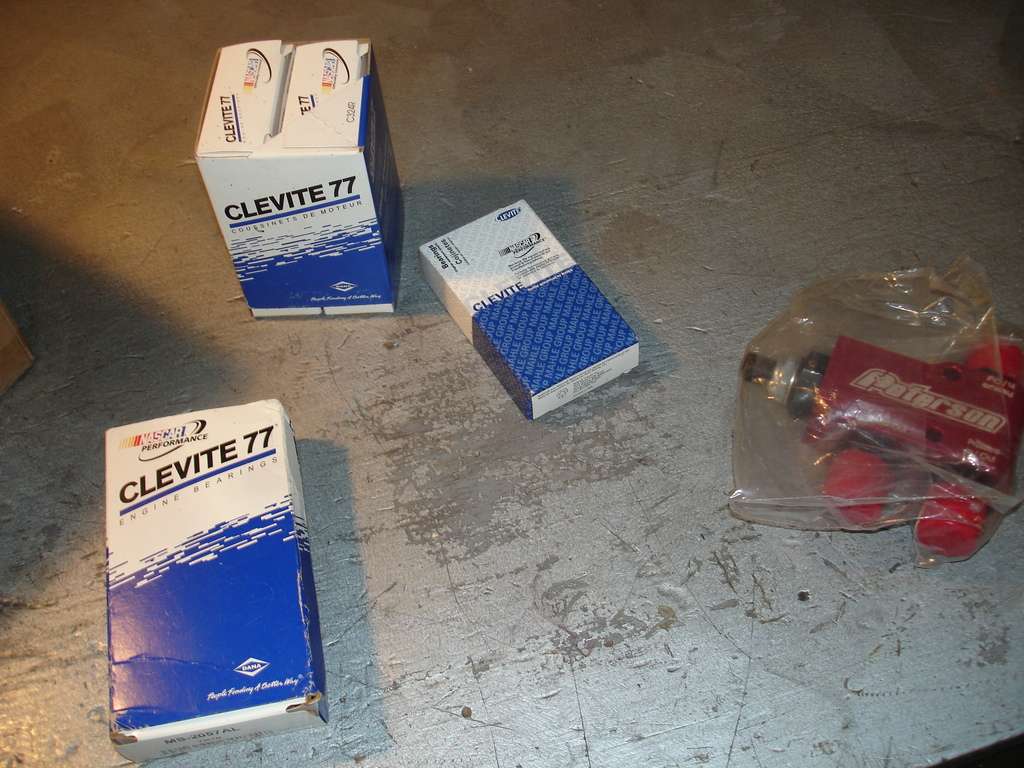
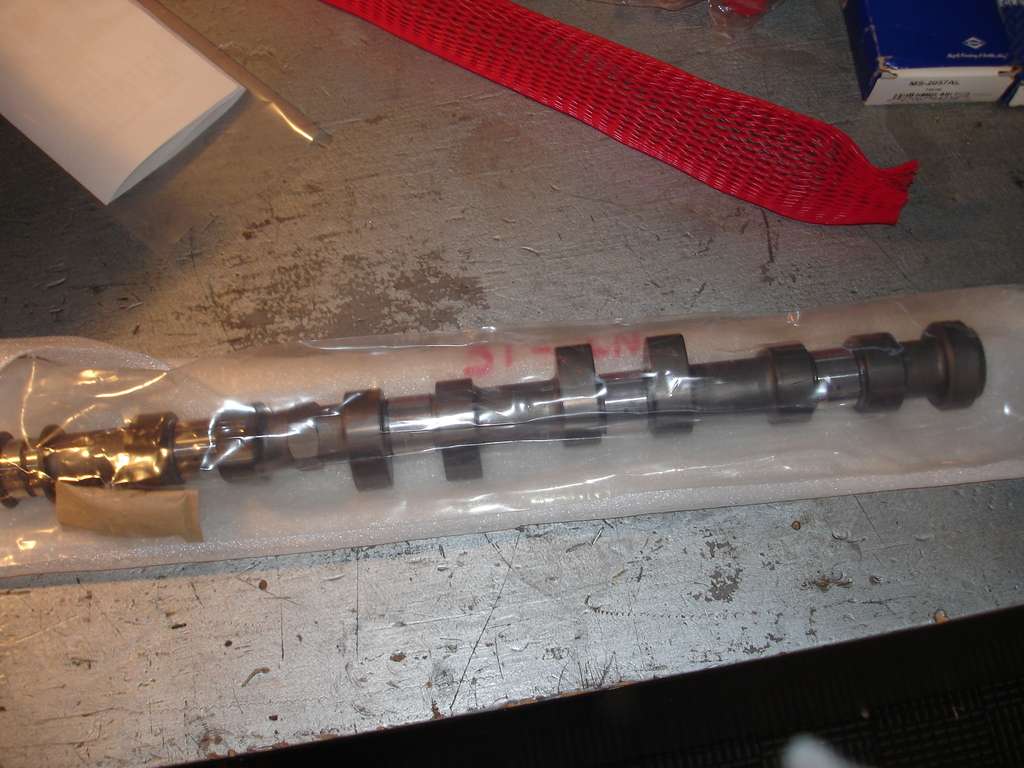
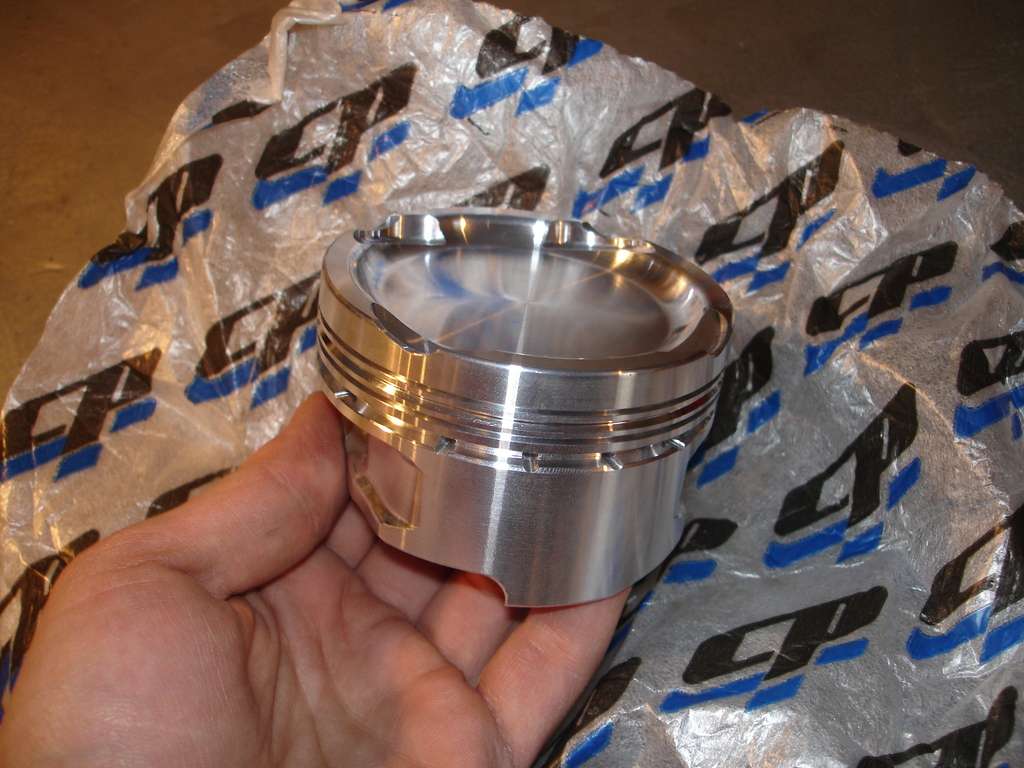
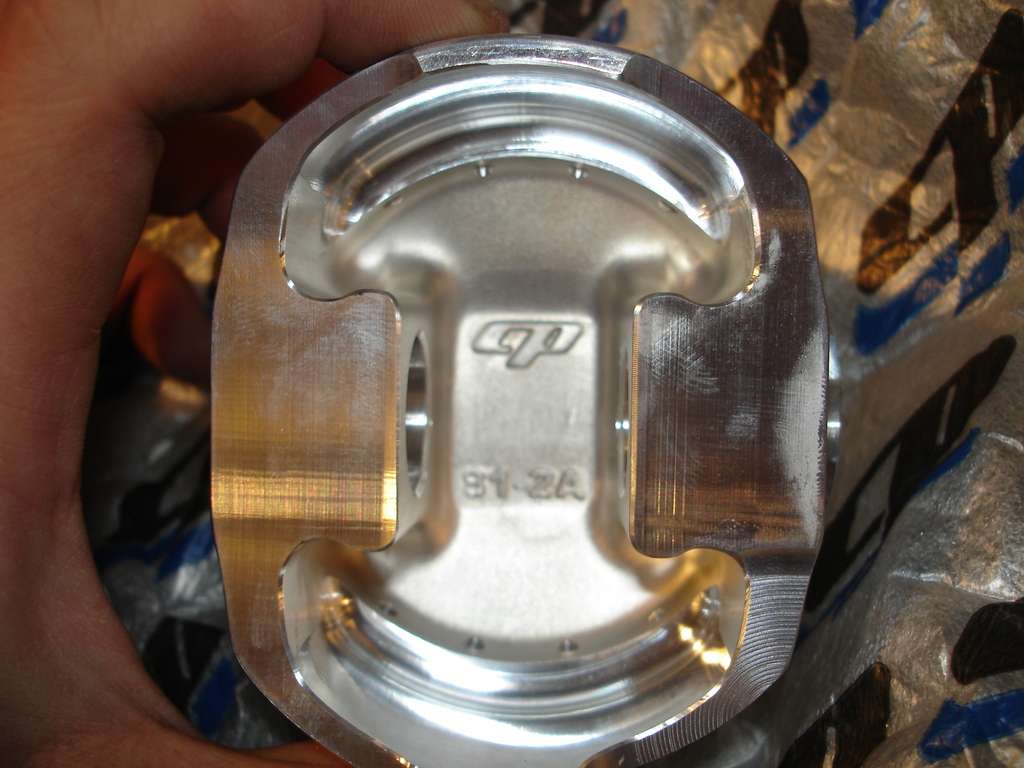
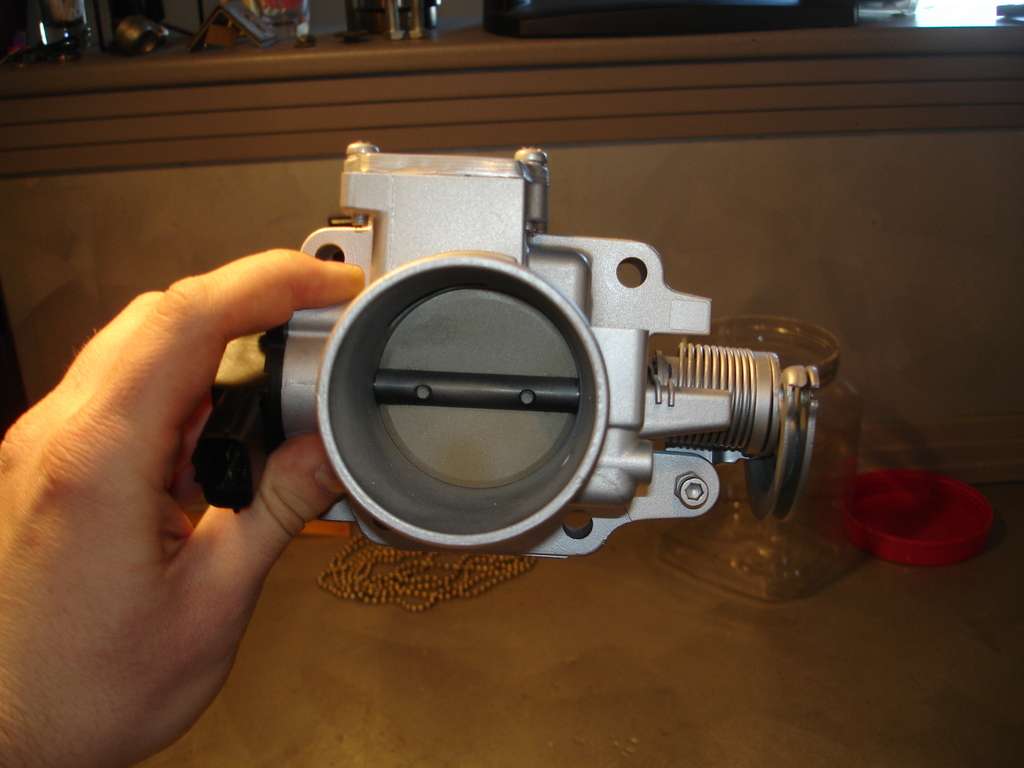
Well, the time has come to revamp the P5. Got bored of the old setup, so I decided to tear it all down and go for something new. Engine is being rebuilt again with CP 8.5:1 custom oversize pistons, Pauter rods, custom built head with oversize valves, and Integral stage 3 cams, etc. The turbo setup may stay the same, I really like my manifold. The Haltech is getting a bit of a revamp, as well as a few new gauges. Basically, the whole powertrain will be torn down, inspected, and rebuilt, making improvements where I can. This is going to be a big build. I'm going to keep a few of my plans "secret" for now, but I will reveal them in due time.
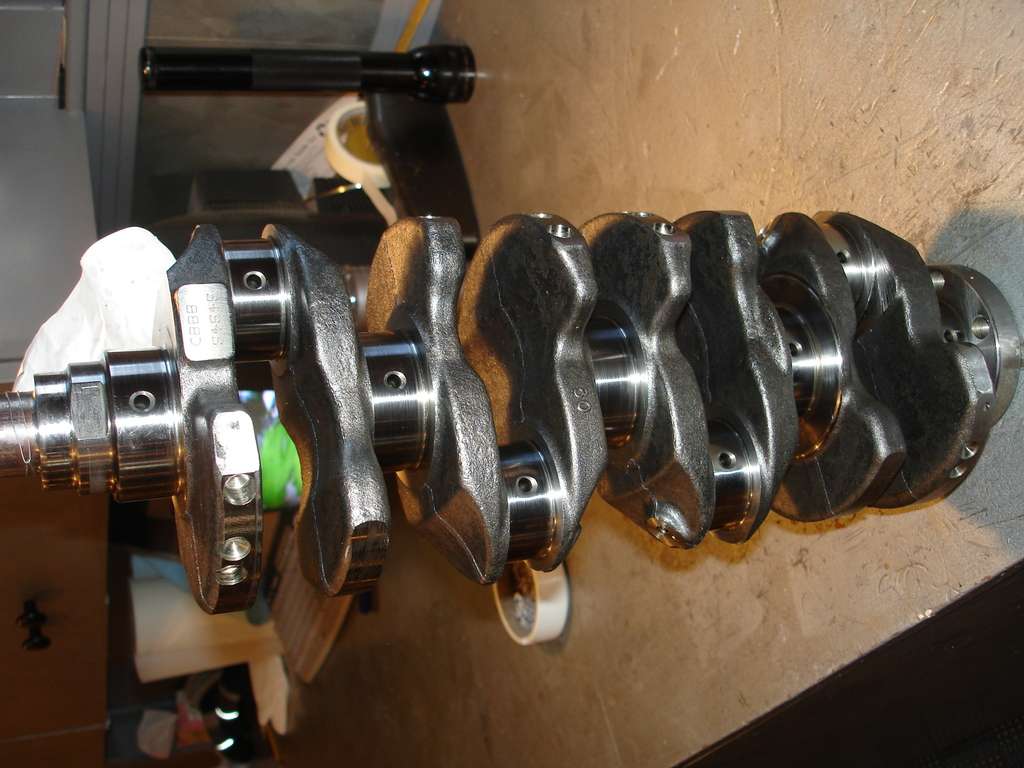
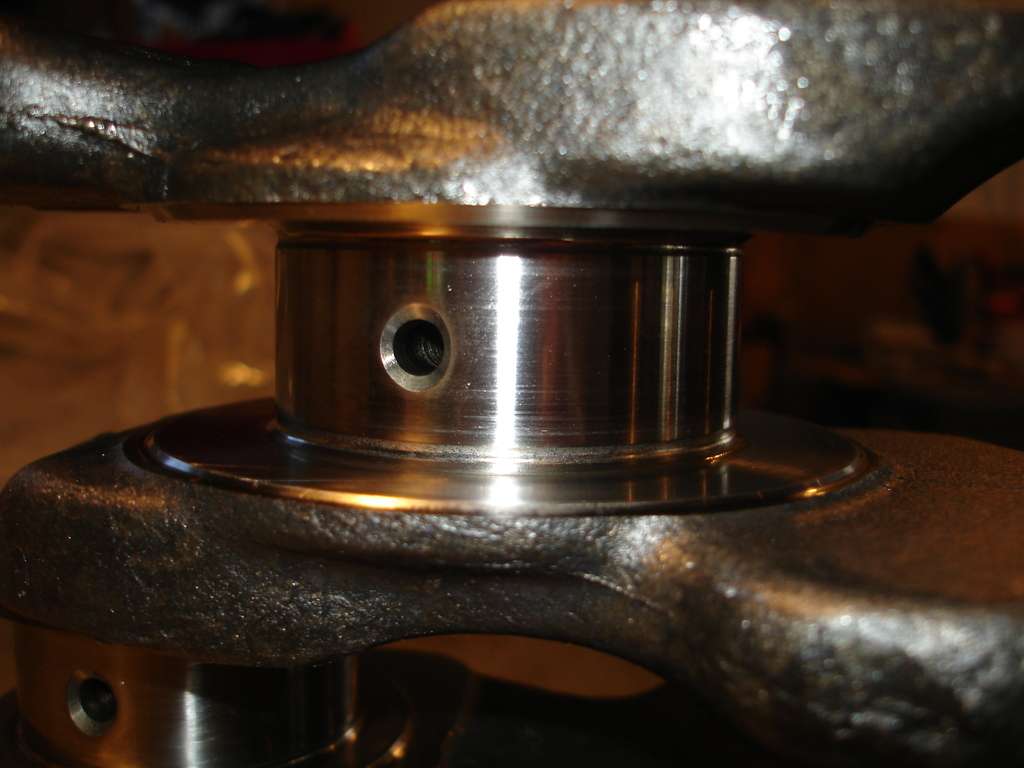
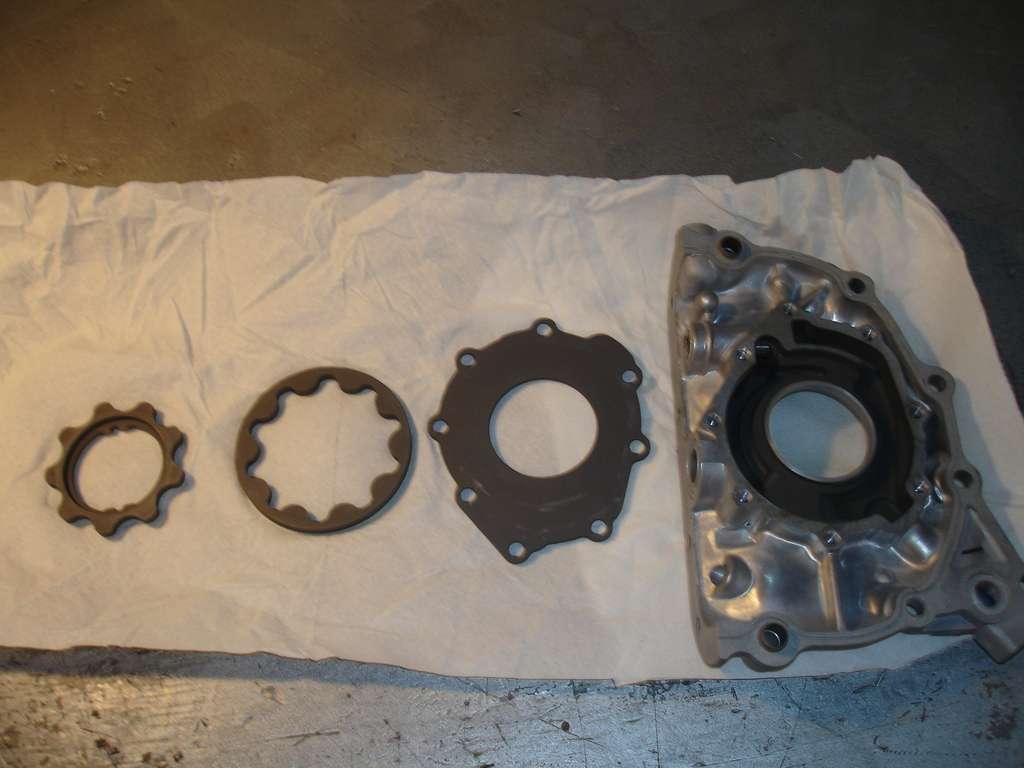
The car has been in storage since August 19, 2008. Over two years since this thing has seen the road. The engine was removed last summer, and torn down, and parts cataloged. You can see what I mean when I say this car is getting a thurough once over. Teardown and planning isn't really all that exciting, so i decided not to document it here, but I will commence with the rebuild.
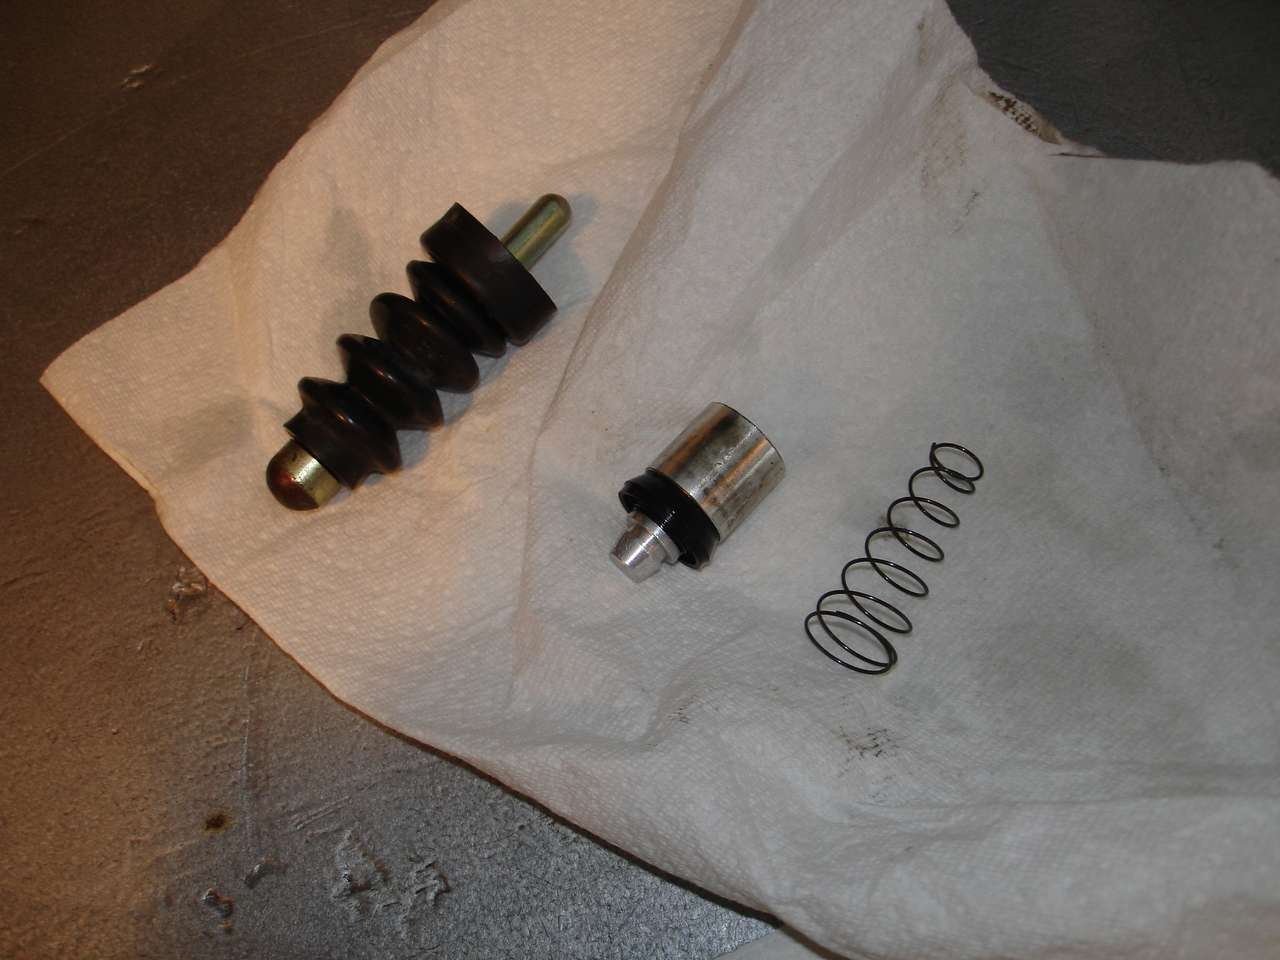
Few days ago, I decided to get cracking on the transmission, I have a spare built the same, but this one is going in the car. Tore it down, cleaned and inspected everything. The transmission features a welded MSP LSD, GTX 3rd, 4th, and 5th gears, revised shift forks, and the '03.5 updated synchros. All bearings and bushings checked out, and the gearset shafts were shimmed right on the tight side of Mazda's spec to ensure they don't spread apart under load, as I'm not running straight cut gears. This step, although crucial is a TOTAL pain in the ass, and requires some special tools to do properly.
While I was in there, I decided to mount a sensor for a transmission temperature gauge. There isn't much room in there in a spot where the sensor will be submurged in the transmission oil, but I did manage to find what I consider an ideal spot, just below the main shift linkage shaft. There is a small "indent" that will allow for an Autometer sensor, and not interfere with anything. This is in the bottom of the case, and will keep the sensor submurged. On the outside, it does not interfere wit hthe lower chassis crossmember, although it is close.
Drilled an appropreate sized hole, and tapped it for 1/8" NPT:
You can see the "perfect" indent:
Sensor installed, teflon tape was applied. Looks like a good fit:

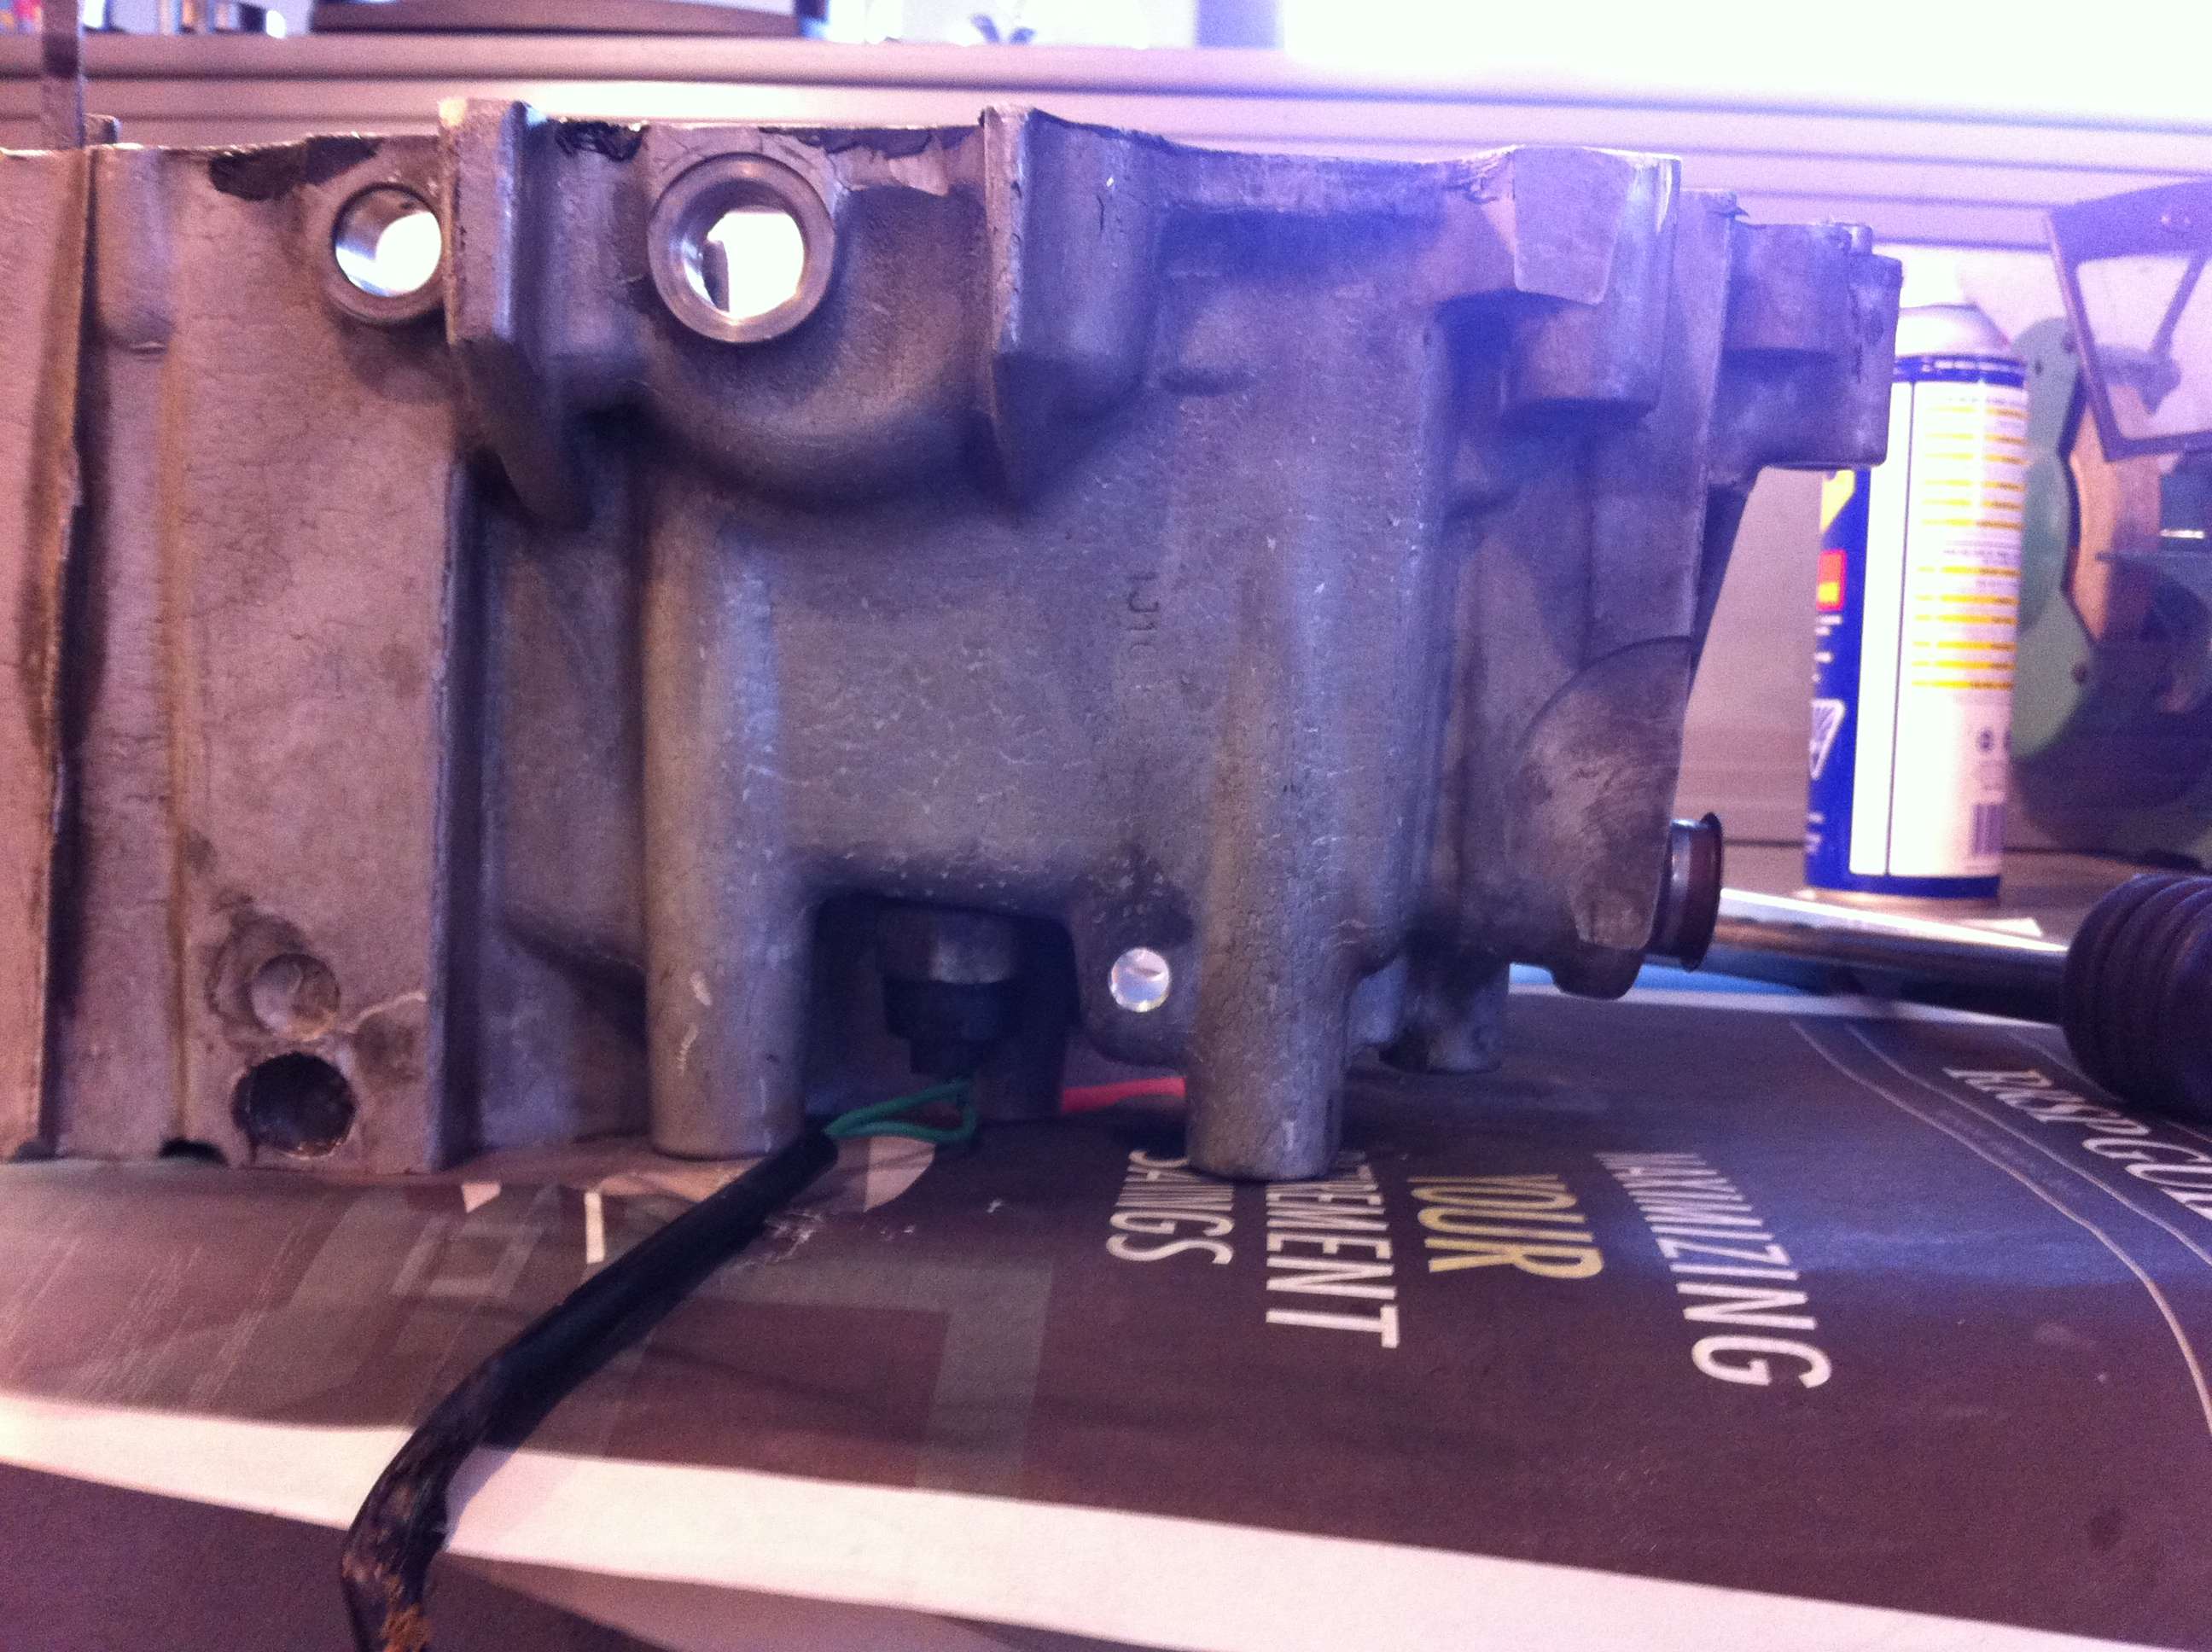
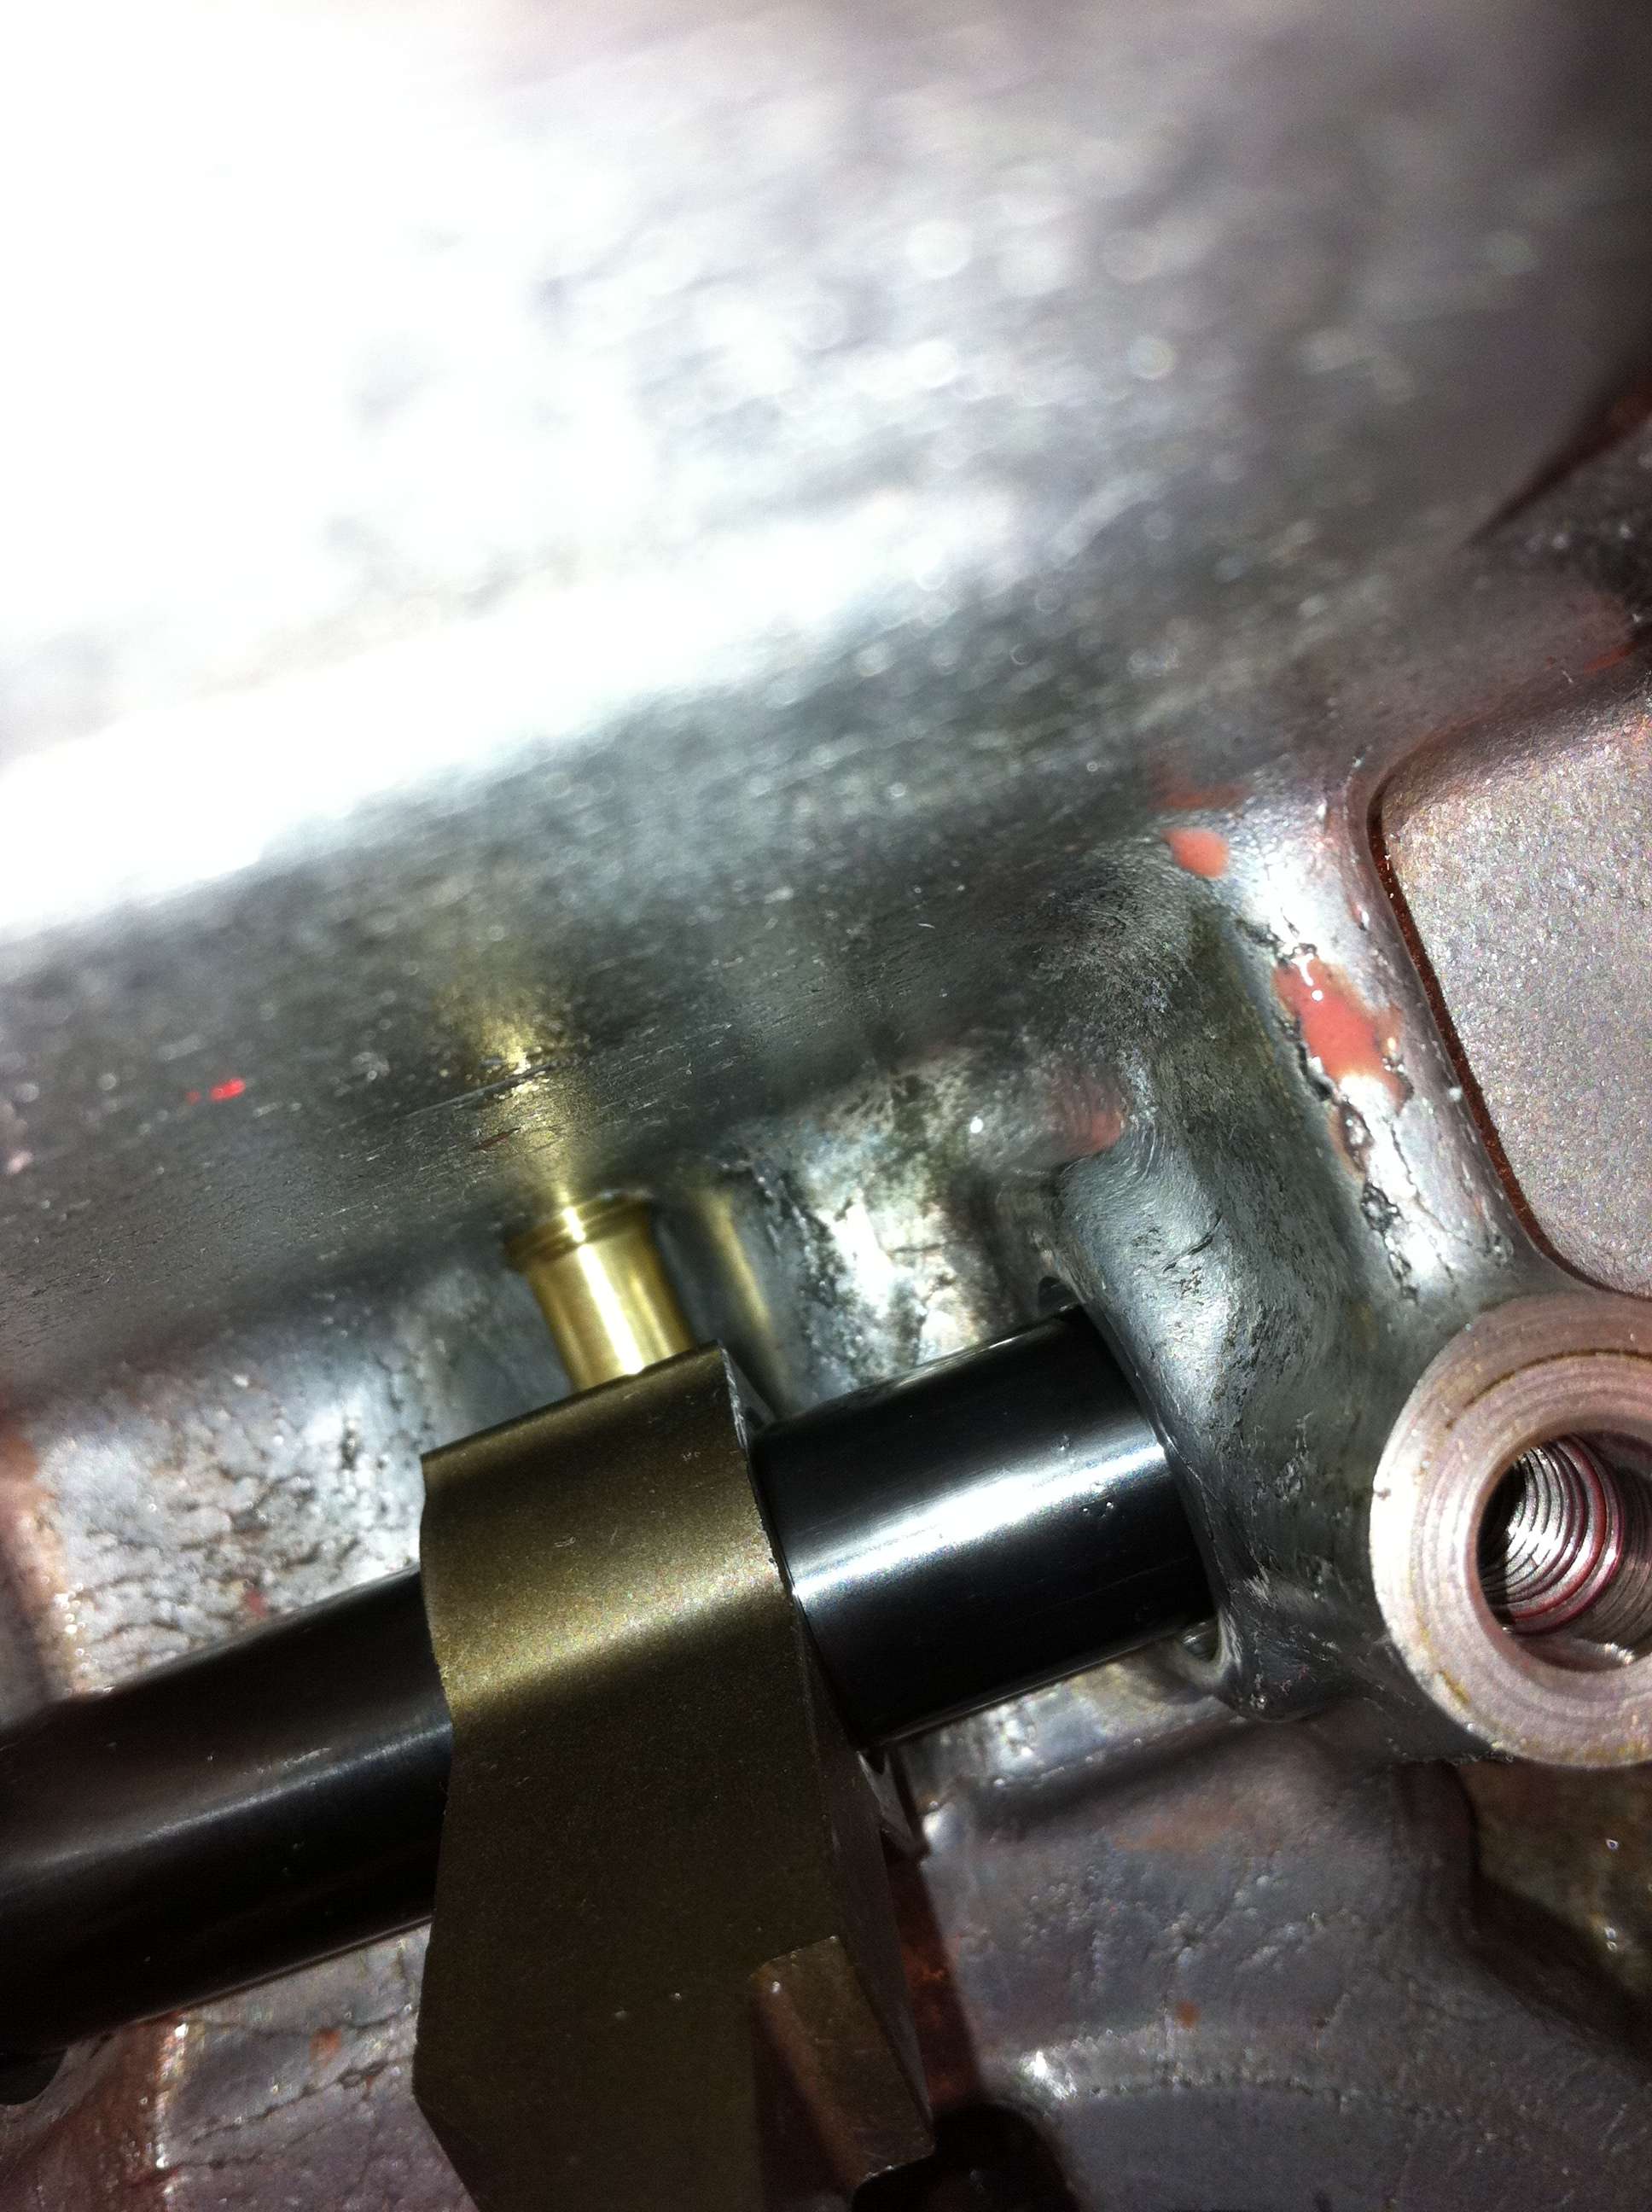
The shift linkage shaft is reinstalled, and there is plenty of clearance on all sides:
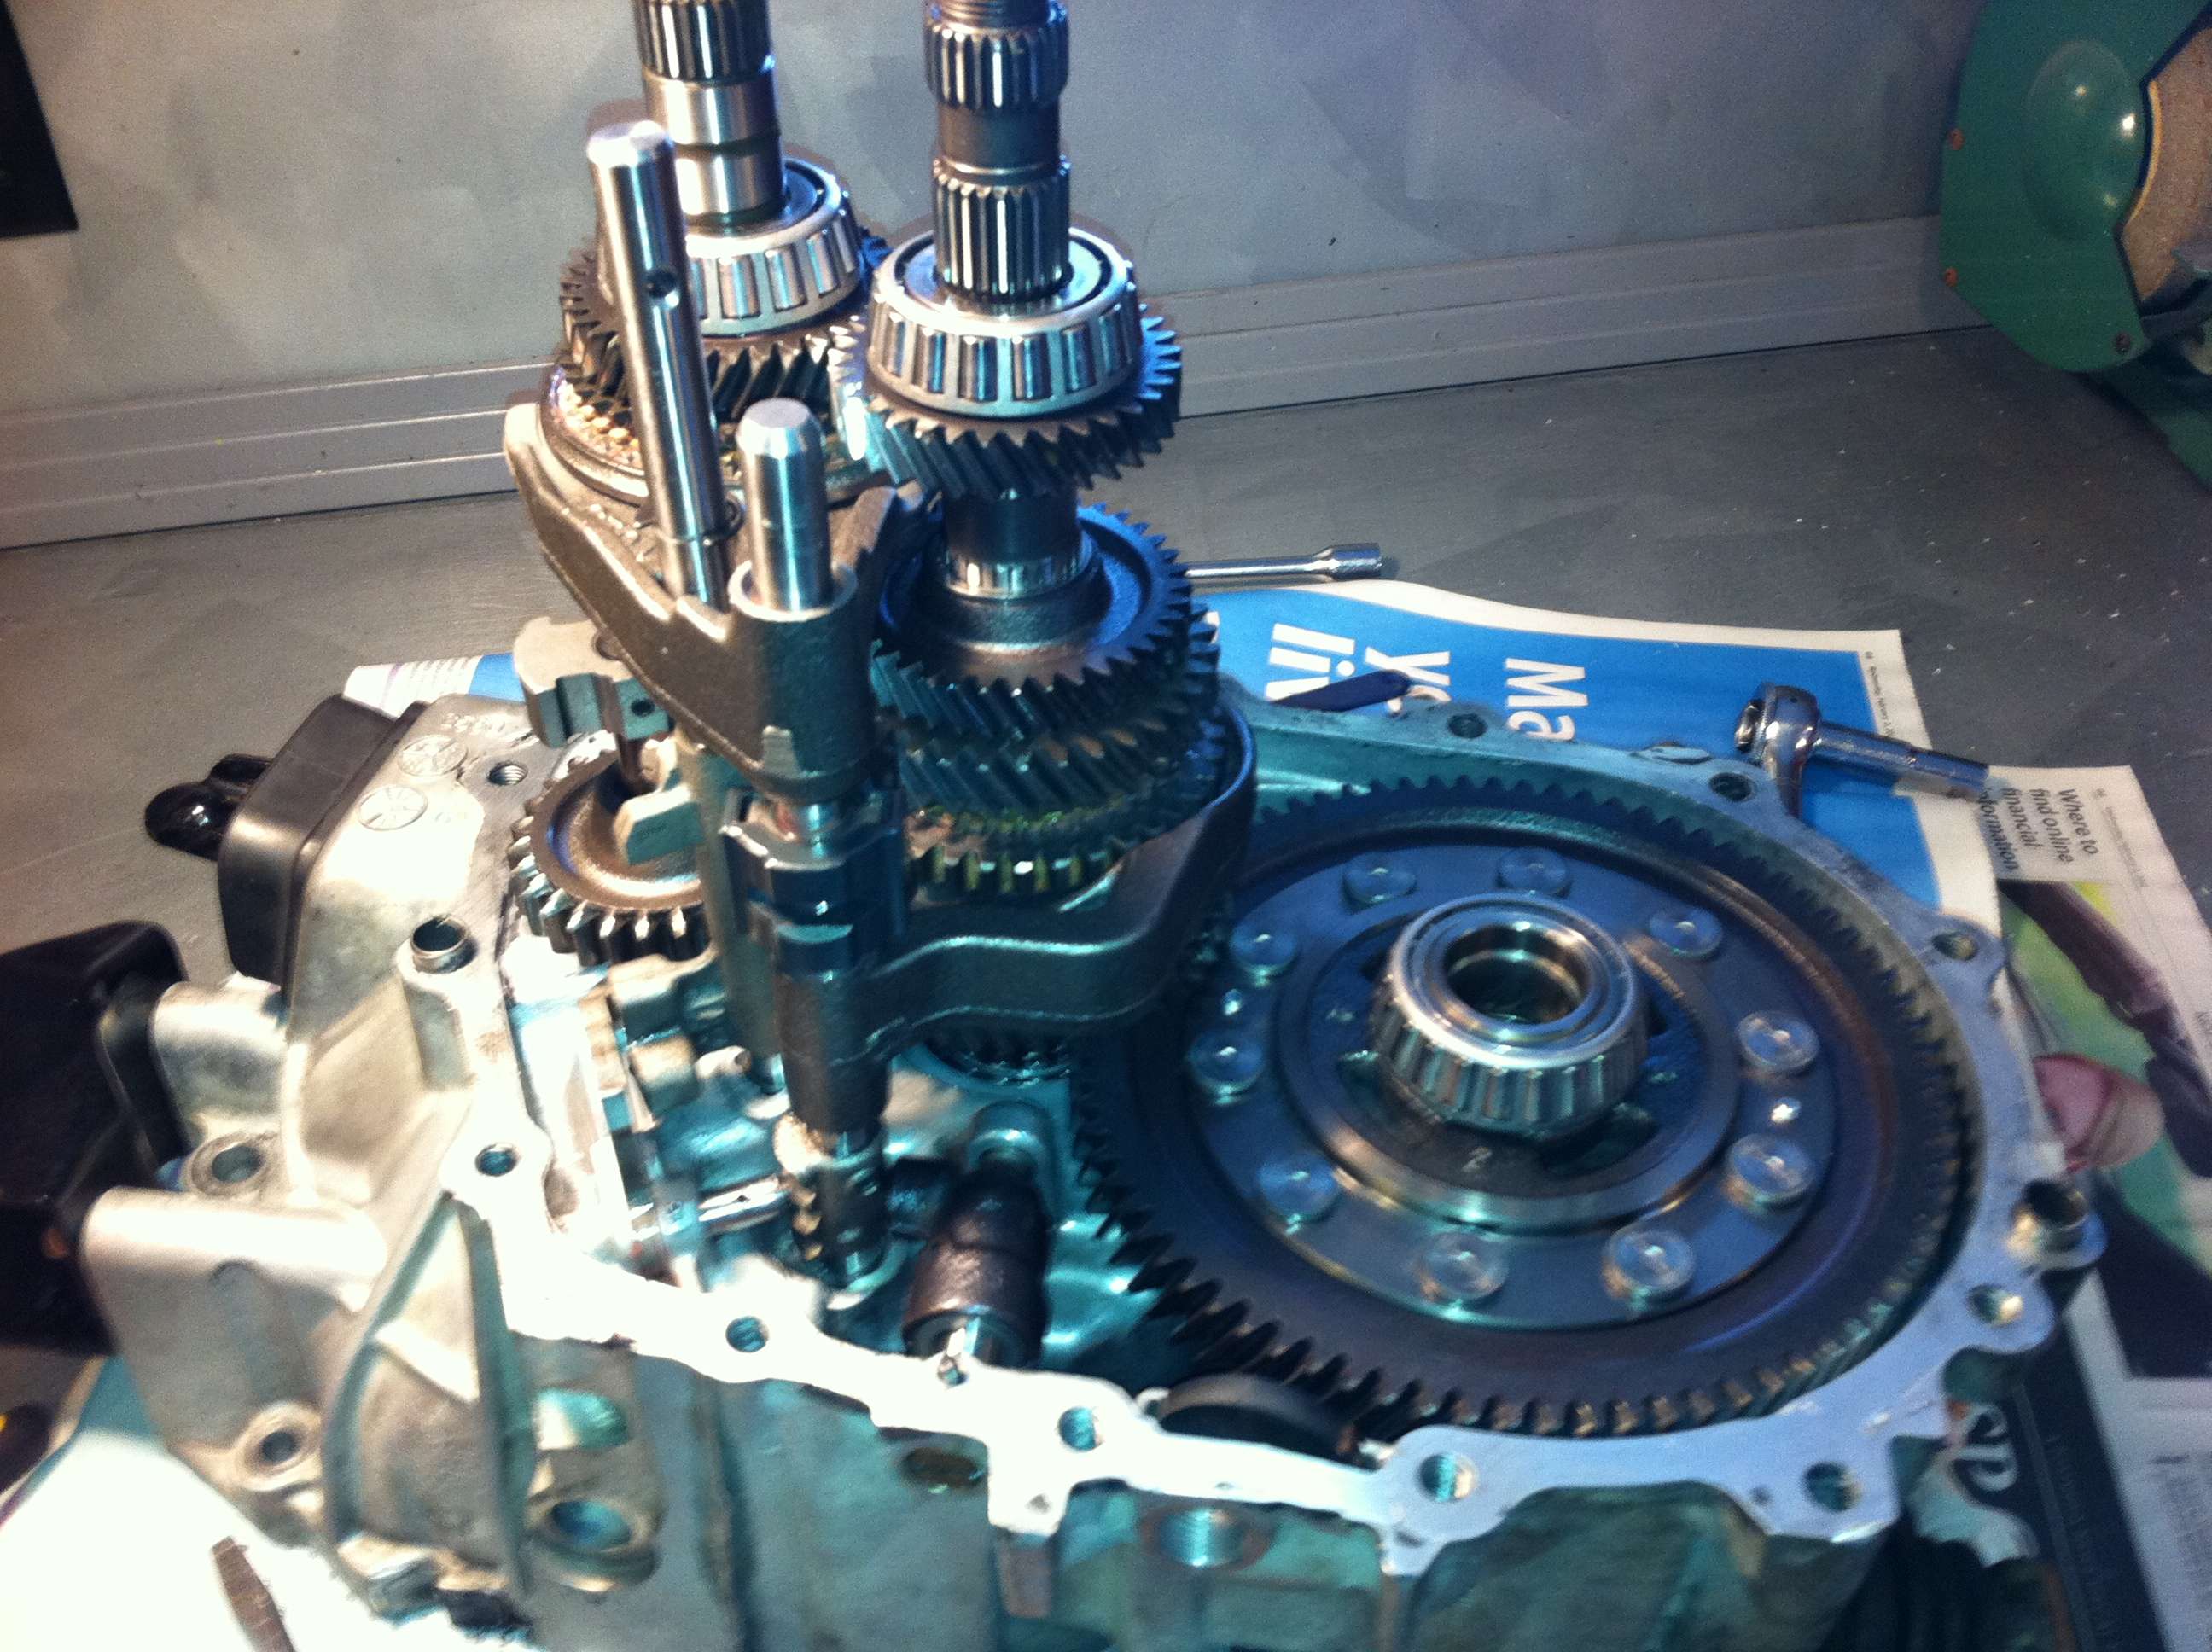
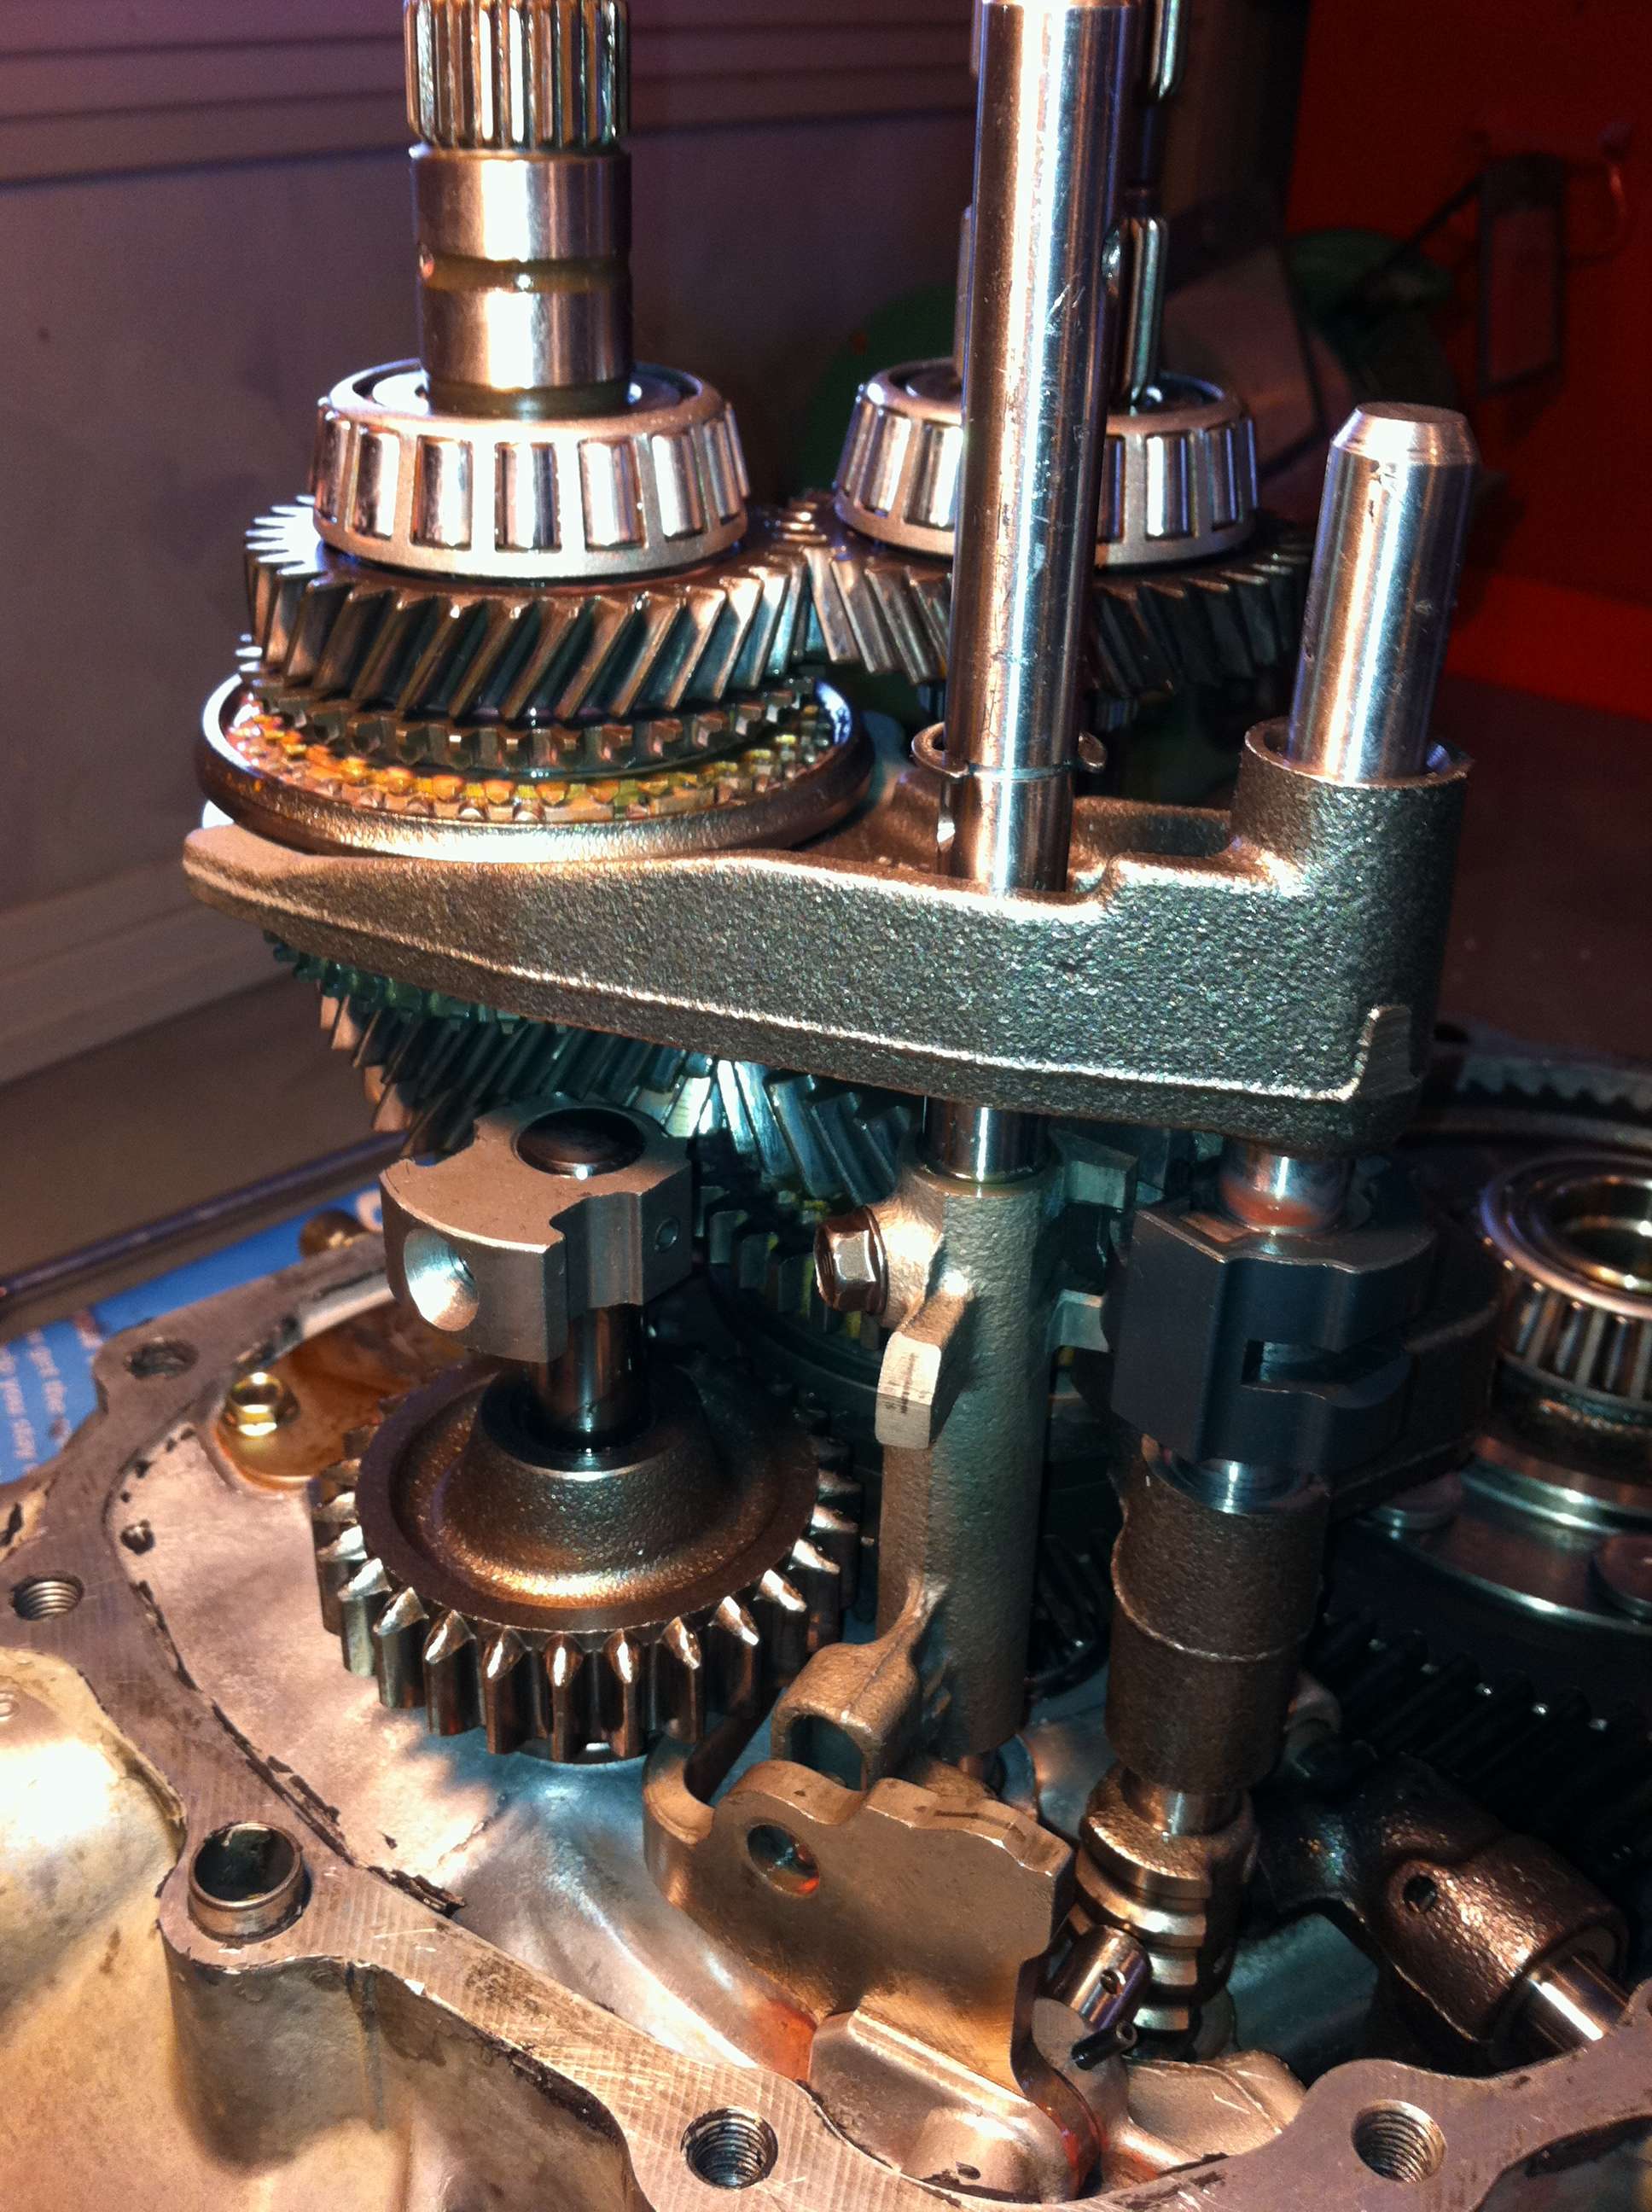
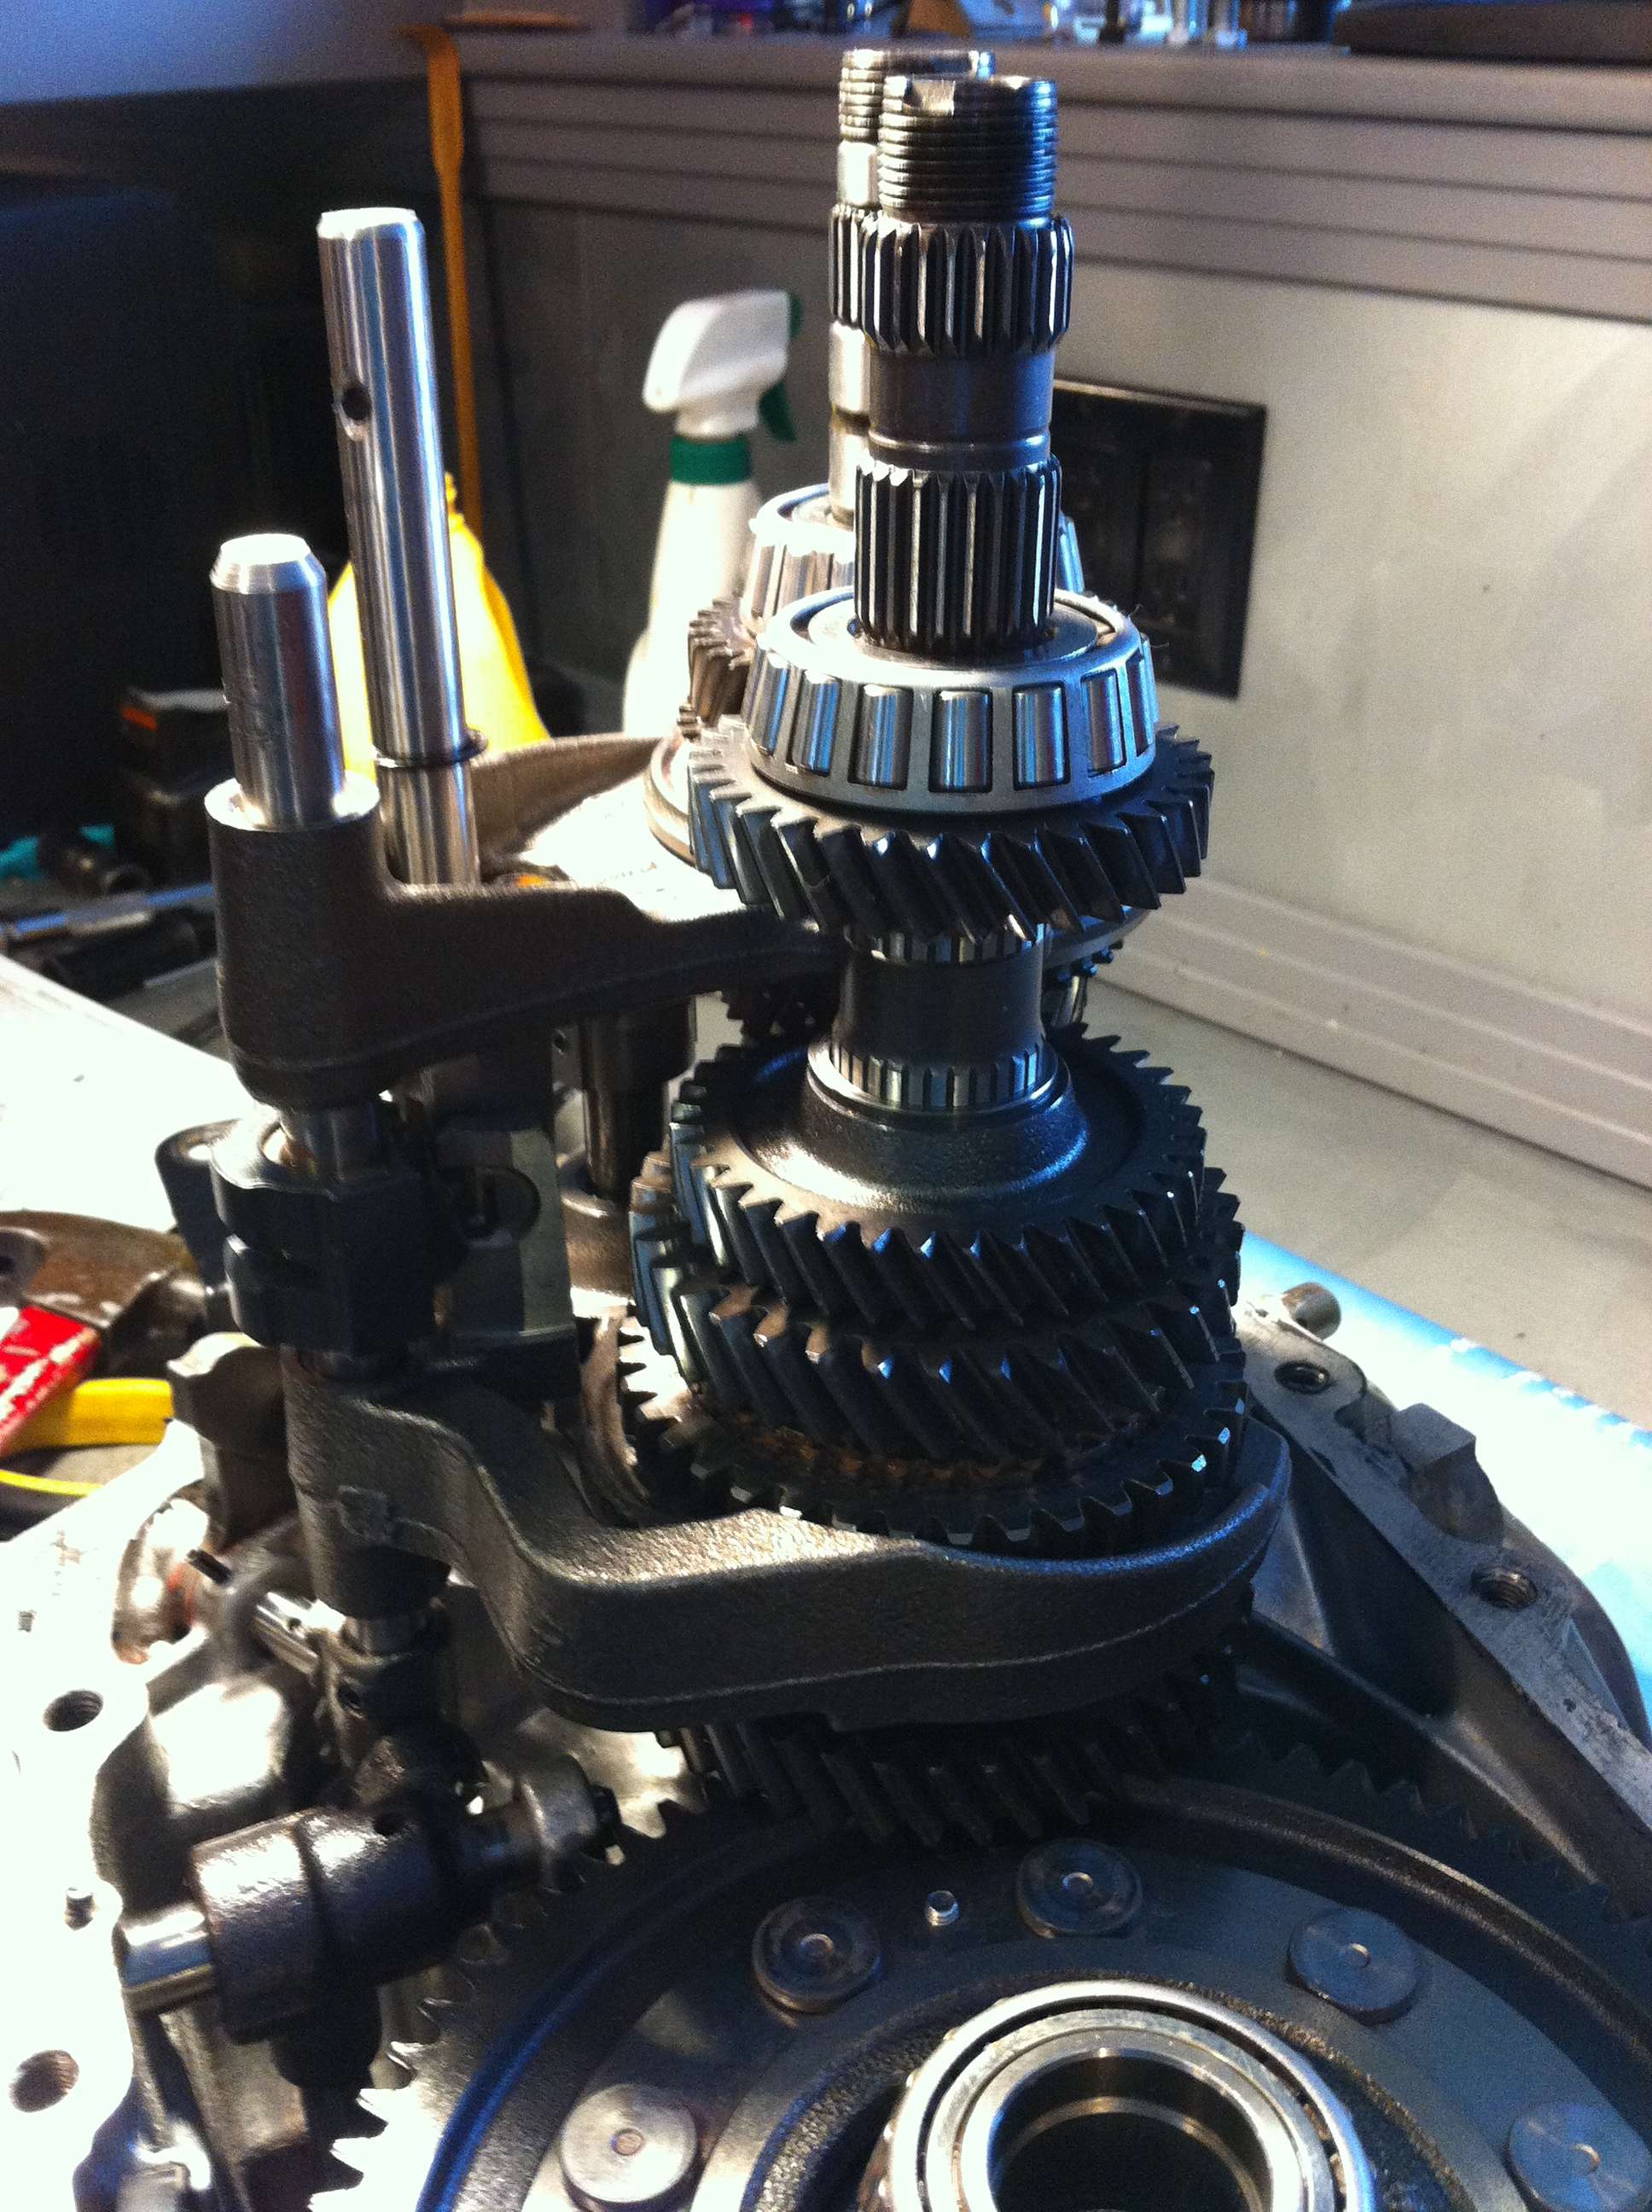
The rest of the assembly was unremarkable, I've only done this about 15 times...
The car has been in storage since August 19, 2008. Over two years since this thing has seen the road. The engine was removed last summer, and torn down, and parts cataloged. You can see what I mean when I say this car is getting a thurough once over. Teardown and planning isn't really all that exciting, so i decided not to document it here, but I will commence with the rebuild.
Few days ago, I decided to get cracking on the transmission, I have a spare built the same, but this one is going in the car. Tore it down, cleaned and inspected everything. The transmission features a welded MSP LSD, GTX 3rd, 4th, and 5th gears, revised shift forks, and the '03.5 updated synchros. All bearings and bushings checked out, and the gearset shafts were shimmed right on the tight side of Mazda's spec to ensure they don't spread apart under load, as I'm not running straight cut gears. This step, although crucial is a TOTAL pain in the ass, and requires some special tools to do properly.
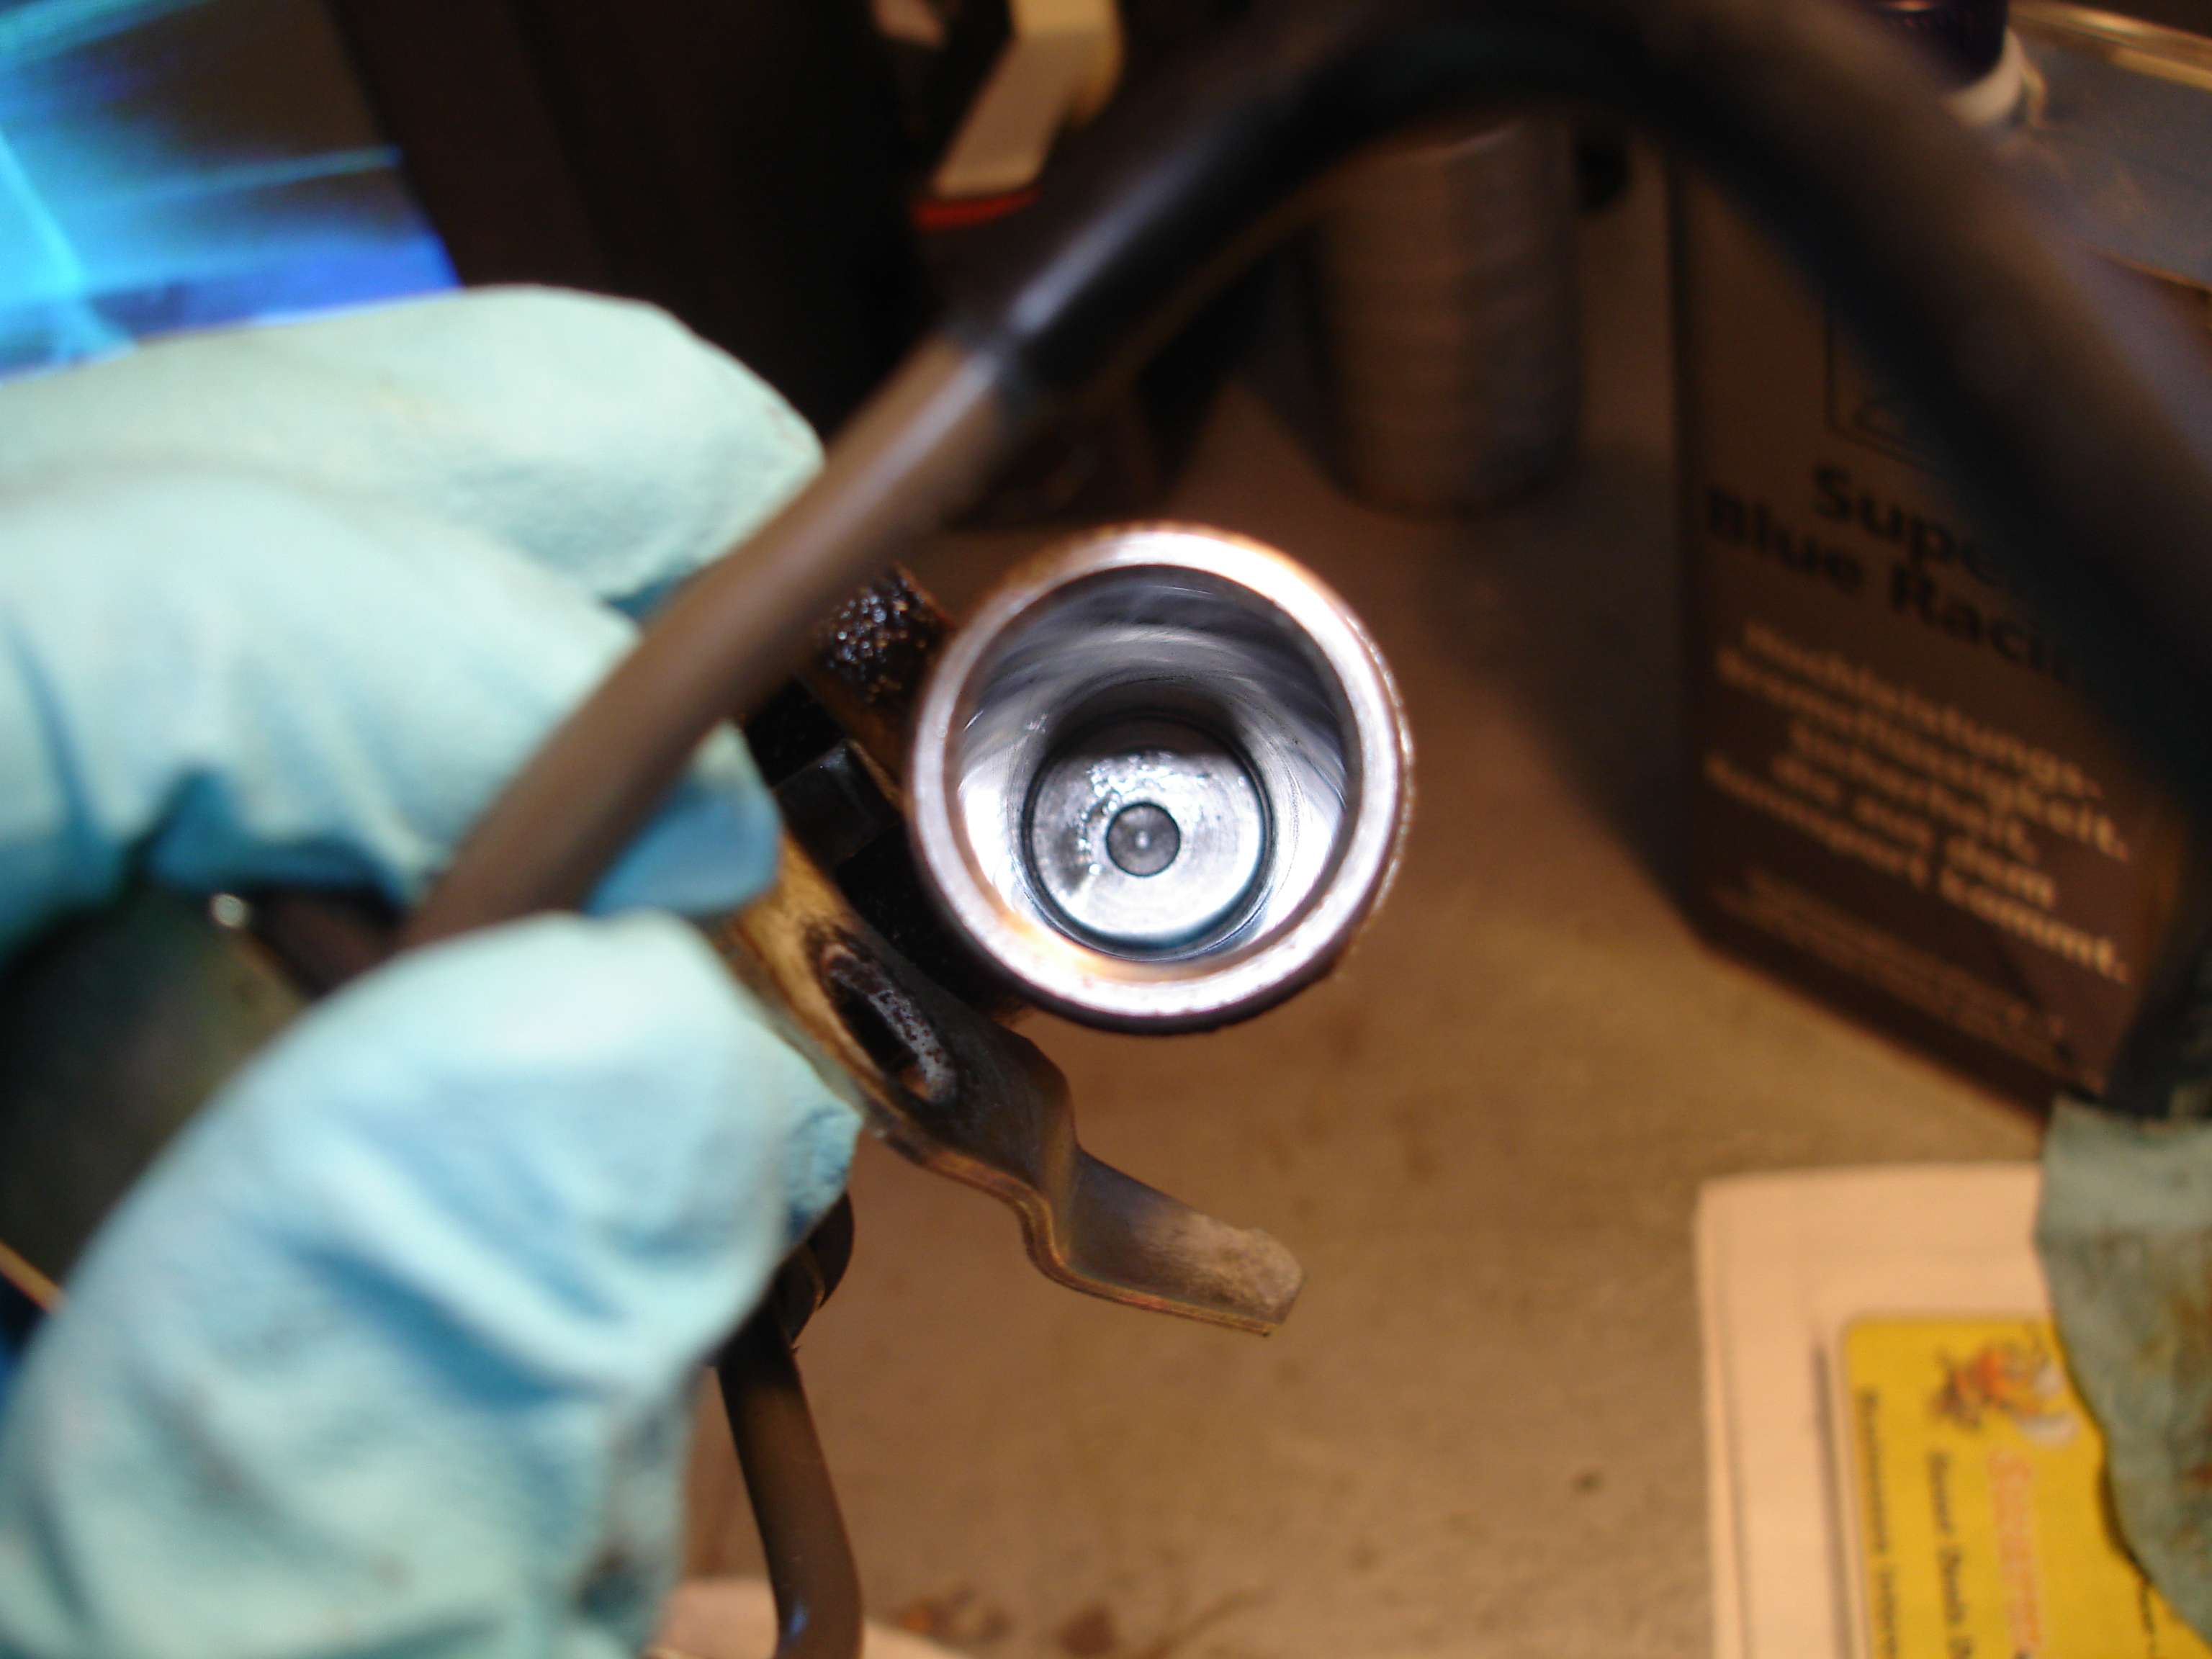
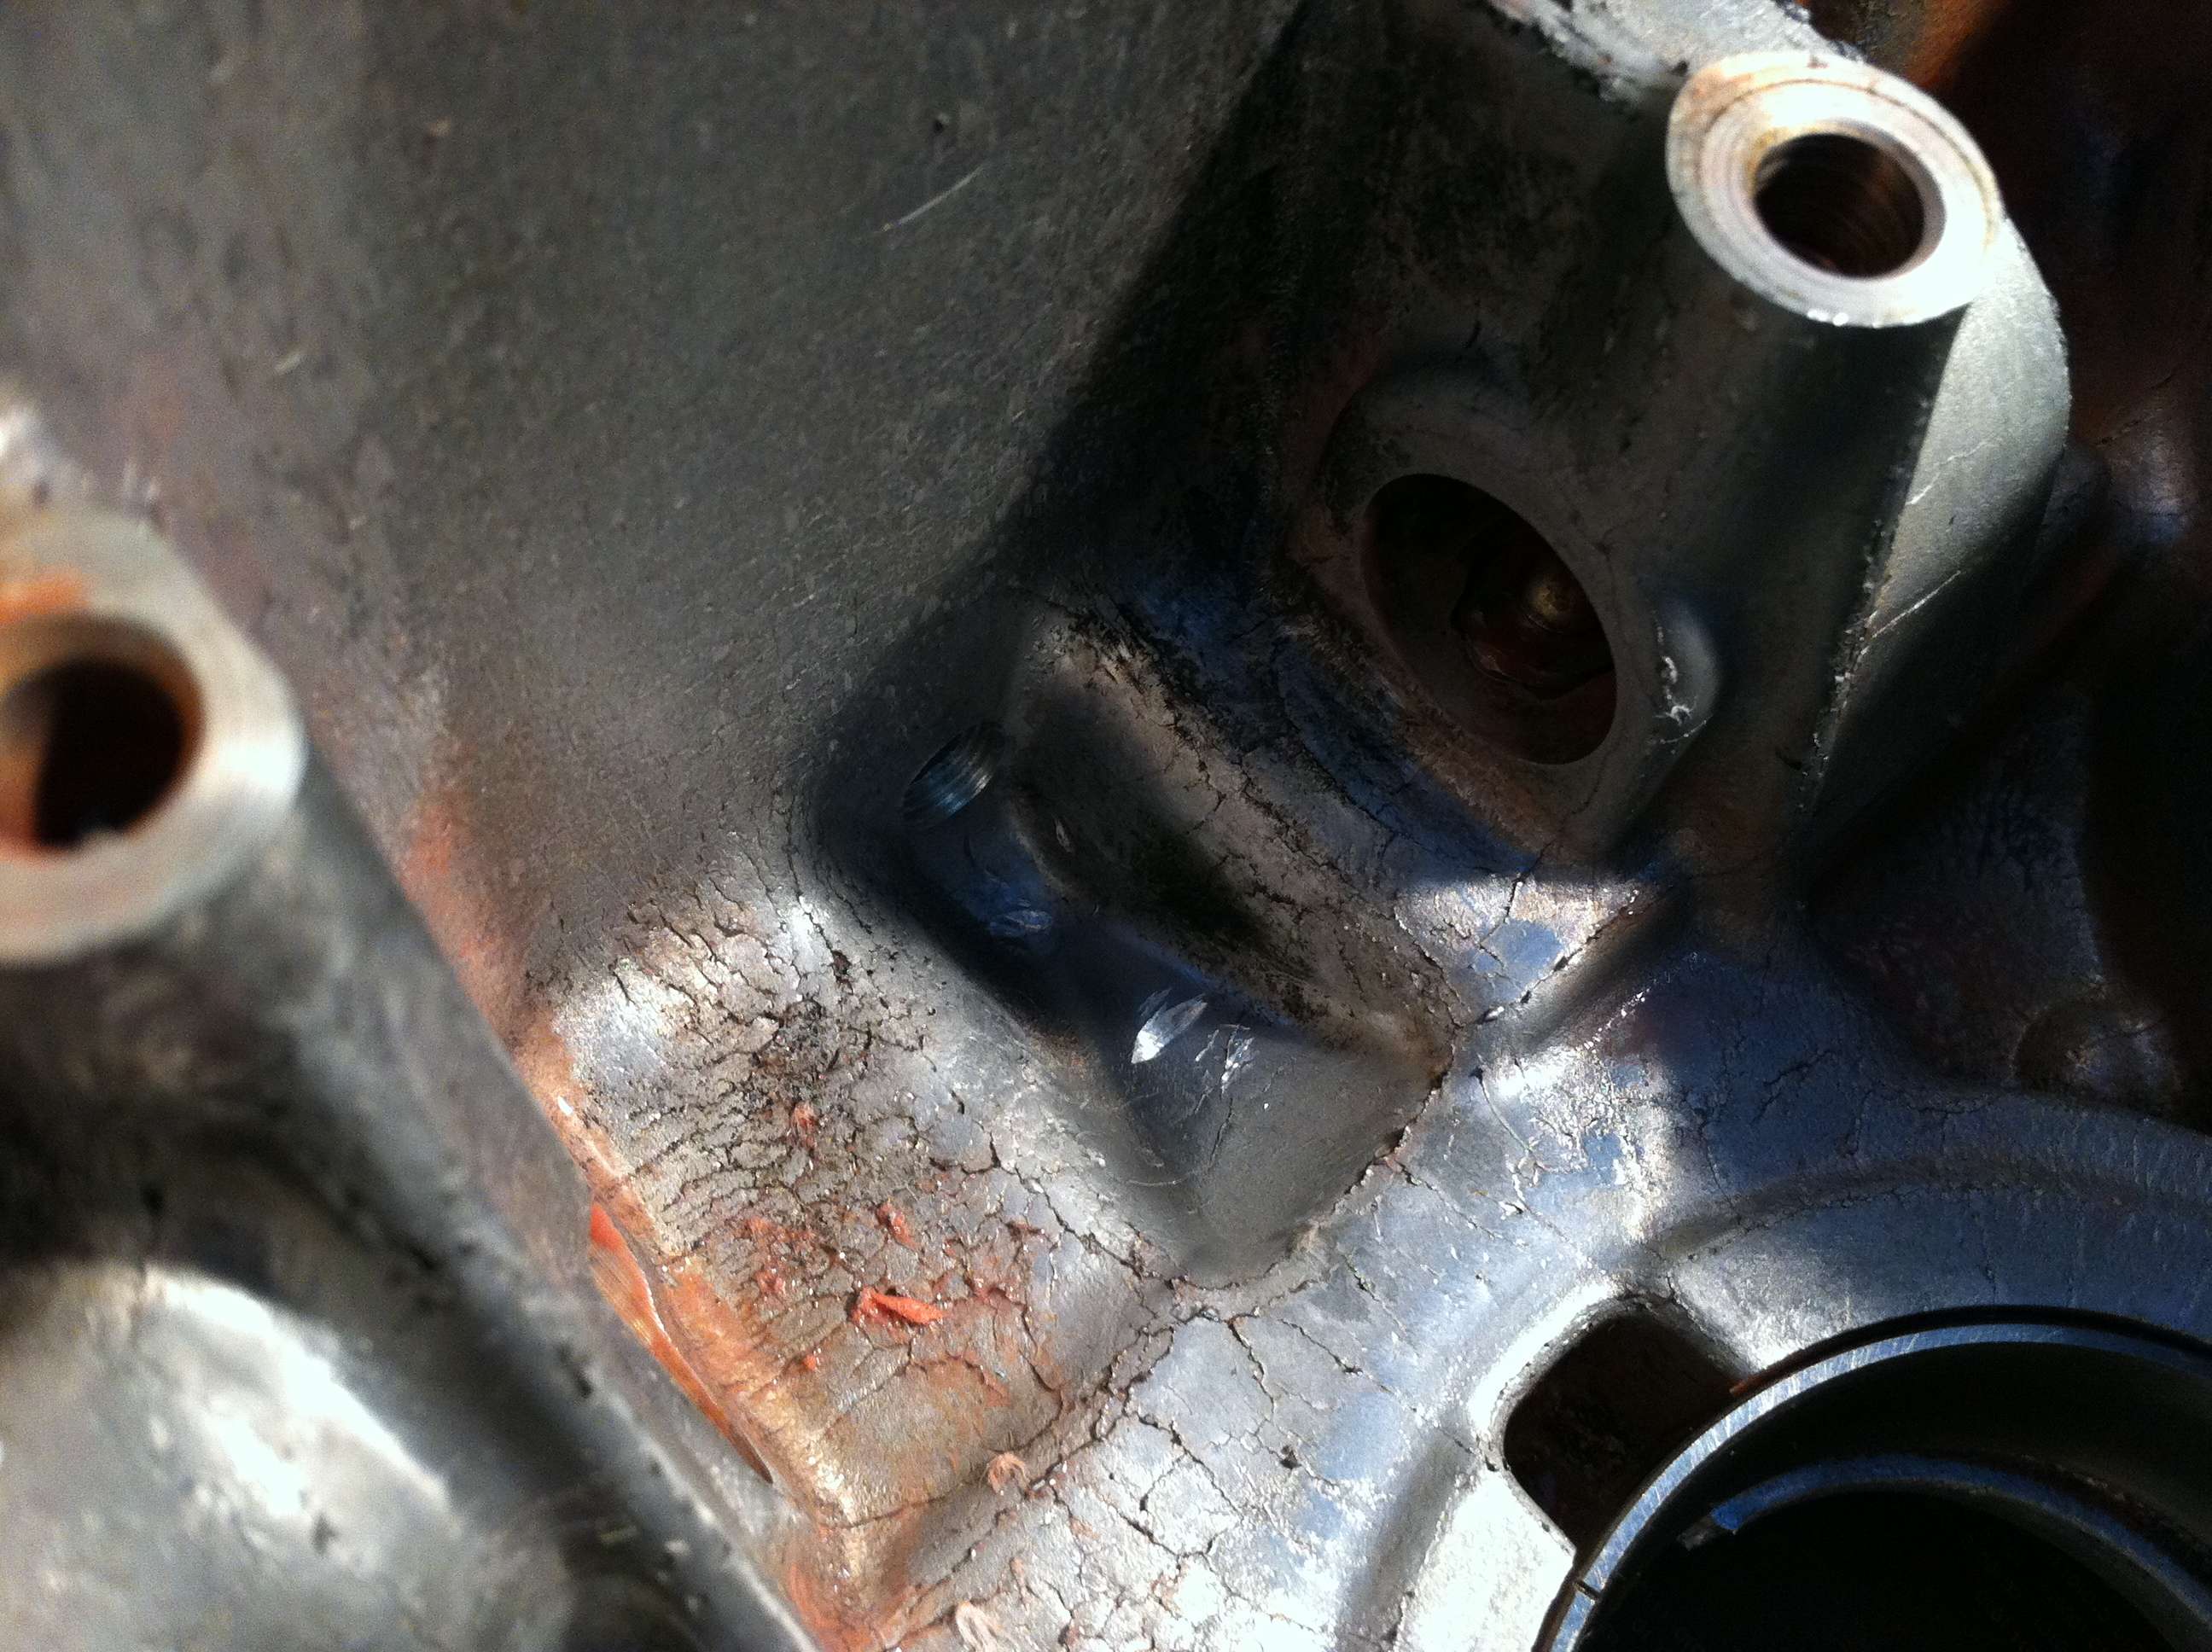
While I was in there, I decided to mount a sensor for a transmission temperature gauge. There isn't much room in there in a spot where the sensor will be submurged in the transmission oil, but I did manage to find what I consider an ideal spot, just below the main shift linkage shaft. There is a small "indent" that will allow for an Autometer sensor, and not interfere with anything. This is in the bottom of the case, and will keep the sensor submurged. On the outside, it does not interfere wit hthe lower chassis crossmember, although it is close.
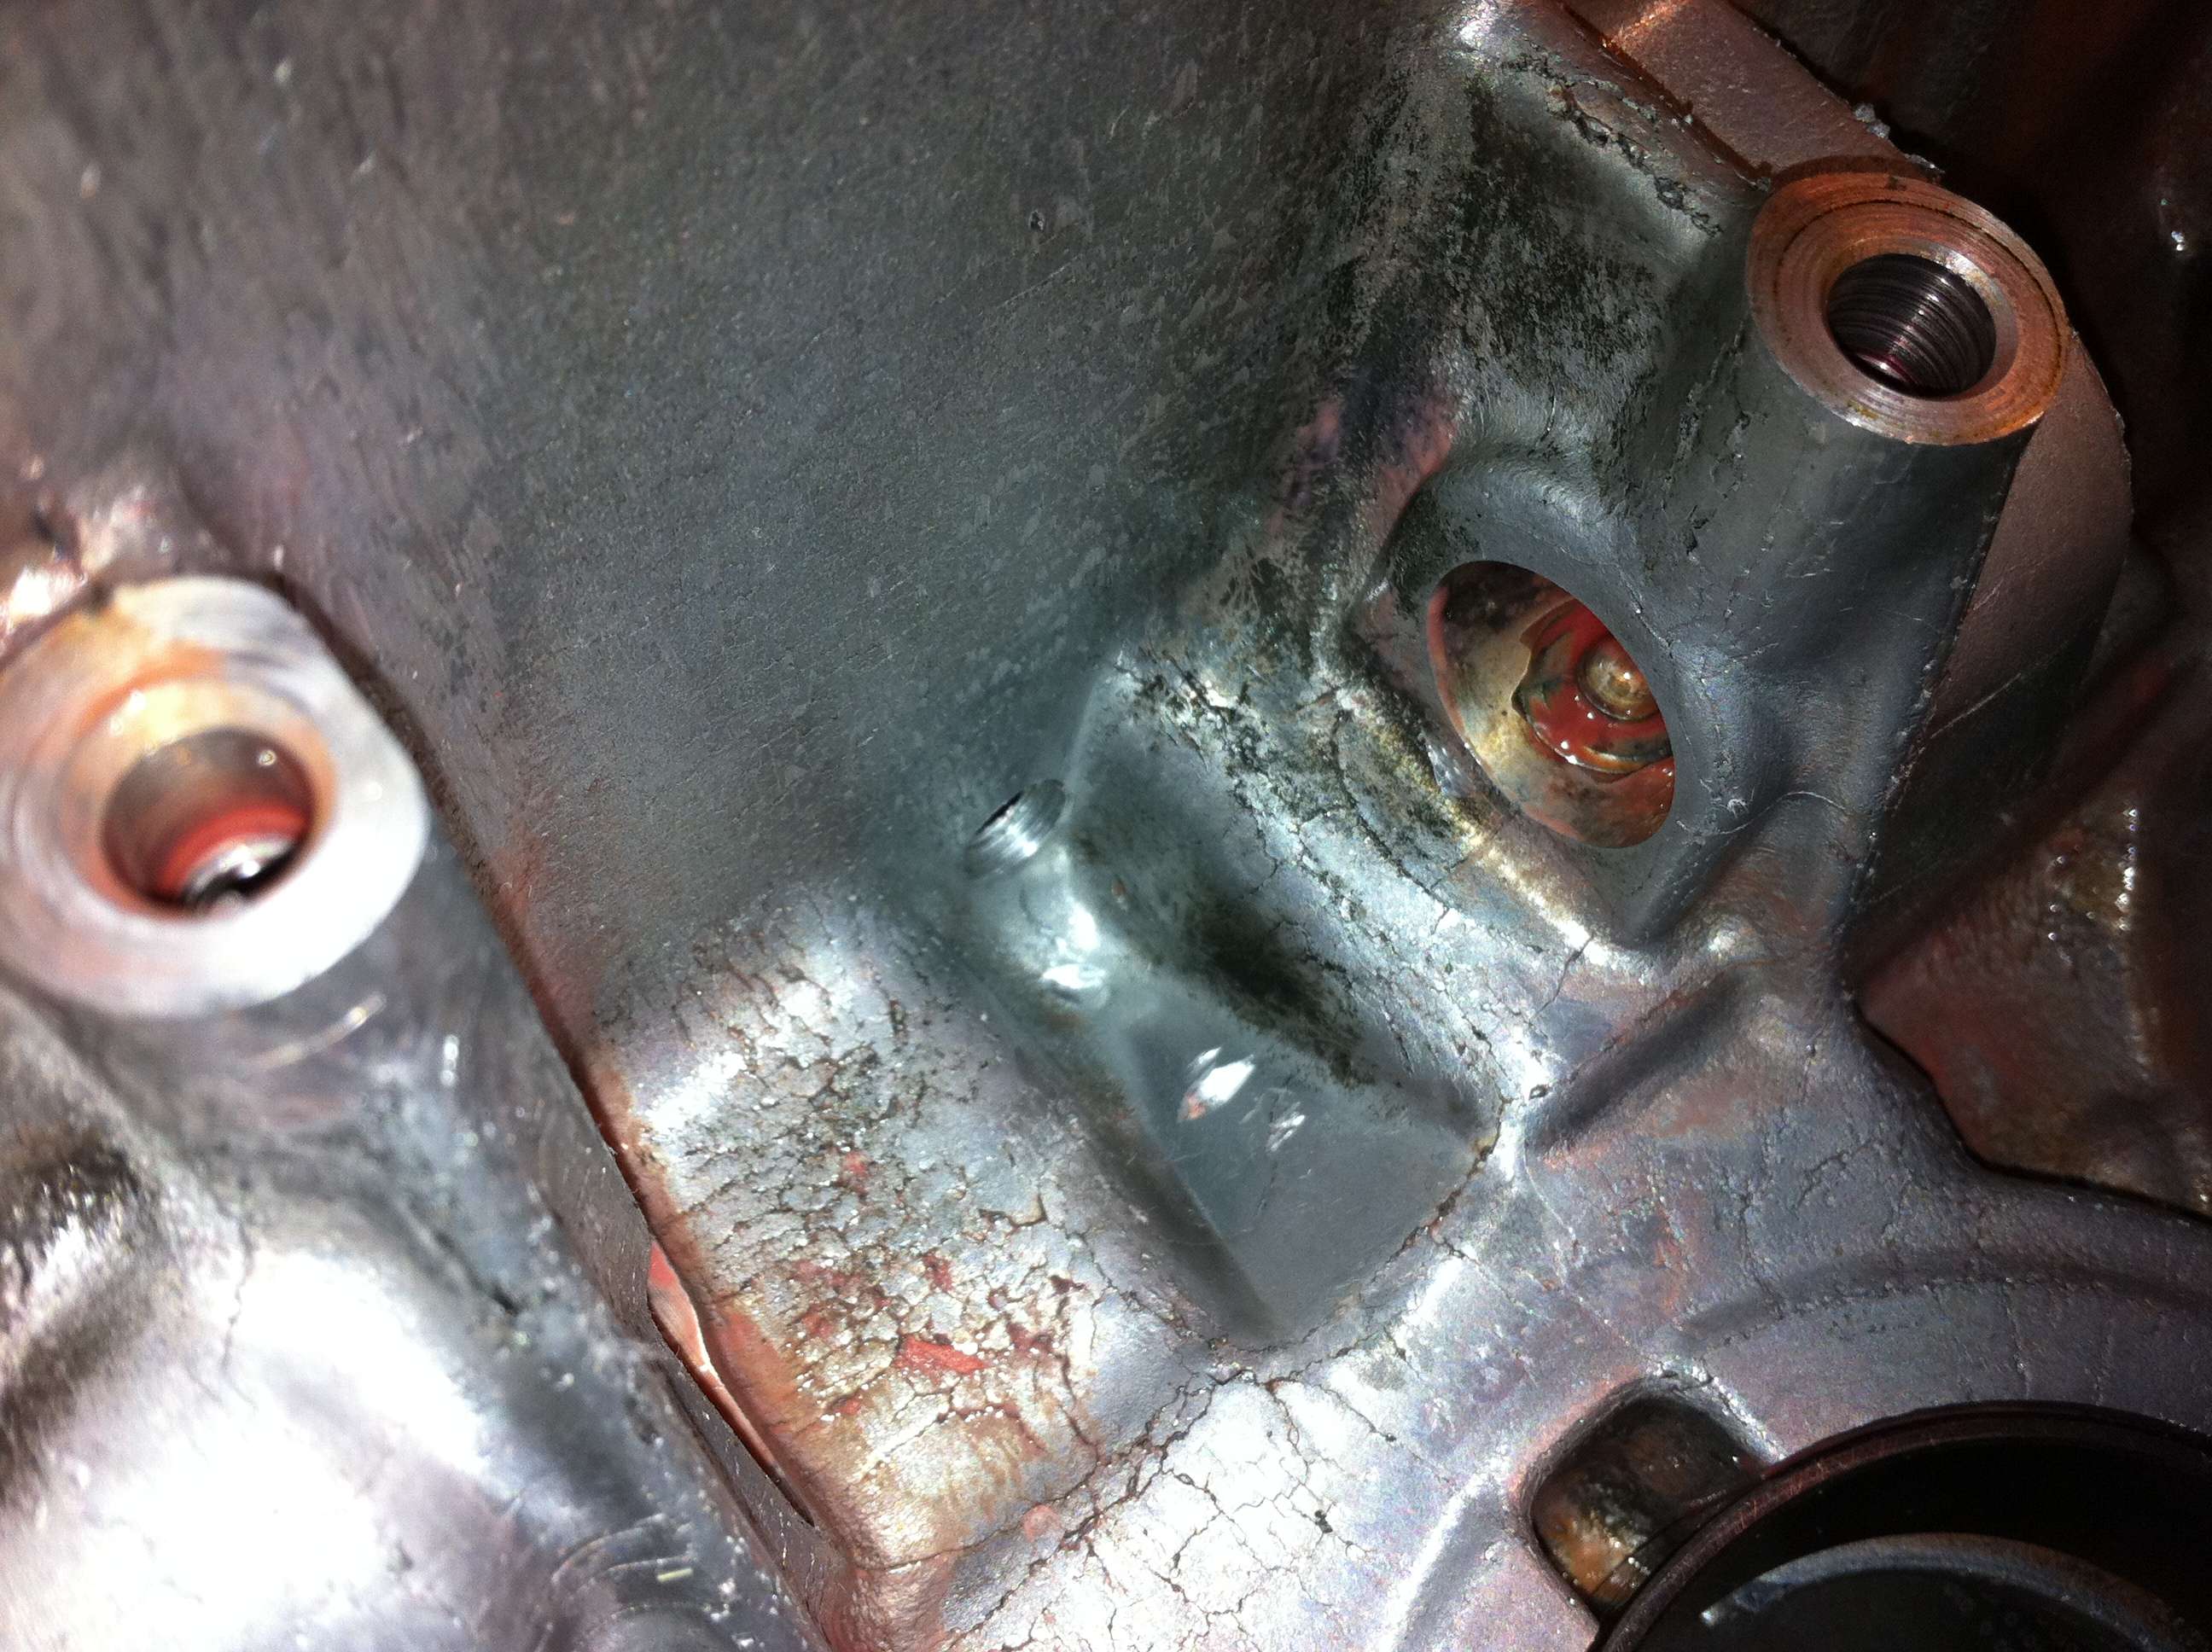
Drilled an appropreate sized hole, and tapped it for 1/8" NPT:
You can see the "perfect" indent:
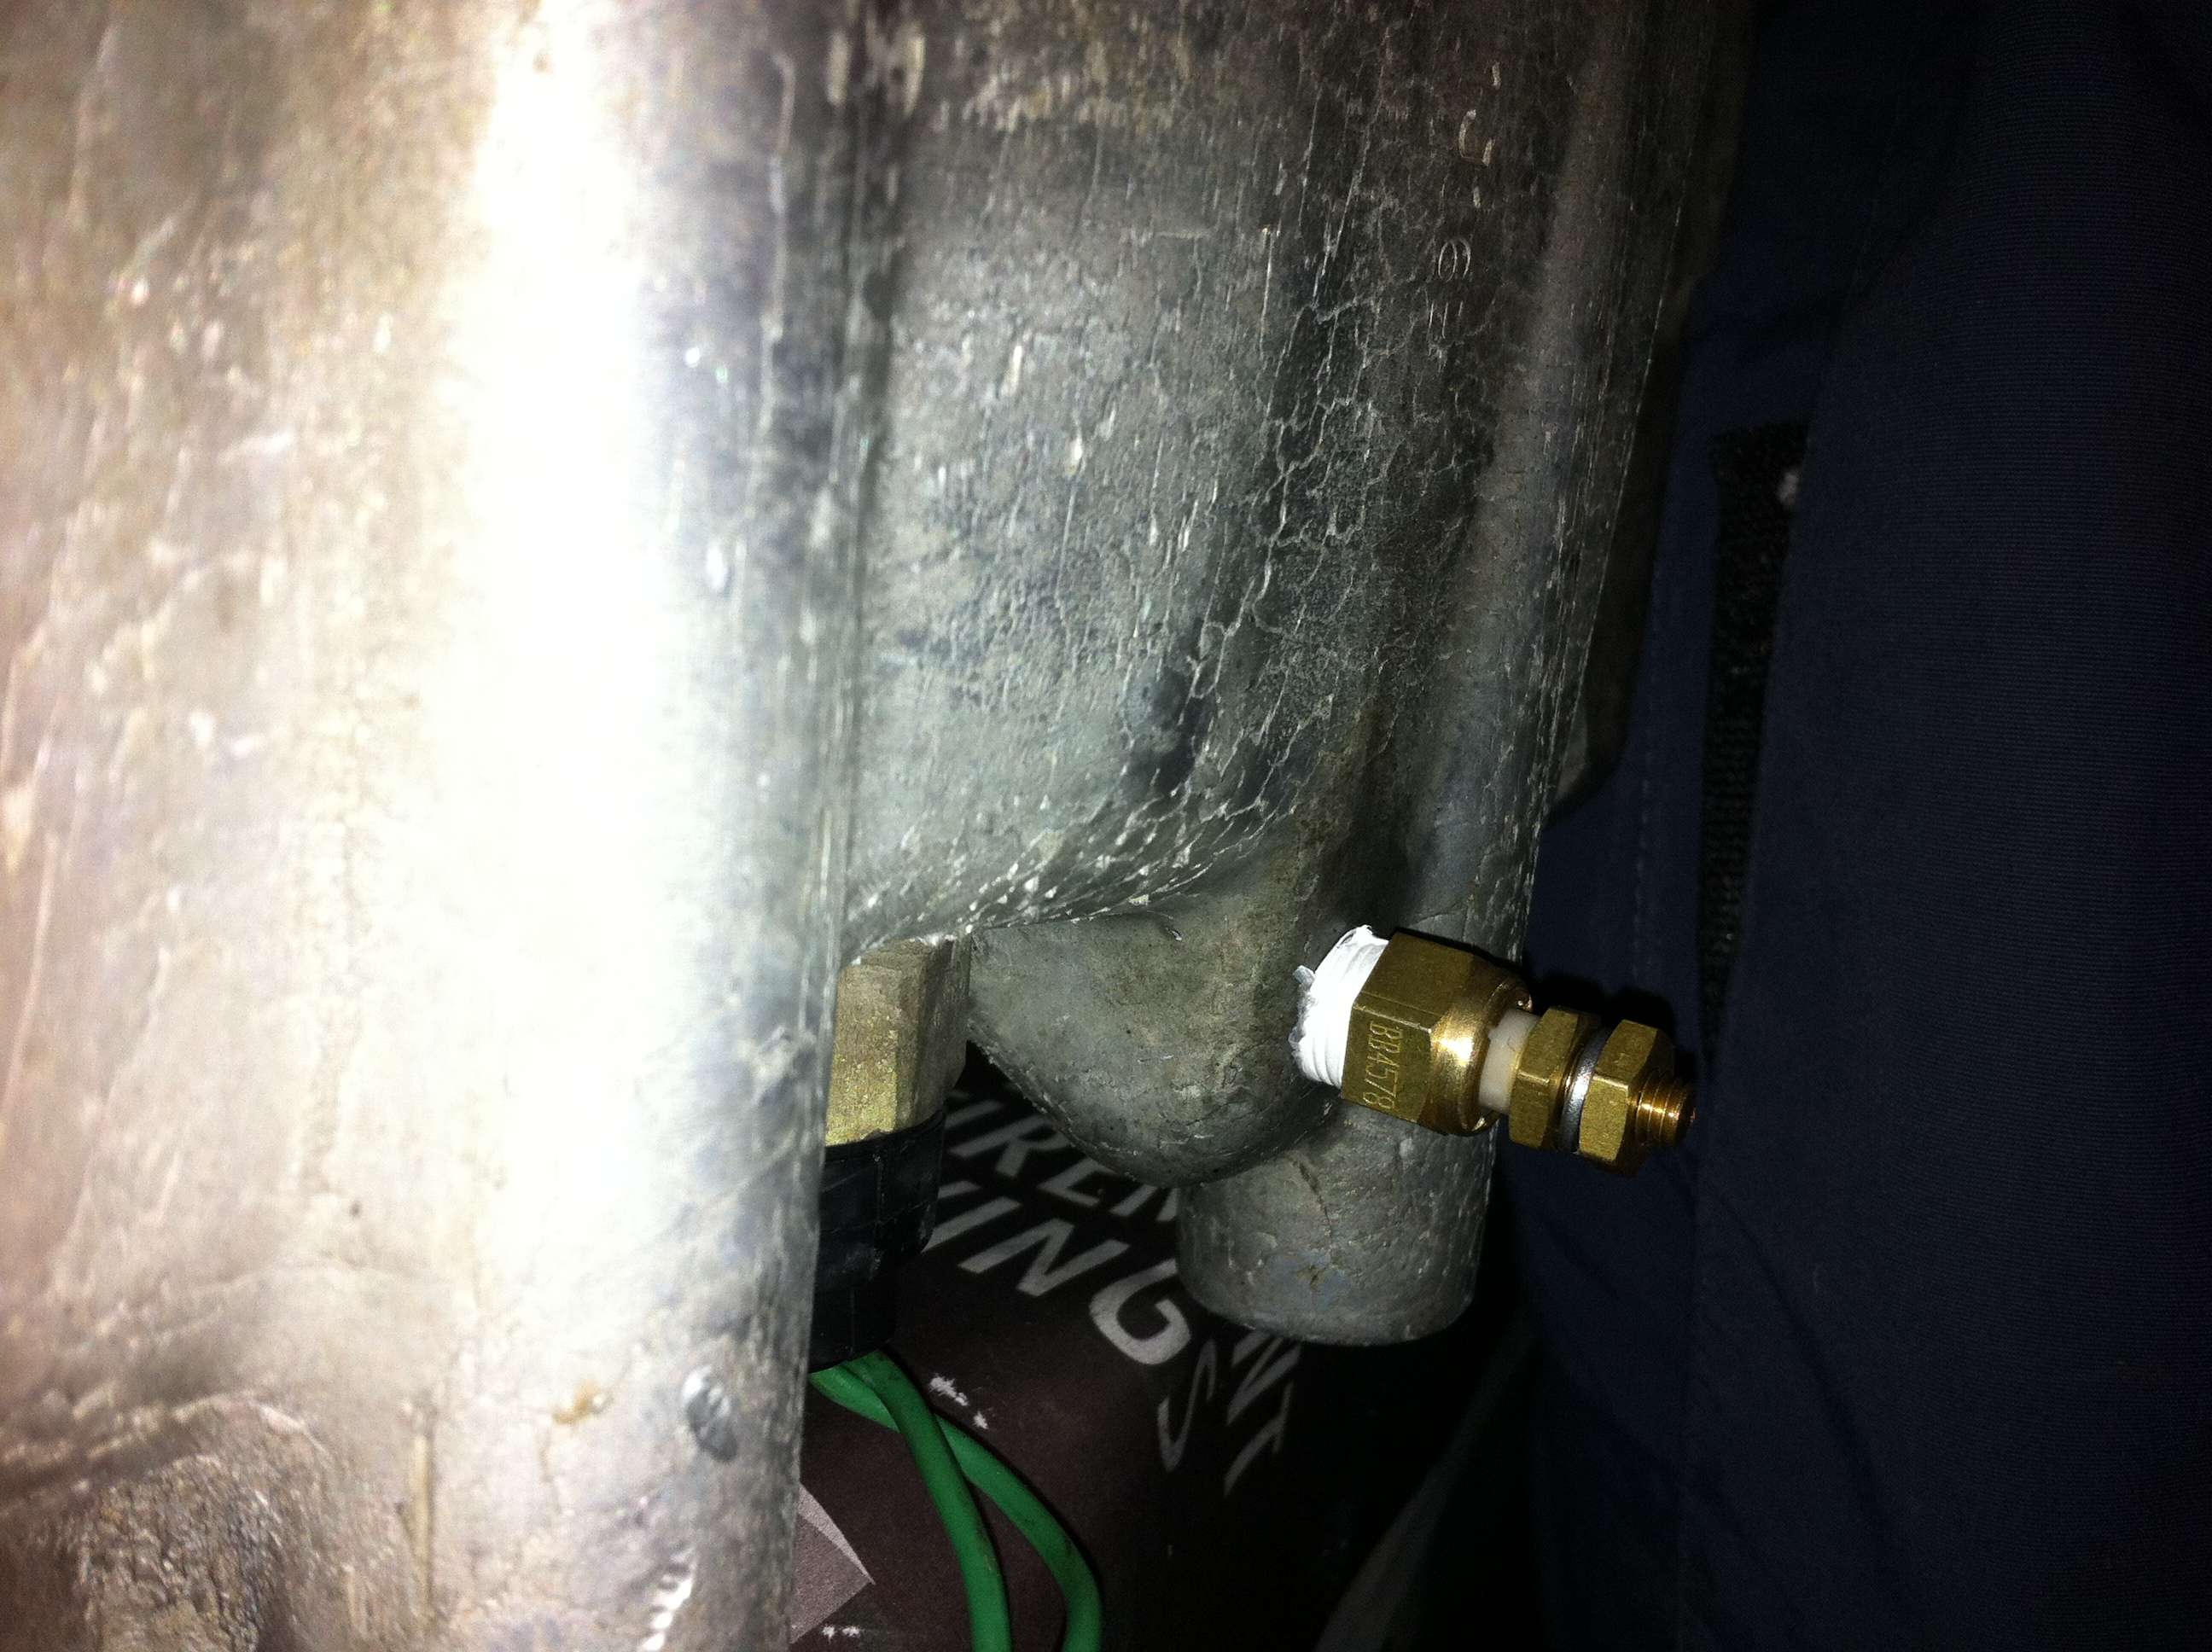
Sensor installed, teflon tape was applied. Looks like a good fit:
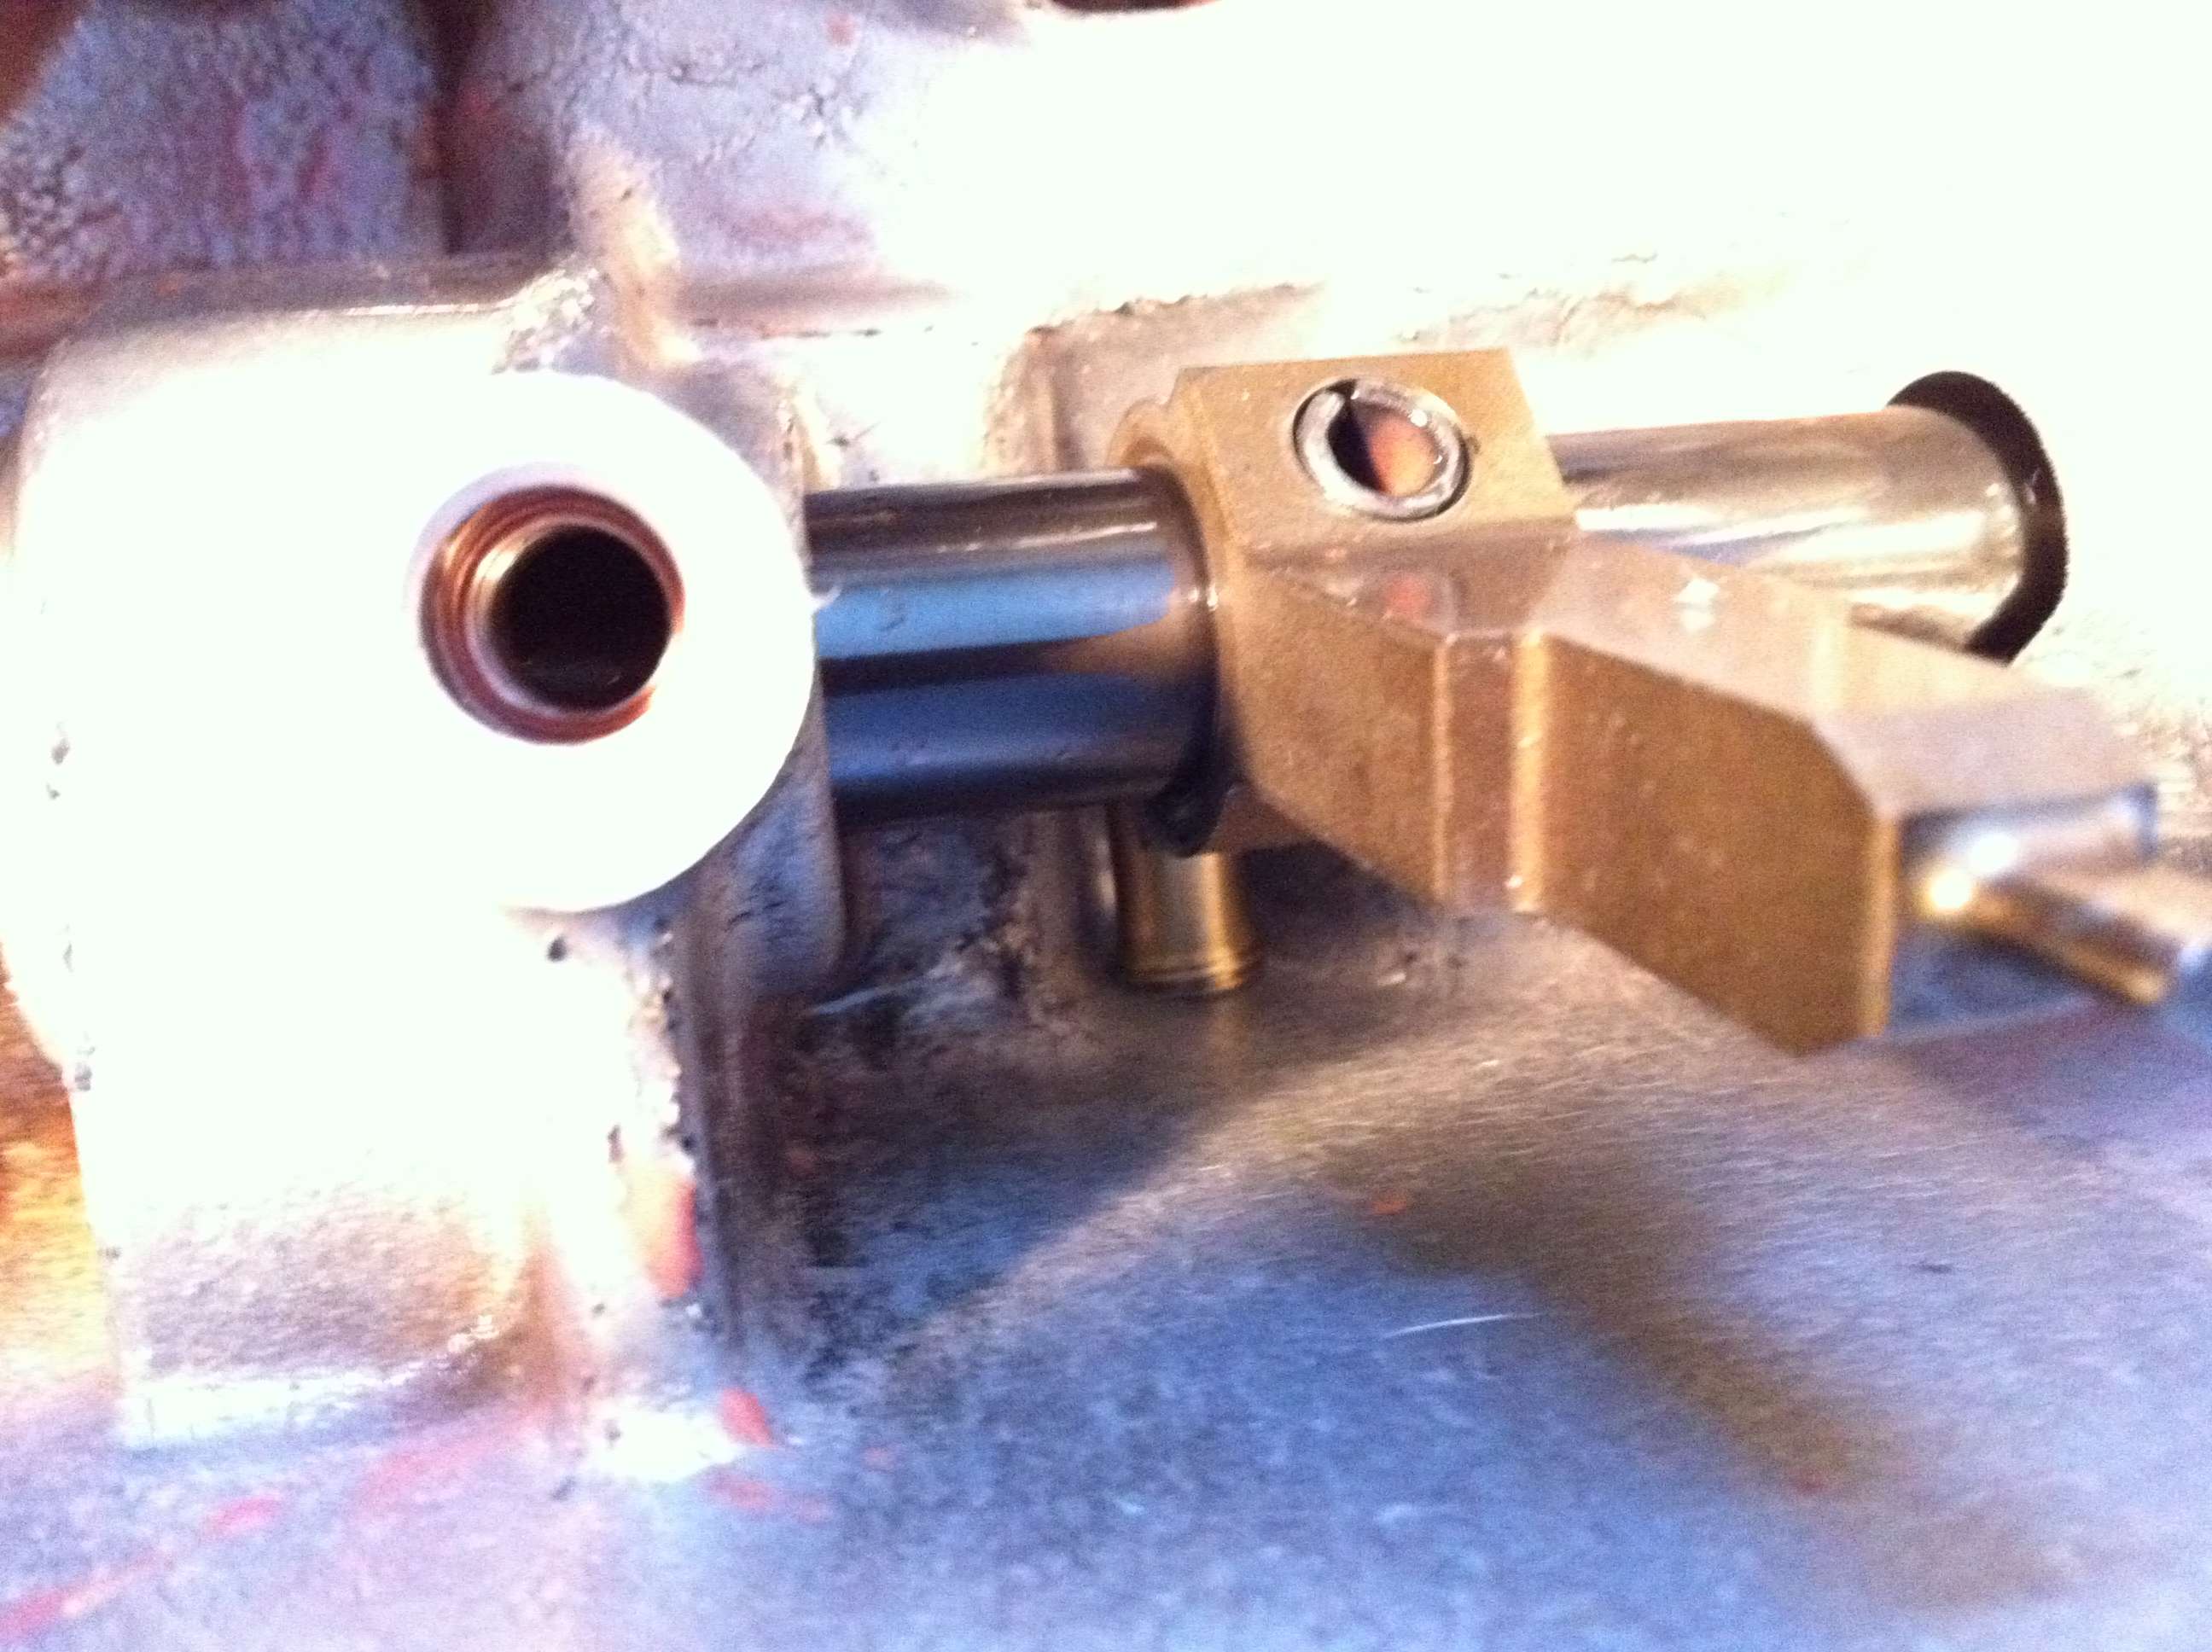
The shift linkage shaft is reinstalled, and there is plenty of clearance on all sides:
The rest of the assembly was unremarkable, I've only done this about 15 times...


")